August 26, 2024
Review RecipeMason Jar Ice Cream
Table of Contents
- Mason Jar Ice Cream Ingredients
- Substitutions and Additions For Ice Cream In A Jar
- How To Make This Mason Jar Ice Cream Recipe
- Troubleshooting
- How To Serve Mason Jar Ice Cream
- How To Store Homemade Mason Jar Ice Cream
- Why This Mason Jar Ice Cream Is The Best
- Frequently Asked Questions
- No Churn Ice Cream Recipes You’ll Love
- JUMP TO RECIPE
- Even More Recipes You’ll Love
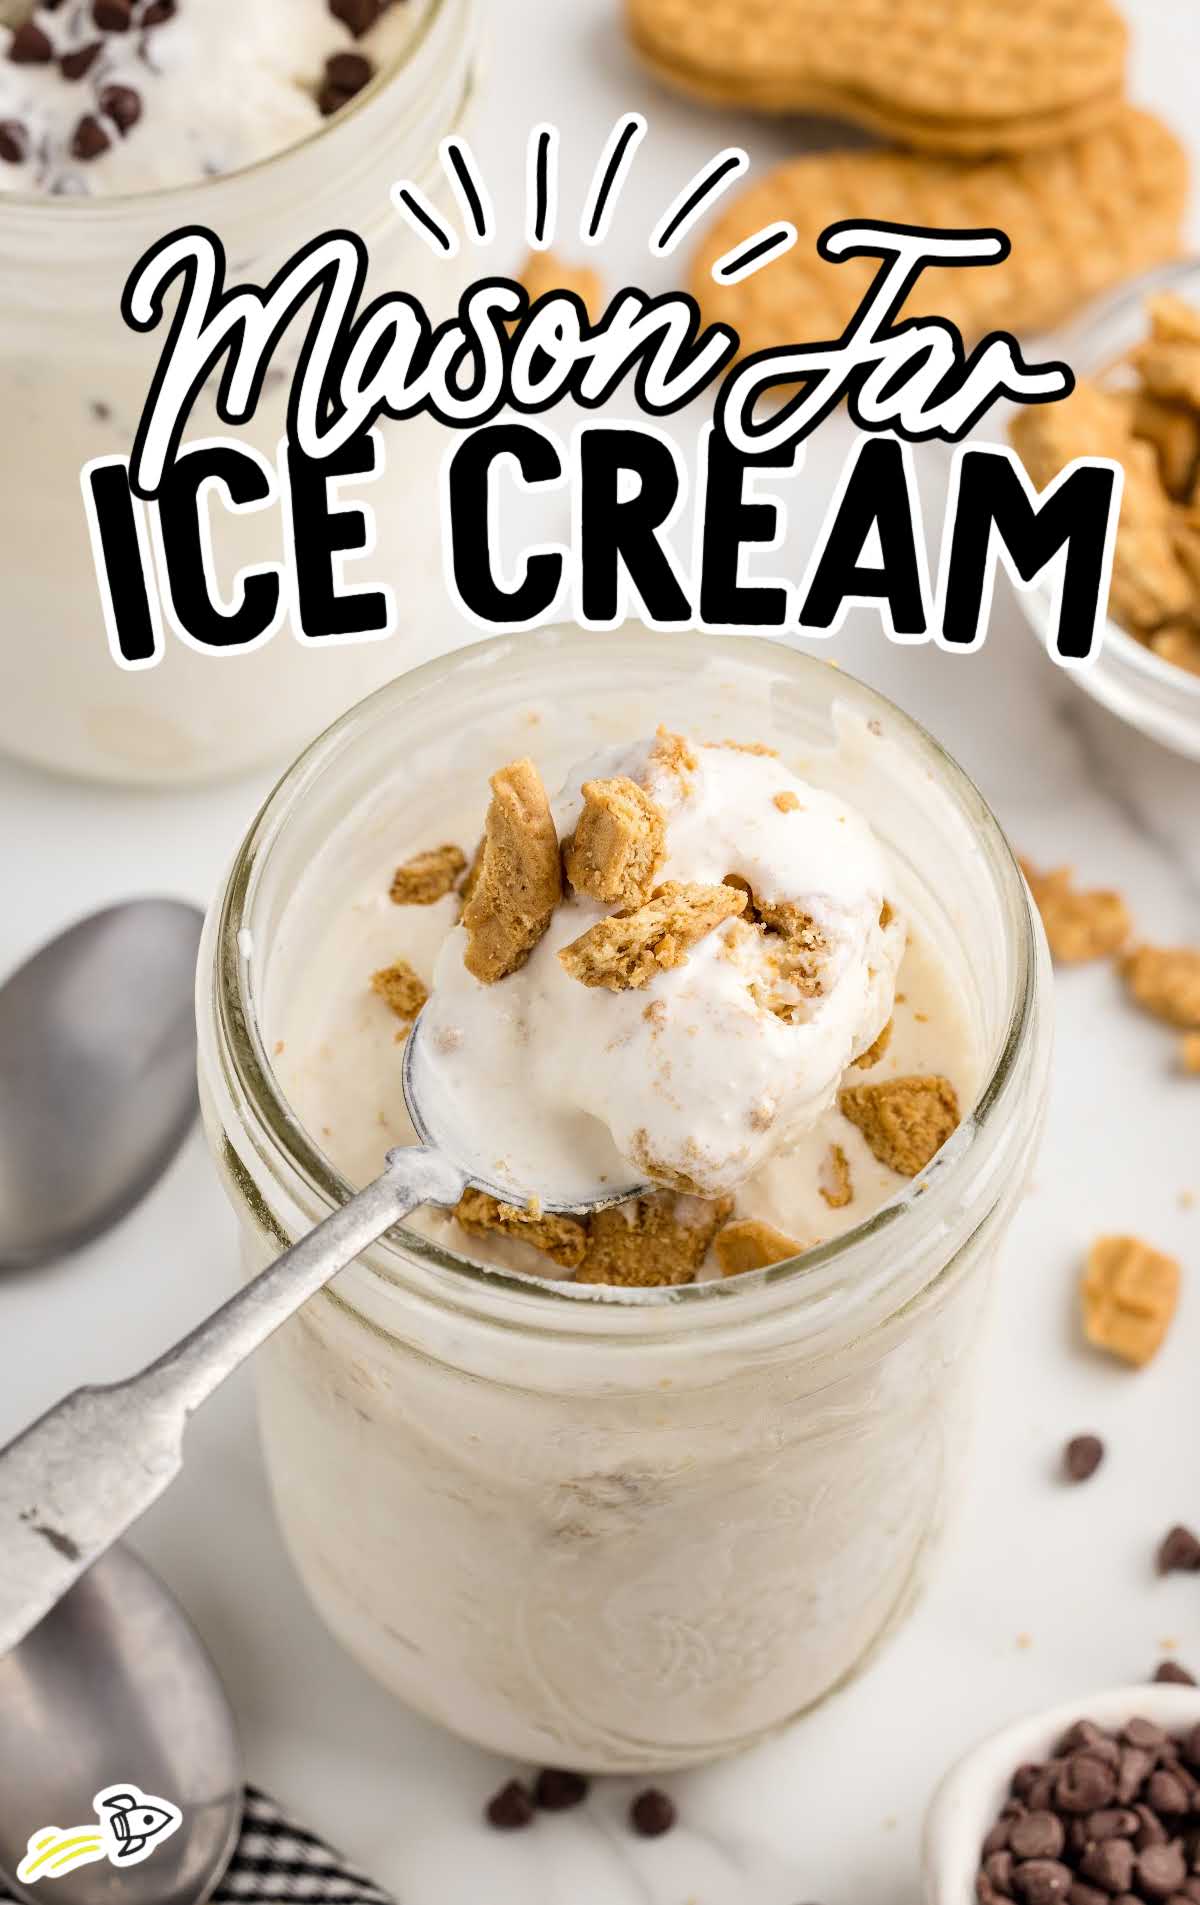
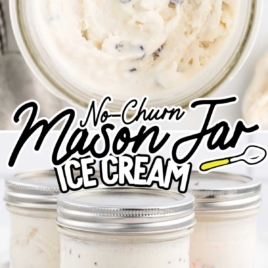
Mason Jar Ice Cream is a simple and fun dessert that kids (and adults!) love! With just 5 minutes of prep time and a few hours in the freezer, you can enjoy a creamy, homemade treat.
All you need to make this Mason Jar Ice Cream Recipe is cold heavy cream, granulated sugar, pure vanilla extract, and a pinch of salt.
The best part? You don’t need an ice cream maker. Just shake the jar until the mixture thickens, freeze it, and add your favorite toppings like crushed cookies or mini chocolate chips.
It’s a perfect way to make homemade ice cream without any fuss, ideal for a quick dessert or a fun project with the kids.
Mason Jar Ice Cream Ingredients
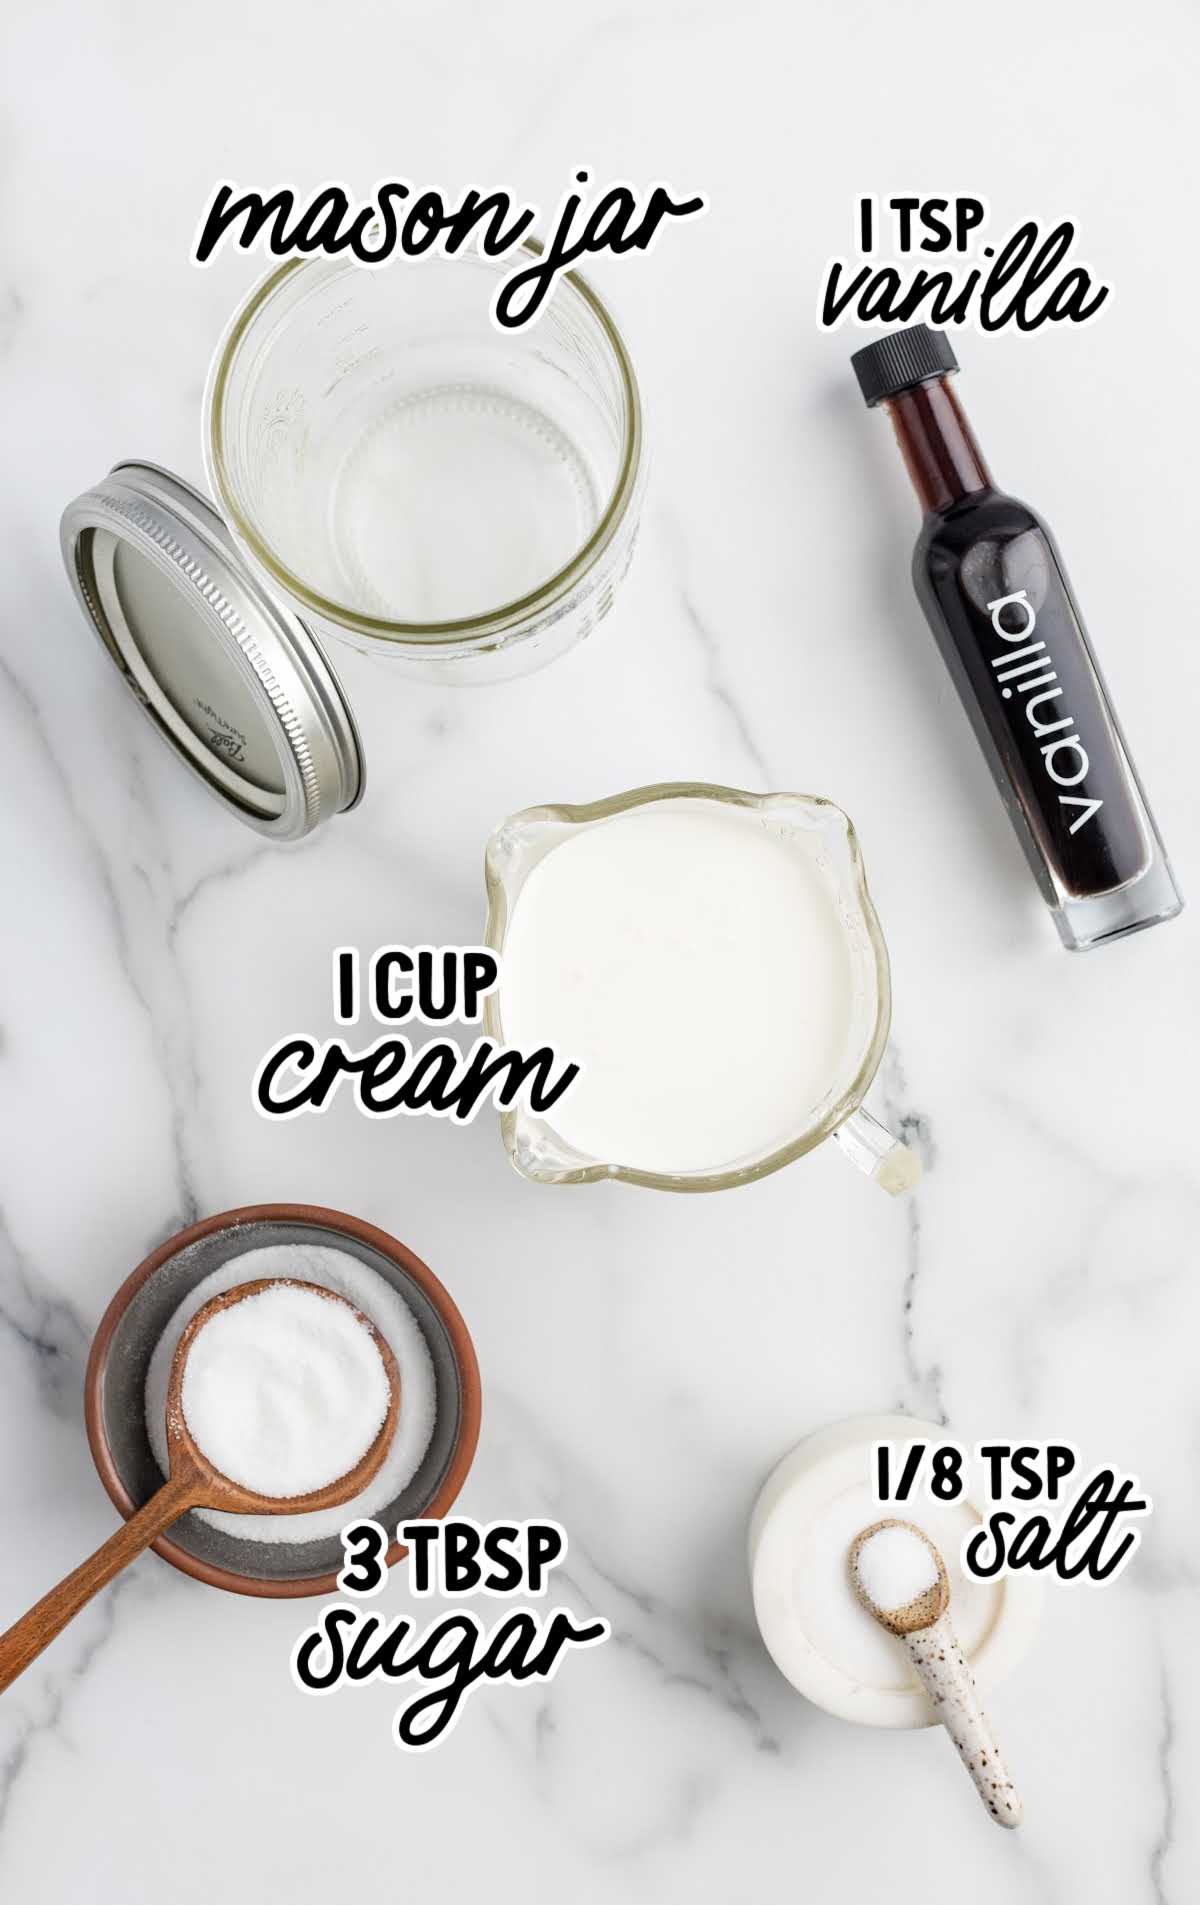
Making Mason Jar Ice Cream is simple and fun. It only requires a handful of ingredients, most of which you probably already have at home.
You’ll Need:
- 1 cup of heavy cream, very cold
- 3 tablespoons granulated sugar
- 1 teaspoon pure vanilla extract
- ⅛ teaspoon table salt
- Optional add-ins: crushed Oreos, strawberry sundae topping, chocolate syrup, crushed chocolate chip cookies, colorful sprinkles, mini chocolate chips, or any of your favorite ice cream toppings
Substitutions and Additions For Ice Cream In A Jar
This recipe is so easy to change up to make different flavors or add different mix-ins! Just substitute any of the basic ingredients to create your own favorite heavy cream ice cream flavors.
Heavy Cream: You can also use heavy whipping cream for a similar result.
Vanilla Extract: You can easily change up the flavor by adding to or replacing the vanilla in this recipe. Add mint extract, strawberry, coconut, or any other flavor you think sounds great!
Table Salt: Sea salt or kosher salt can be used in place of table salt. Just use slightly more to achieve the same balance.
Optional Add-ins: The sky’s the limit when it comes to mix-ins. Try adding nuts, fresh fruit, or even edible cookie dough chunks. Just remember to add these after the ice cream has partially set to keep them from sinking to the bottom.
Flavor Variations: The base ingredients in this recipe make simple vanilla ice cream, but it’s easy to change up the recipe. Here are some ideas for making different flavors of this easy DIY ice cream.
- Strawberry Ice Cream – Use strawberry extract and mix in some chopped fresh strawberries.
- Mint Chip – Use mint extract and mix in a handful of mini chocolate chips.
- Cookies and Cream – Use the original recipe and mix in crushed Oreo cookies.
- Chocolate Fudge Ripple – Allow the original recipe to freeze for 1.5 hours, then use a knife to swirl in thick chocolate sauce.
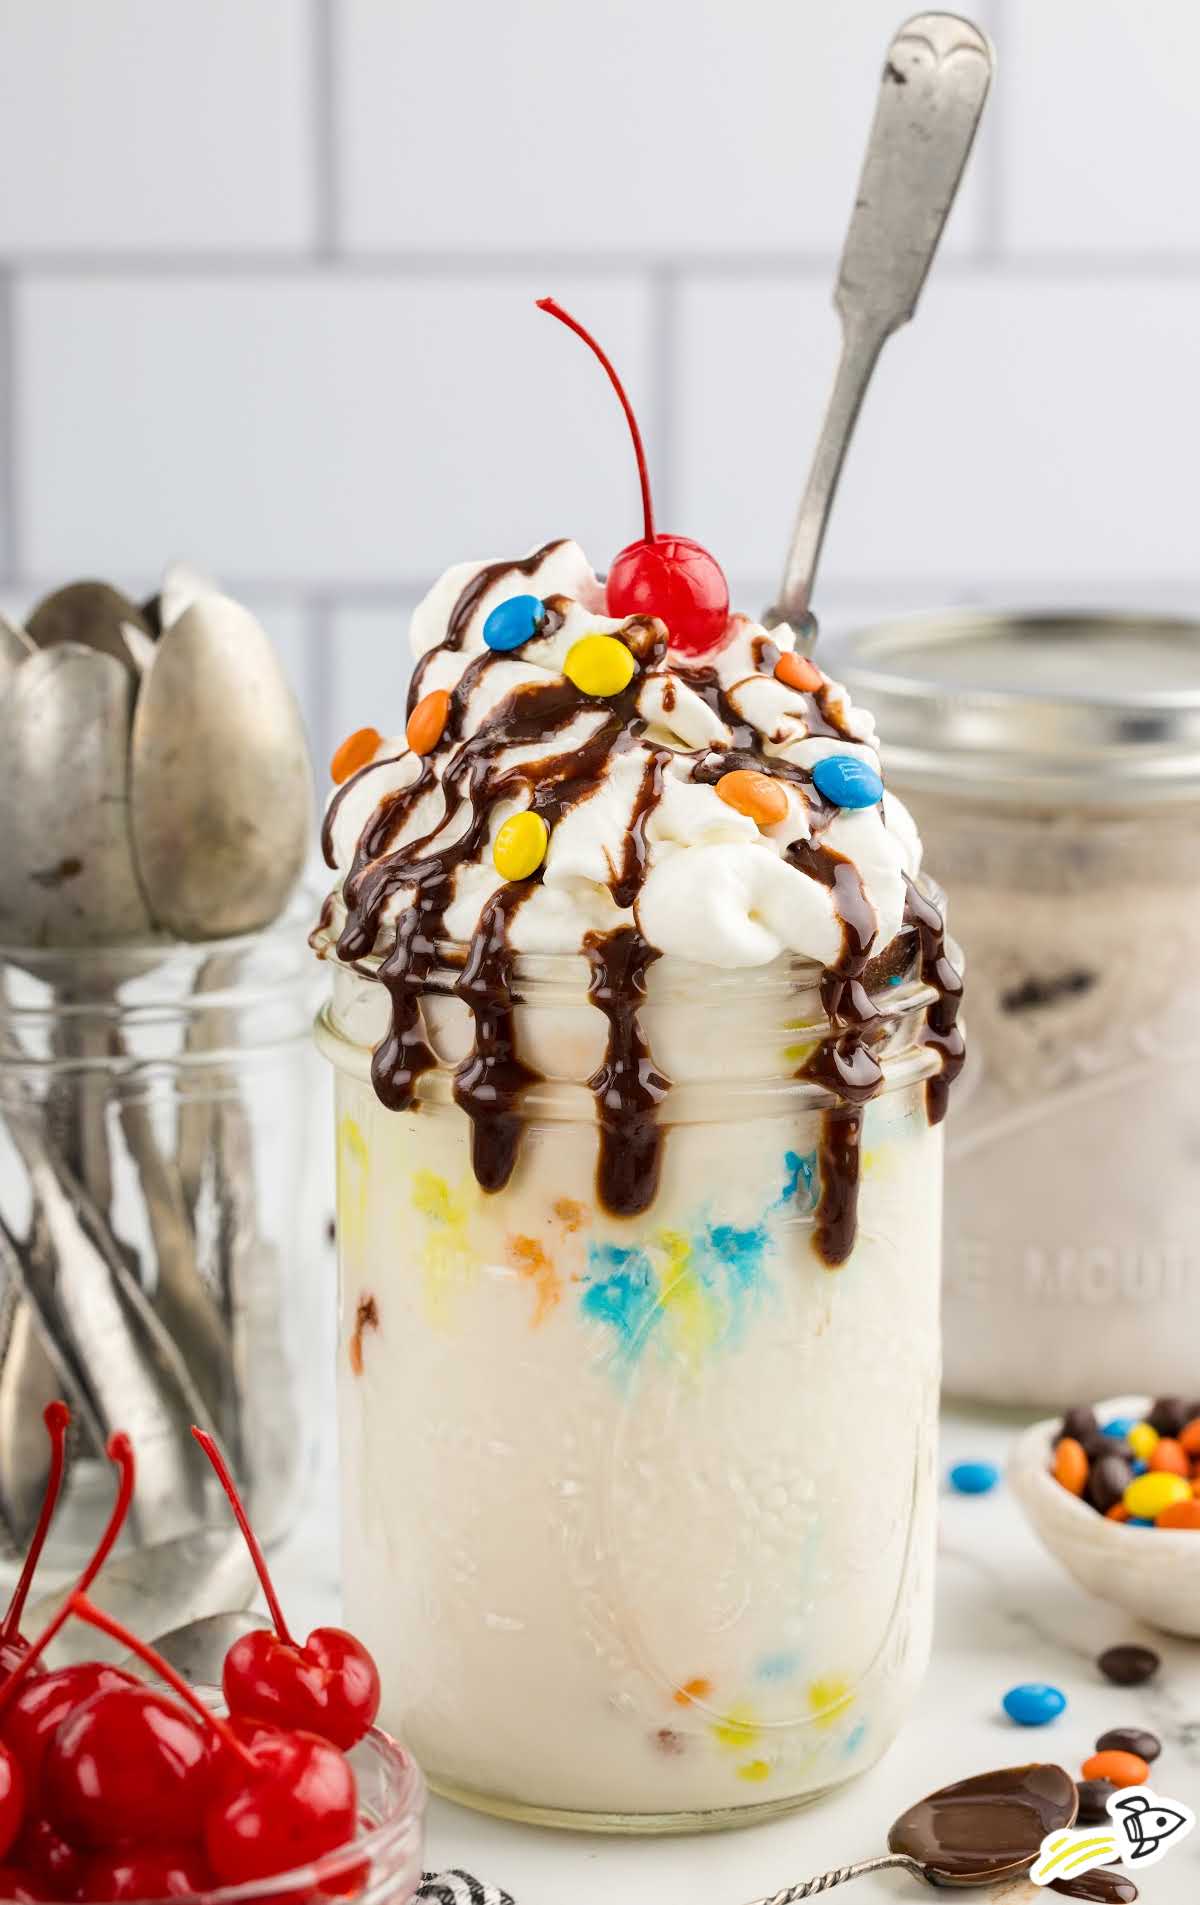
- Ice Cream Sundae – Mix in chopped bananas, maraschino cherries, and chocolate sauce for a fun sundae surprise.
- Chocolate Ice Cream – Add 2 tablespoons of unsweetened cocoa powder to the recipe before shaking. If your ice cream mixture needs more sweetness, add another 1-2 tablespoons of sugar.
How To Make This Mason Jar Ice Cream Recipe
Making Mason Jar Ice Cream is a fun and easy way to enjoy homemade ice cream without needing an ice cream machine. With just a few minutes of prep time and a few hours in the freezer, you’ll have a delicious treat ready to enjoy.
Here’s a detailed, step-by-step guide to help you through the process.
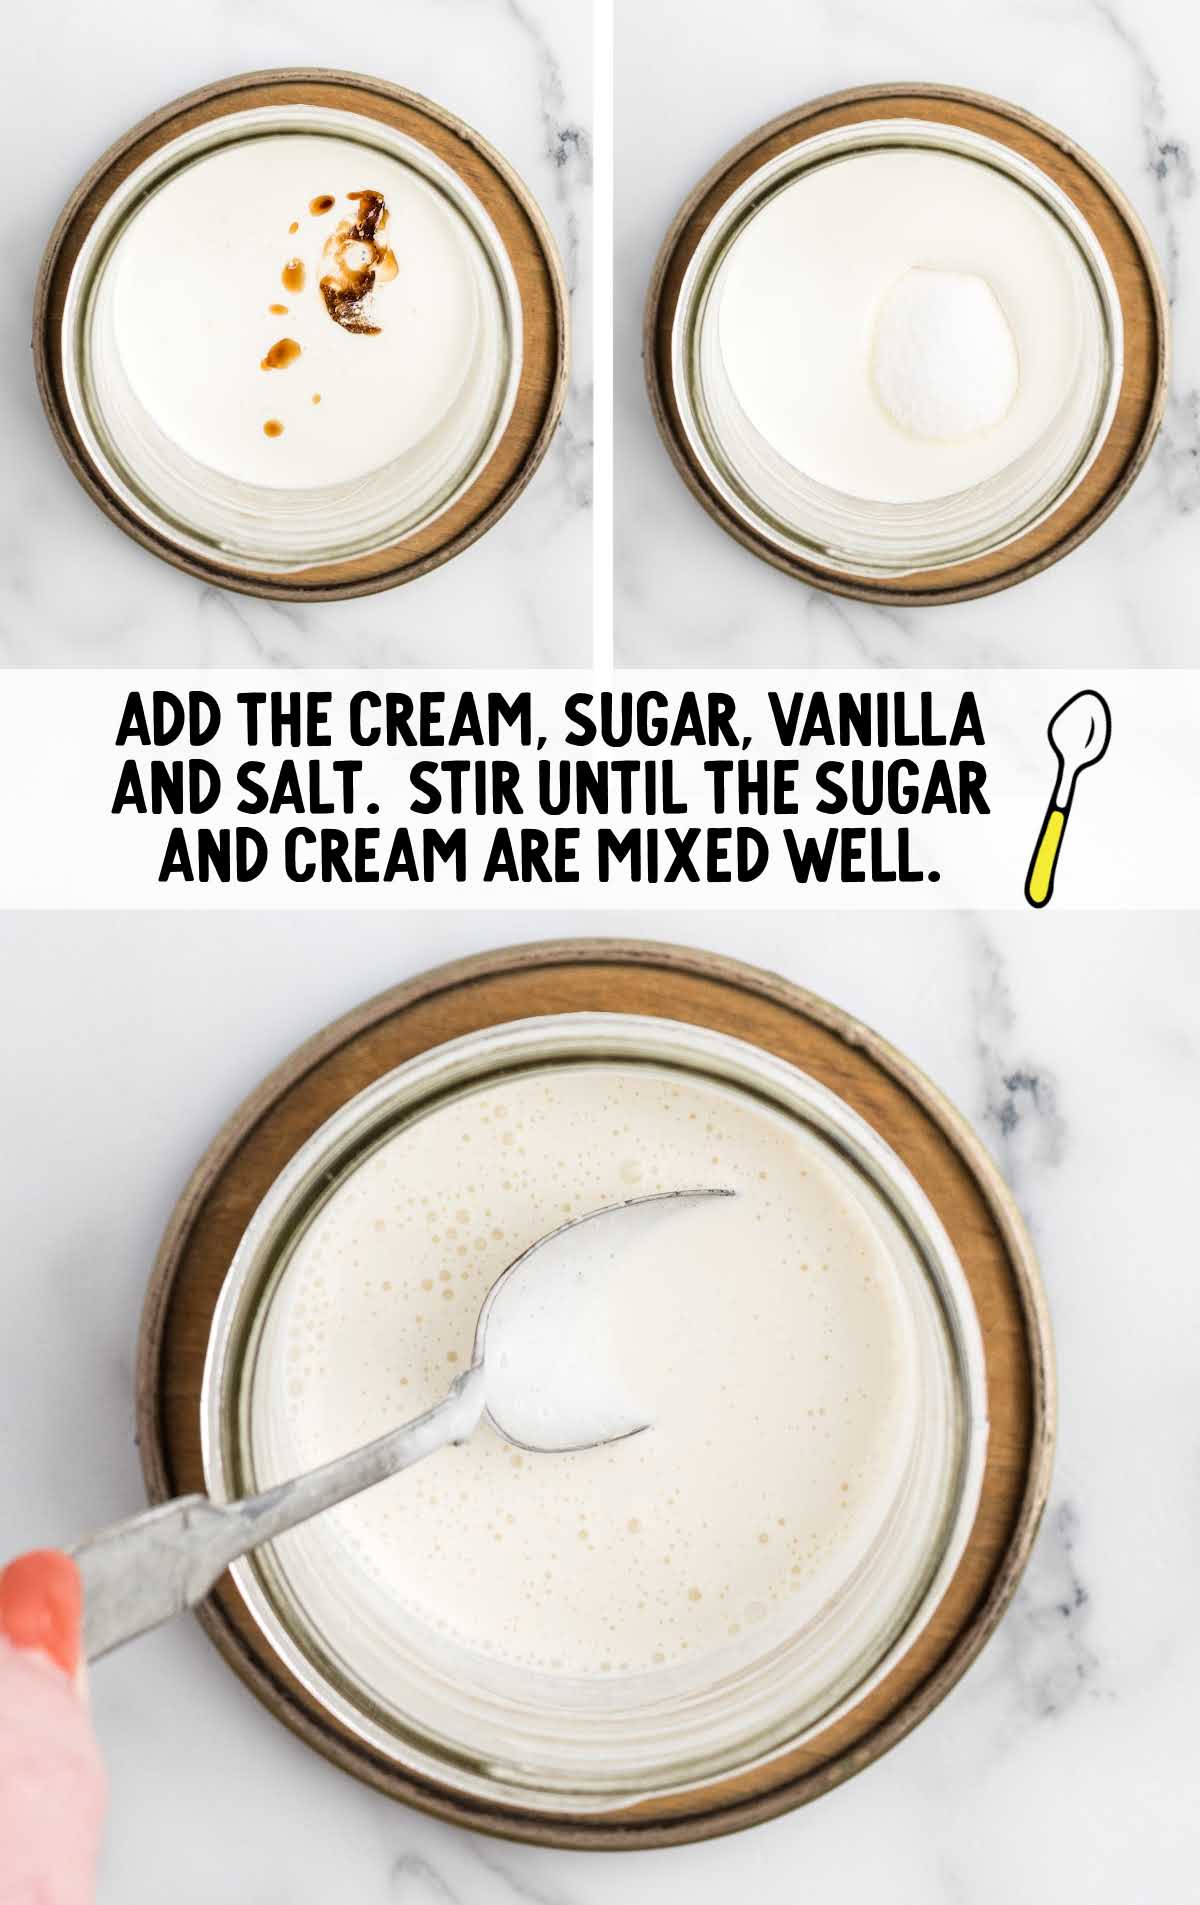
STEP ONE: Add the cold heavy cream, granulated sugar, vanilla extract, and table salt to a pint-sized Mason jar. Use a small spoon to stir the mixture until the sugar is fully dissolved. You’ll know it’s ready when you can no longer hear the sugar scraping against the bottom of the jar.
PRO TIP: It’s critical that your cream is very cold, otherwise, it won’t thicken appropriately.
STEP TWO: Place the lid securely on the Mason jar. Shake the jar vigorously for about 4-5 minutes. This helps the mixture thicken and incorporates air, which will give your ice cream a nice, creamy texture.
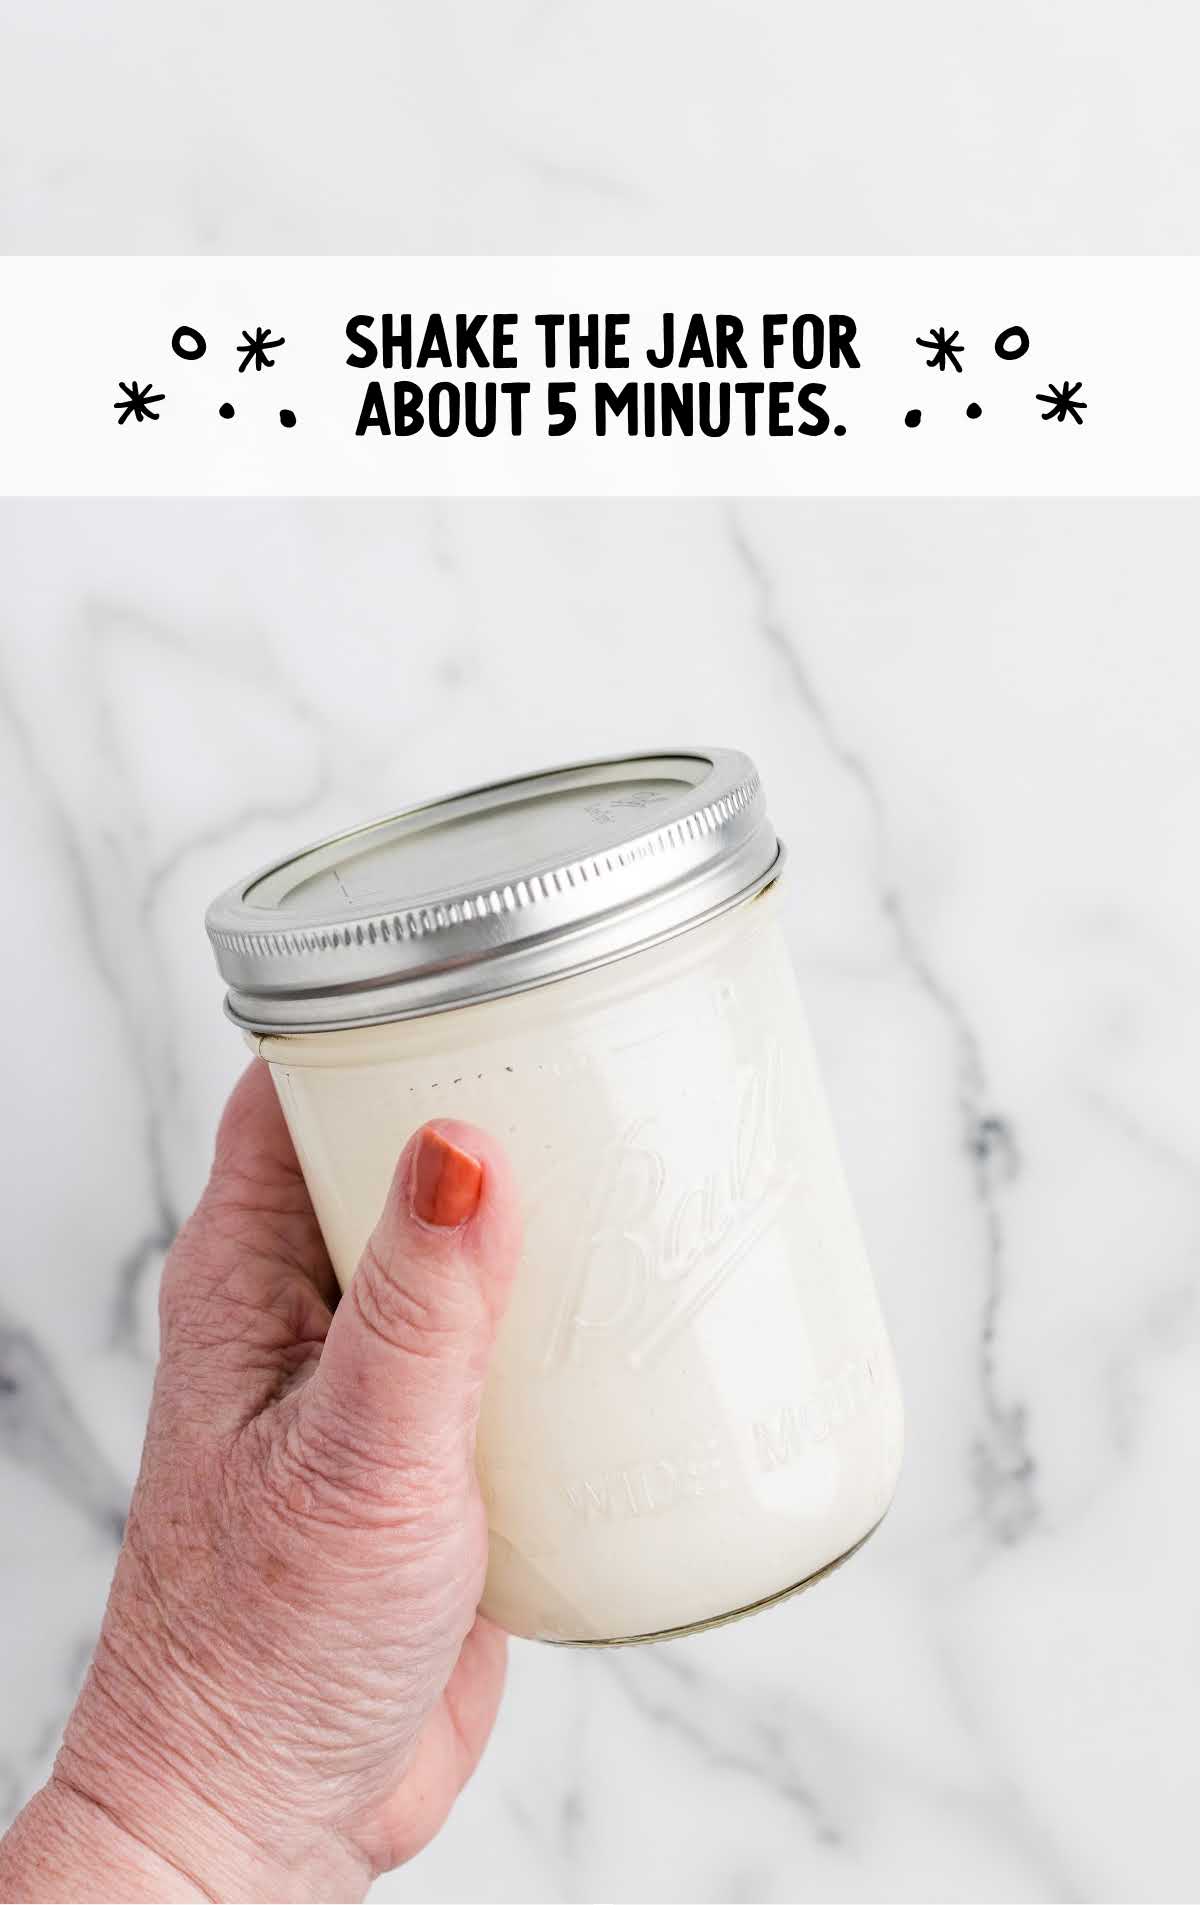
PRO TIP: You’ll feel the mixture become heavier and thicker as you shake the jar.
STEP THREE: Put the Mason jar in the freezer for 3 hours. This initial freezing period is essential for setting the ice cream. Make sure the jar is placed upright to prevent any leaks.
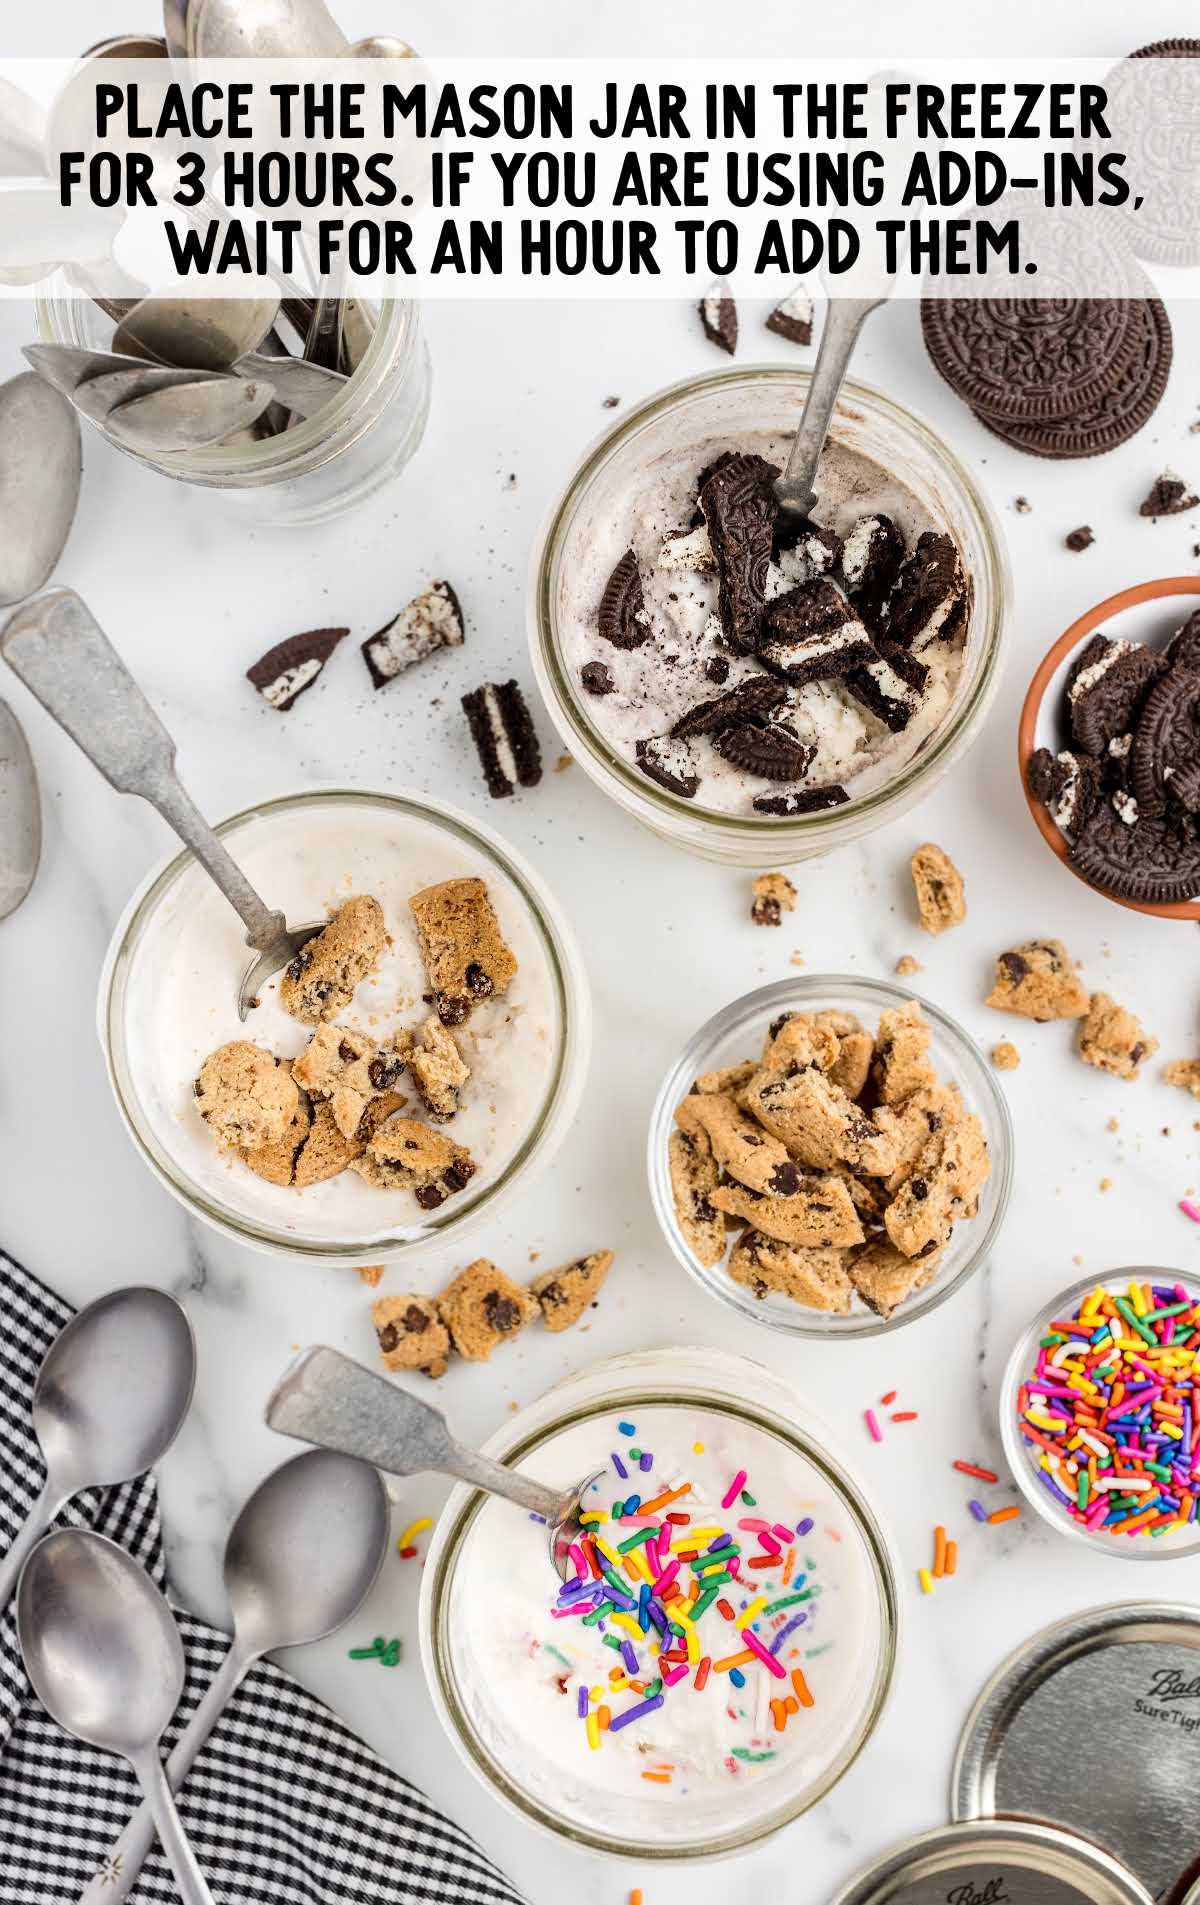
STEP FOUR: If you’re adding any mix-ins, wait for about 1 hour before removing the jar from the freezer. This prevents them from sinking to the bottom. Add your chosen mix-ins like sprinkles or mini chocolate chips, then stir them in with a spoon. Return the jar to the freezer to finish setting.
STEP FIVE: Allow the ice cream to freeze for the remaining 2 hours. Remove from the freezer and enjoy!
PRO TIP: If the ice cream is too hard to scoop, let it sit at room temperature for a few minutes before serving.
Troubleshooting
This simple recipe is easy to follow, but if you’re having trouble, here are some easy fixes:
The ice cream base isn’t thickening after shaking.
Make sure the heavy cream is very cold before you start shaking. Set it back in the fridge for 20-30 minutes, then try again. If it’s still not thickening, try shaking for an additional 2-3 minutes.
The sugar doesn’t fully dissolve in the cream.
Stir the mixture thoroughly with a spoon until you can’t hear or feel the granulated sugar at the bottom of the jar.
Add-ins sink to the bottom of the jar.
Add the mix-ins after the ice cream has been in the freezer for about an hour and is partially set. This will help keep the mix-ins evenly distributed.
The ice cream is too hard to scoop after freezing.
Let the jar sit at room temperature for a few minutes before scooping to soften the ice cream slightly.
The ice cream has a grainy texture.
Make sure the sugar is fully dissolved in the cream before shaking. You can also use powdered sugar for a smoother texture.
The lid pops off while shaking.
Ensure the lid is screwed on tightly before shaking. You can also wrap a towel around the lid to provide extra security.
The ice cream doesn’t set properly.
Double-check that your freezer is set to the correct temperature (0°F or -18°C) or below. Also, make sure the jar is placed upright in the freezer.
The jar leaks while shaking.
Check that the lid is properly sealed and not damaged. If leaks persist, try using a new lid or a different jar.
How To Serve Mason Jar Ice Cream
We think this treat is perfect for single servings and making at home with the kids. But you can also use this recipe to feed a crowd. Here’s how:
This recipe will make one pint-sized serving of ice cream. You can easily double or triple the recipe to make plenty of jars of ice cream for your family or guests. I recommend making them one at a time so the cream stays really cold while you shake up the previous jar.
You can top your jar of ice cream with extra hot fudge or caramel sauce, add more sprinkles, or even a squirt of whipped cream!
You can also scoop the ice cream out of the jar and top it with your favorite toppings like more cookies, fresh fruit or fun sprinkles.
For a party, make a jar for each guest and create a sundae bar with toppings like crushed cookies, nuts, whipped cream, and cherries. Let everyone customize their own sundae for a fun and interactive dessert experience.
You can also use this ice cream as a topping for Ice Cream Bread, apple pie, chocolate fudge cake, or blackberry crumble.
This fun recipe is perfect for family desserts, movie nights, birthday parties, or sleepovers!
MORE ICE CREAM RECIPES
How To Store Homemade Mason Jar Ice Cream
Storing your Mason Jar Ice Cream properly will keep it fresh and delicious. Here are some tips on how to preserve this homemade treat.
MAKE AHEAD: Mason Jar Ice Cream can be made ahead of time. Simply follow the recipe and let it freeze for at least 3 hours. You can prepare it a day or two in advance and keep it in the freezer until you’re ready to serve. This makes it a convenient option for parties or gatherings.
IN THE FRIDGE: This ice cream will melt in the fridge and be more like a milkshake, so we recommend storing it in the freezer, instead.
IN THE FREEZER: Simply follow the recipe and let it freeze for at least 3 hours. You can prepare it a day or two in advance and keep it in the freezer until you’re ready to serve for best results, but leftovers can last for up to two weeks.
Why This Mason Jar Ice Cream Is The Best
There’s a lot to love about Mason Jar Ice Cream, and it’s not just because of how easy it is to make! Here are some reasons why this recipe has become one of our new favorite:
Simple and Quick: This recipe requires just a few ingredients and 5-minutes of prep time.
No Special Equipment Needed: No ice cream machine needed, just a jar and a bit of elbow grease!
Customizable Flavors: The base recipe is vanilla, but you can easily change the flavor by adding different extracts or mix-ins. The possibilities are endless!
Fun Activity for Kids – Making Mason Jar Ice Cream is a fun and interactive activity that kids can enjoy!
Frequently Asked Questions
A pint-sized Mason jar is ideal for this recipe. If you prefer smaller portions, you can use half-pint jars and adjust the ingredients accordingly.
Yes, shaking helps to incorporate air and thicken the mixture, giving the ice cream a creamy texture.
Be sure the heavy cream is very cold before shaking. If needed, shake for an additional 2-3 minutes.
Let the jar sit at room temperature for 5-10 minutes to soften before scooping.
You can store it in the freezer for up to 2 weeks. Make sure the lid is tightly sealed.
It’s best to add mix-ins after about 1 hour in the freezer to prevent them from sinking to the bottom.
The prep time is about 5 minutes, and it needs to freeze for at least 3 hours.
You can use heavy whipping cream instead if you prefer.
Easy Mason Jar Ice Cream is a quick, fun way to enjoy homemade ice cream, served up in small batches. It’s perfect for customizing flavors and a great activity to do with kids.
No Churn Ice Cream Recipes You’ll Love
- Peach Ice Cream
- Pumpkin Ice Cream
- Kool-Aid Ice Cream
- Birthday Cake Ice Cream
- No Churn Vanilla Ice Cream

Mason Jar Ice Cream
Ingredients
- 1 cup cold heavy cream
- 3 tablespoons granulated sugar
- 1 teaspoon pure vanilla extract
- ⅛ teaspoon table salt
Optional Add-Ins
- crushed Oreos
- chocolate syrup
- crushed chocolate chip cookies
- colorful sprinkles
- mini chocolate chips
- strawberry sundae topping
Instructions
- Add the cold heavy cream, granulated sugar, vanilla and salt. Use a small spoon to stir until the sugar and heavy cream are mixed well and you can barely hear the sugar on the bottom of the mason jar. (It is very important that the heavy cream is cold to achieve the desired thickness)
- Place the lid firmly and securely on the mason jar. Shake the jar for about 5 minutes, until the ice cream base has thickened. (This will help reduce any possible spills)
- Place the mason jar in the freezer for 3 hours. If you are using any of the add-ins, especially the sprinkles and mini chocolate chips, wait for about 1 hour before you remove the lid and add the add-ins. In my experience the sprinkles and mini chocolate chips tend to sink to the bottom. Waiting until the ice cream begins to set will help keep the add-ins from sinking to the bottom. Use a spoon to stir in the add-ins. Return the jars to the freezer.
- Once the ice cream is solidly set, remove the jar from the freezer and enjoy.
Notes
- It’s critical that your cream is very cold, otherwise, it won’t thicken appropriately.
- To know if you’ve shaken the mixture long enough, you’ll feel the mixture become heavier and thicker as you shake the jar.
- If the ice cream is too hard to scoop, let it sit at room temperature for a few minutes before serving.
Nutrition
Even More Recipes You’ll Love
Dessert Recipes
- Chocolate Raspberry Cheesecake Delight
- Hershey Pie
- Strawberry Trifle
- French Silk Brownies
- Million Dollar Dip
- Butterscotch Brownies
- Mini Cupcakes
- Gingerbread Kiss Cookies
- Brownie Muffins
- Butterfinger Fudge
- Mini Mint Cheesecake
- 7 Minute Frosting
- Cranberry Jello Salad
- Candied Carrots
- Reese’s Peanut Butter Cup Pie
White Chocolate Dessert Recipes
- White Chocolate Brownies
- White Chocolate and Raspberry Muffins
- White Chocolate and Raspberry Blondies
- White Chocolate Haystacks
Cake Recipes
- White Chocolate Raspberry Cake
- Chocolate Fudge Cake
- Chocolate Peanut Butter Cake
- Italian Lemon Cake
- Limoncello Cake
- Orange Cranberry Cake
- Shirley Temple Cake
- Hummingbird Cake
Dinner Recipes
- Smothered Meatballs
- Kielbasa and Potato Casserole
- 3 Ingredient Satay Sauce
- Mexican Lasagna
- 3 Ingredient Stir Fry Sauce
- Stuffed Pork Chops
- Sheet Pan Quesadillas
- American Chop Suey
- Hamburger Hash Brown Casserole
- Crock Pot Chili
- Meatball Casserole
Appetizer Recipes
- Homemade Soft Pretzels
- Dill Pickle Cheese Ball
- Frizzled Onions
- Party Sub
- Chick Fil A Mac And Cheese Recipe
- Bundt Pan Nachos
- Baked Potato Skins
- Cabbage Rolls
- Football Cheese Ball
Chicken Dinner Recipes
- Copycat Chick Fil A Nuggets
- Chicken Potato Casserole
- Buffalo Chicken Mac and Cheese
- Chicken Pot Pie Noodles
- Smothered Chicken
- Chicken Cheesesteak
- Chinese Chicken Salad
- Chicken Tetrazzini
- Crockpot Orange Chicken
- Oven Baked Chicken
- Crockpot Crack Chicken
- Coconut Lime Chicken
- Cheese Stuffed Chicken Breasts
Slider Recipes
Soup Recipes
- Lasagna Soup Recipe
- Chicken Noodle Soup
- Minestrone Soup
- Cabbage Soup
- Beer Cheese Soup
- Crack Chicken Noodle Soup
- Chicken and Rice Soup


Leave a Comment