
If you have made homemade Cool Whip before and watched it go soft by morning, you already know the problem. The recipe looked right, the texture felt right, and by the next day the layered dessert you made was a puddle.
It’s not anything you’re doing wrong. The top-ranking recipe for this search says in its own notes that the homemade version will get runny as it sits. Most recipes you find are just whipped cream with a different label. They look and taste like Cool Whip for about an hour. After that, they don’t hold.
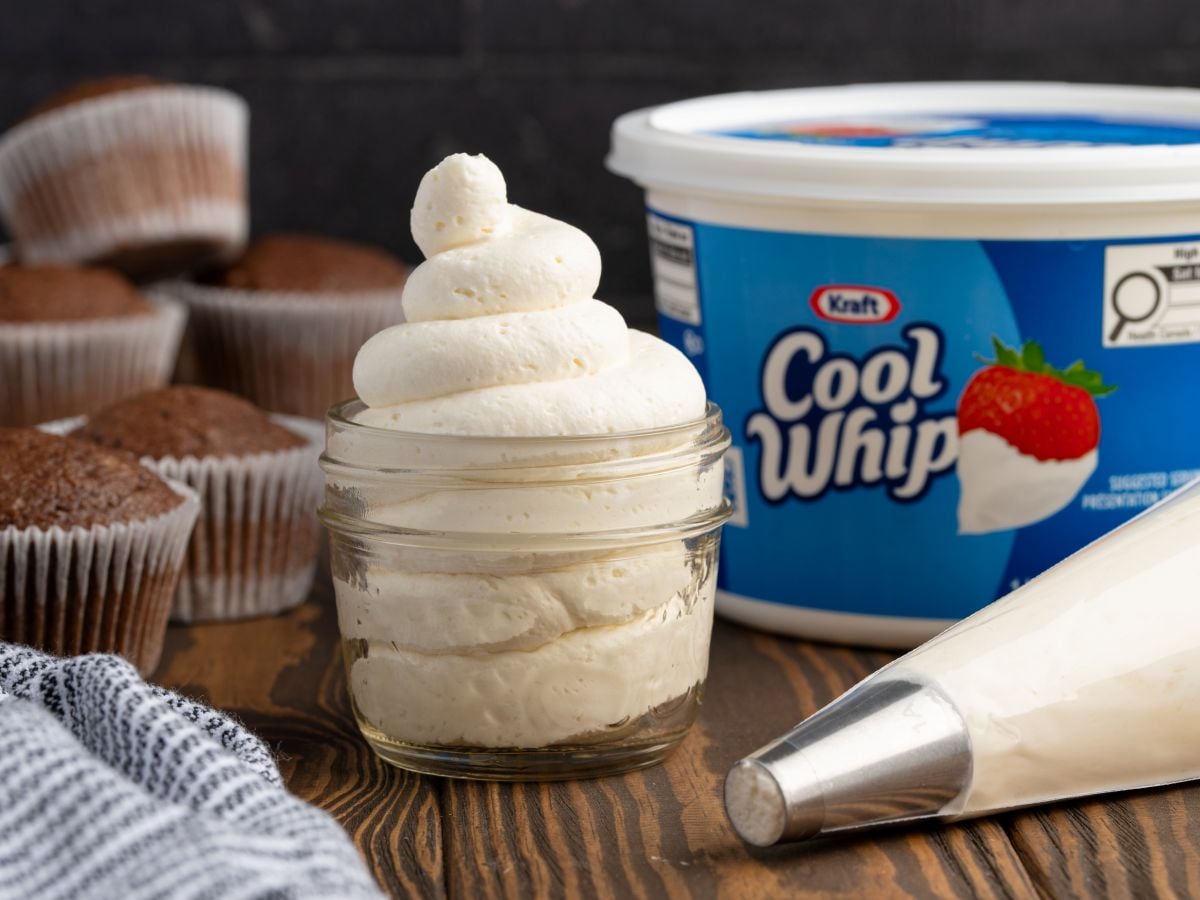
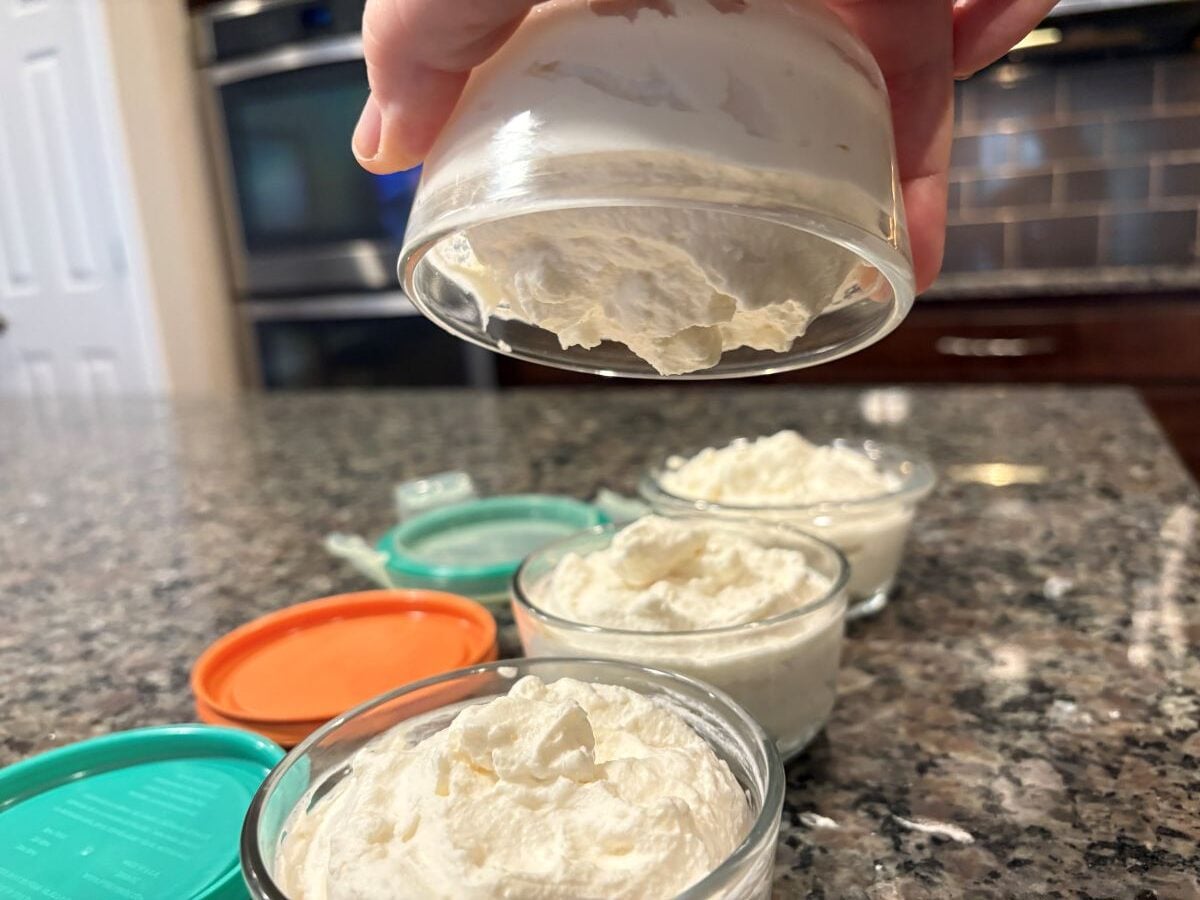
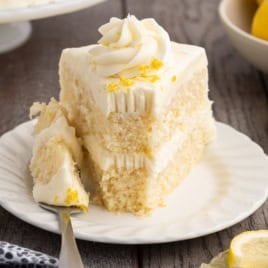
Not this one. It holds its shape. It also makes three cups, the equivalent of one standard 8 oz tub, and is stable for three days in the refrigerator.
Read This Before You Start
- Chill your mixing bowl and whisk attachment in the refrigerator before you begin. Warm equipment is the most common reason heavy cream will not whip to stiff peaks.
- You don’t want a delay between the cream reaching stiff peaks and when you use it. The gelatin begins setting as it cools.
- Plan ahead: After you’ve used it (whether as a Cool Whip substitute in a dessert or piped on a cupcake), refrigerate for at least 2 hours. The cream will look set right after mixing but the structure continues to firm as it chills. Serving too soon means it will not hold the way it should.
Ingredient Notes
Choose heavy cream or heavy whipping cream. The two are interchangeable in the US and both have enough fat to whip properly. Do not substitute heavy cream with regular whipping cream, half and half, or whole milk when making your own Cool Whip. The fat content is what gives this structure.
Gelatin must be unflavored. Flavored gelatin is essentially Jello and will taste like it. One note: do not add more gelatin than the recipe calls for. More gelatin does not mean more stability, it means a gummy texture and an off flavor.
Use powdered sugar, not granulated. Granulated sugar will not dissolve fully and leaves a gritty texture in the finished cream.
Cool Whip has a faint vanilla sweetness that’s hard to replicate exactly. A half teaspoon of vanilla extract gets close. If you want a neutral cream that disappears into the dessert, leave it out. Avoid imitation vanilla, it tastes artificial in this recipe.
Don’t Miss This Step
Almost every time a homemade Cool Whip recipe fails, it comes back to how the gelatin was heated. Most recipes use the microwave. That’s where things go wrong. The heat is uneven, and a few extra seconds is all it takes to ruin it.
This method uses gentle heat instead. In 5 to 7 seconds over a pot of simmering water, the gelatin turns completely clear and fluid, like weak tea. That’s the moment it’s ready. As soon as you can see through it, take it off the heat and use it right away while it’s still fully fluid.
Recipe Testing Notes – Last Updated April 2026
This recipe was originally published in October 2012 and retested by my independent recipe tester, Angela, in May 2025 and again in April 2026.
What we tested
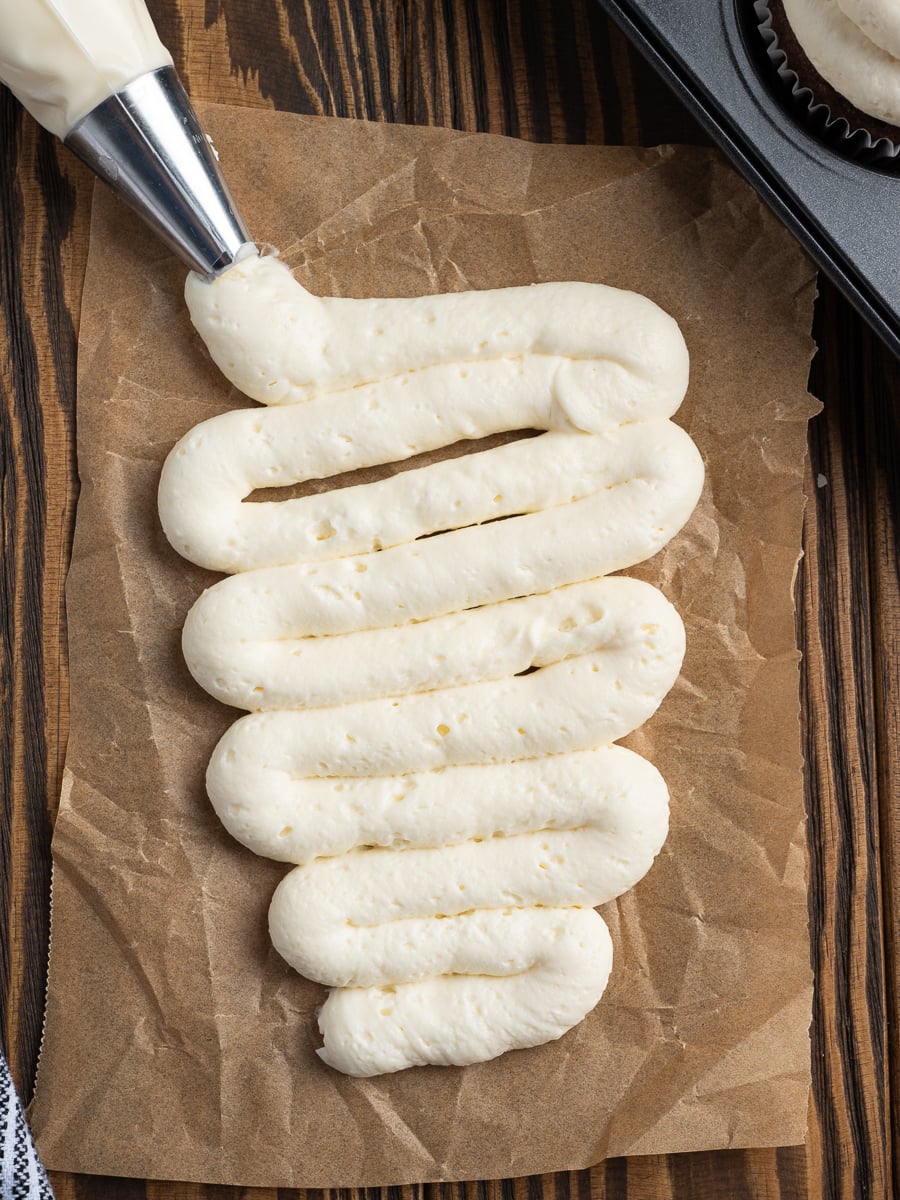
Angela used it as a full replacement for store-bought Cool Whip across multiple uses. She frosted cupcakes and held them upside down. The cream stayed in place.
When cut, the structure held cleanly inside. She also used it in no-bake desserts and checked them the next day. The layers held without thinning or breaking down.
What we confirmed
The unflavored gelatin provides structure without affecting the taste. There was no detectable change in flavor compared to a standard whipped topping.
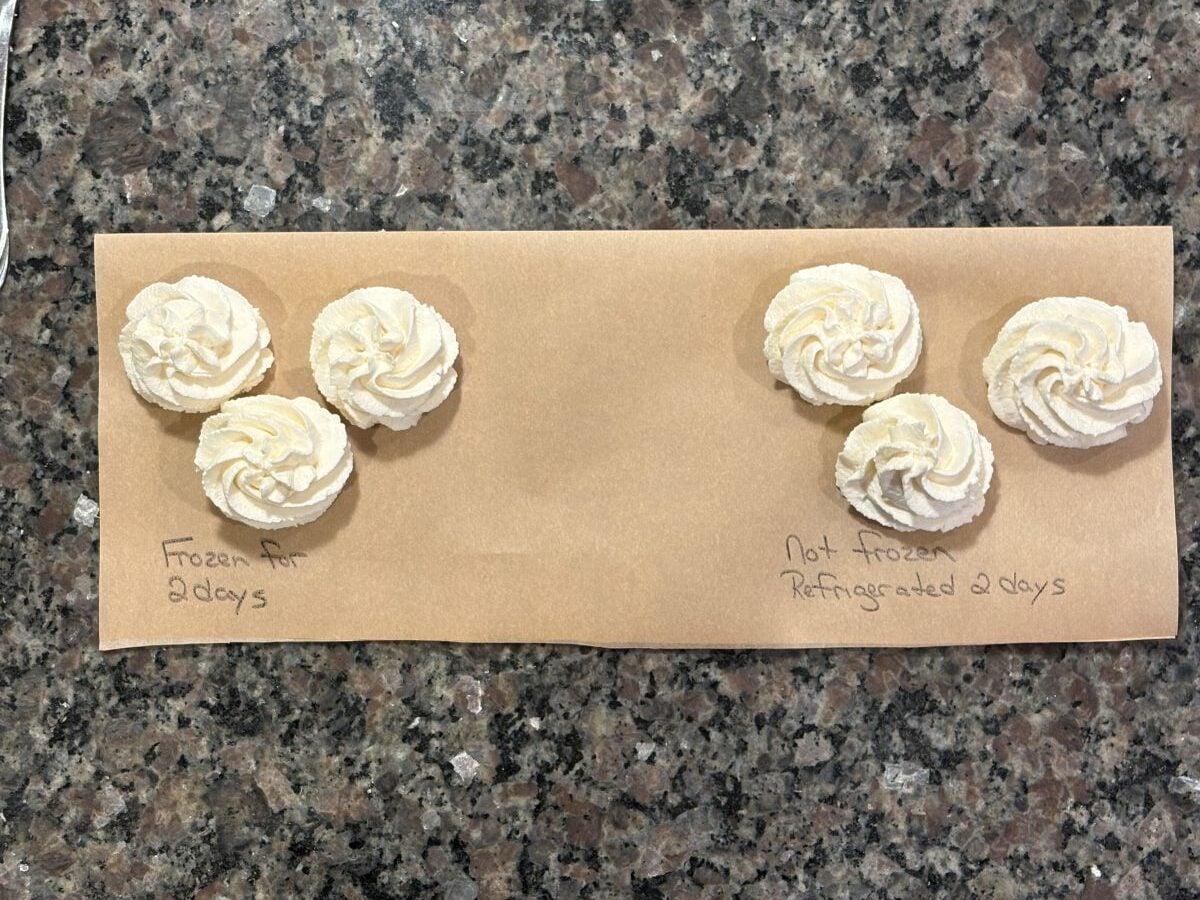
Freezer test (April 2026)
A portion was frozen to test how it behaves compared to store-bought Cool Whip. At 2 days, the texture and flavor matched the refrigerated version. Longer freeze testing is still in progress.
What This Replaces
The first is as a frosting. It pipes cleanly, holds its shape on cupcakes for days in the refrigerator, and is not sweet the way buttercream is.

The second is as a direct Cool Whip substitute in no-bake desserts. It folds into pudding layers, lush desserts, and Jello pie the way a tub of Cool Whip does:
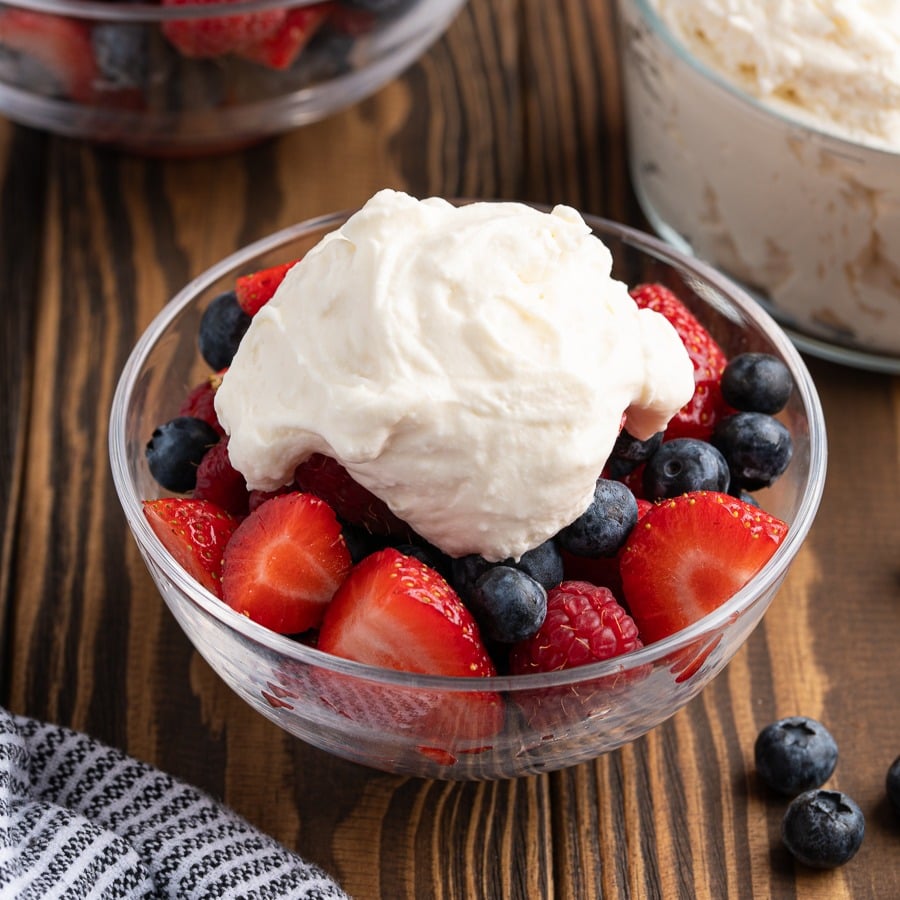
- I use it in pineapple delight and strawberry eclair cake in place of the Cool Whip the recipe calls for. It holds overnight and gives the dessert the right texture rather than going watery by morning.
- I add a dollop on top of a slice of custard pie or before serving.
- This makes a delicious, simple dip to serve with a fresh bowl of cut fruit.
Frequently Asked Questions
Homemade Cool Whip is not dairy-free. Store-bought Cool Whip is made with hydrogenated vegetable oil and is technically non-dairy, which is why some people prefer it. This recipe uses heavy cream and is not a substitute for anyone avoiding dairy.
Yes. A hand mixer works exactly the same way. Use a bowl with high sides — the cream splashes when you first start mixing. It may take a minute or two longer to reach stiff peaks, but the result is the same.
No. It is designed for chilled and refrigerated uses. Heat will break the structure and it will lose its hold.
Yes. The recipe scales down proportionally and the gelatin ratio holds at half the amount. If you need a smaller batch, halve every ingredient including the gelatin and the tempering cream. A full batch makes 3 cups, so a half batch gives you approximately 1½ cups.
Yes, but with one caution. When doubling, the gelatin mixture is larger and takes longer to cool, which makes the temperature window harder to judge before it goes into the cream. Watch it closely and make sure it is fully fluid before adding it. If it starts to thicken or set in the bowl before you get it into the mixer, put it back over the simmering water for a few seconds to bring it back to fluid, then let it cool again before continuing.
Up to two hours. This is a dairy-based recipe and standard food safety guidelines apply. If you are serving it at a party or potluck, keep it refrigerated until you are ready to use it and return any leftovers to the refrigerator within two hours.
Light but sturdy enough to hold its shape, this is the one I use when I need whipped cream that won’t fall apart. I keep it alongside more dependable choices in my easy frosting and icing recipes.

Homemade Cool Whip
Ingredients
- 2 ¼ tablespoons cold water
- 1 ½ teaspoons unflavored gelatin
- 1 ½ cups heavy whipping cream
- 6 tablespoons powdered sugar
- 1 ½ teaspoons vanilla extract
- 1 ½ teaspoons heavy whipping cream
Instructions
- Chill a large mixing bowl and the whisk attachment in the fridge.
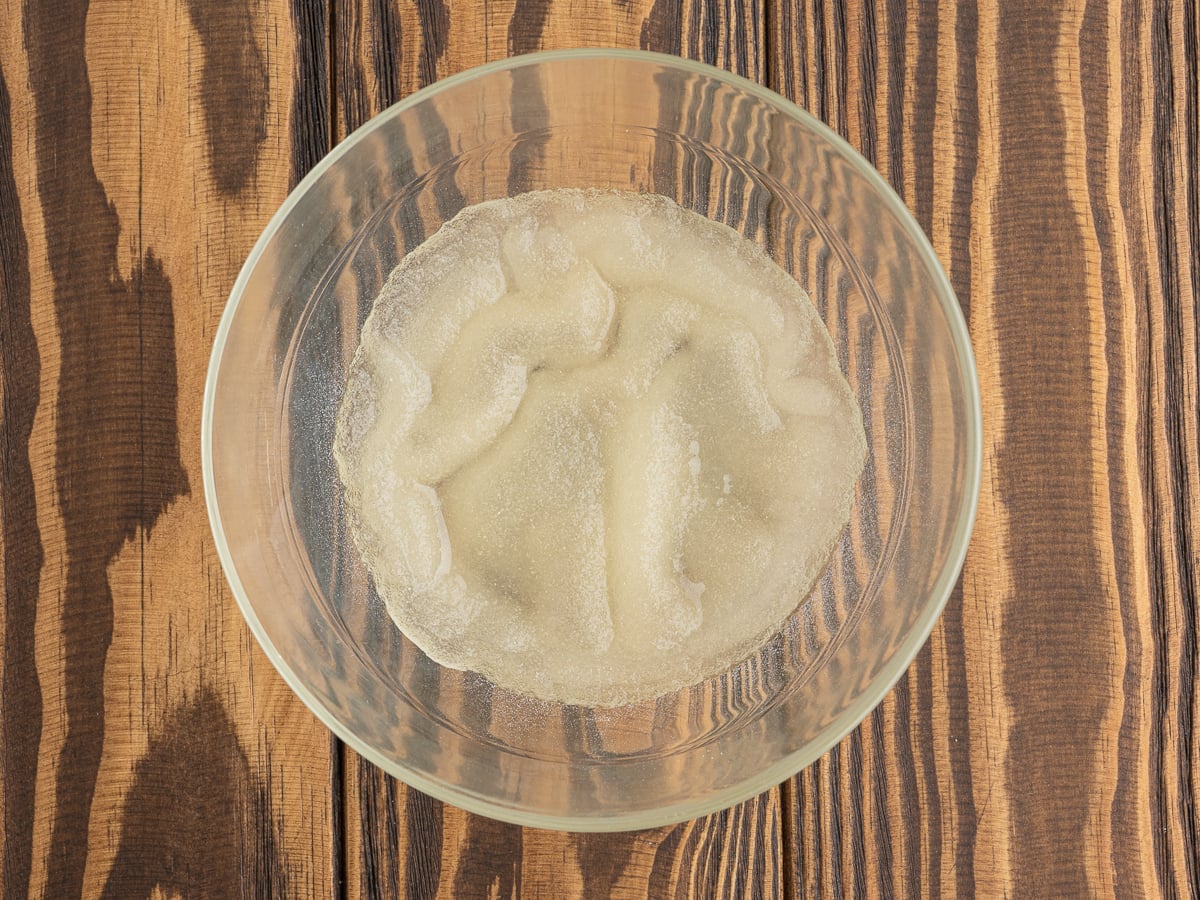
- Add water to a heat-safe bowl.
- Sprinkle the unflavored gelatin on top. Let it sit for a few minutes.
- Place this bowl over a simmering pan of water until the gelatin is fully dissolved. It only takes 5-7 seconds.
- Stir the mixture and set it aside to cool.
- Remove your bowl and whisk attachment from the refrigerator.
- Combine the 1 ½ cups of heavy whipping cream, powdered sugar and vanilla in the bowl.
- Whip the mixture building up to a high speed until it thickens and soft peaks form.

- Stir the 1 ½ teaspoons of heavy cream into the gelatin mixture.
- Turn the mixer to low.
- Slowly pour the gelatin mixture into the whipped cream and mix until well combined.
- Increase the mixer to medium speed and mix until stiff peaks form.
Notes
- You should pop your bowl and beaters in the fridge or freezer about 10 minutes before you’re ready to make this recipe. Using a cold bowl and attachments will make your whipped cream thicken faster and produce a better end result.
- If you have accidentally over-whipped, add in a few tablespoons of fresh cream and mix by hand with a wire whisk. If it’s greasy or lumpy, it is not salvageable, and you’ll need to start over.
Nutrition


Comments
Layne Kangas says
I love this, it’s perfect for just about any dessert and so easy to make! PLUS, it’s delicious enough I could eat with a spoon by itself, haha!
Gloria says
My family loves this!
Norman says
Fabulous, cheesecake is my favourite dessert, my mother kicked everyone out on Sundays when she baked bread, cooked pies cakes and cookies, enough to last the week. My memories of growing up on a dairy farm in the fifties as a very young child are priceless
Genevieve Beise says
This is the best stabilized whipped cream recipe I’ve found. This recipe give you wonderful smooth stable whipped cream. Thank you