


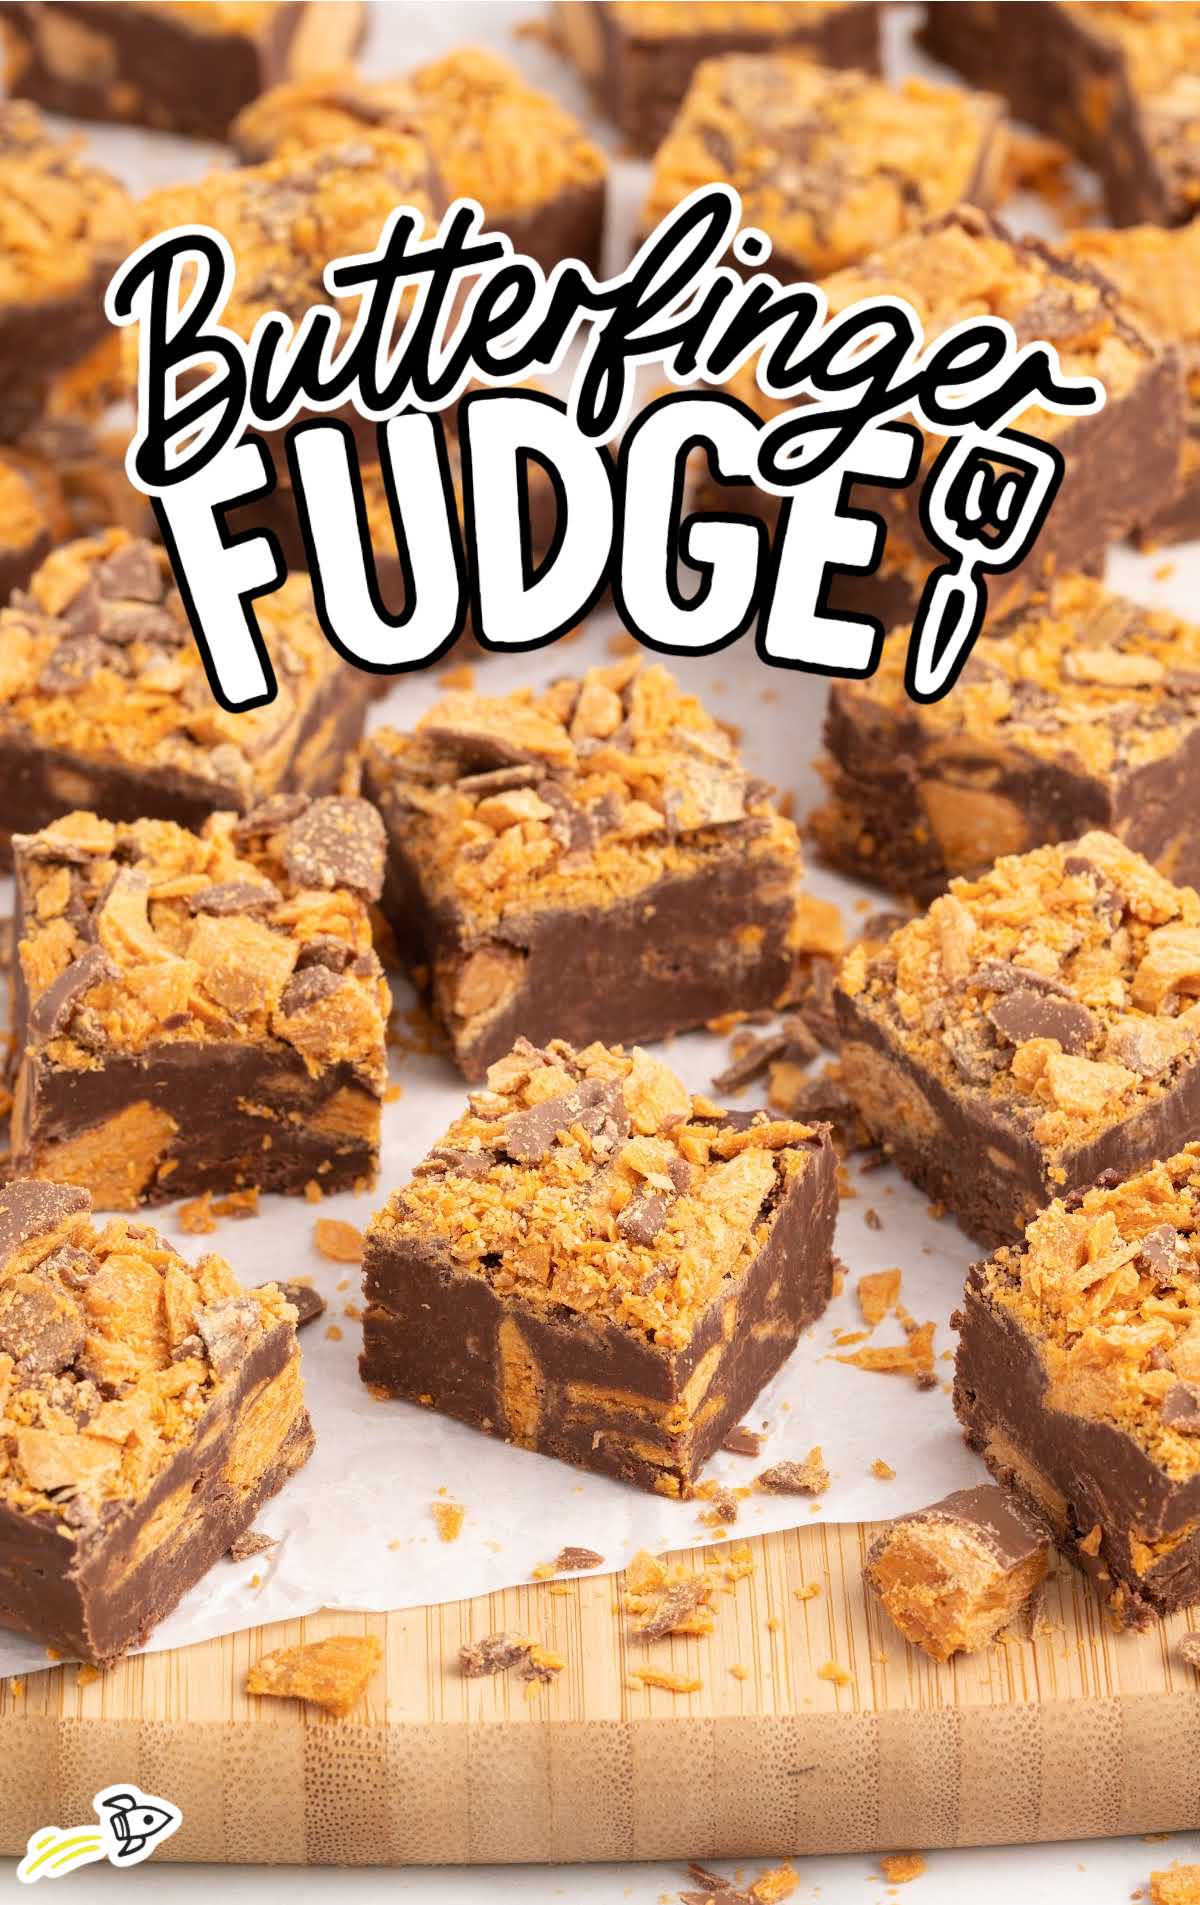
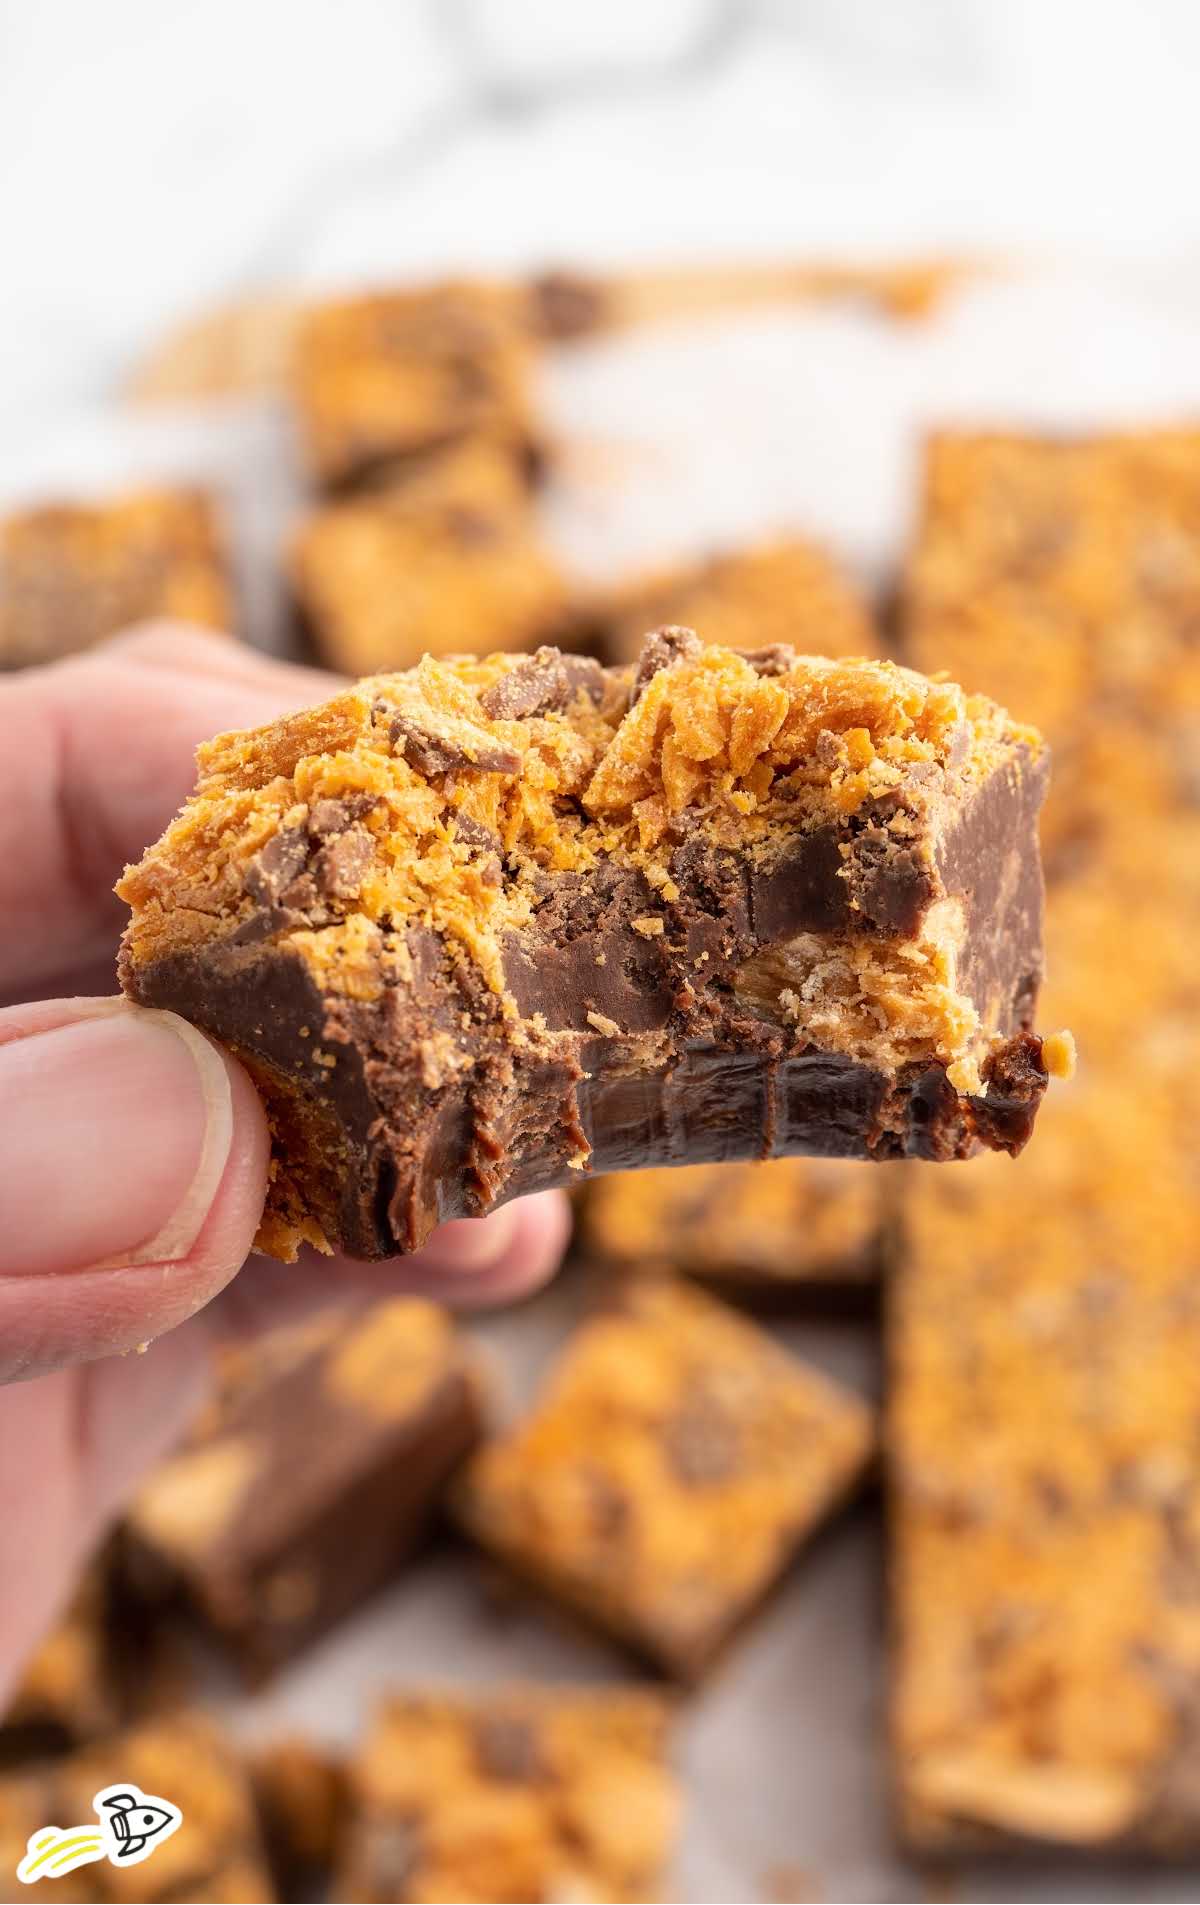
This delectable Butterfinger Fudge recipe is yummy enough to satisfy even the biggest sweet tooth. Imagine rich, creamy chocolate fudge infused with the irresistible crunch of Butterfinger candy bars. It’s a match made in dessert heaven.
Ingredients for Butterfinger Fudge
When you need a quick treat that’s also sweet and delicious, look no further than this Butterfinger Fudge recipe. Just a handful of ingredients is all you need to create this decadent dessert.
You’ll need:
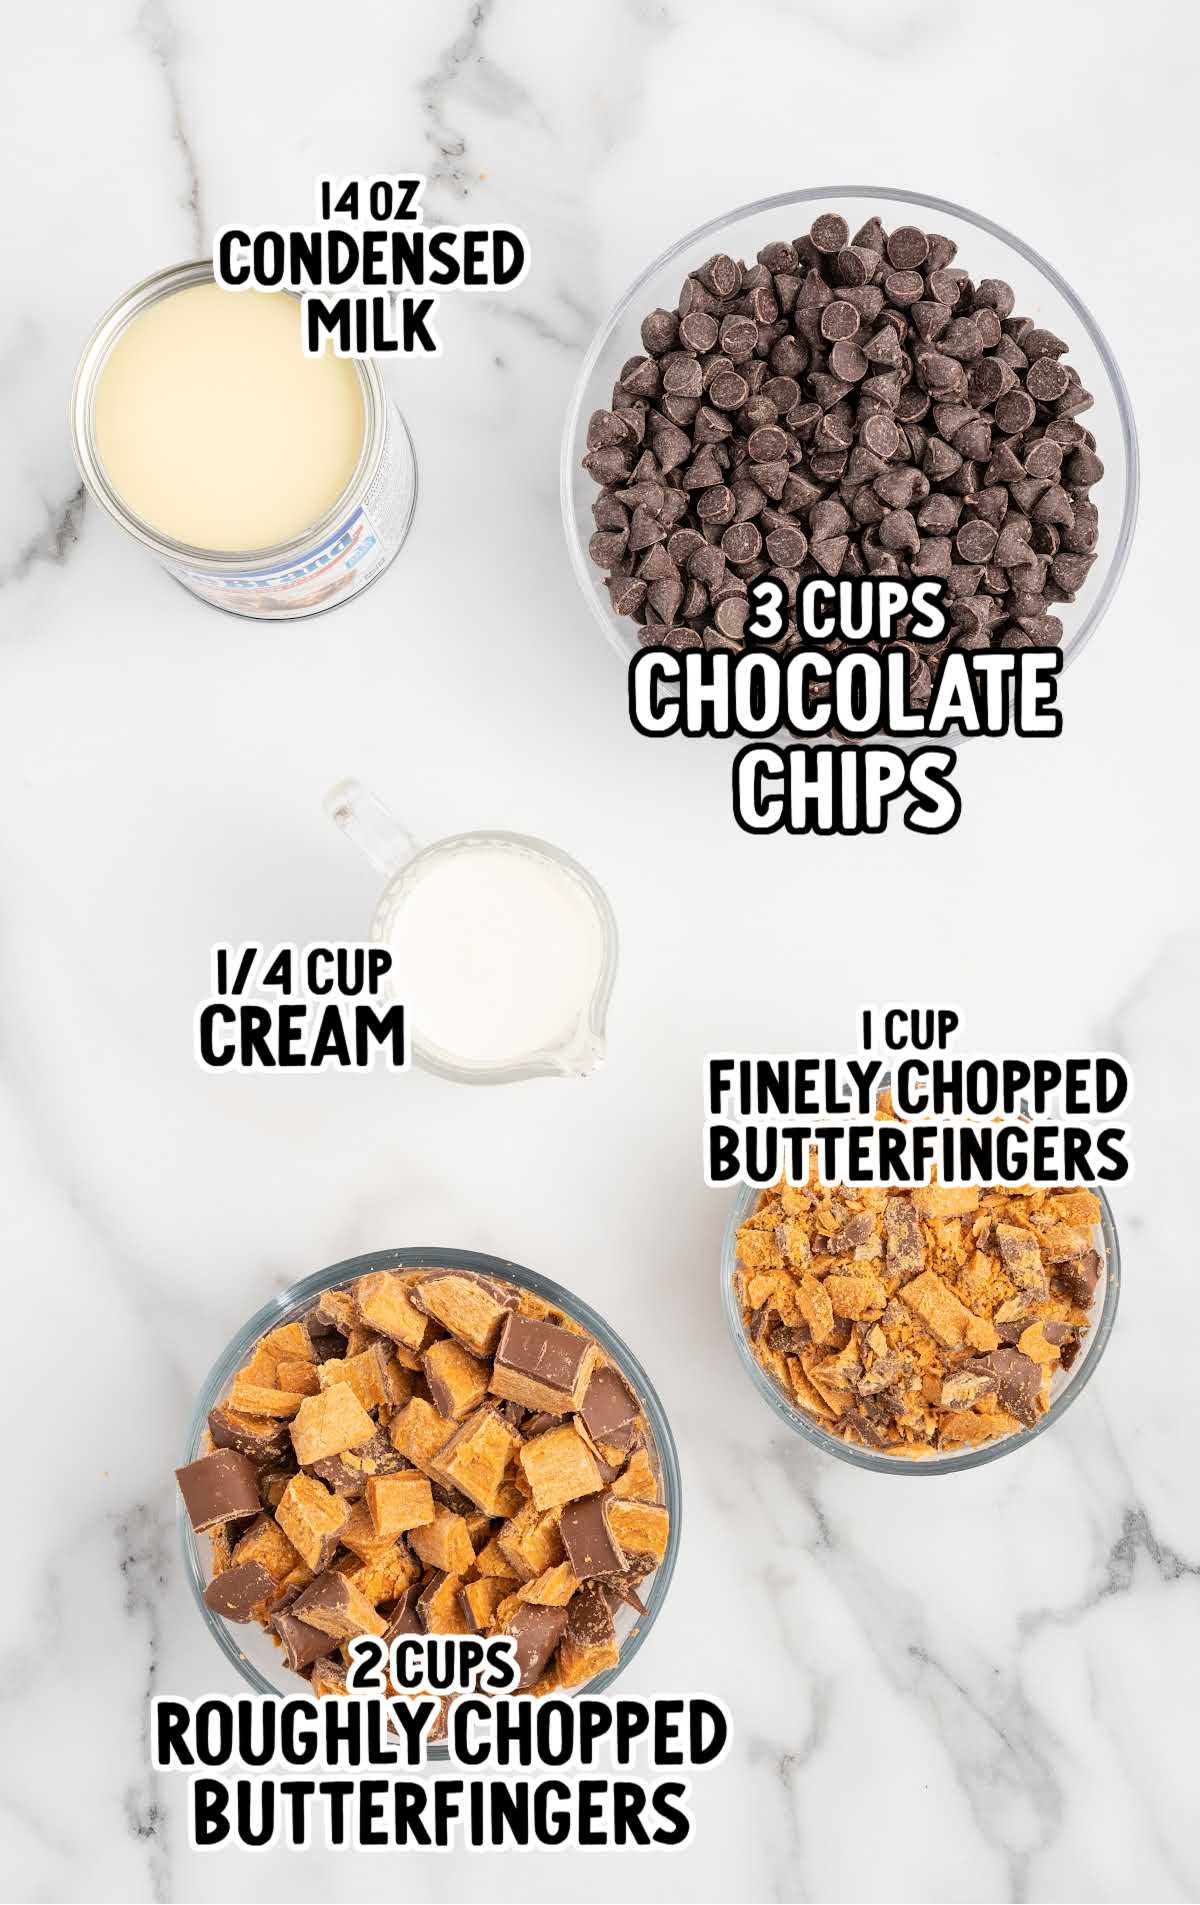
- 3 cups semi-sweet chocolate chips (We used Ghirardelli brand)
- 14 ounces of sweetened condensed milk
- ¼ cup heavy cream
- 2 cups roughly chopped Butterfinger candy bar (mixed into the fudge batter)
- 1 cup finely chopped Butterfinger candy bar (for the topping)
PRO TIP:
You can use any kind of chocolate chips you’d like, but we recommend you to use a high-quality version, both for how they taste and for how they will incorporate into the fudge mixture.
Butterfinger Fudge Substitutions and Additions
Looking to put your own spin on this Butterfinger Fudge recipe? Here are some suggestions for substitutions and additions that will allow you to customize the flavor or adapt the recipe:
Semi-Sweet Milk Chocolate Chips: For a darker, more intense chocolate flavor, you can substitute dark chocolate chips or chunks. Use milk chocolate for a sweeter fudge.
Sweetened Condensed Milk: If you’re looking for a dairy-free alternative, you can use coconut condensed milk.
Heavy Cream: To lighten up the fudge, you can substitute half-and-half or whole milk for the heavy cream, although this will result in a slightly less creamy texture For a dairy-free option, you can use canned coconut milk or almond milk, although the texture and flavor may be slightly different.
Butterfinger Candy Bars: Try using other types of candy bars like Reese’s Peanut Butter Cups, Snickers, or even M&M’s. You can also experiment with chopped peanuts or almonds for added crunch and flavor.
Remember, any substitutions or additions may alter the taste and texture of the fudge.
How To Make This Butterfinger Fudge Recipe
Whether you’re a seasoned baker or a novice in the kitchen, this simple yet indulgent treat is sure to come out perfectly. Here are the step-by-step directions that will help you make this easy fudge recipe.
STEP ONE: Begin by lining a 9×9 inch straight-sided baking pan with aluminum foil. Give the foil a light coating of nonstick spray to prevent the fudge from sticking. Set the prepared pan aside while you move on to the next step.
PRO TIP: Lining your pan with foil is crucial for easy removal of the fudge once it’s chilled. Leave some overhang on the edges of the pan to help you lift it from the pan.
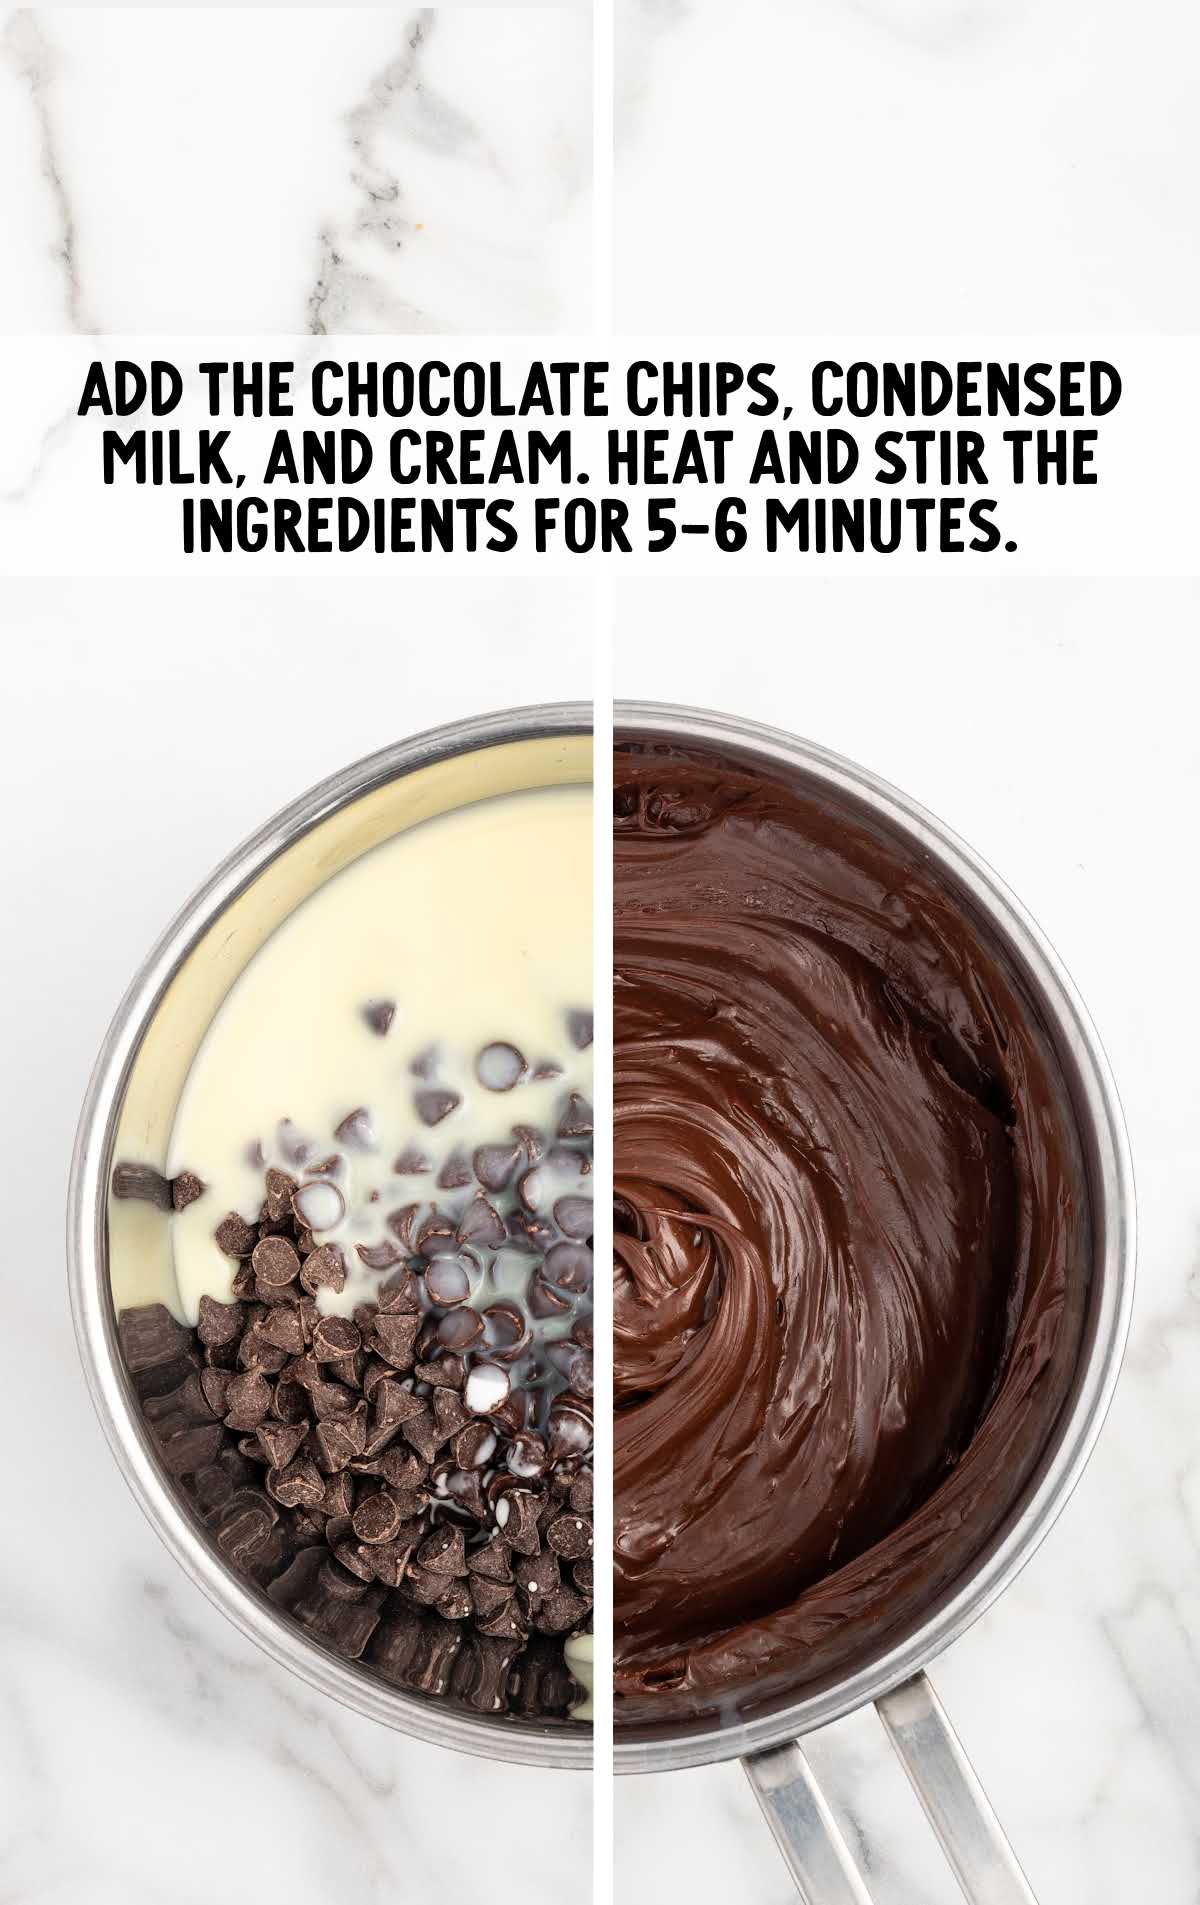
STEP TWO: In a medium saucepan, combine the semi-sweet chocolate chips, sweetened condensed milk, and heavy cream over medium heat. Stir the mixture continuously for about until the chocolate chips are completely melted and the fudge mixture is smooth. Once smooth, remove the saucepan from the heat.
PRO TIP: Stirring constantly prevents the chocolate from burning or seizing up, so your fudge is sure to have a velvety smooth texture.
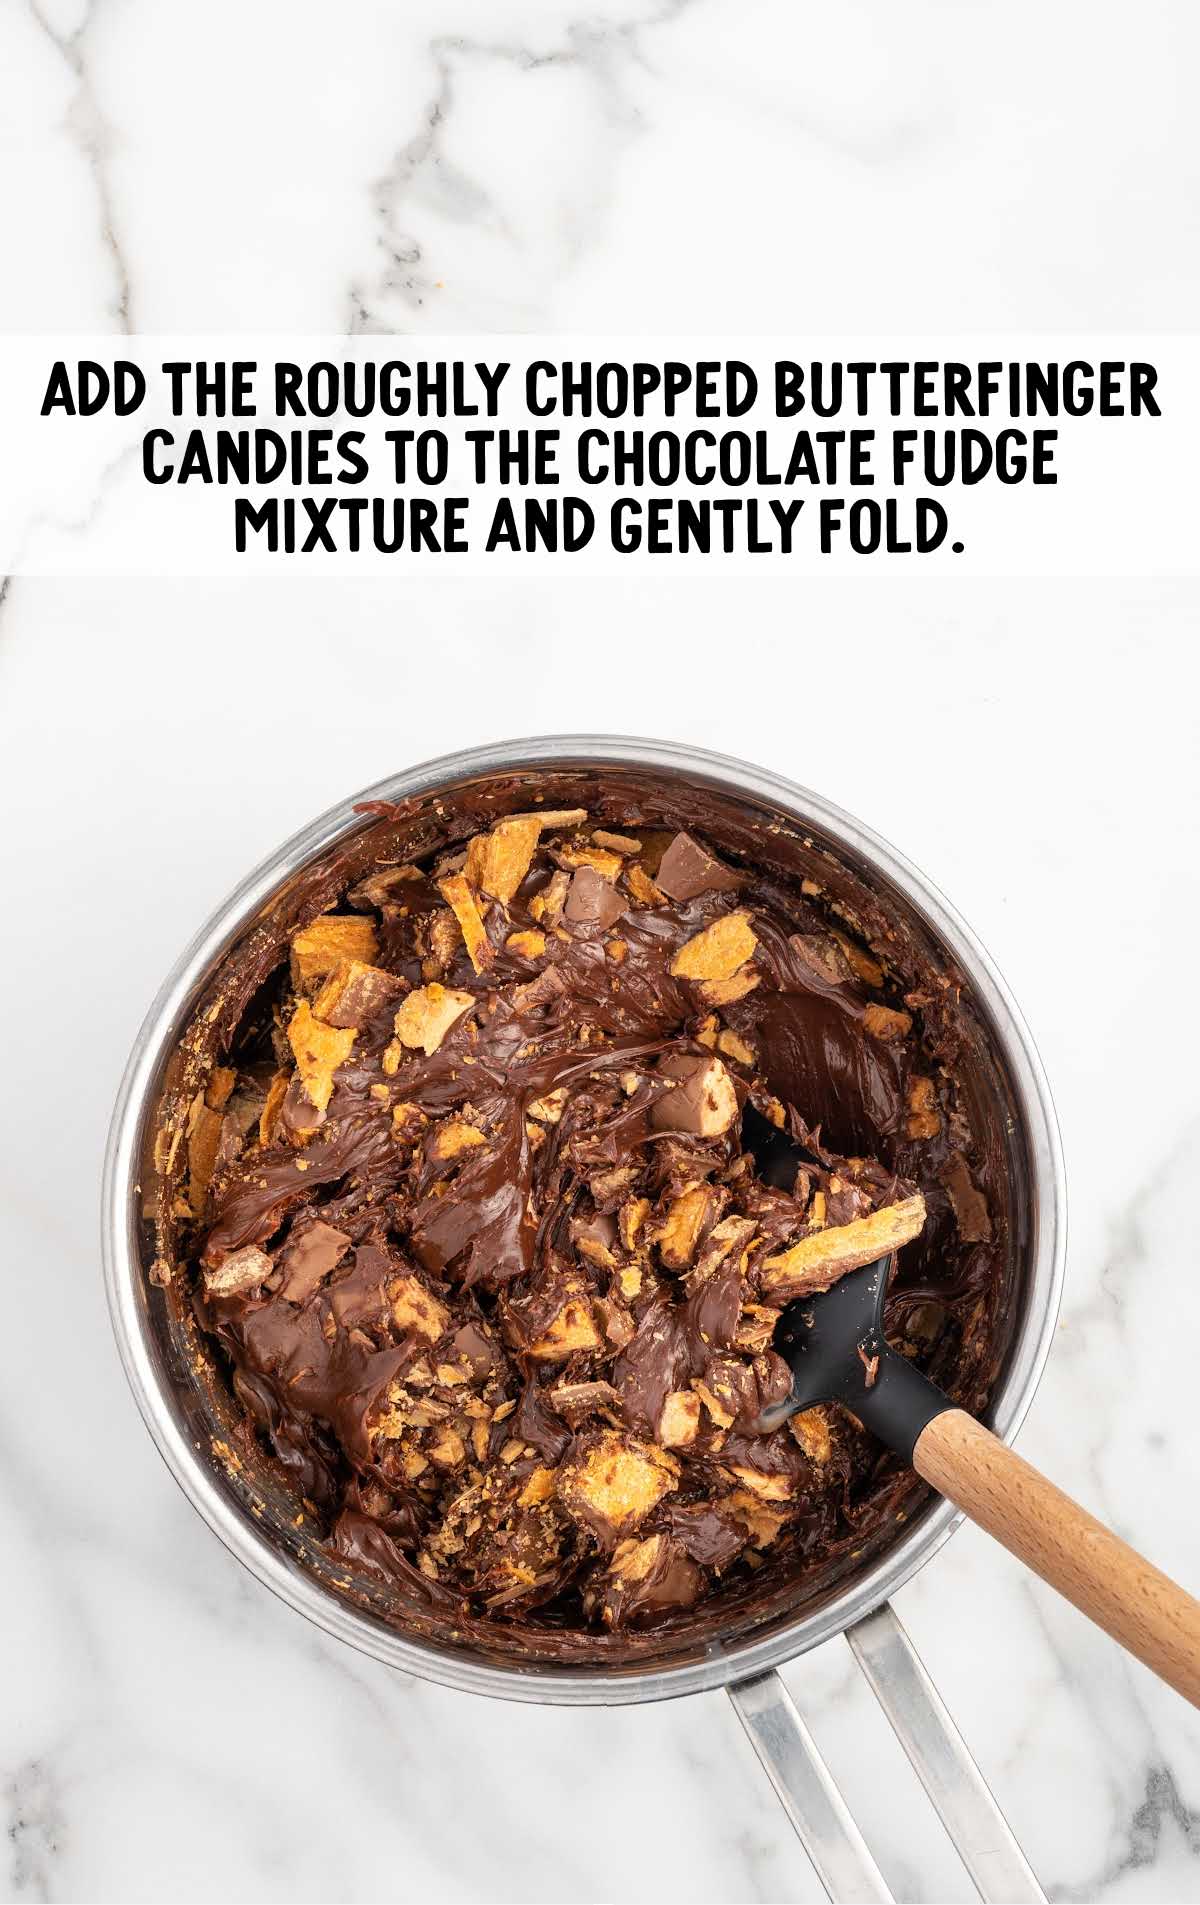
STEP THREE: Now it’s time to incorporate the main ingredient: Real Butterfinger pieces. Add the roughly chopped candy bar pieces into the melted chocolate mixture in the saucepan. Gently fold the candy into the chocolate fudge mixture until evenly distributed.
STEP FOUR: Transfer the Butterfinger fudge mixture into the prepared baking dish. Use a spatula to spread the mixture evenly, ensuring a smooth surface on top.
PRO TIP: Pay attention to the corners and edges to create an even layer of fudge. This step will help ensure you can slice perfect squares of fudge later on.
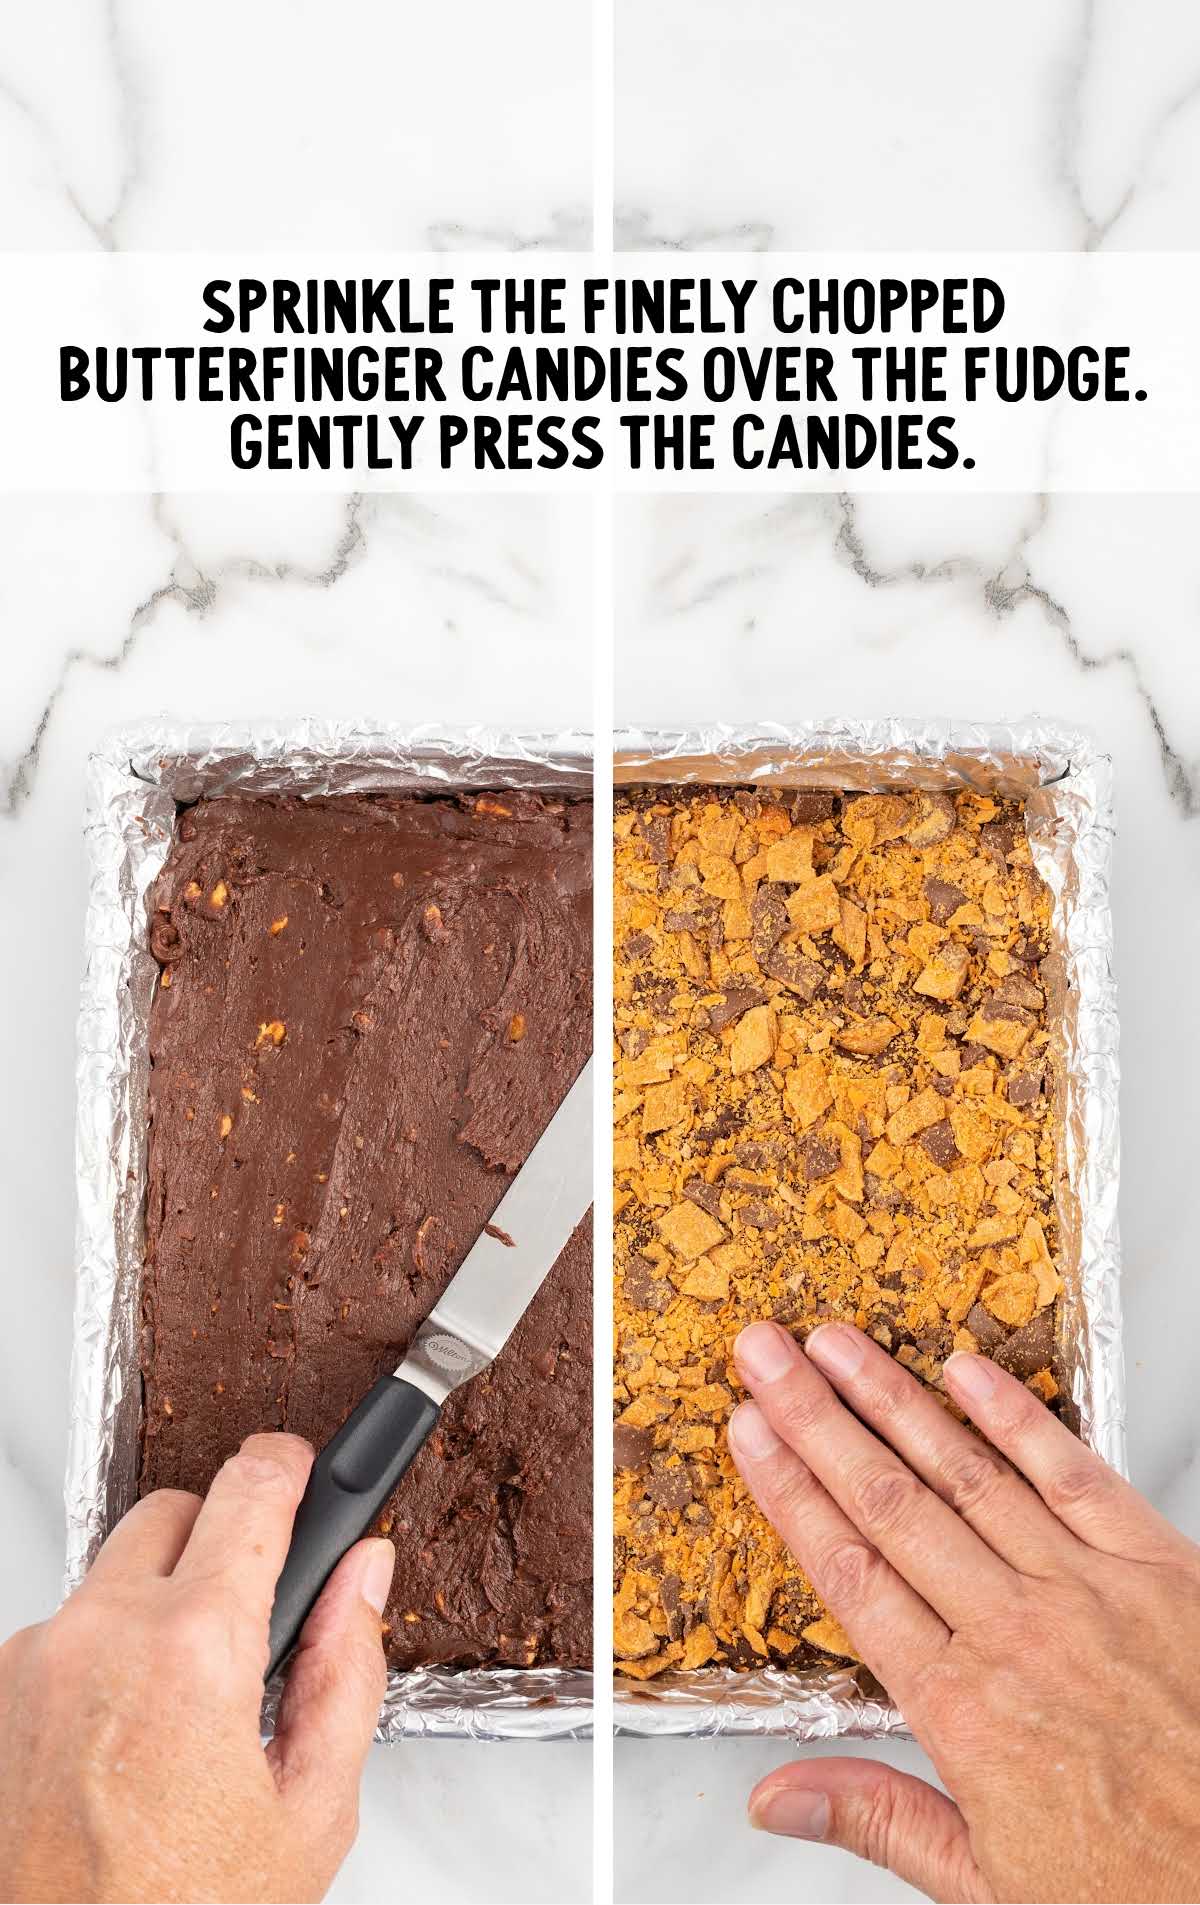
STEP FIVE: Sprinkle the remaining chopped Butterfinger candies over the surface of the fudge in the pan. Gently press the candies into the fudge to help them adhere as the fudge cools and sets.
STEP SIX: Place the prepared Butterfinger fudge in the refrigerator and let it chill for a few hours, or until the fudge has firmed up.
PRO TIP: If you give the fudge more time to chill, the cold temperature will enhance the texture and flavor of the fudge.
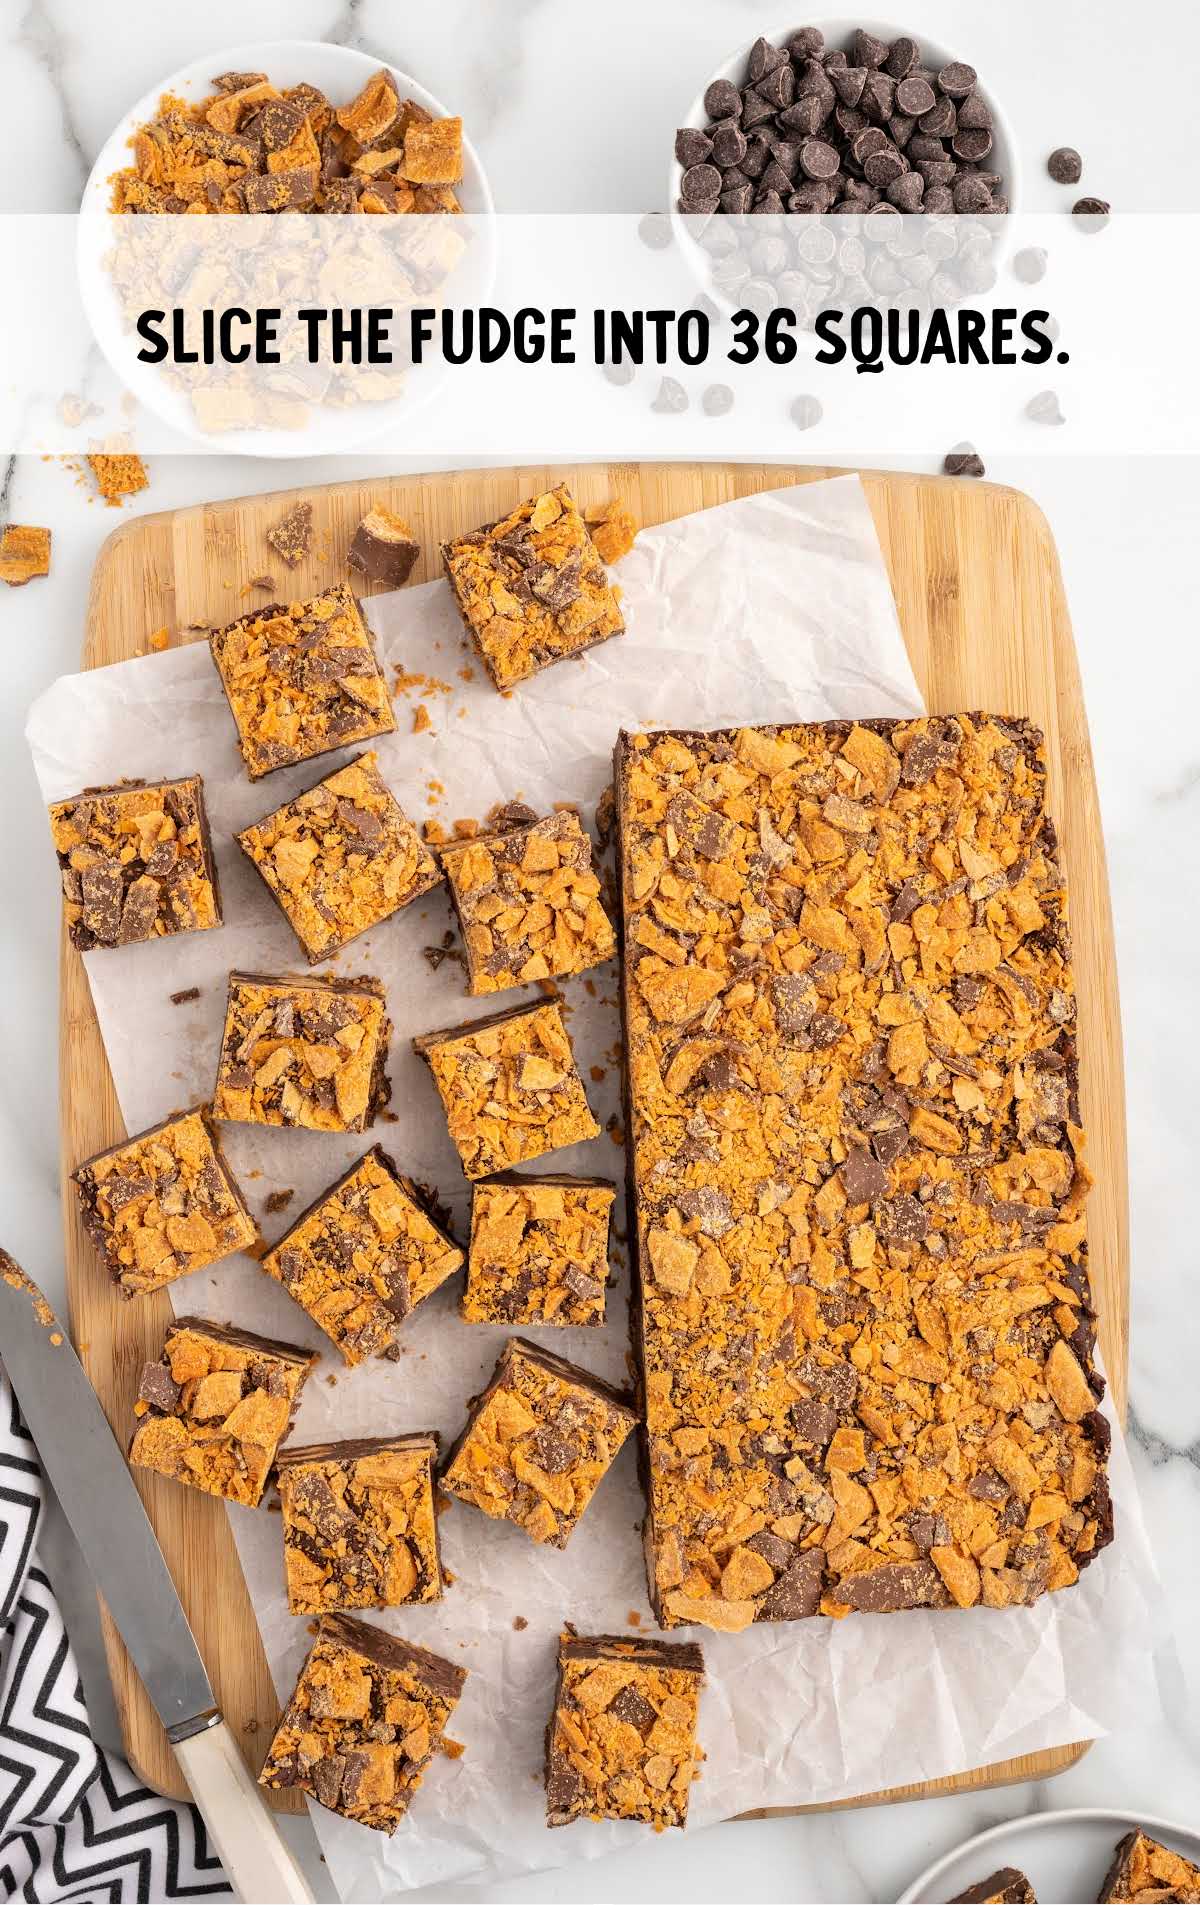
STEP SEVEN: Once the fudge is firm, remove it from the refrigerator. Lift it from the pan and Using a large, sharp knife, carefully slice the fudge into 36 equal-sized squares.
PRO TIP: Between slices, dip the knife in warm water and wipe dry with a clean towel to make it easier to cut through.
Troubleshooting
Having trouble? Here are some common problems that might arise, and what do to about them:
My chocolate mixture is grainy or seized up.
Ensure to stir the chocolate mixture constantly while heating and avoid overheating. If the chocolate does seize up, try adding a small amount of warm heavy cream and stirring gently until smooth.
The fudge is too soft or doesn’t set properly.
Make sure to refrigerate the fudge for the recommended time (1-2 hours) to allow it to firm up properly. If it’s still too soft, return it to the fridge for additional chilling time. As long as you added the correct measurement, the fudge should set after a few hours.
The fudge sticks to the foil or pan when removing.
Spray the aluminum foil with a generous coating of nonstick spray before spreading the fudge mixture. Additionally, ensure that some foil overhangs the edges of the pan for easier removal.
My butterfinger candy sinks to the bottom of the fudge.
Gently fold the chopped Butterfinger candies into the chocolate mixture to distribute them evenly. Avoid stirring too vigorously to prevent sinking or loosening up the fudge too much.
The fudge squares are unevenly shaped or difficult to slice.
Use a large, sharp knife and apply gentle pressure when slicing the fudge. It may help to heat the knife under hot water and wipe it clean between cuts for smoother slicing.
How To Serve Homemade Butterfinger Fudge
Now that your fudge is ready to eat, lets look at how to serve it.
Of course, you can serve your Butterfinger Fudge pieces on a dessert platter garnished with a sprinkle of finely chopped Butterfinger candy bars for an extra pop of flavor and texture.
Decadent Dessert Board: Create a stunning dessert board with Butterfinger Fudge alongside an assortment of other sweet treats such as homemade truffles, chocolatey cookies, and fresh fruit. Add some variety with different flavors and textures to satisfy everyone’s sweet cravings.
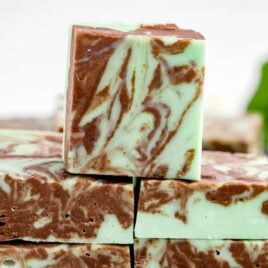
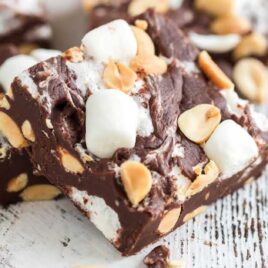
Serve a Fudge Board: Serve Butterfinger Fudge with other delicious fudge squares for a fudge frenzy! Try Reese’s peanut butter fudge, Rolo fudge, and Milky Way fudge.
Fudge Ice Cream Sandwiches: Take your fudge to the next level by sandwiching a scoop of vanilla ice cream between two squares of Butterfinger Fudge. Roll the edges in crushed Butterfinger candy bars for a fun and delicious twist on the classic ice cream sandwich.
Fudge Milkshakes: Blend cubes of Butterfinger Fudge with vanilla ice cream and milk to create indulgent fudge milkshakes. Top with homemade whipped cream and a drizzle of chocolate fudge sauce for an extra special treat.
Pairings and Complementary Dishes
- Hot Cocoa: Enjoy a cozy night in with a mug of rich and creamy hot chocolate paired with a few squares of Butterfinger Fudge.
- Caramel Coffee: Indulge in a decadent coffee break with a caramel macchiato alongside a piece of Butterfinger Fudge for the perfect sweet and salty combo.
- Wine Pairing: Surprise your guests with a sophisticated wine pairing featuring Butterfinger Fudge. Opt for a full-bodied red wine such as Cabernet Sauvignon or a sweet dessert wine like Port to complement the richness of the fudge.
MORE FUDGE RECIPES
How To Store
Once you’ve whipped up a batch of delicious homemade Butterfinger candy fudge, it’s essential to know how to store it properly to maintain its freshness and flavor. Here’s a guide on storing your fudge to ensure it stays at its best:
MAKE AHEAD: If you want to get a head start on your dessert preparations, you can make this Butterfinger Fudge ahead of time. Follow the recipe instructions as usual, then allow the fudge to cool completely before storing it in an airtight container. Keep it in the refrigerator for up to 2 weeks or in the freezer for up to 2 months.
IN THE FRIDGE: Store your sliced Butterfinger Fudge in the refrigerator in an airtight container or wrap it tightly in plastic wrap to prevent it from drying out or absorbing odors from the fridge. Stored this way, the fudge will stay fresh for up to 2 weeks.
IN THE FREEZER: Wrap the fudge tightly in plastic wrap, ensuring it’s fully covered to prevent freezer burn. Then, wrap it again in aluminum foil for added protection, or store individual squares in freezer-safe bags. Properly stored, Butterfinger Fudge will maintain its quality for up to 2 months in the freezer.
Frequently Asked Questions
Yes, you can reheat individual pieces of fudge in the microwave on low power for a few seconds until warmed through, but the chocolate fudge may melt. Alternatively, you can let them come to room temperature for a softer texture.
While Butterfinger candy bars are a key ingredient that adds a unique flavor to the fudge, you can substitute them with your favorite candy bars if you’d like.
Absolutely! Chopped nuts, such as peanuts or almonds, can be added to the fudge batter for added texture and flavor.
The fudge is ready when the chocolate chips have melted completely, and the mixture is smooth and glossy. Be sure to stir constantly to prevent burning.
No, sweetened condensed milk provides the necessary sweetness and texture for the fudge. Evaporated milk will not yield the same results.
You can use wax paper instead of aluminum foil. Be sure to give it a good spray with non-stick baking spray, too.
Yes, you can customize the recipe by using milk chocolate or dark chocolate chips if you prefer a different flavor profile.
This Butterfinger Fudge will become a new go-to recipe your family will look forward to enjoying. The yummy peanut butter flavor of the crushed candy bars will taste heavenly combined with the creamy fudge, plus, you won’t believe how easy it is to make!
More Recipes You’ll Love


Butterfinger Fudge
Ingredients
- 3 cups semi-sweet chocolate chips, Ghirardelli brand
- 14 ounces sweetened condensed milk
- ¼ cup heavy cream
- 2 cups roughly chopped Butterfinger candy bar, mixed into the fudge batter
- 1 cup finely chopped Butterfinger candy bar, for the topping
Instructions
- Line a 9×9 inch straight-sided baking pan with aluminum foil. Be sure to allow some of the aluminum foil to overhang the edges of the pan to make it easier to remove the fudge from the pan once chilled. Spray the foil with a light coating of nonstick spray. Set aside.
- In a 3-quart saucepan over medium heat, add the semi-sweet chocolate chips, sweetened condensed milk, and heavy cream. Heat and stir the ingredients for 5-6 minutes or until the chocolate chips have melted and the fudge mixture is smooth. Be sure to stir often to ensure that the chocolate does not burn or seize up. Remove from the heat.
- Add the 2 cups of roughly chopped Butterfinger candies to the chocolate fudge mixture and gently fold the chopped butterfingers into the melted chocolate mixture.
- Spread the Butterfinger fudge mixture evenly in the prepared 9×9 inch baking pan, being sure to smooth out the top of the fudge.
- Sprinkle the remaining 1 cup of the smaller chopped Butterfinger candies evenly over the surface of the fudge in the pan. Gently press the candies into the fudge just to ensure that they stick as the Butterfinger fudge cools and sets.
- Refrigerate the Butterfinger fudge for 1-2 hours or until the fudge has firmed up and can easily be removed from the baking pan.
- Using a large, sharp knife, slice the fudge into 36 (1½ x 1½ inch) squares.
Notes
- We recommend you hand chop your Butterfinger bars so you can control the side and shape of the pieces. Using a large, sharp knife seems to work best.
- If you want to use up Halloween candy or have fun-sized bars on hand, it will take about 14-15 fun-sized bars for the 2 cups roughly chopped, and 6-7 for the 1 cup finer chopped Butterfinger candy for this fudge recipe.
- Use a spatula to scrape out the condensed milk can so you get every drop. It’s crucial to the fudge having the right texture.
- Lining your pan with foil crucial for easy removal of the fudge once it’s chilled. Leave some overhang on the edges of the pan to help you lift it from the pan.
- Pay attention to the corners and edges of the pan when spreading the fudge mixture so you are sure to create an even layer of fudge. This step will help ensure you can slice perfect squares of fudge later on.
- If you give the fudge more time to chill, the cold temperature will enhance the texture and flavor of the fudge.
- When slicing, dip the knife in warm water and wipe dry with a clean towel to make the fudge easier to cut through.
Nutrition


Leave a Comment