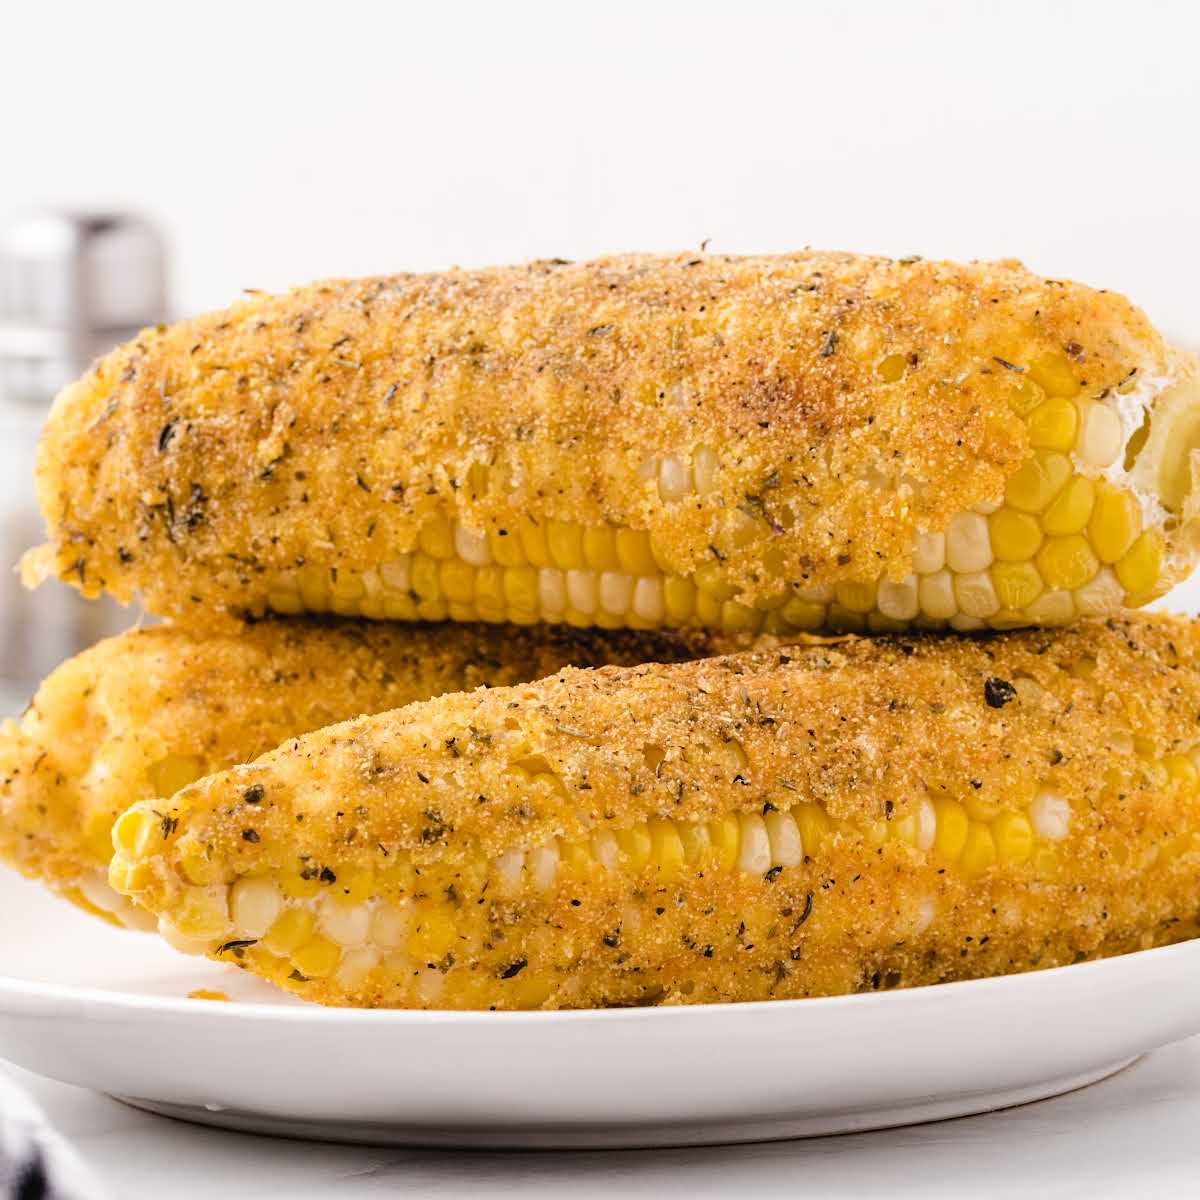
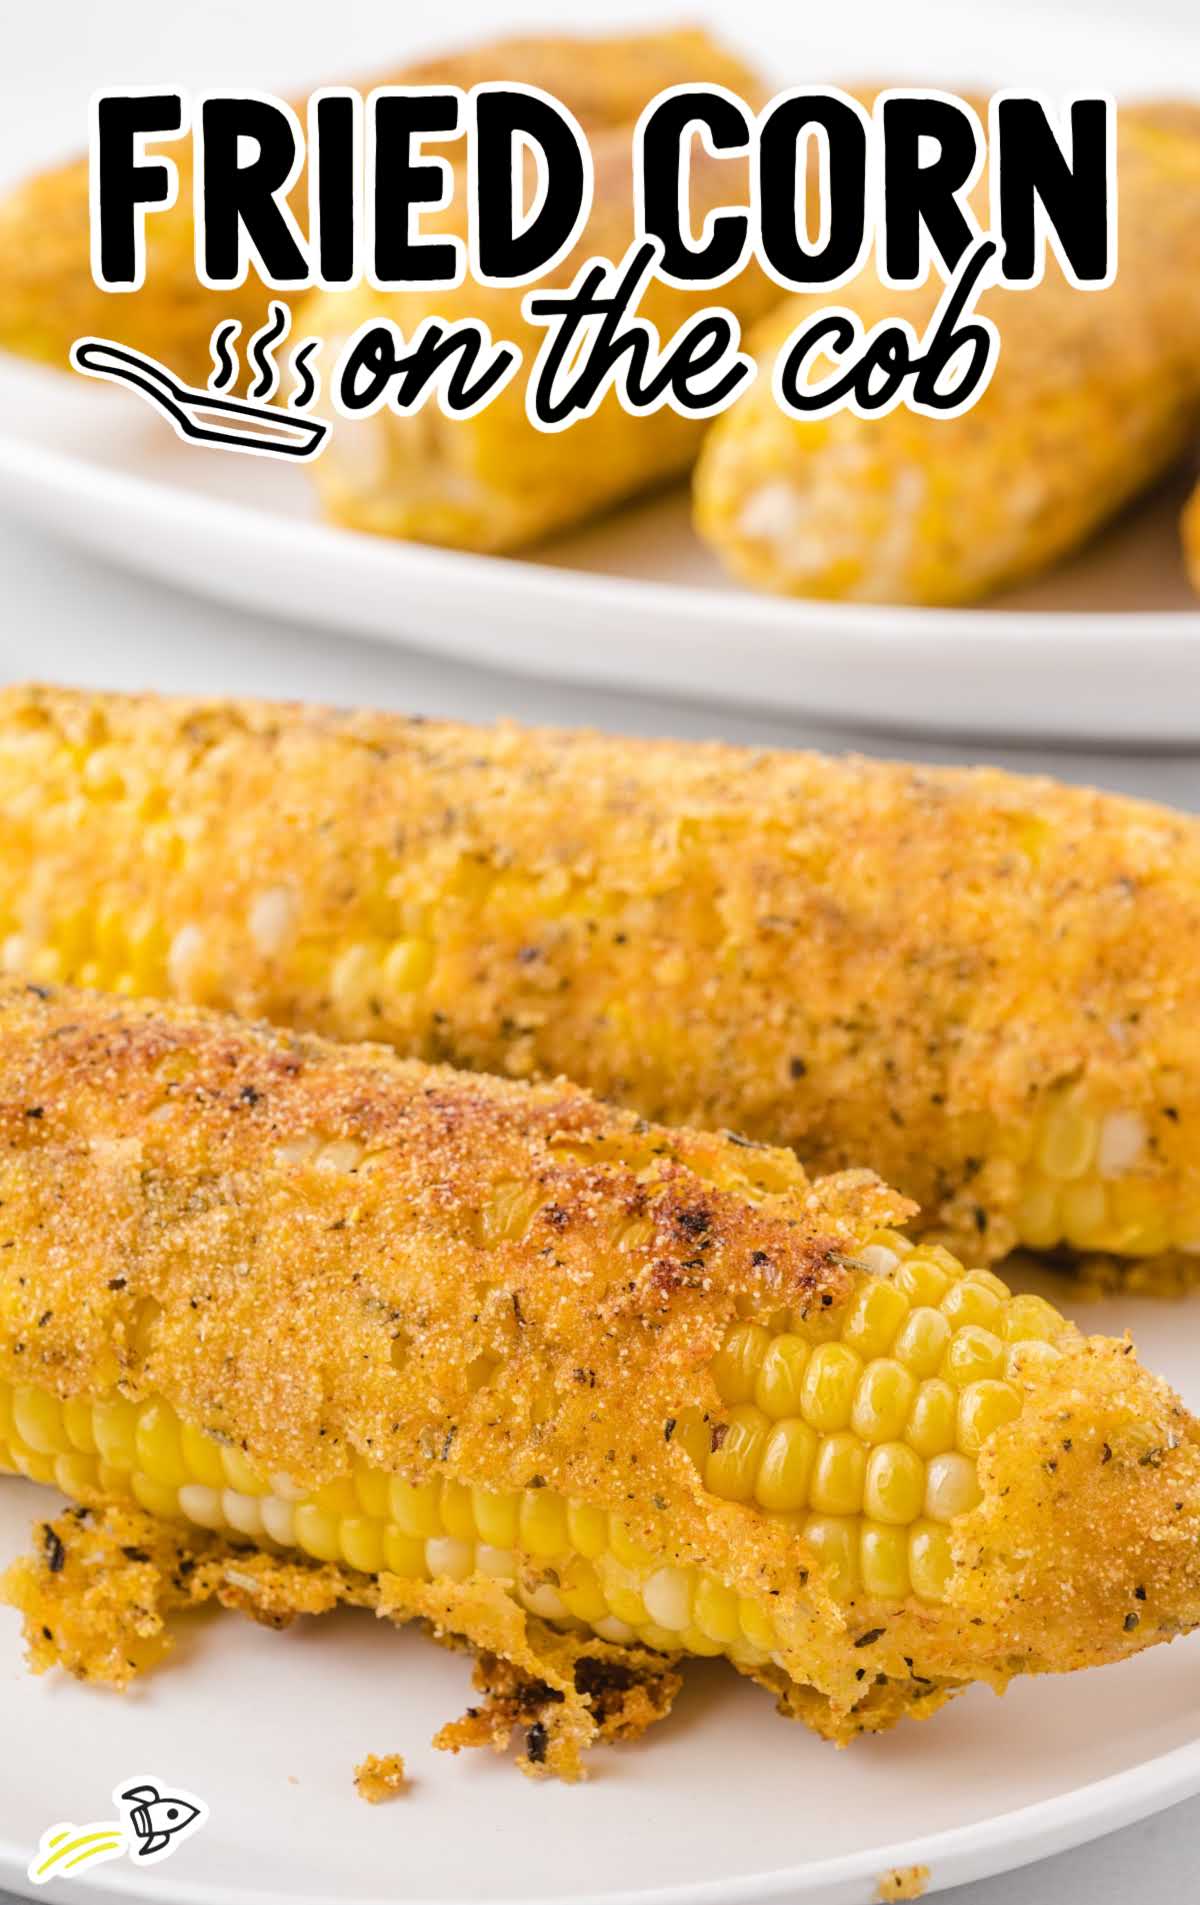
As if corn on the cob wasn’t already delicious enough, deep-frying makes it even better. The batter is thick and creamy and, when fried, becomes the perfect crunchy and crispy topping. This is a fun, easy, and tasty side for your next BBQ or gathering.
There are plenty of different methods for cooking tasty corn. Here are a couple of other unique and delicious corn dishes to try. This Elote (Mexican Street Corn) is creamy and flavorful, and this Grilled Corn on the Cob will make the perfectly grilled corn every time!
Deep Fried Corn on the Cob Ingredients
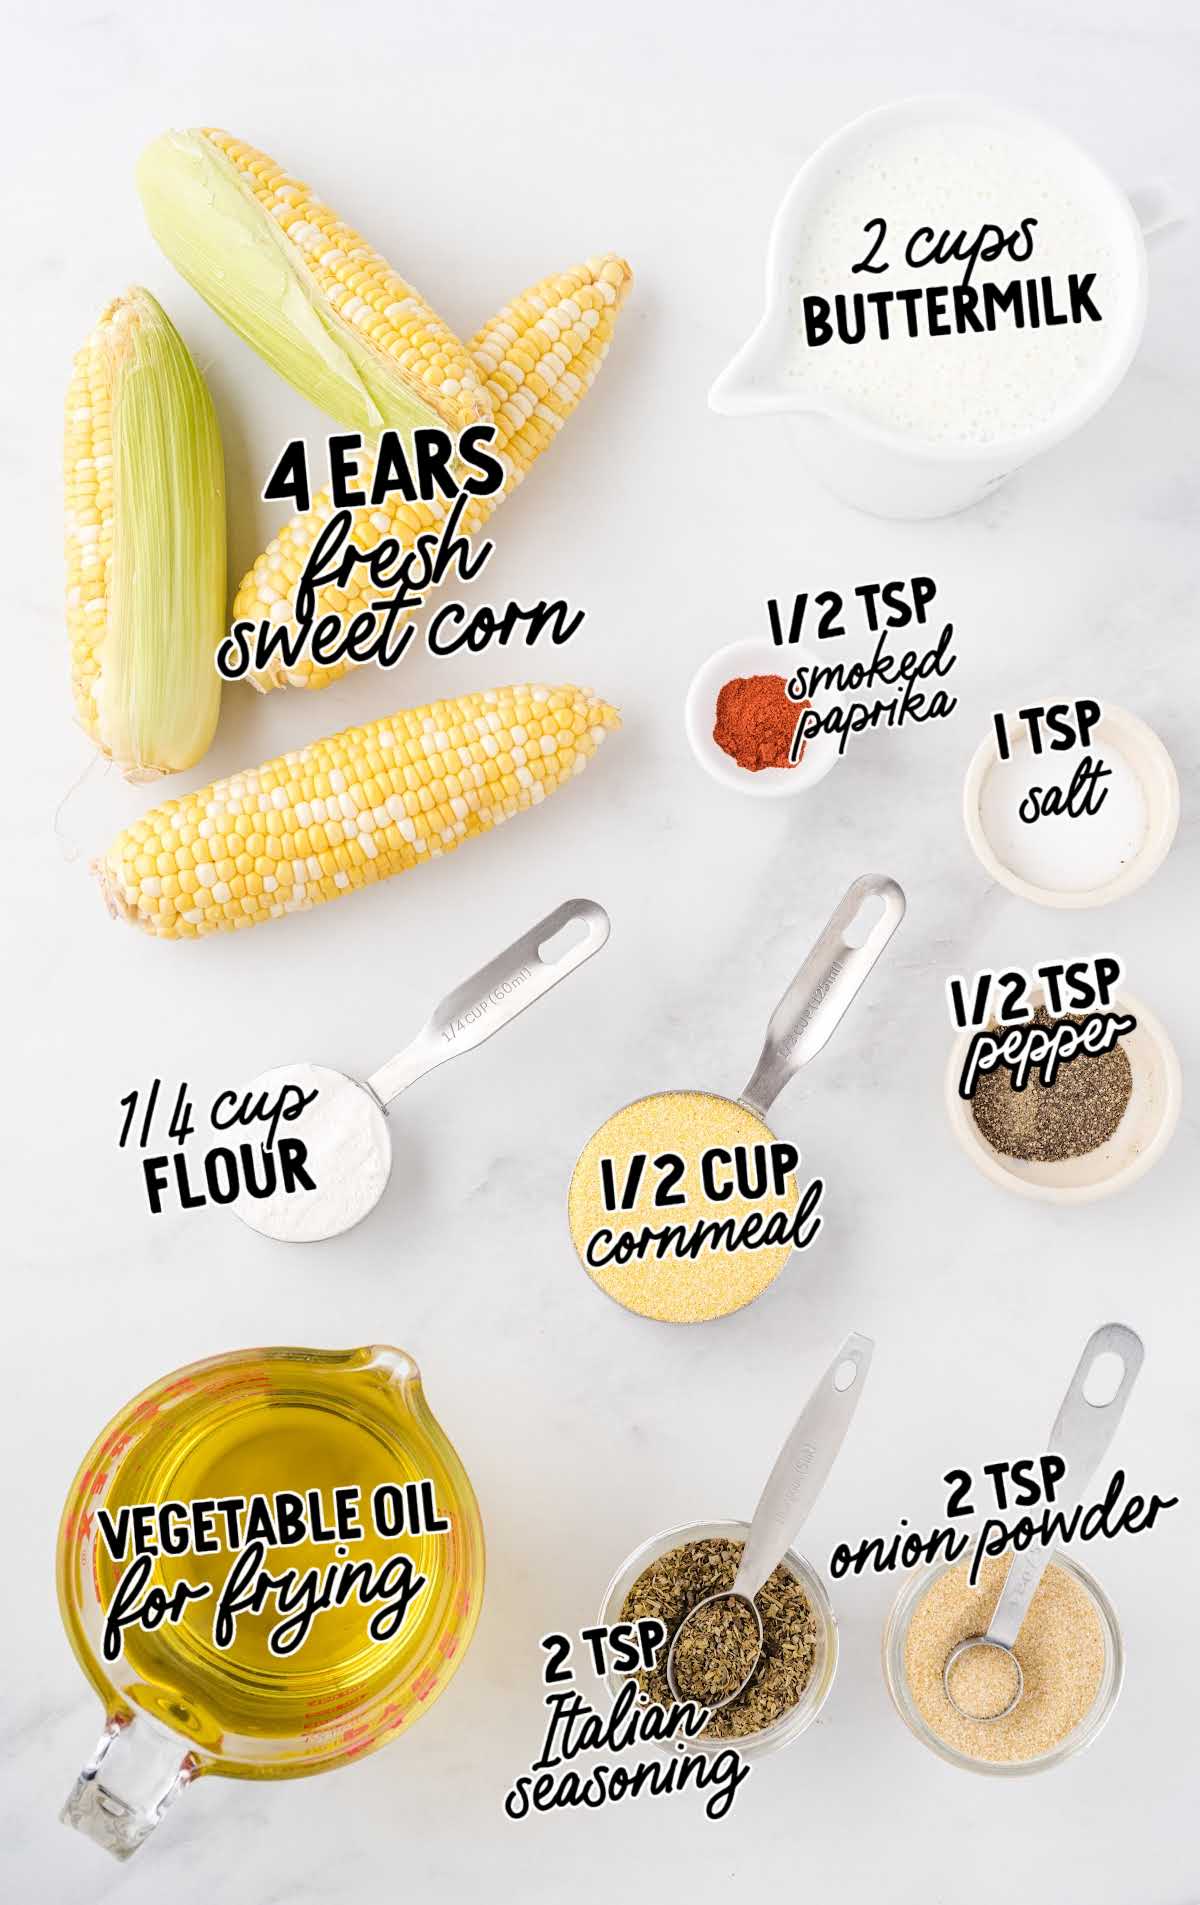
You will need:
- 4 ears fresh sweet corn on the cob, shucked and silks removed
- ½ cup yellow cornmeal
- ½ cup all-purpose flour
- 1 cup buttermilk
- 1 teaspoon onion powder
- ½ teaspoon salt
- ½ teaspoon black pepper
- Vegetable oil, enough for ¼ inches of oil for deep frying the corn
PRO TIP: If you don’t have buttermilk, you can make your own. Use 1 cup of 2% or whole milk with one tablespoon of vinegar mixed in for this recipe.
Substitutions and Additions
OIL: If you don’t have vegetable oil at home it may be tempting to use another oil like olive oil or avocado oil. We don’t recommend this. These oils are much denser and won’t create the same crisp when deep frying your corn. You’ll want to stick to vegetable oil for this one!
SPICE: If you want a bit of additional flavor to your cornmeal mixture, you could add a dash of cayenne pepper or cajun seasoning.
CHEESE: Do you want to add a cheesy flavor to your corn, mix in a bit of parmesan cheese with your cornmeal mixture.
How To Fry Corn On The Cob
WARNING
We can’t stress enough that this can be dangerous. If you are not extremely careful to make sure that the corn is dry before frying, it could result in severe burns on your skin.
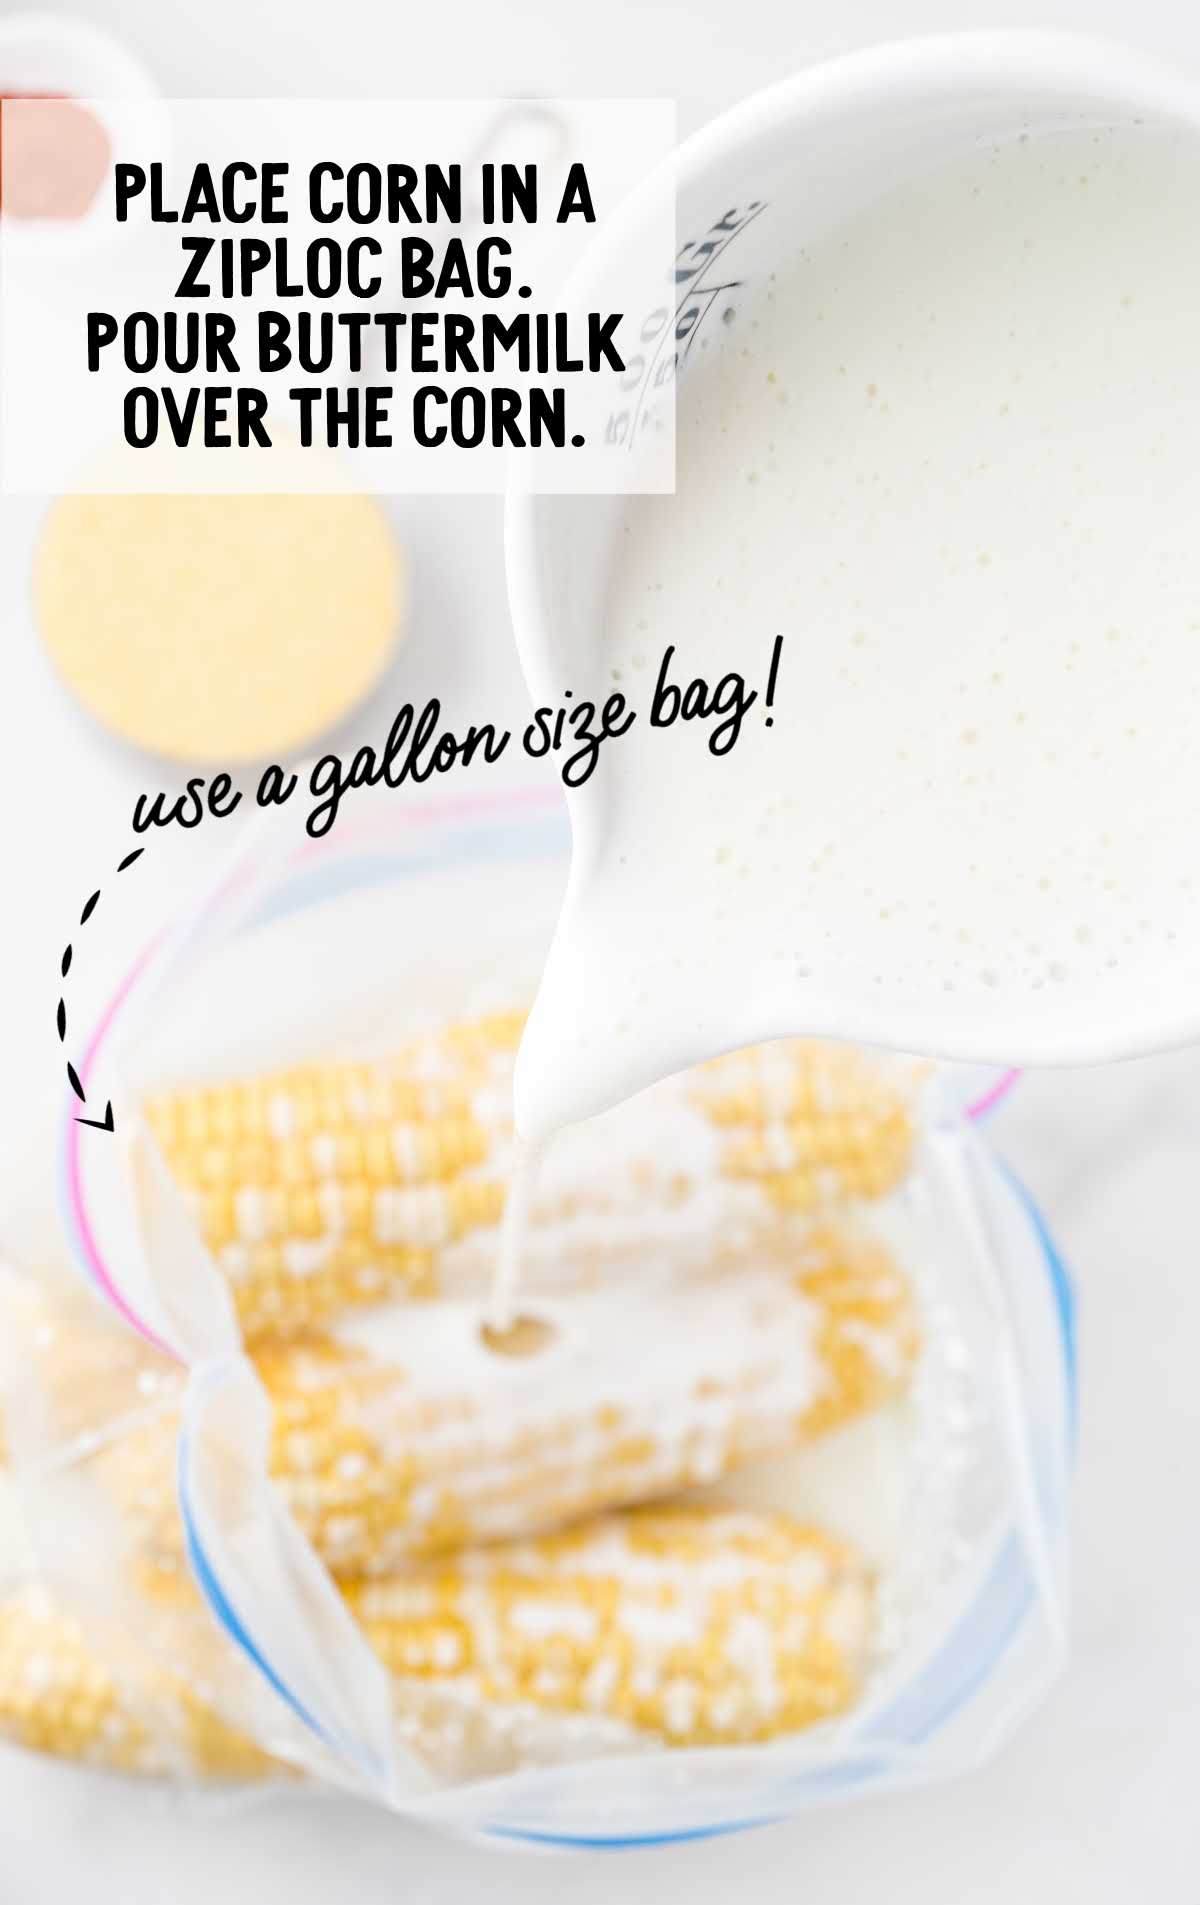
STEP ONE: Place all 4 ears of corn in a gallon size Ziploc bag. Pour the buttermilk on top of the ears of corn and seal the Ziploc.
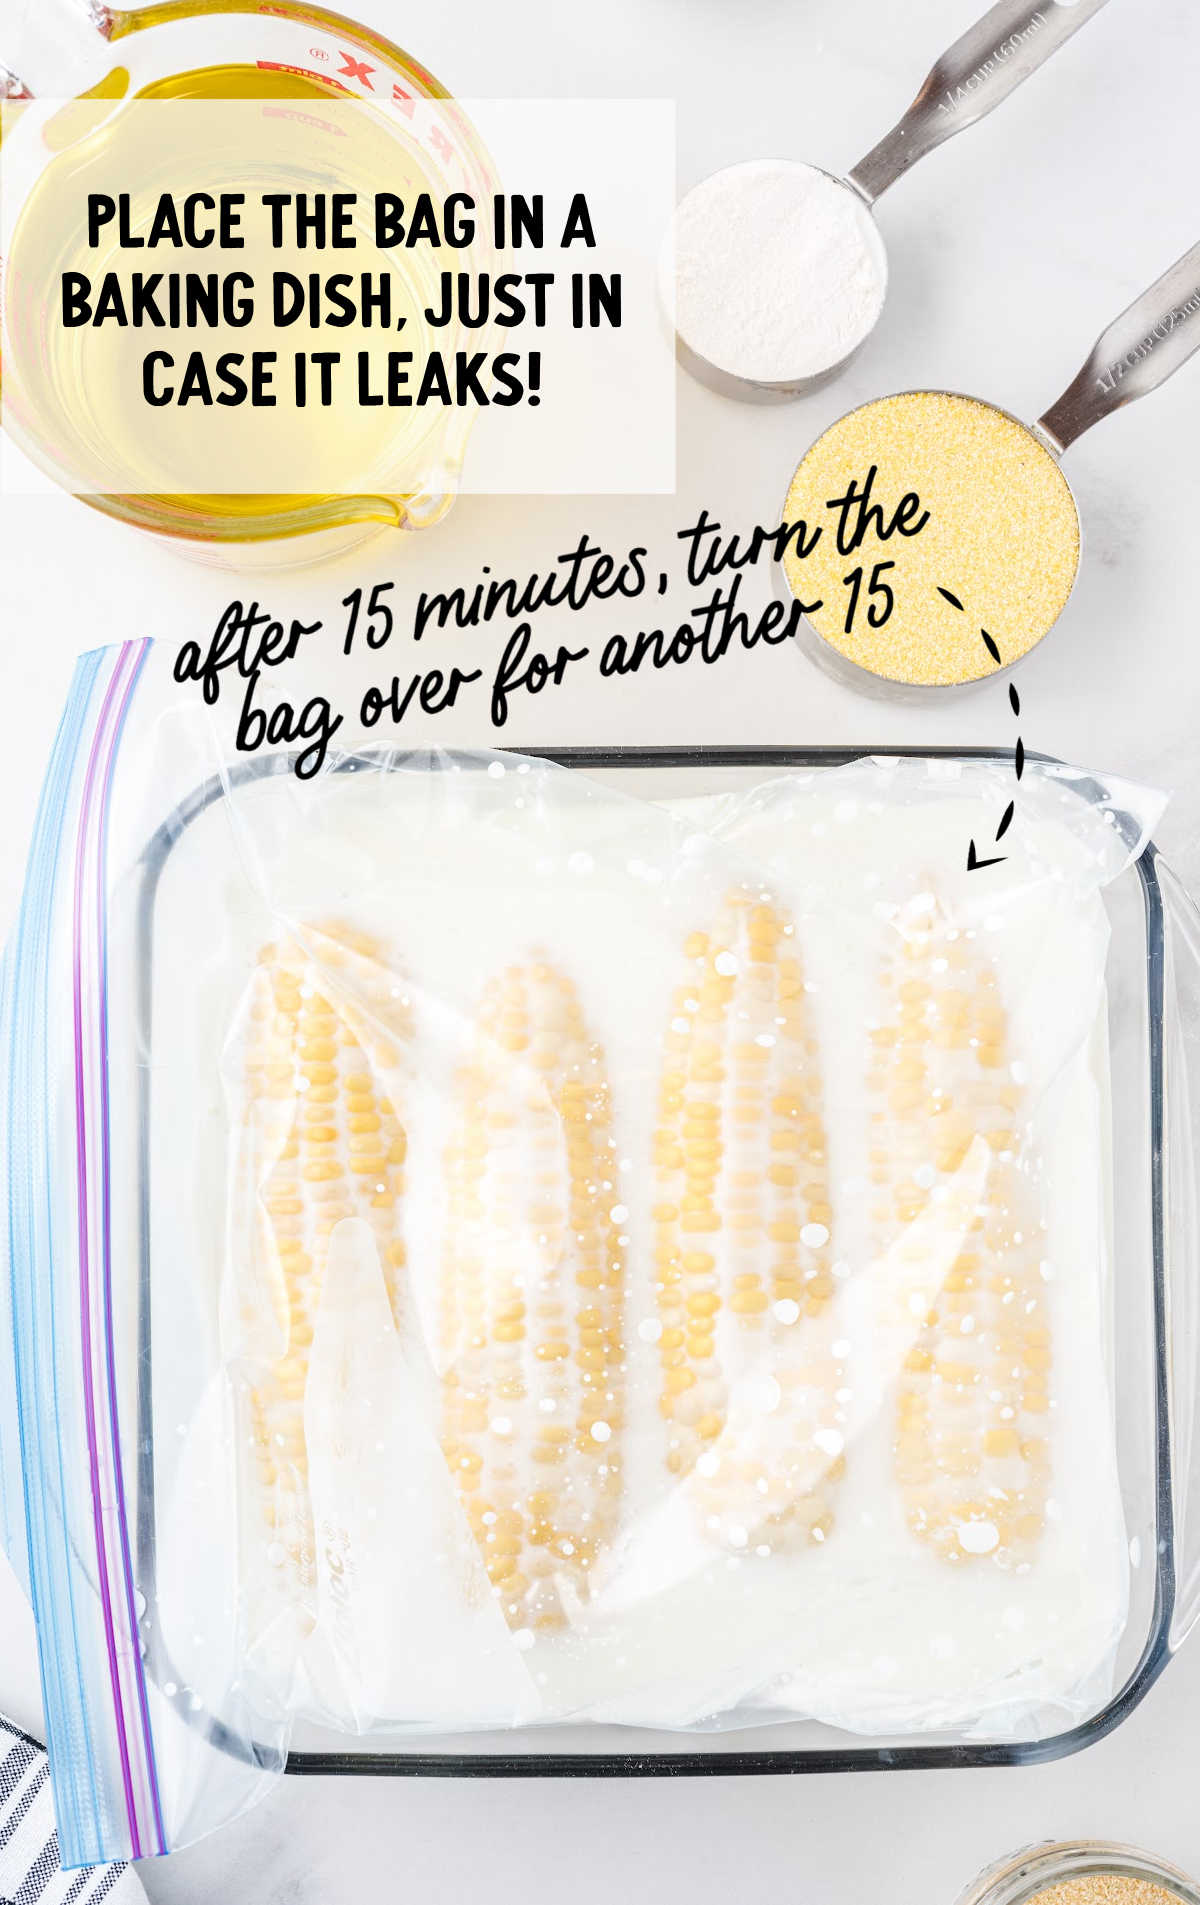
STEP TWO: Place the sealed bag into a 8 x 8 baking dish; this will help keep the buttermilk contained just in case any leaks out. Allow the corn to rest in the buttermilk for 15 minutes on one side, then turn the corn baggie over to rest for 15 more minutes.
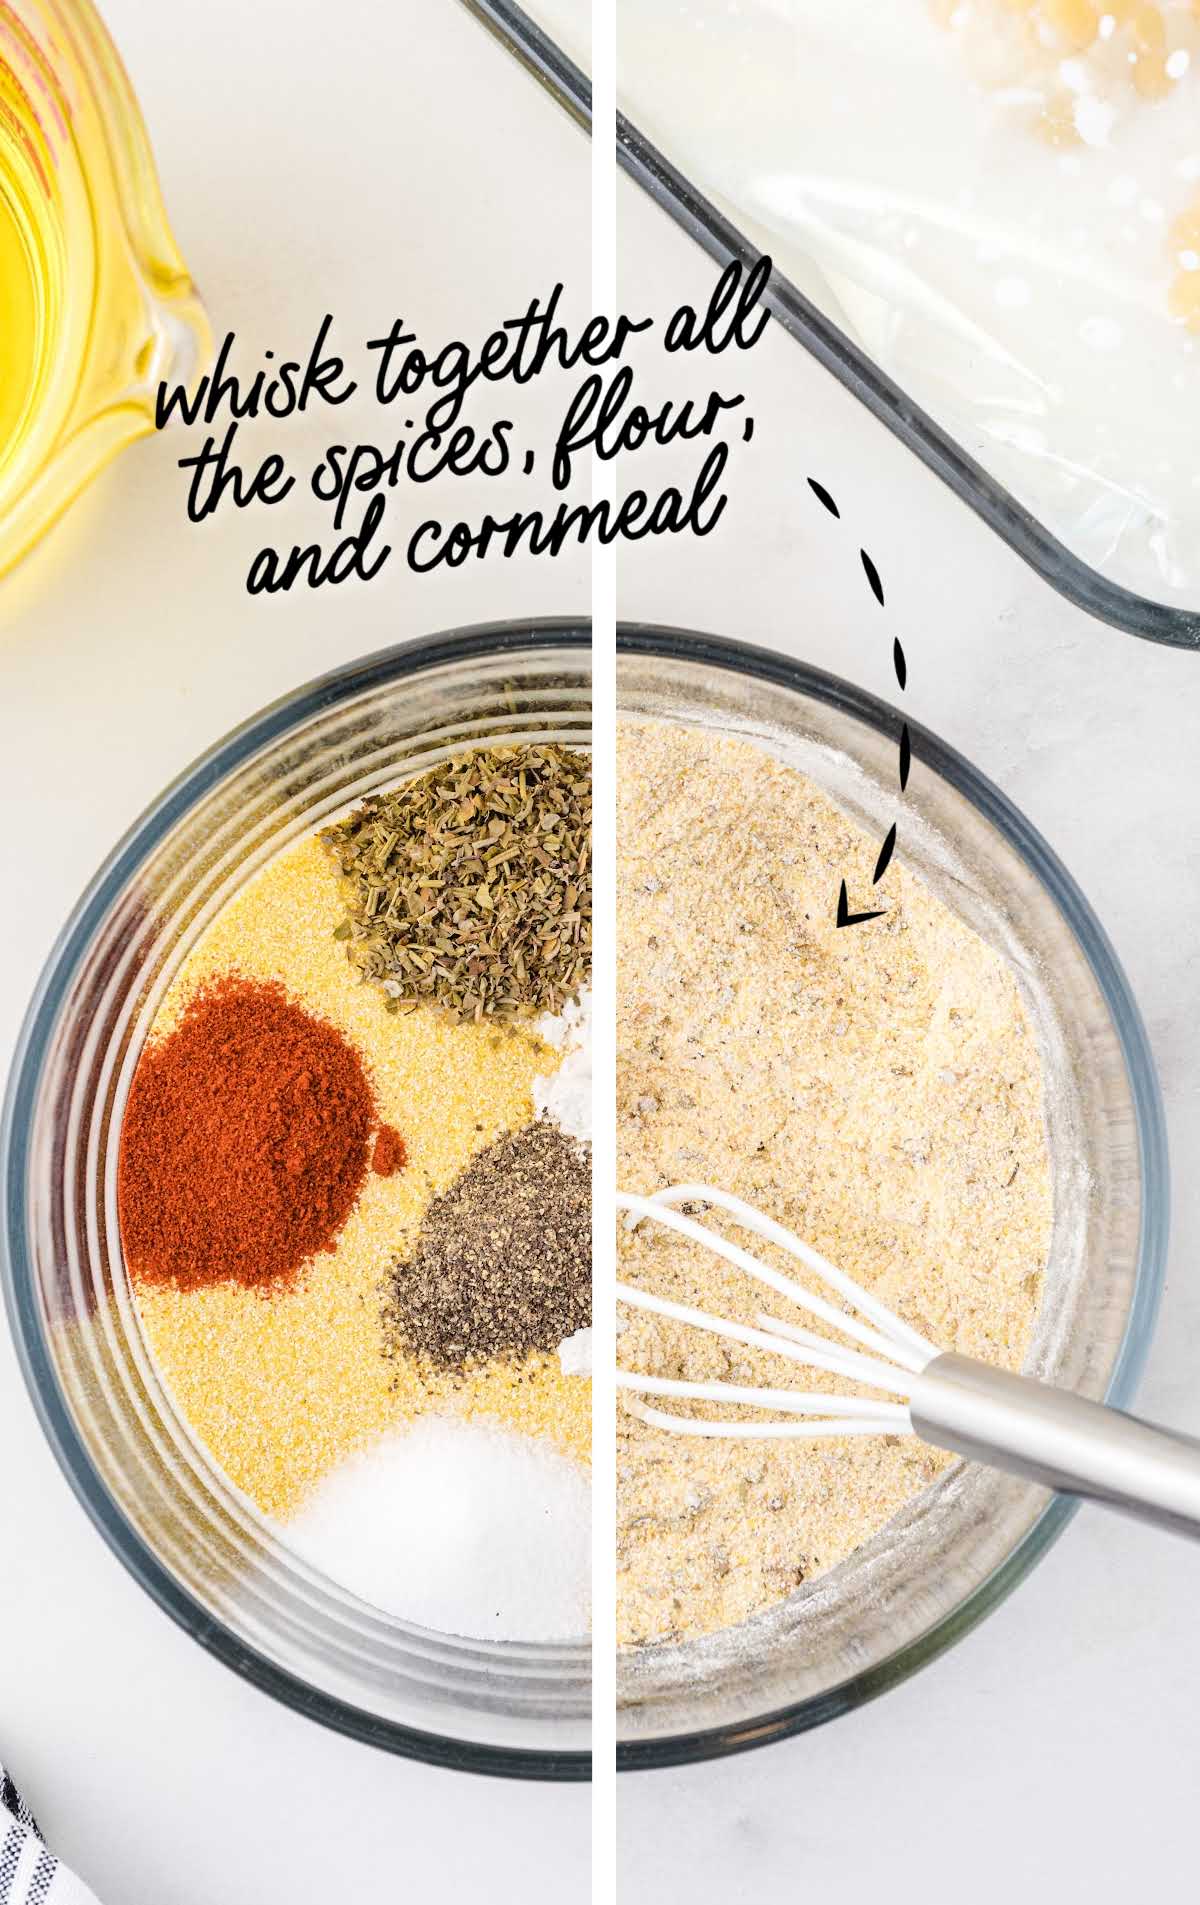
STEP THREE: In a medium bowl, combine flour, cornmeal, milk, onion powder, salt and pepper. Whisk the ingredients until well combined. Pour the cornmeal mixture into a 8 x 8 shallow dish to roll the corn in.
STEP FOUR: In a large skillet, pour enough vegetable oil to measure ¼ inch. Heat the oil on medium-high heat.
PRO TIP:
One way to check if the oil is ready for frying is to stick the end of a dry wooden spoon into the oil. If small bubbles form around the wood and start to float up, the oil is ready. If the oil is bubbling hard, the oil is too hot. Remove the pan from the heat, let the oil cool down for a few minutes and re-check the oil. Place the oil back onto the burner and turn the heat down to between medium-high and medium.
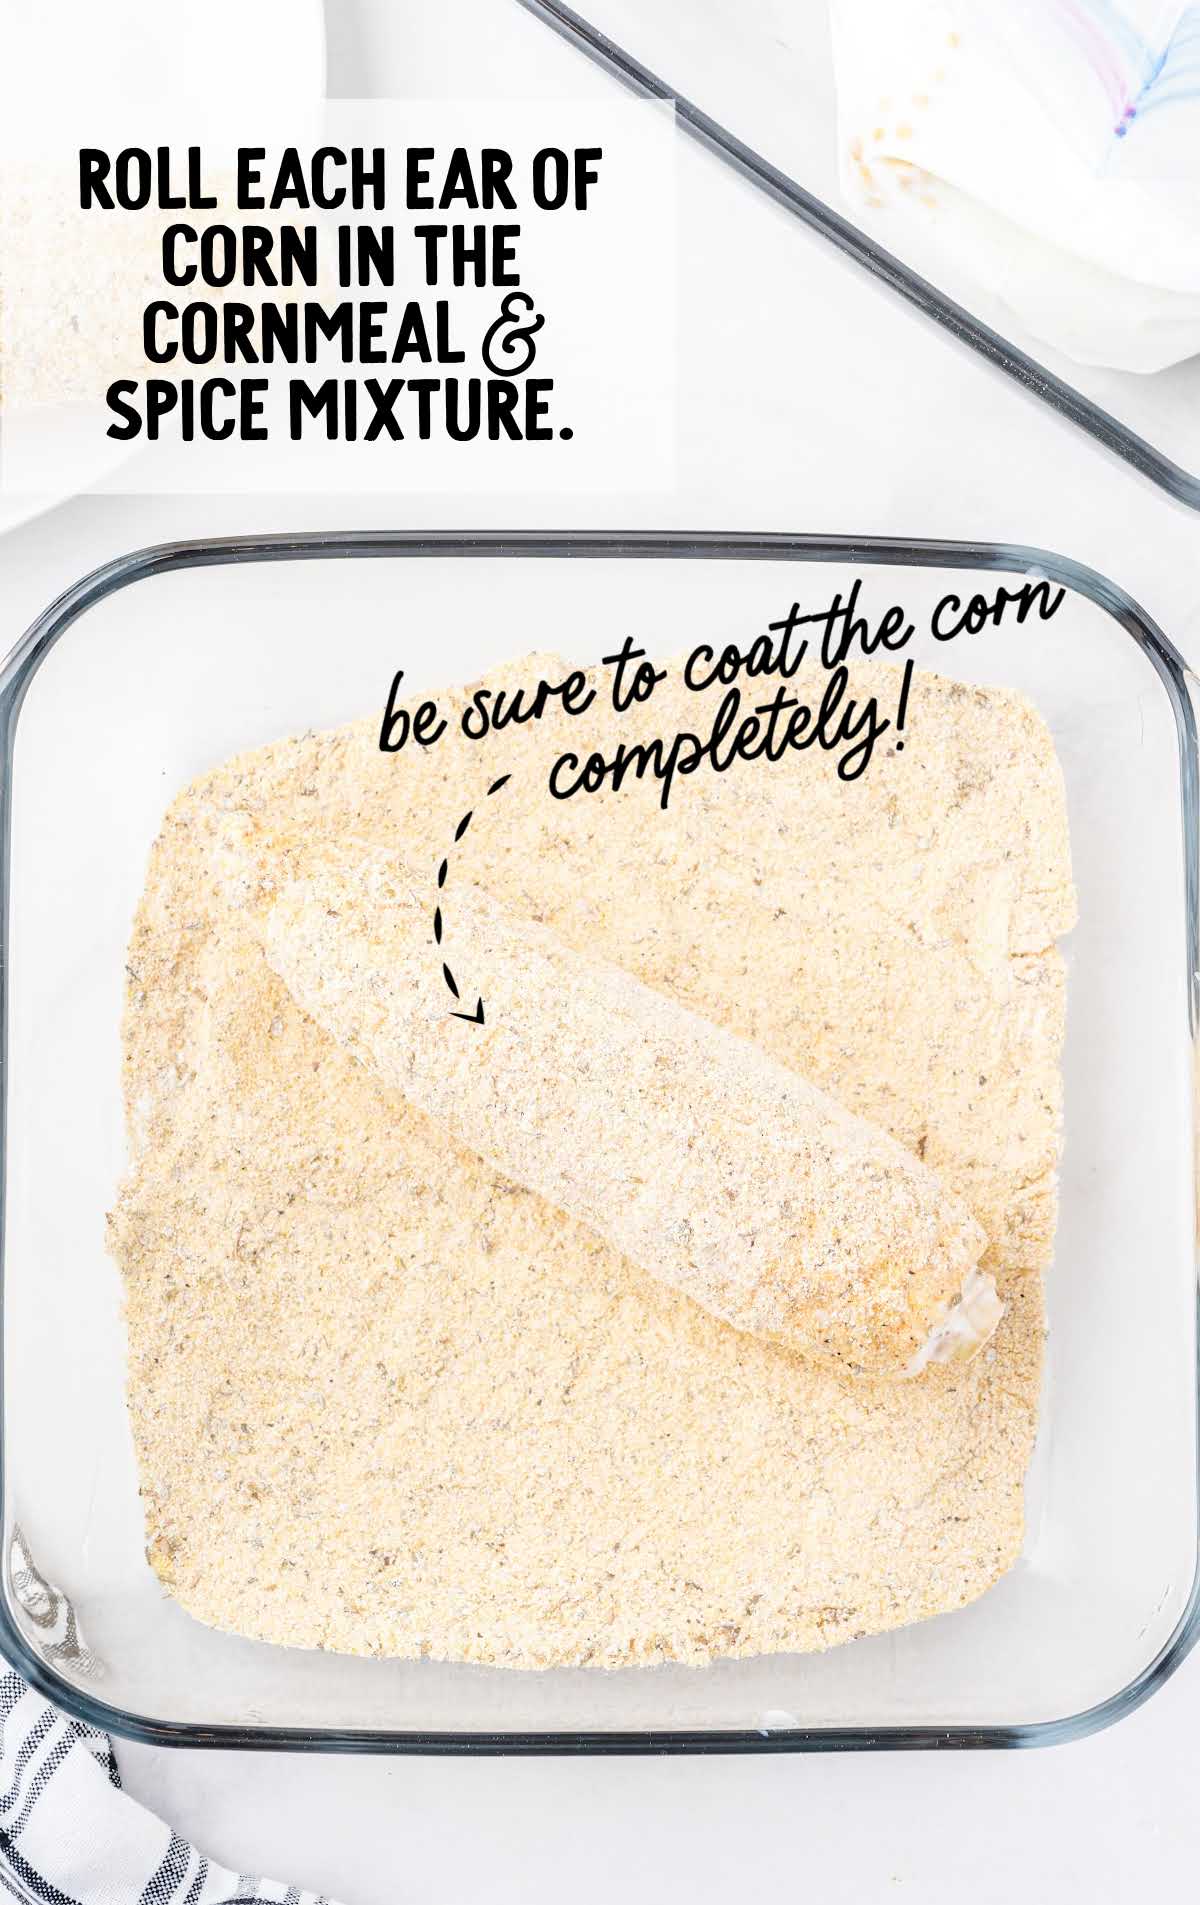
STEP FIVE: Remove the soaked corn from the buttermilk, one ear at a time, and place it in the cornmeal batter. Roll the ears of corn to completely coat.
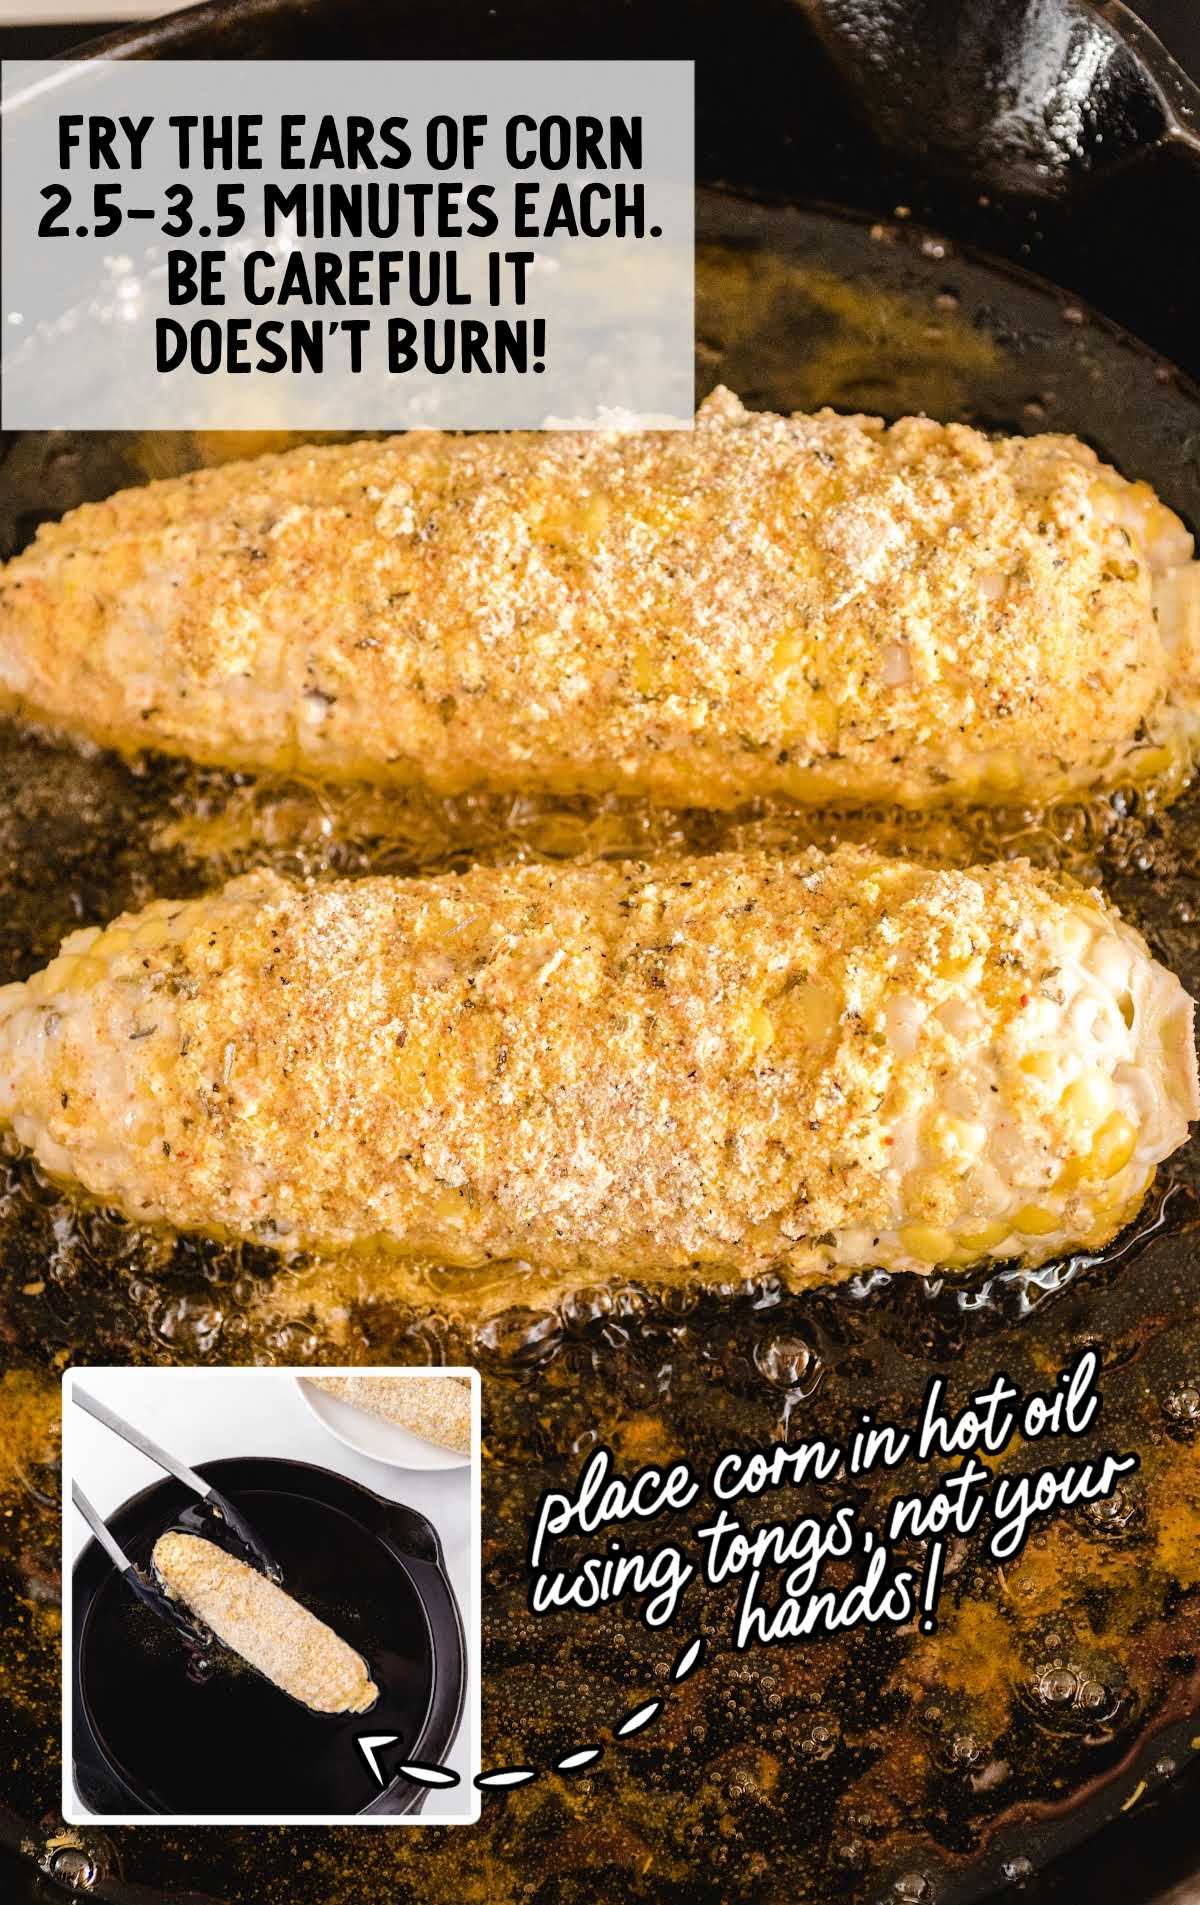
STEP SIX: Using cooking tongs, carefully place the ears of corn in the hot oil. Cook for 2½ to 3½ minutes per side, until golden brown, be careful not to burn the corn.
PRO TIP:
Keep a very close eye on the oil, making certain to adjust the heat up or down to keep the oil from bubbling over.
STEP SEVEN: Place the cooked ears of corn onto a plate lined with paper towels to soak up any excess oil.
STEP EIGHT: Serve as soon as corn has drained on paper towels.
How To Serve This Fried Corn on the Cob Recipe
Fried corn on the cob is a delicious way to enjoy this fresh summer vegetable. Add a pair of corn holders to each corn cob and serve with a grilled entree and side dishes such as grilled chicken and pasta salad. This corn is a great option to make for a summer gathering or BBQ.
For the ultimate Southern dinner, serve this fried corn alongside these Fried Pork Chops — together they make one of those meals that feels like it came straight out of a home-cooked Sunday supper
How To Store Deep Fried Corn on the Cob
IN THE FRIDGE: If there are any leftovers they can be stored in an airtight container in the refrigerator. Leftovers will last for about 3 days, but will lose some of their crunchiness.
Deep-fried corn on the cob is a classic fair food that you can easily make at home. This dish is made by dipping fresh corn on the cob in a cornmeal mixture. The result is an amazing dish, full of crispy flavors that’s perfect for BBQs.
Deep Fried Cob FAQs
Vegetable oil is the standard oil used for deep frying at home. It heats to the right temperature and won’t leave any extra taste on the finished product.
Deep-fried corn on the cob can be stored in the fridge for 2-3 days. You may find that the outer batter will lose its crunchiness beyond that.
With a sharp chef’s knife, cut off the stalk end of the cob just above the first row of kernels. Place 3 or 4 ears at a time on a microwave-safe plate and microwave on full power for 30 to 60 seconds. Hold each ear by the uncut end in 1 hand. Shake ear up and down until cob slips free, leaving behind husk and silk.
To deep fry, heat vegetable oil to approximately 360°F in a deep skillet or pot. Once heated, coat the food you are cooking in batter or other coating and very carefully lower each piece into the hot oil. Allow to cook for 2-3 minutes until golden brown and then remove from the oil.
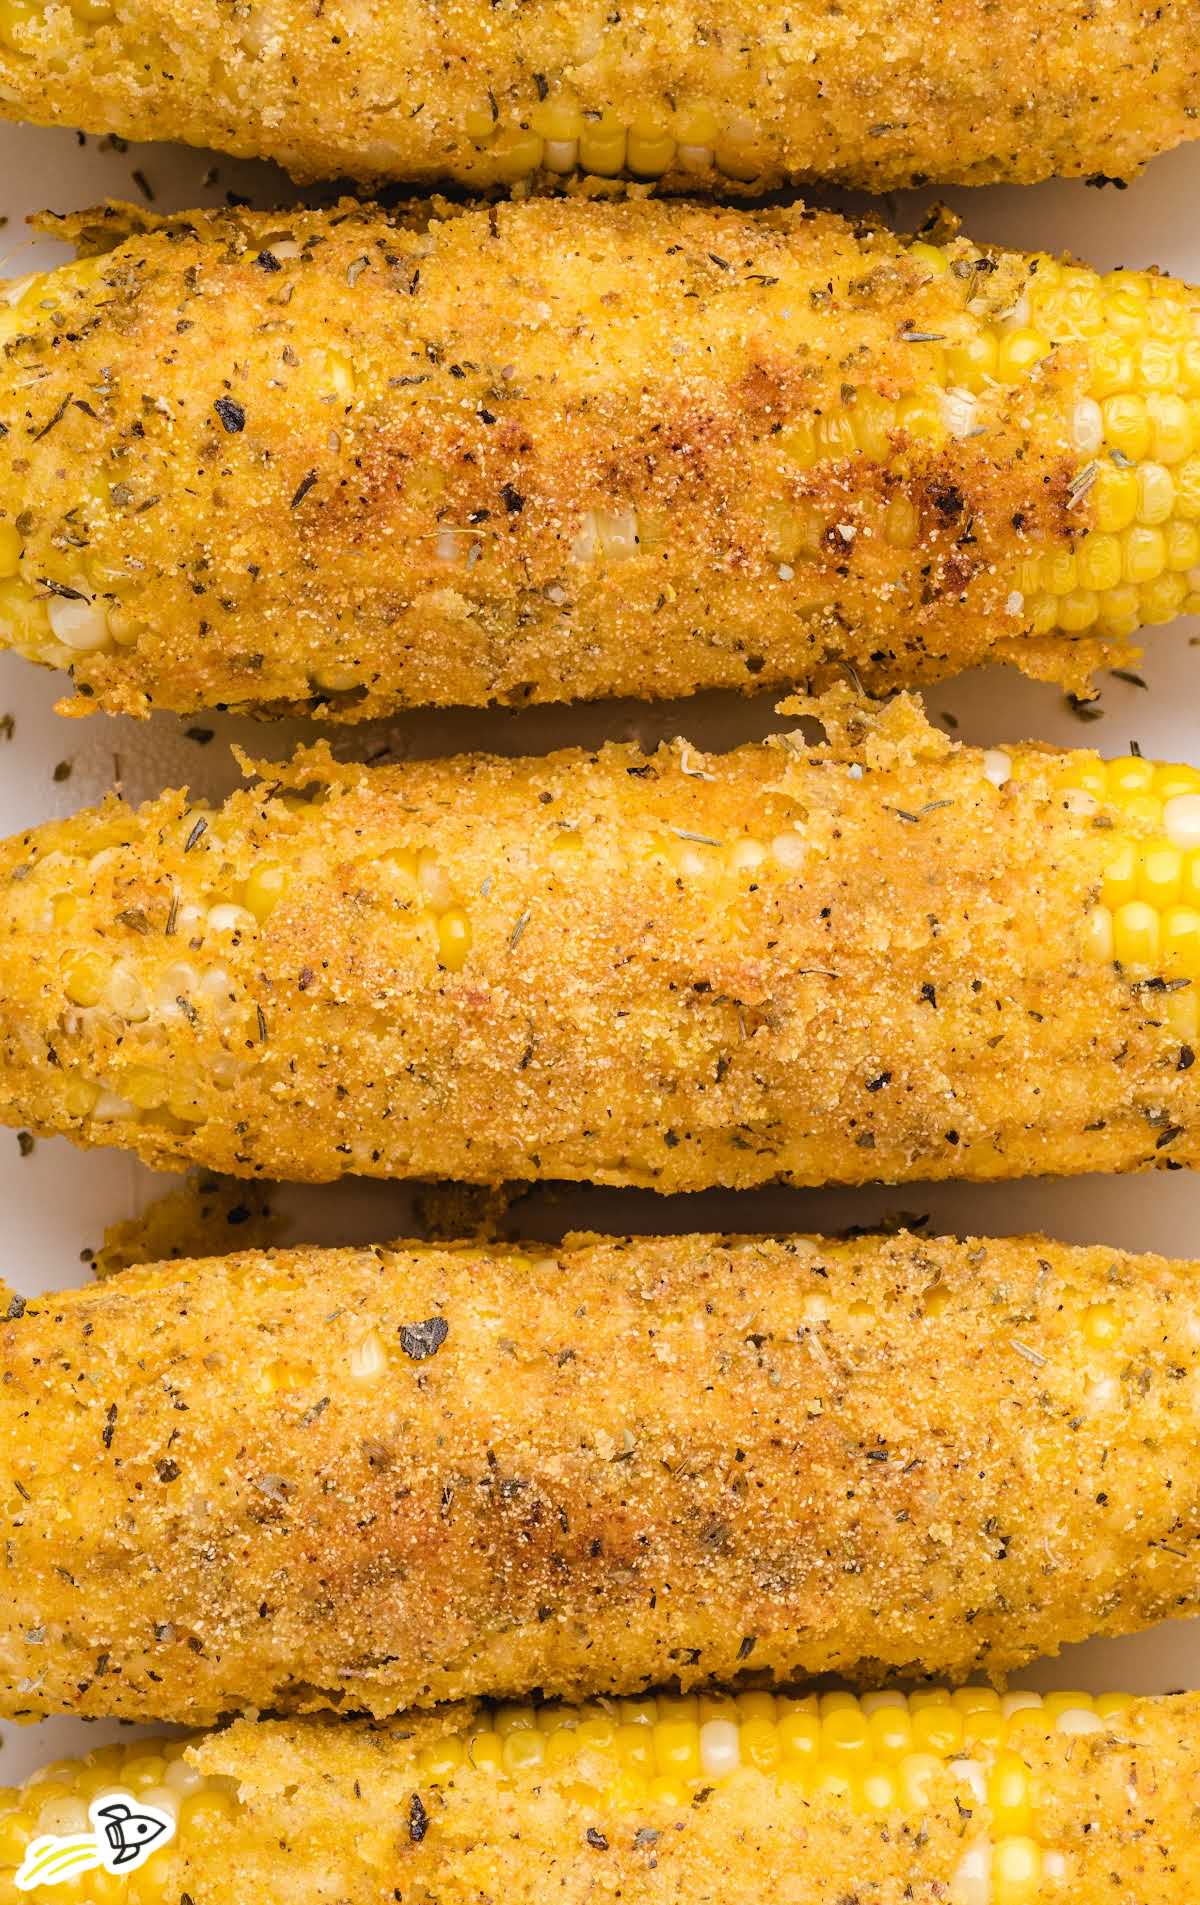
When you deep fry corn, it comes out with a delicious golden brown crispy coating on the outside and tender, juicy corn on the inside.


Fried Corn on the Cob Recipe
Ingredients
- 4 ears fresh sweet corn on the cob, shucked and silks removed
- 2 cups buttermilk
- ½ cup cornmeal
- ¼ cup all-purpose flour
- 2 teaspoons italian seasoning
- 2 teaspoons onion powder
- 1 teaspoon salt
- ½ teaspoon black pepper
- ½ teaspoon smoked paprika
- vegetable oil, enough for ¼ inch of oil for frying
Instructions
- Place all 4 ears of corn in a gallon size ziploc. Pour the buttermilk on top of the ears of corn and seal the ziploc.
- Place the sealed bag into a 8 x 8 baking dish, this will help keep the buttermilk contained just in case any leaks out. Allow the corn to rest in the buttermilk for 15 minutes on one side, then turn the corn baggie over to rest for 15 more minutes.
- In a small mixing bowl whisk the corn meal, all-purpose flour, italian seasoning, onion powder, salt, paprika, and black pepper. Pour the cornmeal mixture into baking dish to roll the corn in.
- In a 10 to 12-inch skillet, pour enough vegetable oil to measure ¼ inch. Heat the oil on medium high heat.
- Remove the soaked corn from the buttermilk, one ear at a time, and place in the cornmeal. Roll the ears of corn to completely coat.
- Using tongs, carefully place the ears of corn in the heated oil. Cook for 2 ½ to 3 ½ minutes per side, until golden brown, be careful not to burn the corn. Keep a very close eye on the oil, making certain to adjust the heat up or down to keep the oil from bubbling over.
- Place the cooked ears of corn onto a plate lined with paper towels, to soak up any excess oil.
- Serve as soon as corn has drained on paper towels.
Video
Notes
- If you don’t have buttermilk, you can make your own. Use 1 cup of 2% or whole milk with one tablespoon of vinegar mixed in for this recipe.
- One way to check if the oil is ready for frying is to stick the end of a dry wooden spoon into the oil. If small bubbles form around the wood and start to float up, the oil is ready. If the oil is bubbling hard, the oil is too hot. Remove the pan from the heat, let the oil cool down for a few minutes and re-check the oil. Place the oil back onto the burner and turn the heat down to between medium-high and medium.
- Keep a very close eye on the oil, making certain to adjust the heat up or down to keep the oil from bubbling over.
Nutrition


Comments
Gloria says
Our whole family LOVES this recipe, so yummy!
Layne Kangas says
Hi, Lisa – there aren’t eggs in this recipe. Enjoy!
Barbara says
So is it whole milk or buttermilk? And all purpose flour, or self rising? Different parts of your post say different things. Or could I just use whichever milk and flour I have on hand?
Layne Kangas says
Hi, Barbara – you’ll use buttermilk (or make your own with vinegar) for this recipe and all-purpose flour. Enjoy!
Susan says
Would this work in an air fryer?
Layne Kangas says
It probably would but since we haven’t tested that, I can’t tell you for sure what the best way to do it would be! Let me know if you try it! 🙂
mike says
One place it says 1 to 11/2 inches of oil another place says 1/4 inch of oil. Which is it? Iam not really a cook but this sounds good.
Layne Kangas says
It’s 1/4 inch of oil. Enjoy!
Charneise Moore says
Does the corn have to be defrosted?
Layne Kangas says
Hi, Charneise – you’ll want to use fresh corn for this recipe, not frozen.