
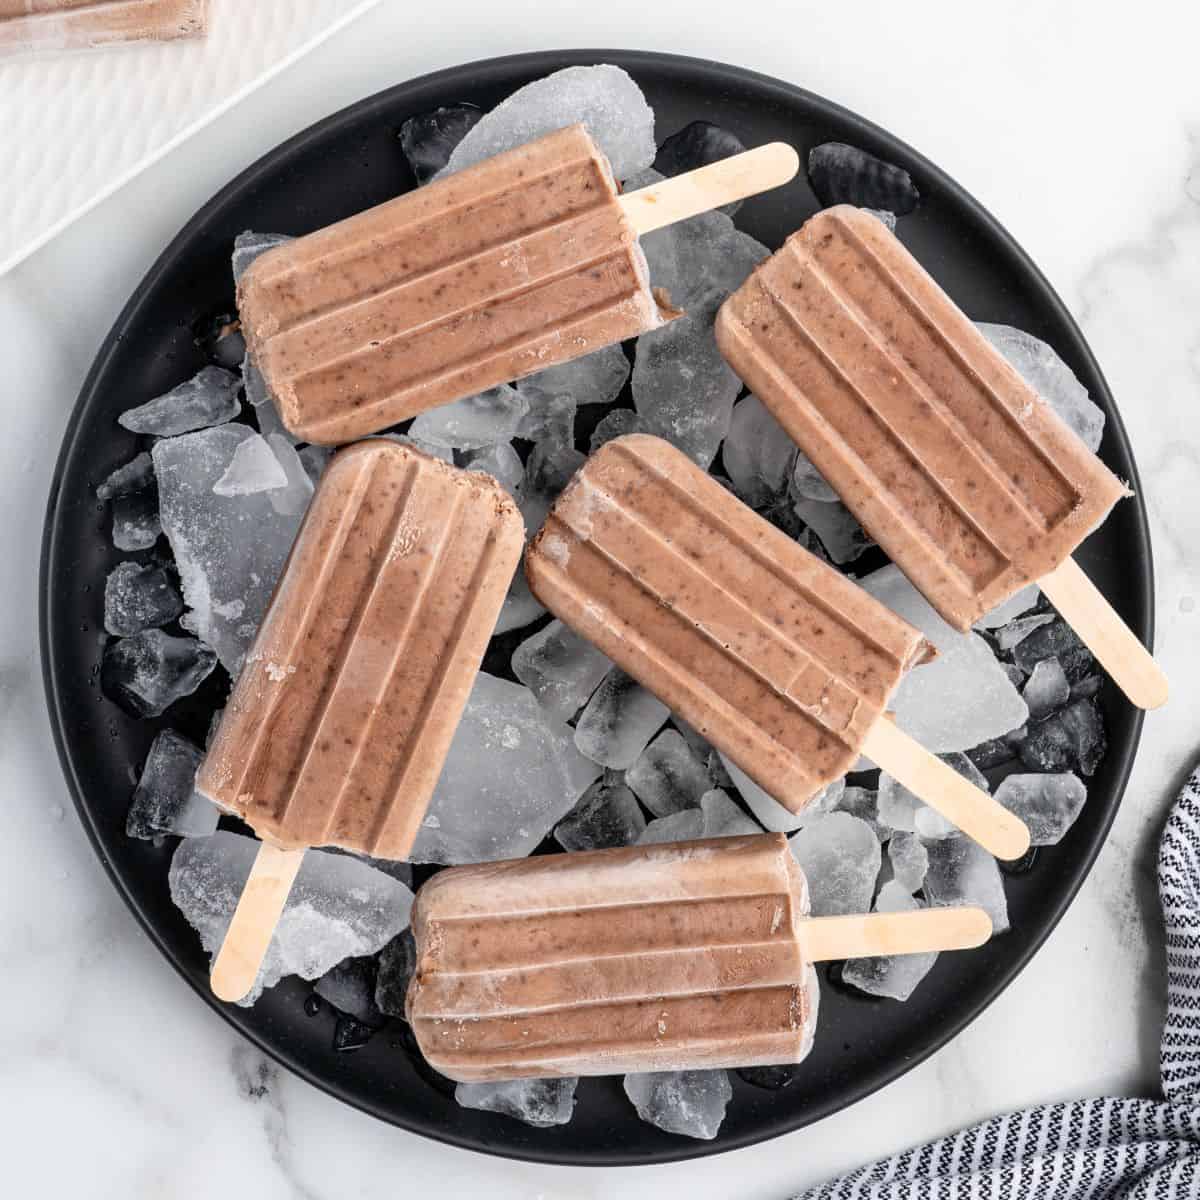
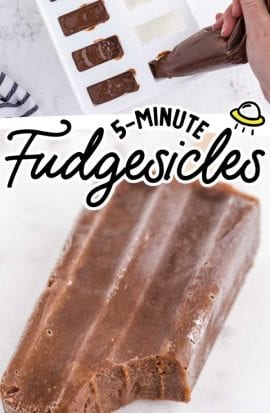

Most people remember fudgesicles tasting richer and creamier than they do now. Buy one today, and it may not quite measure up. Maybe the recipe changed, or maybe the memory did. Either way, making them yourself gives you the chocolate pop you were hoping to taste again: deeply chocolatey and properly creamy.
Use Half & Half, Not Milk
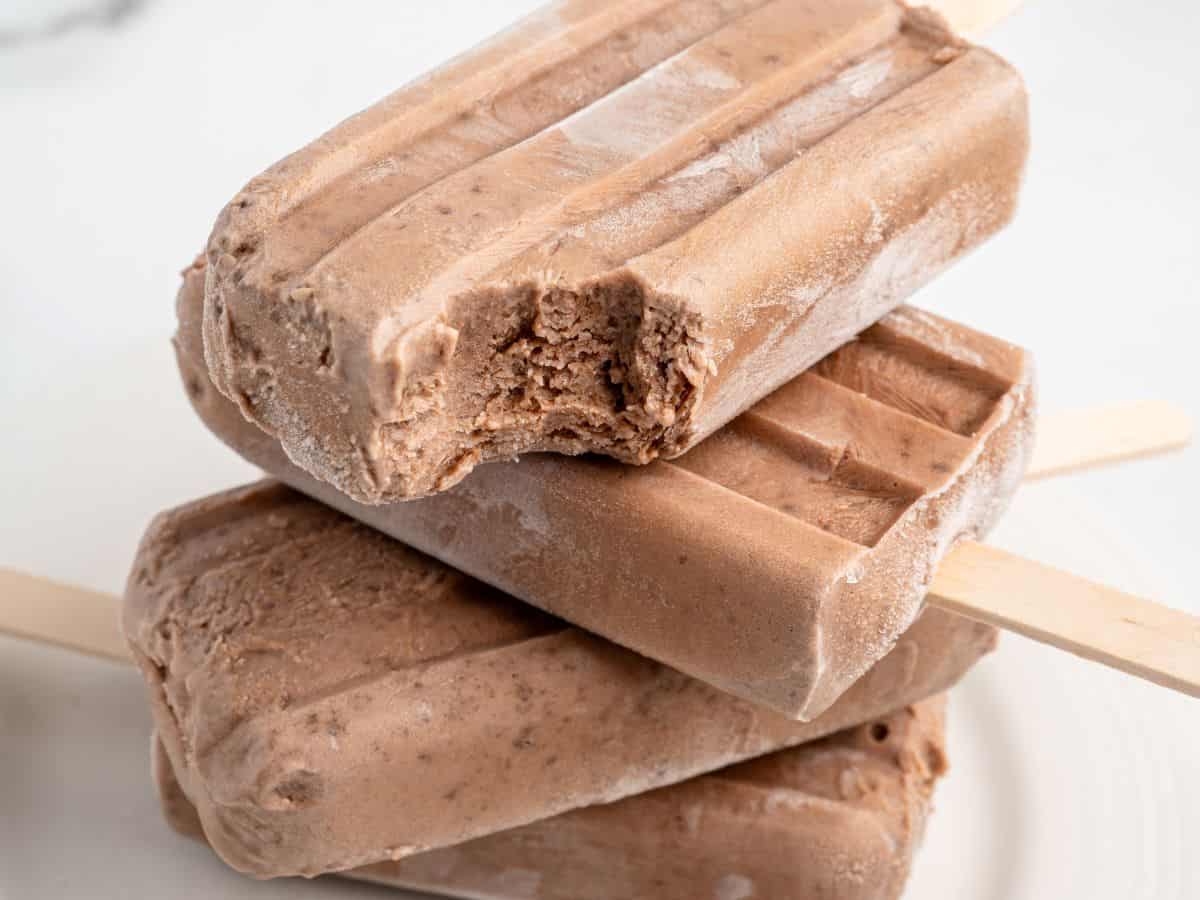
The creaminess in a homemade fudgesicle comes from fat. Half-and-half has enough of it that the pops freeze smooth and dense, closer to ice cream than ice. Whole milk works, but it freezes noticeably icier and grainier, and skim or nonfat is worse still.
If yours have ever come out grainy even though you whisked the pudding perfectly smooth, it’s almost always because you used milk.
Dairy Free Version – Almond or coconut milk will set into a fudgesicle. However, they have less fat than half-and-half, so expect an icier pop. That is the trade if you need it to be dairy-free; just go in knowing it will be more like a chocolate ice than a fudge pop.
Buy The Family Size Box
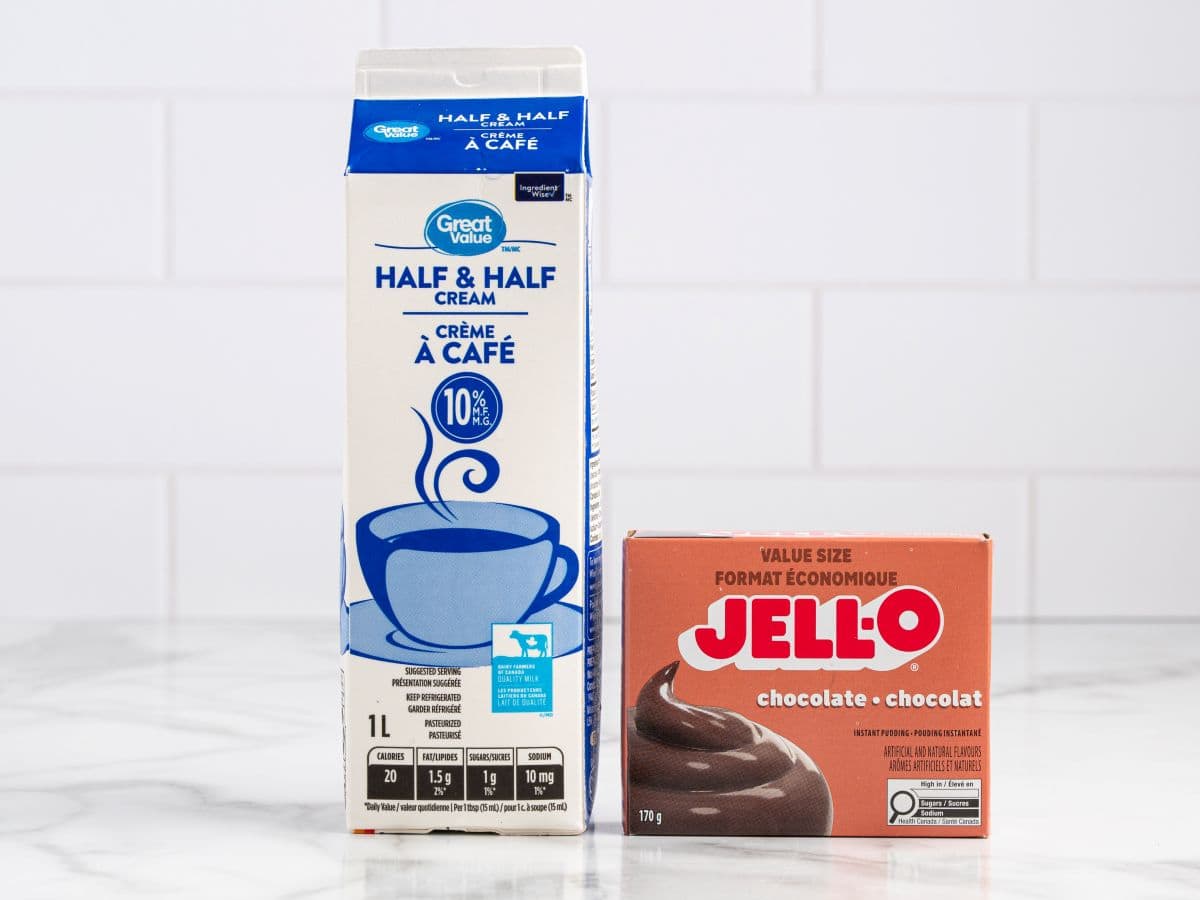
The recipe uses one 5.9-ounce package of chocolate instant pudding. That size is real, but it is labeled “Family Size” on the shelf. This often trips readers up, because the standard box is 3.4 ounces and there is a 5.1-ounce box in between.
If you can only find the small boxes of instant pudding, get two 3.4-ounce boxes.
Any brand works and any chocolate variety works. This is the ingredient carrying all the flavor, so pick one you actually like the taste of.
Work Fast, Because The Pudding Sets In Minutes
Here is the part every fudgesicle recipe glosses over. Instant pudding starts thickening the moment it hits the liquid, and within about five minutes of whisking it goes from pourable to too stiff to pour. That short window is the whole game.
Do not try to pour it into the molds. By the time you have whisked it smooth, it is already past pourable for narrow popsicle cavities, and forcing thick pudding down into a mold is how you get air pockets trapped in the middle.
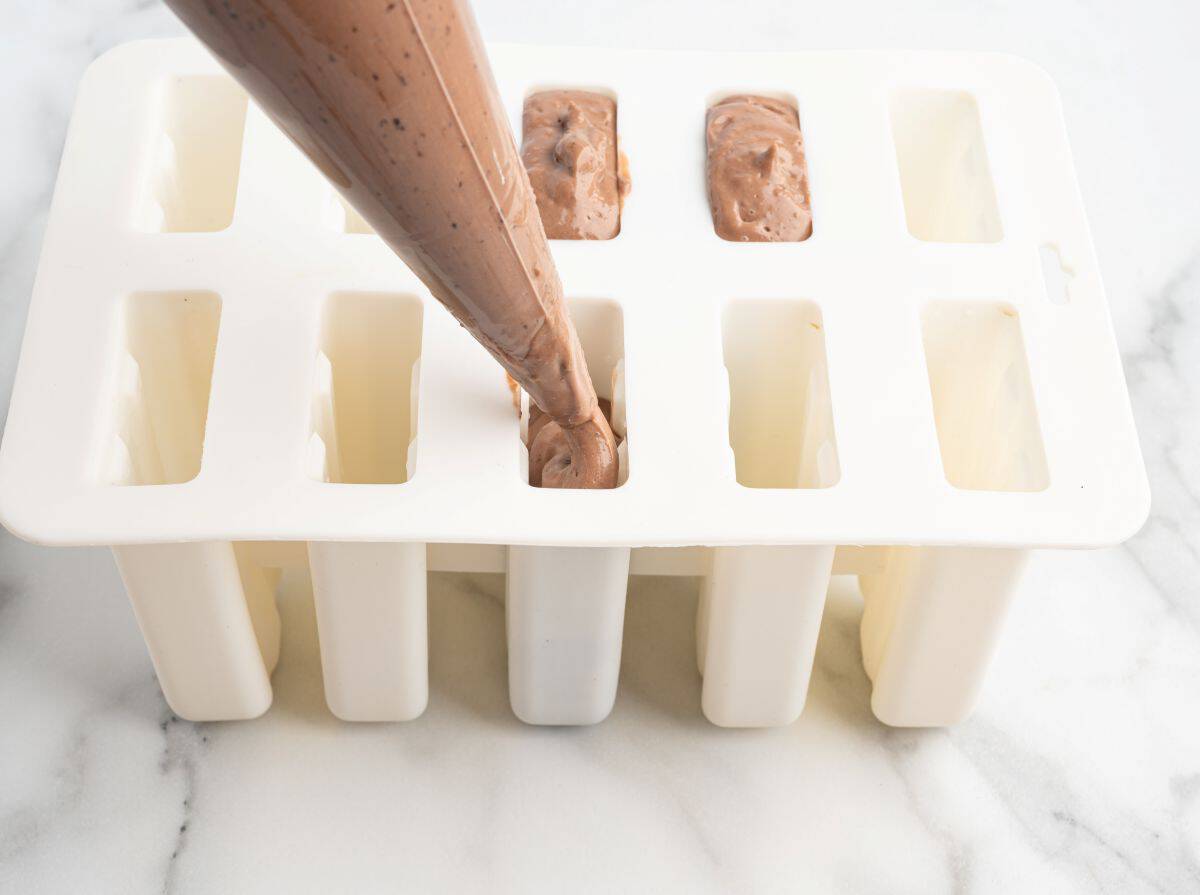
Instead, scoop the pudding into a piping bag or a zip-top bag with one corner snipped off, and pipe it into each cavity from the bottom up. It fills evenly and you stay ahead of the setting.
Once the molds are filled, rap the whole tray firmly on the counter several times. This drives the trapped air up and out and settles the pudding into the corners, which is what gives you a solid, smooth pop instead of one with hollows around the stick. Then add the sticks and freeze.
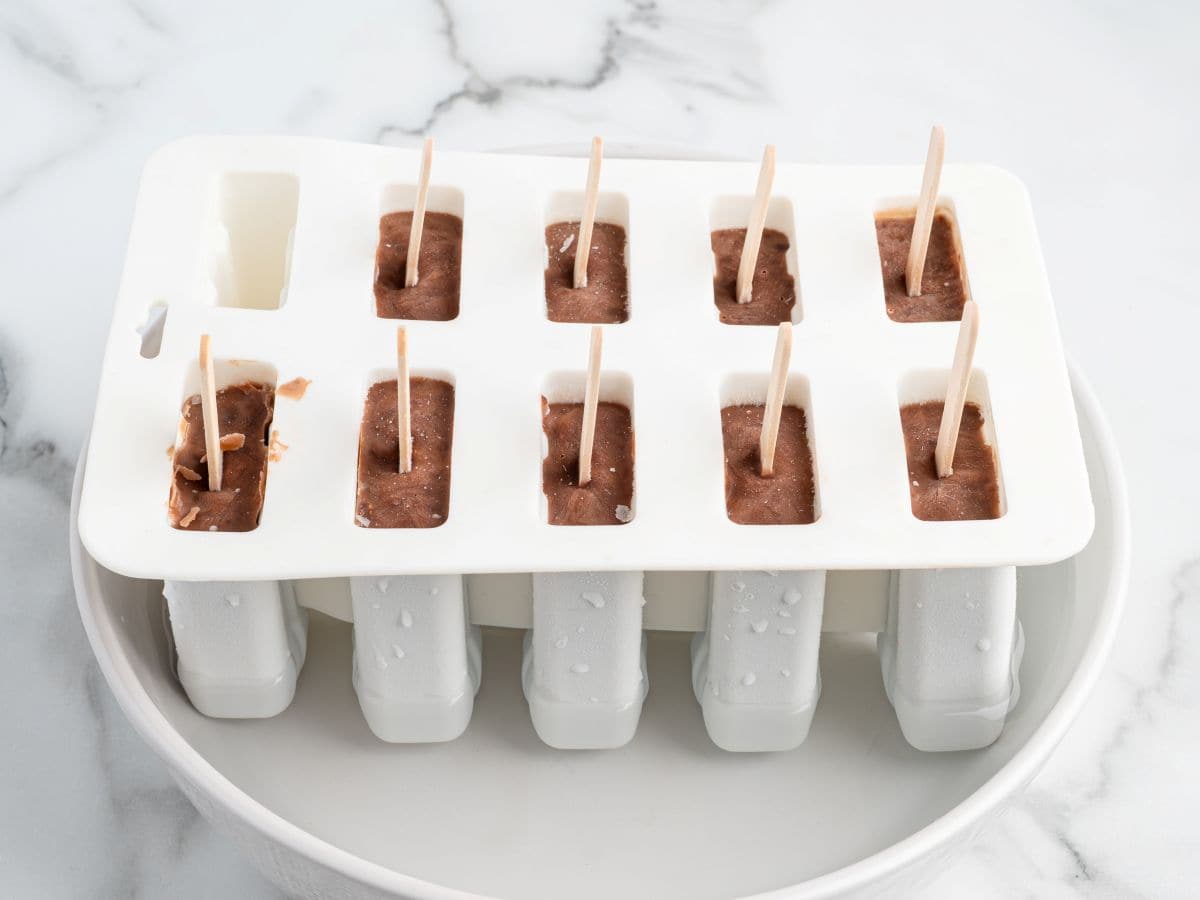
If a stick will not stand up straight in the soft pudding, freeze the molds for an hour first, then push the sticks in. They will hold.
Getting Them Out Just Takes Warm Water And Patience
Straight from the freezer, the pops will not budge, and pulling harder just yanks the stick out of the fudgesicle. Do not force it.
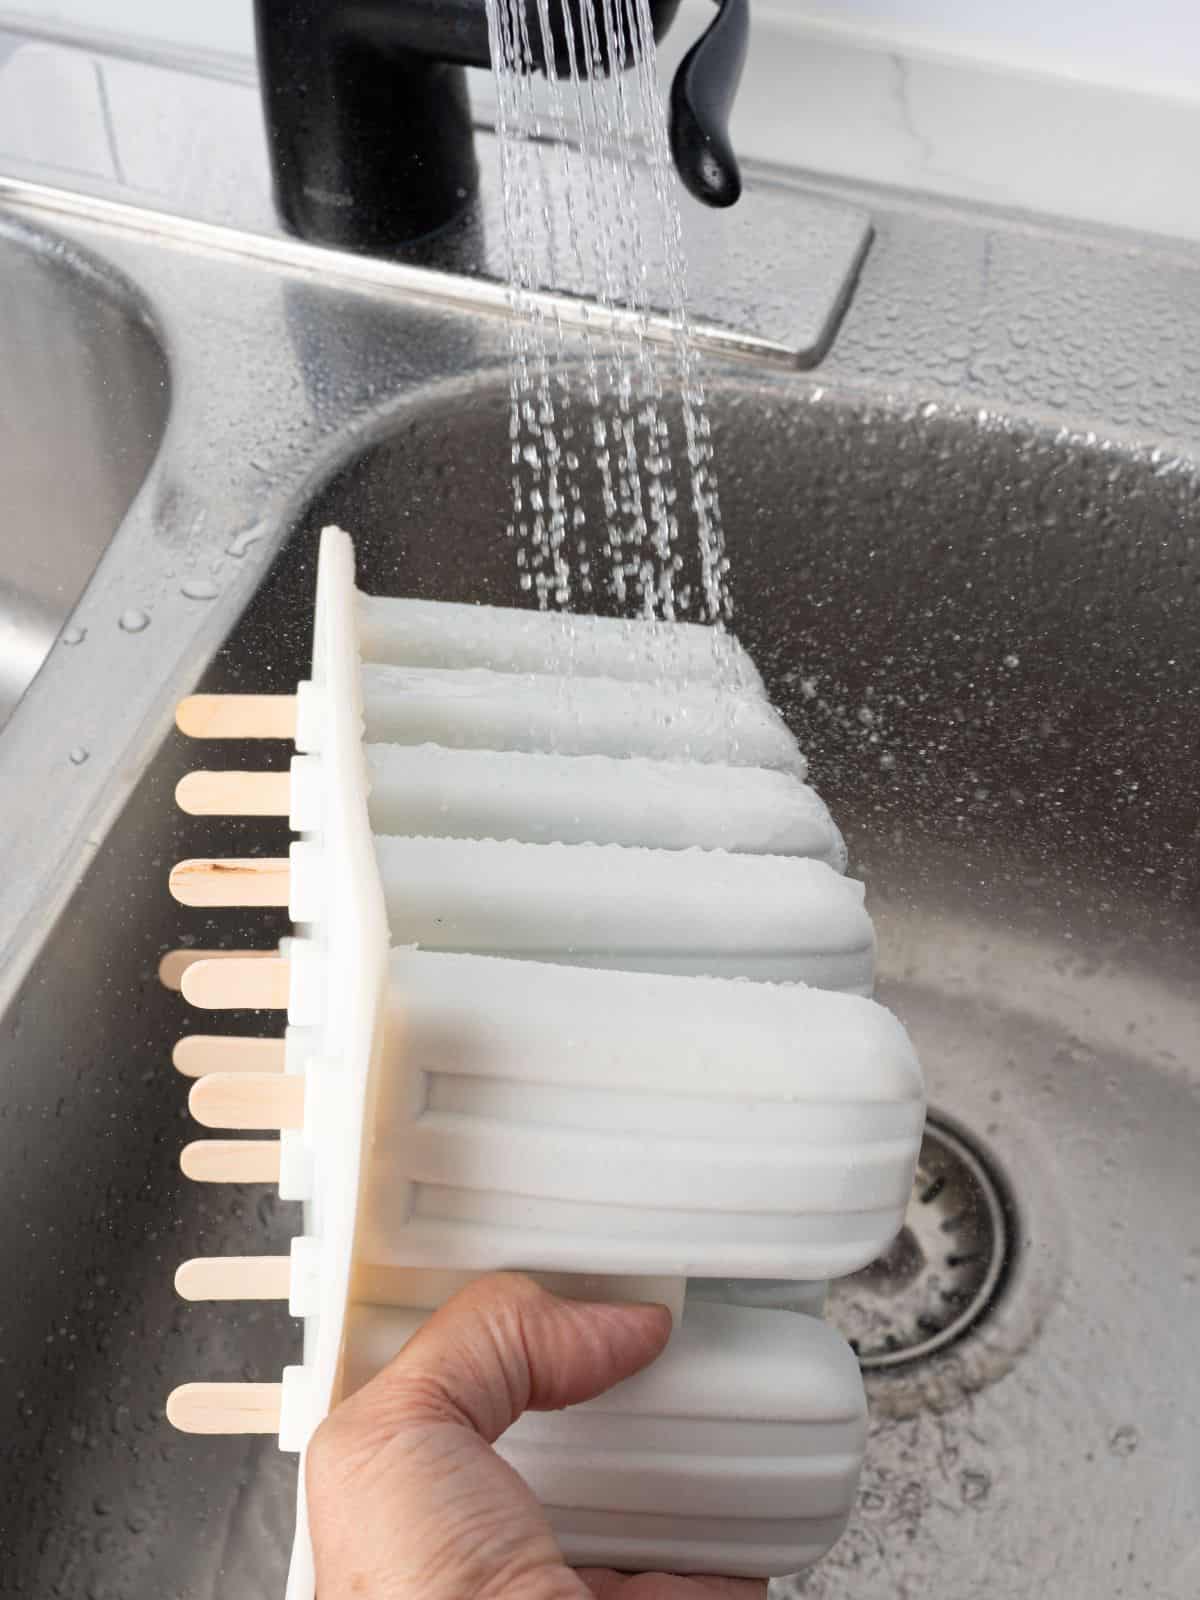
Run warm water over the outside of the mold, or dip the whole mold in a container of warm water. Give it longer than you think, about 30 seconds or a little longer, until you can feel the pop release. Then hold the base and ease the stick out gently.
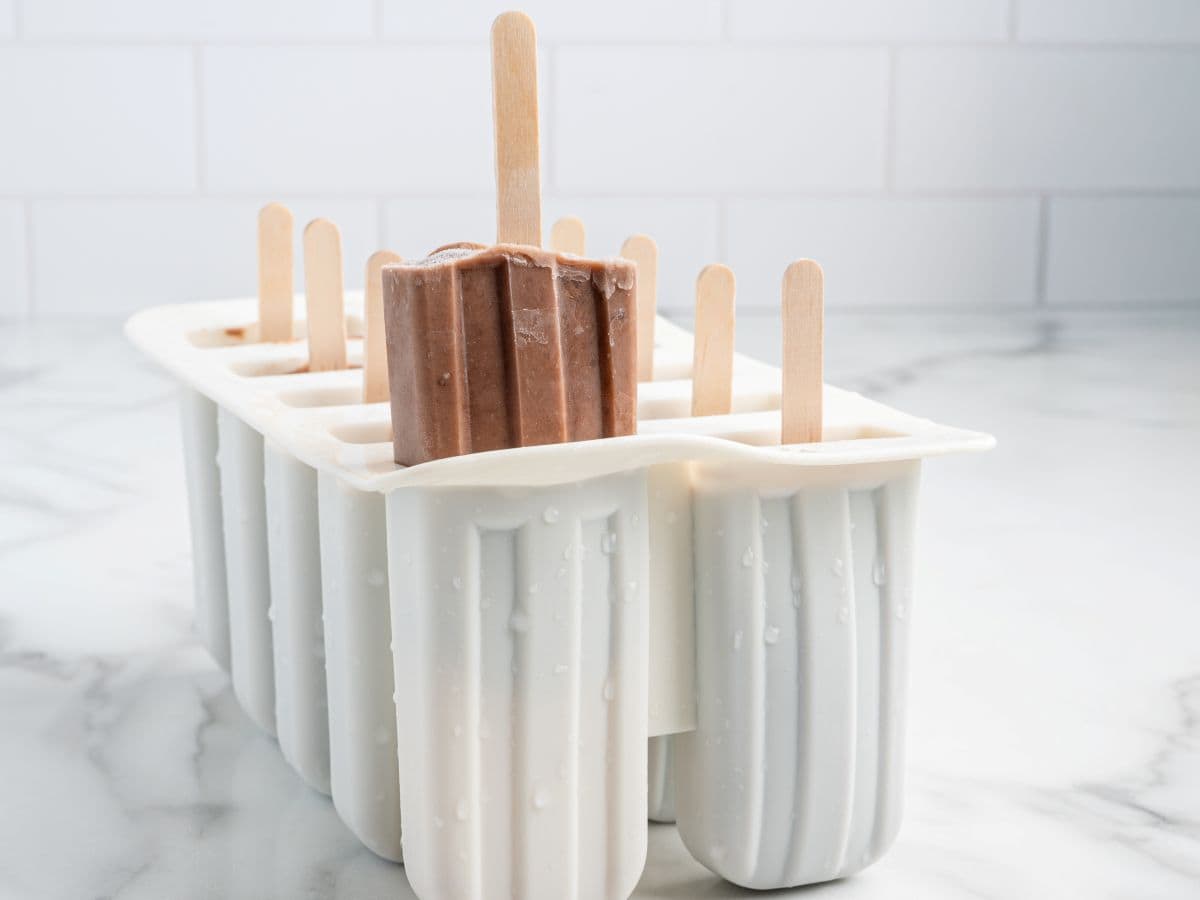
A good mold releases cleanly this way; a flimsy one fights you the whole time and is worth replacing if you make these often.
Storing A Batch
Fudgesicles keep for weeks in the freezer, but how you store them matters if you want them to stay smooth.
Left loose in a bag they knock together and frost over. Pull them from the molds once frozen and stack them on a parchment-lined sheet or in a container with parchment between the layers, so they are not touching.
That also frees the mold up for a second flavor, which is how a batch of Dole Whip popsicles or root beer float popsicles tends to happen the same afternoon.
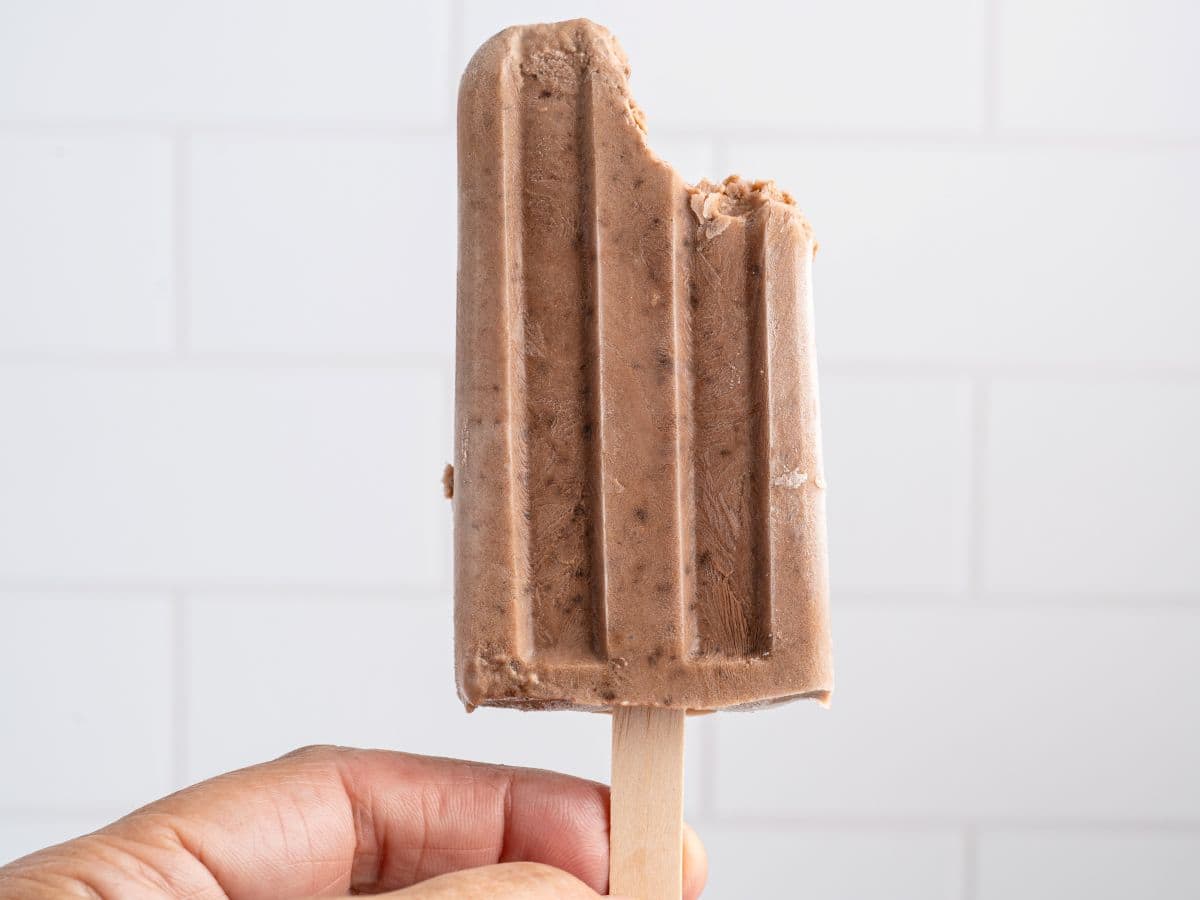
They are worth making a batch of. Once you have the half-and-half and the piping sorted, a tray costs a couple of dollars and beats the box on flavor every time.
This post was originally published in June 2021. It was updated in July 2026 with new photos as well as clearer how-to steps.
More Popsicle Recipes



Fudgesicles
Equipment
- 9 popsicle sticks
- 1 Popsicle molds, for 10 popsicles
Ingredients
- 5.9 ounces Chocolate instant pudding mix, I used Jello (one Family Size box, or two 3.4-ounce packages)
- 3 cups Half-and-Half, cold
Instructions
- Prepare the pudding according to package instructions: whisk together the pudding mix and cold Half-and-Half for about 5 minutes, until thickened but still soft enough to work with.
- Working quickly before the pudding sets, scoop it into a piping bag or a zip-top bag with one corner cut off, and pipe it into each mold from the bottom up. Tap the filled molds firmly on the counter several times to settle the pudding and release air bubbles.
- Be sure to insert the popsicle sticks into the filled molds before freezing.
- Freeze the fudgesicles for about 8 hours until very firm.
- Run the molds under warm water, about 30 seconds or a little longer, until the fudgesicles loosen. Do not pull hard on the sticks before they release.
- Remove the fudgesicles from the molds and place them on a sheet pan lined with parchment paper to store in the freezer.
Notes
- Use a piping bag to pipe the pudding into the molds for easy and cleaner transfer. Tap the molds on the counter to help the pudding pack down into the mold and remove most of the air bubbles.
- If you can’t get your popsicle sticks to stand up right away, wait and pop them in once the fudgesicles have been in the freezer for 1 to 2 hours.
- You can leave fudgesicles in their mold for up to a week, but it is best to remove them within a day, so they don’t lose their texture and color.
Nutrition










Comments
Bessie says
where can i get the popscles mold?
Layne Kangas says
Hi, Bessie – they usually have them at Walmart or a grocery store. You could also check on Amazon. Enjoy!
Dadra Henry says
Going to try them. Thank you very much
Mary L Winders says
This is an easy recipe for a frozen dessert that so many people like. I plan to make these over and over, not only during the hot weather. Thanks for sharing the recipe.
Margaret Rebecca Casey says
Will they be soft or hard as a brick?