

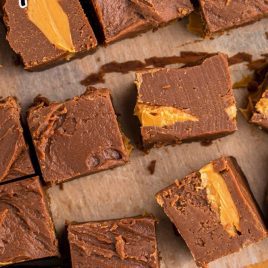

A cousin turns up unannounced, the school asks for a plate by Friday, or the tray you promised looks thin next to everyone else’s. Chocolate peanut butter fudge covers all three. With a can of frosting, a jar of peanut butter, one bowl and a microwave, you can have 36 squares after 30 minutes in the fridge.
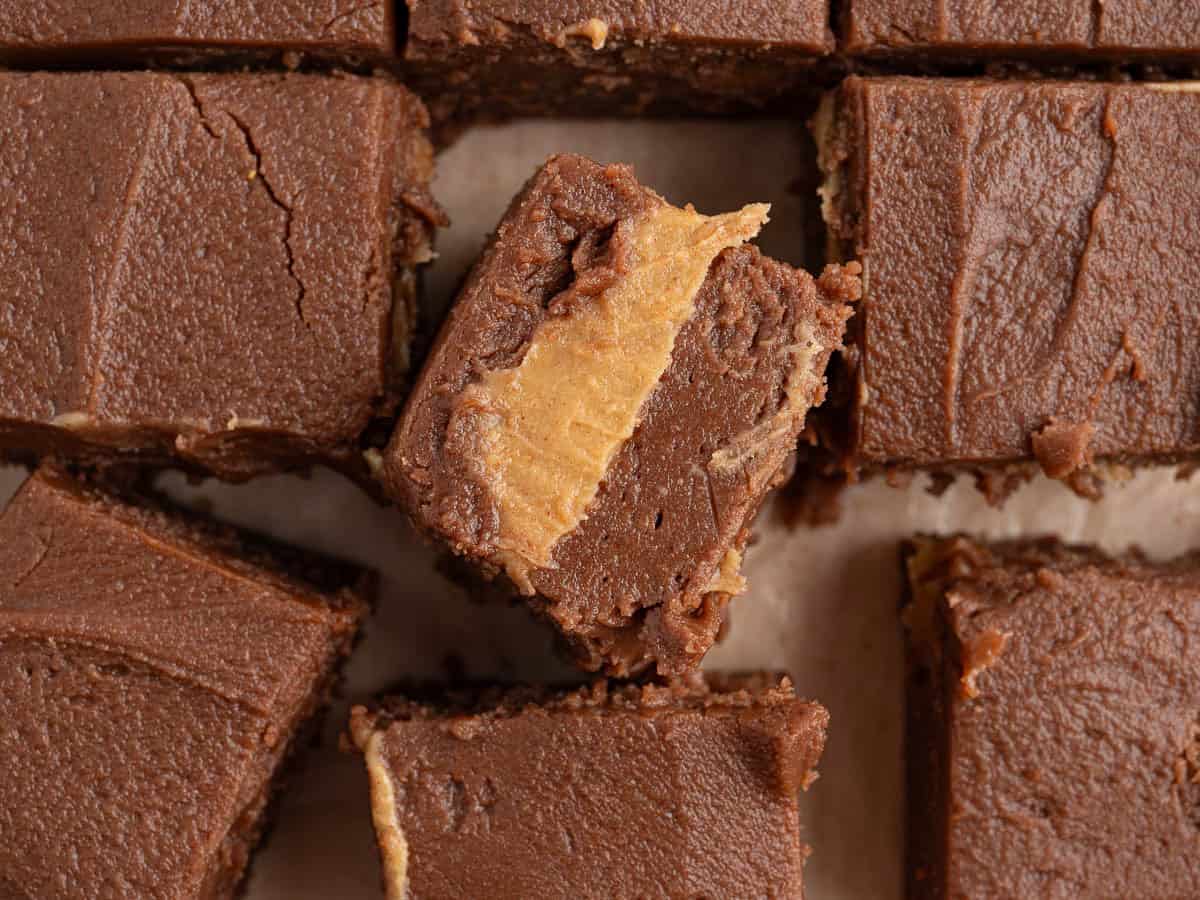
Use Standard Creamy Peanut Butter
I use Jif, but any standard creamy peanut butter will work. The oil stays evenly blended through it, so the peanut butter melts smoothly with the frosting and firms again in the refrigerator.
Save natural peanut butter for another recipe. Its separated oil makes this mixture drag as you spread it and leaves the finished fudge softer, even when the jar has been thoroughly stirred.
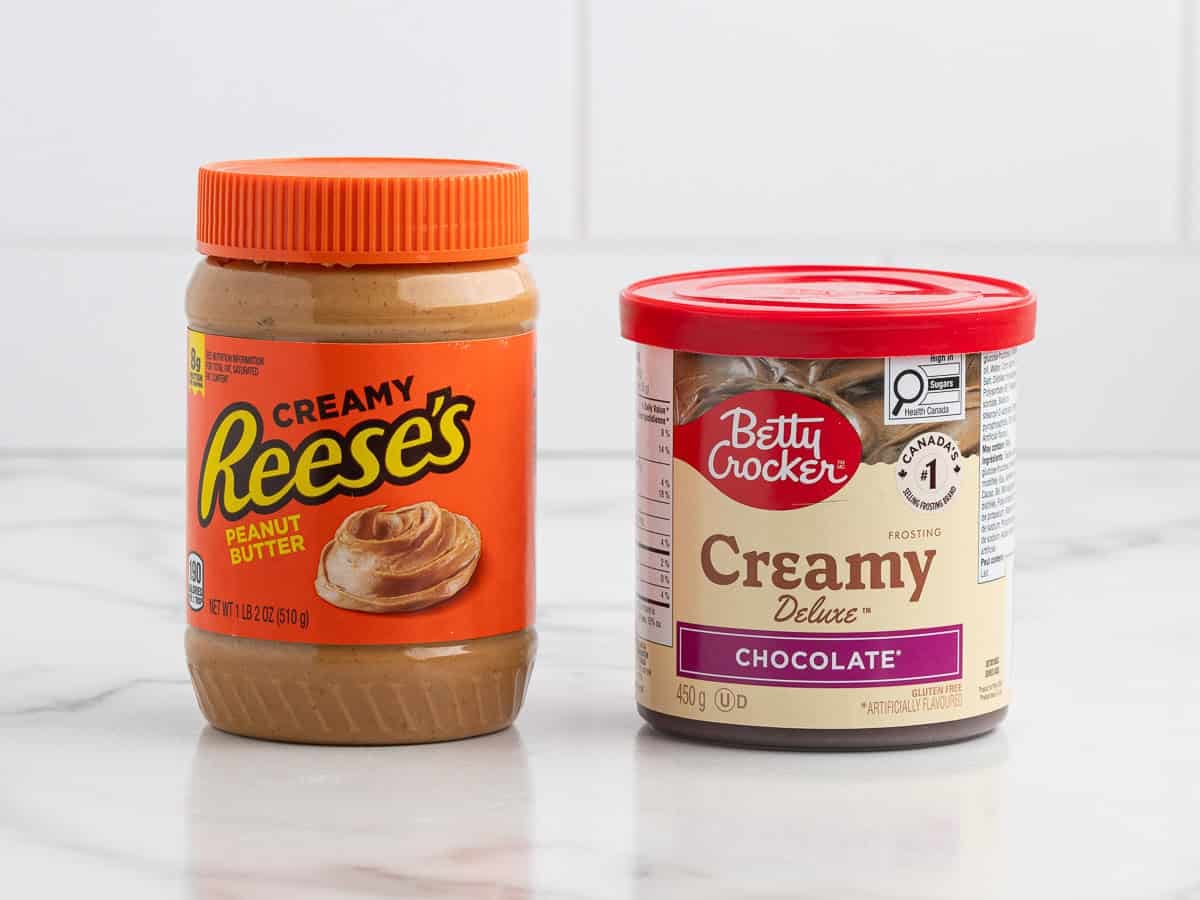
Chocolate and peanut butter layered together never really need much explaining. I share more favorites in the best peanut butter dessert recipes.
Don’t Combine The Ingredients All At Once
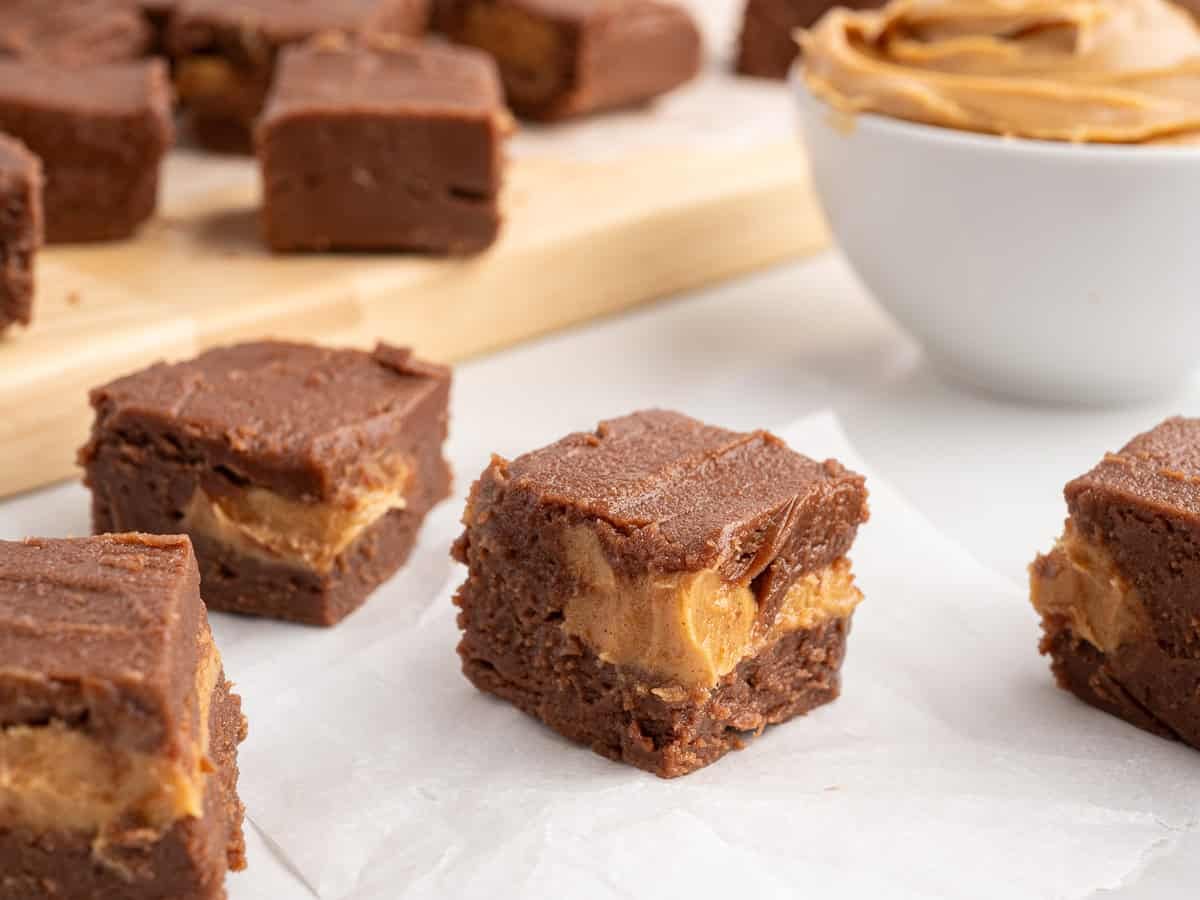
This fudge goes into the dish in two layers, with half a cup of peanut butter dotted in spoonfuls between them so every square gets a pocket of it. Every time I’ve made it, I think about melting all 2½ cups in at once instead and pouring it in as one layer. It would save a few minutes and a spoon, so I had Teresia try it that way.
She made that batch alongside the layered one in the same session, so they chilled in the same refrigerator and got tasted within minutes of each other. Same can of frosting, same jar of peanut butter, same 20 grams a square.
The layered one won, and it was not close. Canned frosting is very sweet before you add anything to it, and peanut butter melted all the way through disappears into that sweetness instead of cutting it. Teresia could not finish a piece of the mixed batch. Her note on it was that it was way too much for her to enjoy.
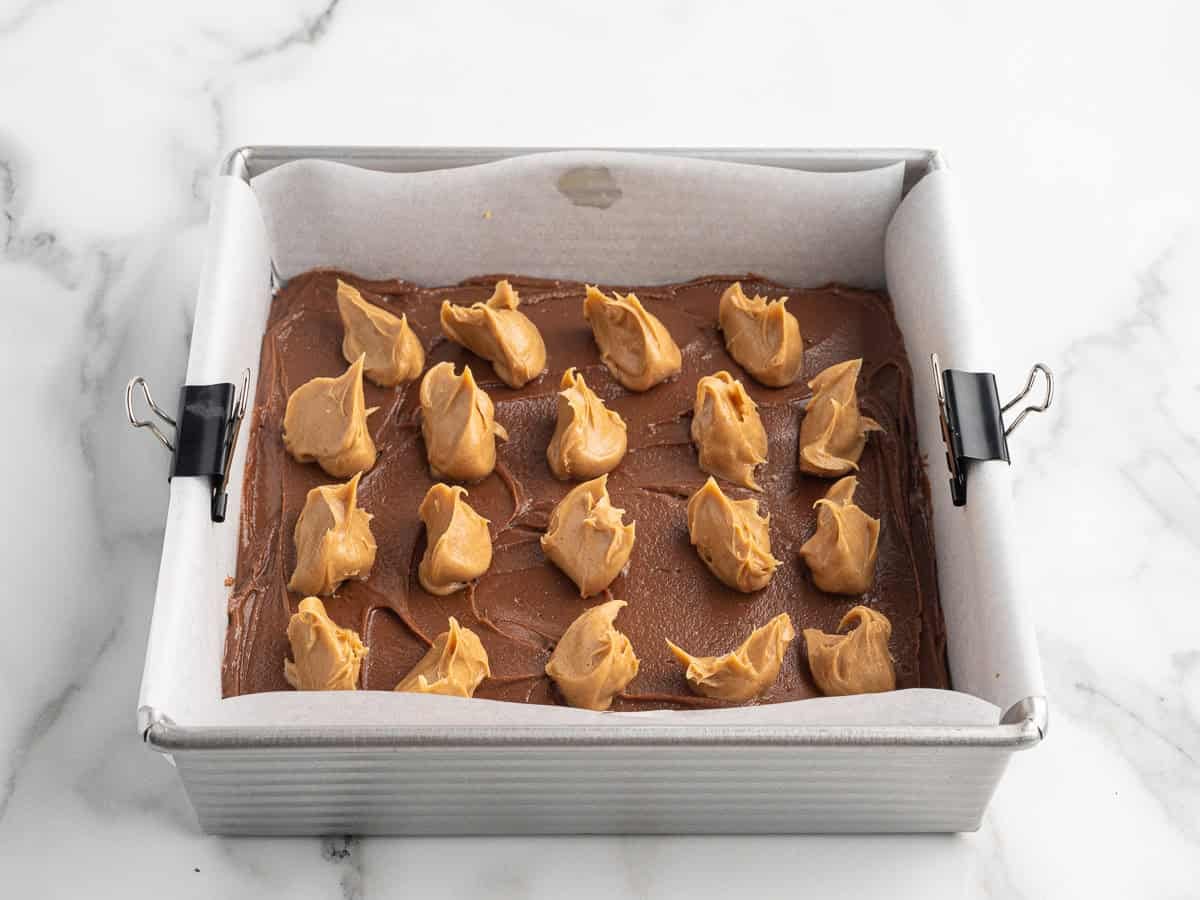
Placing the spoonfuls is quick work. They go straight onto warm fudge, get covered with more warm fudge, and hold their shape through both, so nothing has to cool down in between.
Make This One At The End
When I am making a tray with three or four kinds of fudge, I start with the batches that take longest to set. Candy cane fudge and Christmas fudge both need two or three hours in the refrigerator before cutting.
Chocolate peanut butter fudge needs only 30 to 90 minutes, so I save it until the earlier batches are finished. By then, there is room in the refrigerator and I can see exactly how much space remains on the tray.
It also adds a flavor the tray is usually missing. Peppermint and white chocolate cover the sweeter Christmas standards, while chocolate and peanut butter bring a darker, saltier contrast.
My fudge recipe collection has 40 more options to fill the rest of the tray.
How Soon You Can Cut It
The whole reason I keep this recipe around is speed, so I wanted Teresia (the recipe tester) to find the shortest chill time that still works.
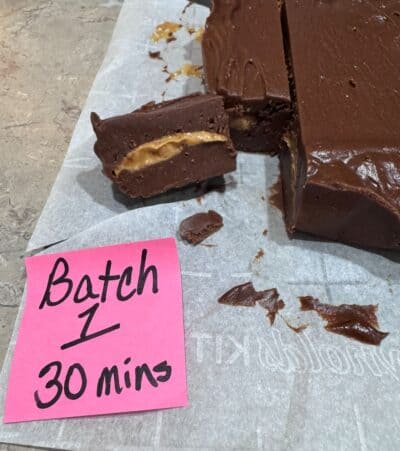
- 30 minutes is the shortest chill time: She lifted the slab out on the parchment and it cut without sagging. The squares were soft and so were the pockets, but they held their shape.
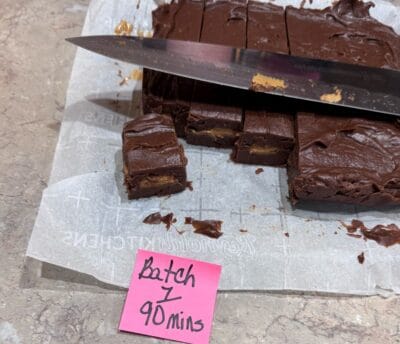
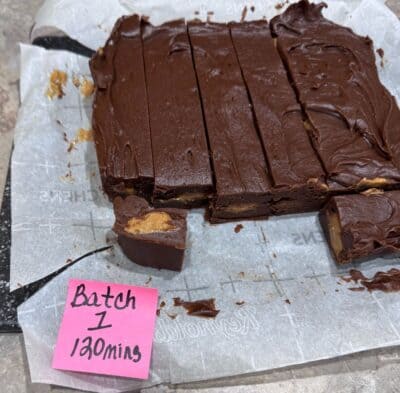
- 90 minutes is the ideal chill time: She went back into the same batch at an hour, at 90 minutes and at two hours. 90 minutes was where it stopped improving, with firmer squares and sharper edges. Two hours looked exactly the same, so leaving it longer buys you nothing.
Keep a paper towel by the cutting board. The knife picks up a little peanut butter when it crosses a pocket.

Keep It Cold Until You Serve It
I put out a few squares at a time and leave the rest in the refrigerator, because this fudge softens quickly once it is out. At around 75°F you have 20 to 30 minutes before it stops holding its shape.
Nothing is ruined when it goes. It does not turn greasy or fall apart, it just gets melty enough that picking one up leaves some of it on your fingers.
If you’re bringing a tin of it somewhere, give the fudge the full 90 minutes in the fridge before you cut it so it will hold up traveling.
This post was originally published in September 2021. In August 2026, it received new photos. The major update to the recipe was to test and confirm minimal as well as optimal chilling time.
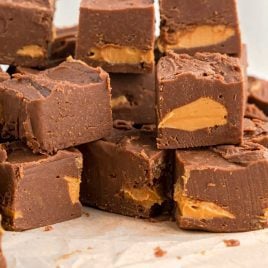
Chocolate Peanut Butter Fudge
Ingredients
- 16 ounces chocolate frosting
- 2½ cups creamy peanut butter, divided into 2 cups and ½ cup
Instructions
- Line an 8×8-inch glass baking dish with parchment paper, leaving enough hanging over two opposite sides to lift the fudge out later.
- Scoop the entire can of frosting into a large microwave-safe bowl, then add 2 cups of the peanut butter. Set the remaining ½ cup aside for now.
- Microwave in 30-second bursts, stirring well after each one. Two rounds is usually all it takes. Stop as soon as the mixture is glossy and no streaks of peanut butter remain.
- Pour roughly a third of the warm mixture into the lined dish and spread it into an even layer across the bottom.
- Using a measuring spoon or a small cookie scoop, dot the reserved ½ cup of peanut butter across that layer in rounded teaspoons, spacing them so every square will end up with one.
- Cover the peanut butter with the rest of the fudge mixture, spreading gently so the dots stay where you put them, and smooth the top.
- Refrigerate for at least 30 minutes. It will slice at 30, but 90 minutes gives you a firmer bite and cleaner squares. It stops firming up after that.
- Lift the slab out using the parchment overhang, set it on a cutting board and slice into 36 squares. Wipe the knife between cuts where it passes through a peanut butter pocket.
Notes
- Reach for a standard creamy peanut butter rather than a natural one. Natural peanut butter separates, and the loose oil keeps the fudge from setting properly.
- This one lives in the refrigerator. Out on the counter at around 75°F, the squares hold their shape for 20 to 30 minutes and then turn soft and melty in your hand.
- Thirty minutes is enough to lift the fudge out and slice it cleanly, though the squares and the peanut butter pockets will still be soft at that point. Another hour in the refrigerator (total of 90 minutes) gives you the optimal texture. You don’t need to leave it in the fridge past that time as it stops getting any harder after about 90 minutes.











Comments
Gloria says
So rich and creamy!