December 23, 2024
Review RecipeNo Bake Oreo Pie Recipe
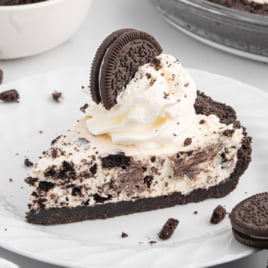
Table of Contents
No Bake Oreo Pie – this is the ultimate easy dessert for when you need something sweet, fast, and utterly irresistible. A crunchy, buttery Oreo crust forms the base. On top, a silky, cookies-and-cream cheesecake filling that’s absolutely packed with Oreo goodness. No oven, no fuss – just layers of dreamy, creamy perfection that’ll have you sneaking extra slices straight from the fridge.

Our Best Tip: Chill your no-bake Oreo pie overnight, if you have time. This ensures the crust firms up and the filling sets to the perfect creamy texture, making every slice flawless.
Oreo Cream Pie Ingredients
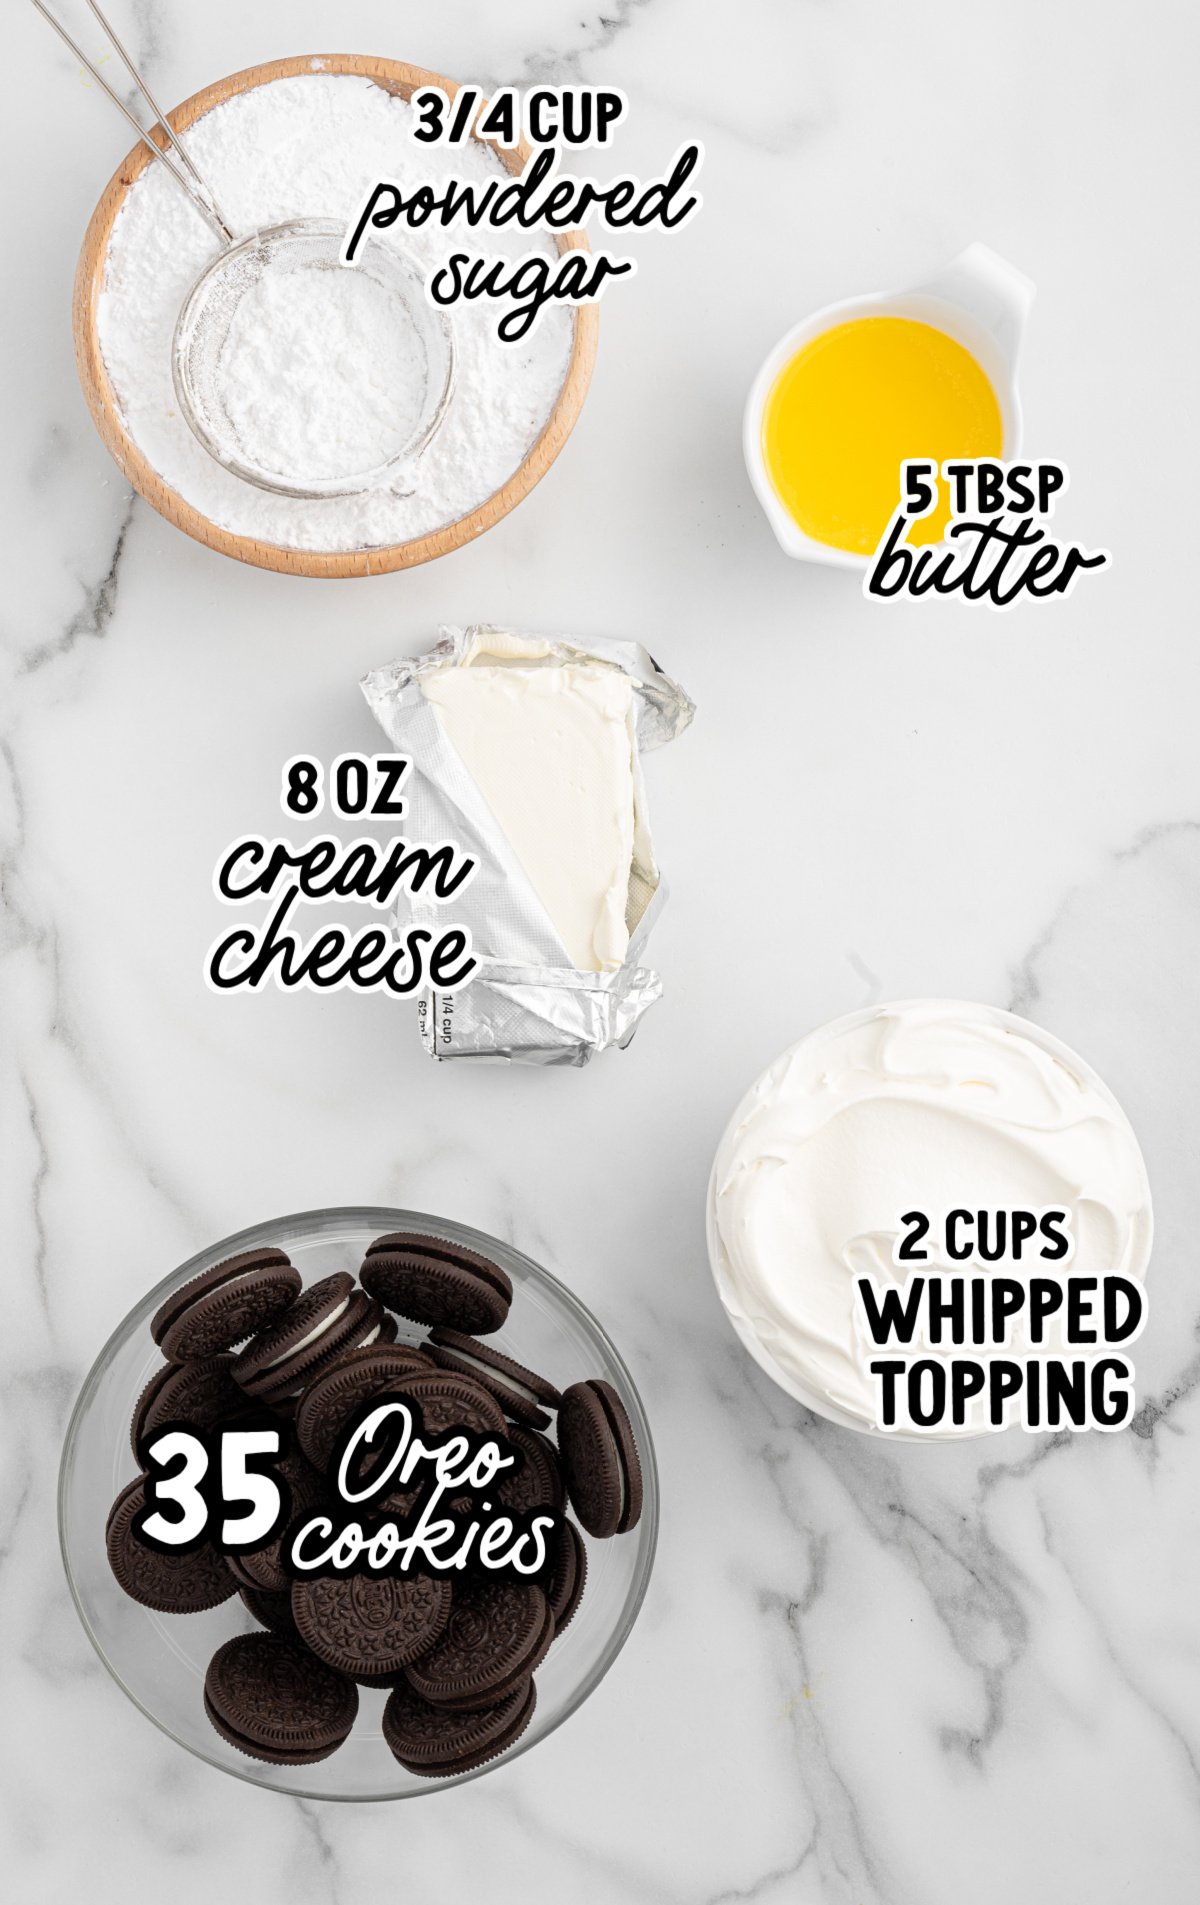
Each ingredient in this no-bake Oreo pie plays a key role in creating its creamy, dreamy texture. Here’s a closer look at what makes this dessert so special:
Dairy:
- Cream cheese
- Whipped topping
- Unsalted butter
Baking:
- Powdered sugar
Cookies:
- Oreo cookies
Substitution
CRUST: If you want to save yourself time, you can also purchase a pre-made Oreo pie crust from the grocery store instead of the homemade Oreo crust.
Things to Make With The Star Ingredient
If you’re visiting this recipe because you can’t get enough Oreos, you’re not alone! Here are a few more decadent recipes to satisfy your cookies-‘n-cream cravings:
How To Make Oreo Pie
Tips for The Best Oreo Cookie Crust
Use Whole Oreos: There’s no need to separate the cookies from the cream. The filling acts as a binder and helps the crust stick together beautifully. Plus, it adds a bit of extra sweetness and flavor.
If you remove the cream, the crust can become too dry and crumbly. So, leave the Oreos whole — they’re designed to work perfectly just as they are.
Crush to a Fine Texture: For a stable, even crust, crush your Oreos into fine, sand-like crumbs. Fine crumbs help the crust hold together and create a smooth texture that’s easy to slice. A food processor works best for achieving uniform results quickly.
If you’re doing it by hand, place the cookies in a Ziplock bag and use a rolling pin to crush them thoroughly. Be patient and make sure there are no large chunks left.
Melt the Butter Completely: Fully melted butter is essential for getting the crumbs to stick together evenly.
When mixing the butter into the crumbs, stir well to ensure every bit is coated. This helps prevent dry spots that could cause the crust to crumble. If you see any dry patches, mix a little longer to get everything evenly moistened.
PRO TIP:
Don’t Overdo the Butter – Adding more butter might seem like a good idea, but it can make the crust greasy and cause it to fall apart. The right balance of butter and crumbs gives you a perfect, firm texture.
Press the Crumbs Firmly: Once you’ve combined the crumbs and melted butter, pour the mixture into your pie dish and press it down firmly. Use the bottom of a measuring cup or a glass to pack it evenly into the bottom and up the sides.
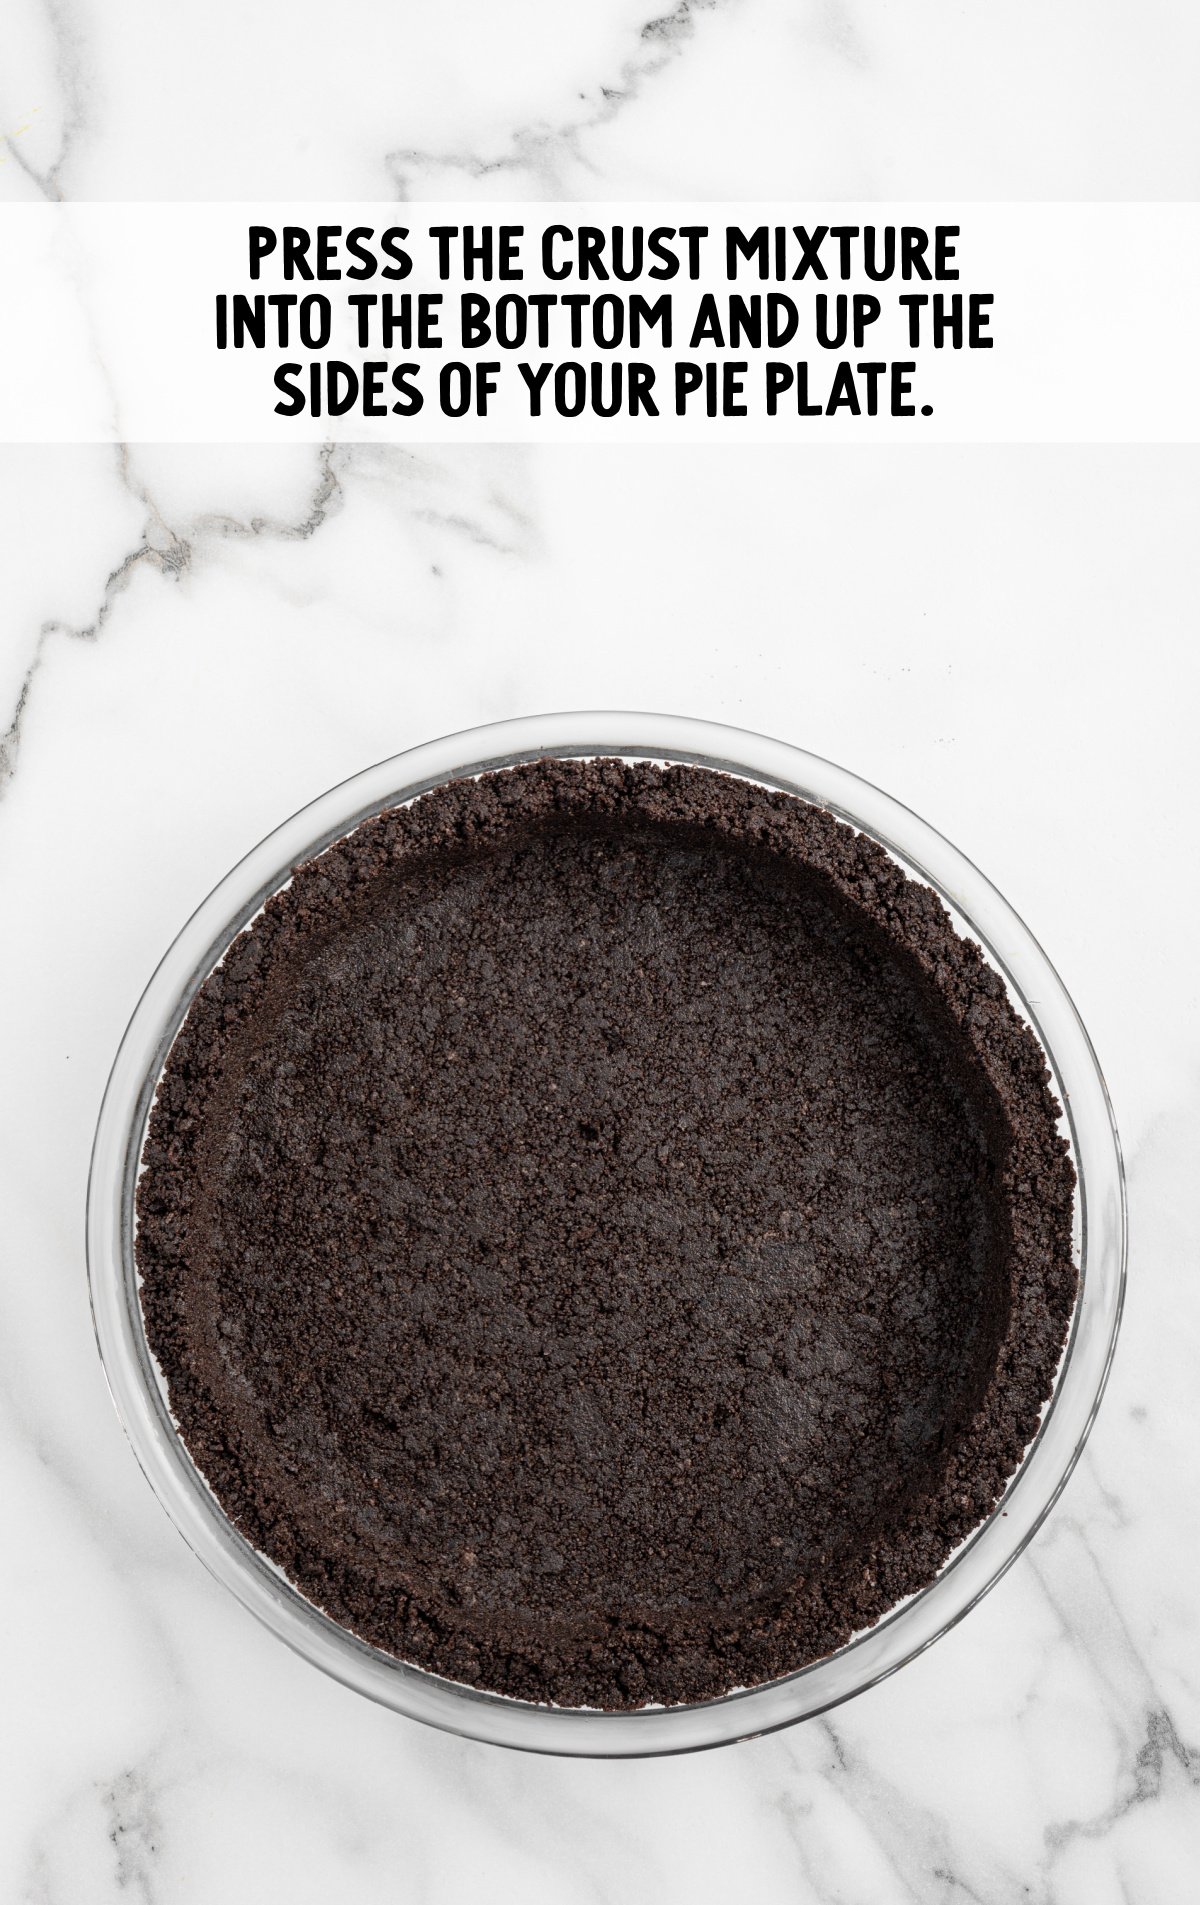
Pressing firmly helps create a dense, sturdy crust that won’t fall apart when you slice the pie. Don’t rush this step — a well-packed crust makes all the difference.
Chill Before Adding the Filling: After pressing the crust into the dish, refrigerate it for at least 30 minutes. This step allows the butter to firm up, helping the crust hold its shape when you add the filling.
Skipping this can lead to a crumbly crust that falls apart. If you’re in a hurry, even 15 minutes in the freezer can help set the crust more quickly.
Tips For A Perfect No Bake Pie Filling
Soften the Cream Cheese: Allow the cream cheese to come to room temperature before mixing. Softened cream cheese blends more easily, giving you a smooth, lump-free filling.
If you’re short on time, you can soften it by microwaving it for 10-15 seconds on a low setting. Just don’t overdo it — you want it soft, not melted.
Beat the Cream Cheese Until Smooth: Before adding any other ingredients, whip the cream cheese until it’s completely smooth. Use a hand mixer or stand mixer for the best results.
This step ensures that the filling has a creamy, velvety texture with no lumps, setting the stage for the perfect Oreo pie.
Sift the Powdered Sugar: Powdered sugar can clump, and no one wants bits of sugar in an otherwise silky filling. Sift it before adding it to the cream cheese to ensure it blends smoothly. This little extra step makes a big difference in the final texture.
Fold in Whipped Topping Gently: After mixing the cream cheese and sugar, switch to folding in the whipped topping with a spatula.
Folding, rather than stirring or mixing, helps keep the filling light and airy. Overmixing can deflate the whipped topping, making the filling dense instead of fluffy.
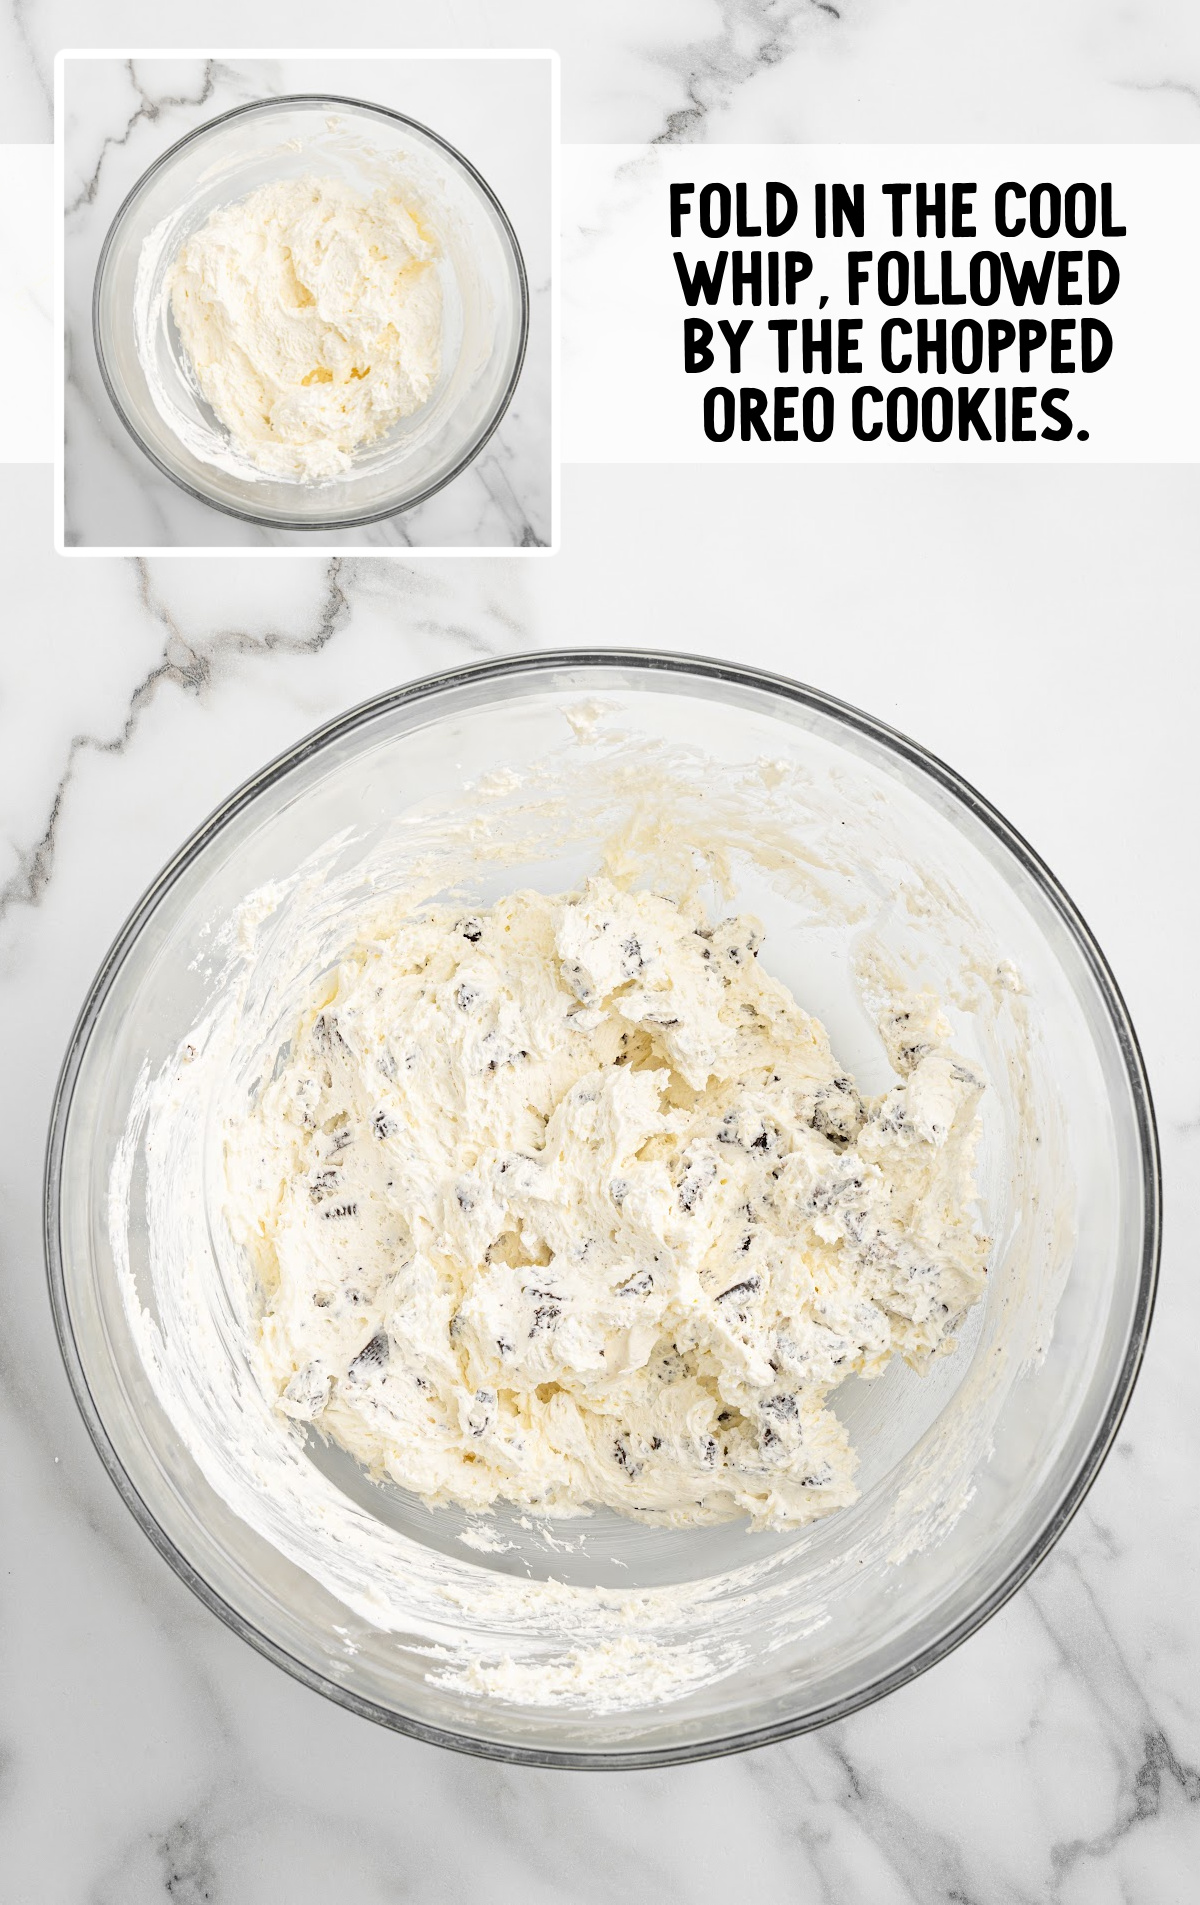
Add Chopped Oreos for Texture: Stir in chopped Oreos last to keep them chunky and evenly distributed.
For a mix of textures, chop the Oreos into small and medium pieces. This creates little bursts of crunch in every bite and gives the pie its signature cookies-and-cream appeal.
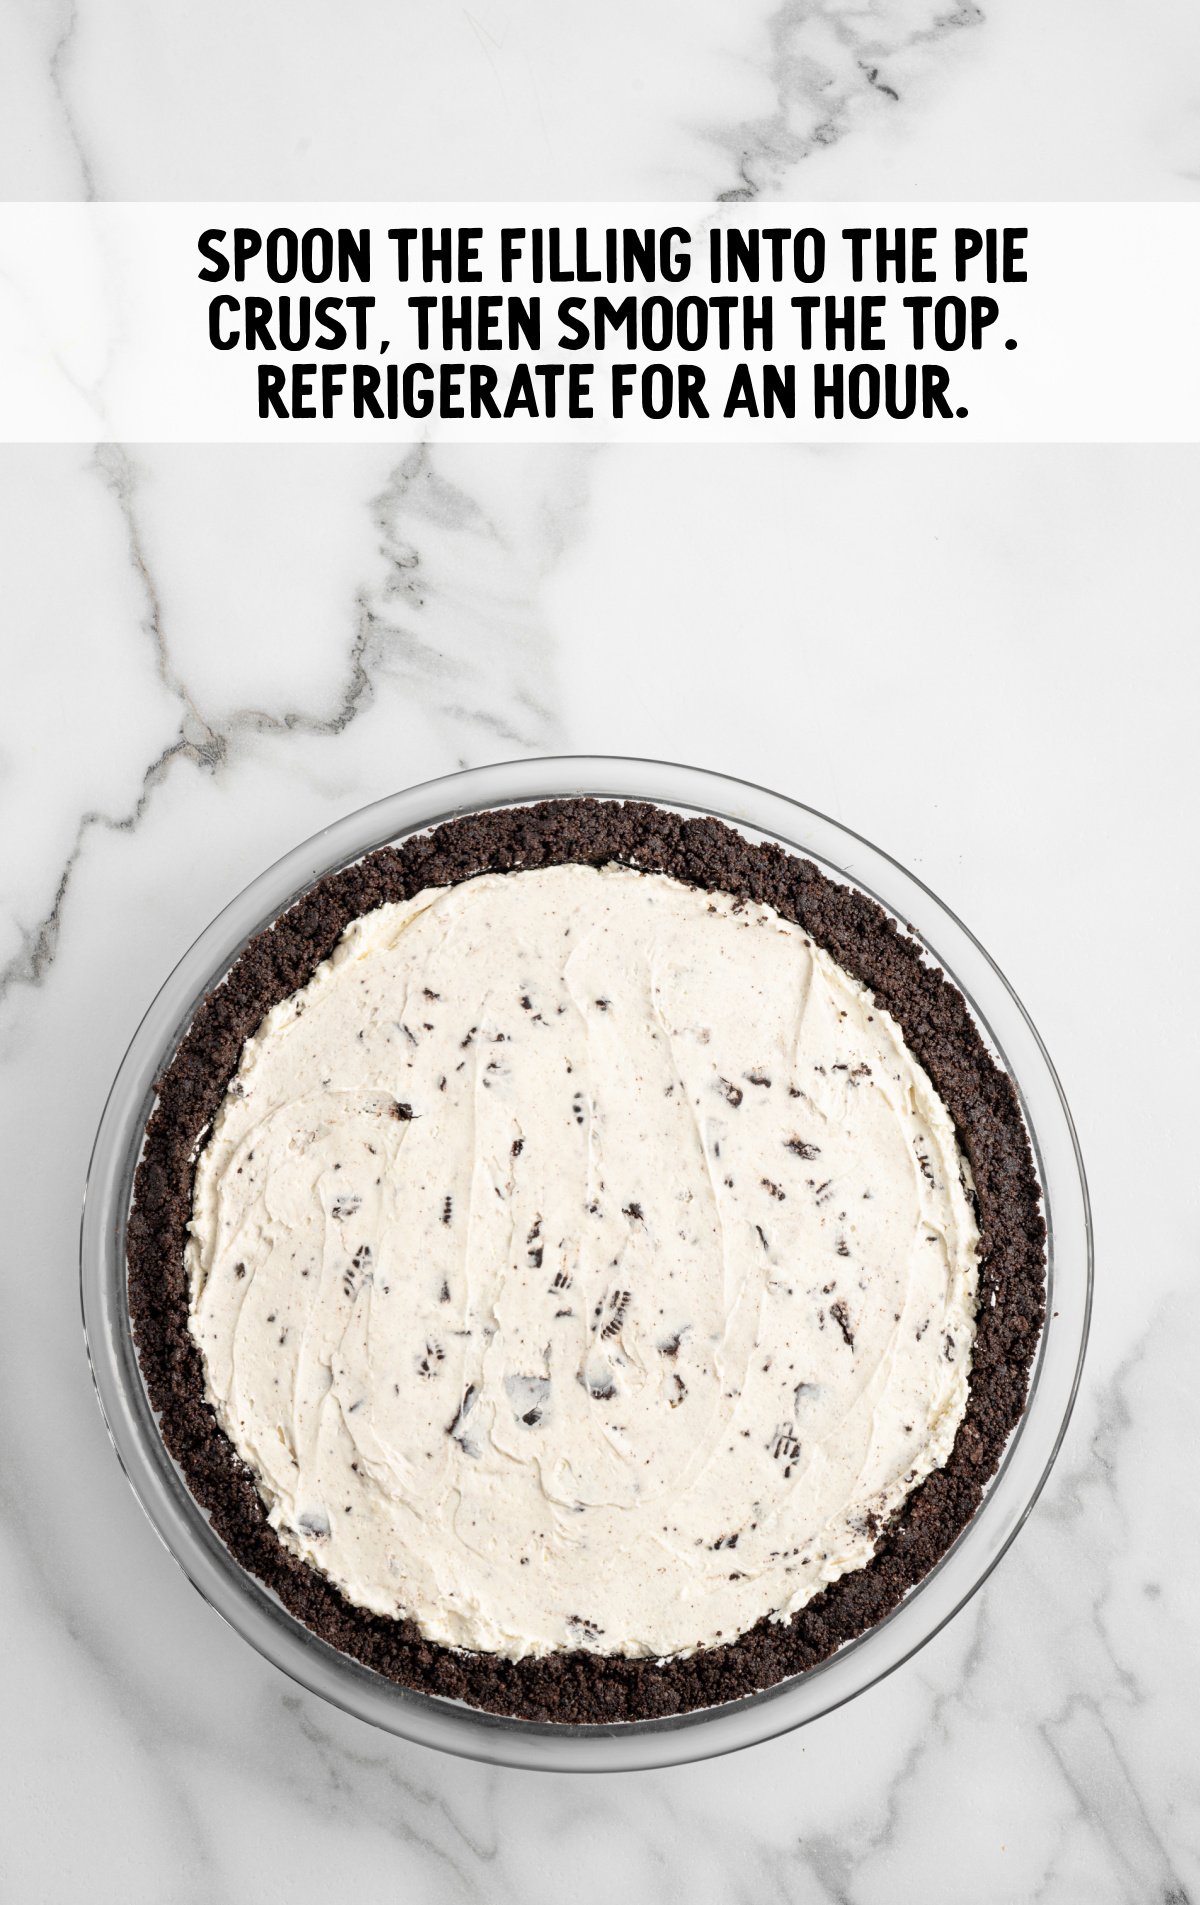
Chill to Set: Once the filling is in the crust, refrigerate it. This gives the filling time to firm up, making it easier to slice and serve. A well-chilled filling holds its shape beautifully and creates that perfect bite.
How To Serve No Bake Oreo Pie
When it comes to toppings, timing is everything! Add your whipped cream swirls (or fresh whipped cream), extra Oreos, or a drizzle of chocolate sauce just before serving. This keeps everything looking fresh and the textures spot on – the toppings stay crisp, and the filling stays creamy and dreamy.
This pie is best served straight from the fridge. The filling will be perfectly set and creamy, while the crust will hold together beautifully for those clean, picture-perfect slices. Use a sharp knife to cut into the pie, wiping it clean between slices for the best results.

MORE No Bake PIE RECIPES
Storing An Oreo Cream Pie
Proper storage is key to keeping your Oreo pie fresh and delicious for as long as possible. Here’s everything you need to know:
Refrigerator Storage
- You should always store your Oreo cookie pie in the refrigerator. Once the pie is set, cover it with plastic wrap or foil, or place it in an airtight container to prevent it from drying out or absorbing other flavors from the fridge.
PRO TIP:
If you are using a pre-made pie crust, they usually come with a plastic lid you can put over top. Just pop that on and put it in the fridge! If you are making a homemade Oreo pie crust, you can use plastic wrap to cover your pie and put it in the fridge.
- Oreo pie should stay fresh for up to 4 days in the refrigerator..
Freezer Storage
- This pie freezes beautifully, making it a great make-ahead dessert..
- Wrap the pie (or individual slices) tightly in plastic wrap, then in a layer of foil. This extra layer helps prevent freezer burn.
- For easy snacking, cut the pie into slices before freezing and wrap them individually. This way, you can grab a single slice whenever a craving strikes.
- It can be stored in the freezer for up to 2 months.
- When you’re ready to enjoy it, let the Oreo pie thaw in the refrigerator for several hours or overnight.
- Avoid thawing at room temperature, as it may cause the filling to become too soft.
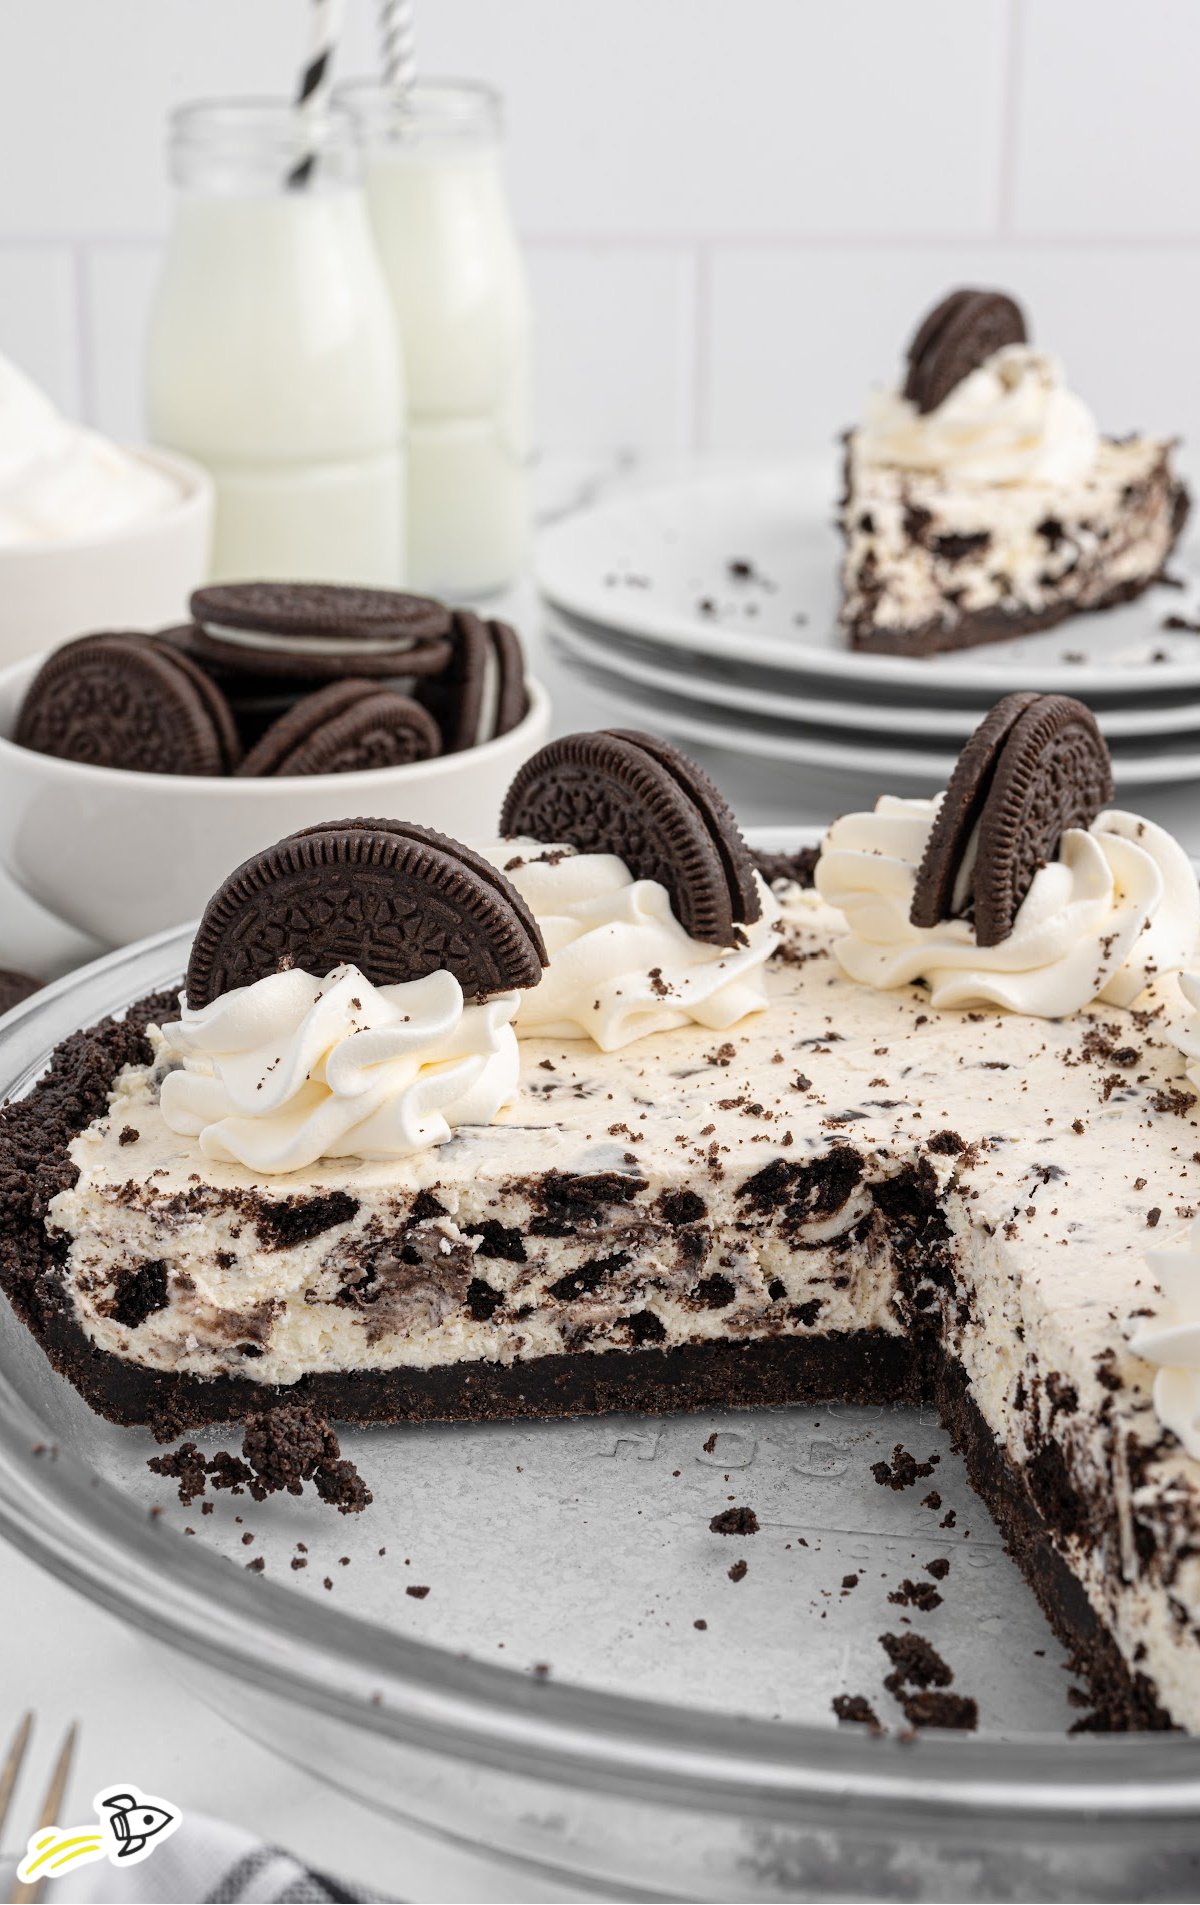
The Final Bite
There’s something magical about a no-bake Oreo pie. It’s indulgent yet effortless, with that creamy, cookies-and-cream filling sitting on a perfectly crunchy Oreo crust.
Whether it’s a weeknight treat or the star of your next holiday gathering, this pie never fails to impress. It’s one of those desserts that’s easy to make—and even easier to devour. So grab your fork, and enjoy every creamy bite.
Oreo Pie Recipe FAQs
If you can’t get ahold of name-brand Oreo cookies, you can certainly use generic chocolate sandwich cookies for this recipe.
If you would prefer to use homemade whipped cream, you may. Check out our homemade whipped cream recipe for a great option.
More Pie Recipes You’ll Love

Oreo Cream Pie Recipe
Ingredients
Oreo Crust
- 25 Oreo cookies (the wafers and fillings)
- 5 tablespoons unsalted butter, melted
Oreo Pie Filling
- 8 ounces cream cheese
- ¾ cup powdered sugar
- 2 cups whipped topping, thawed
- 10 Oreo cookies, chopped
Instructions
Oreo Crust
- Crush the Oreo cookies in a food processor. Or place them in a Ziploc bag and bash with a rolling pin.
- Mix the crushed cookies with melted butter.
- Press into the bottom and up the sides of a 9-inch pie plate. I like to use the bottom of a glass cup for this.
- Place in the fridge as you make the filling.
Oreo Pie Filling
- In a large bowl, beat the cream cheese and powdered sugar together until soft.
- Fold in the whipped topping, followed by the chopped Oreo cookies.
- Spoon the filling into the pie crust then smooth the top.
- Place in the fridge to chill for at least an hour before serving.
Video
Notes
- Be sure to add the whole Oreos to the food processor, filling included. This will help to keep your crust together.
- Using the bottom of a glass cup is extremely helpful in pressing the mixture nice and tightly in the dish.
- Make sure your cream cheese is at room temperature so that you don’t have lumps in your mixture.
- If you are using a pre-made pie crust, they usually come with a plastic lid you can put over top. Just pop that on and put it in the fridge! If you are making a homemade Oreo pie crust, you can use plastic wrap to cover your pie and put it in the fridge.







Comments
T'onna | Sew Crafty Crochet says
Pinning! I need to make this. It looks so yummy!
Allyson @ Southern Sunflowers says
Drool-worthy!! I’ll be featuring your pie this week at the #HomeMattersParty. Thanks for sharing.
Jenna says
Swoon, I can’t wait to make this, thank you!
Abby says
I’ve made this and we all loved it!!!
Now I’m wondering if I could use Holden Oreos or maybe Lemon Oreos 🤔
Abby says
Golden
Abby says
I’ve made this and we all loved it!!!
Now I’m wondering if I could use Golden Oreos or maybe Lemon Oreos 🤔
Gabrielle says
This is a fantastic recipe! The only thing I changed was that I added 100% cocoa powder to the filling to give it a more chocolate look and taste. I will be serving this at a function tomorrow, and I know it’s going to be delicious. Thank you for the great recipe!