July 14, 2024
Review RecipeInstant Pot Chocolate Cake

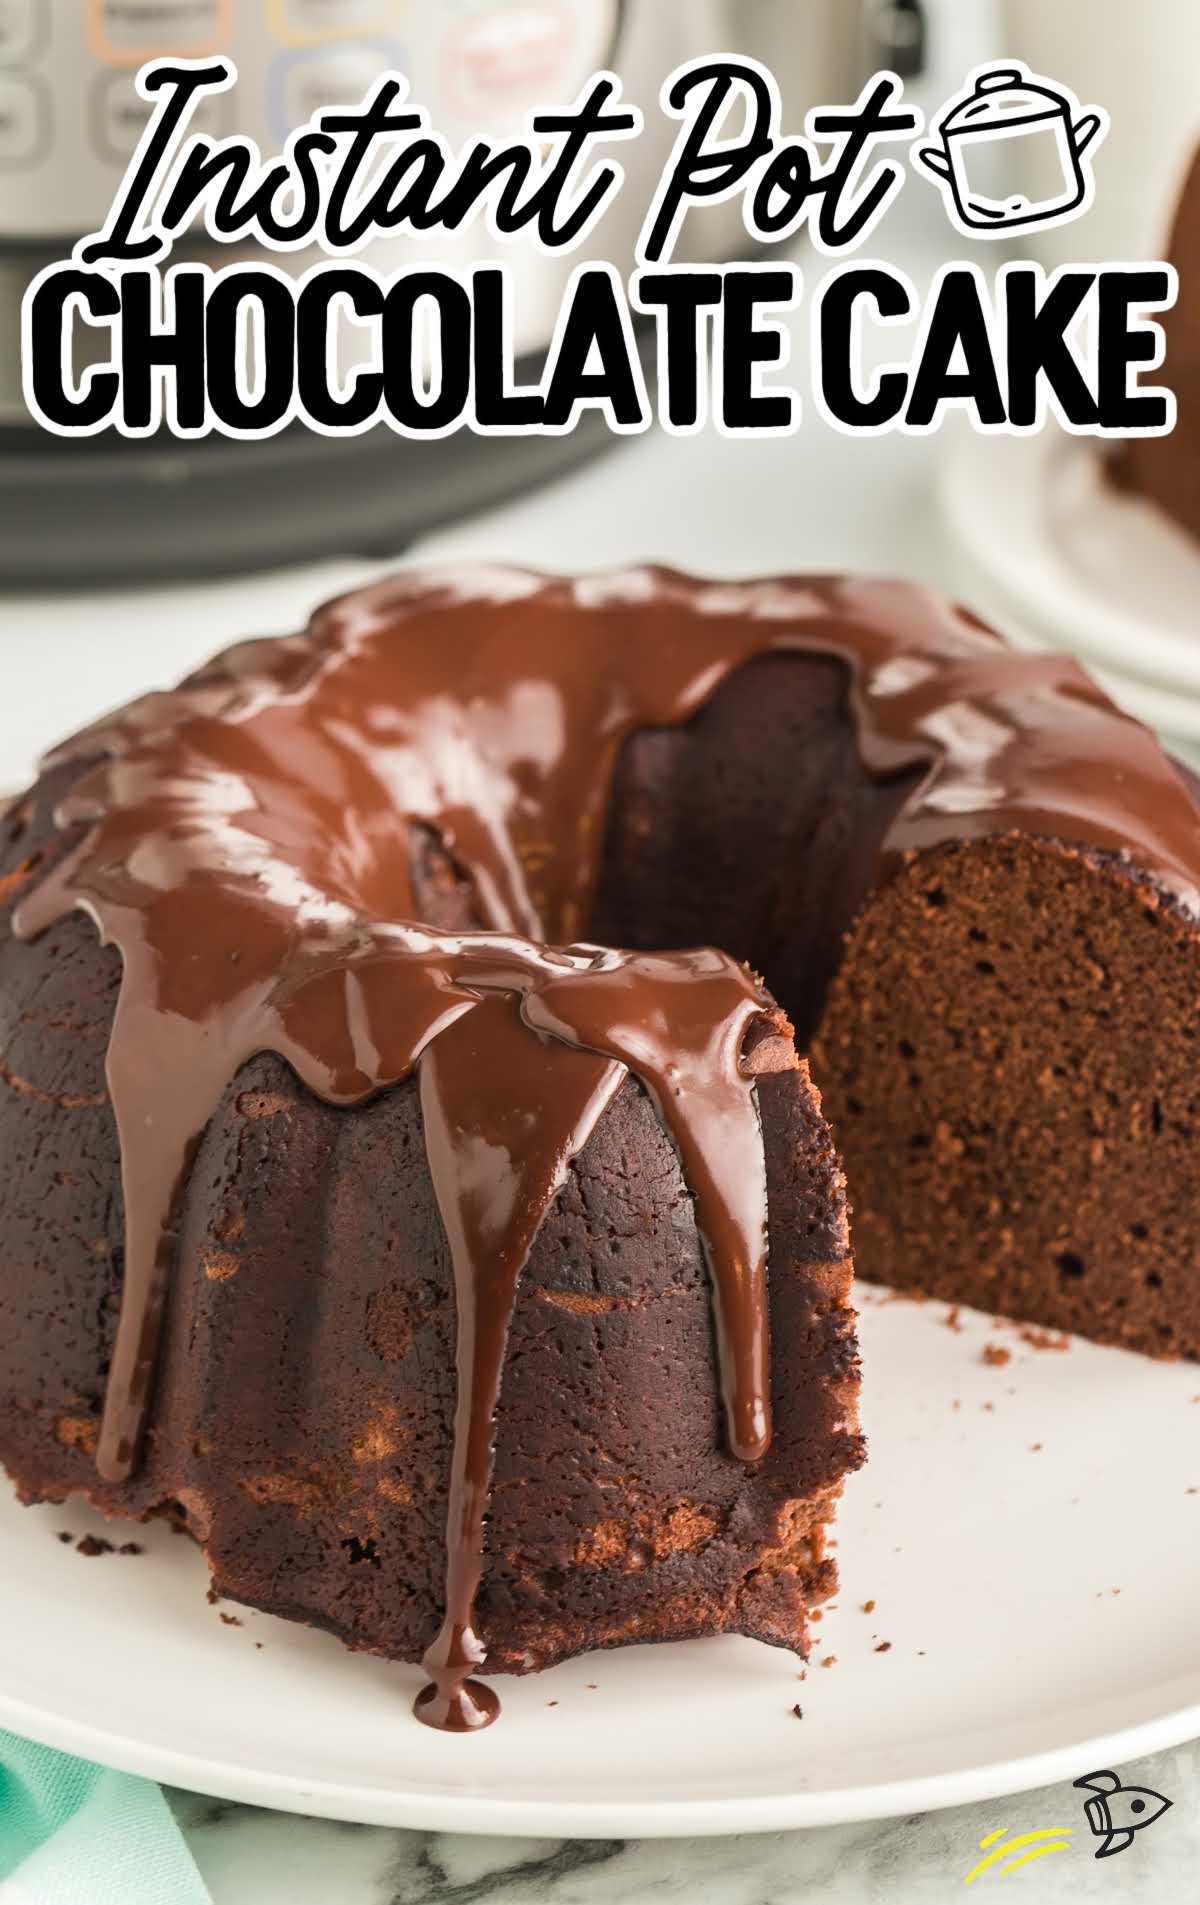
This Instant Pot chocolate cake recipe is a classic chocolate cake drizzled with a rich and delicious chocolate ganache.
Jump to Recipe

Table of Contents
This Instant Pot chocolate cake recipe delivers the moistest cake you can imagine. It’s a classic chocolate cake that has been baked in the Instant Pot and drizzled with the best rich ganache, giving it a divine, fudgy flavor.
Instant Pot Chocolate Cake Ingredients
This Instant Pot chocolate cake is a decadent delight, featuring a velvety chocolate flavor that’s perfect for chocolate enthusiasts.
The cake’s key ingredients include a chocolate cake mix for a cocoa base, making this recipe even easier.
The chocolate ganache topping, made with semi-sweet chocolate chips and heavy whipping cream, makes each bite an indulgent experience.
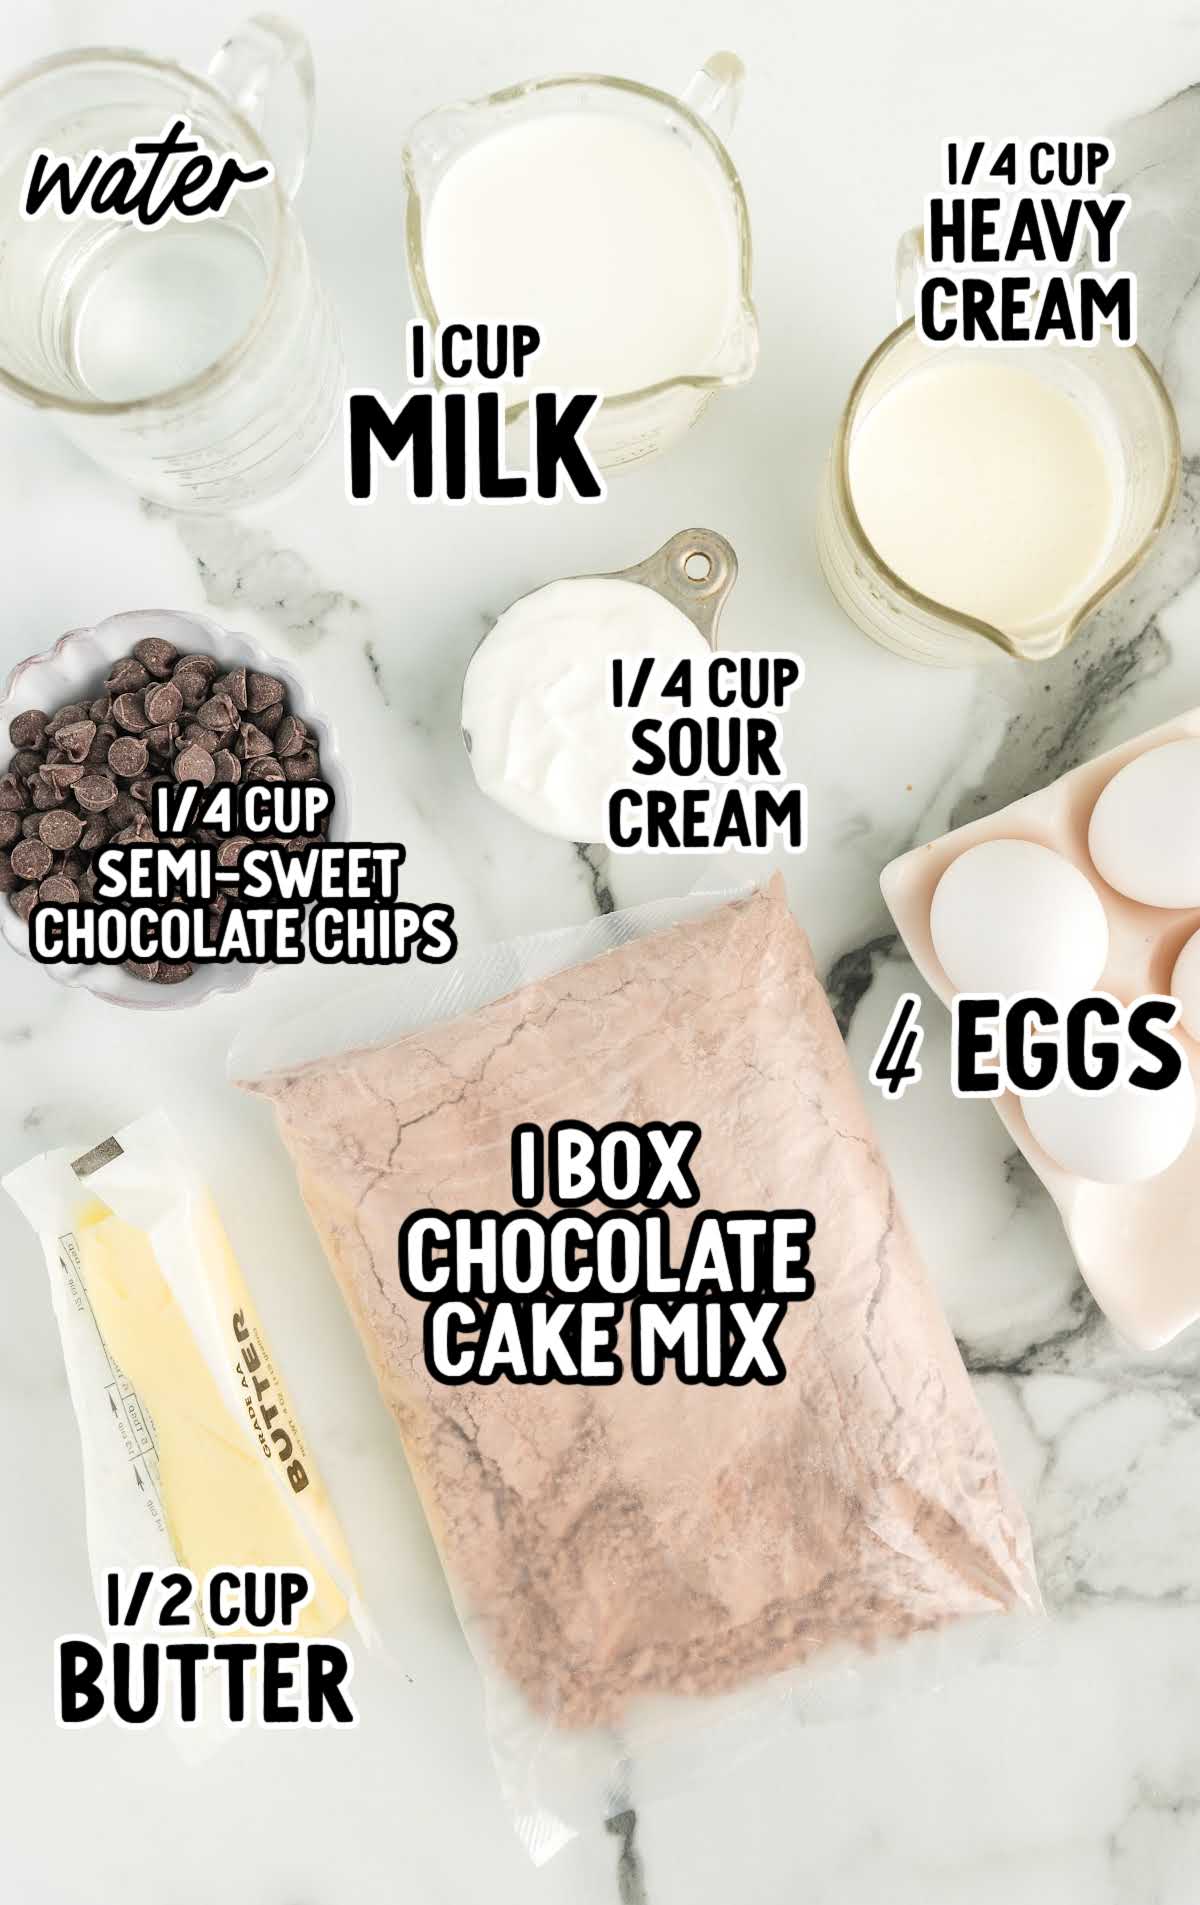
You’ll need:
For The Cake:
- ½ cup of salted butter, softened
- 4 eggs
- 1 (15.25-ounce) box of chocolate cake mix
- ¼ cup of sour cream
- 1 cup of whole milk
PRO TIP:
When buying the cake mix at the grocery store, make sure to pick one that doesn’t have pudding mix in it; check the label to make sure.
For The Chocolate Ganache
- ¼ cup of semi-sweet chocolate chips
- ¼ cup of heavy whipping cream
Substitutions And Additions
GREEK YOGURT: Greek yogurt is a common substitution for sour cream in many recipes, and this great recipe is no exception.
You can use a quarter cup of yogurt instead of sour cream.
CHOCOLATE CAKE MIX: If you don’t have a chocolate cake mix on hand, you can experiment with different cake mix flavors to create unique variations.
For instance, try a vanilla cake mix for a lighter chocolate flavor or a Devil’s Food cake mix for an even richer chocolate experience.
SEMI-SWEET CHOCOLATE CHIPS: To customize the ganache, you can use dark chocolate chips for a more intense, bittersweet flavor.
Alternatively, white chocolate chips will create a sweeter and creamier topping with a vanilla-like undertone.
FLAVOR ADDITIONS: Try additions like a teaspoon of instant coffee granules for a mocha twist, a pinch of cinnamon for warmth, or a tablespoon of liqueur-like orange liqueur.
How To Make This Instant Pot Chocolate Cake Recipe
Let’s have a look at how to whip up this chocolate cake in no time.
OUR RECIPE DEVELOPER SAYS
We used a 6-cup bundt pan for this recipe. Make sure your bundt pan will fit in your Instant Pot before filling it with cake batter.
STEP ONE: Prepare a 6-cup bundt pan by greasing the inside well with butter or shortening.
Then, coat the inside with unsweetened cocoa powder or spray it with Baker’s Joy.
Make sure you use the Original Baker’s Joy spray that includes flour.
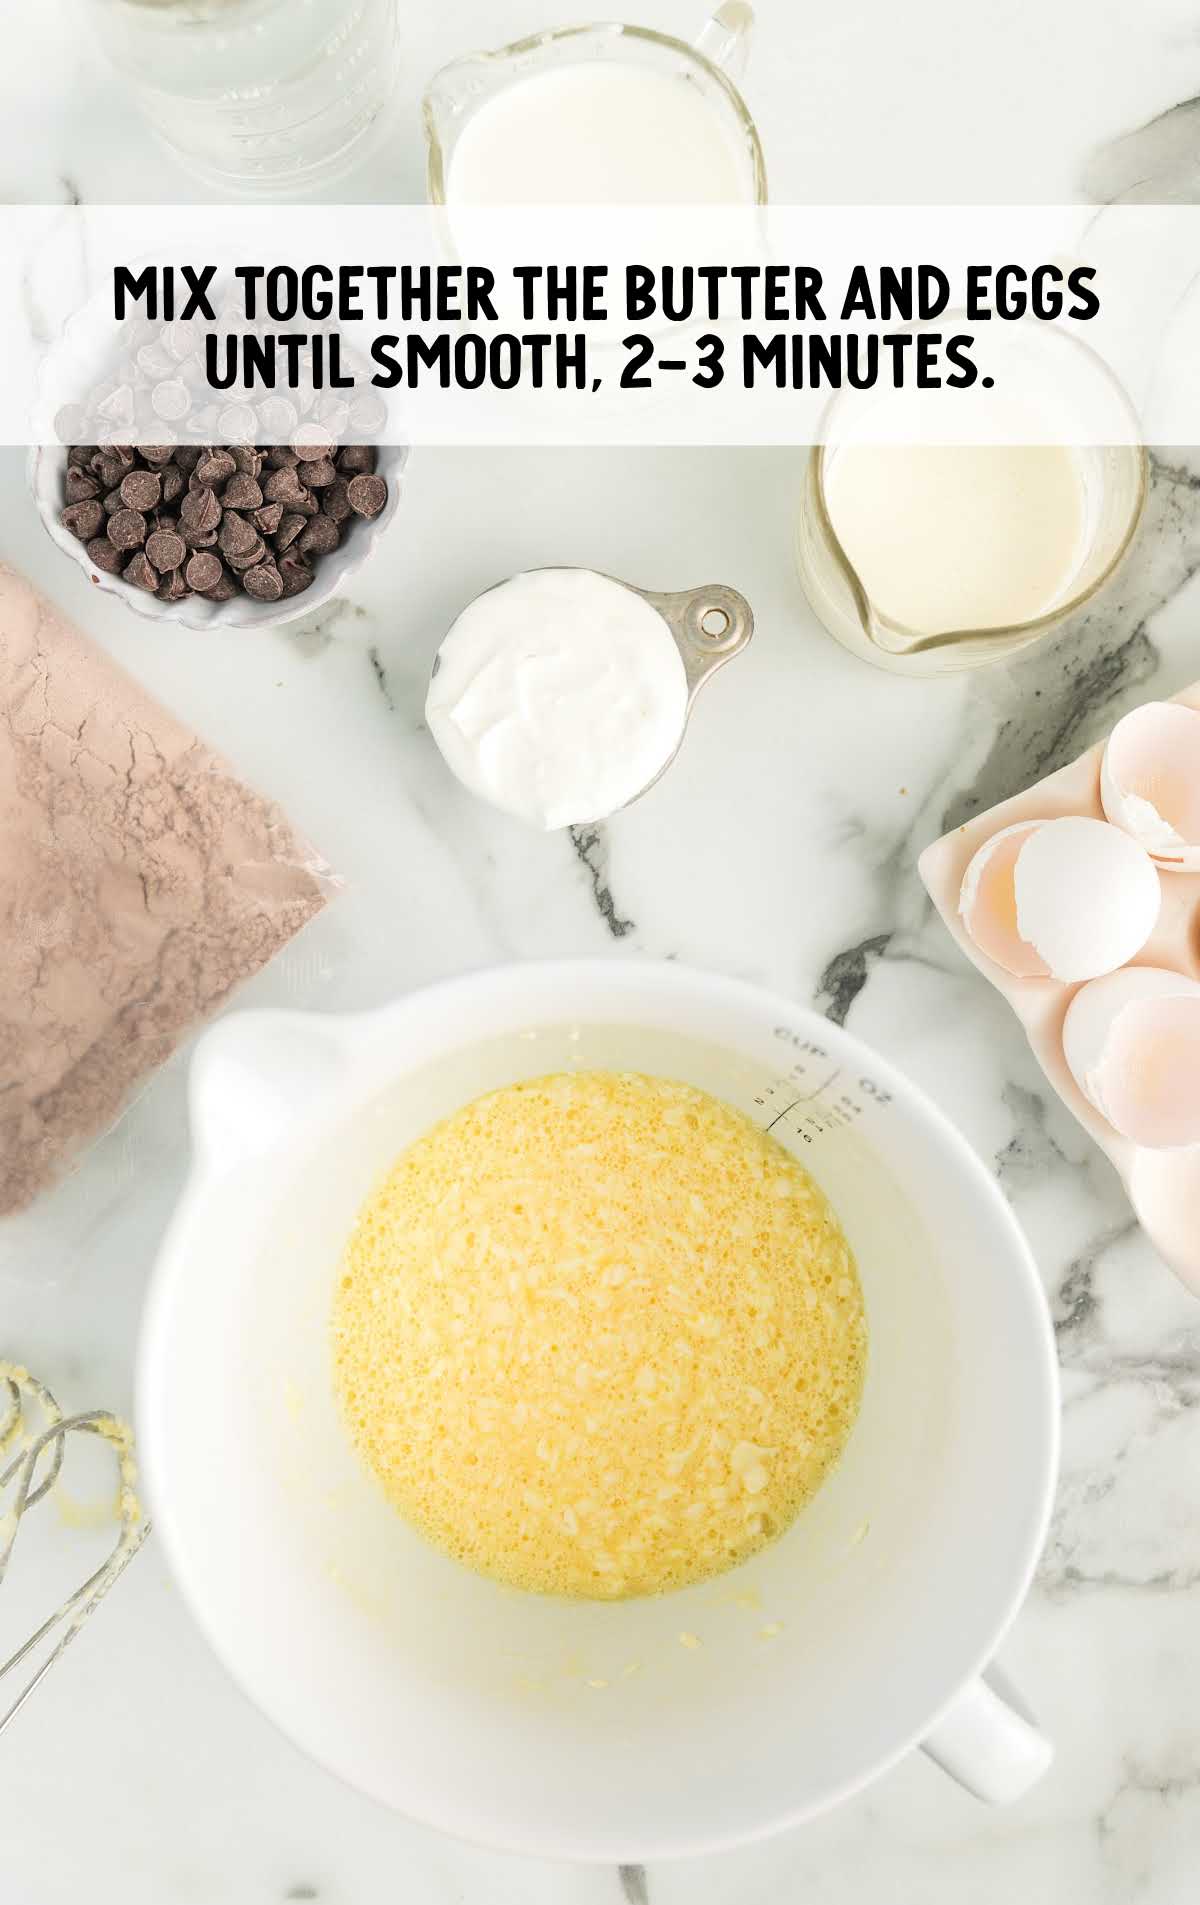
STEP TWO: In a large mixing bowl, mix together the softened butter and eggs on high speed until smooth, about two to three minutes.
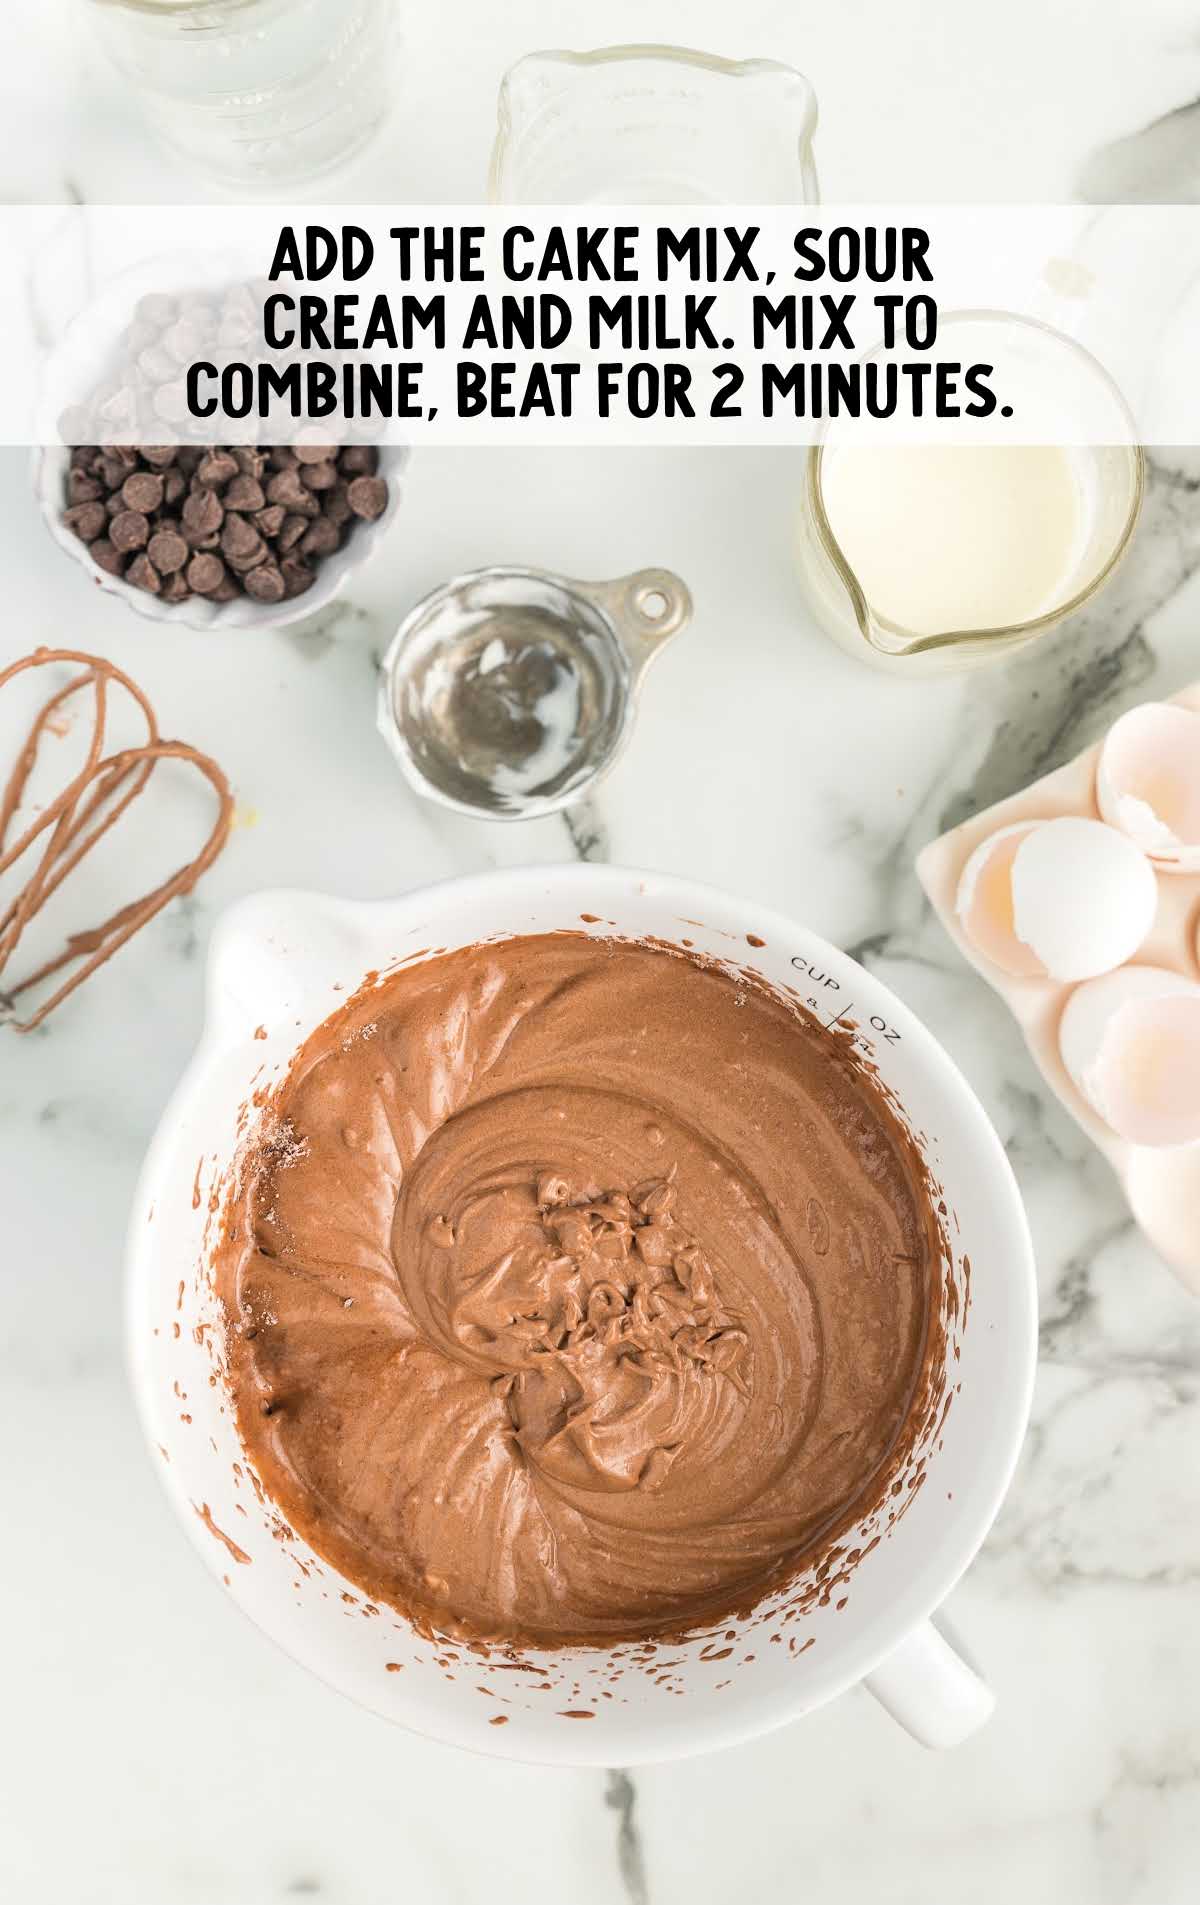
STEP THREE: Add the cake mix, sour cream, and milk to the bowl.
On low speed, mix until the ingredients start to combine, and then increase the mixer speed to high and beat the cake batter for two minutes.
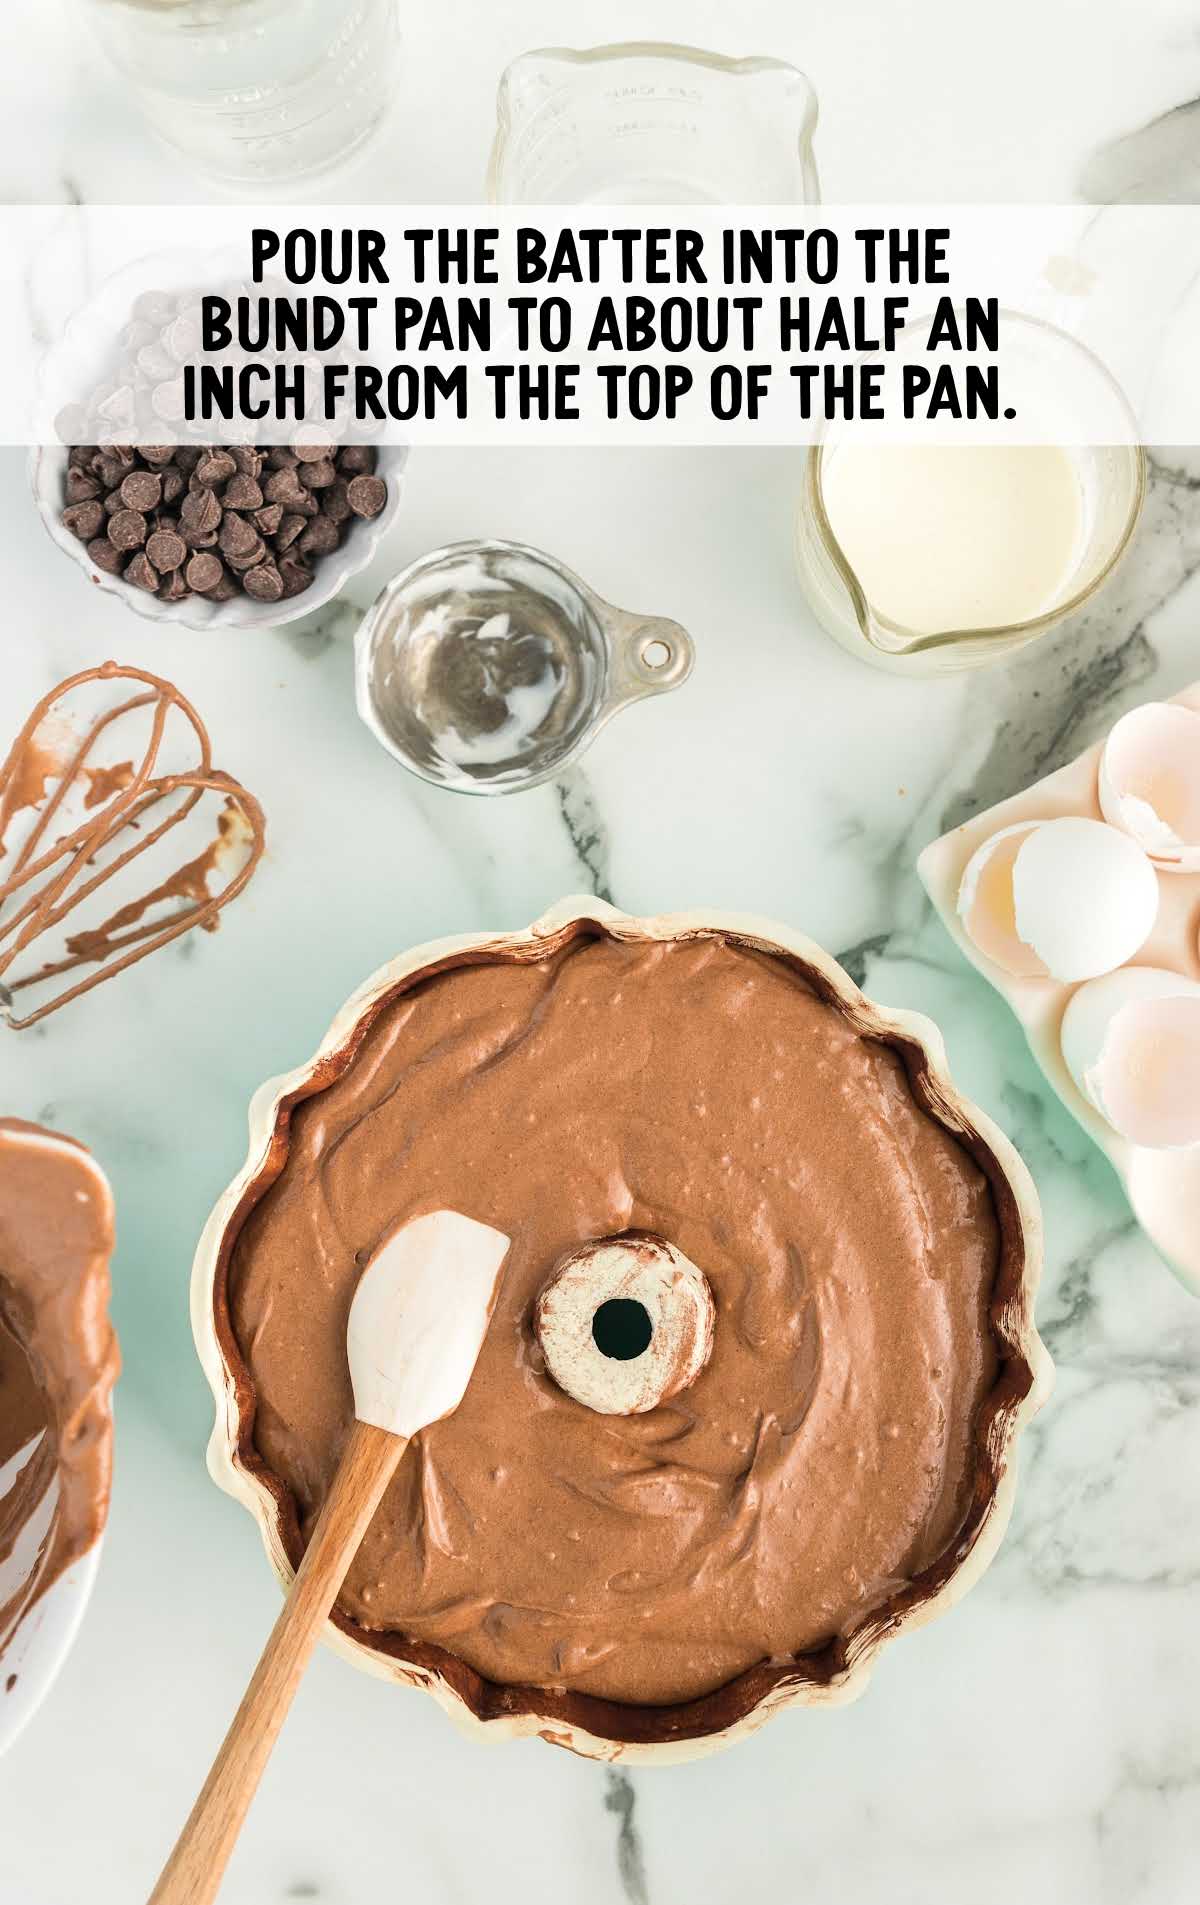
STEP FOUR: Pour this chocolate batter into the prepared pan. It should fill the pan to about half an inch from the top of the pan.
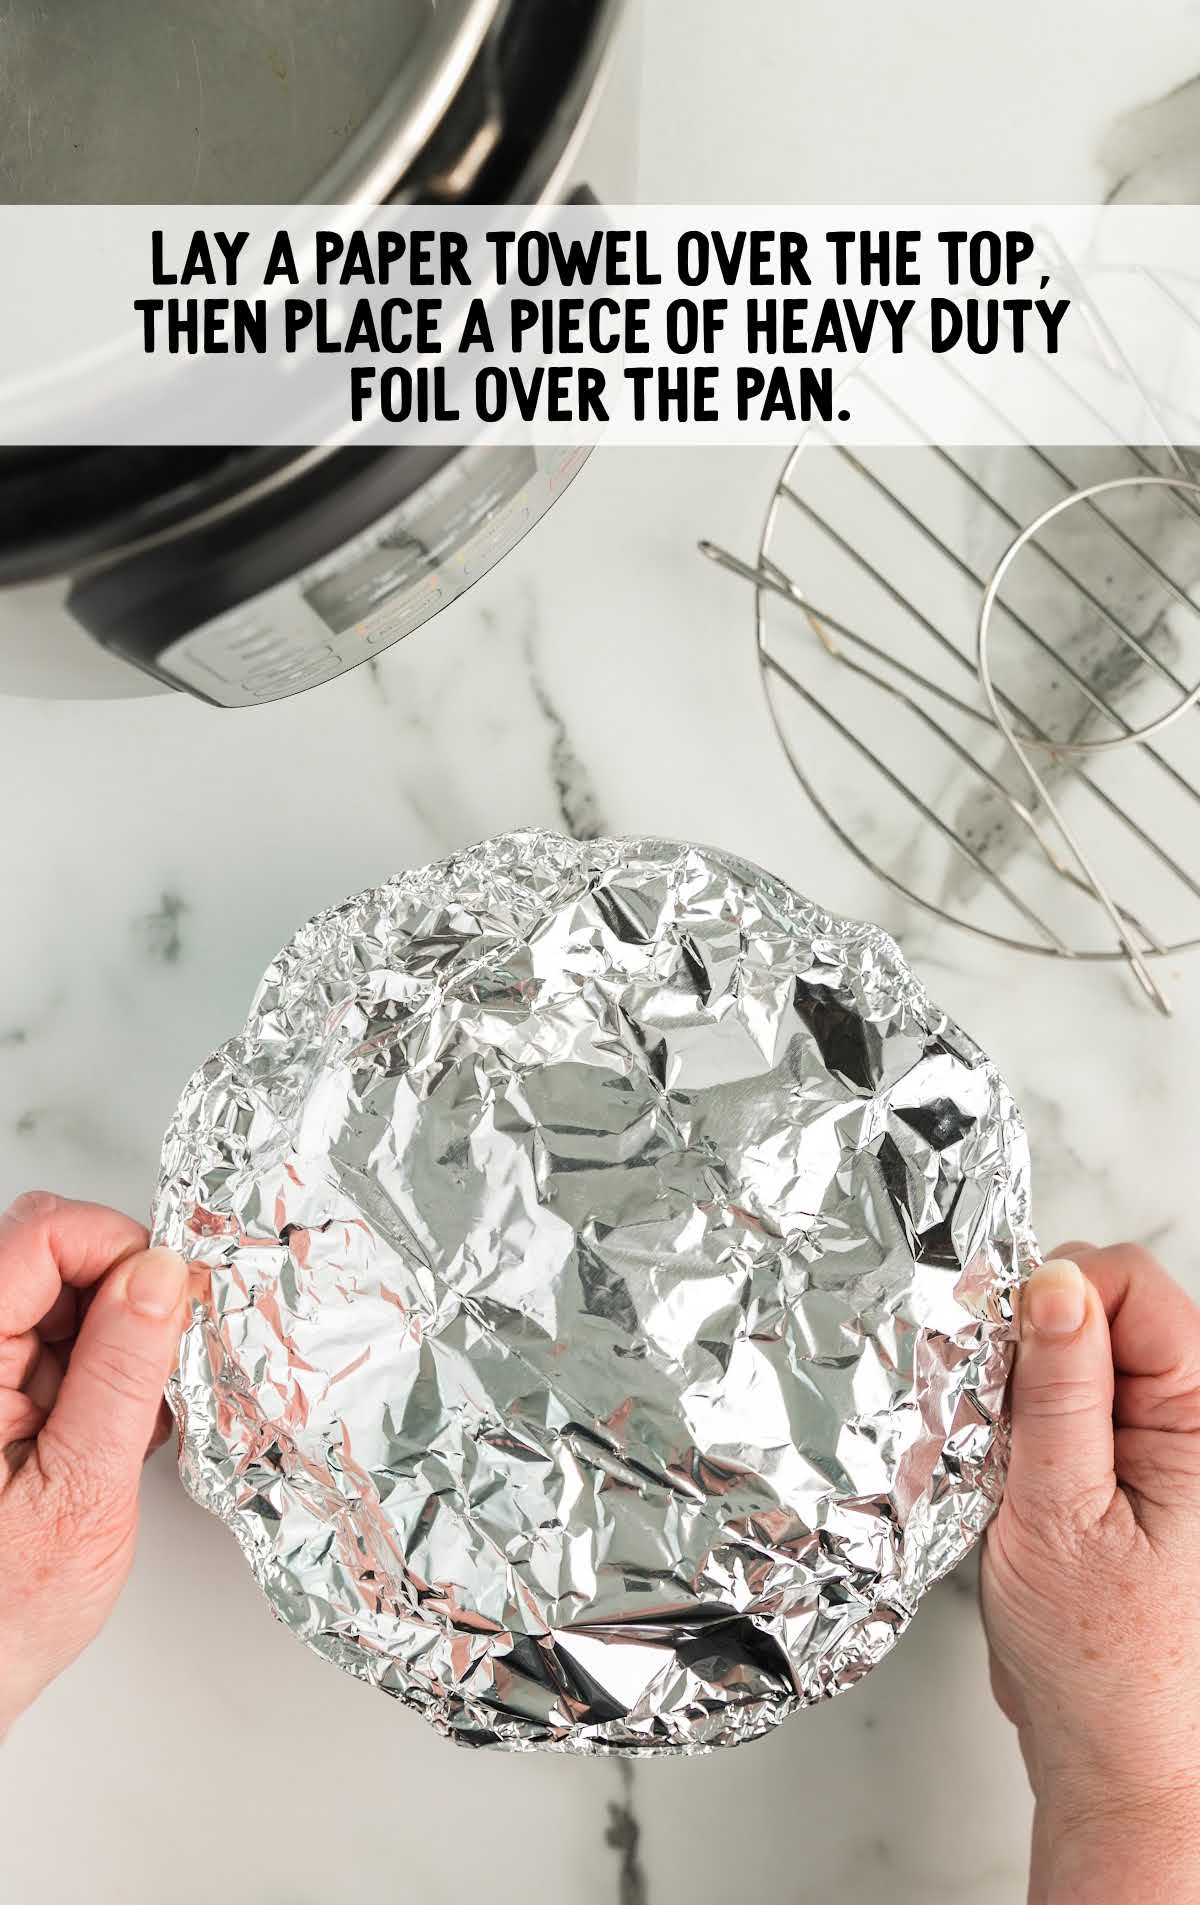
STEP FIVE: Lay a paper towel and then a piece of heavy-duty aluminum foil over the top of the pan.
Be careful not to pull the foil down too tightly — leave it slightly tented in the middle. Pinch the foil around the edges of the pan to seal it.
STEP SIX: Add a half cup of water to the bottom of the Instant Pot.
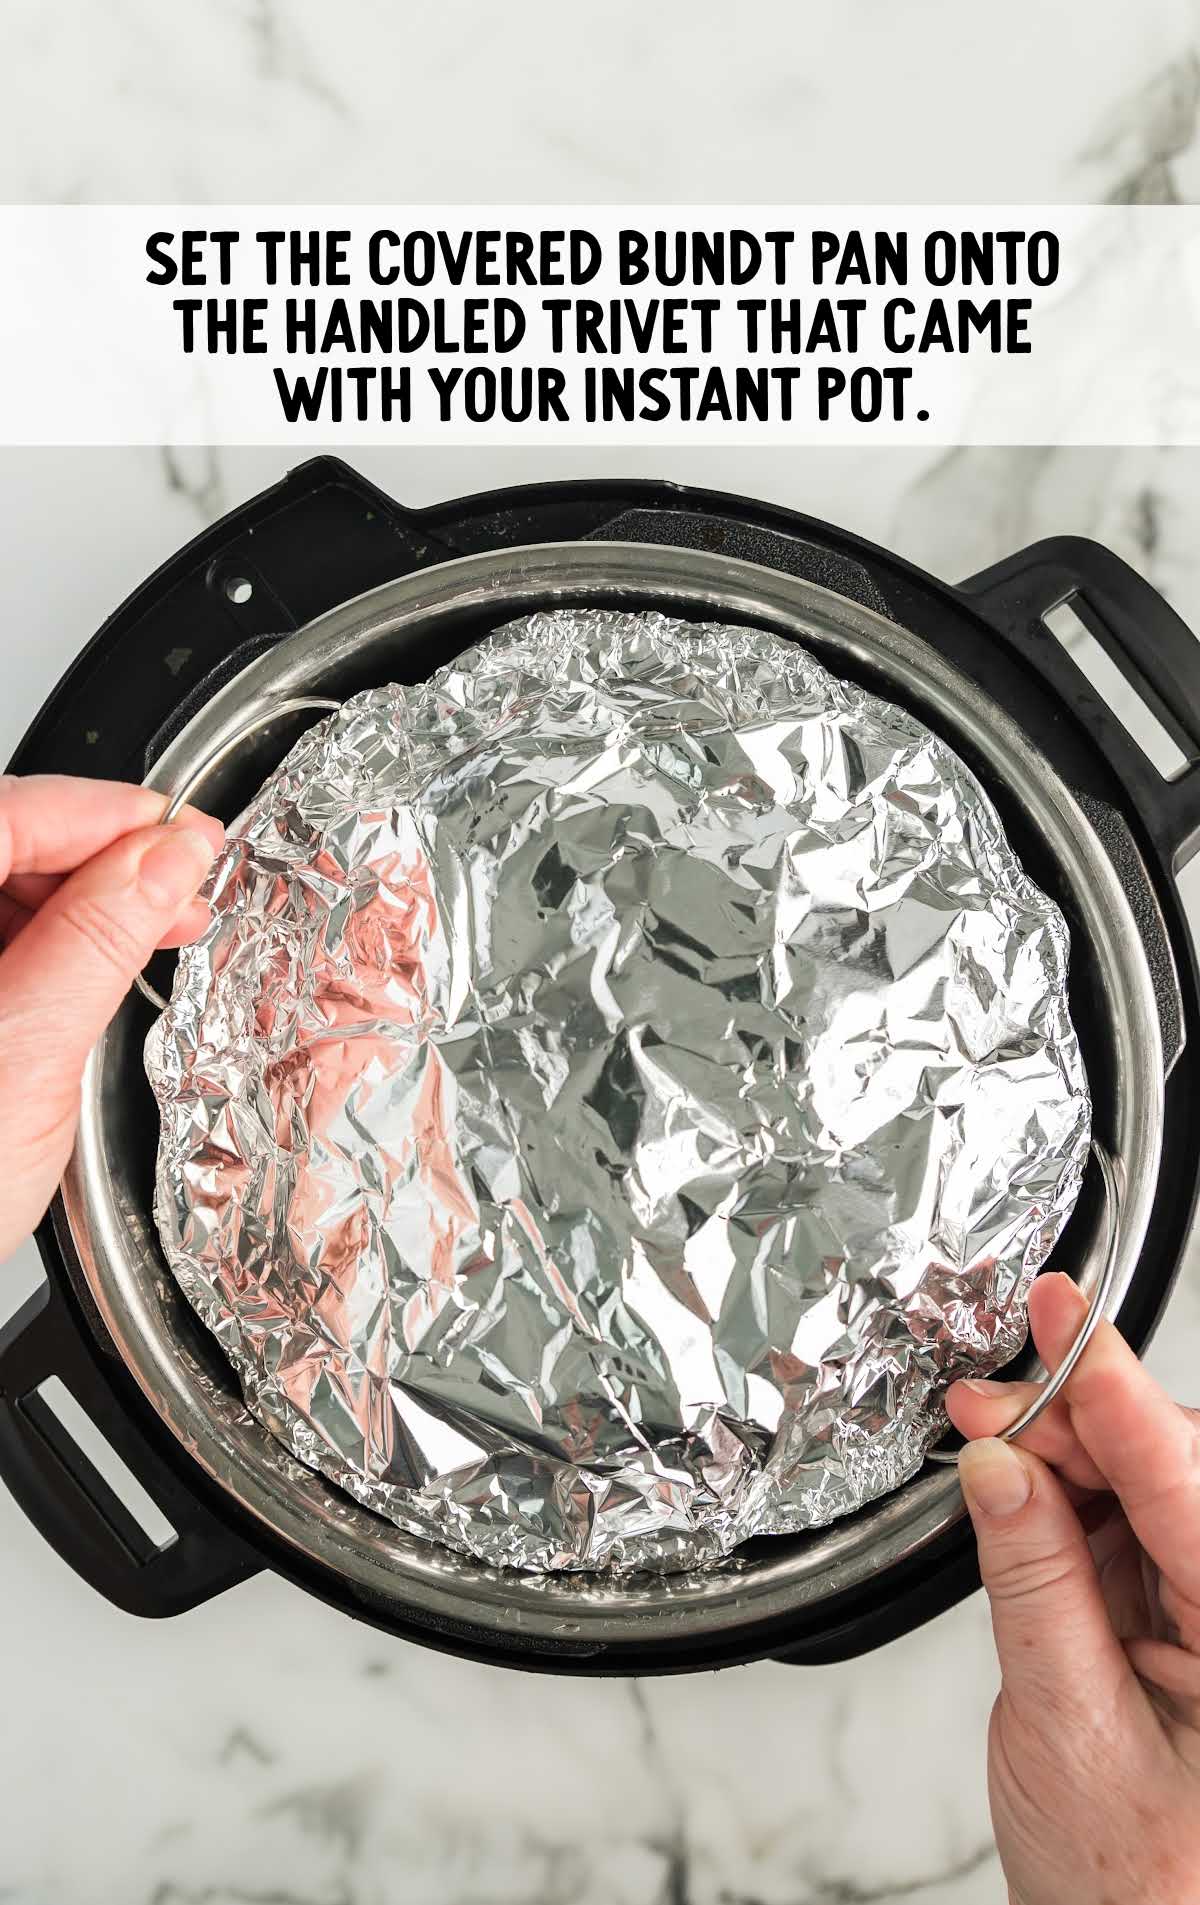
Place the covered bundt pan into the handled trivet that came with the Instant Pot and lower it into the Instant Pot using the trivet handles.
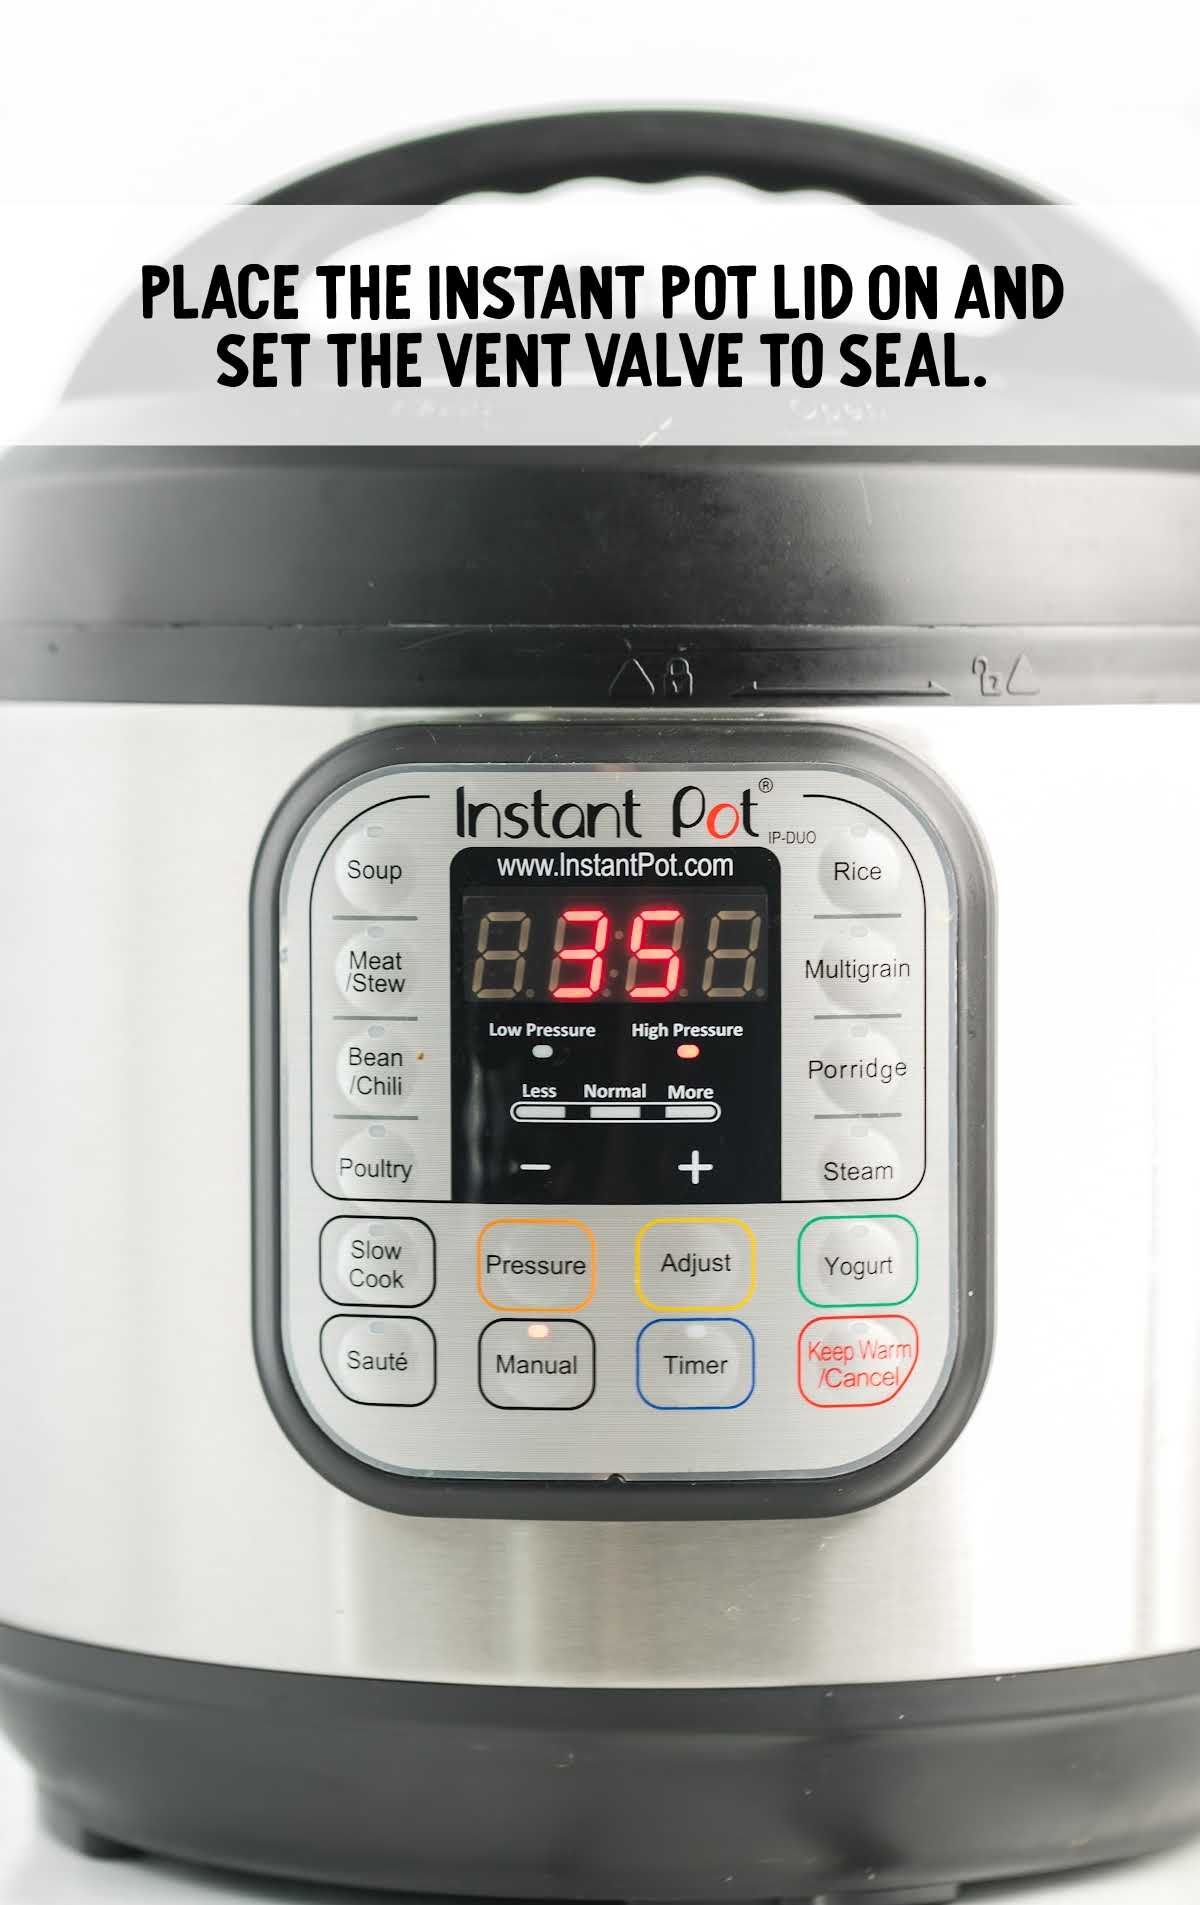
STEP SEVEN: Place your Instant Pot lid on and set the vent valve to SEAL.
Hit the Manual button and then select high pressure, and set the cook time to 35 minutes.
This is just enough time for it to bake completely and remain deliciously moist on the inside.
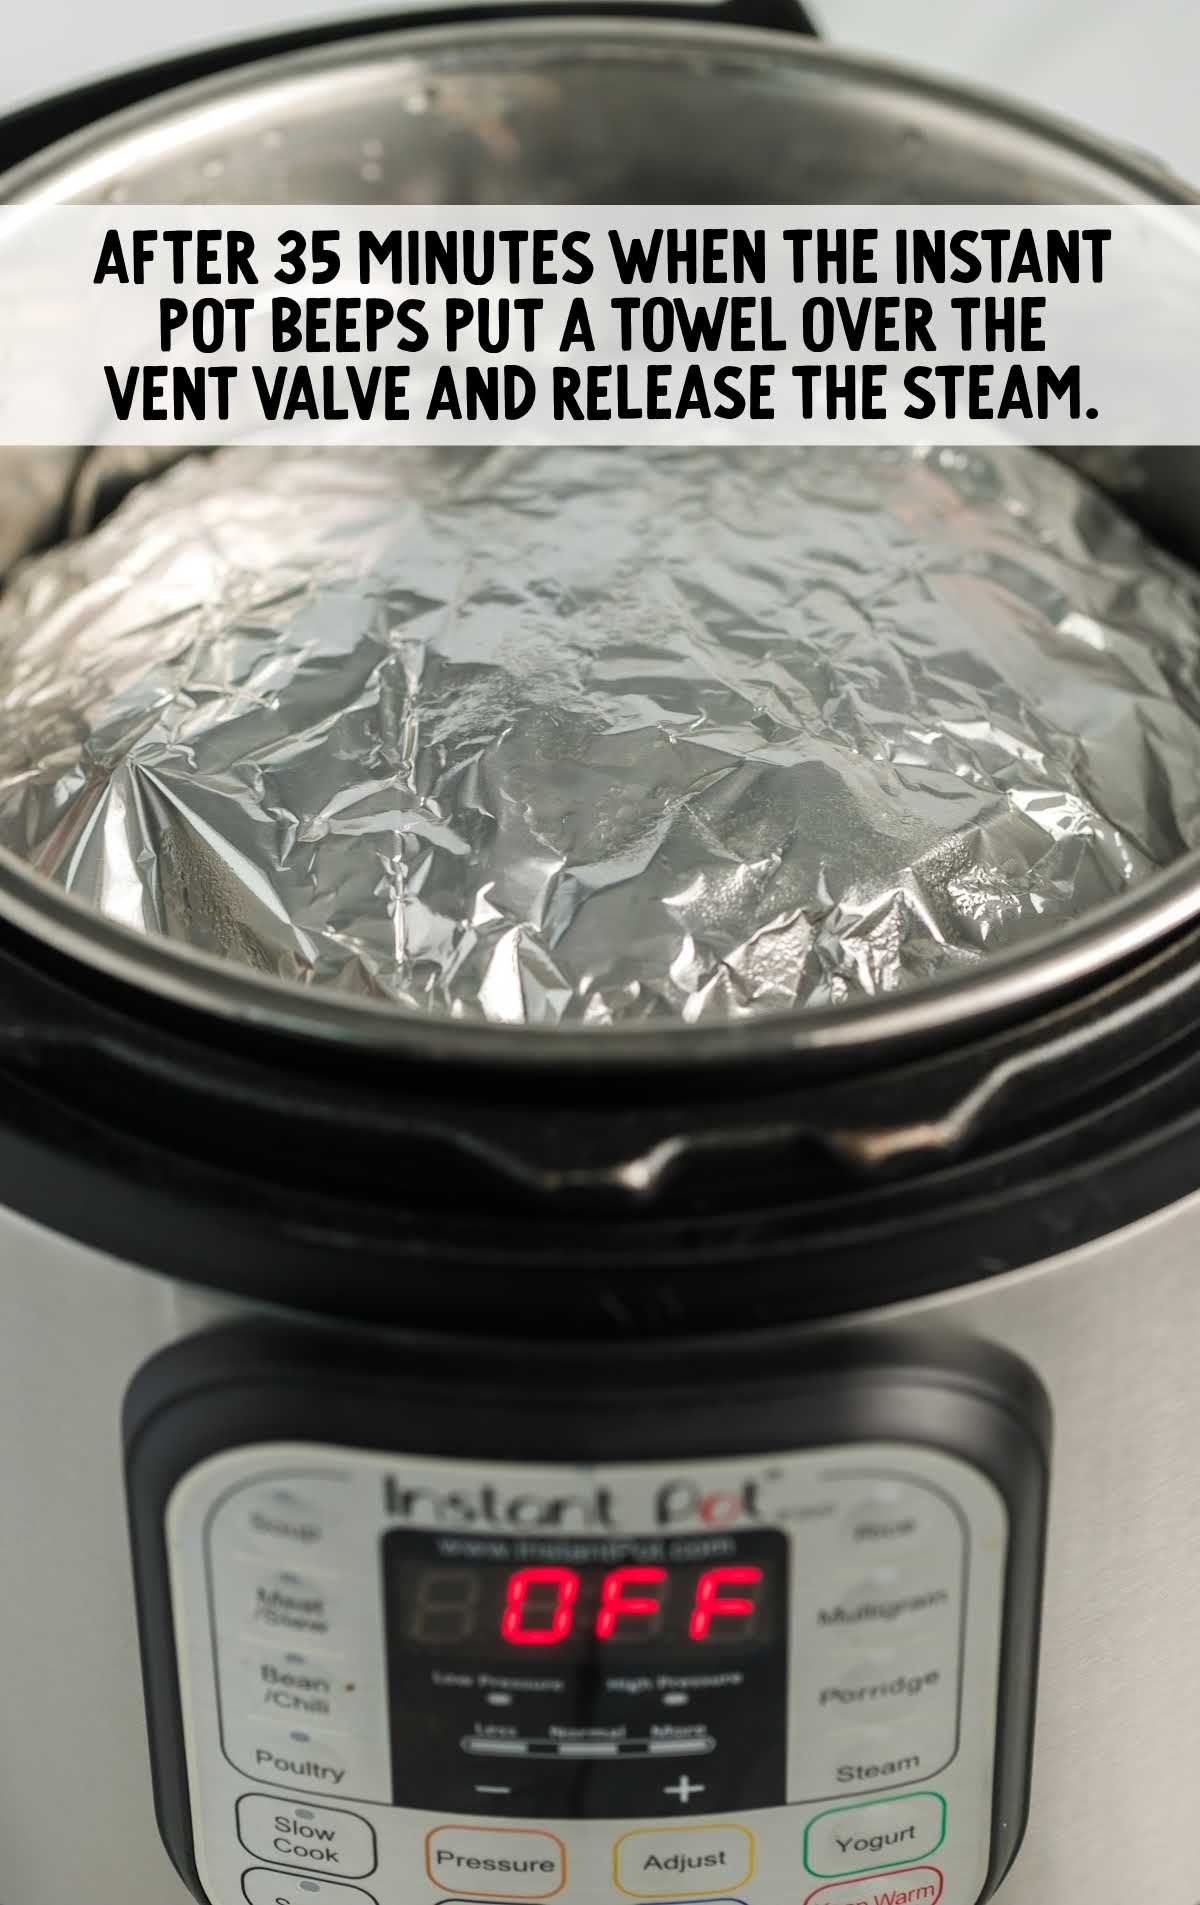
STEP EIGHT: At the end of the 35 minutes, once the Instant Pot beeps, place a towel over the vent valve and release the steam.
Once all the steam is released and the safety pin by the vent valve has dropped, you can open the lid.
Carefully remove the bundt pan using the handles and a towel. It will still be hot.
PRO TIP:
There may be condensation water on top of the aluminum foil. Use caution when opening the lid as to not burn yourself.
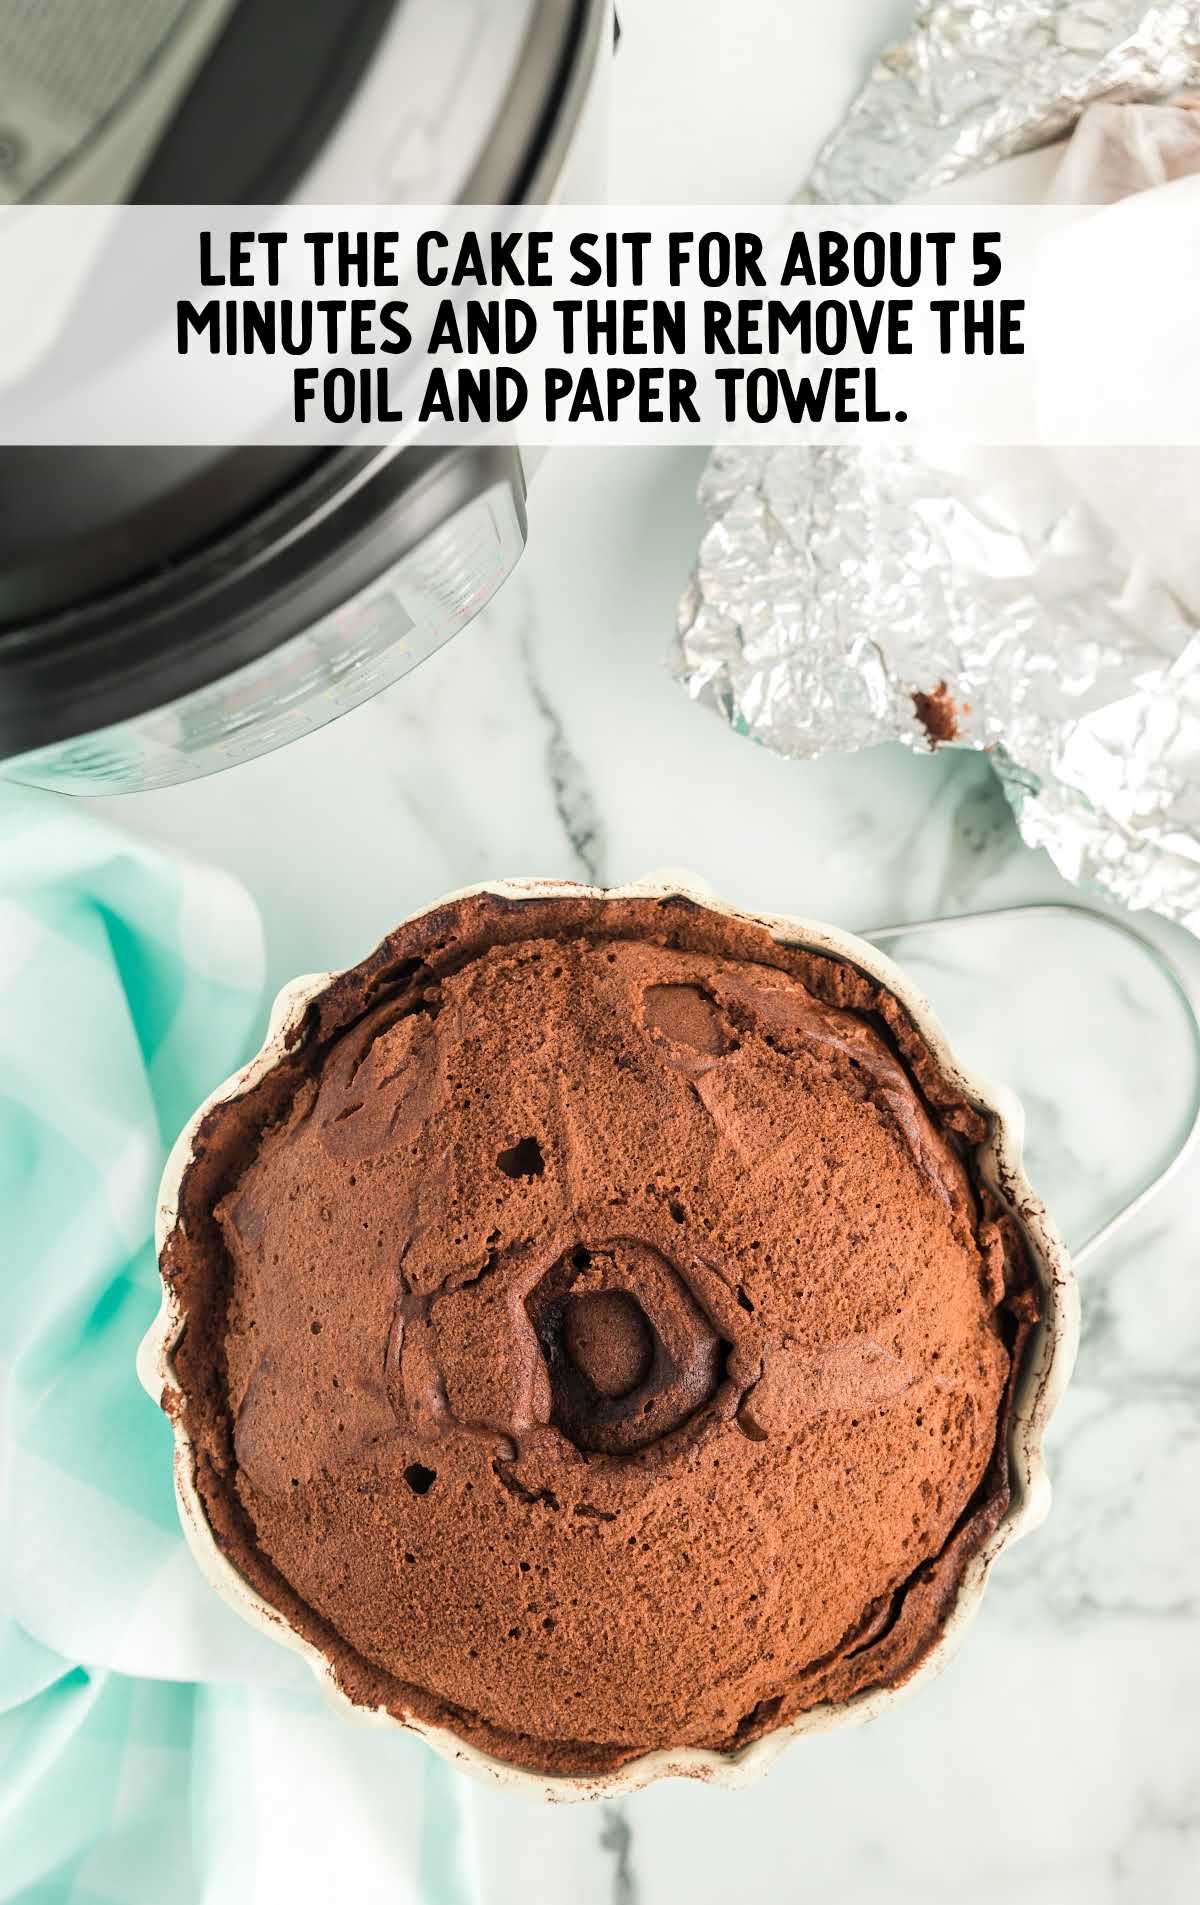
STEP NINE: Let the cake sit for five minutes, and then remove the foil and paper towel on top.
PRO TIP:
If your bundt cake comes out with a “fluffy bottom” you can take a thin string (like quilting thread or unflavored dental floss) and “trim” the bottom of your cake.
Wrap the string around the bottom of the cake, right below the edge, and hold an end of the string in each hand.
Crisscross the string and pull it away from the cake until it cuts the bottom off to be flatter. You can also do this with a knife, but it’s trickier to get the cut level.
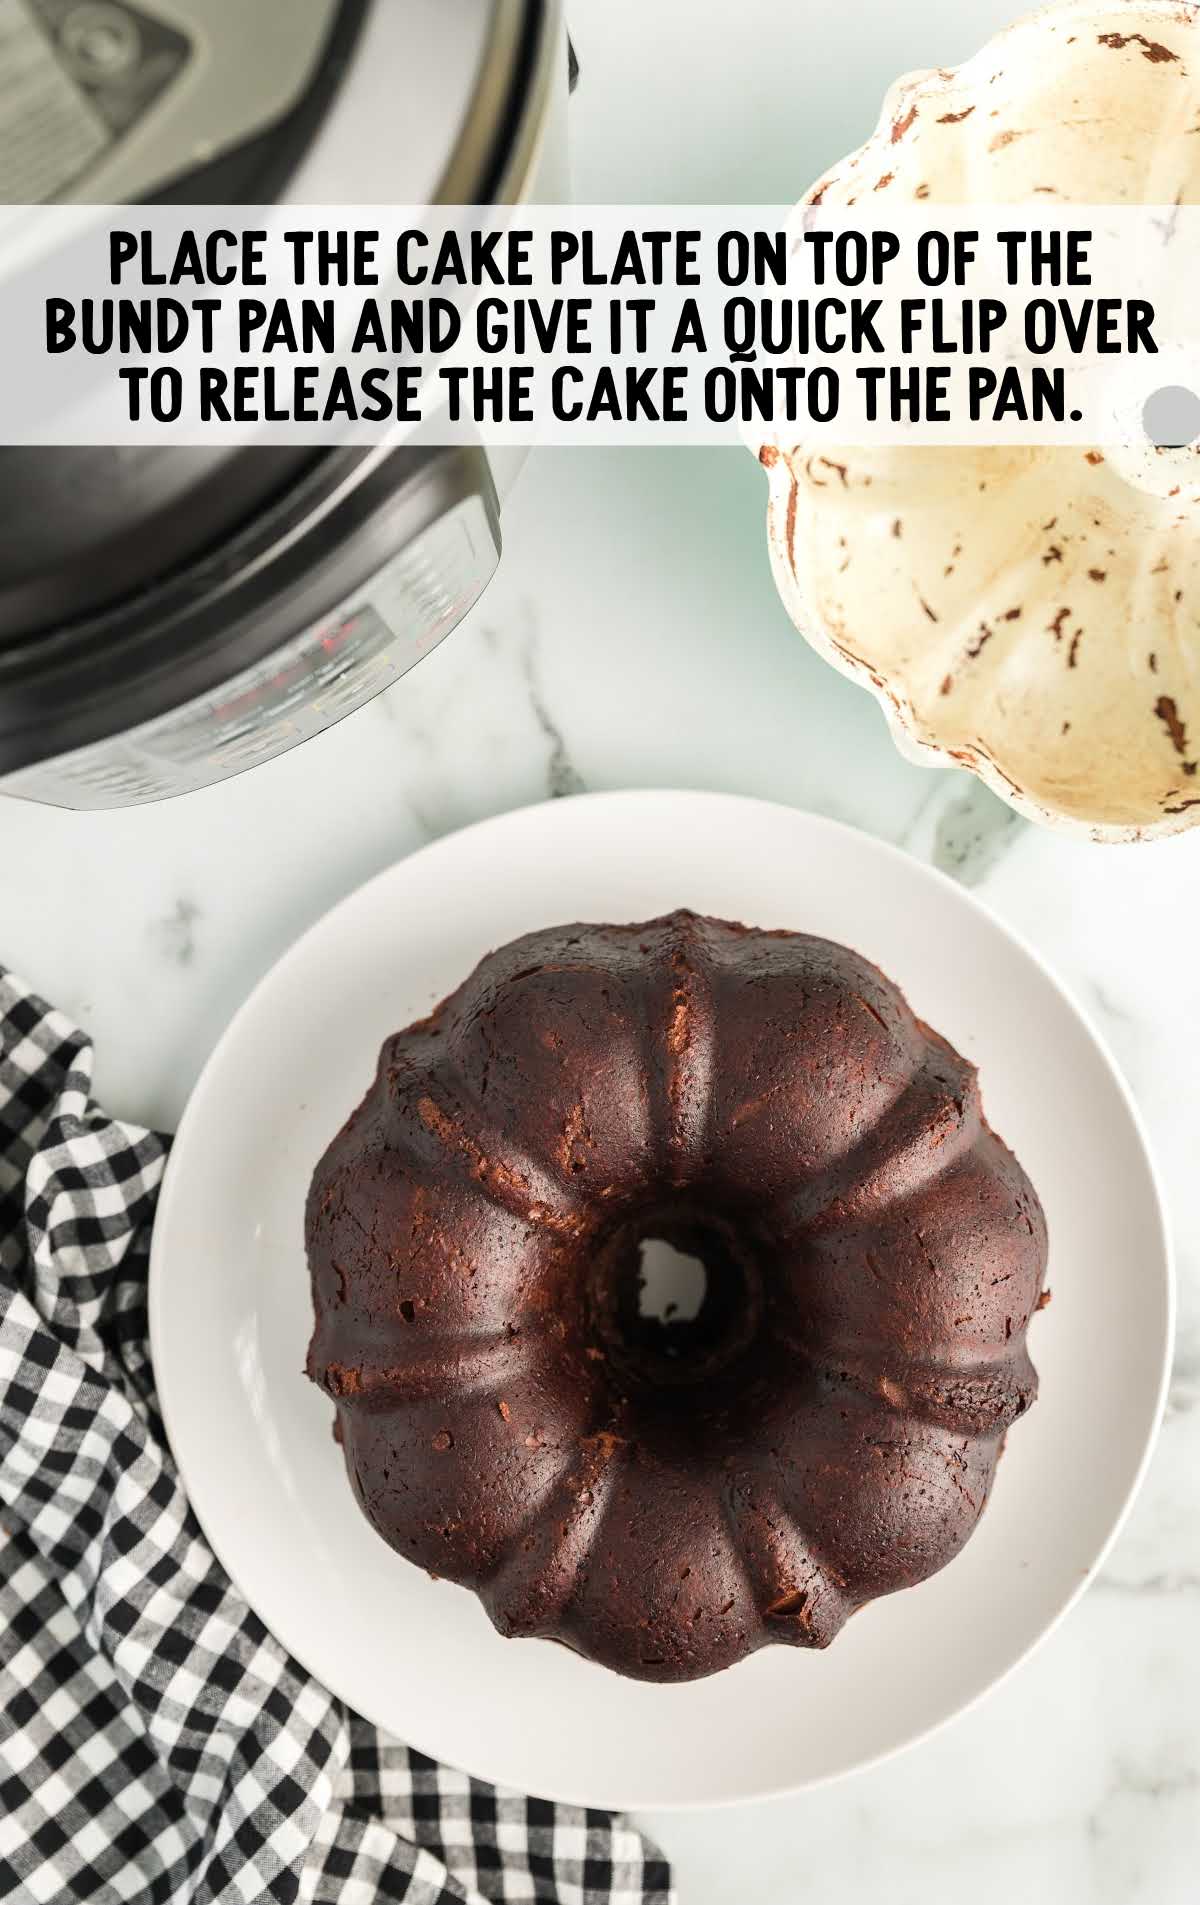
STEP TEN: Place a serving plate on top of the bundt pan and flip it quickly to release the cake onto the pan.
For The Ganache
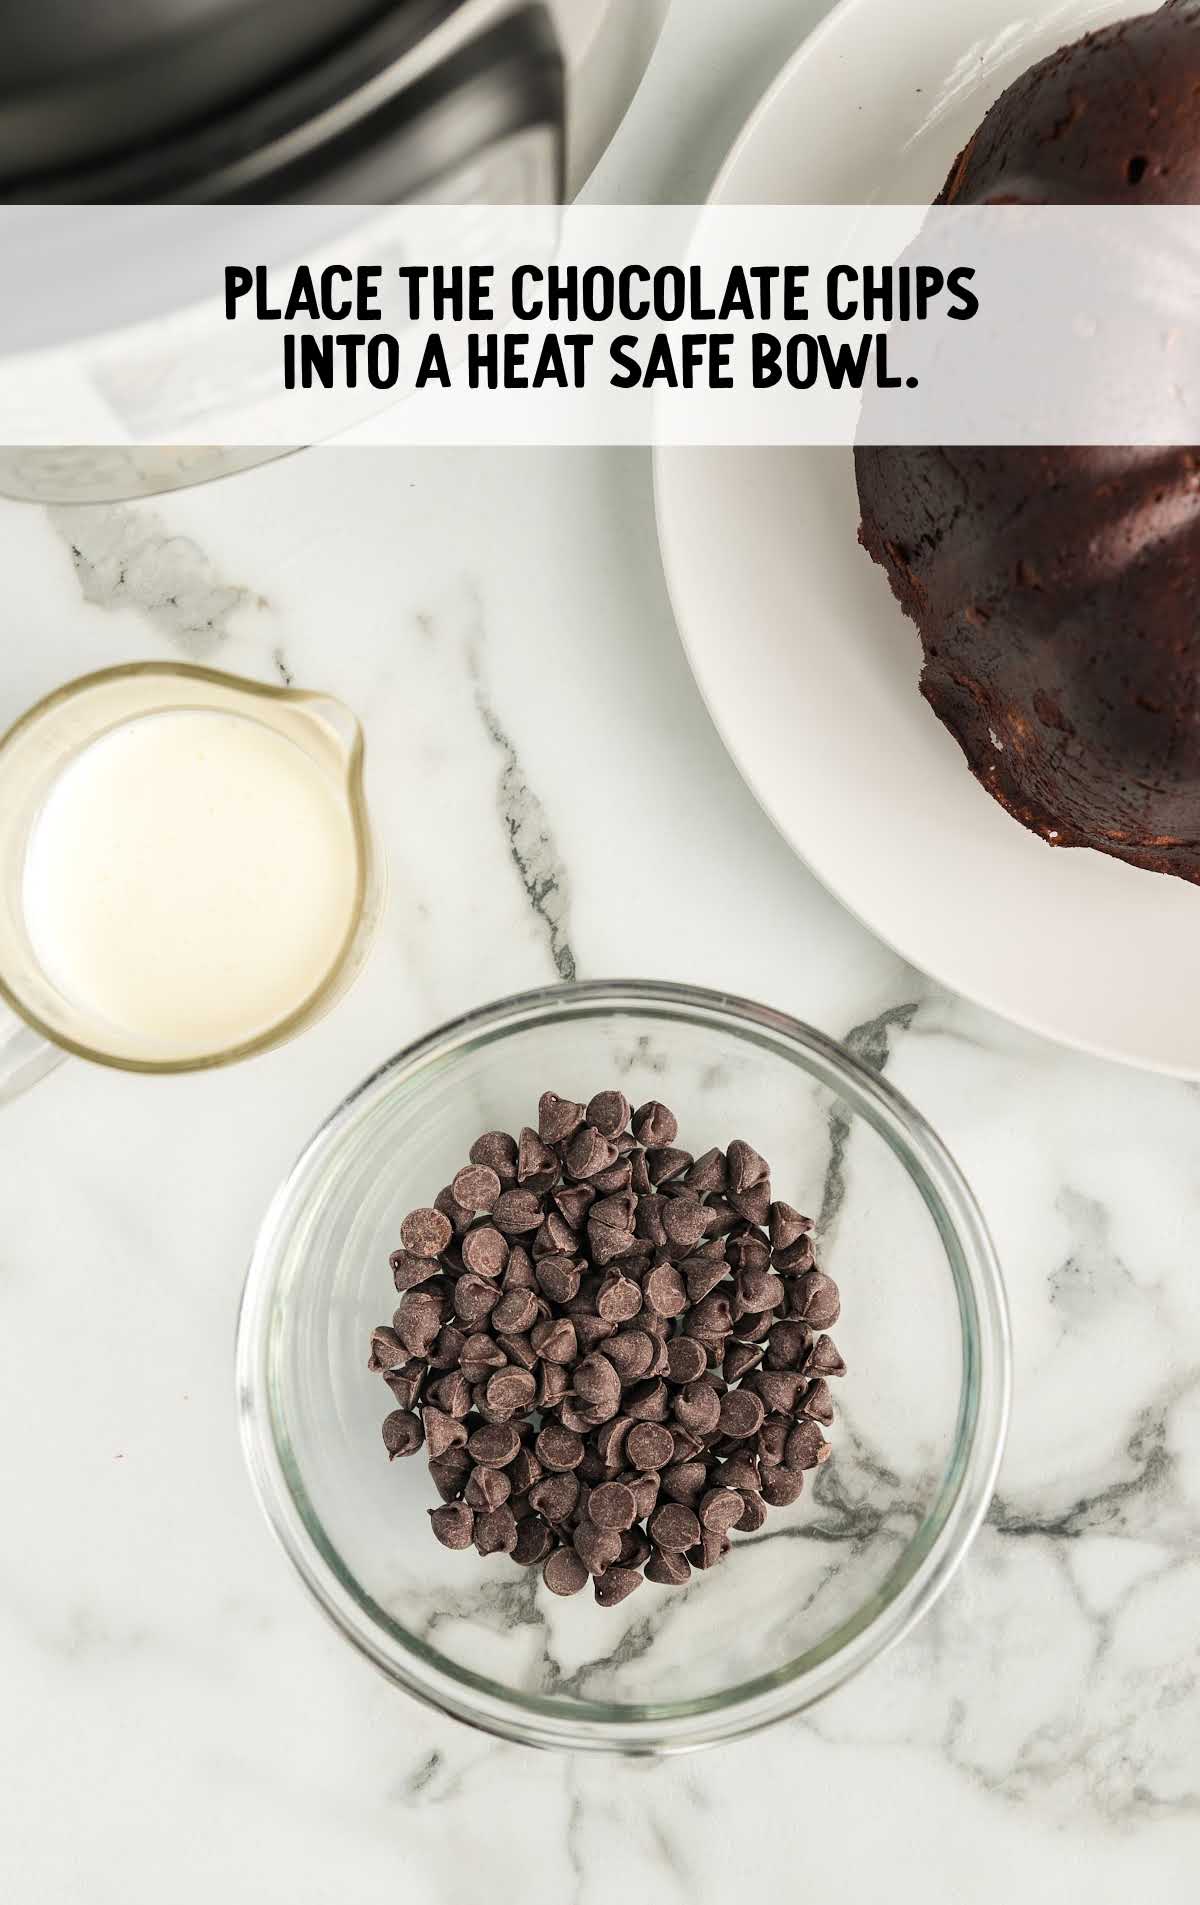
STEP ONE: Place the chocolate chips into a heat-safe bowl.
STEP TWO: Place the heavy cream in a microwave-safe glass measuring cup and heat on high in the microwave for one minute.
Keep an eye on it to make sure that it doesn’t boil over.
STEP THREE: Carefully remove the cream from the microwave and pour it over the chocolate chips. Let the chips and cream sit for two to three minutes.
Then, stir slowly, continuing until combined and creamy.
STEP FOUR: Let the mixture sit for 30 minutes before using it as a glaze over the finished cake.
You can also let it sit longer if you’d prefer to use it as chocolate frosting on top of the cake.
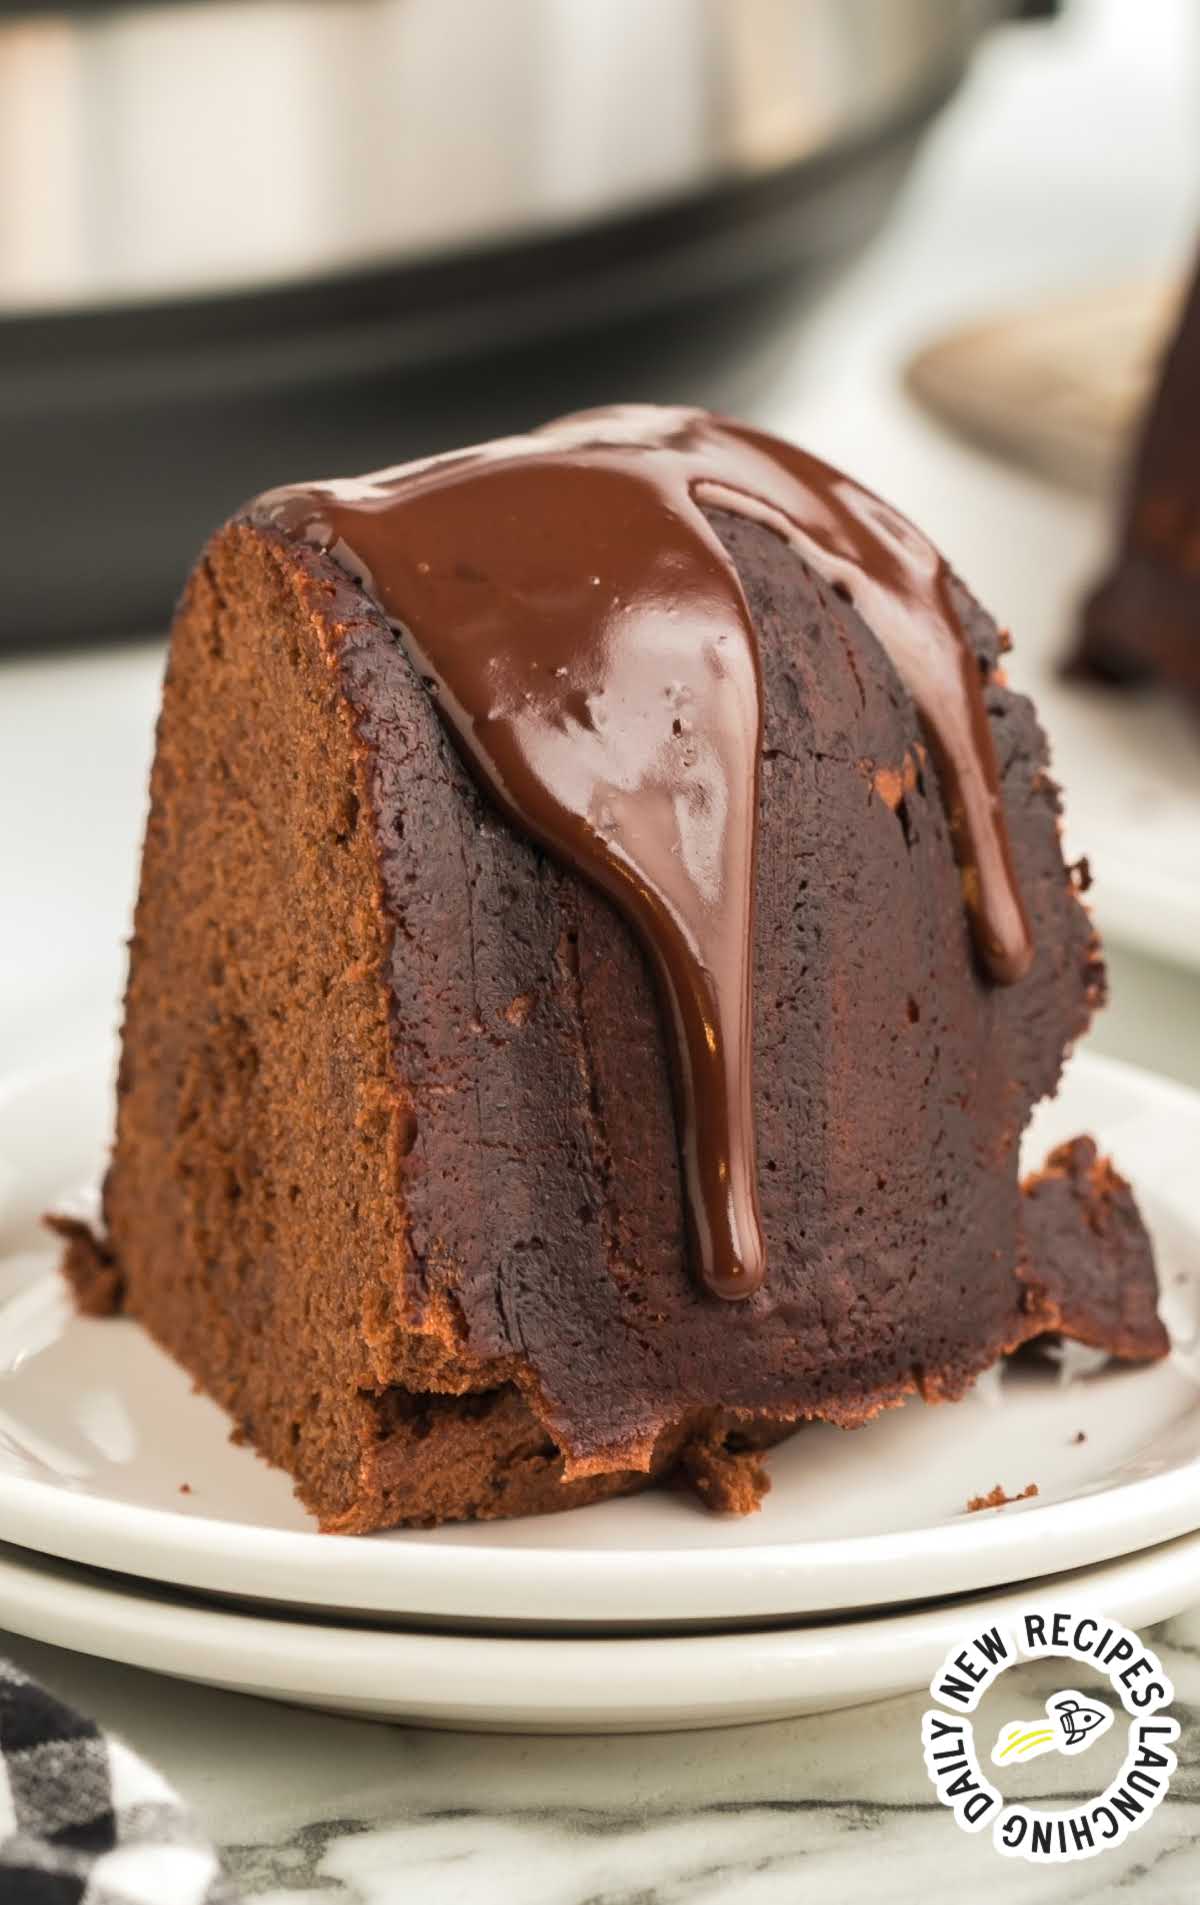
How To Serve
This Instant Pot dessert is sure to satisfy your sweet tooth.
Add a scoop of vanilla ice cream and whipped cream on top of the moist cake, and enjoy a slice with a cup of tea for an afternoon snack or dessert.
If you want to make more Instant Pot recipes for dessert, make our Instant Pot cheesecake or Instant Pot monkey bread.
MORE CAKE RECIPES


Storage
Now that you’ve enjoyed your Instant Pot chocolate cake, let’s talk about how to store any leftovers or make-ahead portions.
MAKE AHEAD: If you want to get a head start on dessert, you can prepare the cake in advance and store it at room temperature for up to 24 hours.
After cooking, allow the cake to cool completely. Then, cover it with plastic wrap or place it in an airtight container to keep it moist.
When you’re ready to serve, you can reheat slices briefly in the microwave or enjoy them at room temperature.
ON THE COUNTER: Store this fudgy cake at room temperature for up to three days in an airtight container.
IN THE FREEZER: Store in an airtight container or wrapped in plastic wrap in the freezer for up to one month.
Make sure to thaw your cake in the fridge before eating! Keep in mind, your ganache won’t freeze as well as the cake.
Why We Love This Recipe
SPEEDY TREAT: This recipe leverages the Instant Pot’s magic to deliver a mouthwatering chocolate cake in record time. In just a fraction of the usual baking time, you can satisfy your sweet tooth with a warm and freshly cooked dessert.
NO FUSS PREPARATION: With the Instant Pot, there’s no need for complicated baking techniques or monitoring the oven.
MOIST AND DECADENT: The cake’s pressure cooking process locks in moisture, resulting in an incredibly moist and tender texture. Paired with its rich chocolate flavor, it’s a dessert that offers pure indulgence.
This Instant Pot chocolate cake recipe is an amazing treat. It’s the perfect cure for all of your chocolate cravings and is an easy way to make a homemade chocolate cake for dessert.
Frequently Asked Questions
Can I freeze this chocolate cake?
You can freeze your chocolate cake for up to one month.
Can I frost this with chocolate buttercream or another chocolate frosting instead of ganache?
If you prefer different frosting, you are more than welcome to replace the ganache with frosting or buttercream. It will be just as decadent and delicious.
Can I use a different cake pan for this recipe?
If you don’t have a 6-cup bundt pan, you could use a different pan. Make sure it fits your Instant Pot before starting the recipe. You may also need to adjust the bake time and the amount of water you put in the bottom of the pot. Consult your user manual for your specific model.
More Recipes You’ll Love
- Blueberry Cobbler
- Lemon Cheesecake Bars
- Banana Pudding
- Kahlua Cheesecake
- Cakesicles
- Easy Vanilla Cake Recipe
- camping banana boats


Instant Pot Chocolate Cake
This Instant Pot chocolate cake recipe is a classic chocolate cake drizzled with a rich and delicious chocolate ganache.
Prep Time 10 minutes
Cook Time 35 minutes
Total Time 45 minutes
Servings 6
Ingredients
Cake
- ½ cup butter, softened
- 4 eggs
- 15.25 ounces chocolate cake mix
- ¼ cup sour cream
- 1 cup whole milk
Chocolate Ganache
- ¼ cup semi-sweet chocolate chips
- ¼ cup heavy whipping cream
Instructions
Cake
- Prepare your 6-cup bundt pan by greasing the inside really well with butter or shortening. Coat it with cocoa powder or spray well with Baker’s Joy (which has flour in it, don’t use regular spray coating). Set aside.
- In a large mixing bowl on high speed, mix together the softened butter and eggs until smooth, 2 to 3 minutes.
- Add the cake mix, sour cream, and milk. On low speed, mix until starting to combine, and then increase the mixer speed to high and beat for 2 minutes.
- Pour the batter into the prepared pan to about half an inch from the top of the pan.
- Lay a paper towel over the top of the pan. Next, place a piece of heavy-duty foil over the top of the pan. Don’t pull it down tight, leave it tented in the middle. Pinch the foil around the edge of the pan to seal.
- Place 1½ cups of water into the bottom of your Instant Pot.
- Set the covered bundt pan onto the handled trivet that came with your Instant Pot and lower into the Instant Pot using the trivet handles.
- Place your Instant Pot lid on and set the vent valve to SEAL.
- Hit the Manual button and high pressure and set the time for 35 minutes.
- At the end of the 35 minutes when the Instant Pot beeps, put a towel over the vent valve and release the steam. Once all the steam has been released and the safety pin by the vent valve has dropped, you can open the lid.
- Carefully remove the bundt pan using the handles and a towel (because it will still be hot).
- Let the cake sit for about 5 minutes and then remove the foil and paper towel.
- Place your cake plate on top of the bundt pan and give it a quick flip over to release the cake onto the pan.
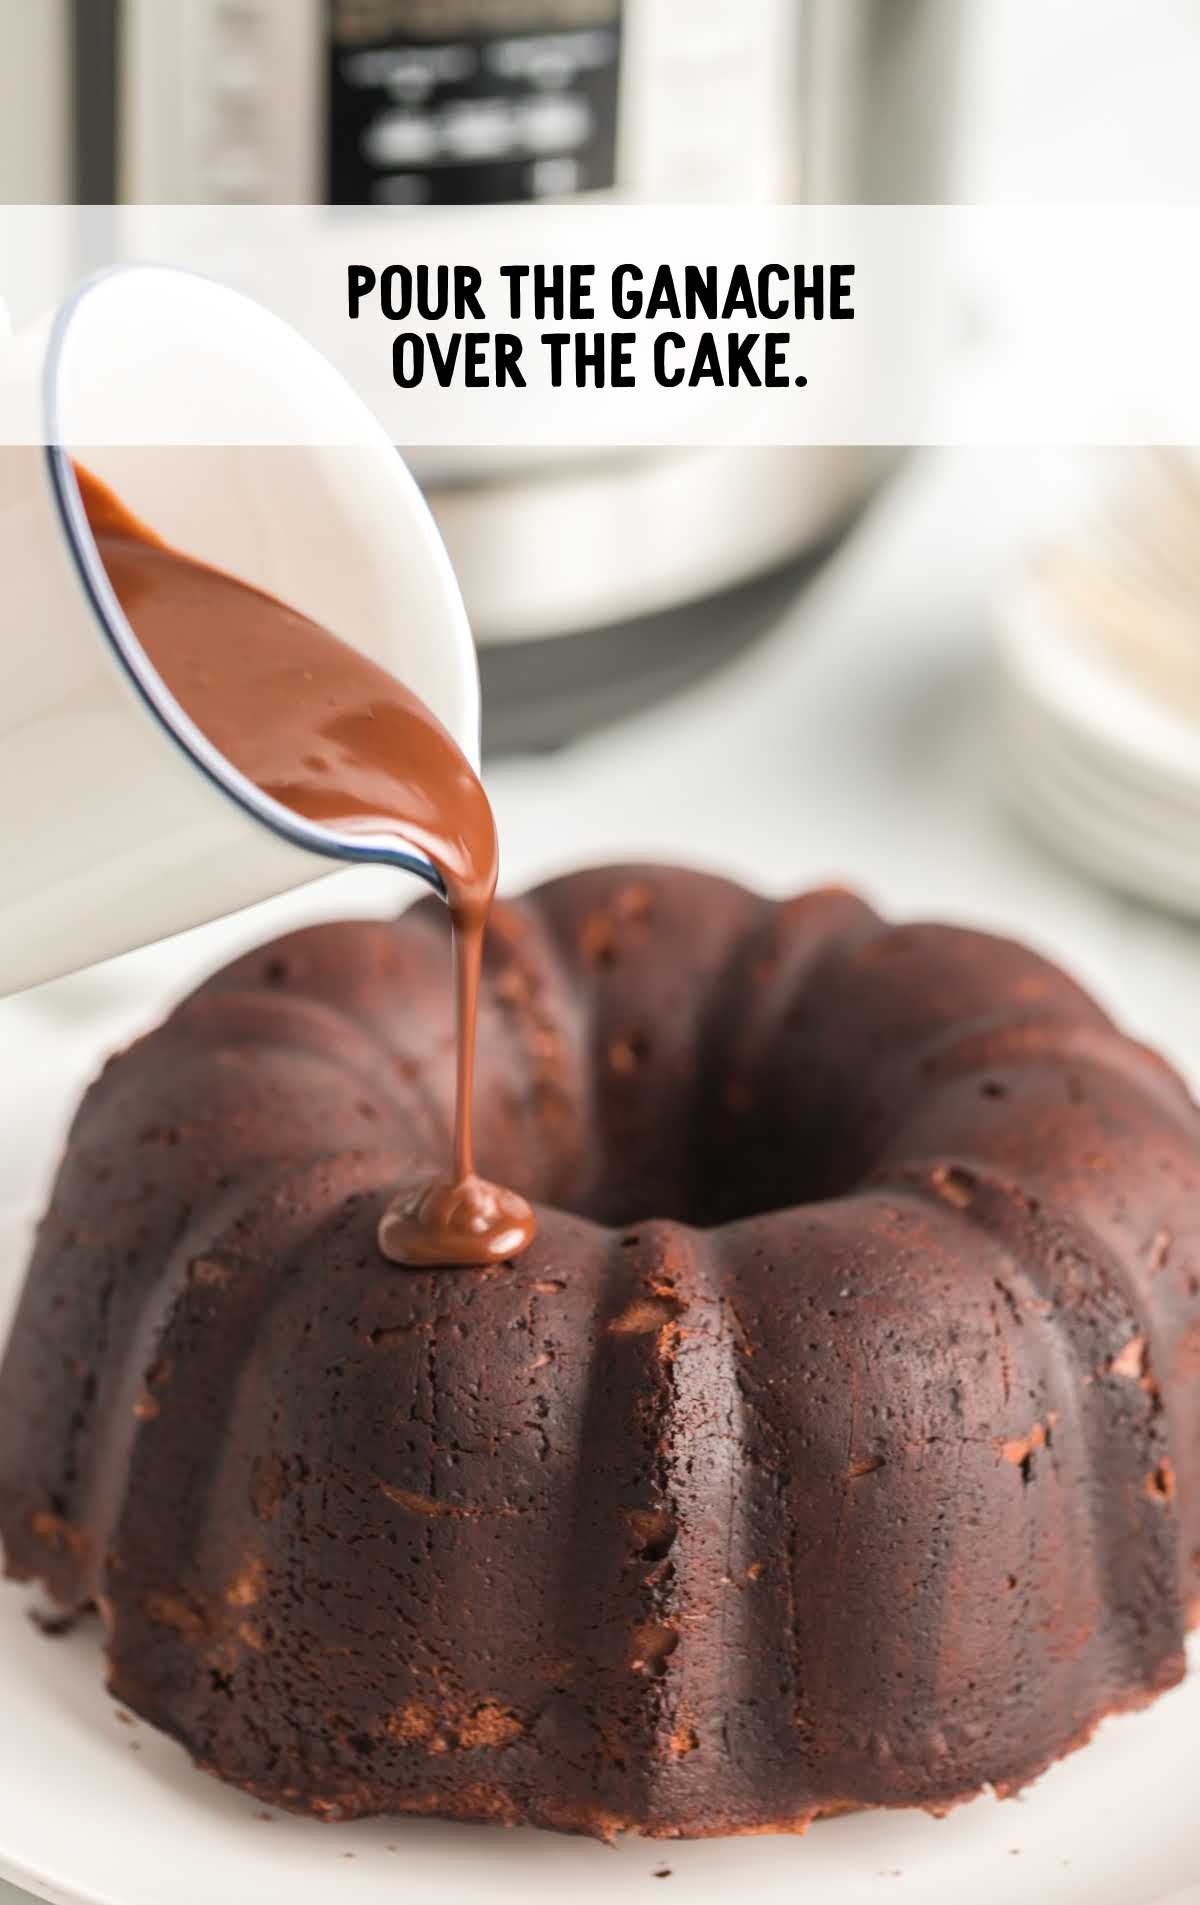
- Pour the thickened ganache over the top of the cake.
Ganache
- Place the chocolate chips into a heat safe bowl.
- Place the heavy cream in a microwave safe glass measuring cup and heat on high in the microwave for one minute. Watch so it doesn’t boil over.
- Carefully remove the cream from the microwave and pour it over the chocolate chips. Let the chips and cream sit for 2 to 3 minutes. Then stir slowly, continuing until combined and creamy.
- Let the mixture sit for 30 minutes before using it as a glaze over the finished cake. You can also let it sit longer if you’d prefer to use it as chocolate frosting on top of the cake.
Notes
- When buying the cake mix at the grocery store, make sure to pick one that doesn’t have pudding mix in it; check the label to make sure.
- We used a 6-cup bundt pan for this recipe. Make sure your bundt pan will fit in your Instant Pot before filling it with batter.
- If your bundt cake comes out with a “fluffy bottom” you can take a thin string (like quilting thread or unflavored dental floss) and “trim” the bottom of your cake. Wrap the string around the bottom of the cake, right below the edge, and hold an end of the string in each hand. Crisscross the string and pull it away from the cake until it cuts the bottom off to be flatter. You can also do this with a knife, but it’s trickier to get the cut level.
Nutrition
Calories: 607kcal | Carbohydrates: 59g | Protein: 10g | Fat: 39g | Saturated Fat: 19g | Cholesterol: 173mg | Sodium: 800mg | Potassium: 395mg | Fiber: 2g | Sugar: 33g | Vitamin A: 902IU | Calcium: 197mg | Iron: 4mg
Have You Tried This Recipe?Follow me on Pinterest @spaceshipslb

Even More Recipes You’ll Love
Chocolate Recipes
- Chocolate Dump Cake
- Chocolate Mug Cake
- Chocolate Pudding Pie
- Chocolate Cherry Dump Cake
- Chocolate Chip Cake
Cake Recipes
- Crack Cake
- Coca Cola Cake
- Strawberry Layer Cake
- Strawberry Angel Food Cake
- No Bake Twinkie Cake
- Crockpot Better than Sex Cake
- Hot Fudge Sundae Cake
- Carrot Cake Roll
- Angel Food Cake and Pineapple
- Bumpy Cake
- Cherry Dr Pepper Cake
- Slow Cooker Cake


Comments
Gloria says
Lots of flavor and so easy to make!
Melissa says
I just finished making this cake. It’s super moist and tastes great. And it came out looking just like the picture.