


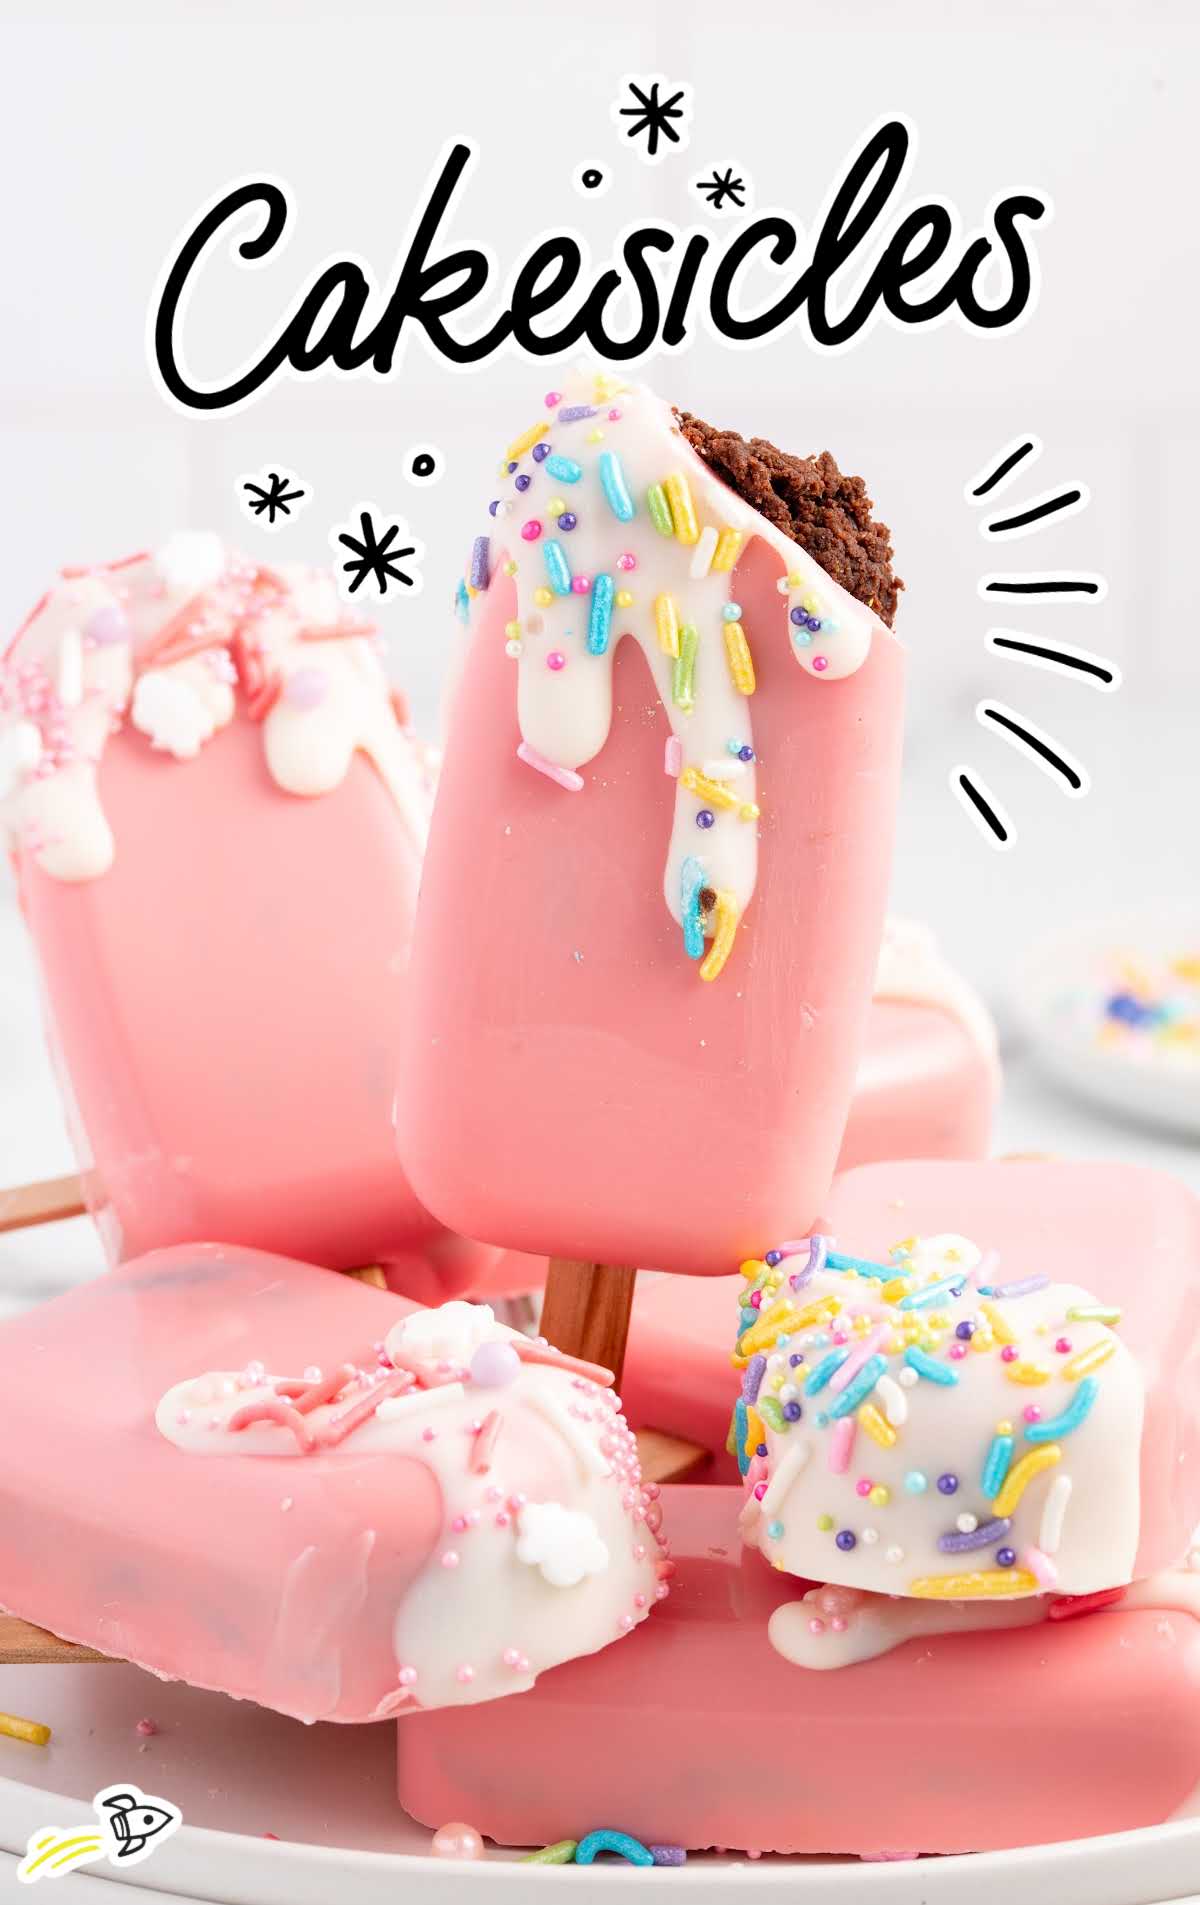
These fun cakesicles have taken the baking world by storm! The delicious confections have a decadent fudge brownie center wrapped in a sweet and colorful candy coating and are formed into an adorable popsicle shape that will delight kids and grown-ups alike.
Cakesicles Ingredients
These bite-sized cakes on a stick are just as delicious as they are cute, and they come in an endless variety of flavors and designs.
The moist brownie interior is perfectly complemented by the colorful chocolate coating, making for a rich and indulgent treat.
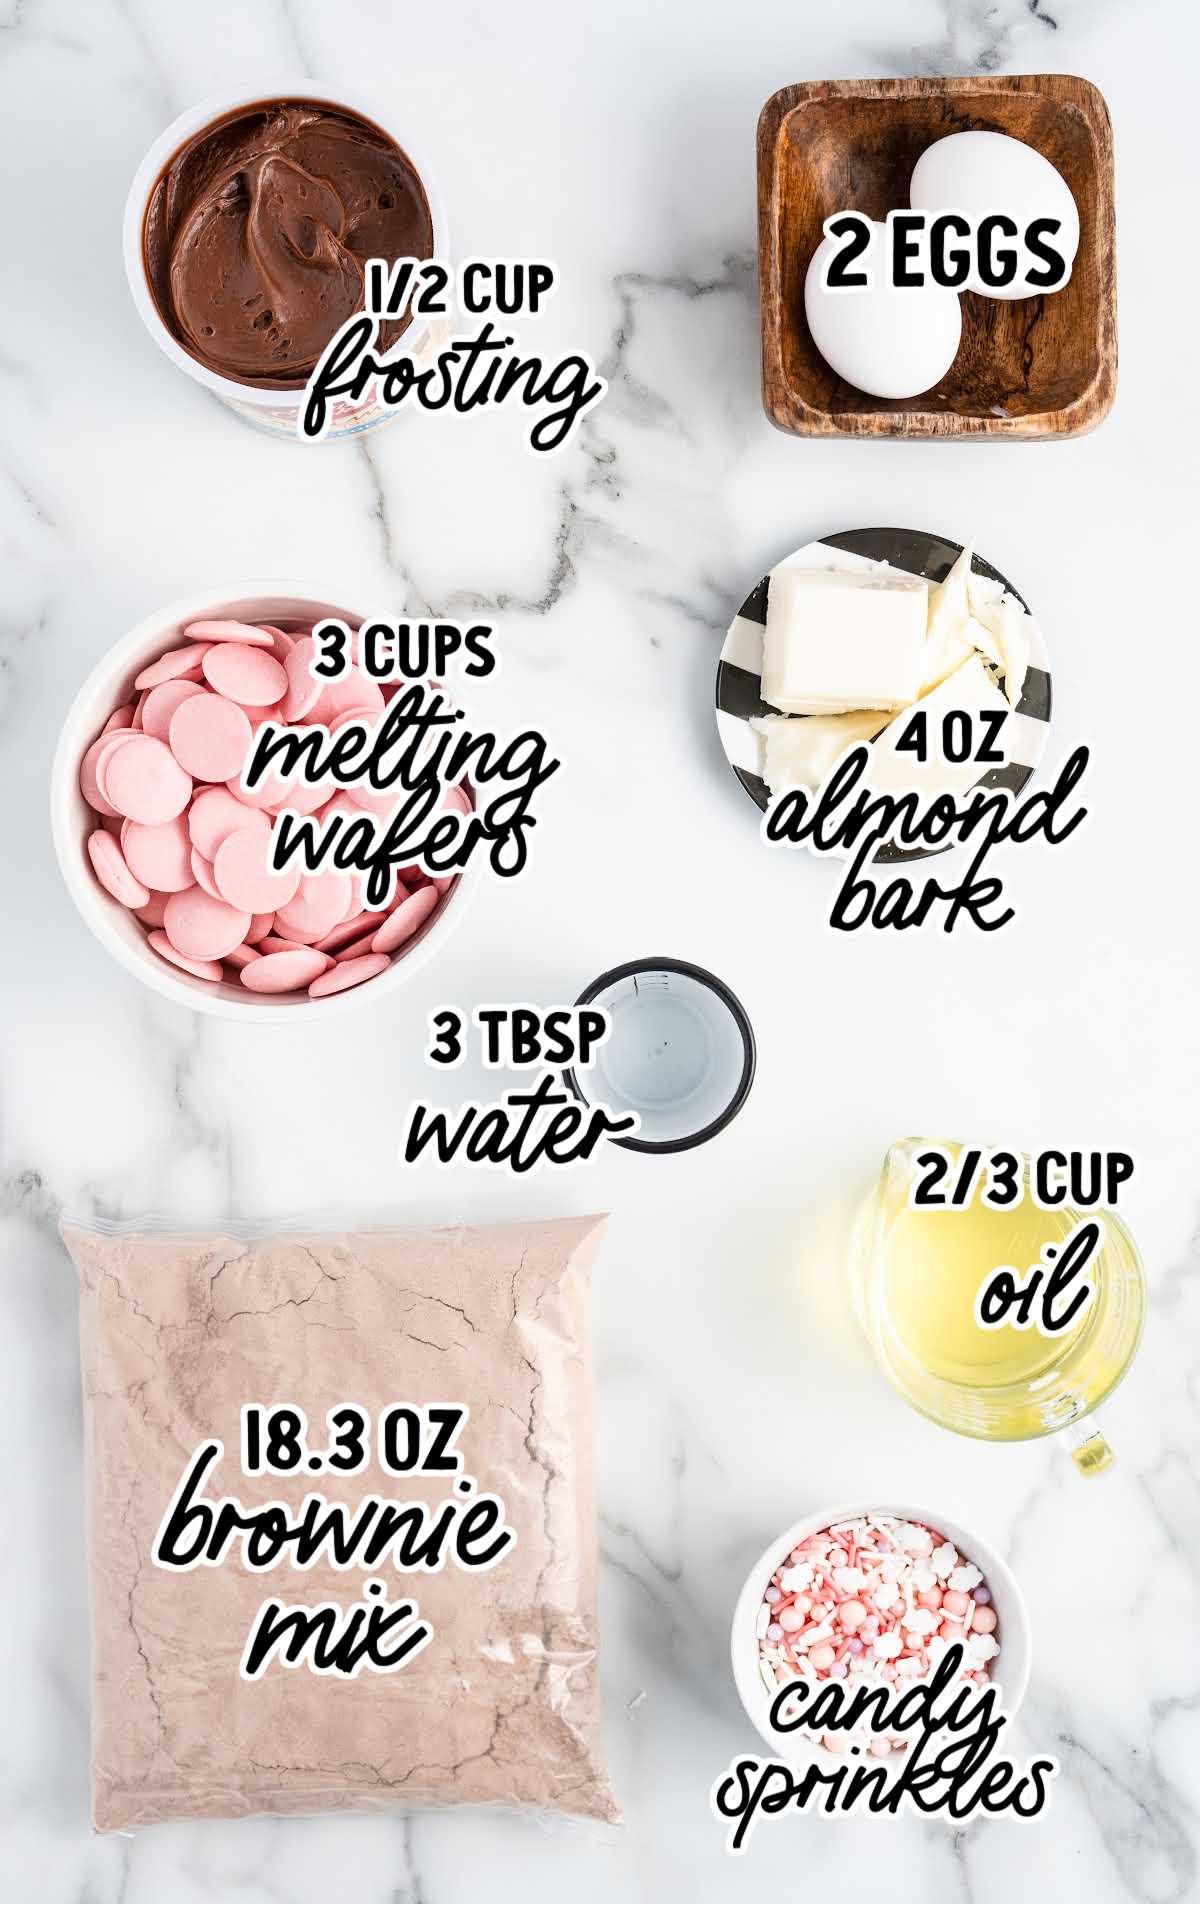
You’ll need:
For The Brownie Base:
- 1 (18.3-ounce) box of chewy fudge brownie mix
- ⅔ cup of vegetable oil
- 2 large eggs, room temperature
- 3 tablespoons of water
- ½ cup of milk chocolate frosting
For The Candy Coating:
- 3 cups of pink candy melting wafers
- 4 ounces of white almond bark
- Candy sprinkles
- You will also need a silicone cakesicle mold and popsicle sticks
Substitutions And Additions
CAKE: You can substitute any cake flavor for the brownies. Just remember to match the frosting used in the cake itself with the flavor.
COLOR: You can substitute different colors of candy melt wafers for the pink.
Customize the color depending on the time of year or holiday you are celebrating.
You could make anything, including Christmas cakesicles, Easter cakesicle, Halloween cakesicles, or unicorn cakesicles, just by changing the color and decorations.
FROSTING: Feel free to explore different frosting flavors like cream cheese, chocolate ganache, or even peanut butter.
The choice of frosting can significantly impact the overall taste and texture of the cakesicles.
SPRINKLES: Sprinkles come in various shapes, colors, and sizes. Consider using themed sprinkles or mixing different types for a visually striking appearance.
You can also use crushed nuts or edible glitter for added texture and sparkle.
How To Make This Cakesicles Recipe
These cakesicles are very similar to cake pops. The first task is to make the cake, crumble it up, and form the cakesicles. Next, melt the colored wafers and coat the cake in the tasty outer shell.
STEP ONE: Preheat the oven to 350°F. Line a 9×9 baking dish with parchment paper.
Be sure to allow two sides of the parchment paper to overlap, making a sling of parchment paper. Set it aside.
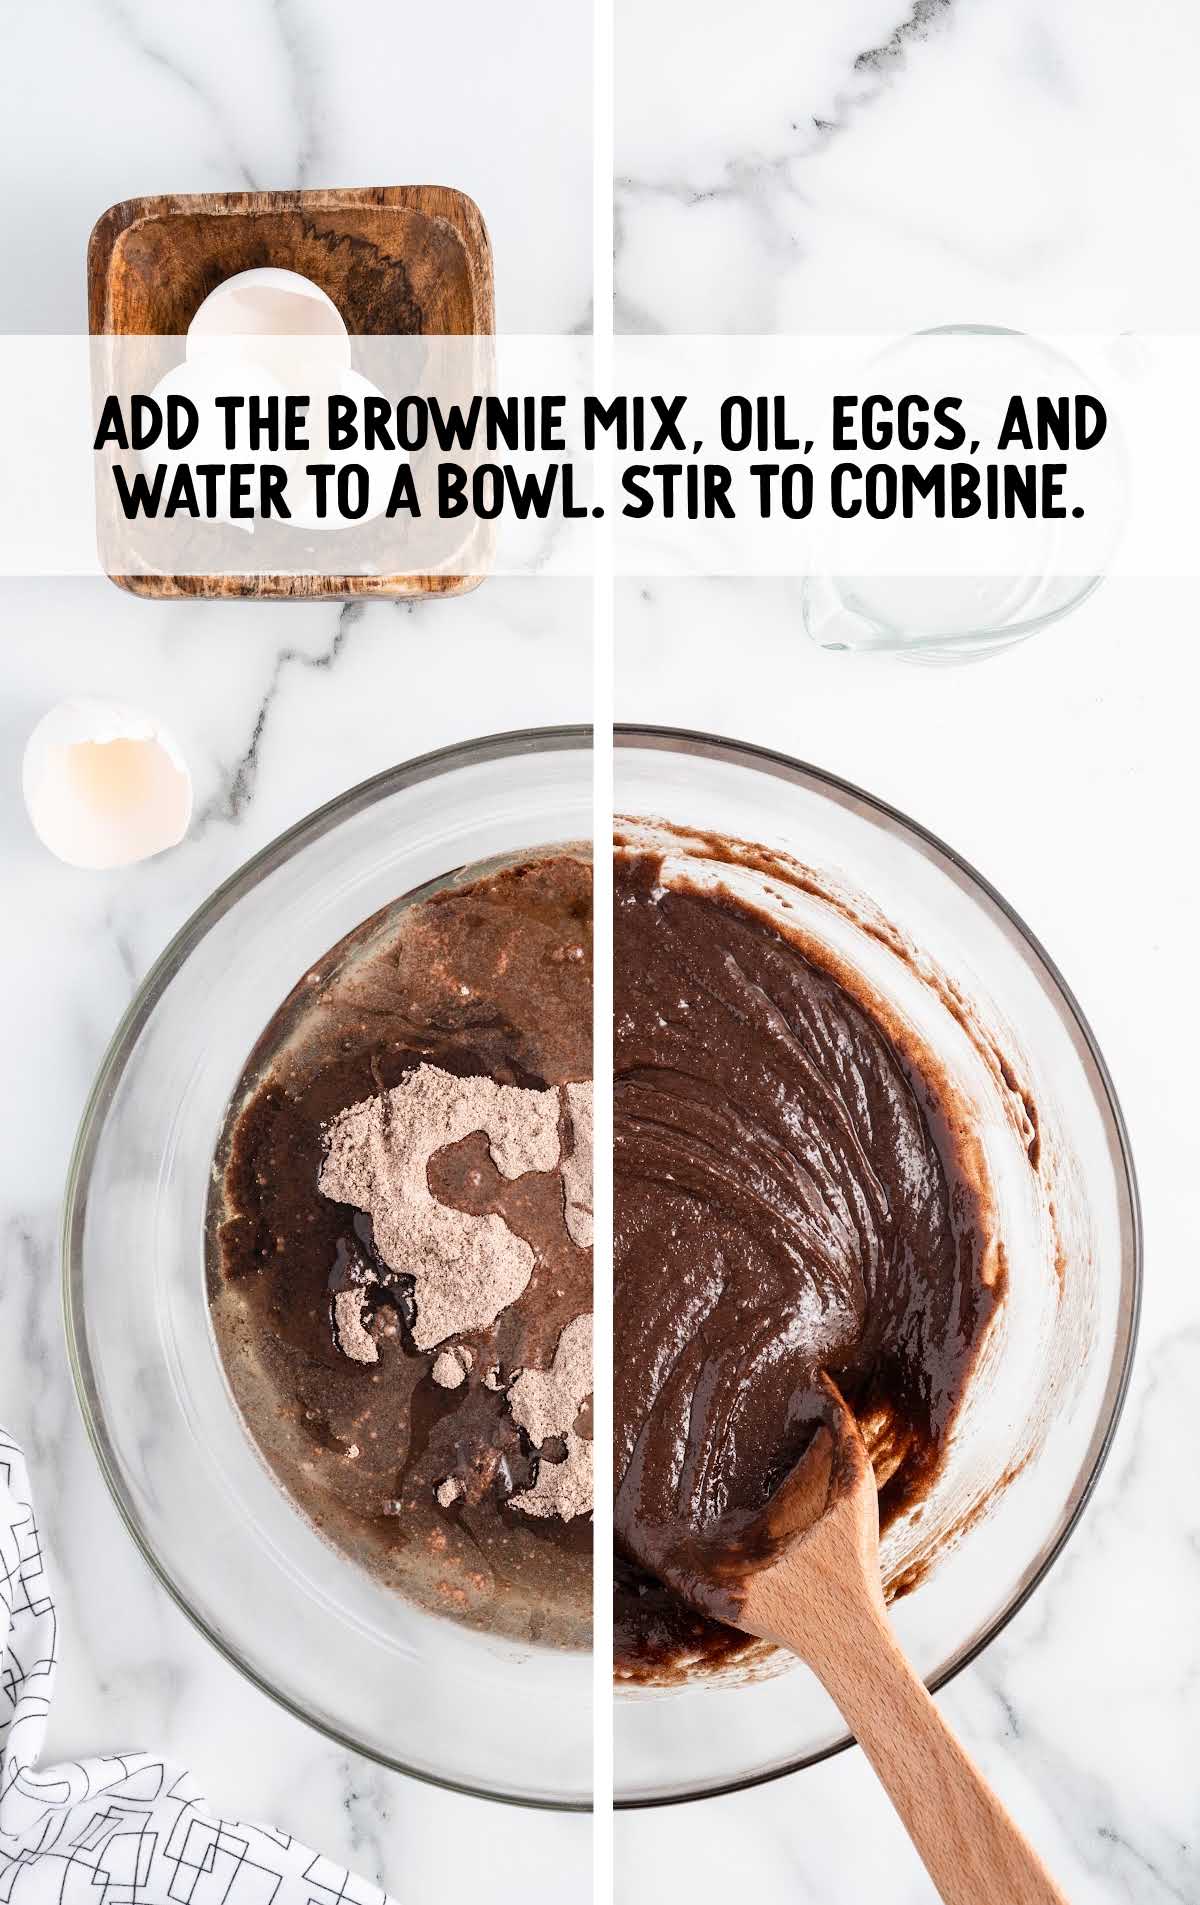
STEP TWO: Add the brownie mix, vegetable oil, eggs, and water to a large bowl. Stir to combine completely. Do not overmix.
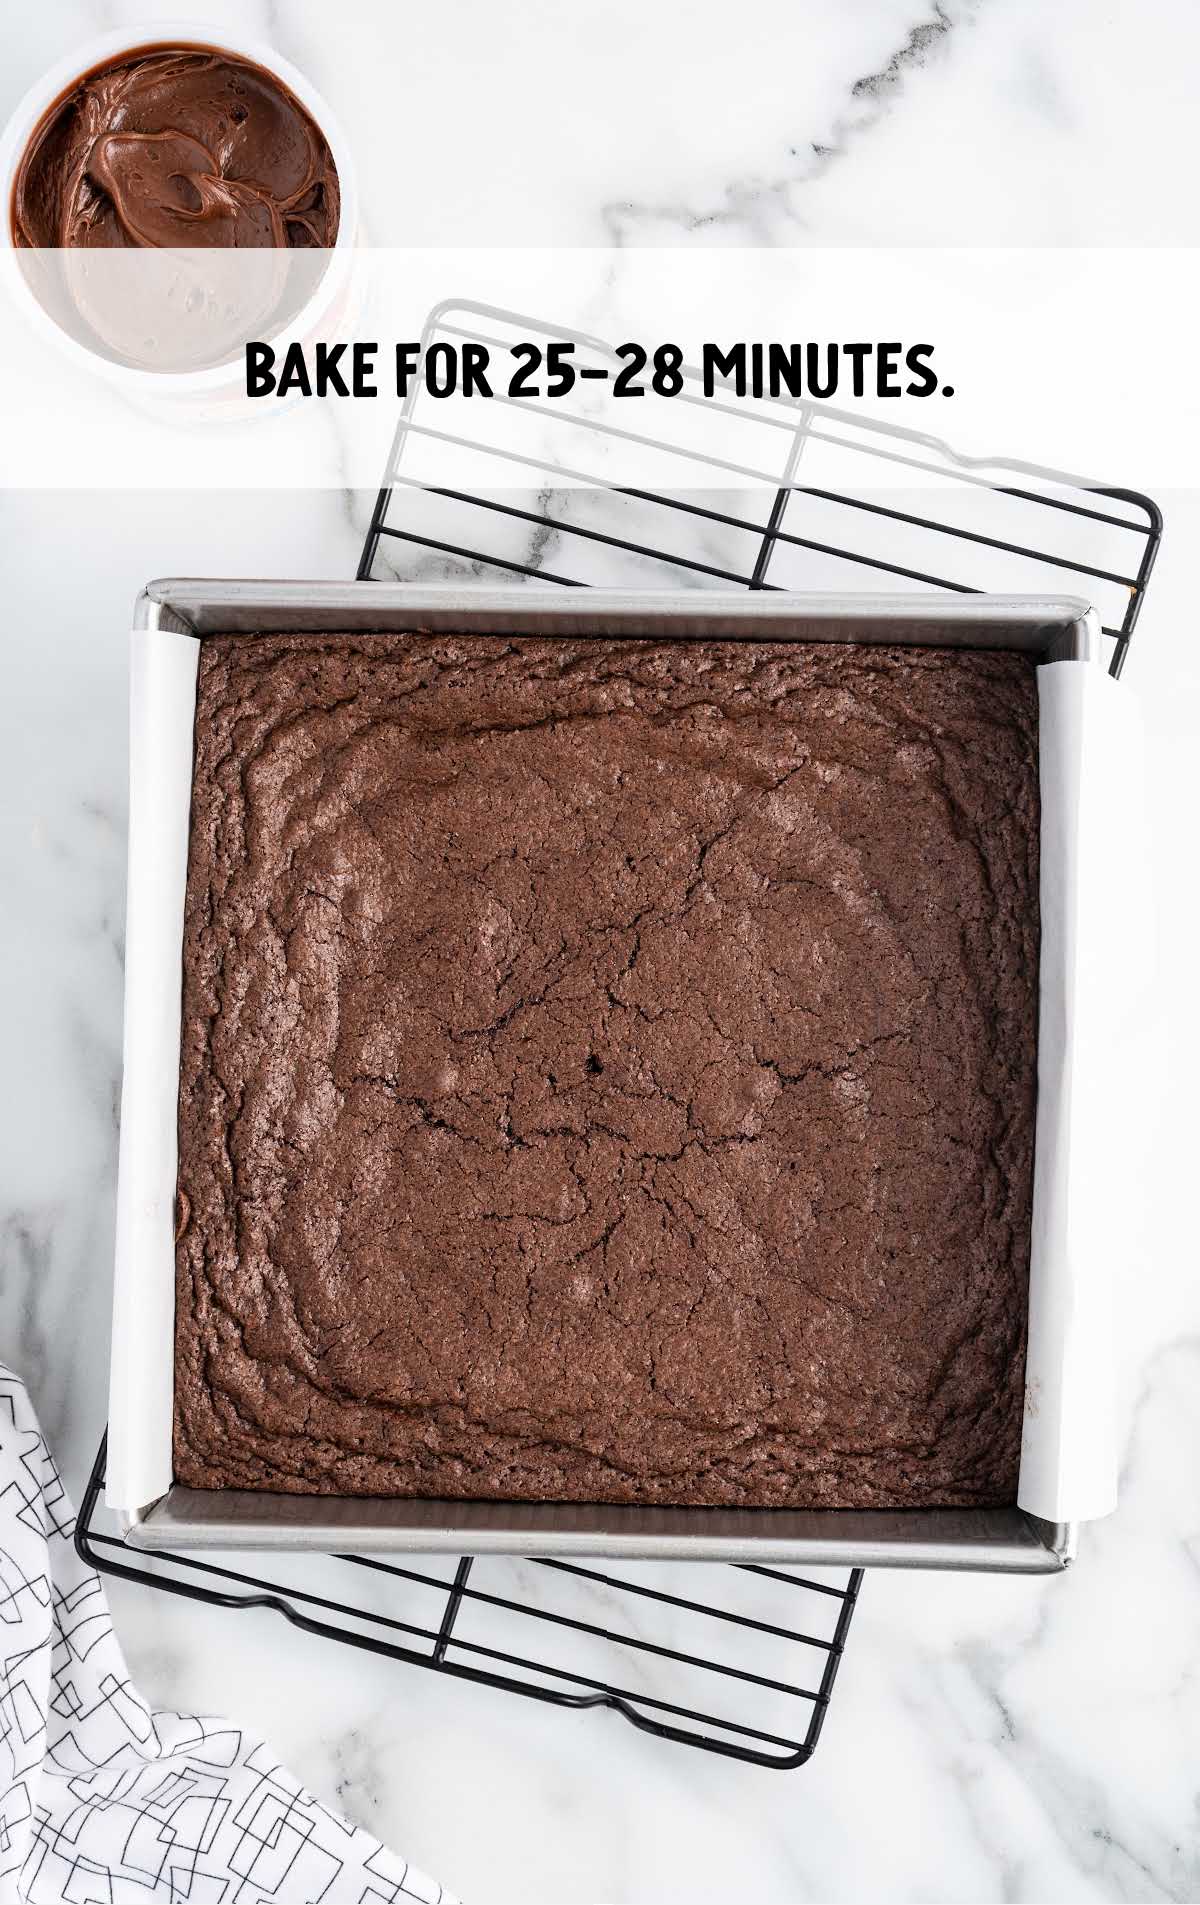
STEP THREE: Evenly spread the brownie batter into the prepared baking dish. Bake for 25 to 28 minutes or until a toothpick inserted comes out clean.
OUR RECIPE DEVELOPER SAYS
Oven temperatures vary and may need to be recalibrated periodically to ensure they are accurate. Make sure to check your cake at the lower end of the recommended baking time.
STEP FOUR: Allow the brownies to cool completely, about 45 minutes to 1 hour.
STEP FIVE: Remove the brownies from the pan using the parchment paper sling. Break the brownies into smaller pieces.
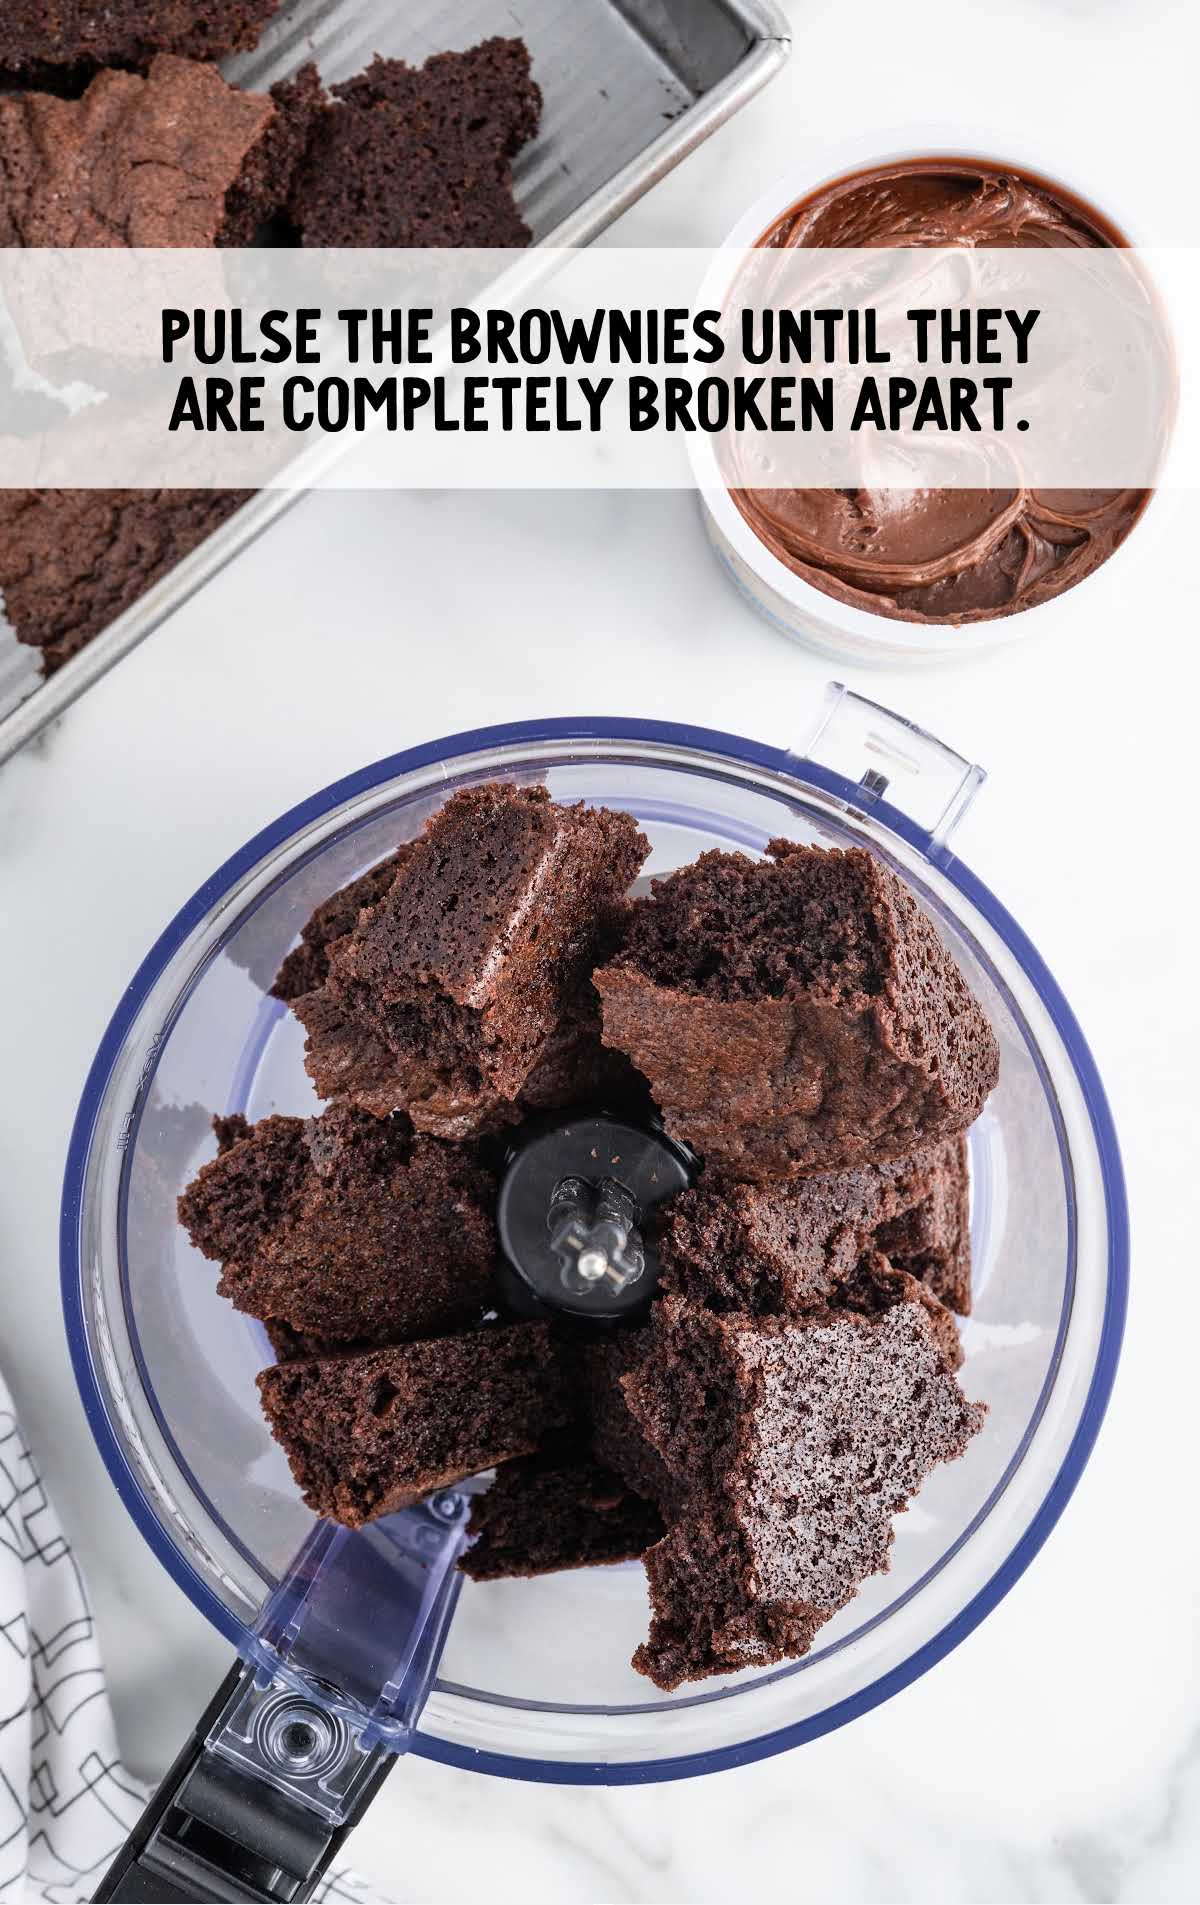
STEP SIX: Using your hands or a food processor, pulse the brownies until they are completely broken apart. I used a food processor. It helps speed up the process.
Transfer the broken brownies to a medium-sized mixing bowl.
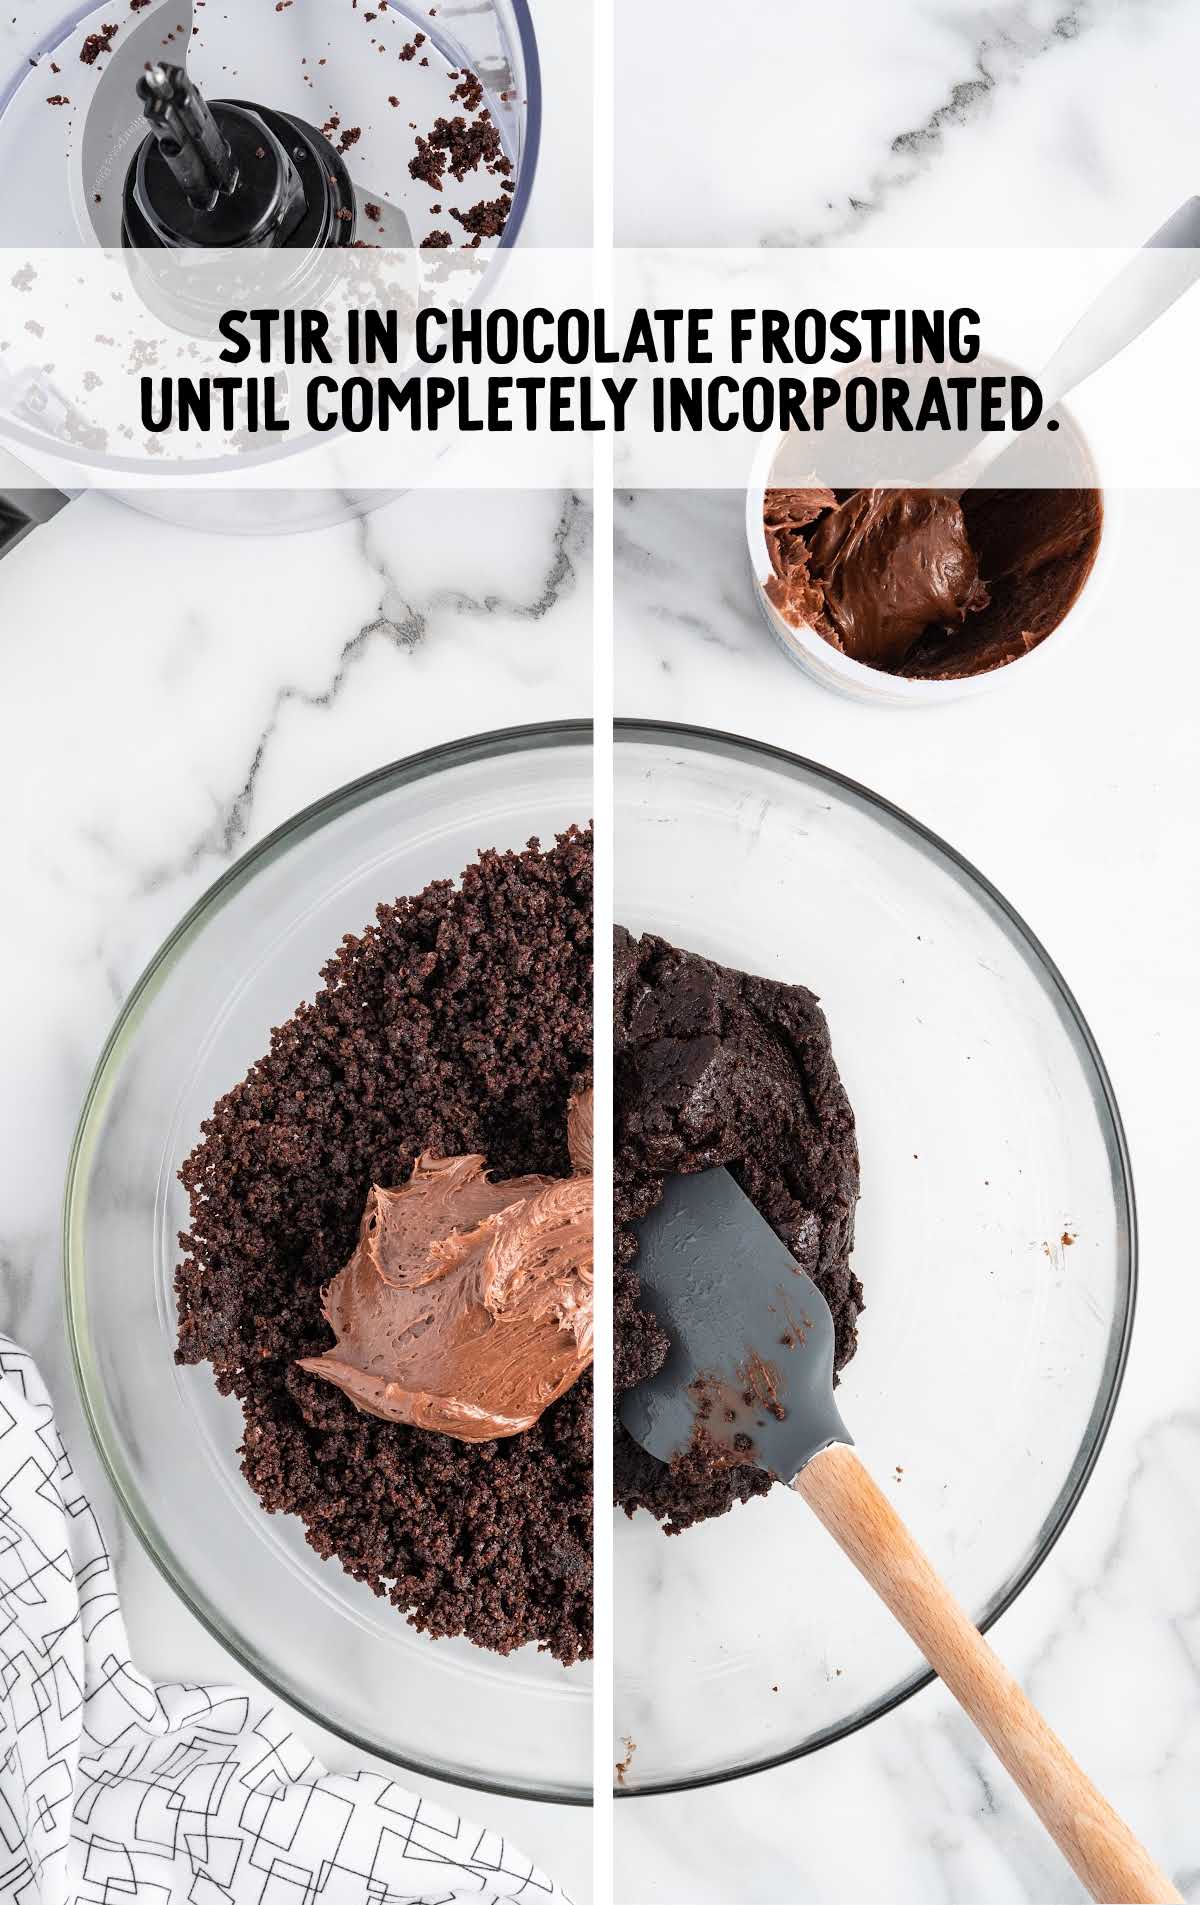
STEP SEVEN: Stir in a half cup of the chocolate frosting until the frosting is completely incorporated.
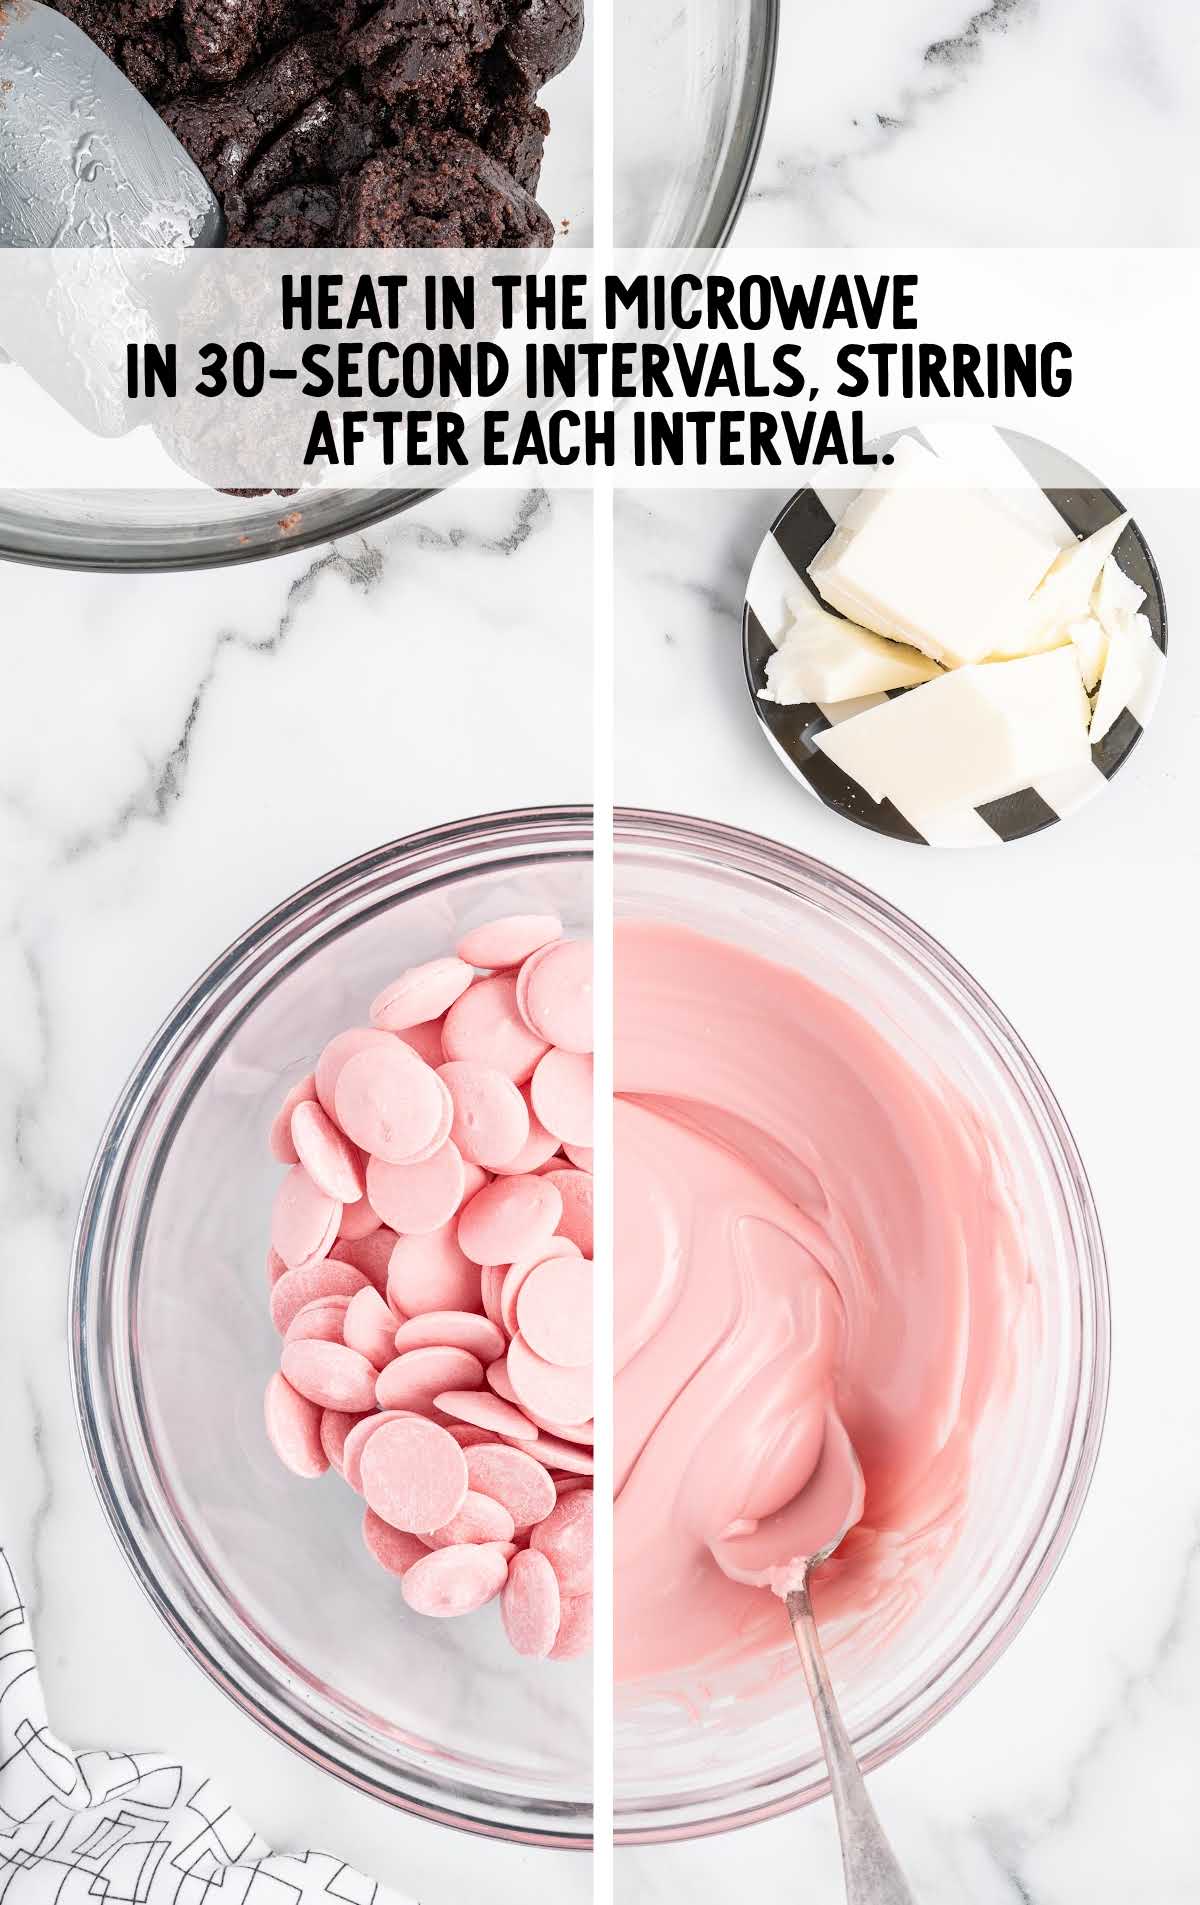
STEP EIGHT: Add the candy melts to a medium-sized microwave-safe bowl.
Heat in the microwave in 30-second intervals, stirring after each interval until the wafers are completely melted and smooth.
STEP NINE: Spoon 1½ to 2 tablespoons into each mold. Use a spoon or pastry brush to evenly distribute the melted candy melts around the inside of the mold.
STEP TEN: Insert the popsicle sticks into the mold before the candy melts harden.
PRO TIP:
If you prefer, you can insert the cakesicle stick after you have coated the brownies, although we found that we had better results if we placed the popsicle sticks before the brownie mixture.
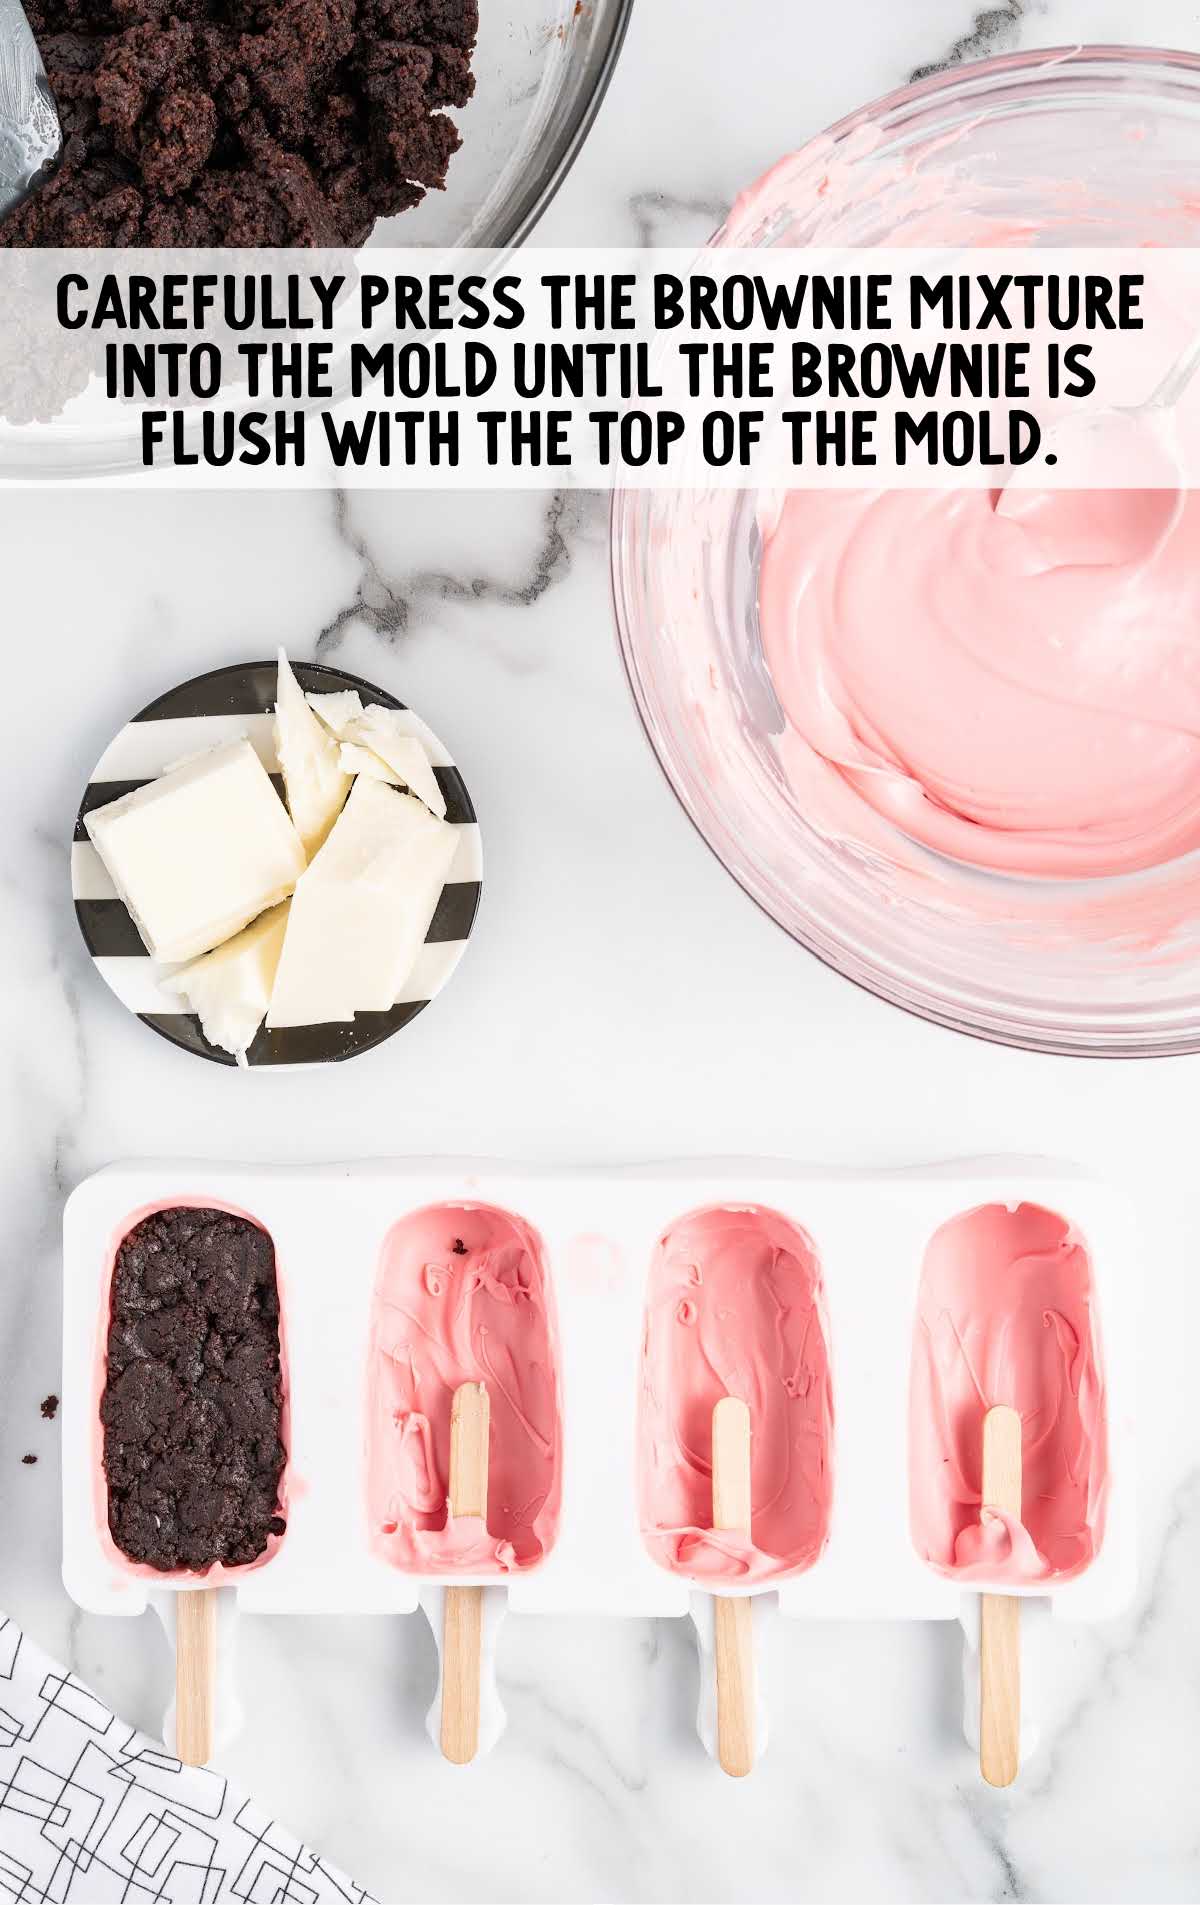
STEP ELEVEN: Shape the brownie and frosting into an oblong shape.
Carefully press the brownie mixture into the silicone mold until the brownie is flush with the top of the mold.
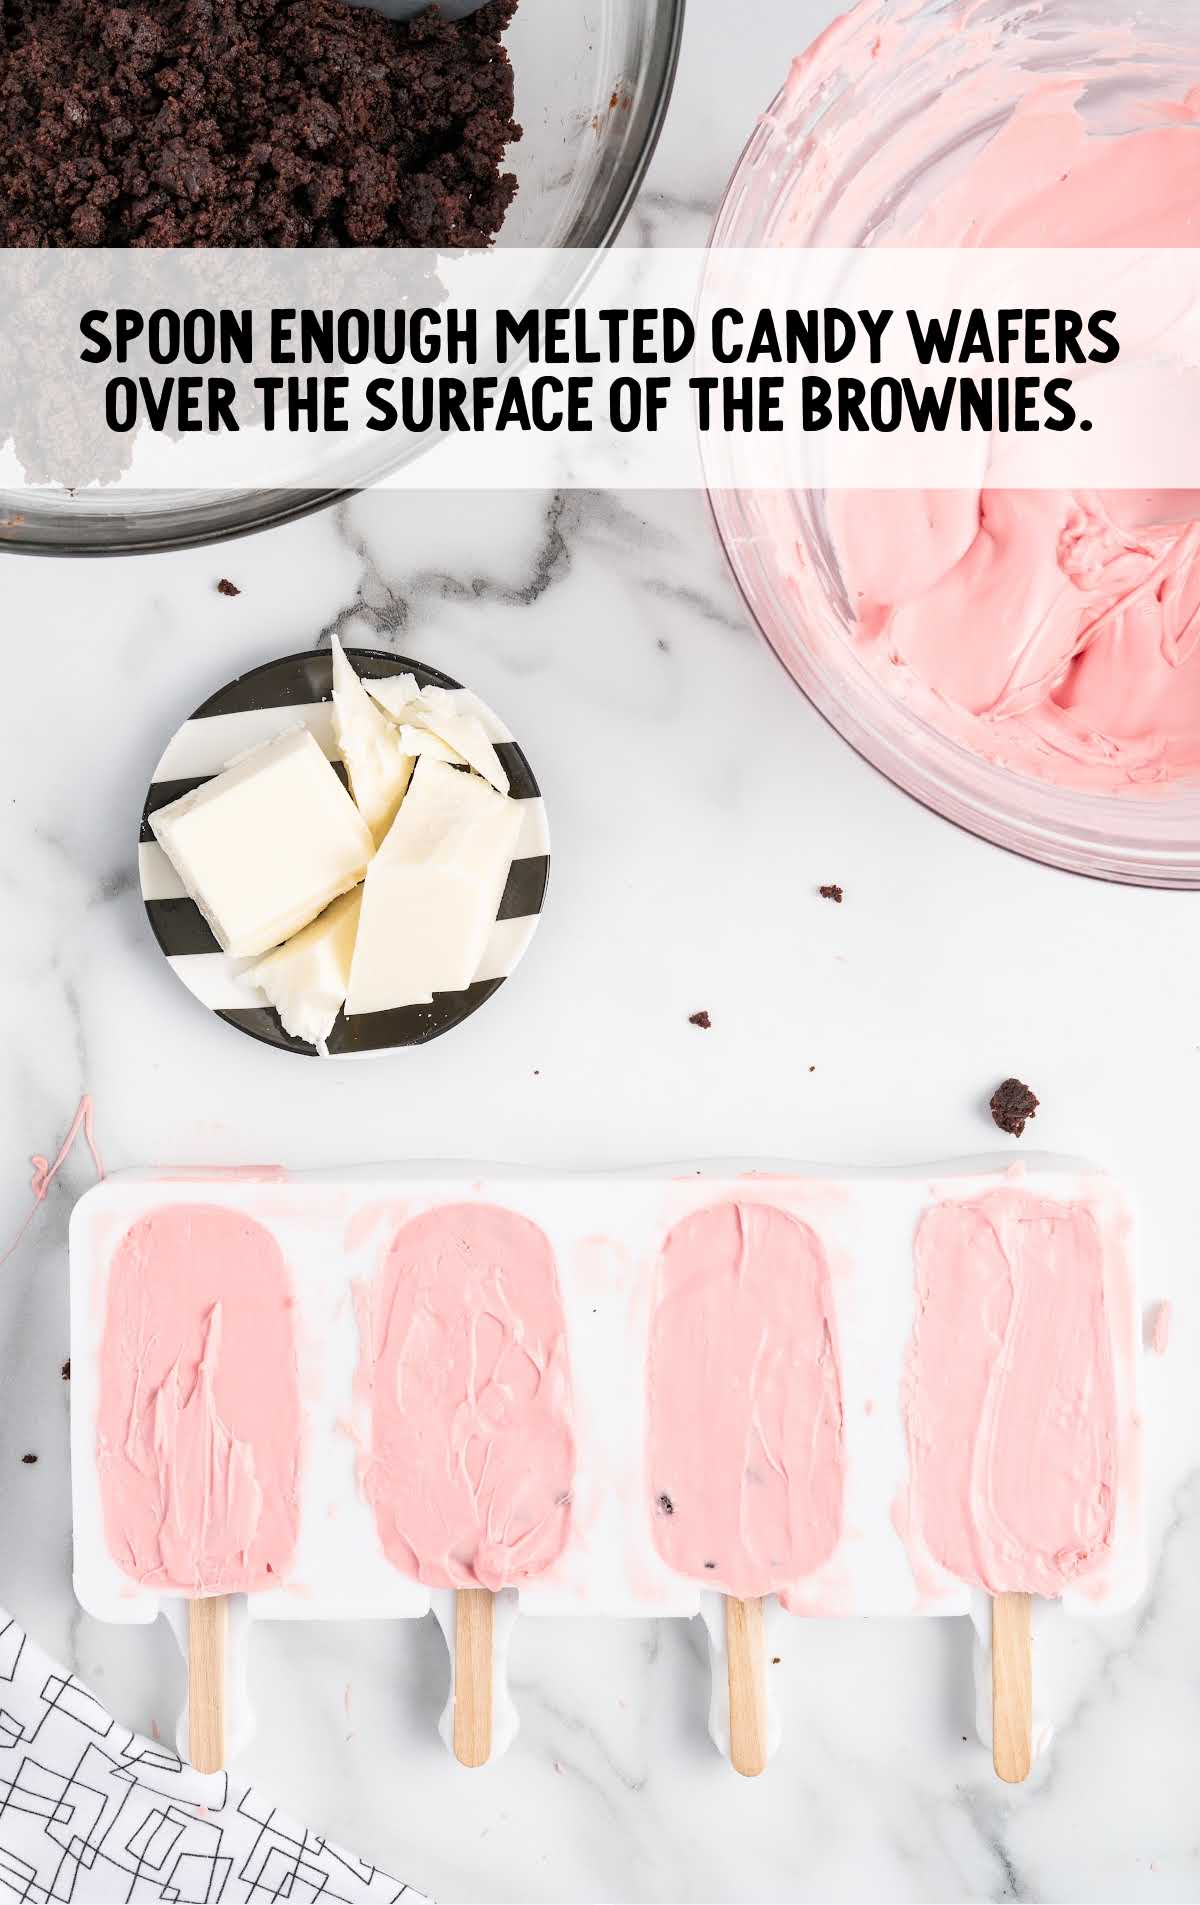
STEP TWELVE: Spoon enough melted candy wafers over the surface of the brownies.
Try to keep the lines of the candy melts tight and crisp. This will ensure it doesn’t crack off the back of the cakesicle.
STEP THIRTEEN: Add the white almond bark to a small microwave-safe bowl.
Heat in the microwave in 30-second intervals, stirring after each interval until the almond bark is completely melted.
Allow the cakesicles to harden completely before popping them out of the molds.
STEP FOURTEEN: Gently stretch the sides of the mold to encourage the cakesicle to release.
When the cakesicle has completely pulled away from the mold, bend the mold back and slide the cakesicle out.
Be mindful of the popsicle stick when removing the cakesicle from the mold.
PRO TIP:
It’s very important to be patient when removing the coated cakesicles. If the chocolate shell does crack and release from the brownie itself, as long as there are no brownie crumbs attached, you can reheat and apply additional chocolate to the cakesicles.
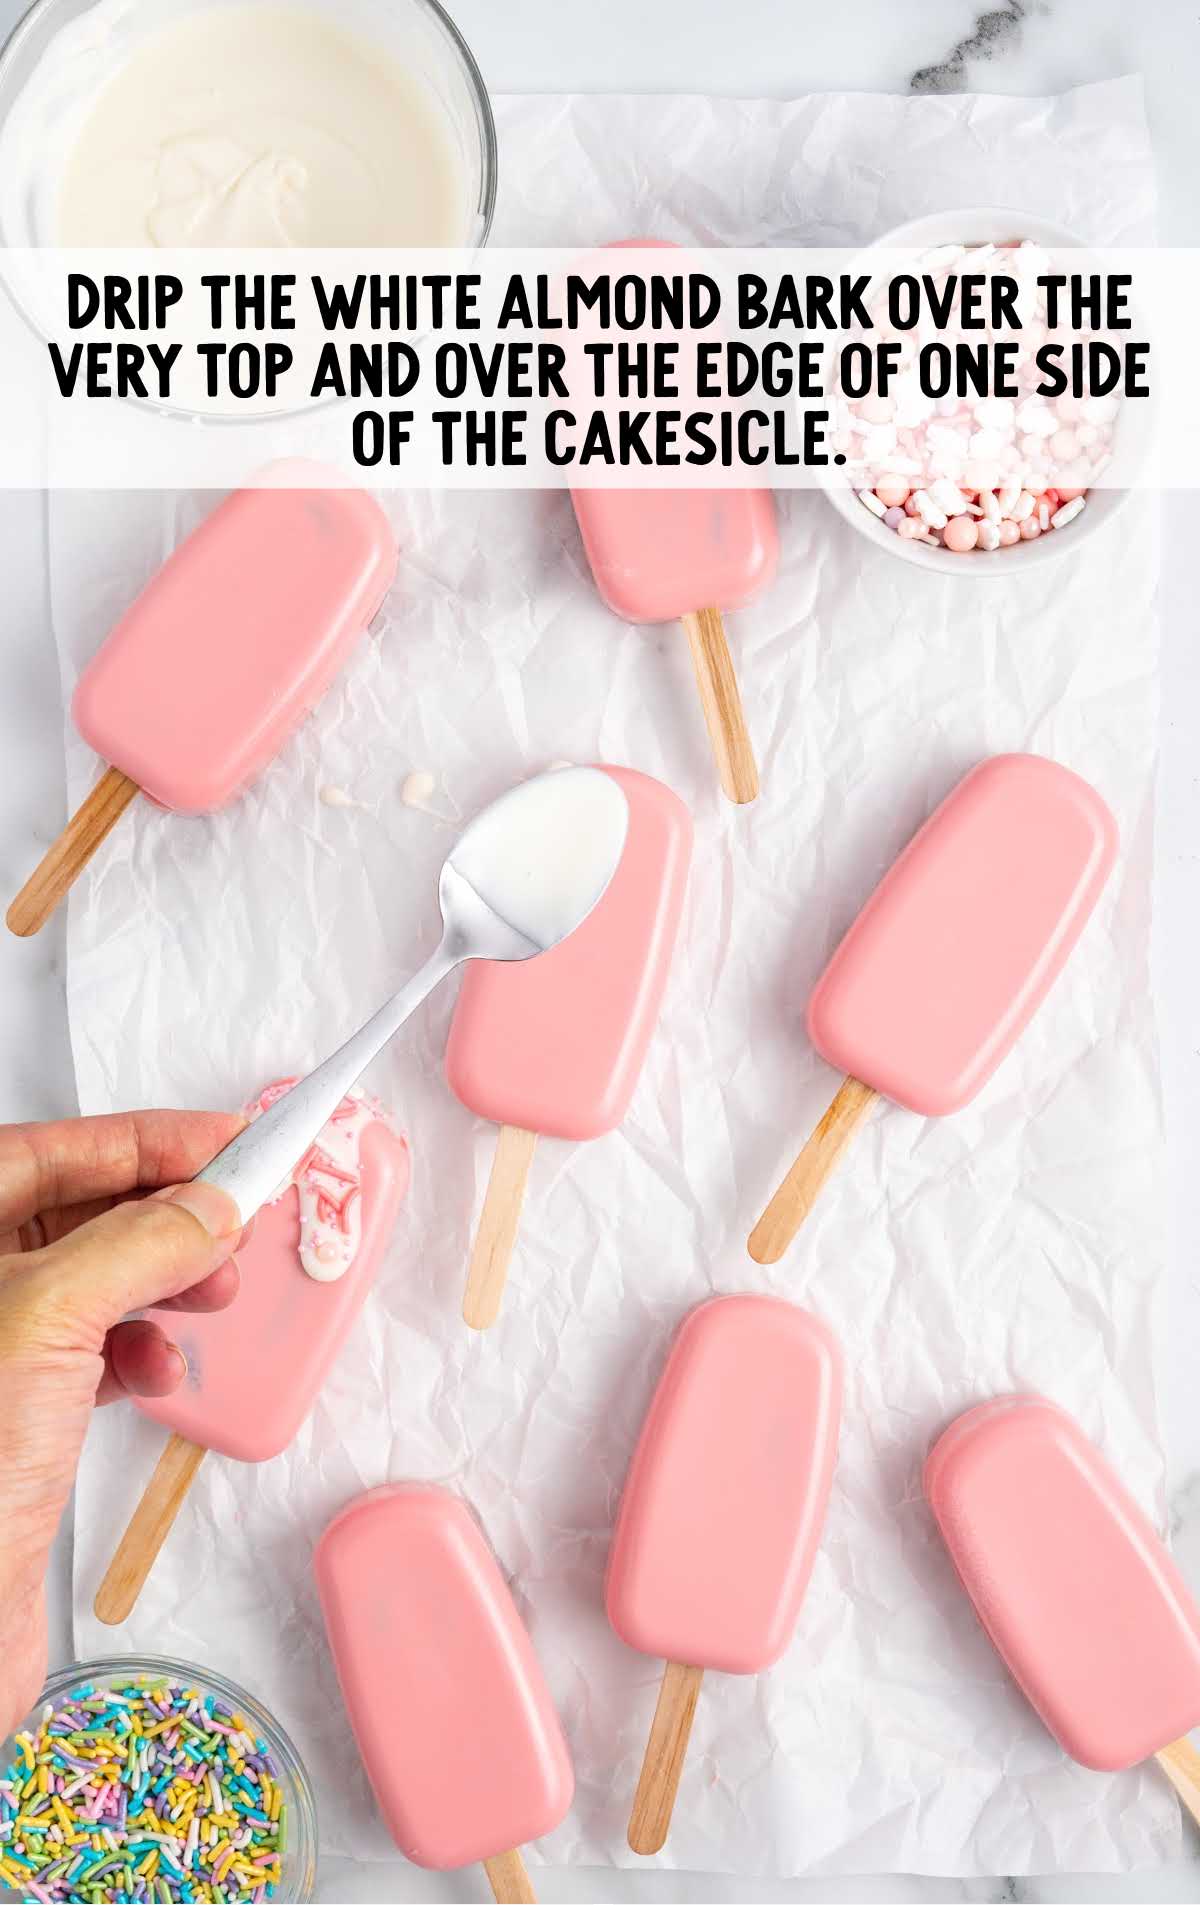
STEP FIFTEEN: Once all the cakesicles are popped out of the molds, dribble or drip the white almond bark over the very top and the edge of one side of the cakesicle.
You want it to look like melted ice cream or a melting popsicle.
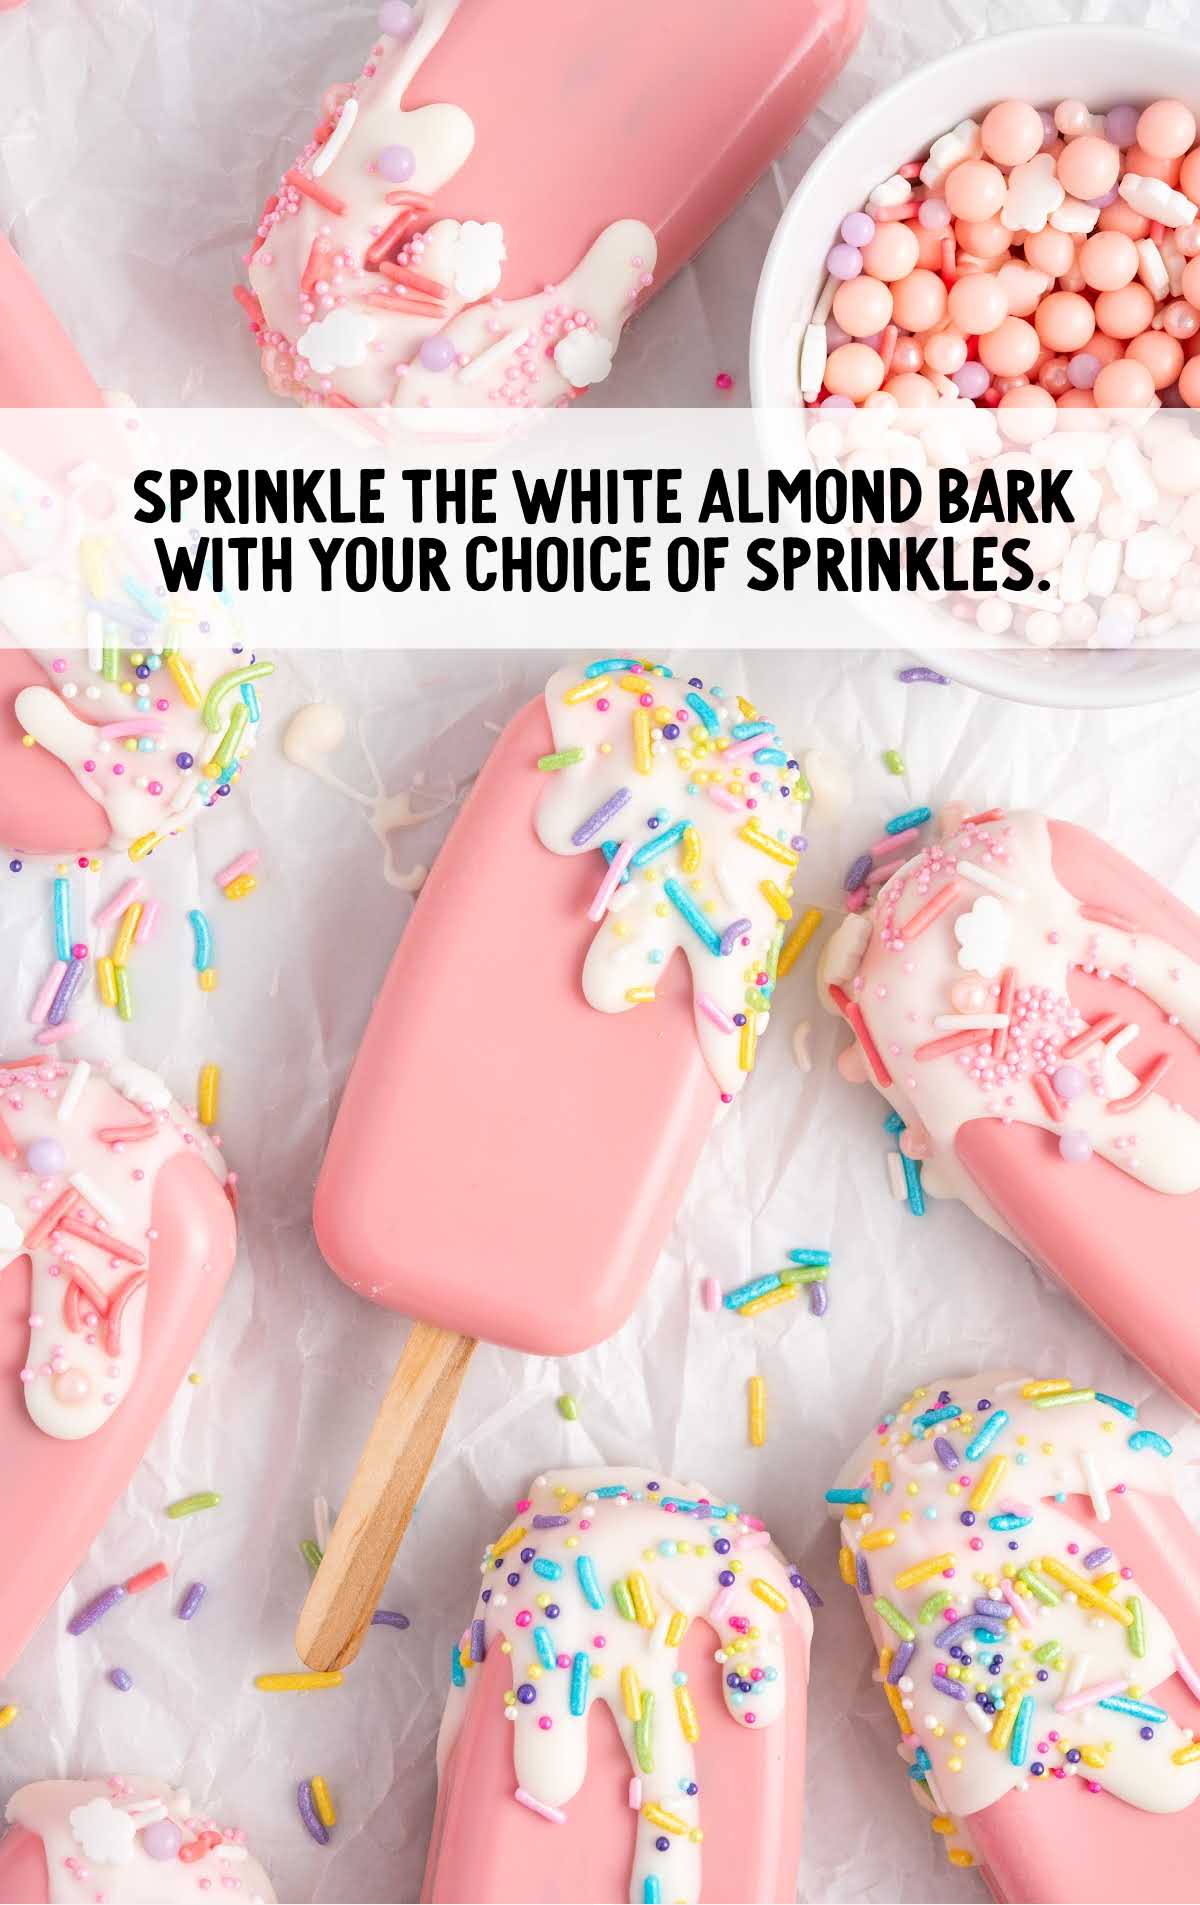
STEP SIXTEEN: Sprinkle the white almond bark with your choice of sprinkles before enjoying and sharing.
How To Serve
These cake pop popsicles would be a fabulous option to make for a special occasion. All of your guests will be impressed by them.
Serve them at birthday parties or holiday parties along with our rainbow sherbet punch or Grinch punch.
Wrap individual cakesicles in cellophane bags tied with ribbons to create charming party favors. Your guests will be delighted to take home these delicious treats.
MORE DESSERT RECIPES

Storage
Cakesicles can be stored for later enjoyment or prepared in advance for special occasions.
MAKE AHEAD: If you want to prepare cakesicles ahead of time, you can bake the brownies, crumble them, and mix in the frosting.
Shape the mixture into oblong shapes and insert the sticks. Place the cakesicles on a baking sheet lined with parchment paper and freeze until firm.
Once firm, transfer them to an airtight container or freezer bag, separating the layers with parchment paper.
They can be stored in the freezer for up to two months.
IN THE FRIDGE: Store any leftover cake popsicles in an airtight container in the refrigerator for up to two weeks.
IN THE FREEZER: You can freeze the popsicle cake pops for up to two months. Allow the cakesicles to thaw overnight in the fridge before serving.

Why We Love This Recipe
BITE-SIZED BLISS: Cakesicles offer a perfectly portioned treat that satisfies your sweet tooth without overwhelming you. The combination of cake, frosting, and candy coating in each bite provides a delightful balance of flavors and textures.
CUSTOMIZATION GALORE: With cakesicles, the possibilities for customization are endless. You can choose different cake flavors, frostings, candy coating colors, and decorative elements.
EYE-CATCHING APPEAL: The smooth candy coating, vibrant colors, and decorative sprinkles make them irresistible and appealing to both children and adults.
Cakesicles are a delicious and creative way to enjoy cake. Think outside the box and whip up a batch of these treats for your next party. Instead of a traditional cake pop, this treat is made in the shape of a popsicle for a cute dessert idea.
FREQUENTLY ASKED QUESTIONS
You can use any molds you have available to you that form the familiar popsicle shape for these popsicle cakes.
A store-bought frosting or even a homemade frosting would work fine for this recipe.
Cakesicles can be frozen either before or after coating in the candy melts for up to two months.
You can substitute a homemade brownie recipe. Ensure that the brownies are fully cooled before crumbling them for the cakesicle mixture.
Get creative and use a variety of toppings like crushed nuts, edible glitter, or even drizzles of melted chocolate for additional visual appeal
More Recipes You’ll Love
- Pumpkin Delight Dessert
- Oreo Delight
- Pineapple Delight
- Blueberry Delight
- No-Churn Cotton Candy Ice Cream
- Brookies


Cakesicles
Equipment
- 1 silicone cakesicle mold
- popsicle sticks
Ingredients
Brownie Base
- 18.3 ounces chewy fudge brownie mix
- ⅔ cup vegetable oil
- 2 large eggs, room temperature
- 3 tablespoons water
- ½ cup milk chocolate frosting
Candy Coating
- 3 cups pink candy melting wafers
- 4 ounces white almond bark
- Candy sprinkles
Instructions
- Preheat the oven to 350°F. Line a 9×9 baking dish with parchment paper. Be sure to allow 2 sides of the parchment paper to overlap, making a sling of parchment paper. Set it aside.
- Add the brownie mix, vegetable oil, eggs, and water to a large mixing bowl. Stir to combine completely. Do not over-mix.
- Evenly spread the brownie batter into the prepared baking dish. Bake for 25-28 minutes, or until a toothpick inserted comes out clean.
- Allow the brownies to cool completely, about 45 minutes to 1 hour.
- Remove the brownies from the pan using the parchment paper sling. Break the brownies into smaller pieces.
- Using your hands or a food processor, pulse the brownies until they are completely broken apart (I used a food processor. It helps speed up the process). Transfer the broken brownies to a medium-sized mixing bowl.
- Stir in ½ cup of the chocolate frosting until the frosting is completely incorporated.
- Add the candy melts to a medium-sized microwave-safe bowl. Heat in the microwave in 30-second intervals, stirring after each interval until the wafers are completely melted and smooth.
- Spoon 1½ to 2 tablespoons into each mold. Use a spoon to evenly distribute the melted candy melts around the inside of the molds.
- Insert the popsicle sticks into the mold before the candy melts harden.
- Shape the brownie and frosting into an oblong shape. Carefully press the brownie mixture into the mold until the brownie is flush with the top of the mold.
- Spoon enough melted candy wafers over the surface of the brownies. Try to keep the lines of the candy melts tight and crisp. This will make sure it doesn’t crack off the back of the cakesicle.
- Add the white almond bark to a small microwave-safe bowl. Heat in the microwave in 30-second intervals, stirring after each interval until the almond bark is completely melted. Allow the cakesicles to harden completely before popping them out of the molds.
- Gently stretch the silicone mold to encourage the cakesicle to release. When the cakesicle has completely pulled away from the mold, bend the mold back and slide the cakesicle out. Be mindful of the popsicle stick when removing the cakesicle from the mold.
- Once all the cakesicles are popped out of the molds, dribble/drip the white almond bark over the very top and over the edge of one side of the cakesicle. You want it to look like melted ice cream or a melting popsicle.
- Sprinkle the white almond bark with your choice of sprinkles before enjoying and sharing.
Notes
- Oven temperatures vary and may need to be recalibrated periodically to ensure they are accurate. Make sure to check your cake at the lower end of the recommended baking time.
- If you prefer, you can insert the cakesicle stick after you have coated the brownies, although we found that we had better results if we placed the popsicle sticks before the brownie mixture.
- It’s very important to be patient when removing the coated cakesicles. If the chocolate shell does crack and release from the brownie itself, as long as there are no brownie crumbs attached, you can reheat and apply additional chocolate to the cakesicles.
Nutrition


Comments
Brooke says
These are gorgeous! I’m definitely going to try and make these for my daughter’s birthday!!
Regina Jenkins says
These are adorable and my mouth is watering reading recipe. Here from the link party.