November 4, 2023
Review RecipeChocolate Swiss Roll Cake
Table of Contents
- Swiss Roll Cake Ingredients
- Swiss Roll Substitutions And Additions
- Roll Cake Recipes
- How To Make The Best Chocolate Roll Cake Recipe
- Troubleshooting This Recipe
- Serving Chocolate Roll Cake
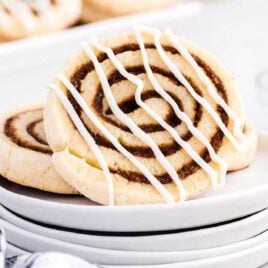
- Cookie Roll Recipes
- Storing A Swiss Roll Cake
- Why We Think This Is The Best Swiss Roll Recipe
- Swiss Roll Recipe FAQs
- More Cake Roll Recipes
- JUMP TO RECIPE
- Even More Recipes You’ll Love
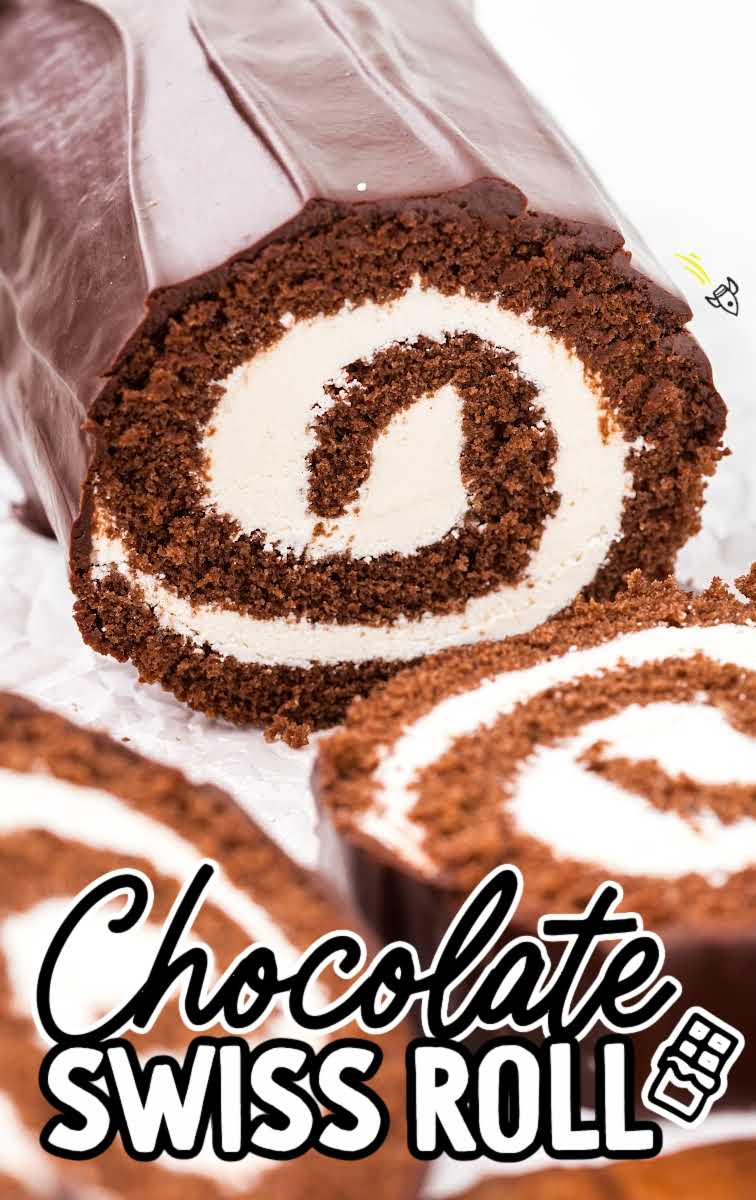
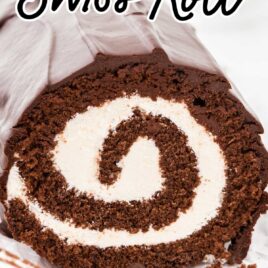
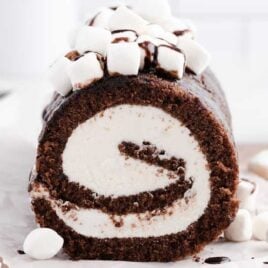
Our chocolate Swiss roll is anything but ordinary. Moist chocolate sponge cake is rolled around a light, creamy filling and drizzled with chocolate ganache glaze. Its spiral design, when cut, will impress guests no matter what the occasion.
Swiss Roll Cake Ingredients
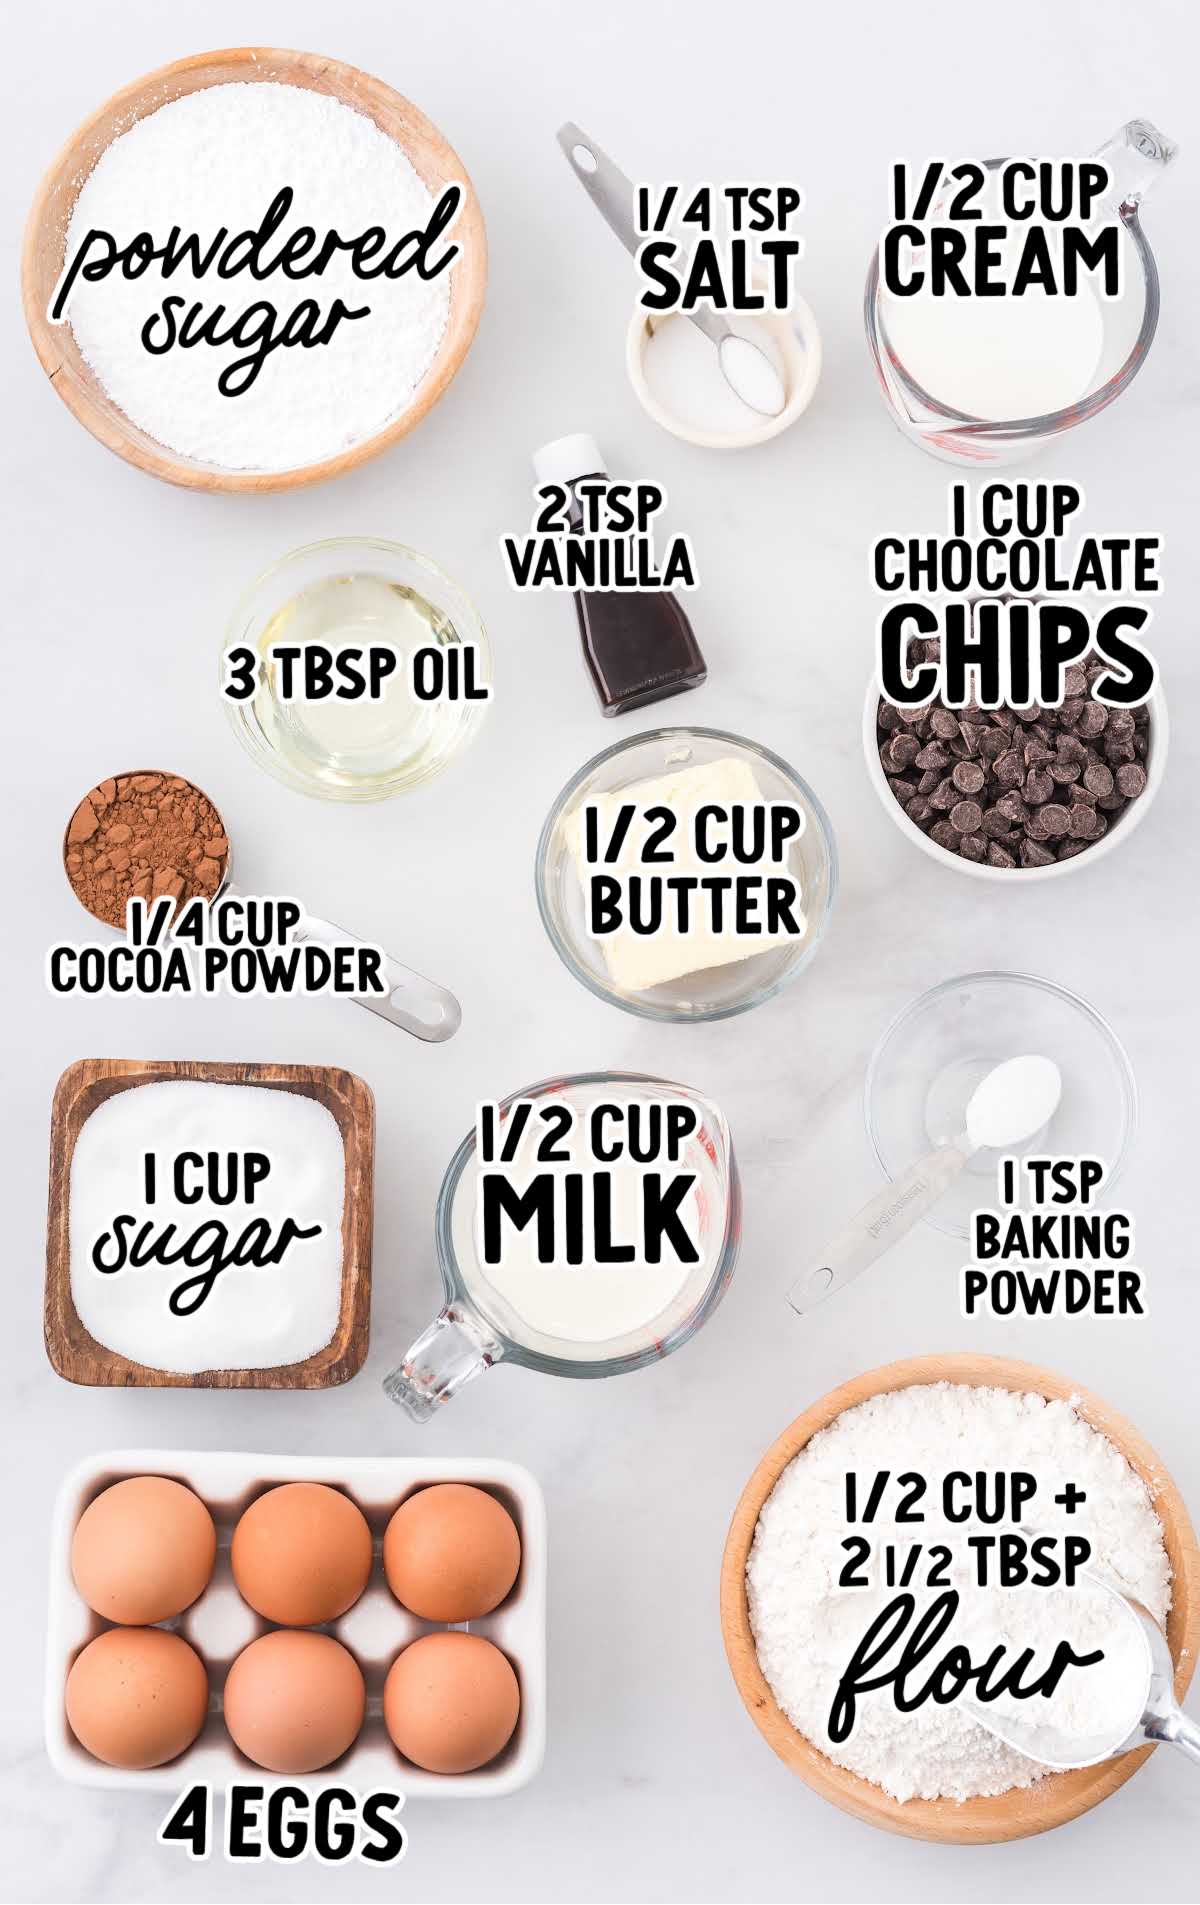
Moist sponge cake is infused with just the right amount of chocolate, while the creamy filling adds a subtle sweetness that’s simply decadent.
You’ll need:
For The Ermine Filling:
- 2½ tablespoons of all-purpose flour
- ½ cup of granulated sugar
- ½ cup of whole milk
- ½ teaspoon of vanilla extract
- ½ cup of unsalted butter, softened
For The Chocolate Cake:
- ½ cup of all-purpose flour
- ¼ cup of cocoa powder
- 1 teaspoon of baking powder
- ¼ teaspoon of salt
- 4 large eggs
- ½ cup of granulated sugar
- 3 tablespoons of vegetable oil
- 1½ teaspoons of vanilla extract
- powdered sugar for dusting
- A linen tea towel that is 2 inches longer at the top and bottom of the cake pan
- A large cutting board for the cake transfer
For The Chocolate Ganache:
- 1 cup of semi-sweet chocolate chips
- ½ cup of heavy cream
Swiss Roll Substitutions And Additions
FILLING: For this simple recipe, you could change up the filling and use vanilla buttercream, cream cheese frosting, chocolate mousse, simple whipped cream or marshmallow fluff.
TOPPING: Instead of or, in addition to, the chocolate ganache, top your roll cake with cocoa powder, powdered sugar, or fresh fruit.
EXTRAS: Experimenting can lead to delicious Swiss roll variations. Take your filling to the next level by:
- Brushing the baked cake with a liqueur such as Grand Marnier, Chambord, or Amaretto before adding the filling for an adult twist.
- Spreading a thin layer of fruit jam over the cake before adding the cream and rolling.
Roll Cake Recipes
Can I use a normal baking tray to make a Swiss roll?
If you can’t find a jelly roll pan, the key is to ensure the dimensions are as close to a jelly roll pan as possible and that there are sides on the pan to contain the cake batter.
Baking Sheet: A standard-rimmed baking sheet can be a good substitute. Just make sure it’s roughly the same size as the jelly roll pan specified in the recipe.
If it’s larger, you might end up with a thinner cake, so adjust the baking time accordingly.
Rectangle Cake Pan: If you have a rectangular cake pan that’s close in size to a jelly roll pan, it can work.
However, the sides might be higher, so be cautious when spreading the batter to ensure even thickness.
Split Between Two Square Pans: If you have two square baking pans, you can divide the batter between them.
Once baked, you can either roll them separately to have two smaller rolls or place them end to end and roll together for one longer roll.
How To Make The Best Chocolate Roll Cake Recipe
The first step in this recipe is to make the creamy filling so that it has time to cool by the time the cake is ready.
Our steps below will walk you through baking and rolling this classic dessert.
For The Ermine Filling
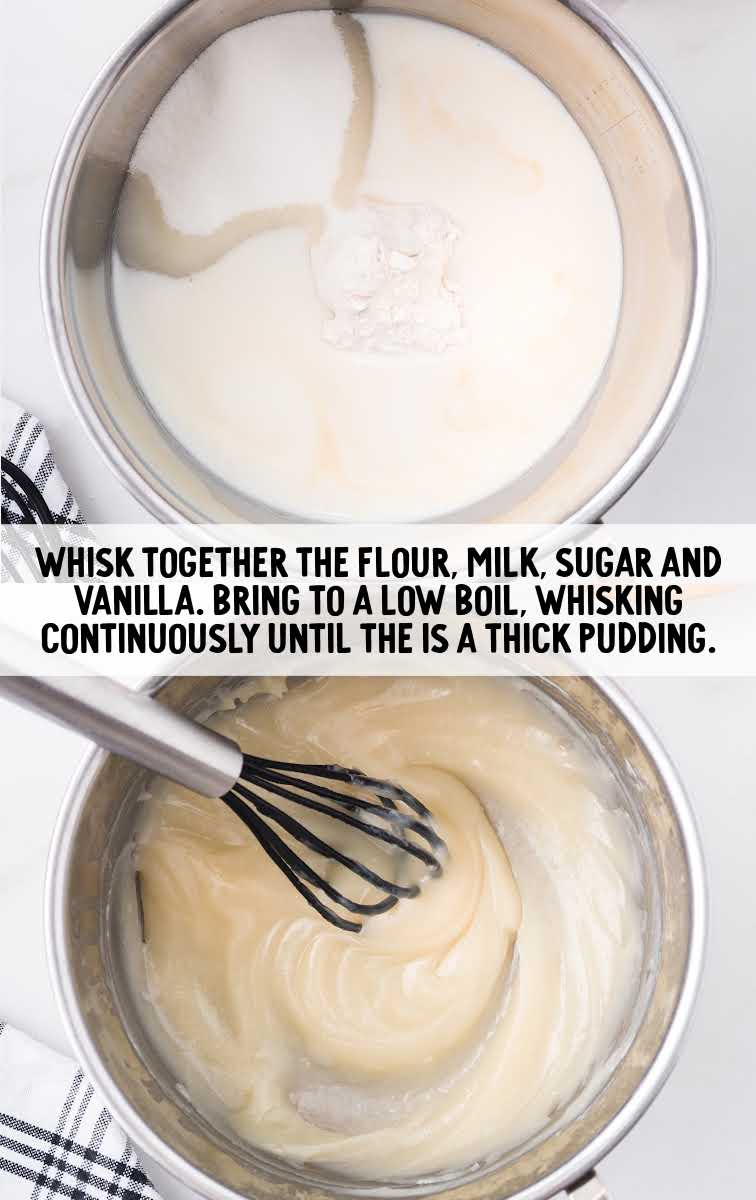
STEP ONE: Using a small (two to three-quart) heavy-bottomed saucepan on medium heat, whisk together the flour, milk, sugar, and vanilla.
Bring to a low boil, whisking continuously to avoid the milk scorching until the mixture looks and feels like a thick pudding. This should take three to four minutes.
STEP TWO: Remove the saucepan from the heat, and pour it into a small heat-safe bowl.
STEP THREE: Cover the bowl with plastic wrap. Be sure to allow the plastic wrap to drape onto the surface of the flour-milk mixture. This will keep a skin from forming.
STEP FOUR: Place in the refrigerator until the flour and milk mixture is completely cooled.
STEP FIVE: Once the mixture is completely cooled, remove it from the refrigerator and set it aside.
STEP SIX: Using either a stand mixer or a medium-sized mixing bowl and an electric mixer on medium-high speed, beat the softened butter for one minute.
STEP SEVEN: Reduce the mixer to medium speed. Begin adding the flour and milk mixture one tablespoon at a time.
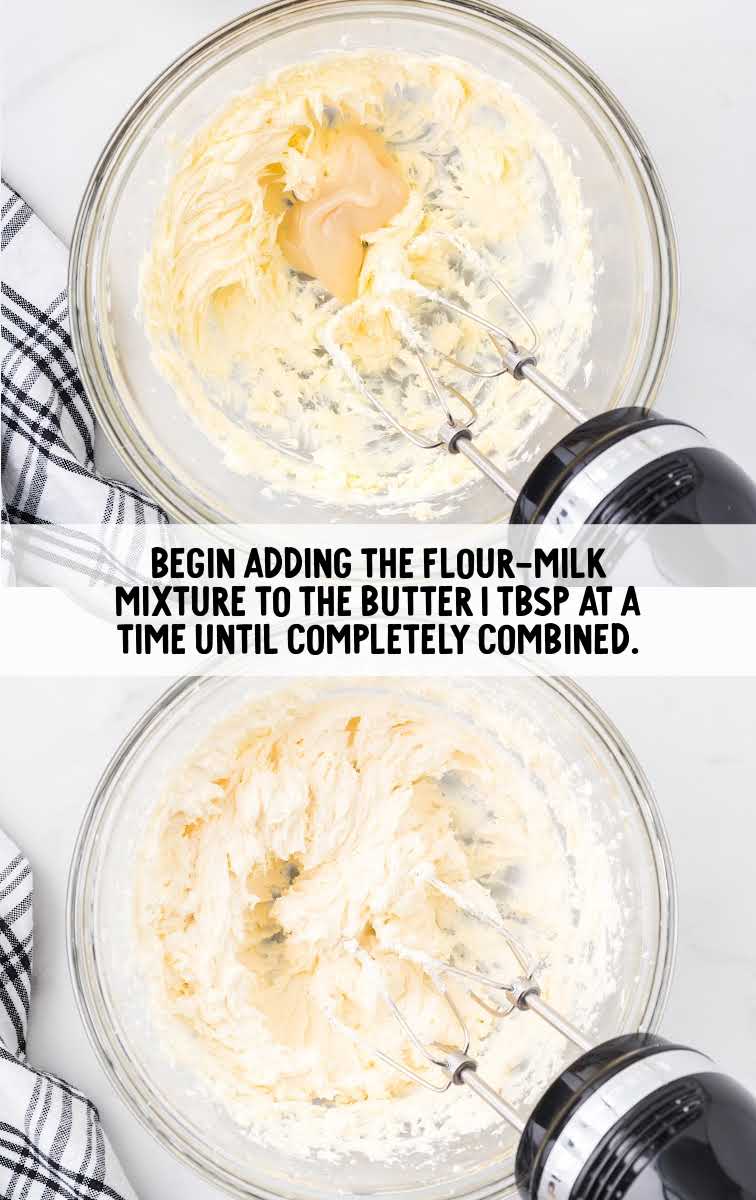
STEP EIGHT: Once all of the flour and milk mixture has been added, increase the mixer speed to medium-high.
Continue mixing for another one to two minutes until the filling is light and fluffy. Set it aside.
OUR RECIPE DEVELOPER SAYS
You can leave the filling at room temperature. It is a very stable filling and can be left out for up to six hours.
For The Chocolate Cake
STEP ONE: Preheat the oven to 350°F. Line a 15x10x1 jelly roll pan with a piece of parchment paper and spray with nonstick spray. Set it aside.
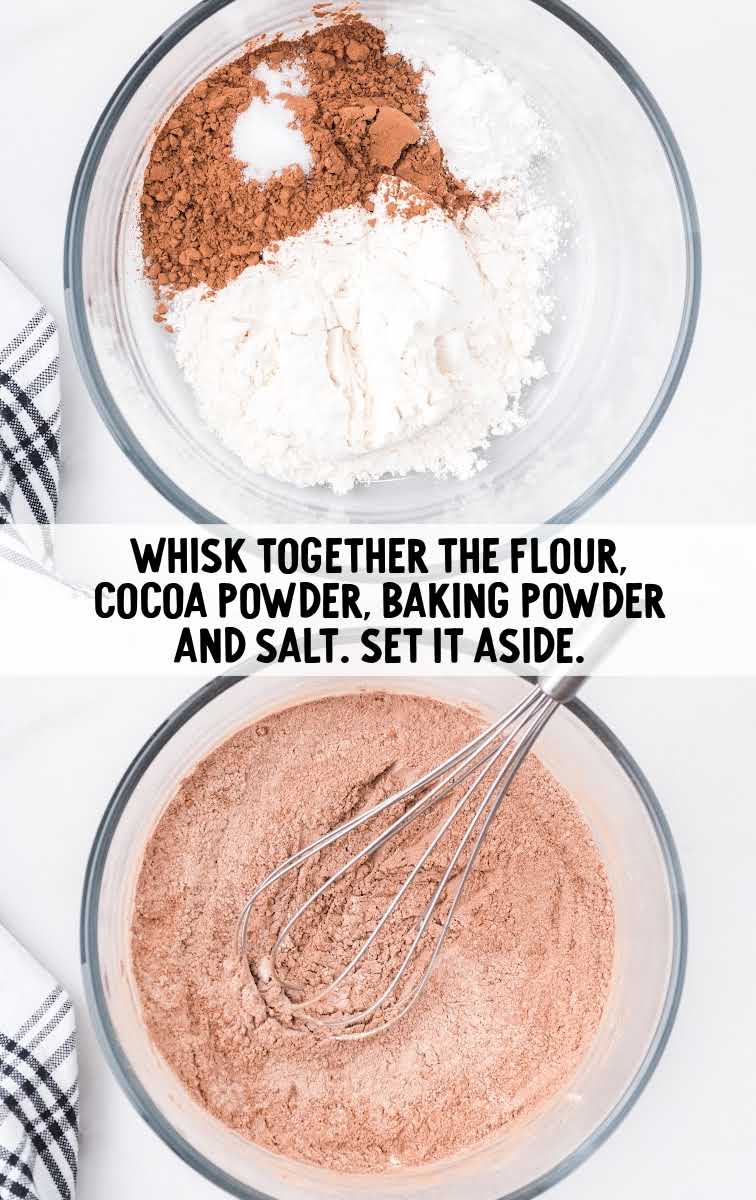
STEP TWO: In a small mixing bowl, whisk together the flour, cocoa powder, baking powder, and salt. Set dry ingredients aside.
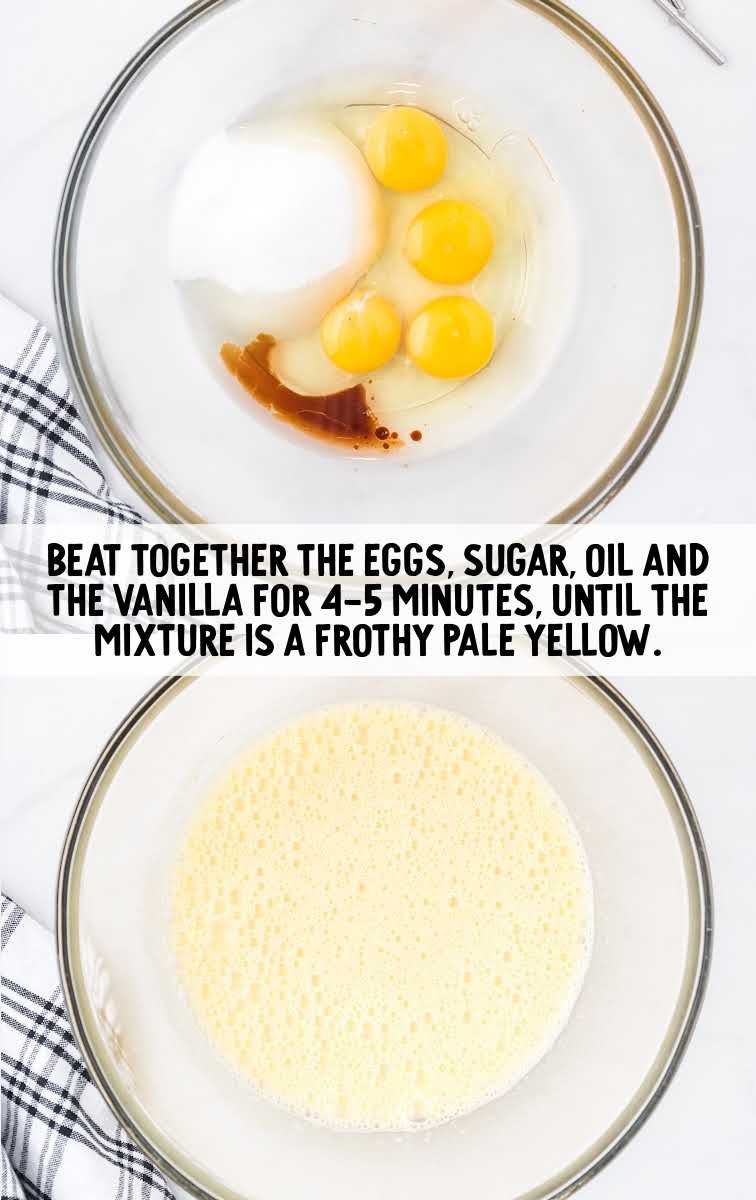
STEP THREE: In a stand mixer’s bowl or a medium-sized mixing bowl using a hand mixer, combine the eggs, sugar, vegetable oil, and vanilla.
Beat the mixture on high speed for four to five minutes until it turns frothy and adopts a pale yellow hue.
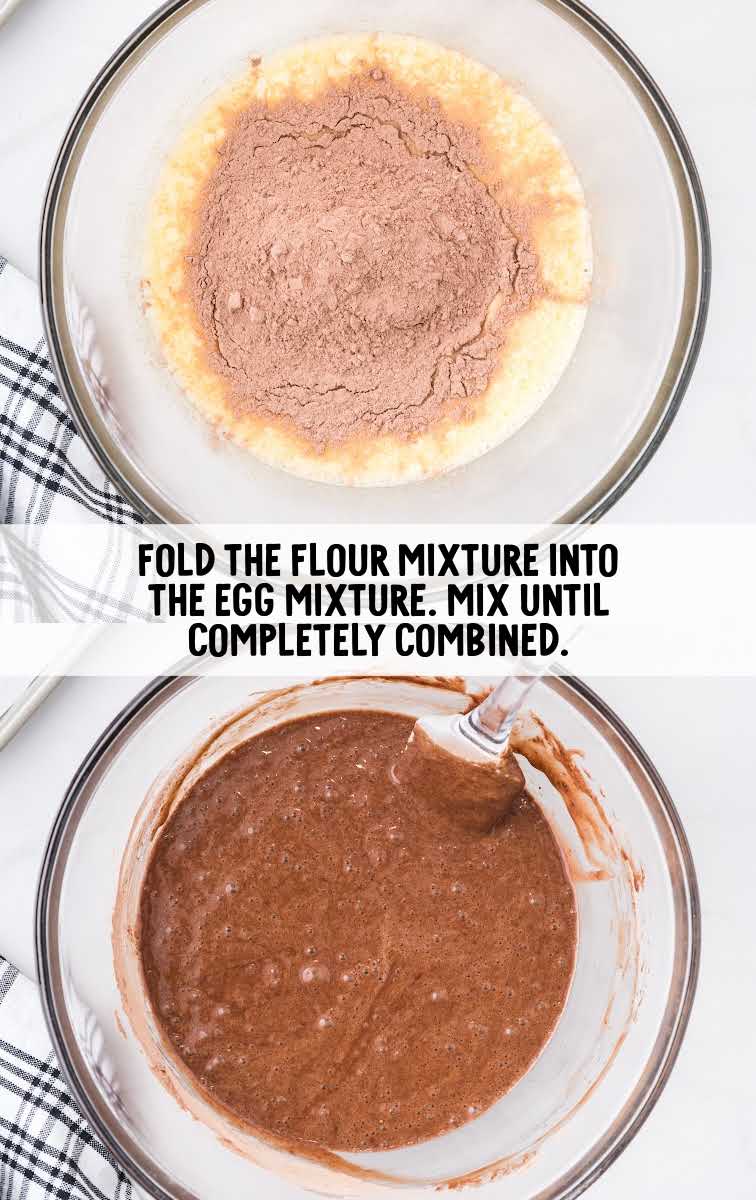
STEP FOUR: Fold the flour mixture into the egg mixture. Mix until completely combined.
STEP FIVE: Evenly pour batter into the prepared pan. Use a silicone spatula or an offset spatula to spread the chocolate cake batter. Bake cake for ten to 12 minutes.
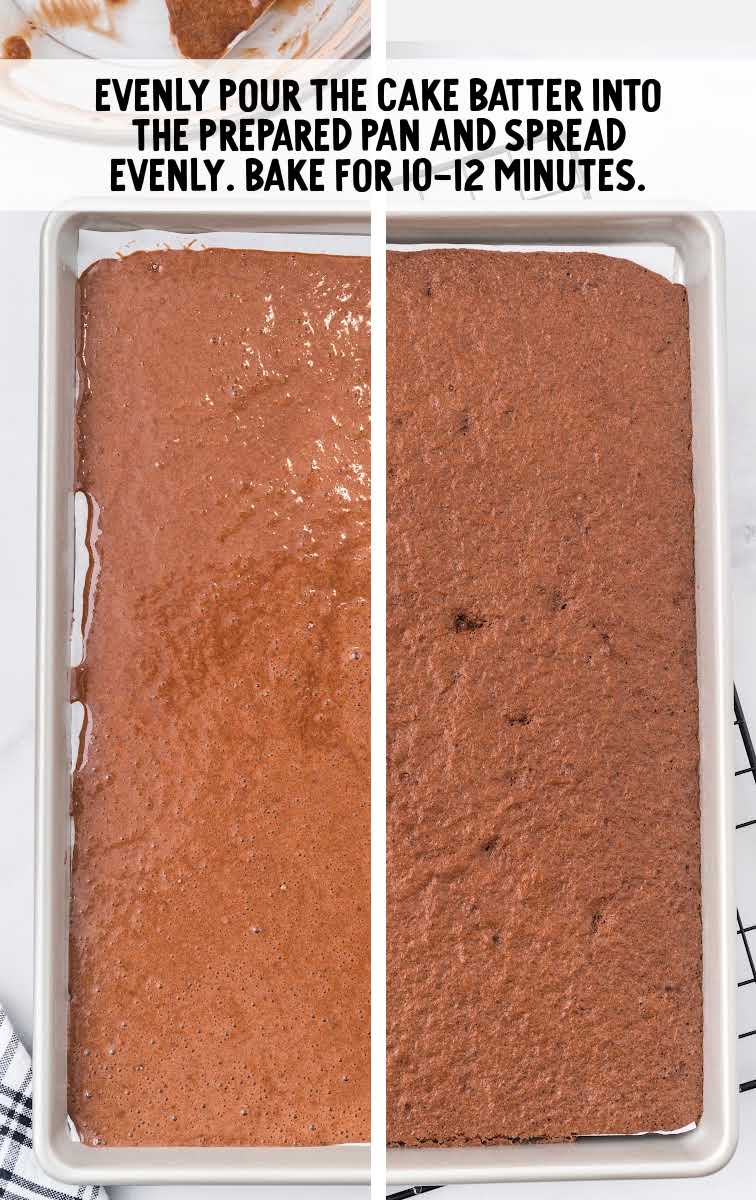
STEP SIX: Remove the cake from the oven, and using a sharp knife, carefully run the tip along the edges of the pan that were not covered by the parchment paper.
STEP SEVEN: Heavily dust the top of the clean kitchen towel with powdered sugar.
PRO TIP:
Be sure not to use any fabric softener when you wash the tea towel. It will transfer to the warm cake and make the flavor “off”.
Also, make sure not to use a terry cloth tea towel. The terry cloth will leave lint that will transfer to the surface of the cake.
STEP EIGHT: Immediately place the dusted tea towel, powdered side down, on top of the cake.
STEP NINE: Lay the cutting board on top of the tea towel. The cake pan will be hot, so you will need to be careful to protect your hands.
Quickly flip the cake pan over so that the cake is lying on top of the dusted towel.
STEP TEN: Carefully and slowly peel the parchment away from the cake.
STEP ELEVEN: Heavily dust the top of the cake with the remaining powdered sugar.
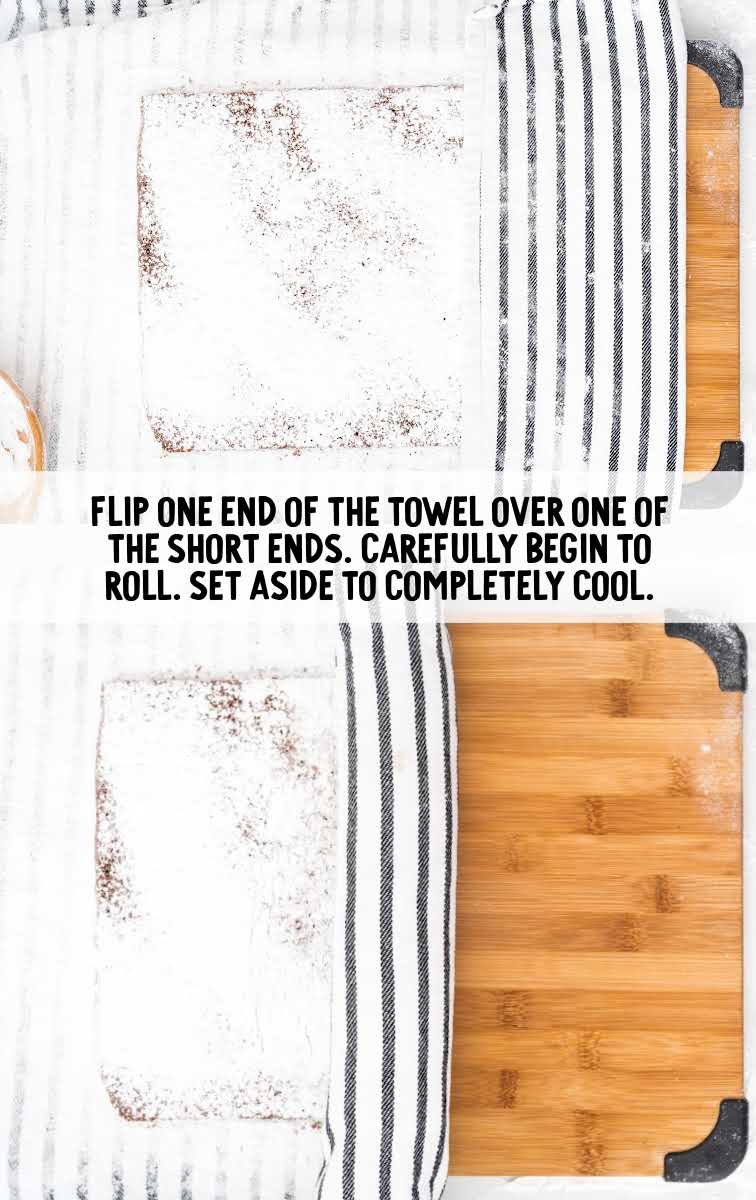
STEP TWELVE: Flip one end of the tea towel over one of the short sides of the cake. Carefully begin to roll one end towards the other.
Once rolled, set aside to cool completely.
PRO TIP:
Be very patient and slow when rolling the cake and unrolling. Rushing can cause cracks.
For The Cake Assembly
STEP ONE: Once the cake is completely cooled, carefully and slowly unroll the cake. If there are a few small cracks, it will be ok.
STEP TWO: Using a rubber spatula or an offset spatula, spread the filling over the top of the cake, avoiding the edges.
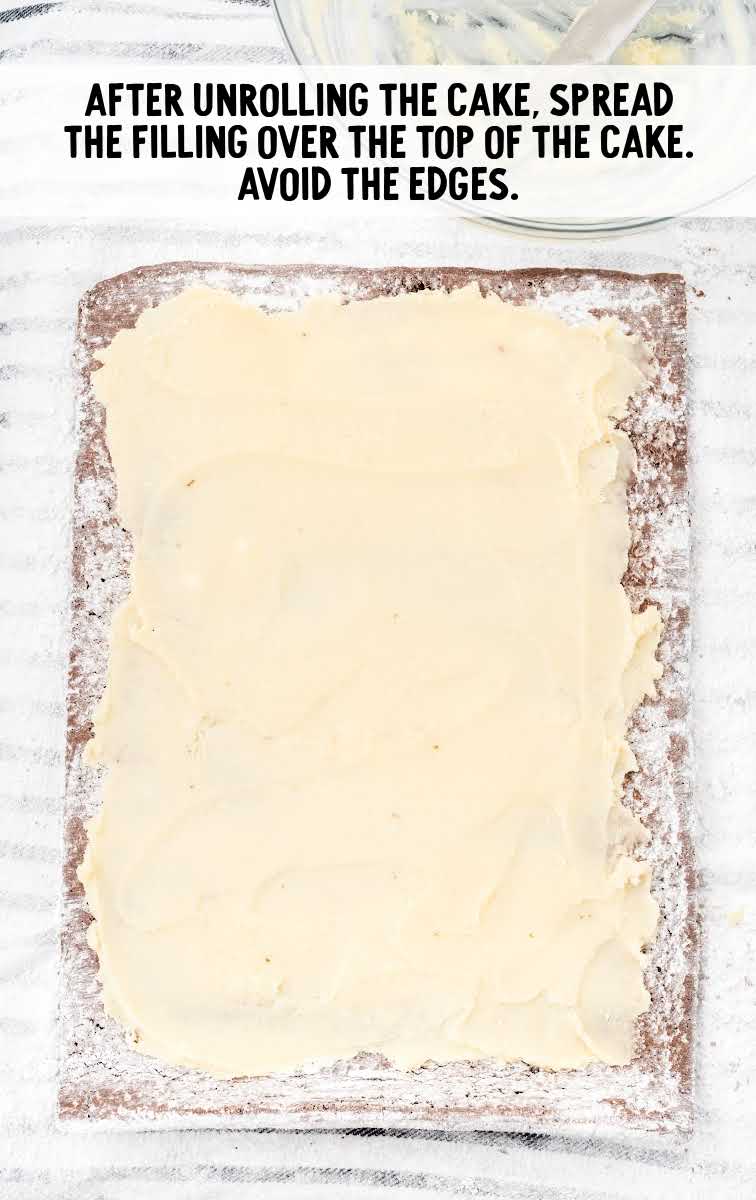
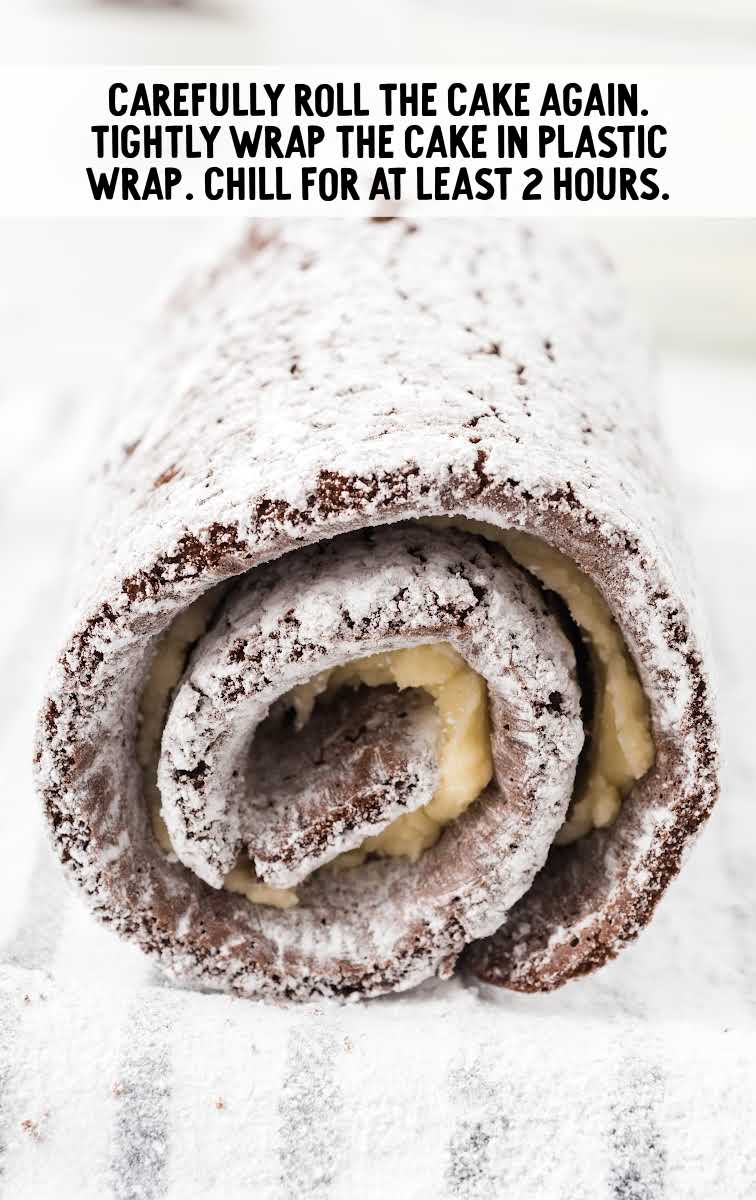
STEP THREE: Slowly, with gentle, even pressure, carefully roll the cake back in a “roll”.
Tightly wrap the cake in plastic wrap to ensure it holds its shape. Allow the cake to chill in the refrigerator for at least two hours. You can also chill overnight.
For The Chocolate Ganache
STEP ONE: Using a small heat-safe bowl, add the chocolate chips and the heavy cream.
STEP TWO: Heat the chips and cream in the microwave for 45-second intervals, stirring after each interval until the mixture is smooth.
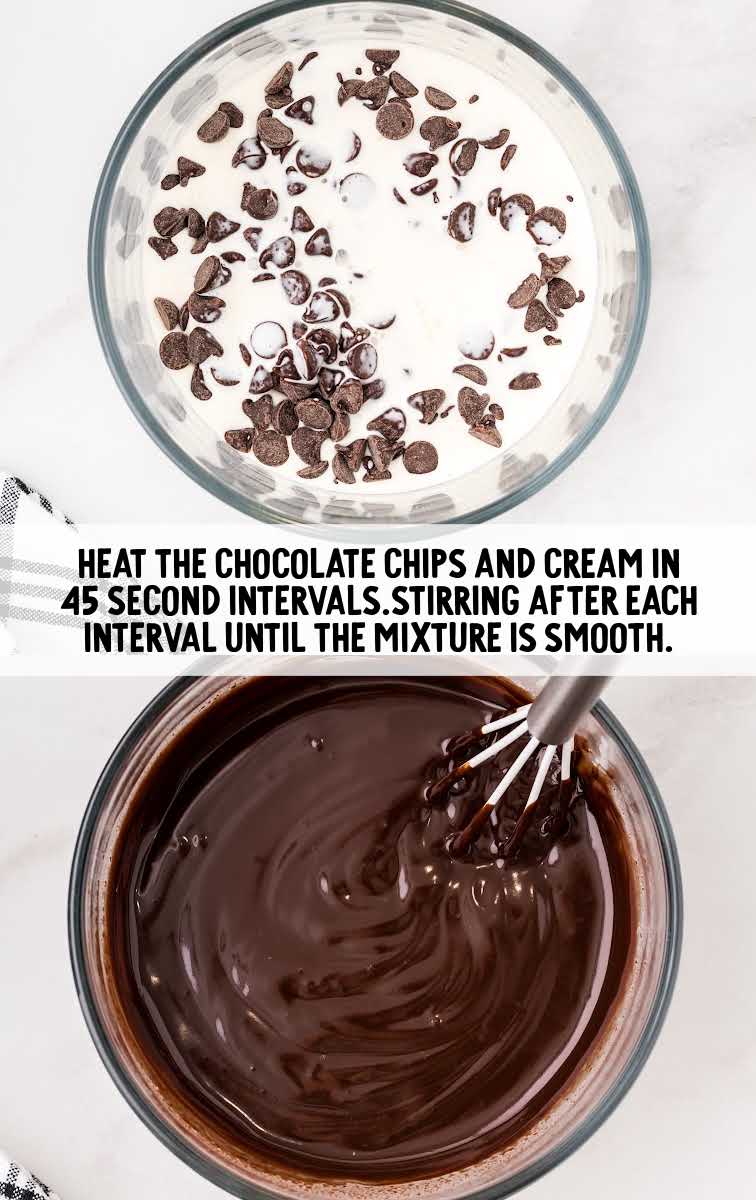
STEP THREE: Remove the cake roll from the refrigerator, and unwrap the cake.
STEP FOUR: Place a cooling rack on top of a cookie sheet. Place the chilled cake roll on top of the cooling wrap. This will help keep the dripping chocolate contained.
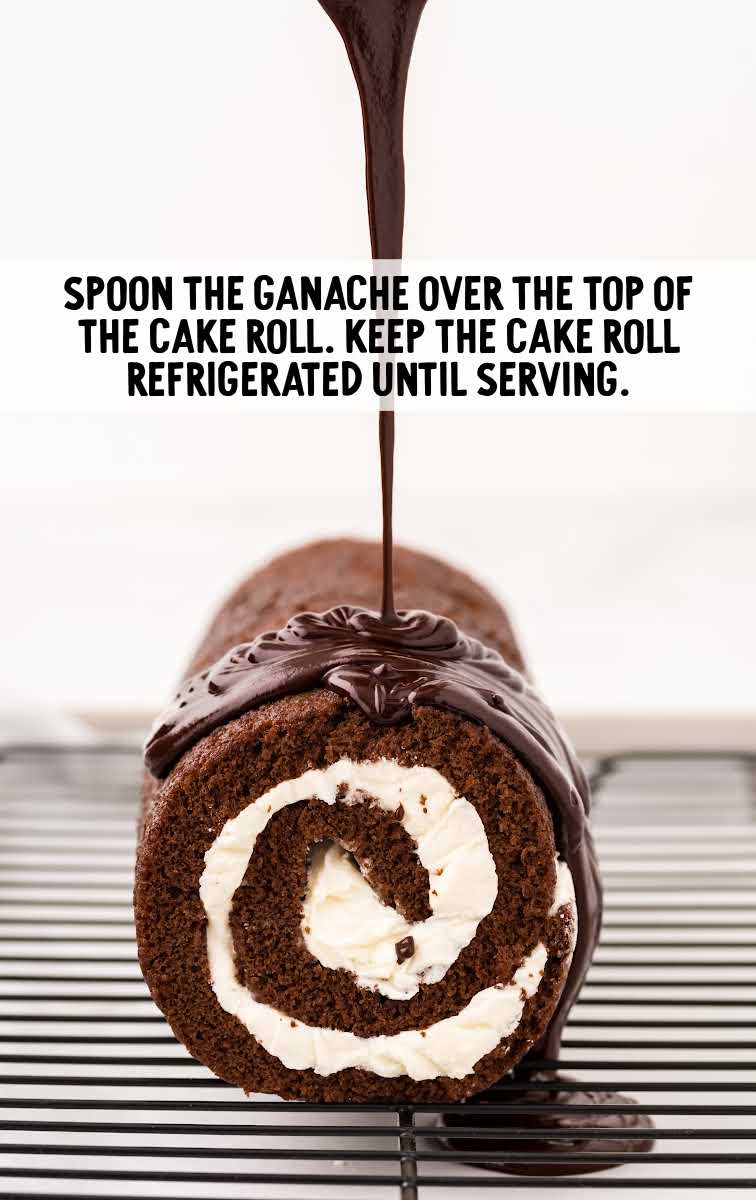
STEP FIVE: Spoon the ganache over the top of the cake roll. Keep the cake roll refrigerated until serving. Slice the cake roll into half inch slices.
PRO TIP:
You’ll want to be sure to clean off your knife after each slice to keep those gorgeous layers intact.
Troubleshooting This Recipe
My Cake Cracked When Rolling
SOLUTION: Your cake needs to be rolled into the towel as soon as it comes out of the oven.
When the cake is rolled while warm, the heat and moisture will help give you a crack-free cake. The cake is much more likely to crack if it is rolled when cooled.
The Cake is Too Dry
SOLUTION: If your Swiss roll turns out too dry, it might be due to overmixing or overbaking.
To address this, avoid overmixing to ensure the cake remains fluffy.
In addition, always check the cake a few minutes before the recommended baking time concludes.
The Cake Doesn’t Roll Properly
SOLUTION: The cake not rolling properly can be attributed to not using the correct pan size.
Always ensure you use the recommended jelly roll pan size specified in the recipe for optimal results.
The Filling Squeezes Out When Rolling
SOLUTION: If the filling squeezes out during the rolling process, it’s likely due to overfilling or rolling the cake too tightly.
It’s essential to use the recommended amount of filling and to roll the cake gently to prevent this issue.
Serving Chocolate Roll Cake
This amazing chocolate Swiss roll is a fun dessert for any night of the week.
If the Swiss roll has been refrigerated, it’s a good idea to let it sit at room temperature for about 15-20 minutes before serving. This allows the flavors to meld and the cake to have a softer texture.
When slicing the Swiss roll, it’s best to use a sharp, serrated knife. This particular type of knife is adept at cutting through both the cake and its filling without causing any squishing or tearing.
To maintain the integrity and appearance of each slice, it’s a good practice to wipe the knife with a damp cloth between cuts.
Ideally, the slices should be about one to one and a half inches thick, but you can adjust this based on your personal preference.
SERVE WITH A GARNISH: Traditional garnish ideas for a chocolate Swiss roll cake include:
- A dusting of cocoa powder for a rich, chocolatey appearance.
- Delicate chocolate shavings or curls for elegance.
- Zest or thin slices of oranges or lemons for a refreshing touch.
- Fresh berries like strawberries or raspberries for a vibrant contrast.
- Mint leaves placed on top for a hint of freshness.
- Toasted coconut flakes on top for a tropical twist.
- Chopped hazelnuts for a nutty crunch.
SERVE WITH HOLIDAY TOPPINGS: A light sprinkle of powdered sugar for a snowy, sweet finish or crushed peppermint candies for the holidays.
SERVE WITH ICE CREAM: A scoop of our homemade vanilla ice cream (or a dollop of homemade whipped cream) on the side of this chocolate Swiss roll cake for an extra special and indulgent treat.
SERVE WITH SAUCE: To complement the chocolate cake, drizzle the plate — or a slice of roll cake — with a yummy topping.
It will not only enhance the flavor and texture of the chocolate roll cake but also elevate its visual appeal. Options include:
SERVE WITH FRUIT PRESERVES: To introduce a different texture to the chocolate roll cake and its cream filling, offer a selection of fruit jams or preserves.
Raspberry jam or strawberry jam will balance the richness of the roll cake.
Cookie Roll Recipes
Storing A Swiss Roll Cake
Before storing, ensure that the Swiss roll is completely cooled to room temperature. Storing a warm cake can lead to condensation, which can make the cake soggy.
Here are a few tips on storing this decadent Swiss roll cake to enjoy later.
Making Ahead Of Time
To make this cake roll the day before serving, you can prepare it right up to the step before making the ganache.
Wrap it tightly in plastic wrap to maintain its shape and put it in an airtight container. Refrigerate overnight.
Prepare the chocolate ganache shortly before you plan to serve the Swiss roll.
Before serving, unwrap the chilled cake roll and place it on a cooling rack set over a cookie sheet. Spoon the prepared ganache over the cake roll, ensuring any drips are caught by the cookie sheet below.
Refrigerate the cake roll for at least 30 minutes to allow the ganache to set, or until you’re ready to serve.
Storing In The Fridge
Wrap the Swiss roll tightly in plastic wrap or aluminum foil. This helps to prevent the cake from drying out and also protects it from absorbing any odors from the refrigerator.
For an extra barrier against moisture and odors, place the wrapped Swiss roll inside an airtight container as well.
Refrigerate for three to five days.
Before serving, let this cake roll sit at room temperature for about 15-20 minutes to enhance its flavor and texture.
Storing In The Freezer
If you’re looking to store this chocolate cake roll for an extended period, freezing is an excellent option.
Begin by wrapping the Swiss roll securely in plastic wrap. Then add an additional layer of protection using aluminum foil or by placing it in a freezer-safe bag.
It’s a good practice to label the bag or foil with both the date and the specific type of cake to keep track of its freshness.
You can store the Swiss roll in the freezer for up to two to three months.
When you’re ready to enjoy it, transfer the Swiss roll to the refrigerator and allow it to thaw for several hours or preferably overnight.
After thawing, it’s best to let the Swiss roll come to room temperature before serving to ensure the best flavor and texture.
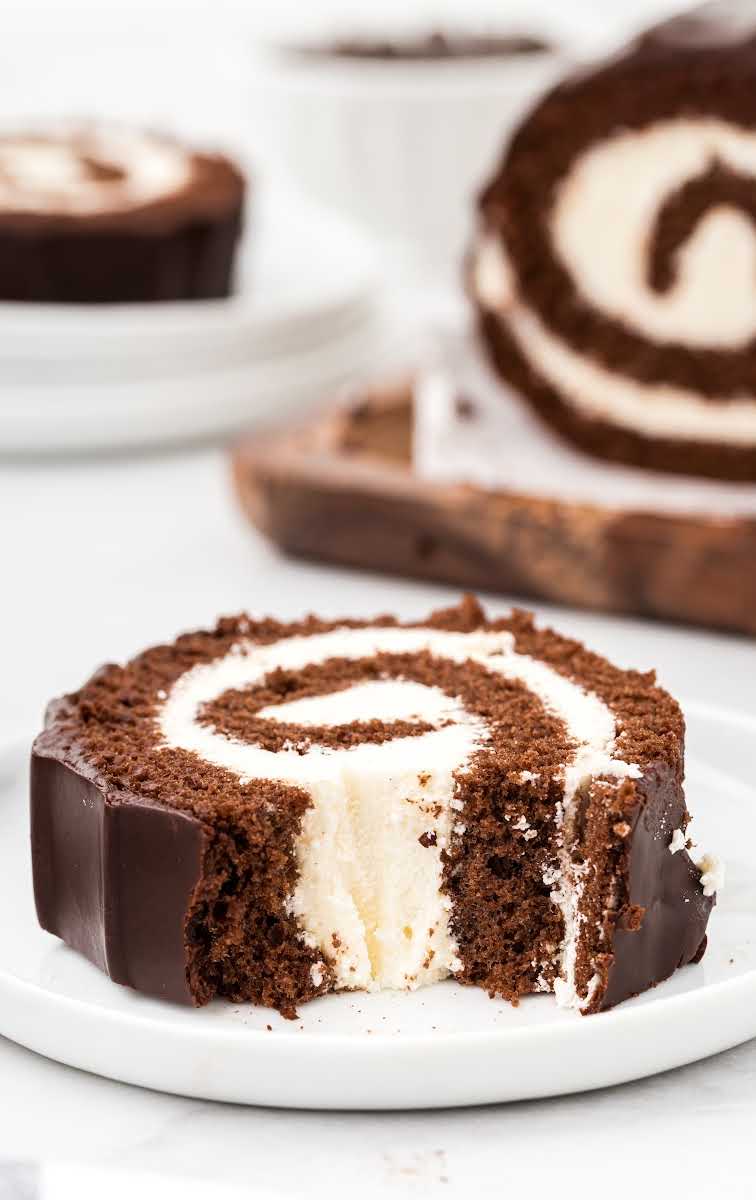
Why We Think This Is The Best Swiss Roll Recipe
Time-Effective: While it might seem complex, a Swiss roll is relatively quick to make compared to some layer cake recipes or desserts that require longer assembly or chilling times.
Portability: Swiss rolls are easy to transport, making them a great choice for picnics, potlucks, or any event where you need to bring a dessert.
Texture and Flavor: The soft, fluffy sponge of a chocolate roll contrasts beautifully with the creamy filling — and provides a balanced taste that’s not overly sweet.
Tradition: Swiss rolls have been a beloved dessert in many cultures for years. Making and enjoying them can evoke nostalgia and connect generations.
Swiss Roll Recipe FAQs
There really isn’t a difference between Swiss rolls and cake rolls, although the term Swiss roll is more frequently used in the UK, while cake roll is used in the US.
Swiss rolls and Yule logs are very similar, with the main difference being how the cakes are decorated.
The Yule log cake, or Buche de Noel, is made to look like the logs burned on Christmas Eve, whereas the exterior of a Swiss roll is decorated much more simply.
An English Swiss roll is a cylindrical cake made from a thin flat sponge cake, covered with jam or cream on one side, then rolled up.
It is important to roll the cake while it is still warm; otherwise, it won’t hold its shape.
Ermine filling is made by cooking flour and sugar with milk to make a sweet paste.
This paste is then whipped into softened butter until light and fluffy. The vanilla is added for flavoring.
This cake tastes just like grandma’s chocolate Swiss roll recipe. Fluffy chocolate sponge cake and a creamy filling will bring back plenty of warm memories once you take a bite of this decadent dessert.
More Cake Roll Recipes
- Carrot Cake Roll
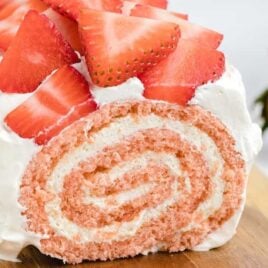
- Rainbow Roll Cake
- Banana Roll Cake
- Christmas Vanilla Roll Cake
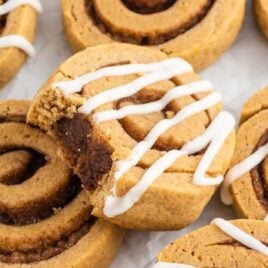
- Cinnamon Roll Cake
- Pumpkin Roll

Swiss Roll Recipe
Equipment
- linen tea towel that is 2 inches longer at the top and bottom of the cake pan
- A large cutting board for the cake transfer
Ingredients
Ermine Filling
- 2½ tablespoons all-purpose flour
- ½ cup granulated sugar
- ½ cup whole milk
- ½ teaspoon vanilla extract
- ½ cup unsalted butter, softened
Chocolate Cake
- ½ cup all-purpose flour
- ¼ cup cocoa powder
- 1 teaspoon baking powder
- ¼ teaspoon salt
- 4 large eggs
- ½ cup granulated sugar
- 3 tablespoons vegetable oil
- 1½ teaspoons vanilla extract
- powdered sugar, for dusting
Chocolate Ganache
- 1 cup semi-sweet chocolate chips
- ½ cup heavy cream
Instructions
Ermine Filling
- Using a small (2 to 3-quart) heavy-bottomed saucepan on medium heat, whisk together the flour, milk, sugar, and vanilla. Bring to a low boil, whisking continuously to avoid the milk scorching until the mixture looks and feels like a thick pudding. This should take 3 to 4 minutes.
- Remove the saucepan from the heat, and pour it into a small heat-safe bowl.
- Cover the bowl with plastic wrap. Be sure to allow the plastic wrap to drape onto the surface of the flour-milk mixture. This will keep a skin from forming.
- Place in the refrigerator until the mixture is completely cooled.
- Once the mixture is completely cooled, remove it from the refrigerator and set it aside.
- Using either a stand mixer or a medium-sized mixing bowl and a handheld mixer on medium-high, beat the softened butter for 1 minute.
- Reduce the mixer speed to medium. Begin adding the flour-milk mixture 1 tablespoon at a time.
- Once all of the mixture has been added, increase the mixer speed to medium-high, and continue mixing for another 1½ to 2 minutes until the filling is light and fluffy. Set it aside. You can leave the filling at room temperature, as long as the room temp is not too hot. It is a very stable filling and can be left out for up 6 hours.
Chocolate Cake
- Preheat the oven to 350°F. Line a 15x10x1 jelly roll pan with parchment paper and spray with nonstick spray. Set it aside.
- In a small mixing bowl, whisk together the flour, cocoa powder, baking powder, and salt. Set it aside.
- Using either a stand mixer or a medium-sized mixing bowl and a handheld mixer on high, beat together the eggs, sugar, vegetable oil, and vanilla for 4 to 5 minutes until the mixture is a frothy pale yellow.
- Fold in the flour mixture.
- Evenly pour the cake batter into the prepared pan. Use a silicone spatula or an offset spatula to spread the cake batter. Bake for 10 to 12 minutes.
- Remove the cake from the oven, and using a sharp knife, carefully run the tip along the edges of the pan that were not covered by the parchment paper.
- Heavily dust the top of the tea towel with the powdered sugar.
- Immediately place the dusted tea towel, powdered side down, on top of the cake.
- Lay the cutting board on top of the tea towel. The cake pan will be hot, so you will need to be careful to protect your hands. Quickly flip the cake pan over so that the cake is lying on top of the dusted towel.
- Carefully and slowly peel the parchment away from the cake.
- Heavily dust the top of the cake with the remaining powdered sugar.
- Flip one end of the tea towel over one of the short ends of the cake. Carefully begin to roll one end towards the other. Once rolled, set aside to completely cool.
Cake Assembly
- Once the cake is completely cooled, carefully and slowly unroll the cake. If there are a few small cracks, it will be ok.
- Using a silicone spatula, or an offset spatula, spread the filling over the top of the cake, avoiding the edges.
- Slowly, with gentle, even pressure, carefully roll the cake back in a “roll”. Tightly wrap the cake in plastic wrap to ensure it holds its shape. Allow the cake to chill in the refrigerator for at least 2 hours to overnight.
Chocolate Ganache
- Using a small heat-safe bowl, add the chocolate chips and the heavy cream.
- Heat the chips in the microwave for 45-second intervals, stirring after each interval until the mixture is smooth.
- Remove the cake roll from the refrigerator, and unwrap the cake.
- Place a cooling rack on top of a cookie sheet. Place the chilled cake roll on top of the cooling wrap. This step helps keep the dripping chocolate contained.
- Spoon the ganache over the top of the cake roll. Keep the cake roll refrigerated until serving. Slice the cake roll into ½ inch slices.
Notes
- You can leave the filling at room temperature, as long as the room temperature is not too hot. It is a very stable filling and can be left out for up to 6 hours.
- Be sure not to use any fabric softener when you wash the tea towel. It will transfer to the warm cake and make the flavor “off”. Also, make sure not to use a terry cloth tea towel. The terry cloth will leave lint that will transfer to the surface of the cake.
- Be very patient and slow when rolling the cake and unrolling it. Rushing can cause cracks.
- When the chocolate cake roll has been in the refrigerator for 2 hours, you can place the cake roll in the freezer for 30 minutes before you top the cake roll to serve.
- You’ll want to be sure to clean off your knife after each slice to keep those gorgeous layers intact.
Nutrition
Even More Recipes You’ll Love
- Vanilla Trifle
- Peach Bread Pudding
- Strawberry Mousse
- Lemon Sponge Cake
- Lasagna Roll Ups
- Strawberry Cream Cheese Frosting
- Mint Brownies
- Peanut Butter Fluff
Chocolate Recipes
- Chocolate Milkshake
- Homemade Hot Chocolate
- Chocolate Trifle
- Chocolate Delight
- Chocolate Pie
- Chocolate Mint Cheesecake
- Chocolate Lasagna
Chocolate Cake Recipes
- Chocolate Poke Cake
- Triple Chocolate Cookies
- Chocolate Peppermint Cookies
- Campfire Chocolate Cake
- Crazy Cake
- Busy Day Chocolate Cake
- Chocolate Crockpot Caramel Cake
- Chocolate Pudding Cake



Comments
Sarah says
A yummy great, love how pretty this is!
Jessica B says
Can’t wait to try this recipe!!
Suzanne Verrall says
i used to make this with jelly, this will be a hit at the BBQ’S
lynn Doane says
used to make this with ice cream filling.
Will try your frilling
Nadia Logan says
Yum!
Brian Broten says
A fantastic desert
Beverly A Lloyd says
I haven’t made this yet but I will be making it. I love the little debbie little cake rolls so I am sure I will love this.
Karen says
Love your recipes! This cake roll is so moist and delicious! Thank you