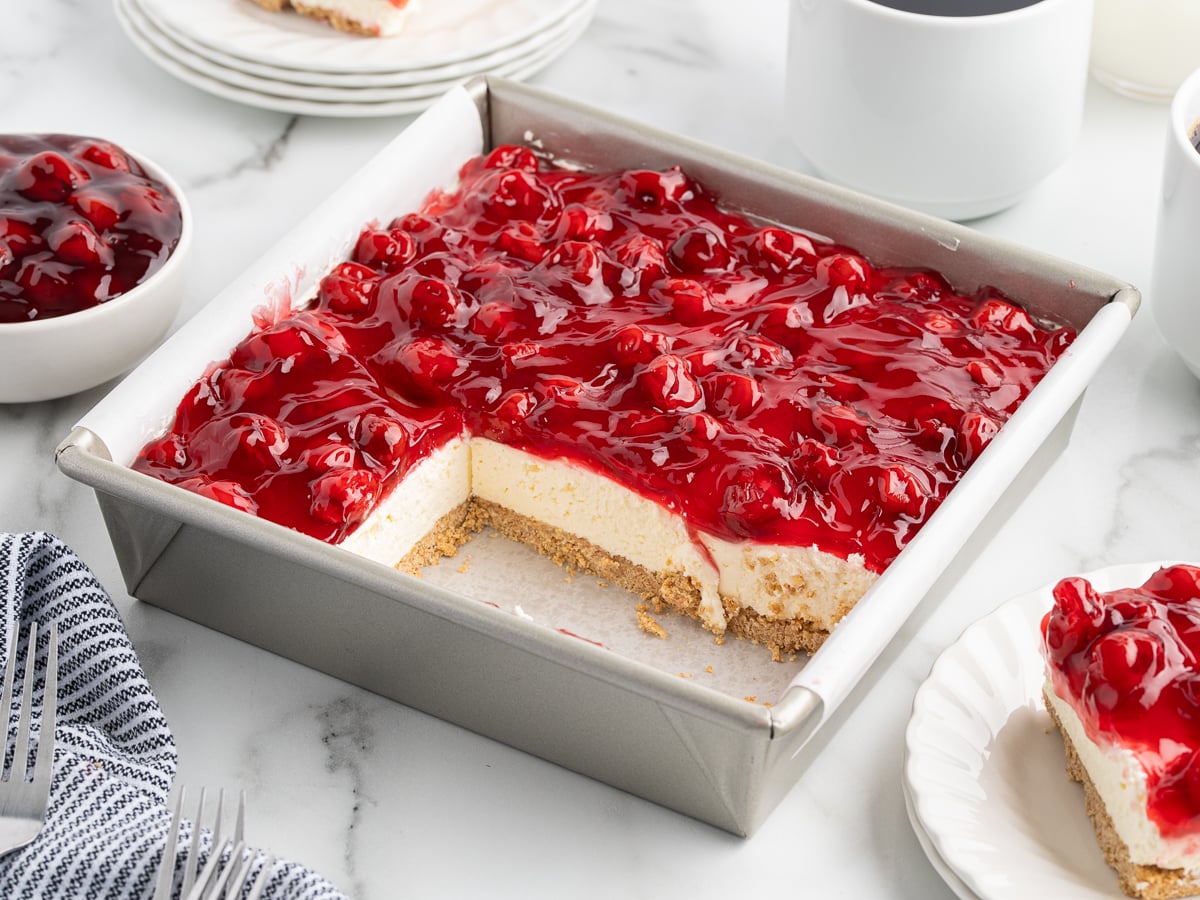
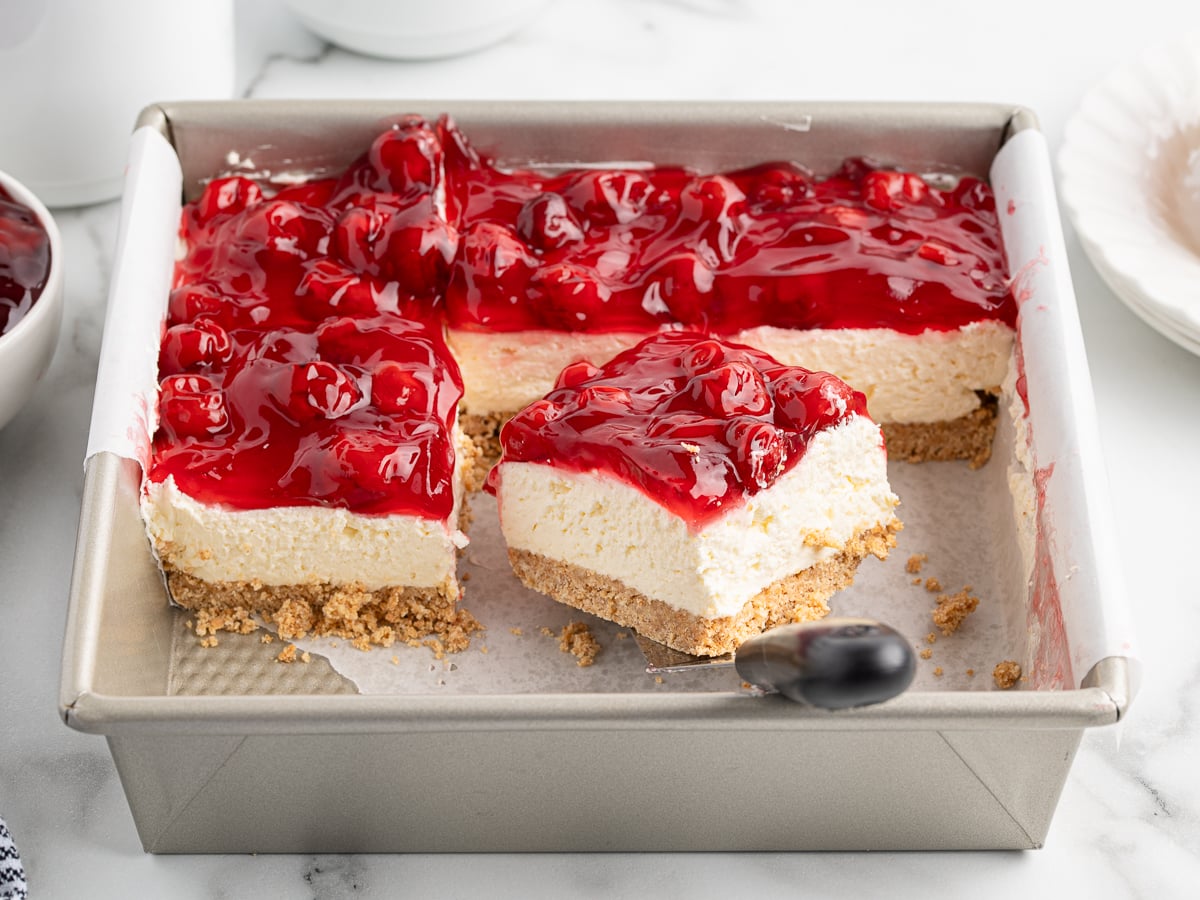
No-bake cherry cheesecakes tend to go one of two ways: too dense from sweetened condensed milk, or too soft because the filling never fully firms up. This one lands just right. It’s lighter than a baked cheesecake but stable enough to slice cleanly straight from the fridge, with edges that hold their shape on the plate.
The filling uses Cool Whip instead of homemade whipped cream, which gives it a more reliable without extra steps. Chill it overnight if you can. The texture gets noticeably firmer by the next day, and the slices come out much cleaner.
Ingredient Notes
- Full-fat ingredients matter here. Lower-fat substitutes tend to create a softer filling that does not hold slices as well.
- Canned cherry pie filling works especially well because the consistency is predictable and thick enough to sit cleanly on top of the cheesecake. If using a homemade cherry topping, make sure it is completely cooled and properly thickened first.
- You could use any flavor of pie filling that is available in your local grocery store. For instance, I used blueberry for my no-bake blueberry cheesecake. For a seasonal alternative, my no-bake pumpkin pie is perfect for fall.
Don’t Miss These Steps
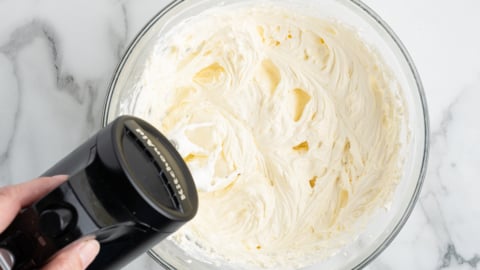
The filling for a no-bake cheesecake should already look thick, fluffy, and stable before it ever goes into the refrigerator.
Thaw the Cool Whip in the refrigerator, not on the counter
Cool Whip that thaws too fast, or has been partially frozen and thawed before you buy it, breaks down quickly once it gets stirred into the filling. I always use full-fat name-brand Cool Whip and let it thaw overnight in the fridge.
Soften the cream cheese all the way through
Cream cheese can feel soft on the outside while still cold in the middle. Those cold spots won’t blend smoothly, so the instinct is to keep mixing until everything looks even. That extra mixing is exactly what deflates the filling. Give it a full hour at room temperature so it’s soft all the way through before you start.
Forget to take out the cream cheese?
You can microwave the cream cheese to soften it faster. But do it carefully. Pull the foil off first and go in 10-second bursts, stopping when the cream cheese gives under your finger. If it feels warm, it’s already gone too far. Overheated cream cheese gets greasy and the filling will be looser than it should be.
Fold the Cool Whip in and stop
Once the Cool Whip is added, switch to a light hand. Fold gently just until the filling looks evenly combined. Absolutely no heavy stirring. If your Cool Whip gets overmixed or turns to liquid, your no bake cheesecake will never set.
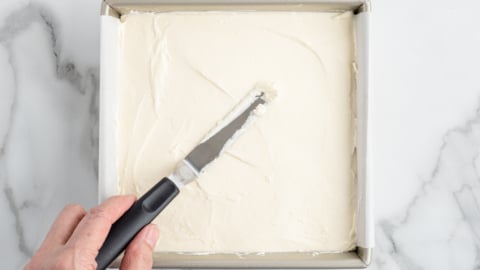
The same logic applies when spreading it into the crust: smooth it very gently instead of pressing down firmly.
For more simple desserts that come together without baking, take a look at my page full of delicious desserts.
Make Ahead and Storage
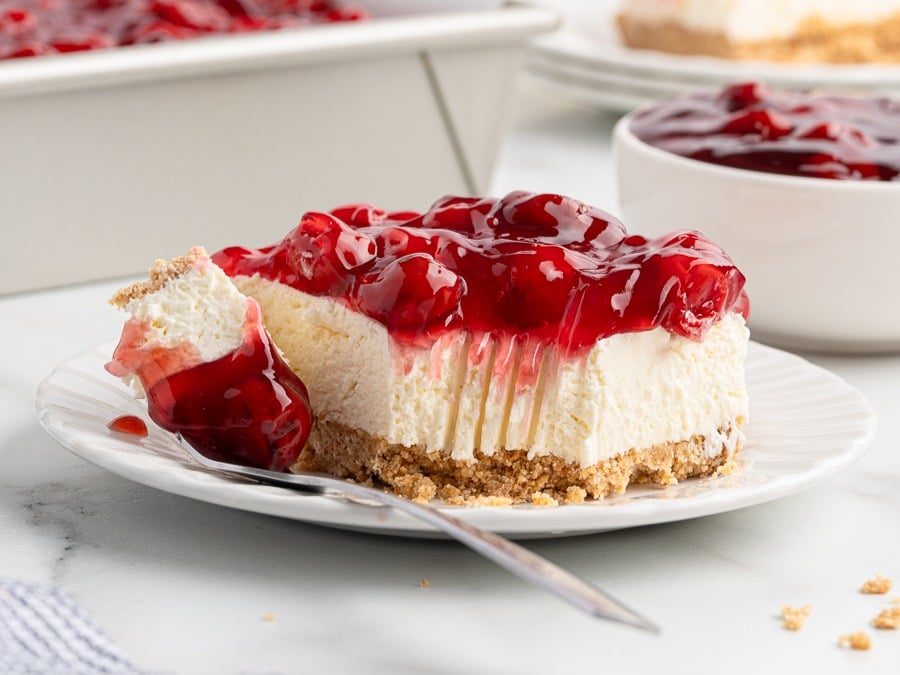
This cheesecake is one of those desserts that actually gets better after sitting overnight in the refrigerator. The filling firms up more fully, the slices come out cleaner, and the texture feels more stable by the next day.
If you are making it ahead for a party or holiday, I like to wait until the filling is fully chilled before adding the cherry topping. The firmer surface helps the slices stay neater when serving.
Stored covered in the refrigerator, the cheesecake keeps well for about 3 to 4 days. The crust softens slightly over time, but the filling stays creamy and stable.
If freezing the whole cheesecake ahead of time, you can either freeze it plain and add the pie filling after thawing OR freeze it already topped if convenience matters more. Leftover slices freeze well either way.
Thaw overnight in the refrigerator before serving.


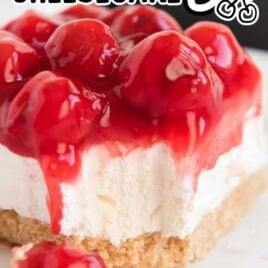
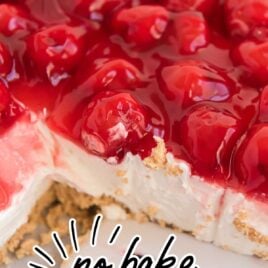
No Bake Cherry Cheesecake
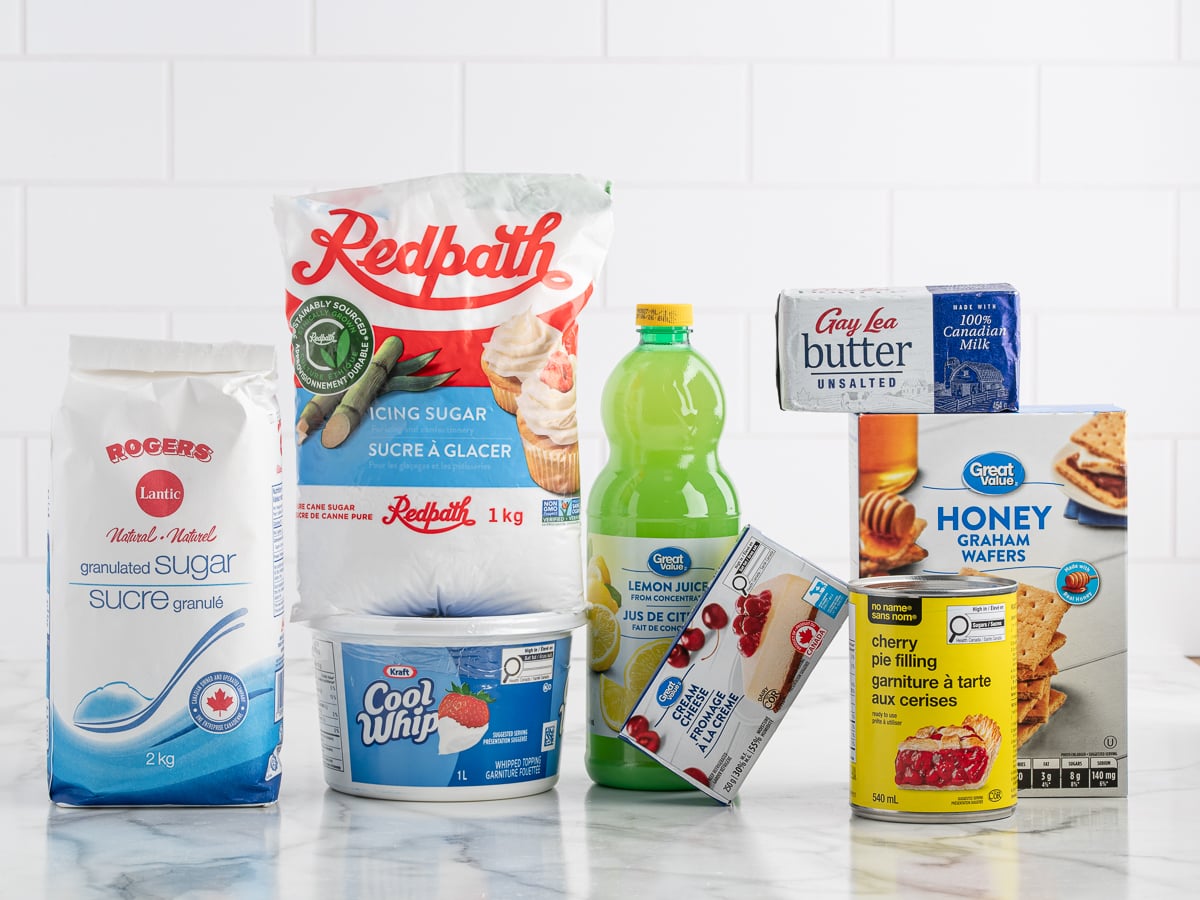
Ingredients
- 9 graham cracker sheets, one sleeve
- ½ cup melted butter
- 1 tablespoon sugar
- 16 ounces cream cheese, softened
- 8 ounces Cool Whip
- 1 cup powdered sugar
- 1 teaspoon lemon juice
- 21 ounces cherry pie filling
Instructions
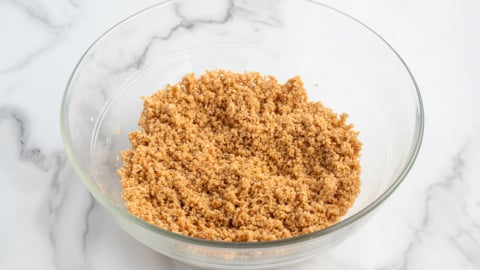
- Place graham crackers in the food processor and pulse into fine crumbs.
- In a medium bowl, combine graham cracker crumbs, melted butter, and sugar.

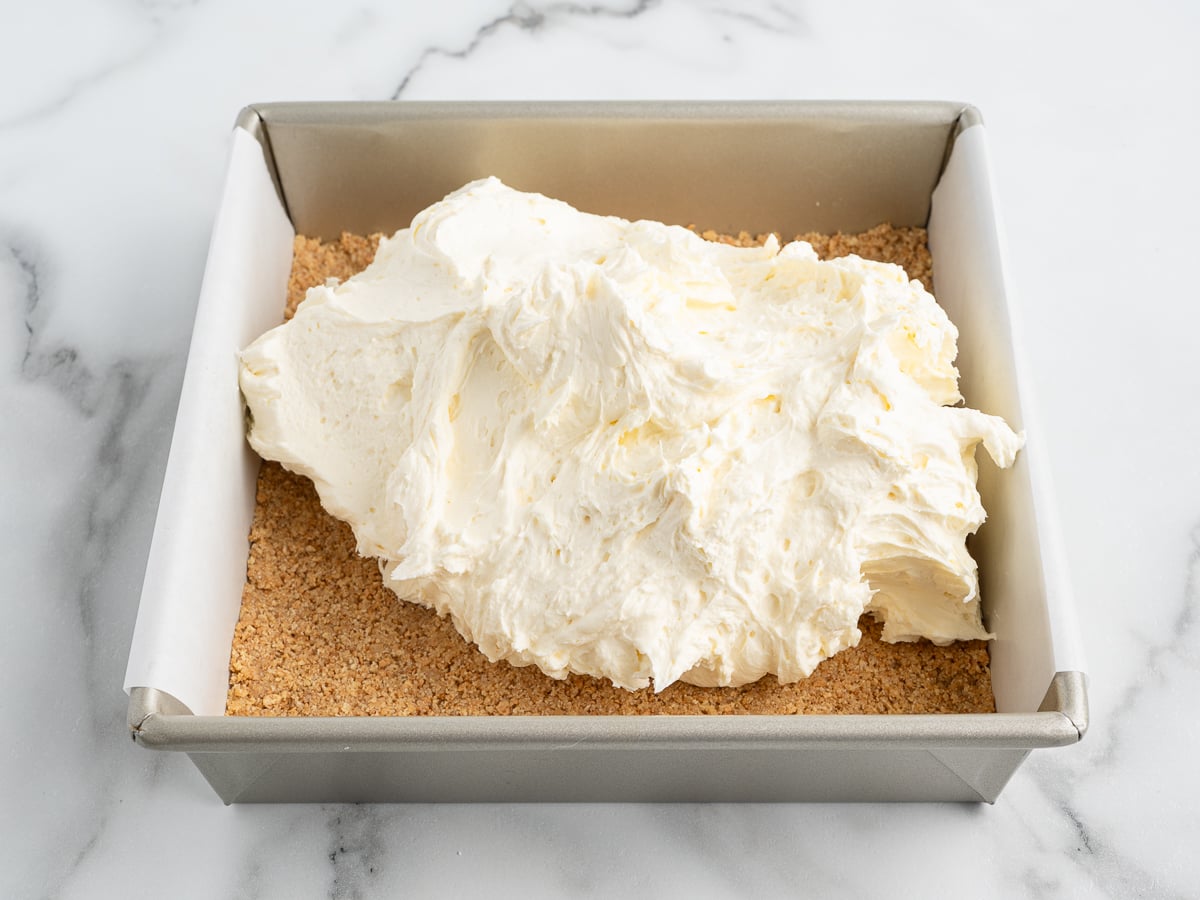
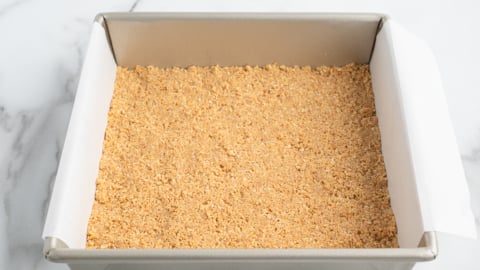
- Line 8×8 pan with parchment paper. Press the graham cracker mixture evenly into the bottom of the pan. Chill in the refrigerator.
- In a large bowl, mix softened cream cheese, Cool Whip, powdered sugar, and lemon juice until smooth.
- Spread cream cheese mixture into an even layer over the graham cracker crust.
- Chill for about 5 minutes.
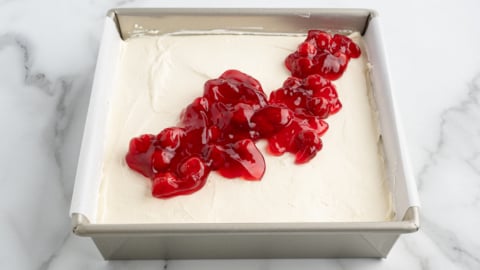
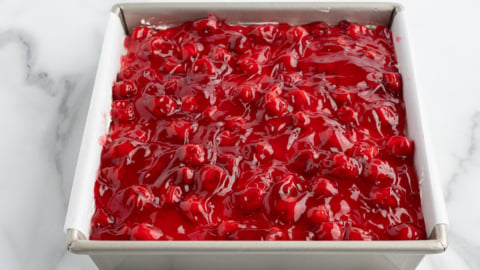
- Spoon cherry pie filling over the cream cheese layer. Gently spread out the cherries to cover the entire pan.
- Chill for at least 4 hours. Slice and enjoy!
Video
Notes
- Make sure that your cream cheese is softened before starting this recipe. If your cream cheese is too hard it can result in lumps in your bars.
- If you’re looking to feed a crowd, this is an easy recipe to make and double. Simply double the ingredients and use a 9 x 13-inch pan. Be sure to line the pan with parchment paper for less mess when removing the bars.
- Cheesecake can stick to your knife when cutting it. If you’re having trouble, try coating your knife in nonstick cooking spray first.
Nutrition
Frequently Asked Questions
Press the center gently with one finger. It should feel firm and spring back slightly. If it sinks or the pan jiggles when you nudge it, give it another hour.


Comments
Susan says
Totally Awesome recipe. My son and I had a large piece of pie 🥧. Sooo Yummy 😋
Shirley Pye says
Thank you can’t wait to make this for my friend on her birthday. She loves cherry cheesecake.
Alyssa says
Absolutely delish! A fan favourite every time I make it. One of my favourite ways to change it up is add in chocolate chips and vanilla extract instead of lemon juice and add swirls of strawberry jam on top!
Anne says
First cheesecake I have ever made. It was yummy. Loved the lemon juice.
Mary hess says
sounds good i will make it for my family.Thanks