October 17, 2023
Review RecipeReese’s Peanut Butter Fudge

Table of Contents
This easy no-bake Reese’s peanut butter fudge has a creamy texture that is loaded with peanut butter cups and delicious chocolate that you won’t be able to stop sampling. Four simple ingredients make this Reese’s fudge recipe a snap to make any time of year.

Reese’s Peanut Butter Fudge Ingredients
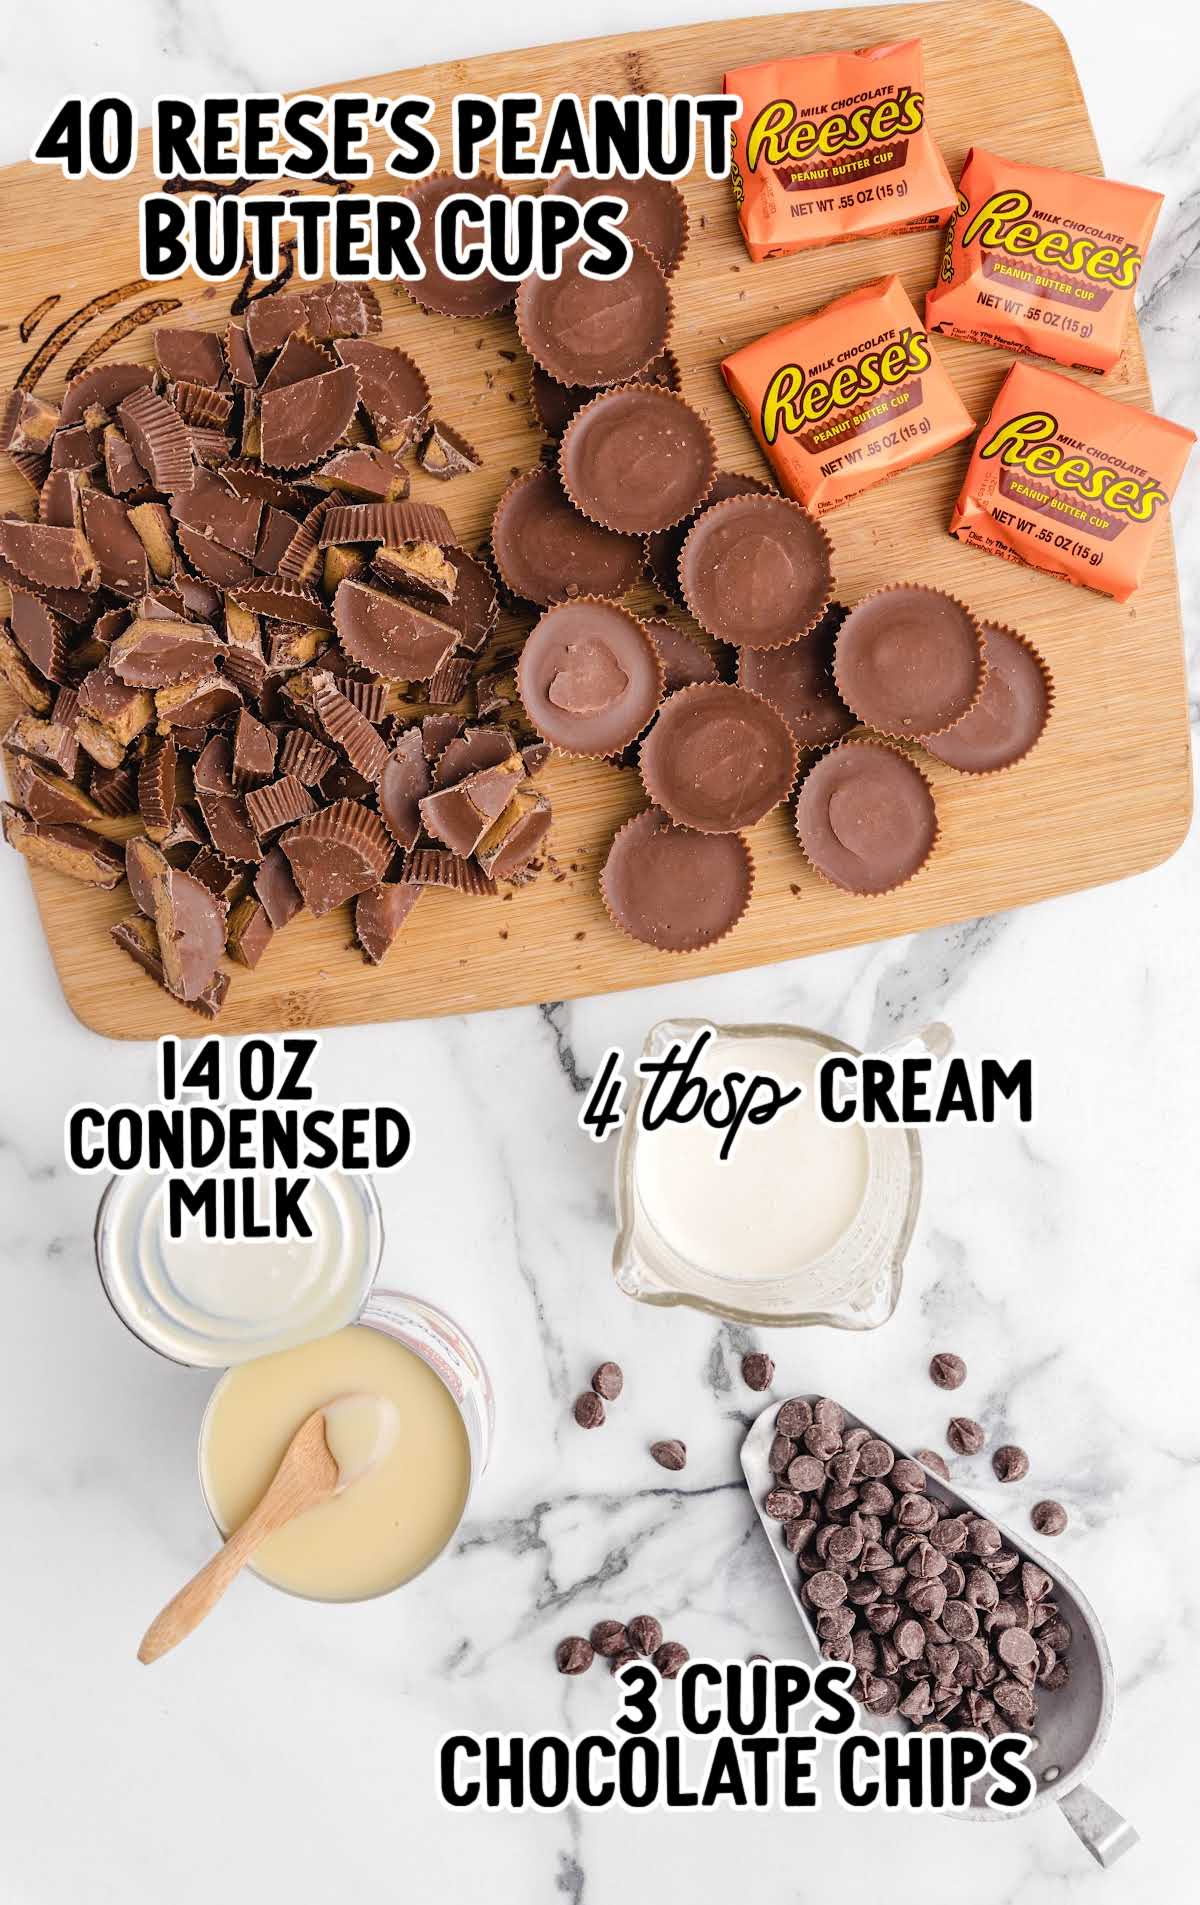
You’ll need:
- 40 Reese’s full-size peanut butter cups, divided in half
- 3 cups semi-sweet chocolate chips
- 4 tablespoons heavy cream
- 1 (14-ounce) can sweetened condensed milk
PRO TIP:
Make sure you buy condensed milk rather than evaporated milk. The evaporated milk is too runny for this recipe, and your fudge won’t harden.
Substitutions And Additions
CHOCOLATE CHIPS: You could mix the semi-sweet chocolate chips with other flavors – peanut butter chips, white chocolate chips, milk chocolate chips, or dark chocolate chips. Just make sure your total chips add up to 3 cups.
How To Make This Reese’s Peanut Butter Fudge Recipe
STEP ONE: Line a 9×9 square baking pan with aluminum foil and lightly spray with nonstick cooking spray. Set it aside.
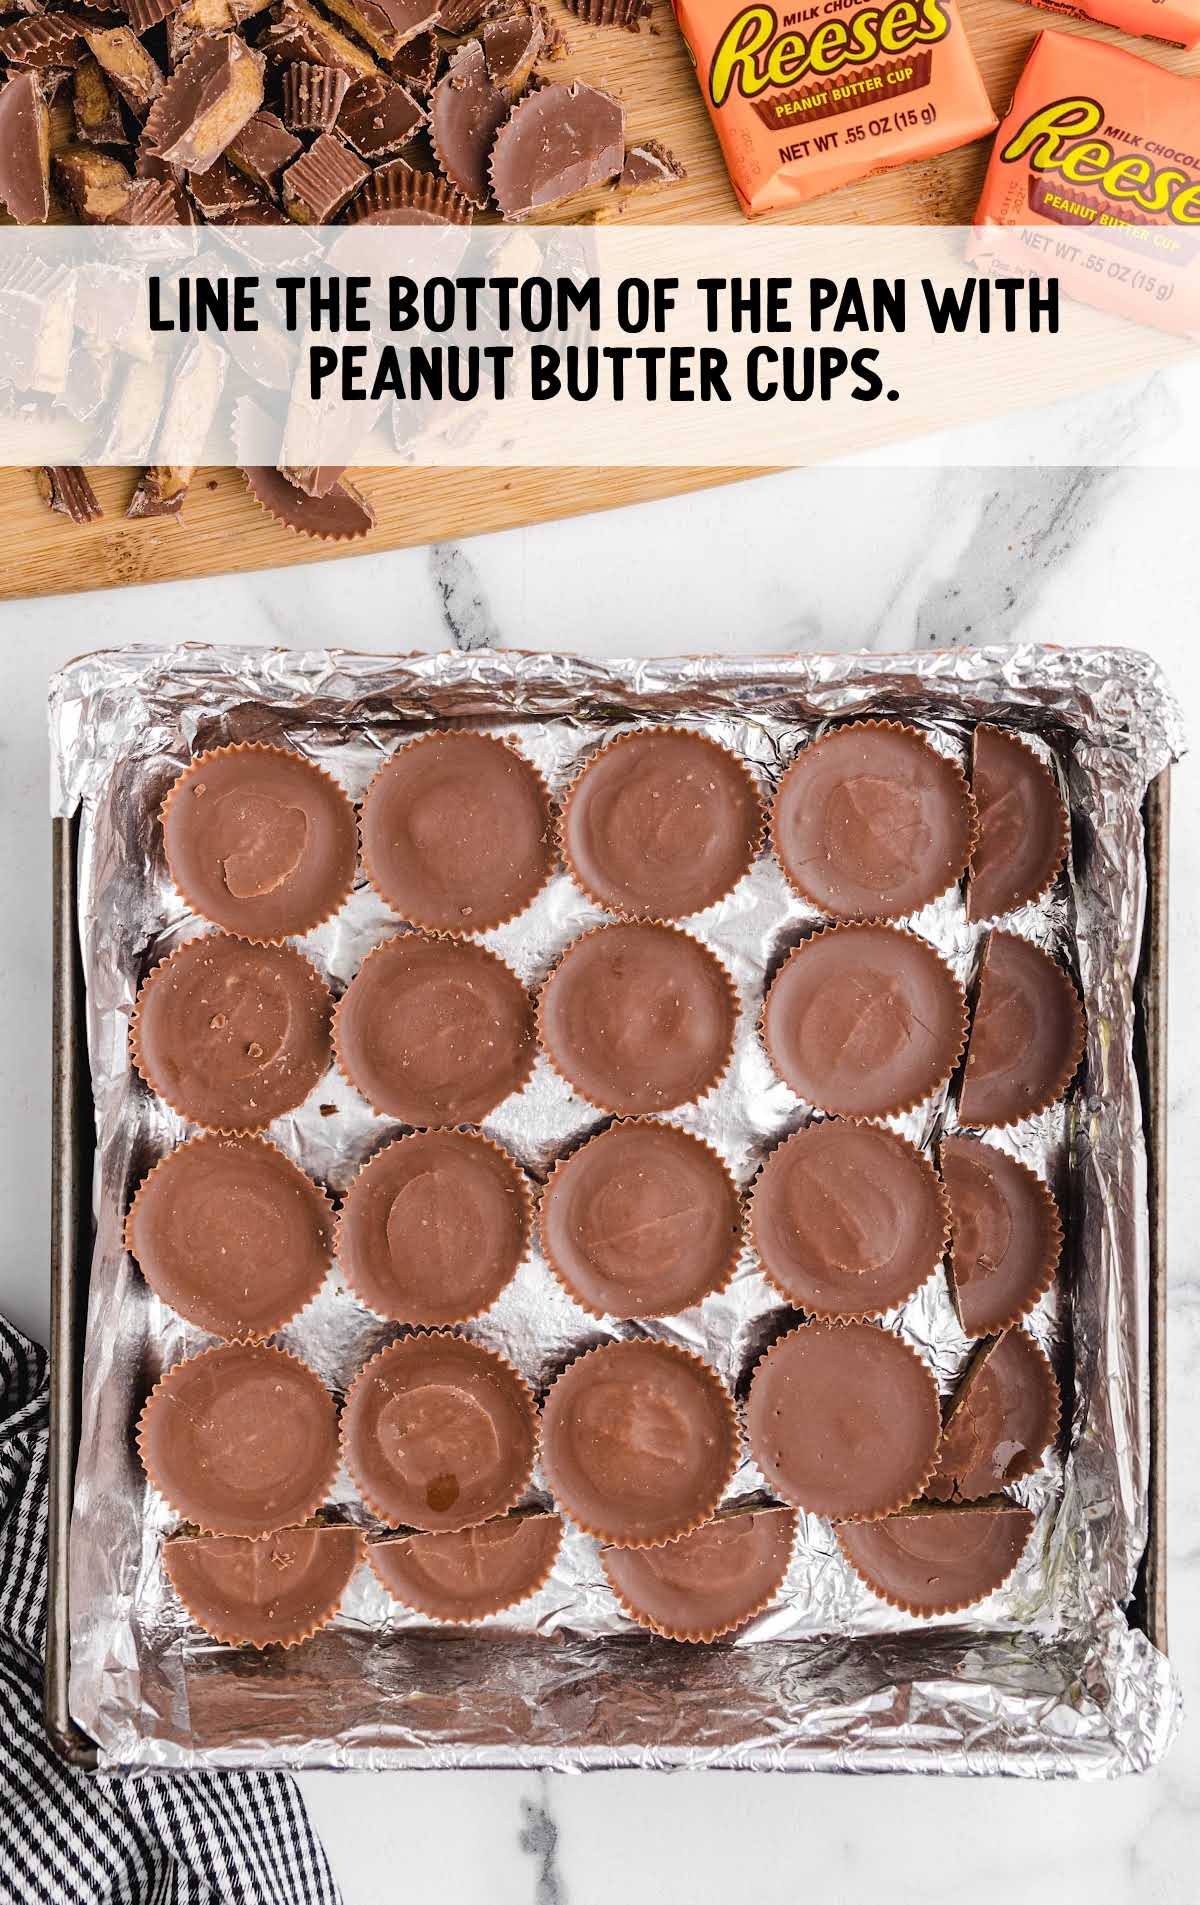
STEP TWO: Line the bottom of the pan with 16 peanut butter cups (4 rows of 4).
Slice 4 additional cups in half and place them along the edges of the pan. This should completely cover the bottom of the pan.
STEP THREE: Slice into quarters or crumble the remaining 20 peanut butter cups and set them aside.
OUR RECIPE DEVELOPER SAYS
Refrigerating Reese’s peanut butter cups for 10 minutes makes them much easier to chop.
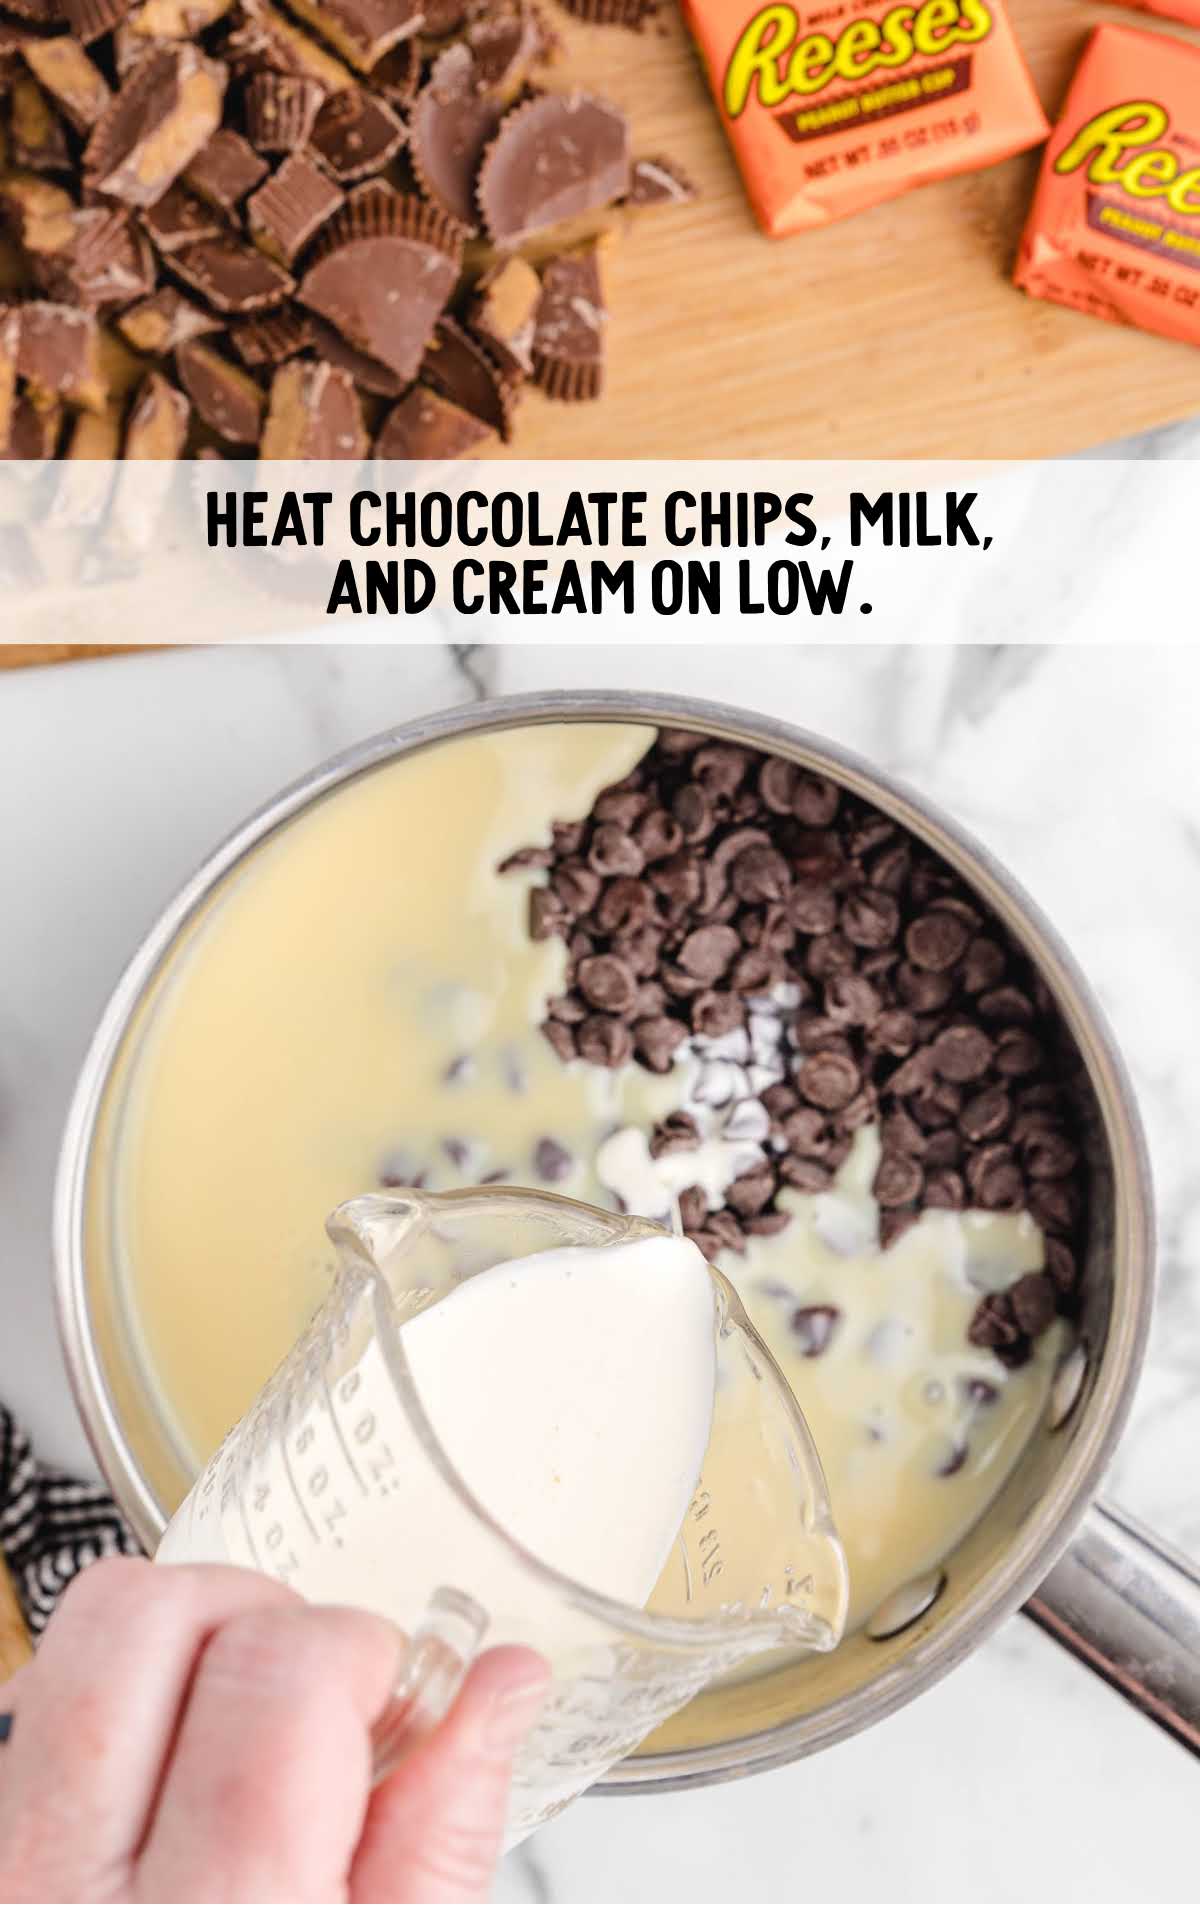
STEP FOUR: Using a 1.5 to 2-quart heavy-bottomed saucepan, add the chocolate chips, the heavy cream, and the sweetened condensed milk.
Heat on low and stir until all the ingredients are completely melted and smooth.
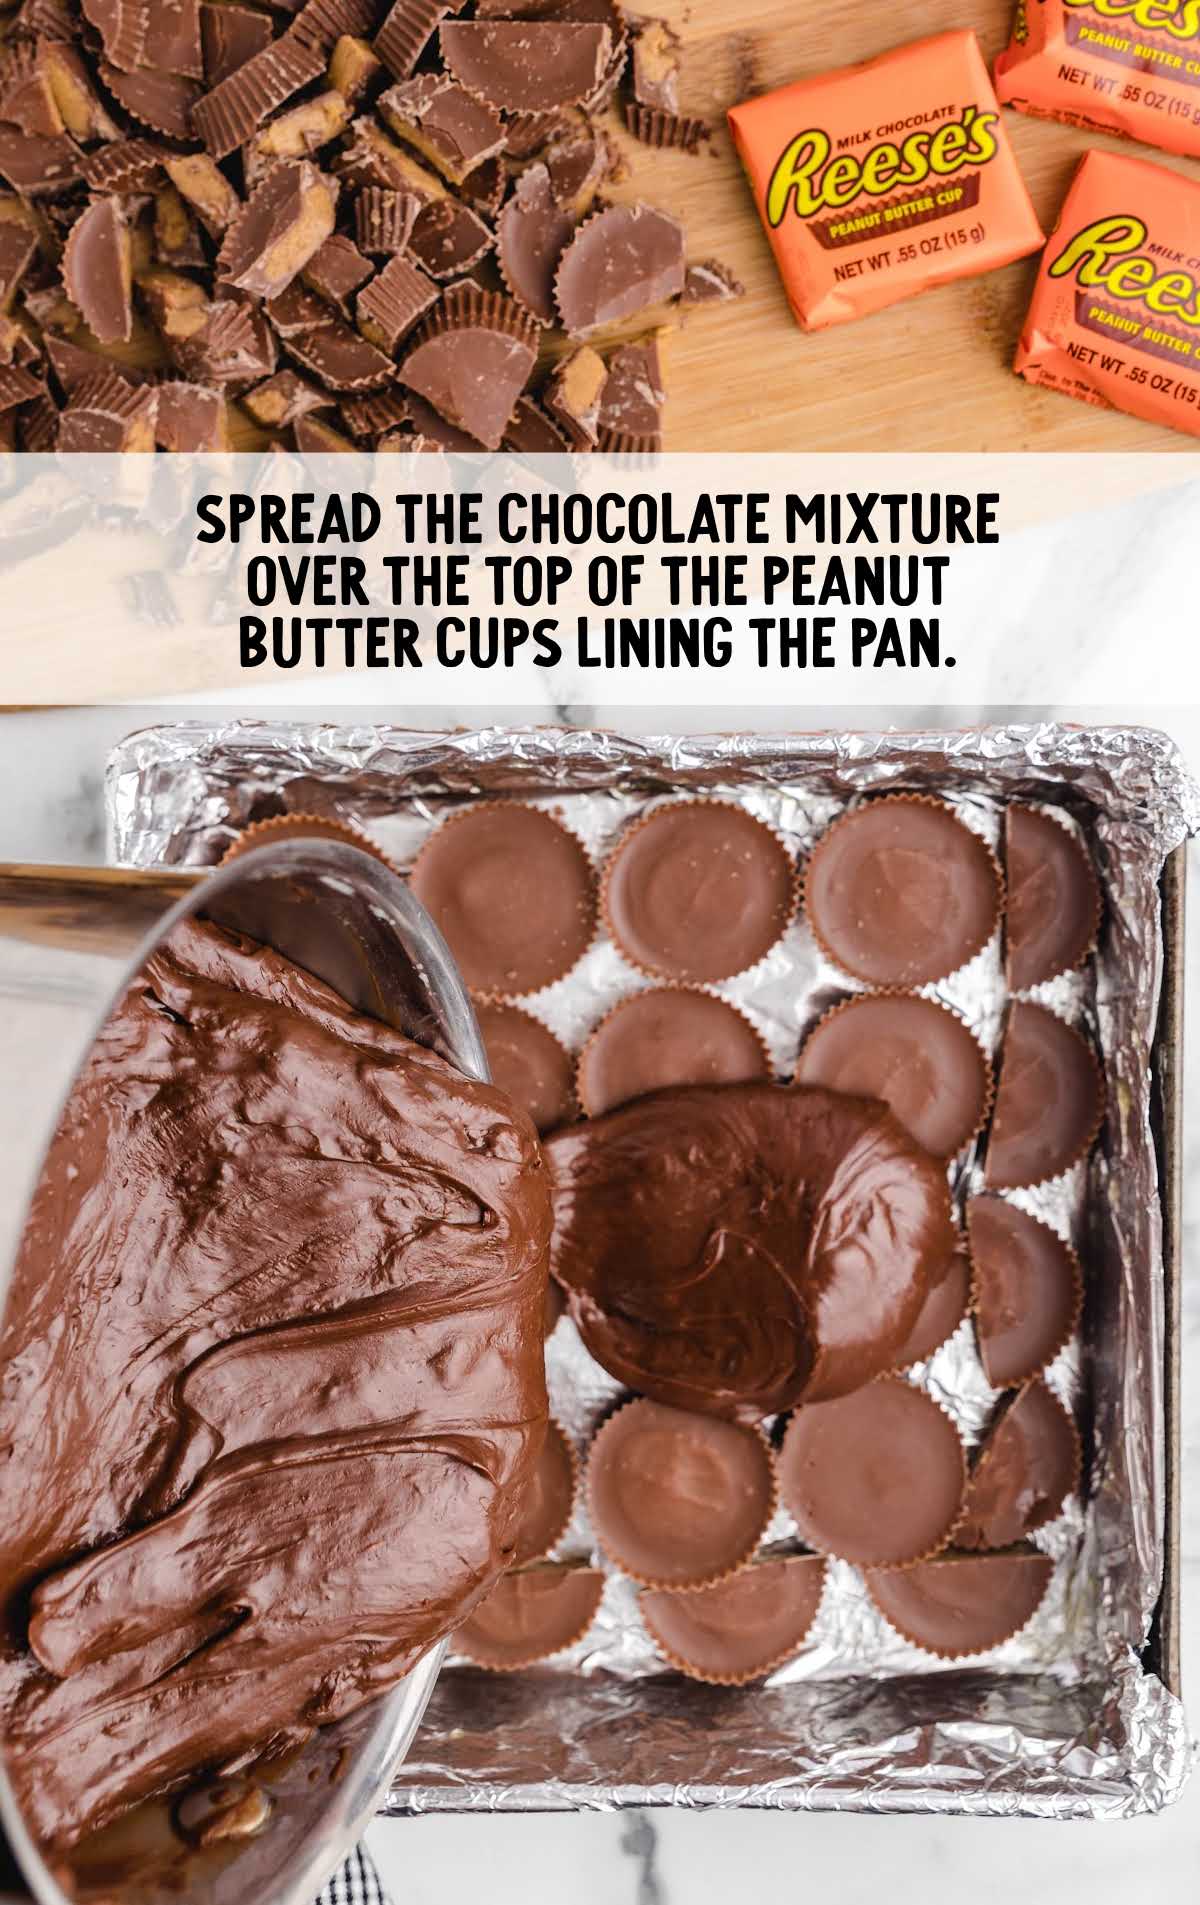
STEP FIVE: Spread the melted chocolate mixture over the top of the peanut butter cups lining the pan.
STEP SIX: Evenly sprinkle the sliced or crumbled peanut butter cups over the top of the chocolate layer.
Lightly press the peanut butter cup topping into the warm chocolate.
PRO TIP:
To help cut the fudge after chilling, score a grid on the top of the fudge when it is barely set but still warm.
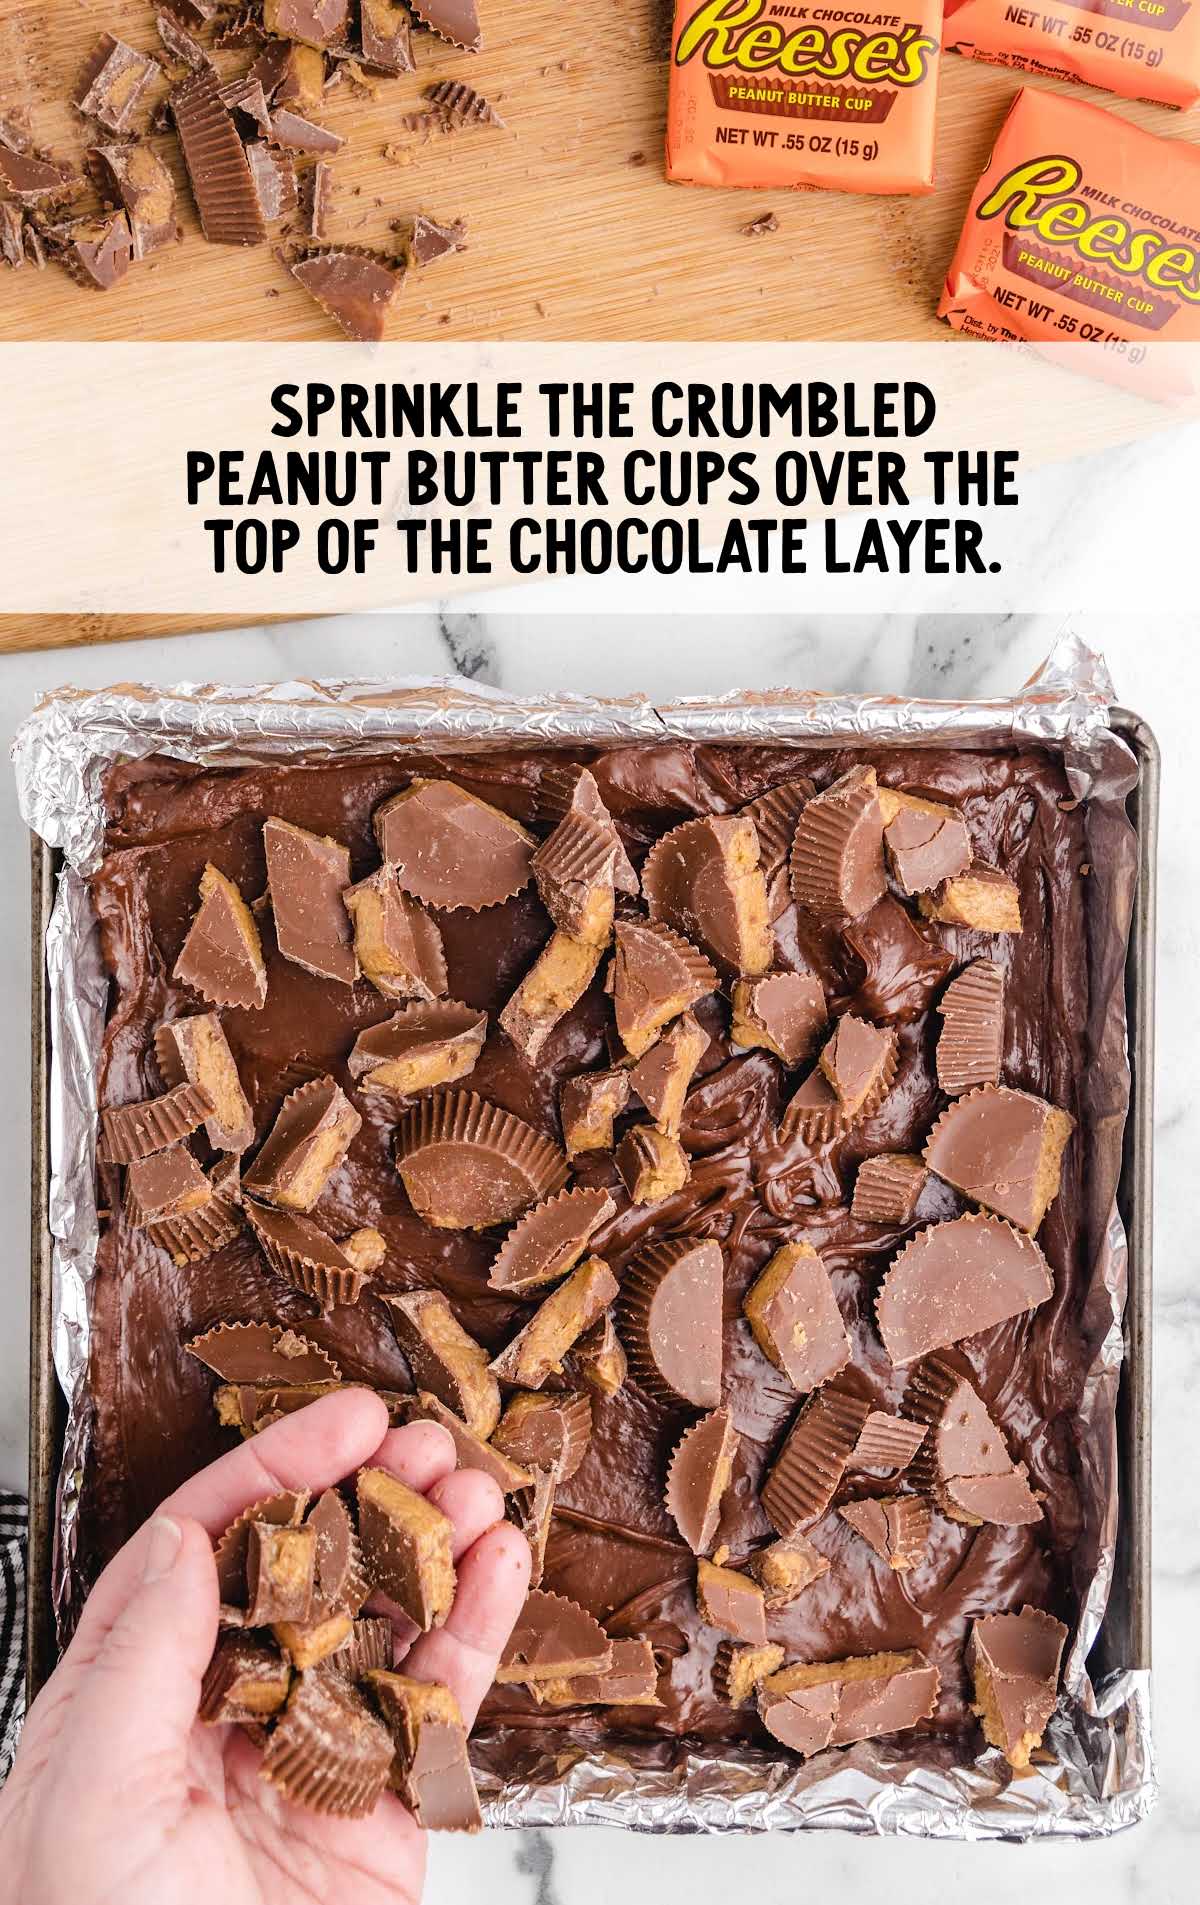
STEP SEVEN: Allow the fudge mixture to cool to room temperature for 30 minutes, and then cover with cling wrap and chill in the fridge for an additional 30 minutes.
Slice your creamy peanut butter fudge and serve.
PRO TIP:
To easily slice the fudge, dip a large sharp flat knife in boiling water, dry it completely, and cut one long slice (the heat will help the blade to glide through).
How To Serve
Fudge is a fantastic choice for a cookie exchange or to give as homemade gifts.
If you are giving this homemade fudge as a gift, I recommend lining a tin with wax paper and carefully laying the fudge inside.
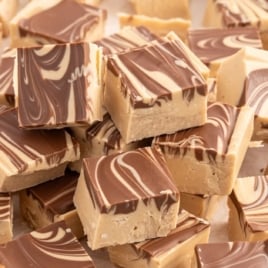
Add a couple of our other delicacies alongside this Reese’s fudge, including peanut butter fudge, rocky road fudge, and tiger fudge, so you have a variety of yummy treats to gift or share.
Our easy fudge recipes, including orange creamsicle fudge and gingerbread fudge, are also sure to be a huge hit.
MORE FUDGE RECIPES
Storage
IN THE FRIDGE: Store any leftovers of this delicious fudge recipe in the refrigerator in an airtight container for up to 1 week.
IN THE FREEZER: You can freeze this Reese’s peanut butter cup fudge for up to 3 months in an airtight container.
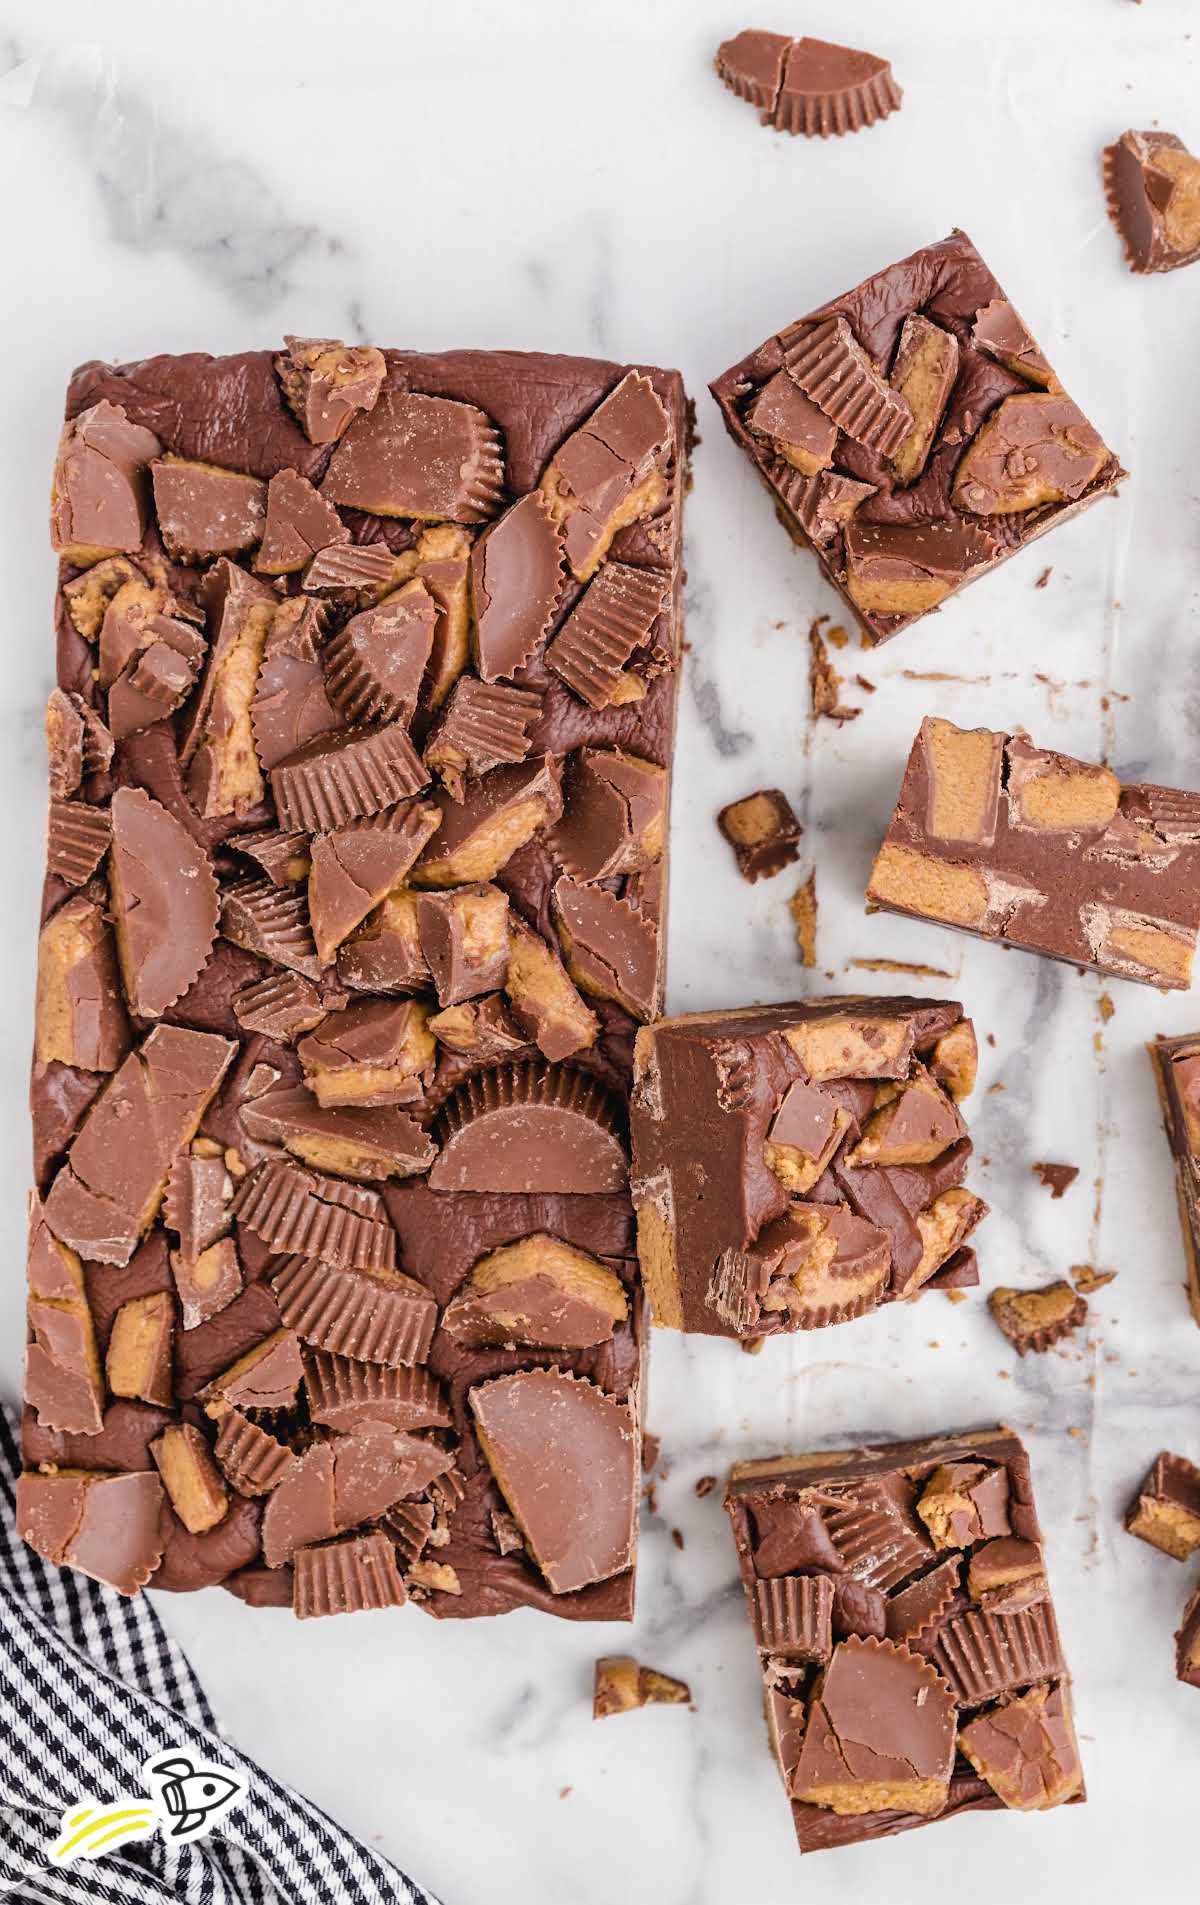
The combination of chocolate and peanut butter is probably the most genius invention ever. And this creamy Reese’s peanut butter fudge, made with Reese’s peanut butter cups, is downright addicting. You can whip this simple recipe up in just a few minutes, and you will not regret it.
FREQUENTLY ASKED QUESTIONS
This easy peanut butter fudge can be frozen for up to 3 months.
As long as you keep the total quantity of chips that the original recipe calls for, you can mix the flavors up however you wish.
To easily slice the fudge, dip a large sharp flat knife in boiling water, dry it completely, and cut one long slice (the heat will help the blade to glide through).
More Recipes You’ll Love
- Reese’s Cookies
- Peanut Butter Cookie Cups
- Oreo Fudge
- No Bake Peanut Butter Rocky Road Bars
- Layered Peppermint Fudge
- Strawberry Shortcake Fudge
- Key Lime Fudge
- Marshmallow Fudge
- Butterscotch Fudge
- Peanut Butter No Bake Cookies
- Monster Cookie Dough Fudge
- Rolo Fudge
- Cotton Candy Fudge
- Peanut Butter and Chocolate Cookies
- German Chocolate Fudge
- Reese’s Cheesecake
- Peanut Butter Fudge (Microwave)
- Maple Walnut Fudge
- Twix Dip
- Peanut Butter Cup Cookie Bars
- Peanut Butter Thumbprint Cookies
- Strawberry Fudge
- Peanut Butter Cookie Lasagna
- Caramel Fudge

Reese’s Peanut Butter Fudge
Ingredients
- 40 Reese’s full-size peanut butter cups, divided
- 3 cups semi-sweet chocolate chips
- 4 tablespoons heavy cream
- 14 ounces sweetened condensed milk
Instructions
- Line a 9×9 pan with aluminum foil, and lightly spray with nonstick spray. Set it aside.
- Line the bottom of the pan with 16 peanut butter cups (4 rows of 4). Slice 4 additional cups in half, and place them along the edges of the pan. This should completely cover the bottom of the pan.
- Slice into quarters or crumble the remaining 20 peanut butter cups and set aside.
- Using a 1.5 to 2-quart heavy-bottomed saucepan, add the chocolate chips, the heavy cream, and the sweetened condensed milk. Heat on low and stir until all the ingredients are completely melted and smooth.
- Spread the chocolate mixture over the top of the peanut butter cups lining the pan.
- Evenly sprinkle the sliced or crumbled peanut butter cups over the tops of the chocolate layer. Lightly press the peanut butter cup topping into the warm chocolate.
- Allow the fudge to cool to room temperature for 30 minutes.
- Cover with cling film and chill in the fridge for an additional 30 minutes.
- Slice the fudge and serve.
Notes
- Make sure you buy condensed milk rather than evaporated milk. The evaporated milk is too runny for this recipe, and your fudge won’t harden.
- Refrigerating Reese’s peanut butter cups for 10 minutes makes them much easier to chop.
- To help cut the fudge after chilling, score a grid on the top of the fudge when it is barely set but still warm.
- To easily slice the fudge, dip a large sharp flat knife in boiling water, dry it completely, and cut one long slice (the heat will help the blade to glide through).





Comments
Kim B. says
I make fudge year round. Can’t wait to try this.
Lynn says
If I’m on my death bed, let this be my death by chocolate and peanut butter final meal.☺️