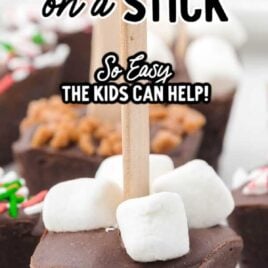
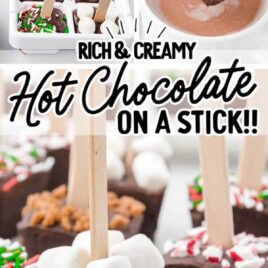
Rich and creamy, this delicious homemade DIY hot chocolate on a stick is the perfect sweet treat to enjoy this holiday season. Made with only a handful of ingredients, you can enjoy a creamy hot chocolate on a cold day; plus it’s also the perfect holiday gift idea to share with others.
Hot Chocolate on a Stick Ingredients
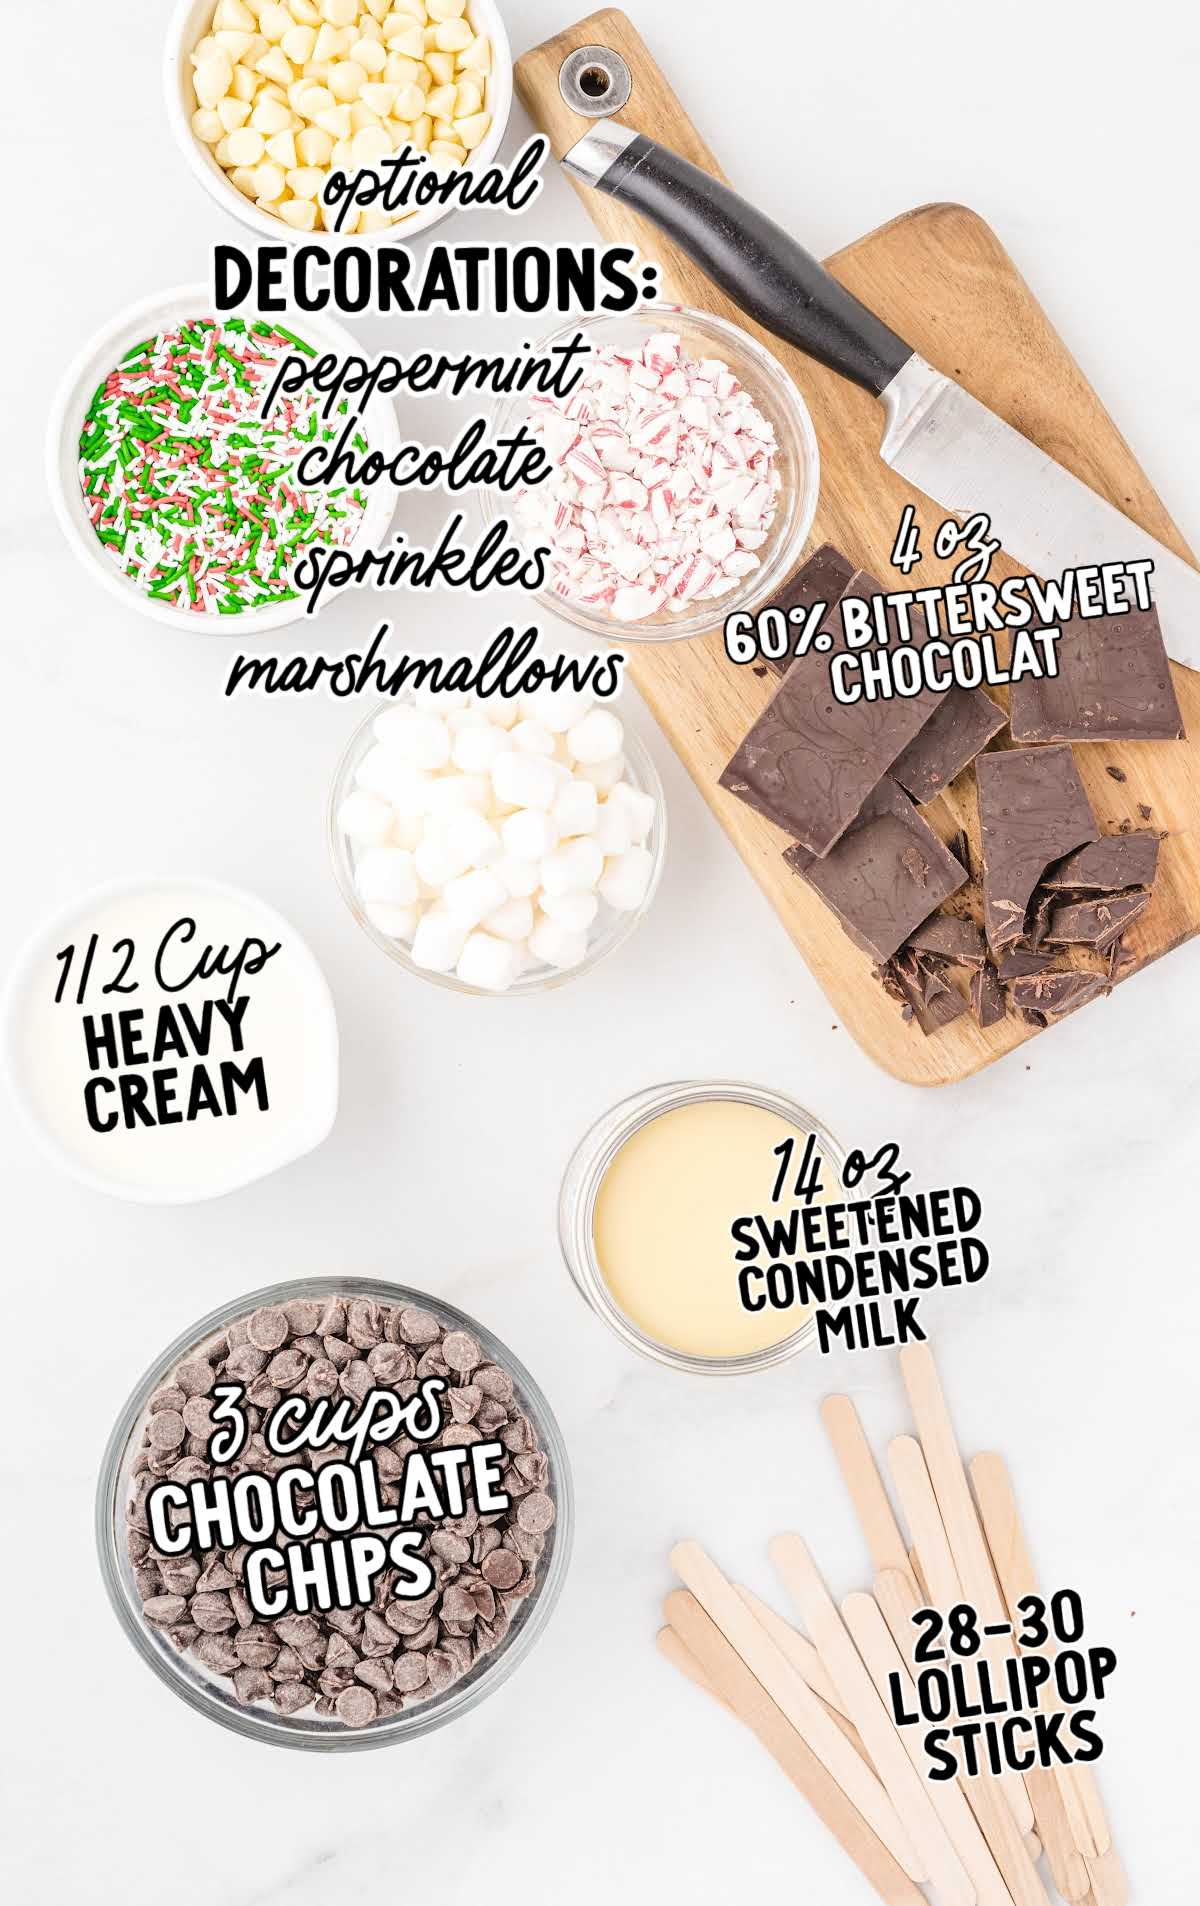
You’ll need:
- 3 cups of semi-sweet chocolate chips
- 4 ounces of bittersweet (60% cacao) baking bar, broken into small pieces
- 1 (14-ounce) can of sweetened condensed milk
- ½ cup of heavy cream
- 28-30 lollipop sticks
- 1½ cups of mini marshmallows (you can also use whatever other toppings you would like, such as crushed candy canes or sprinkles, the list is endless.)
- 1 gallon of whole milk (1 cup of milk per mug of hot chocolate made)
Substitutions And Additions
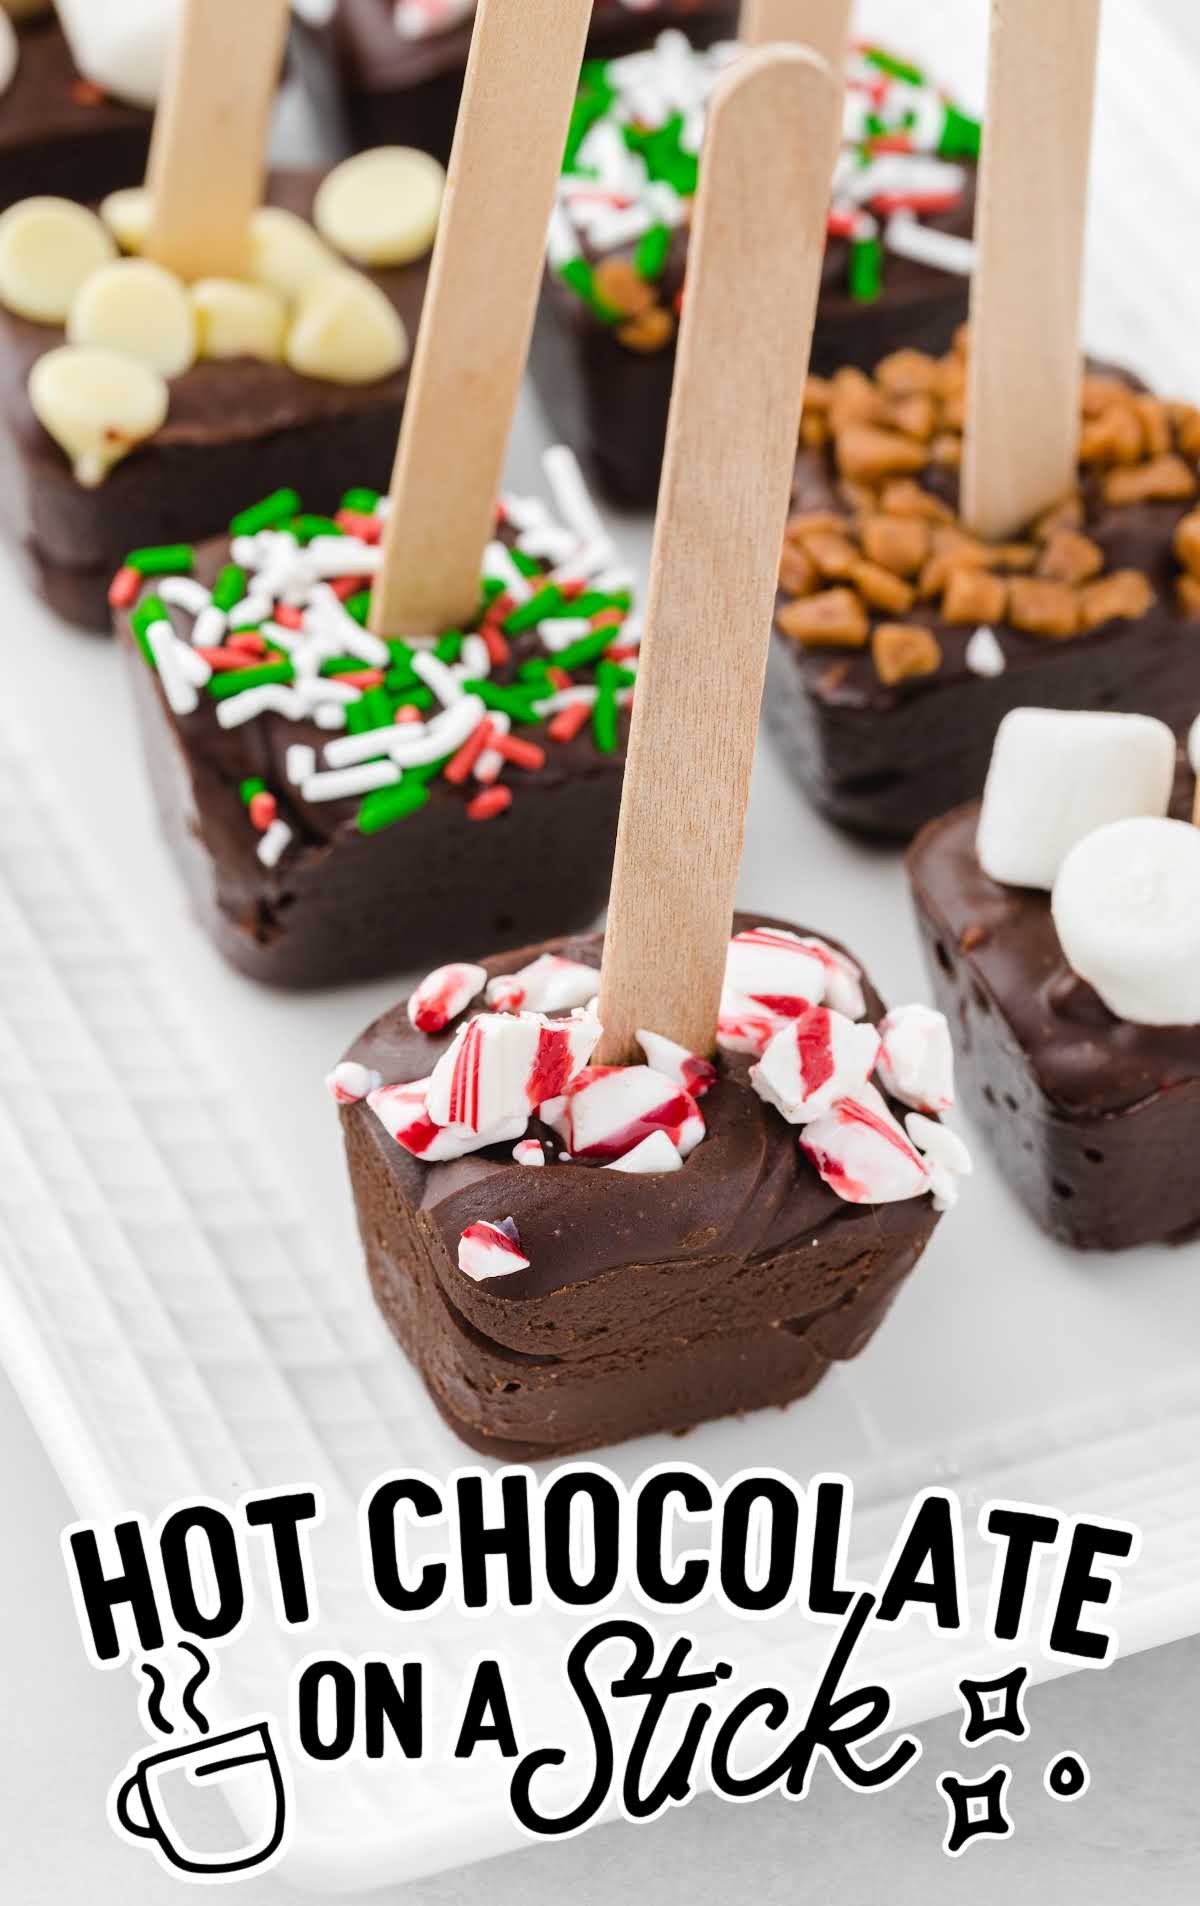
TOPPINGS: These decadent, irresistible homemade treats offer room for a lot of flexibility to add your favorite toppings.
We used chopped peppermint sticks, candy canes, sprinkles, and mini marshmallows.
EXTRACT: You could also use 2-3 drops of peppermint, orange, raspberry, or vanilla extract to flavor your chocolate.
DRIZZLE: You could drizzle with white chocolate or caramel, or sprinkle a little bit of sea salt.
CHOCOLATE: We found that milk chocolate didn’t set quite as well as semi-sweet since it has a lower cocoa content, so we would recommend sticking to semi-sweet chocolate if you can.
I highly recommend you use good-quality chocolate chips, and baking bars, for this recipe.
Use brands that you enjoy eating on their own because this is the flavor that will be very forward in your mug full of hot chocolate.
I like Ghiradelli, Nestle, Lindt, Guittard, or any other high-quality chocolate.
STICKS: You can substitute food-grade popsicle sticks for the lollipop sticks. Make sure to get them from the baking/candy aisle of your grocery or craft store.
You DO NOT want to use the kind from the arts and crafts section.
MILK: Using whole milk or 2% milk is best for this recipe; however, if you prefer a non-dairy option, then I would stick to an unflavored/unsweetened variety.
I do not recommend low-fat, skim milk, or water for this recipe.
How To Make This Hot Chocolate on a Stick Recipe
OUR RECIPE DEVELOPER SAYS
Make sure your molds are very clean, wipe with a paper towel to be sure; otherwise, you may run into trouble popping the hot chocolate cubes out.
STEP ONE: Place two (15 squares ~ 1.5×1.5×1.5-inch per square) silicone molds onto a rimmed baking sheet. Set aside.
PRO TIP:
You can also use an ice cube tray if you don’t have a silicone mold. If you don’t have silicone molds or ice trays, you can pour the chocolate into a foil-lined 8×8 pan.
Once the chocolate has partially hardened, you can score the top in a grid of 1½-inch x 1½-inch squares. You can then place your sticks into the middle of each square to set fully.
Alternately, you can just cut the firmed-up chocolate into squares, add 2 squares into your mug with hot milk, and stir with a spoon to completely dissolve the chocolate.
STEP TWO: In a large bowl, add the semi-sweet chocolate chips and the broken-up pieces of the bittersweet (60% cacao) chocolate baking bar. Set aside.
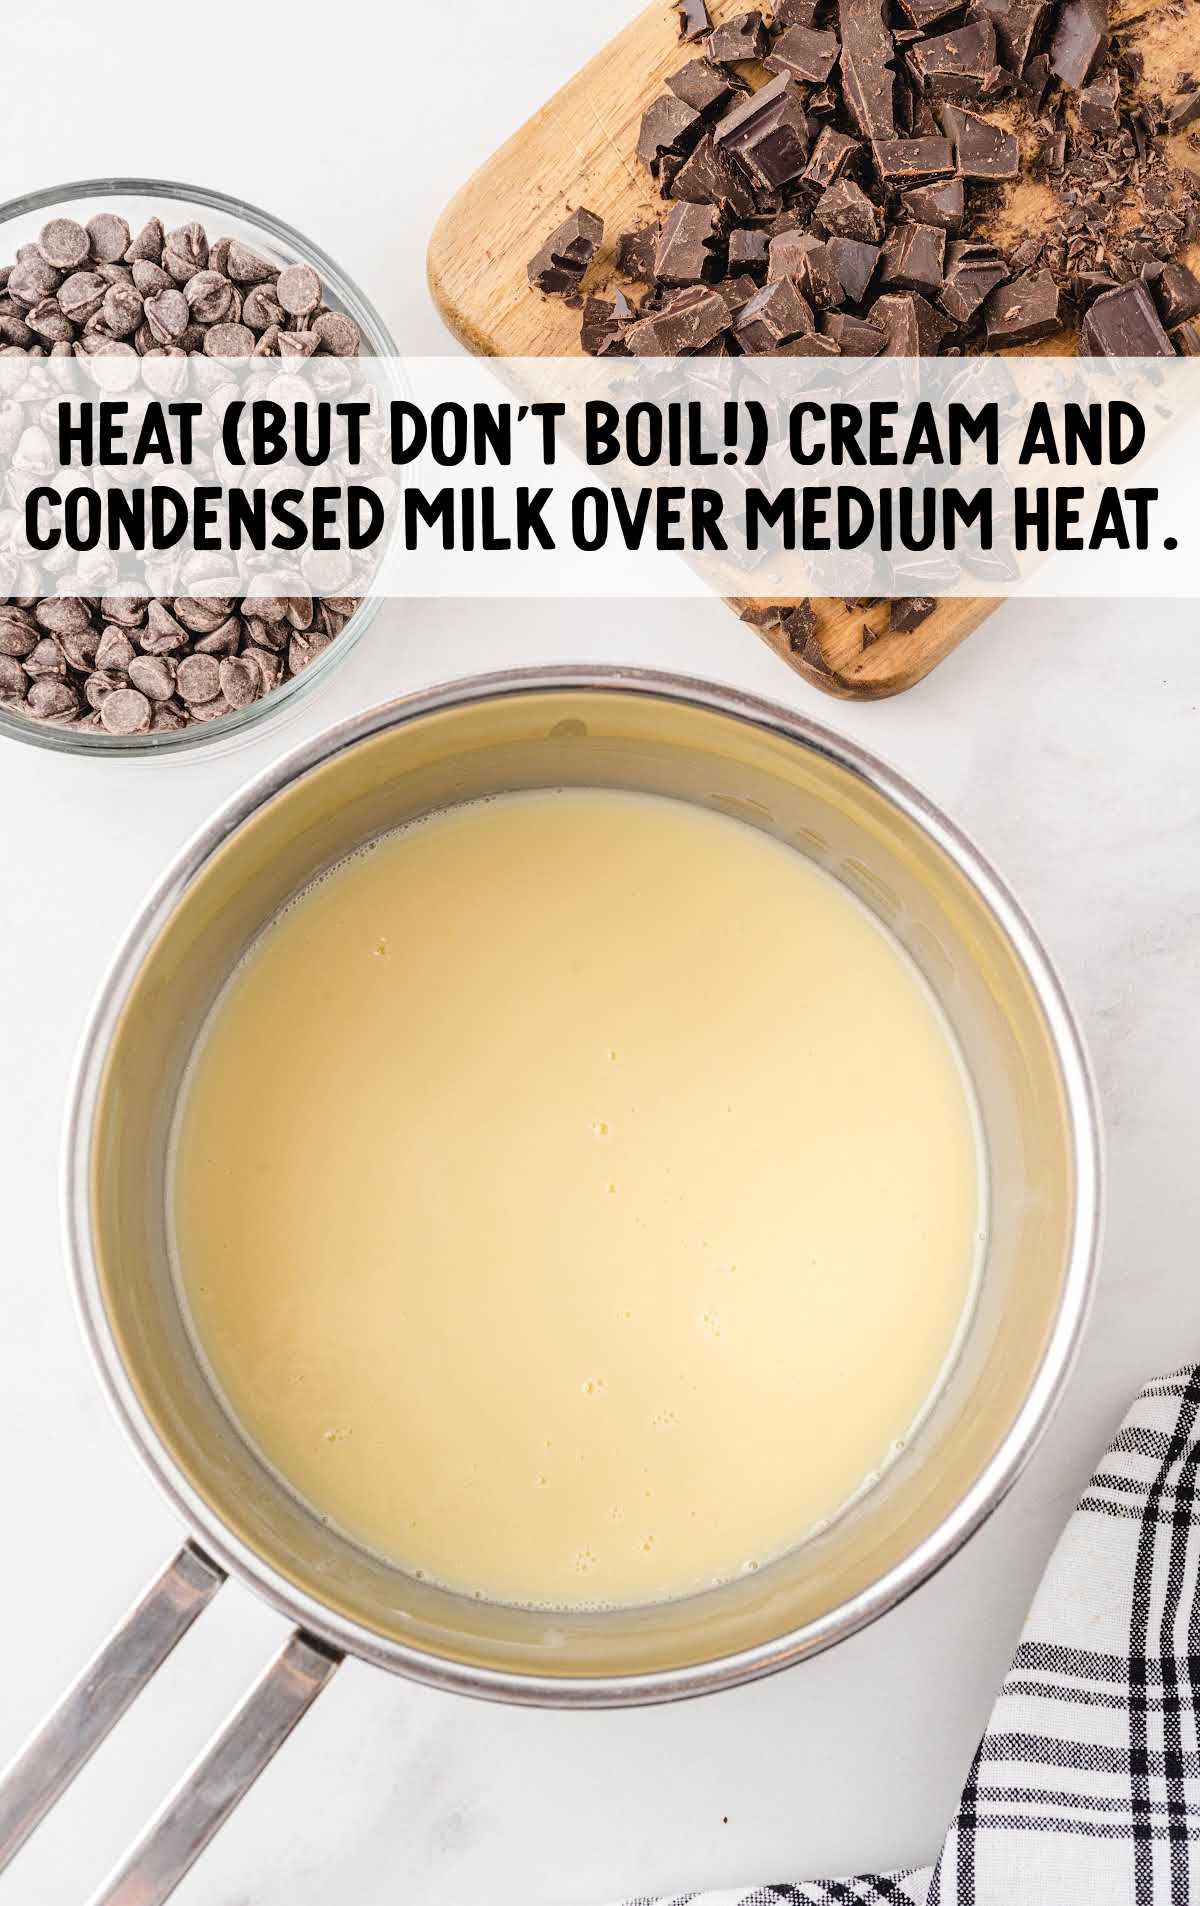
STEP THREE: In a medium saucepan on medium heat, add the sweetened condensed milk and heavy cream.
Heat the mixture until it reaches about 120-130°F. This will take about 3-4 minutes.
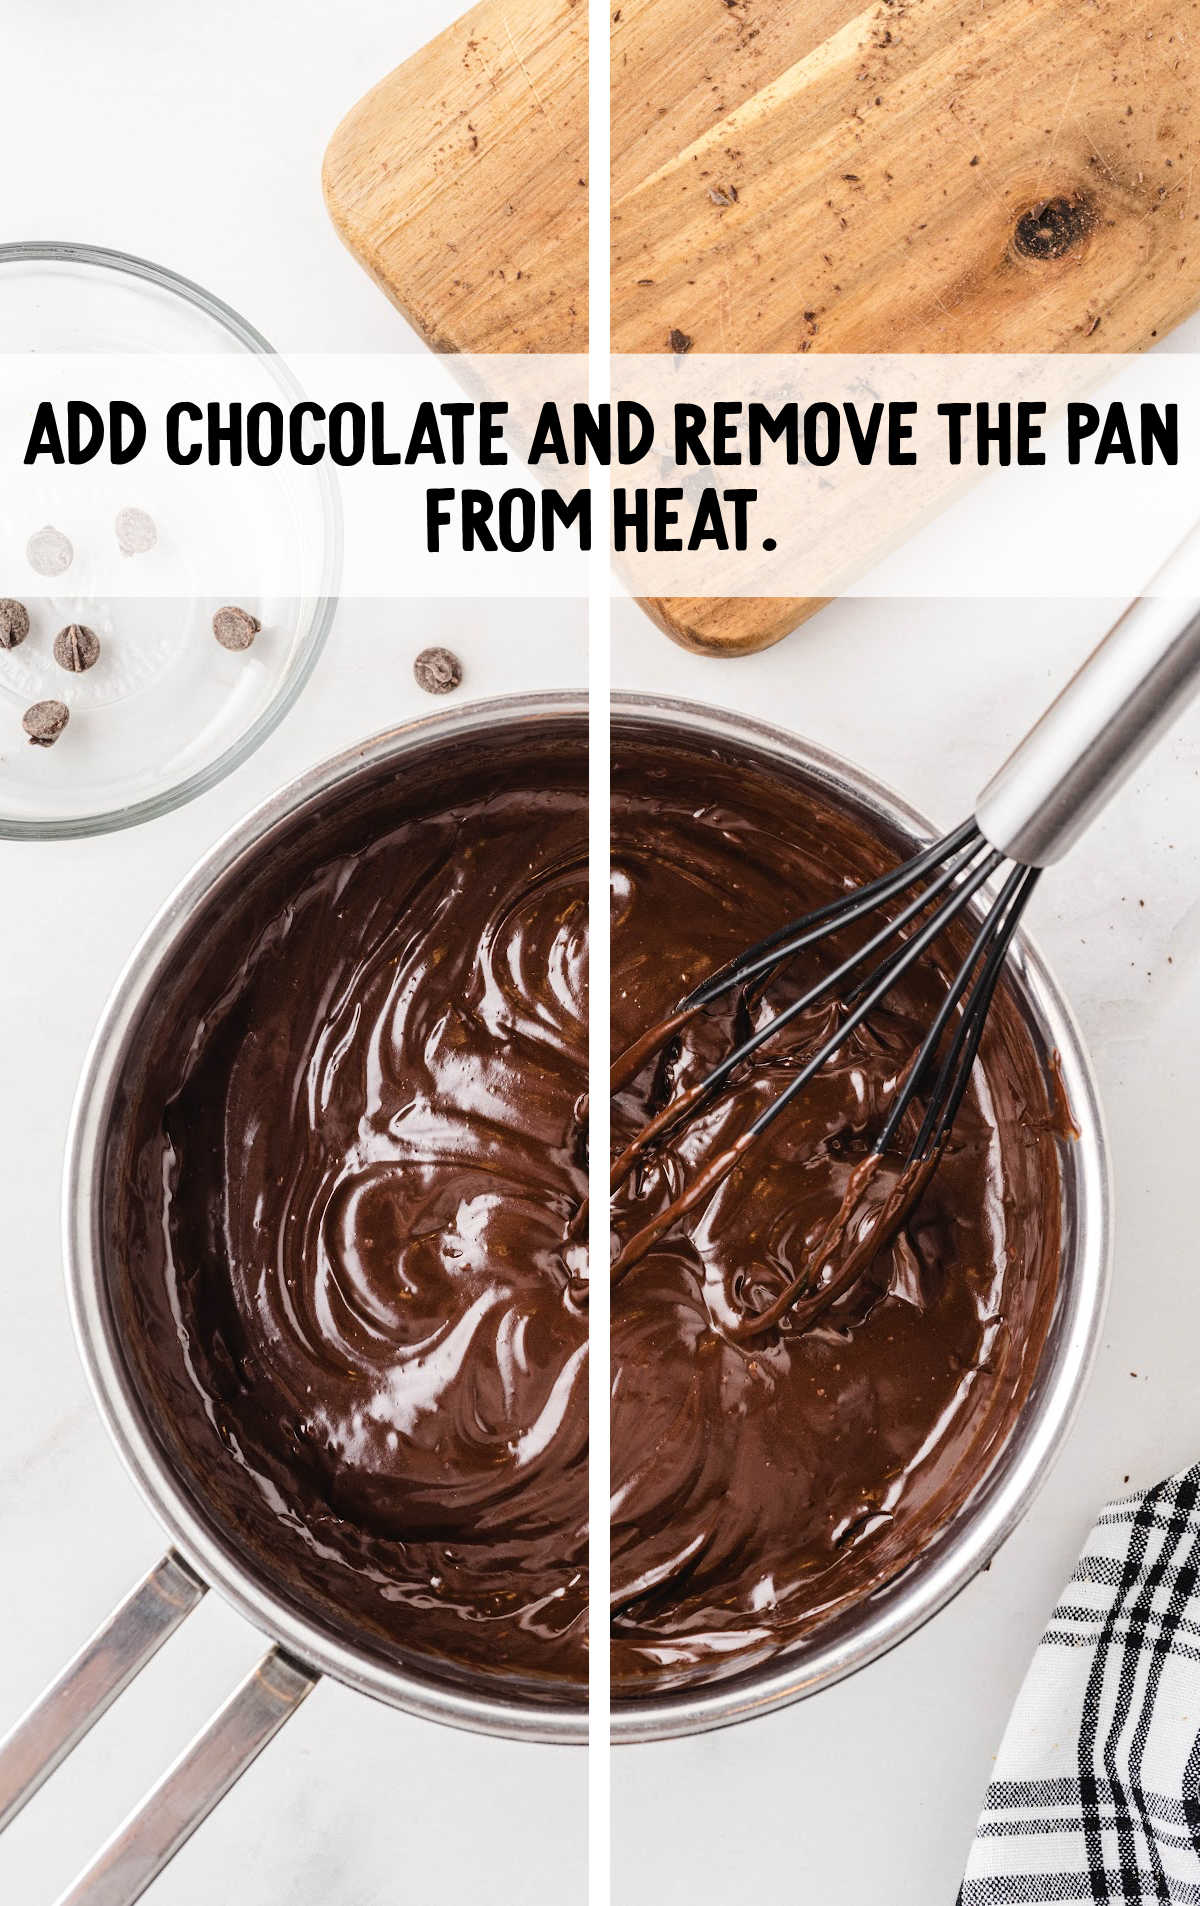
STEP FOUR: Add chocolate and remove the pan from heat.
Allow this to sit, undisturbed, for 3-4 minutes before whisking it to completely incorporate the hot milk and chocolate to make a smooth chocolate sauce.
PRO TIP:
If the mixture needs to be heated just slightly more, you can place pan onto the stovetop, and heat the chocolates and milk for 30-45 seconds to be able to stir your mixture into a smooth consistency.
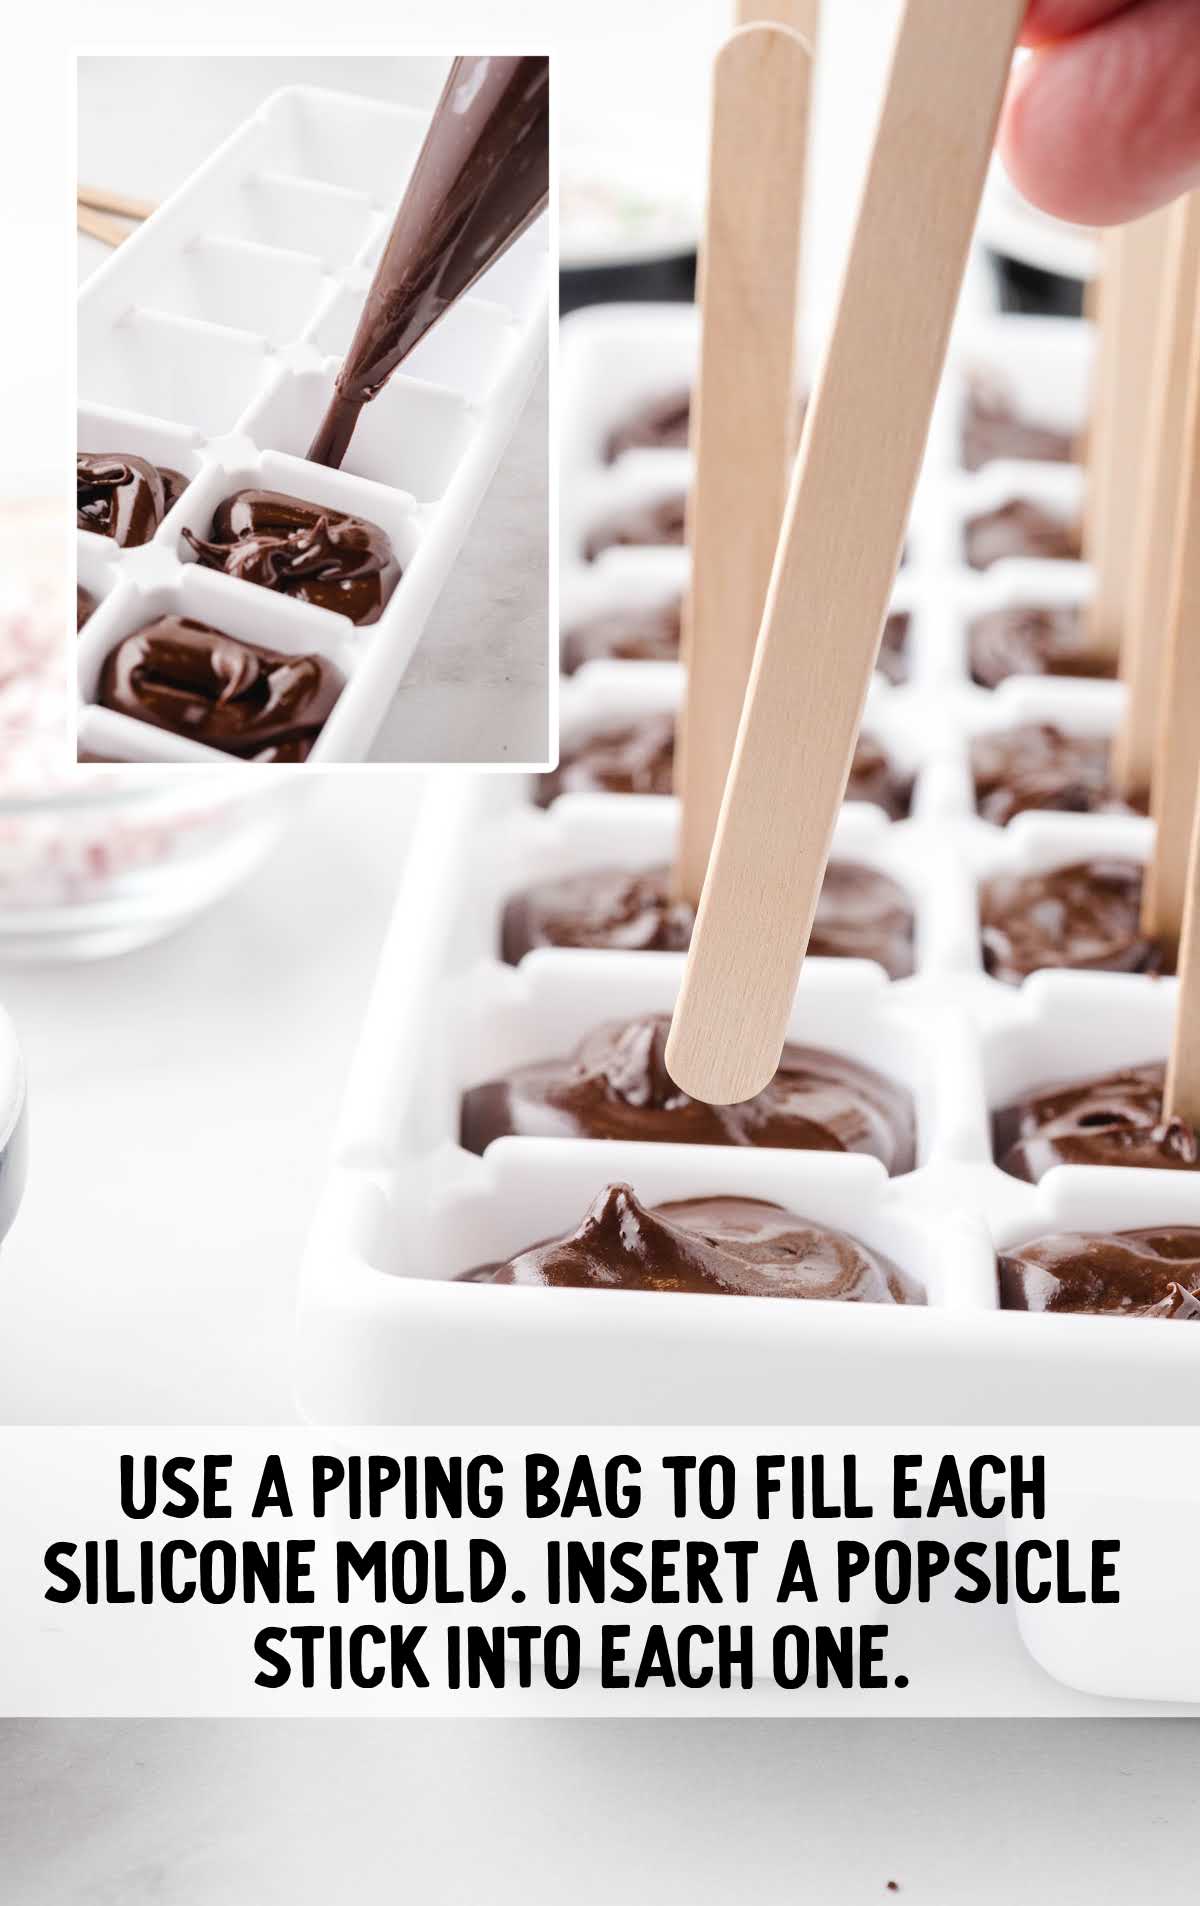
STEP FIVE: Transfer the melted chocolate mixture to a large piping bag or zip-top plastic bag with the corner snipped off.
You want to make sure that you keep the open tip facing up until you are ready to pipe the chocolate into the silicone molds.
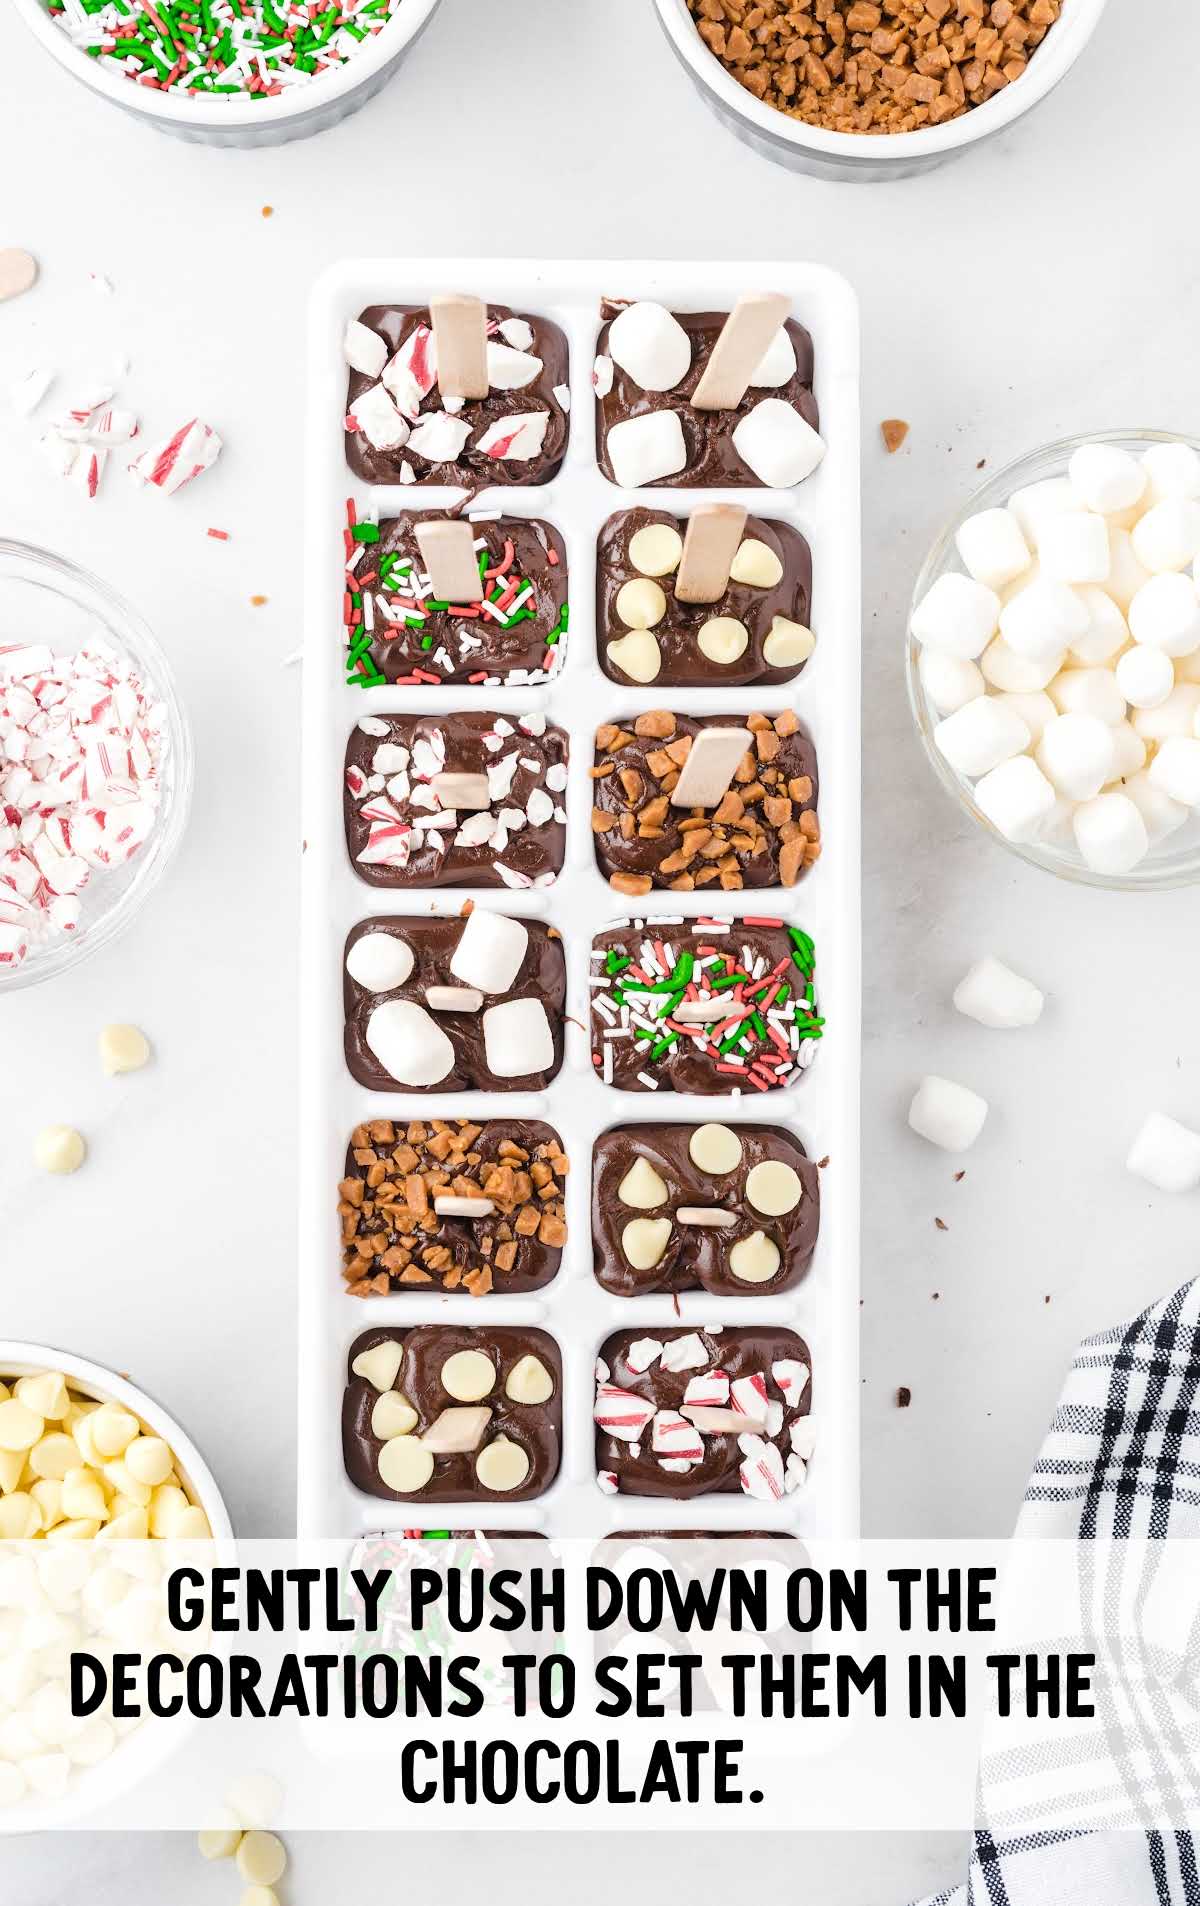
STEP SIX: Pipe the melted chocolate into each of the square openings about ¾ full. Place one stick into the center of each chocolate square.
PRO TIP:
Lift the silicone baking pan a few inches and drop once or twice (or shake) to get the chocolate to level out.
You want to leave some space to decorate your squares. If you choose to omit a garnish topping, then you can fill your squares all the way full.
STEP SEVEN: Place decorations on top of each of your chocolate squares and gently press them down.
STEP EIGHT: Place the tray of hot chocolate squares into the refrigerator to chill and firm up for three hours or up to overnight.
PRO TIP:
Check on the hot chocolate sticks while they are chilling to be sure that the sticks are staying centered and upright in the chocolate blocks.
STEP NINE: Once the hot chocolate squares have firmed up, you will remove two individual squares from the silicone mold to make one mug of hot chocolate.
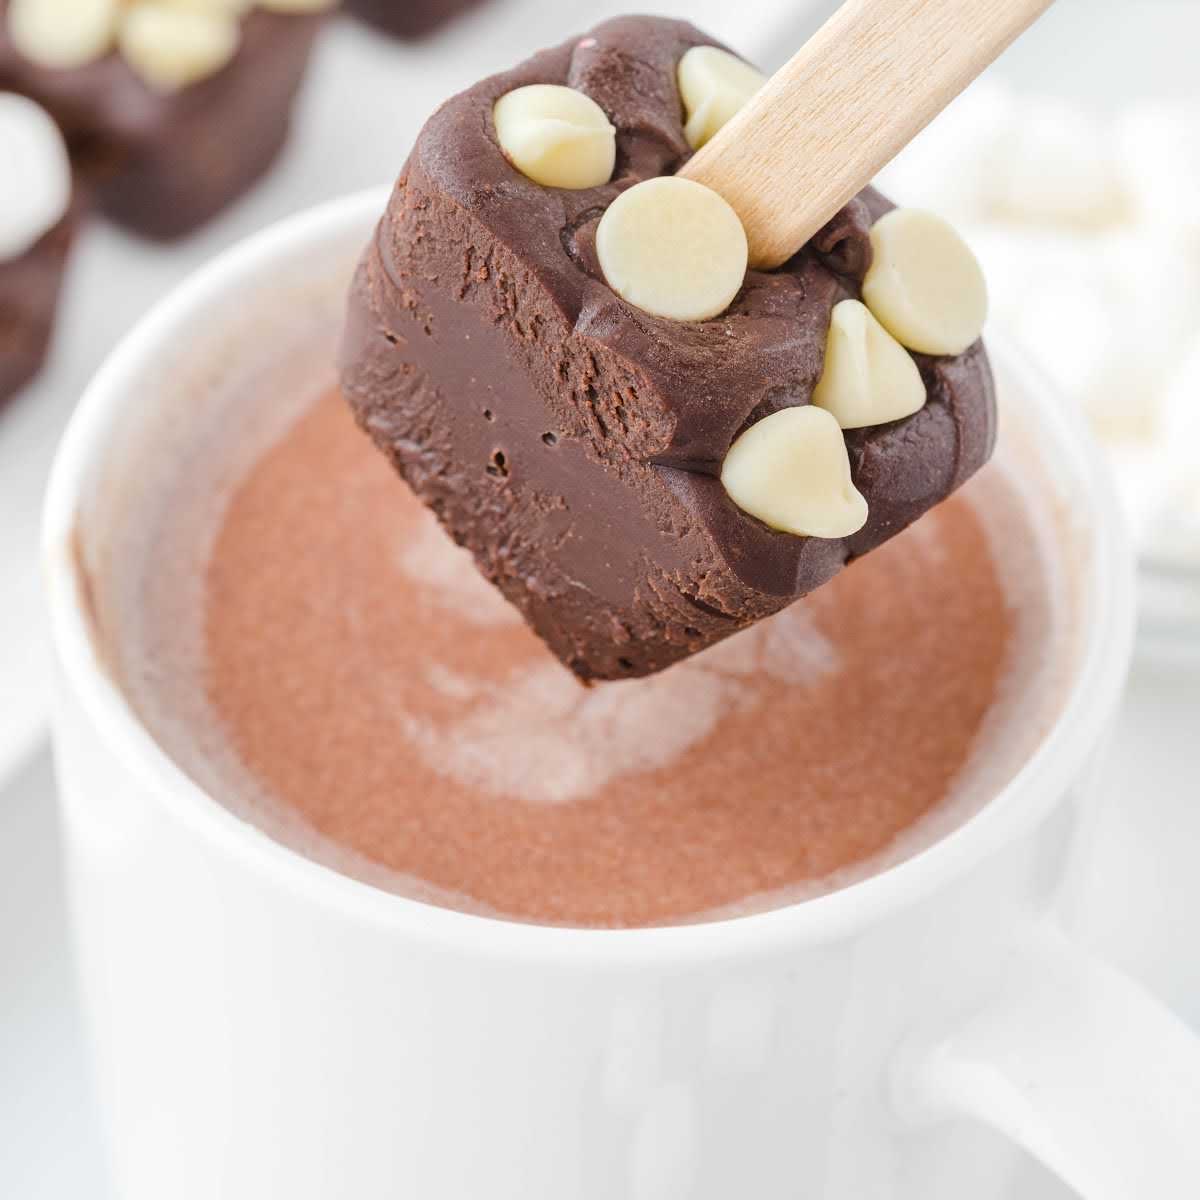
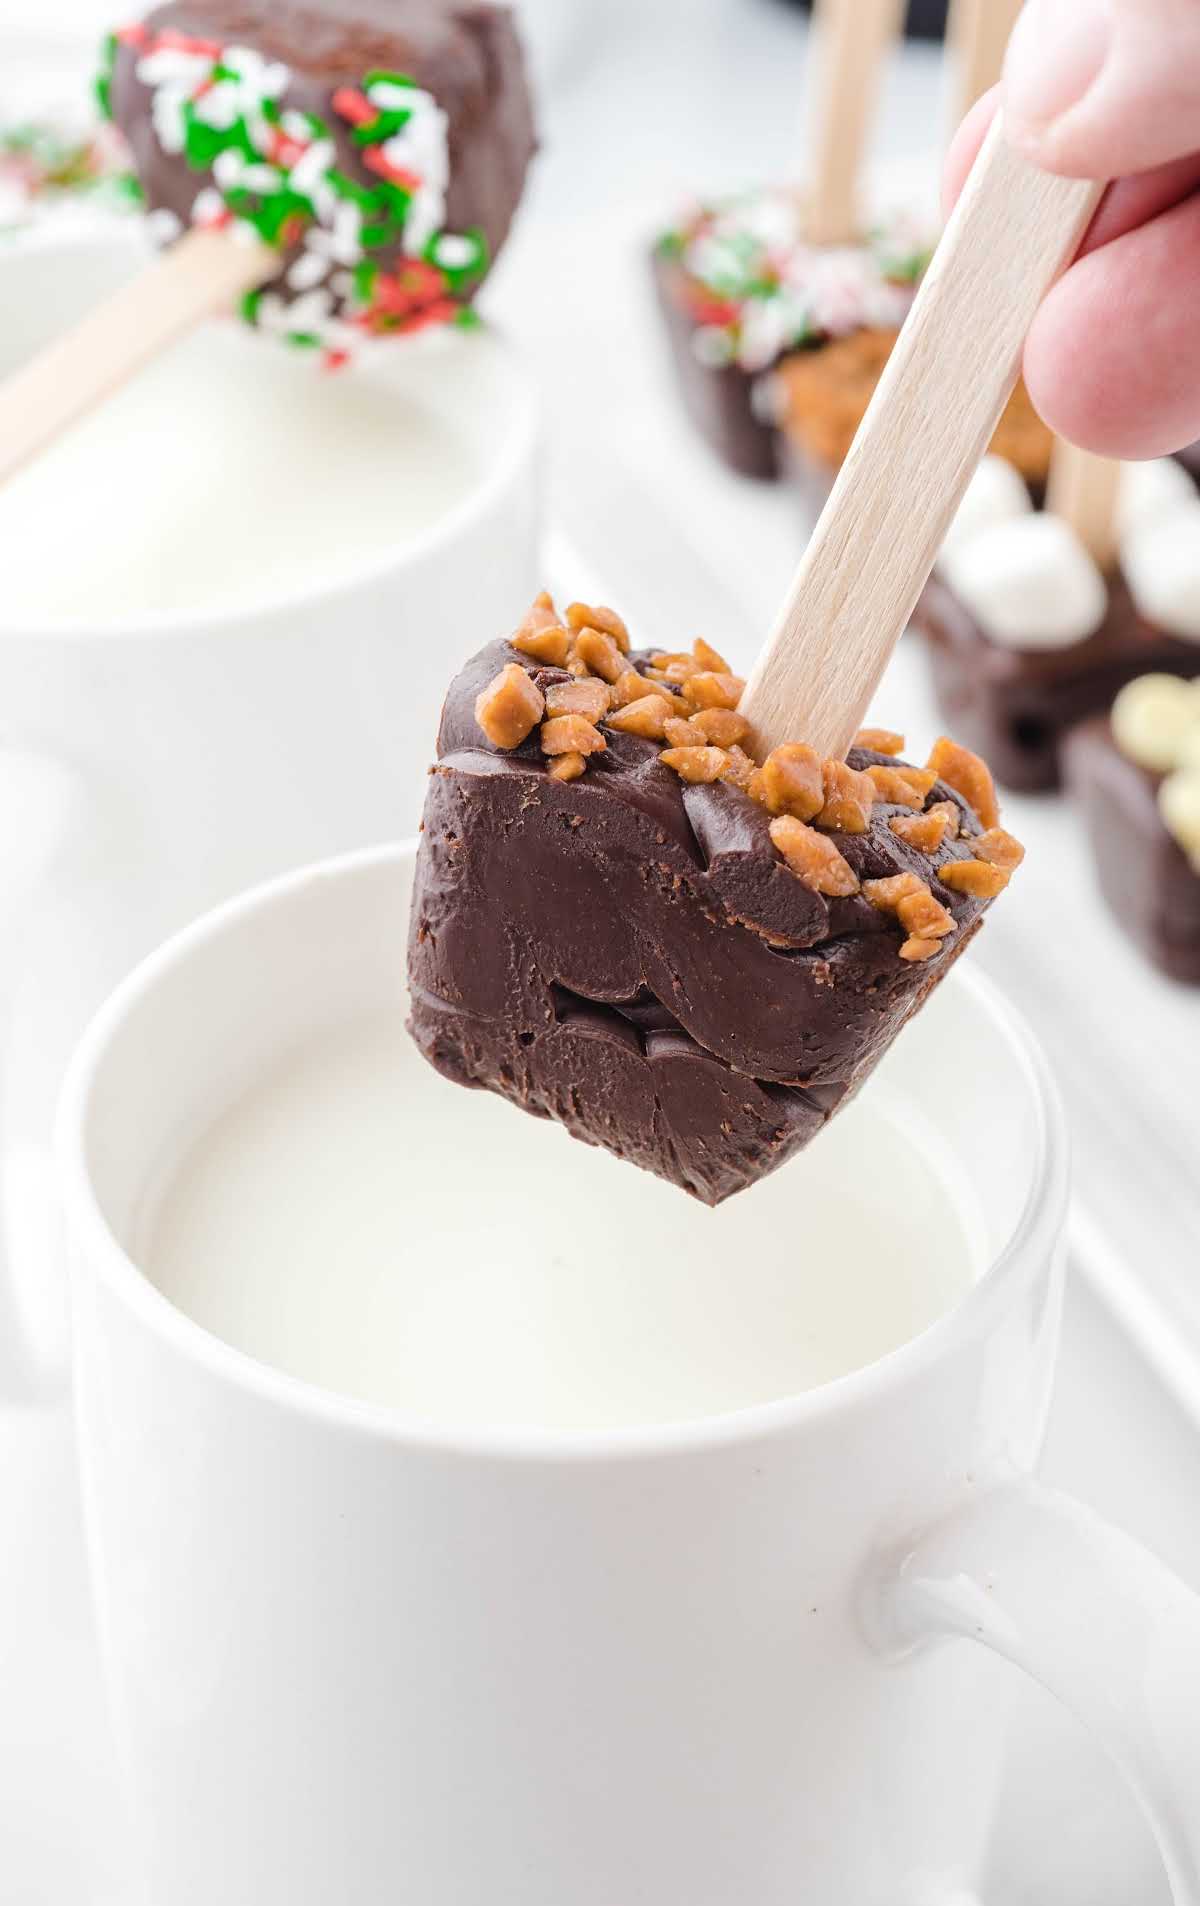
STEP TEN: To make the hot chocolate, you will place two hot chocolate cubes on a stick into a large 10 to 12-ounce mug.
STEP ELEVEN: In a microwave-safe, 2-cup measuring cup with a spout, add the whole milk and heat on high for 2 to 2½ minutes.
This will scald, not boil, your milk so that it is hot enough to melt your hot chocolate cubes. Pour the hot milk into the mug over the hot chocolate cubes.
STEP TWELVE: Using your lollipop sticks, you will stir around the chocolate until it is completely melted, and you have a rich cup of hot chocolate with marshmallows.
You can discard the lollipop sticks once you have made your mug of hot chocolate.
How To Serve
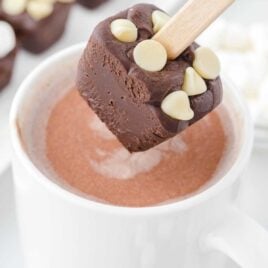
You can use one stick for every ½ cup of milk. I typically use two sticks for my favorite large mug because I love it extra rich and chocolatey.
Heat your choice of milk (I love whole milk) on the stove or in the microwave, then pop your hot chocolate on a stick into your cup of hot milk and stir as it melts.
Top your creamy mug of hot chocolate with whipped cream to make it extra special.
You could also wrap this delicious hot chocolate treat in little cellophane bags tied with ribbons for gifting.
Add a darling mug for a complete gift! You can also use a stamping kit to stamp the popsicle sticks! I think it’s a festive, fun extra touch.
Homemade gifts are a great way to treat friends and family during the holiday season.
Try our easy recipes for our other fun edible gift ideas, including peppermint bark and snowmen truffles.

Storing Hot Cocoa On A Stick
IN THE FRIDGE: Remove the hot chocolate treats from the molds and store them in an airtight container for up to a month in the fridge.
IN THE FREEZER: Store extras of these hot chocolate on a stick in the freezer for up to three months.
Luscious and smooth, this rich homemade DIY treat is the perfect drink to indulge in this time of year. Plus, hot chocolate on a stick is the perfect idea for gift-giving at Christmas.
FREQUENTLY ASKED QUESTIONS
Each stick is best made with about ½ cup of milk. If you are using a larger mug, consider using two sticks of chocolate for the creamiest drink.
A mini muffin pan would work fine if you don’t have a silicone mold. You’ll end up with round chocolates, but they will still be extra cute.
You can store them in the fridge in an airtight container for up to a month.
More Recipes You’ll Love
- Homemade Hot Chocolate
- Iced Hot Chocolate Recipe
- Peanut Butter Frozen Hot Chocolate
- Mint Hot Chocolate
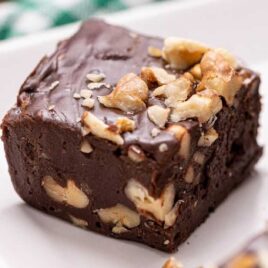
- Hot Chocolate Fudge


Hot Chocolate on a Stick
Ingredients
- 3 cups semi-sweet chocolate chips,
- 4 ounces bittersweet (60% cacao) baking bar, broken into small pieces
- 14 ounces sweetened condensed milk
- ½ cup heavy cream
- 28-30 lollipop sticks
- 1½ cups mini marshmallows, for topping
- 1 gallon whole milk, (1 cup of milk per mug of hot chocolate made)
Instructions
- Place 2 (15 squares ~ 1.5×1.5×1.5-inch per square) silicone molds onto a rimmed baking sheet. Set aside.
- In a large bowl, add the semi-sweet chocolate chips and the broken-up pieces of the bittersweet (60% cacao) chocolate baking bar. Set aside.
- In a medium saucepan on medium heat, add the sweetened condensed milk and heavy cream. Heat the mixture until it reaches about 120-130°F. This will take about 3-4 minutes.
- Add chocolate and remove the pan from heat. Allow this to sit, undisturbed, for 3-4 minutes before whisking it to completely incorporate the hot milk and chocolate to make a smooth chocolate sauce.
- Transfer the melted chocolate mixture to a large piping bag or zip-top plastic bag with the corner snipped off. You will want to make sure that you keep the open tip facing up until you are ready to pipe the chocolate into the silicone molds.
- Pipe the melted chocolate into each of the square openings about ¾ full. Place 1 stick into the center of each chocolate square.
- Place decorations on top of each of your chocolate squares and gently pressing them down.
- Place the tray of hot chocolate squares into the refrigerator to chill and firm up for 3 hours up to overnight.
- Once the hot chocolate squares have firmed up, you will remove 2 individual squares from the silicone mold to make 1 mug of hot chocolate.
- To make the hot chocolate you will place two hot chocolate cubes on a stick into a large 10 to 12-ounce mug.
- In a microwave-safe, 2-cup measuring cup with a spout, add the whole milk and heat on high for 2 to 2½ minutes. This will scald, not boil, your milk so that it is hot enough to melt your hot chocolate cubes. Pour the hot milk into the mug over the hot chocolate cubes.
- Using your lollipop sticks, you will stir around the chocolate until it is completely melted and you have a rich cup of hot chocolate with marshmallows. You will discard the lollipop sticks once you have made your mug of hot chocolate.
Video
Notes
- Make sure your molds are very clean, wipe with a paper towel to be sure; otherwise, you may run into trouble popping the hot chocolate cubes out.
- You can also use an ice cube tray if you don’t have a silicone mold. If you don’t have silicone molds or ice trays, you can pour the chocolate into a foil-lined 8×8 pan. Once the chocolate has partially hardened, you can score the top in a grid of 1½-inch x 1½ inch squares. You can then place your sticks into the middle of each square to set fully. Alternately, you can just cut the firmed-up chocolate into squares, add 2 squares into your mug with hot milk and stir with a spoon to completely dissolve the chocolate.
- Lift the silicone baking pan a few inches and drop once or twice (or shake) to get the chocolate to level out.
- Check on the hot chocolate sticks while they are chilling to be sure that the sticks are staying centered and upright in the chocolate blocks.
Nutrition


Comments
Julia says
Could these just be eaten as a chocolate treat? My silly grands don’t care for ho5 chocolate! Haaaaaa. These are toooo cute to not have on the dessert table 🙂
Shawna MacKays says
I’m wondering if I make them in regular size muffin tins if I would just need one for a cup of hot chocolate?
Thanks
Janel O'Hara says
I tried these in the molds like you show. They would not come out clean, the bottom stuck to the molds. Any suggestions to fix that?
Layne Kangas says
Several things can factor in. The mold needs to be really clean, you might to even wipe it out with a paper towel to make sure there isn’t residual water/minserals. The mold might have been too warm when you were trying to remove it? As a last resort for sticking issues, you could put the mold with the chocolate in the freezer for a bit, and then that might make it easier to release.
HEATHER Dawn WALTER says
this makes 30 servings? I don’t have a mold, but I was going to use an 8×8 pan. OR is it 15 mugs of cocoa per pan (2 small squares or just one big square) like the photo shows 15? I might be overthinking this 😀
Layne Kangas says
We used silicone molds with 15 squares. You can use one or two squares per mug, depending on how strong you want the chocolate flavor. I haven’t tried using an 8×8 pan so I’m not sure how it would work!
Gloria says
A great treat for the holidays!
Gabby says
Question, if we’re serving these as a party favor, how long can they stay out without melting? Thanks!
Linda says
This looks yummy!