
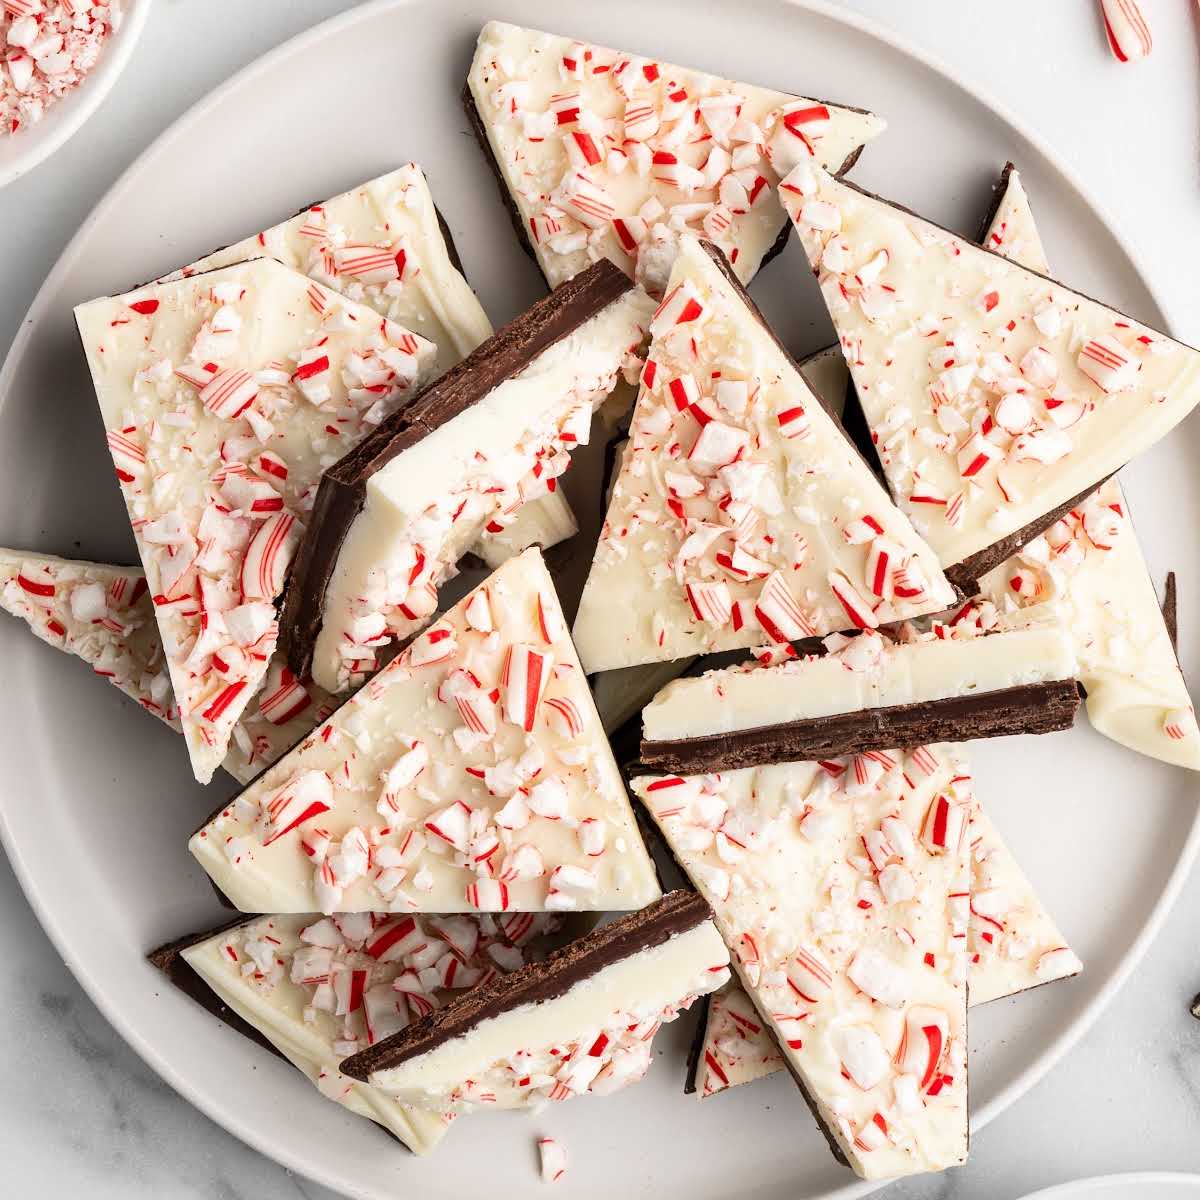

A reader named Cara once told me this peppermint bark recipe replaced the boxed bark she used to buy every Christmas. I think about that comment a lot.
Nobody needs homemade peppermint bark when the tins are sitting in a store. You make it because a little bag tied with ribbon says somebody made this for you.

My recipe takes four ingredients and one 13×9 pan. There’s no tempering and no candy thermometer. The chocolate melts in the microwave. You do about fifteen minutes of real work, and the fridge does the rest. The batch makes about a pound and three quarters of bark.
Two Things To Check In The Chocolate Aisle
Buy baking bars instead of chips, for both the semi-sweet chocolate and the white chocolate. Chips are built to hold their shape through an oven. The same stabilizers that keep them chip-shaped make them melt thick and set patchy.
White chocolate chips are the fussiest of the bunch. Too much heat makes them clench into a paste. Baking bars melt loose and glossy.
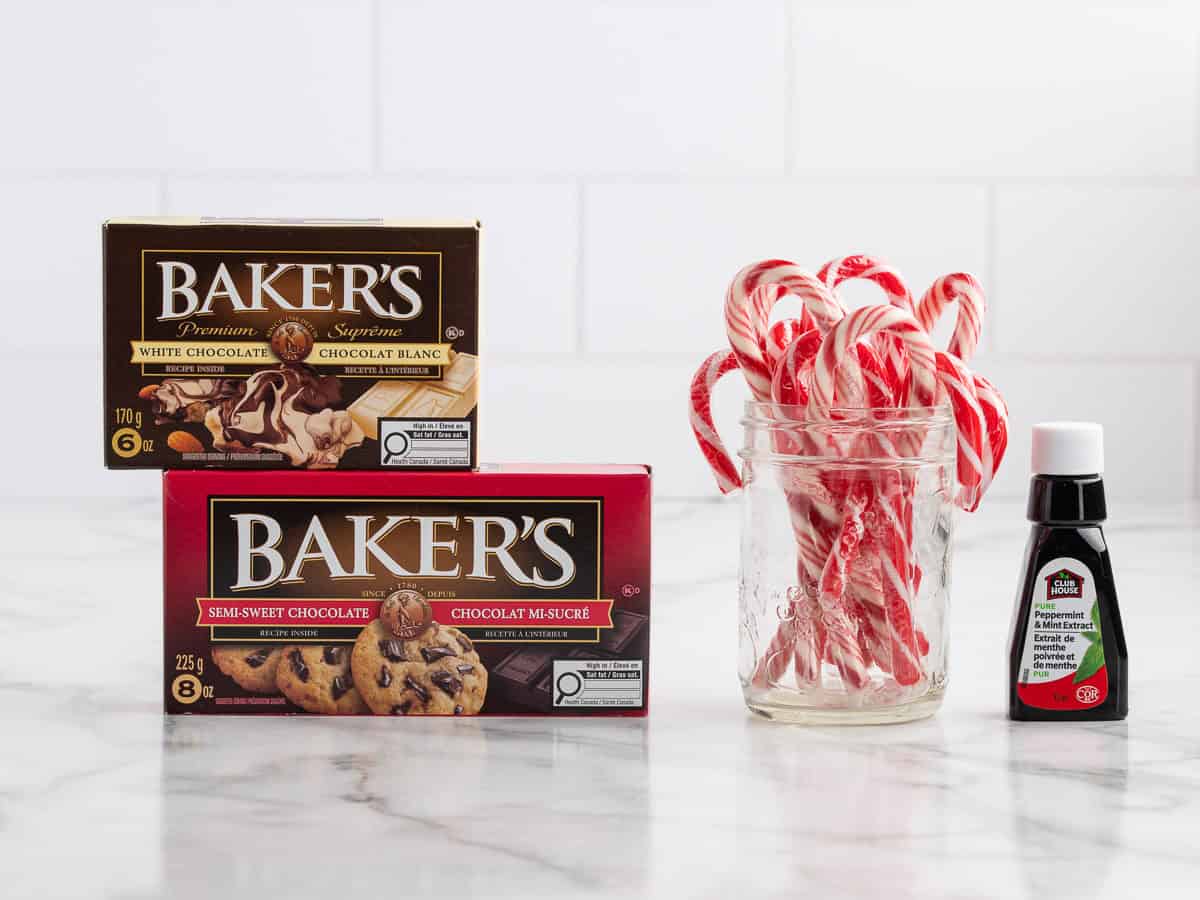
Check the ingredient list on both the white and semi-sweet chocolate bars and pick ones made with cocoa butter, not palm oil. Chocolates made with different fats don’t stick to each other.
If Your Peppermint Bark Split When You Cut It
If the white chocolate is popping off the semi-sweet layer as you cut, stop cutting and leave the slab on the counter. Chocolate straight from the fridge is brittle, and a brittle slab breaks at its weakest point, which is the seam between the layers.
When I retested the old version of this recipe, the slab that split straight from the fridge cut cleanly after three hours at room temperature.
Bark usually splits for one of three reasons:
- The two chocolates were made with different fats, so the layers never stuck to each other.
- The white chocolate went on after the bottom layer had fully hardened, so it had nothing to grip.
- The recipe added oil to one layer and not the other.
The fat problem gets solved in the chocolate aisle, in the section above. The timing problem gets solved with the fingerprint check, in the section below. The oil problem is solved in this recipe already, so there’s nothing to do there.
The Fingerprint Check That Keeps The Layers Together
The recipe card sends the pan to the fridge after the semi-sweet chocolate is spread. That chill is where I want you to use your finger instead of the clock. Set a timer for 10 minutes. When it goes off, press a fingertip into one corner of the semi-sweet layer.
The chocolate should feel tacky. It should take a fingerprint without letting your finger sink through to the pan. When it feels like that, pour the white chocolate right away. A corner that feels hard and dry has chilled past the point where the layers can join.
The clock alone can’t be trusted here. A glass pan holds warmth longer than a metal one, and refrigerators run at different temperatures. Ten minutes in my fridge may not be the same in yours.
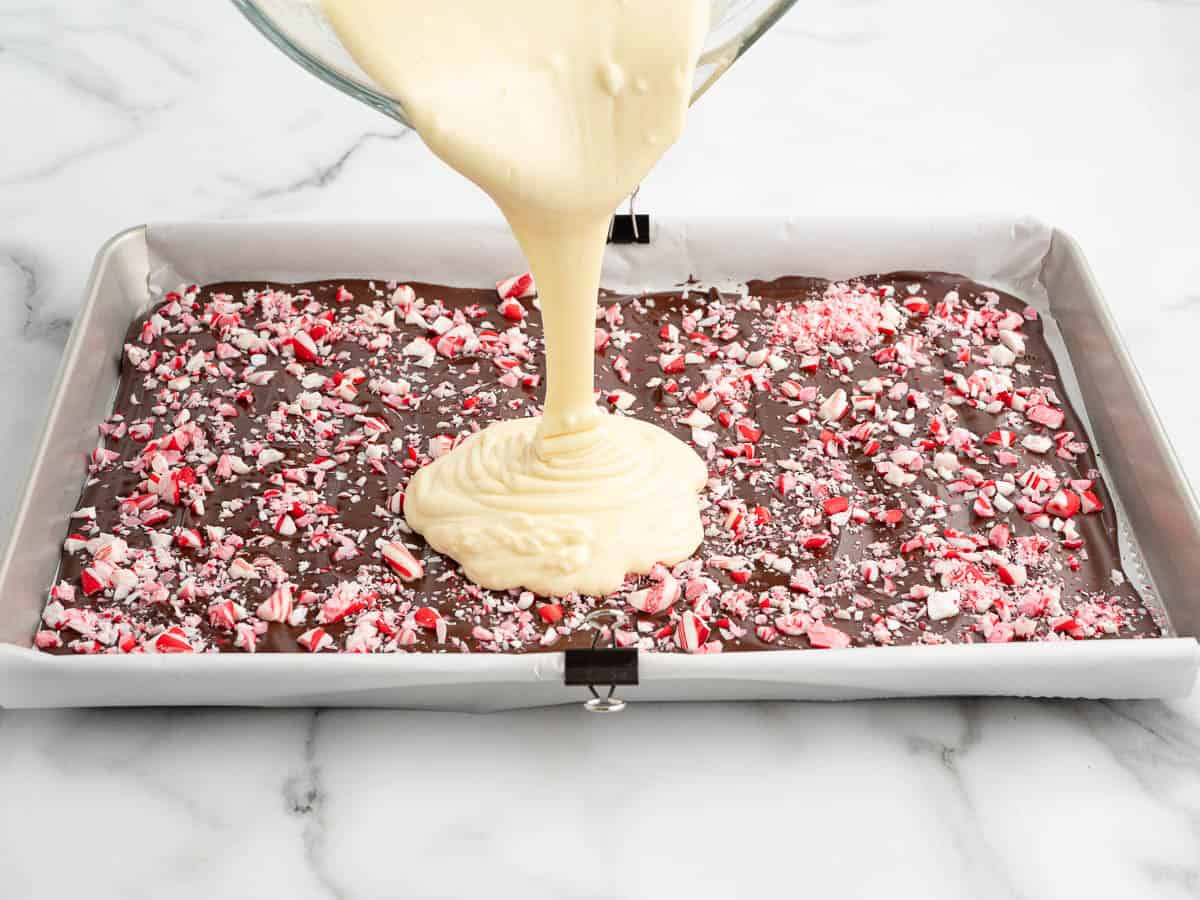
The crushed candy canes that go over the semi-sweet layer look like decoration. They also help hold the bark together. The white chocolate flows around those pieces and locks onto them as it sets.
Crush the canes coarse for that reason. I do mine in a zip-top bag with a rolling pin, and I stop while I can still see real chunks. Candy pounded into powder dissolves into the chocolate and grips nothing.
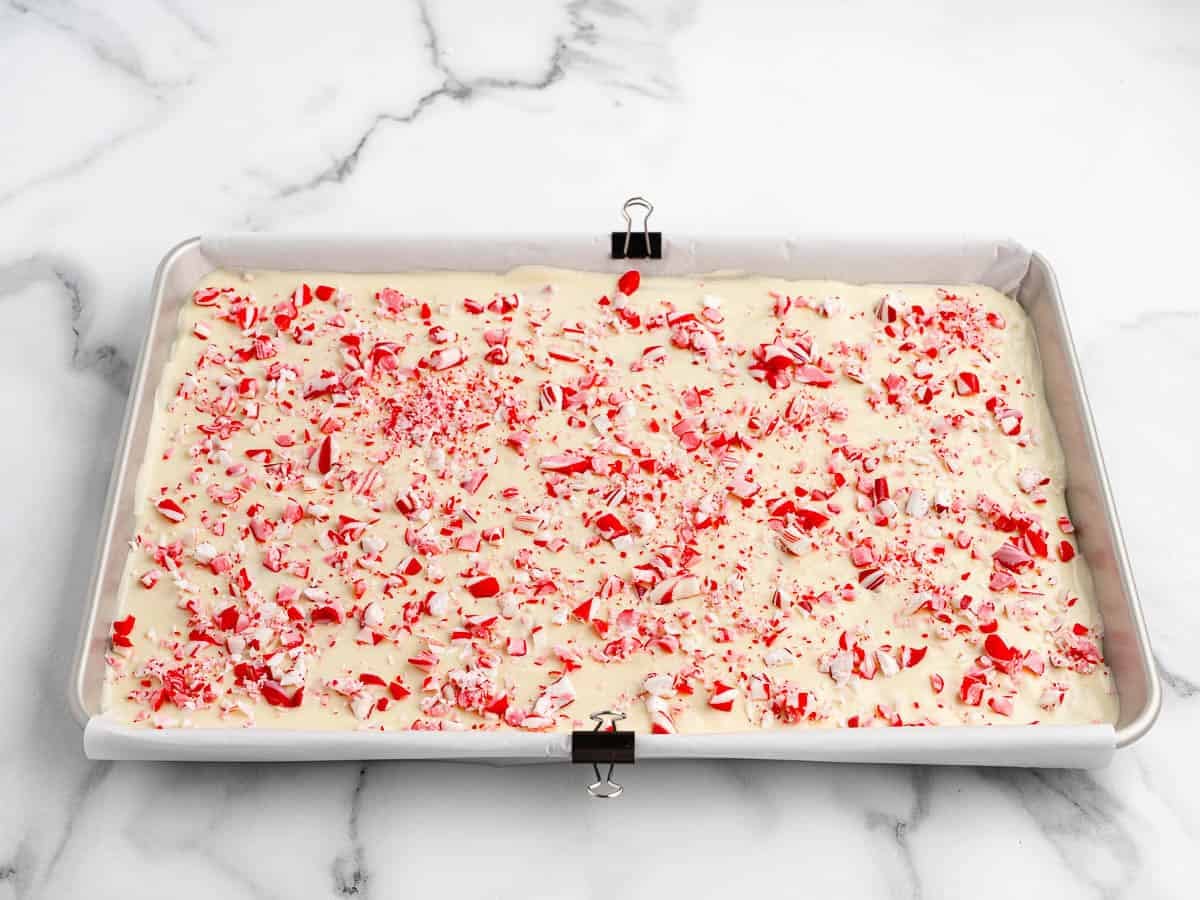
The candy canes on top need a similar touch for a different reason. Sprinkle them while the white layer is still shiny. Press them in gently with a flat palm so they stay attached to the pieces instead of falling off when you cut.
Candy canes in both layers might sound like a lot of mint. However, in recipe testing, the peppermint came through right away without taking over.
Breaking The Bark Into Pieces
A knife will tell you when the bark is ready to break. About 45 minutes into the final chill, slide a sharp knife into a corner. A blade that drags or smears the white layer needs more time. Close the fridge and check again in 15 minutes.
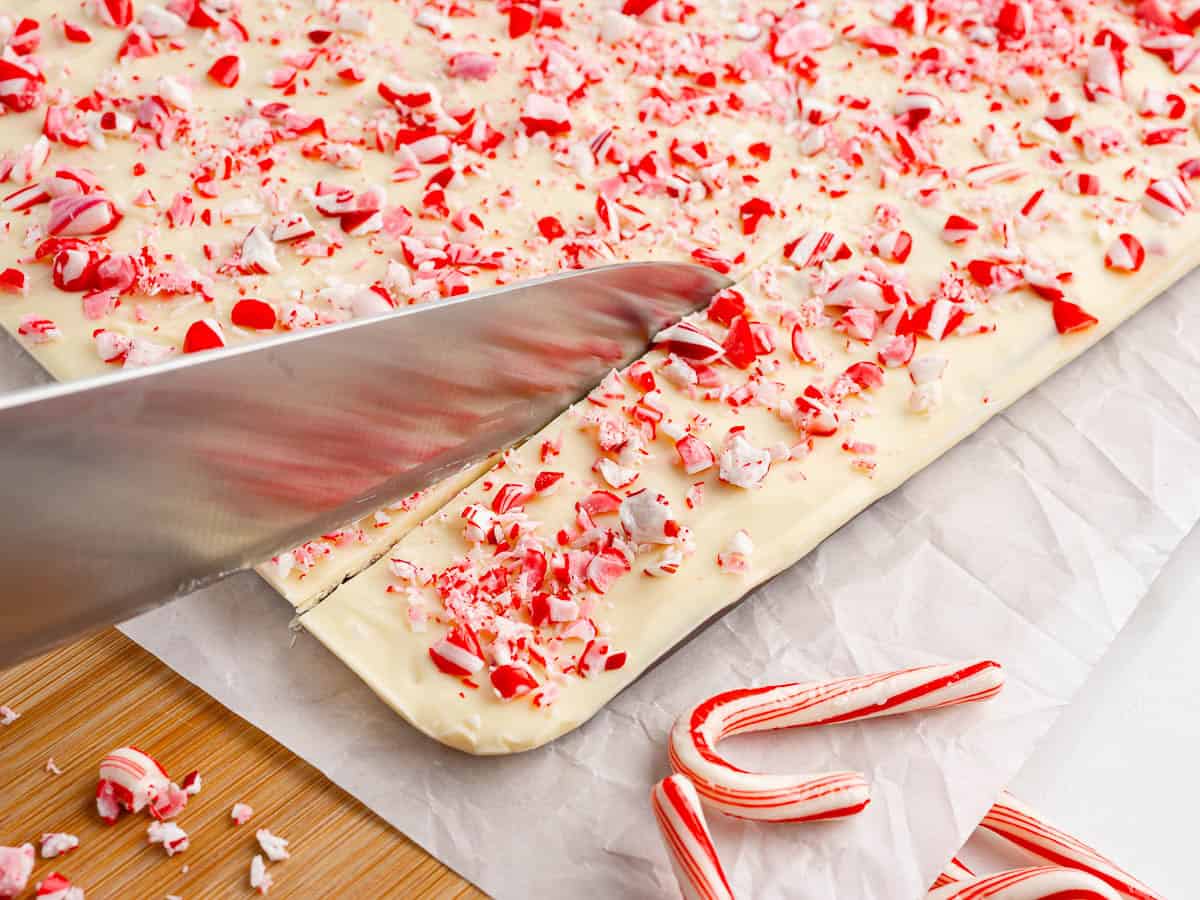
When the knife cuts clean, the whole pan is ready. In my tests the knife still dragged at 30 minutes and cut clean at 60.
Pieces snapped by hand look like the expensive stuff piled on a cookie tray. Squares cut with a big knife stack flat in gift bags and tins.
What you don’t want to do is leave the pan in the fridge overnight and break it in the morning. Bark chilled that long turns brittle. It shatters instead of snapping and throws off its candy canes.
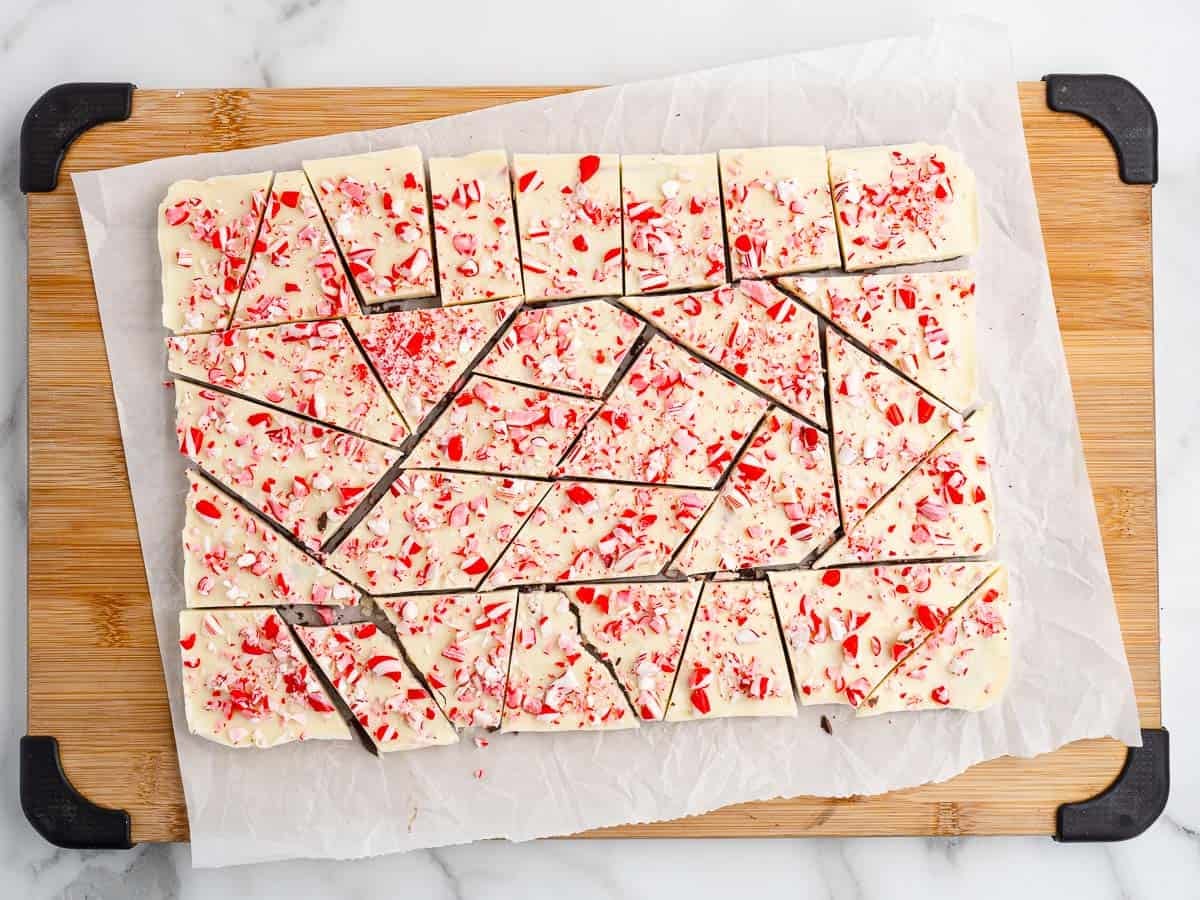
My reader Carolyn learned this a few Decembers ago. Her overnight slab got so hard she had to drive a butter knife through it with a rolling pin.
Making the bark the night before is fine. Break it before bed, then store the pieces.
It’s so delicious my husband asked me to not make it again. 😜 I will certainly make it each Christmas and not buy it at the store! Thank you!
Storage That Doesn’t End In Sticky Candy
Moisture is what ruins stored peppermint bark. Candy canes soak up any damp that touches them. Cold chocolate collects condensation the moment it meets warm air.
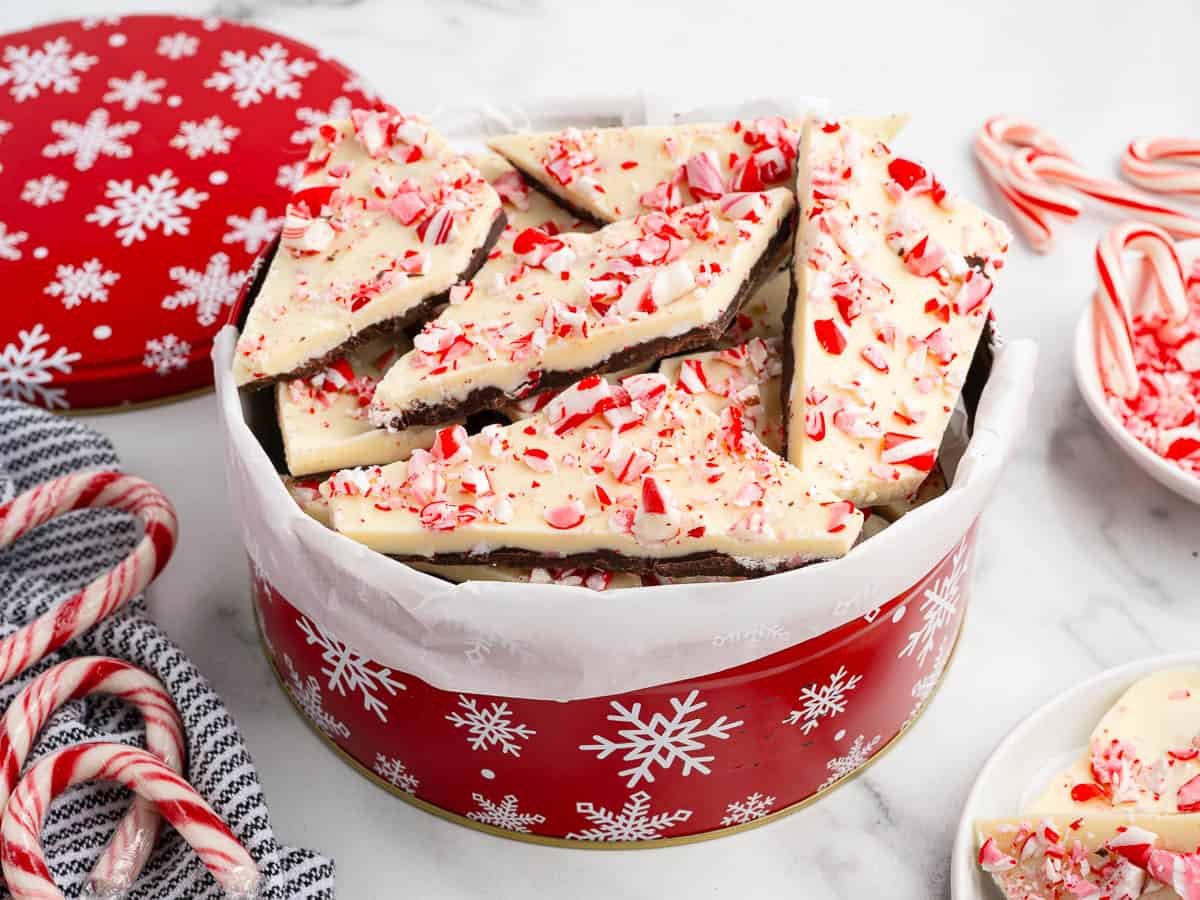
The counter is the safest place for this bark, in an airtight container. My test batch sat out a few days that way without changing at all. The fridge stretches storage to about a month. The freezer stretches it to two.
Let cold bark warm back up before you open the container, so the condensation beads on the plastic instead of the chocolate. Give refrigerated pieces a few minutes on the counter before serving.
Tested And Retested
This recipe was originally posted in November 2021. During recipe testing, I ran into issues where the white layer would separate from the semi-sweet layer. The card below has my final version of the recipe. It was built to ensure both layers hold together.
My independent recipe tester, Angela, last tested this recipe in June 2026. Her batch held together whether she cut squares with a knife or snapped shards by hand. In her notes she said she found the finished bark on par with the Williams Sonoma bark her kids love!



Peppermint Bark Recipe
Ingredients
- 12 ounces semi-sweet chocolate baking bars, finely chopped
- ¾ teaspoon peppermint extract, divided
- ⅔ cup crushed candy canes, divided into ⅓ cup sprinkled on each layer of melted chocolate (from 8 to 9 standard-sized candy canes)
- 16 ounces white chocolate baking bars, finely chopped
Instructions
- Line a quarter sheet pan (13×9-inch) with parchment paper. Be sure to leave enough parchment paper overhanging the sides to easily lift the chilled peppermint bark from the pan once set.
- In a microwave safe glass bowl, melt the finely chopped semi-sweet chocolate for 1 minute, then heat in 1 to 2 more 30 second intervals (being sure to stir the chocolate between each heating interval) just until most of the chopped chocolate is melted. A few small pieces of chocolate that are not fully melted are fine, as they will continue to melt as the chocolate is stirred.
- Add ½ teaspoon peppermint extract to the melted semi-sweet chocolate and stir to a smooth consistency.
- Spread the melted semi-sweet chocolate into an even layer in the prepared pan.
- Sprinkle ⅓ cup of the crushed candy canes evenly over the melted semi-sweet chocolate layer. Place the pan into the refrigerator for 10-15 minutes or just until the chocolate is just starting to set. The chocolate should still be a little tacky to the touch (leaving a fingerprint in the chocolate but not pressing all the way through) to help ensure the white chocolate layer adheres properly and does not separate once fully chilled, set, and broken into serving pieces.
- During the last 3-4 minutes of the chill time for the semi-sweet chocolate layer, add the chopped white chocolate to a separate microwave safe bowl and heat for 1 minute. Stir, then heat in 30 second intervals (stirring between each interval) until most of the white chocolate chunks have melted. Add the remaining ¼ teaspoon peppermint extract and stir until smooth.
- Remove the pan from the refrigerator, pour the melted white chocolate over the slightly set semi-sweet chocolate layer spreading to fully cover the first layer of chocolate and crushed candy canes. A small offset spatula works well to quickly and evenly smooth the white chocolate layer.
- Top the melted white chocolate evenly with the remaining ⅓ cup crushed candy canes. Refrigerate the peppermint bark for an additional 45-60 minutes or just until fully set.
- Remove the chilled peppermint bark from the refrigerator and carefully lift it out of the pan using the overhanging parchment paper. Break the bark into about 2 to 2½-inch sized pieces with your hands or use a large sharp knife to cut the bark into more uniform sized square pieces.
- Serve the bark immediately or place into an airtight container and store at room temperature for up to 2 weeks.
Notes
- Using a high quality brand of chocolate baking bars is essential in this recipe as the chocolate will melt more smoothly and set up much better once chilled. Ghirardelli and Lindt brands are most commonly found at traditional grocery stores either in the baking or candy aisle.
- If using Lindt brand white chocolate bars, they come in a 4.4-ounce sized bar. Either the 4-ounce Ghirardelli brand or the 4.4-ounce Lindt brand bars will work just fine as this is a forgiving recipe for an easy homemade peppermint bark. If using the Lindt brand, you will need four 4.4-ounce white chocolate bars finely chopped. There will be no need to adjust any of the other ingredient amounts in the recipe.
- When choosing both the semi-sweet and white chocolate baking bars, be sure to choose a brand that does not contain palm oil as this ingredient may cause the layers to separate once the peppermint bark has chilled and set.
- Do not use semi-sweet or white chocolate chips as they contain emulsifiers and other ingredients that can cause the peppermint bark to separate once chilled. These added ingredients can also hinder the chocolate from melting smoothly when heated in the microwave.











Comments
Carolyn says
My first time make this I have it 5 stars befits pretty and it tasted good to. My only issue I had was that it was hard to break so some came apart I left in fridge overnight I thought longer the better. So I used a butter knife and my rolling pin and tap butter knife down into it so mine was all different sizes I don’t mind at all homemade with love. I will make it again for sure but think I’ll use little bigger pan to make it thinner but I enjoyed some of the broken pieces as I was doing it
Sandi says
Just got done making this for gifts. Kids helped me and we had a ball!!
Melissa Gilbert says
This recipe was easy to make and tasted delicious
Bobbi Jo says
I used this recipe but changed it up for Valentine’s Day. I made cinnamon bark. I did this for family and friends and they absolutely loved it.
Lorraine M says
Not usually a fan of candy canes, this recipe is DELICIOUS, very easy & fast to make and a tad addictive! Very festive looking as well. Definitely recommend this holiday favourite!🎄🎅🤶
Cara says
I made this tonight and it is beyond easy and delicious. After fighting the crazy crowd at Costco to buy peppermint bark I discovered they were out, so I went to the local grocery and they didn’t carry it. I did a quick search on Pinterest while at the grocery to make it myself and came across your recipe. It’s so delicious my husband asked me to not make it again. 😜 I will certainly make this each Christmas and not buy it at the store! Thank you!
Riley Bishop says
Thanks for sharing these great recipes with us