May 13, 2024
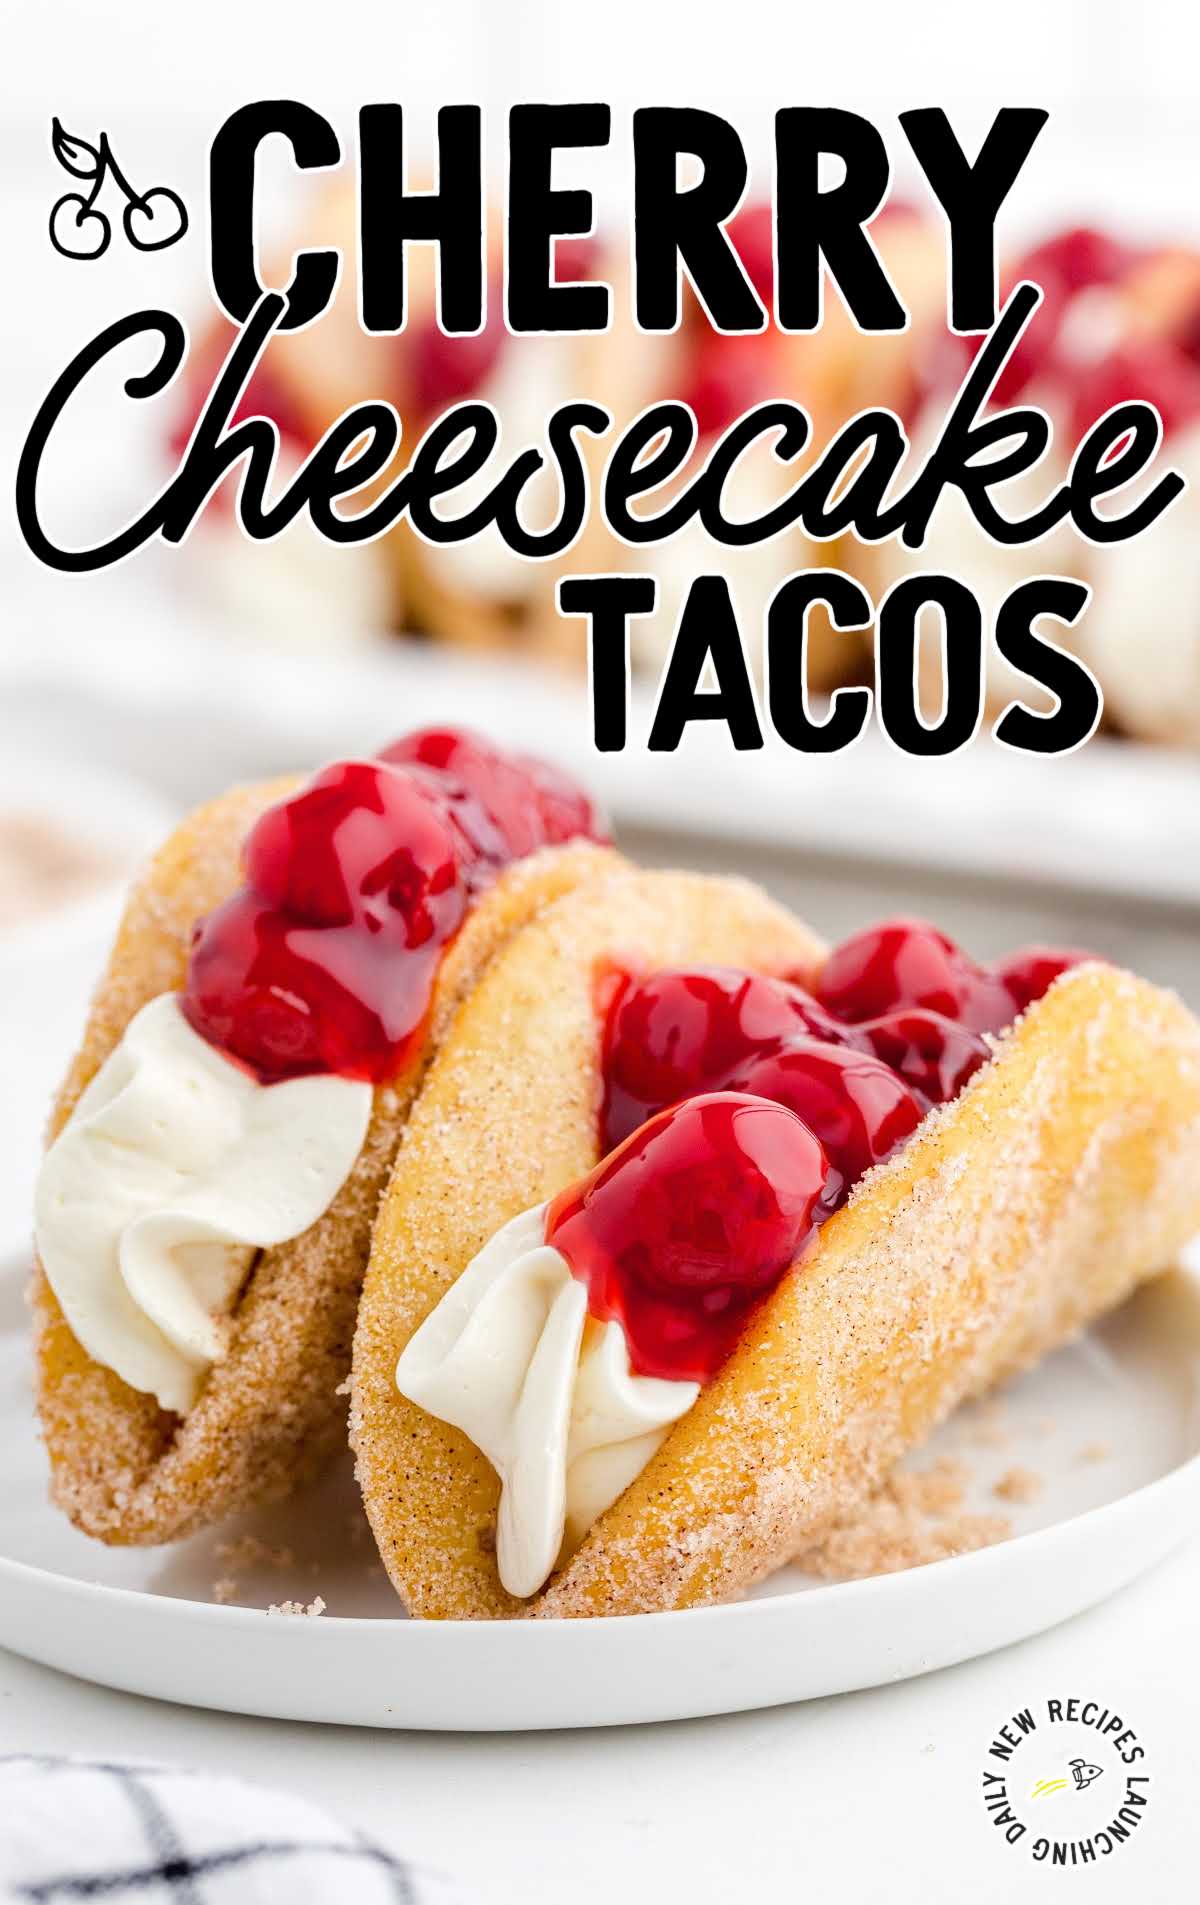
Review RecipeCherry Cheesecake Tacos
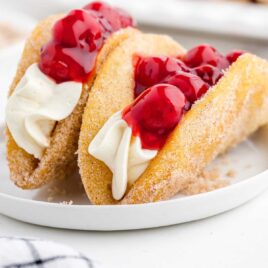
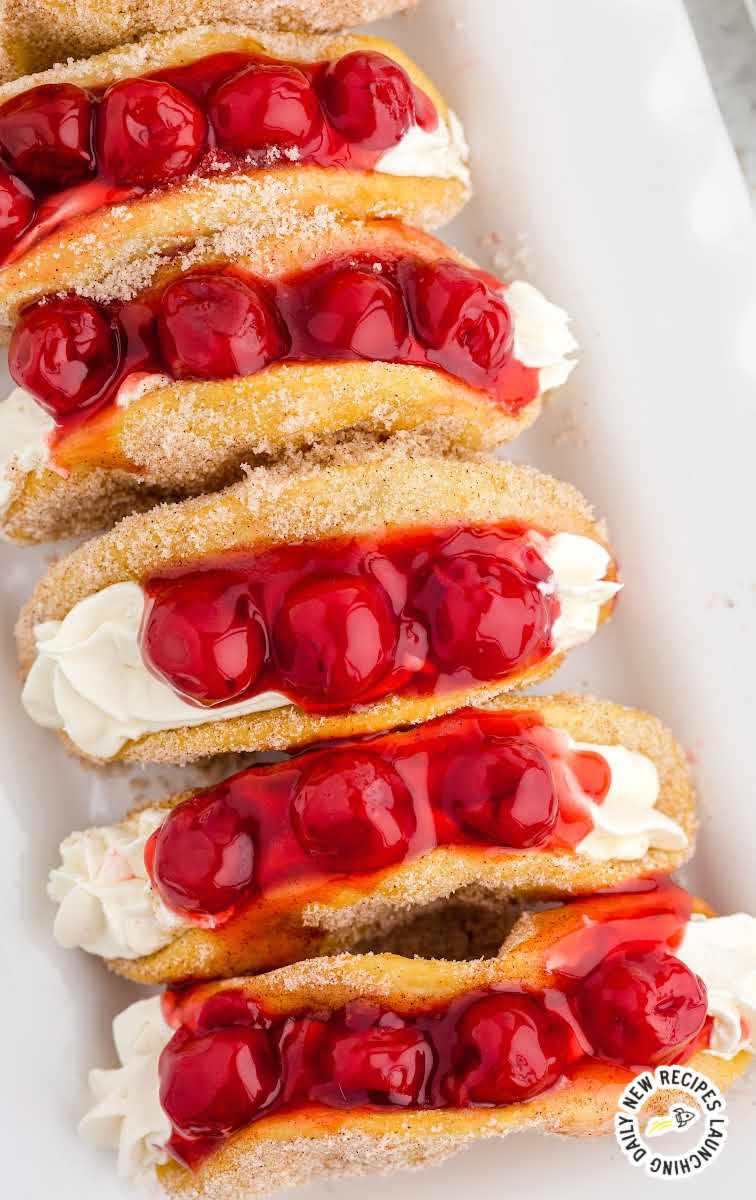
These crunchy cherry cheesecake tacos are stuffed with cherry and cream cheese filling wrapped in a cinnamon sugar coated taco shell.
Jump to Recipe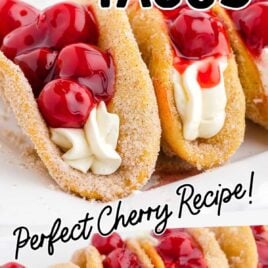

Table of Contents
Irresistible and fun, these cherry cheesecake tacos are a delightfully sweet spin on traditional tacos. A rich cherry cream cheese filling is stuffed inside a crunchy cinnamon sugar-coated taco shell that’s been baked to perfection.
Cherry Cheesecake Tacos Ingredients
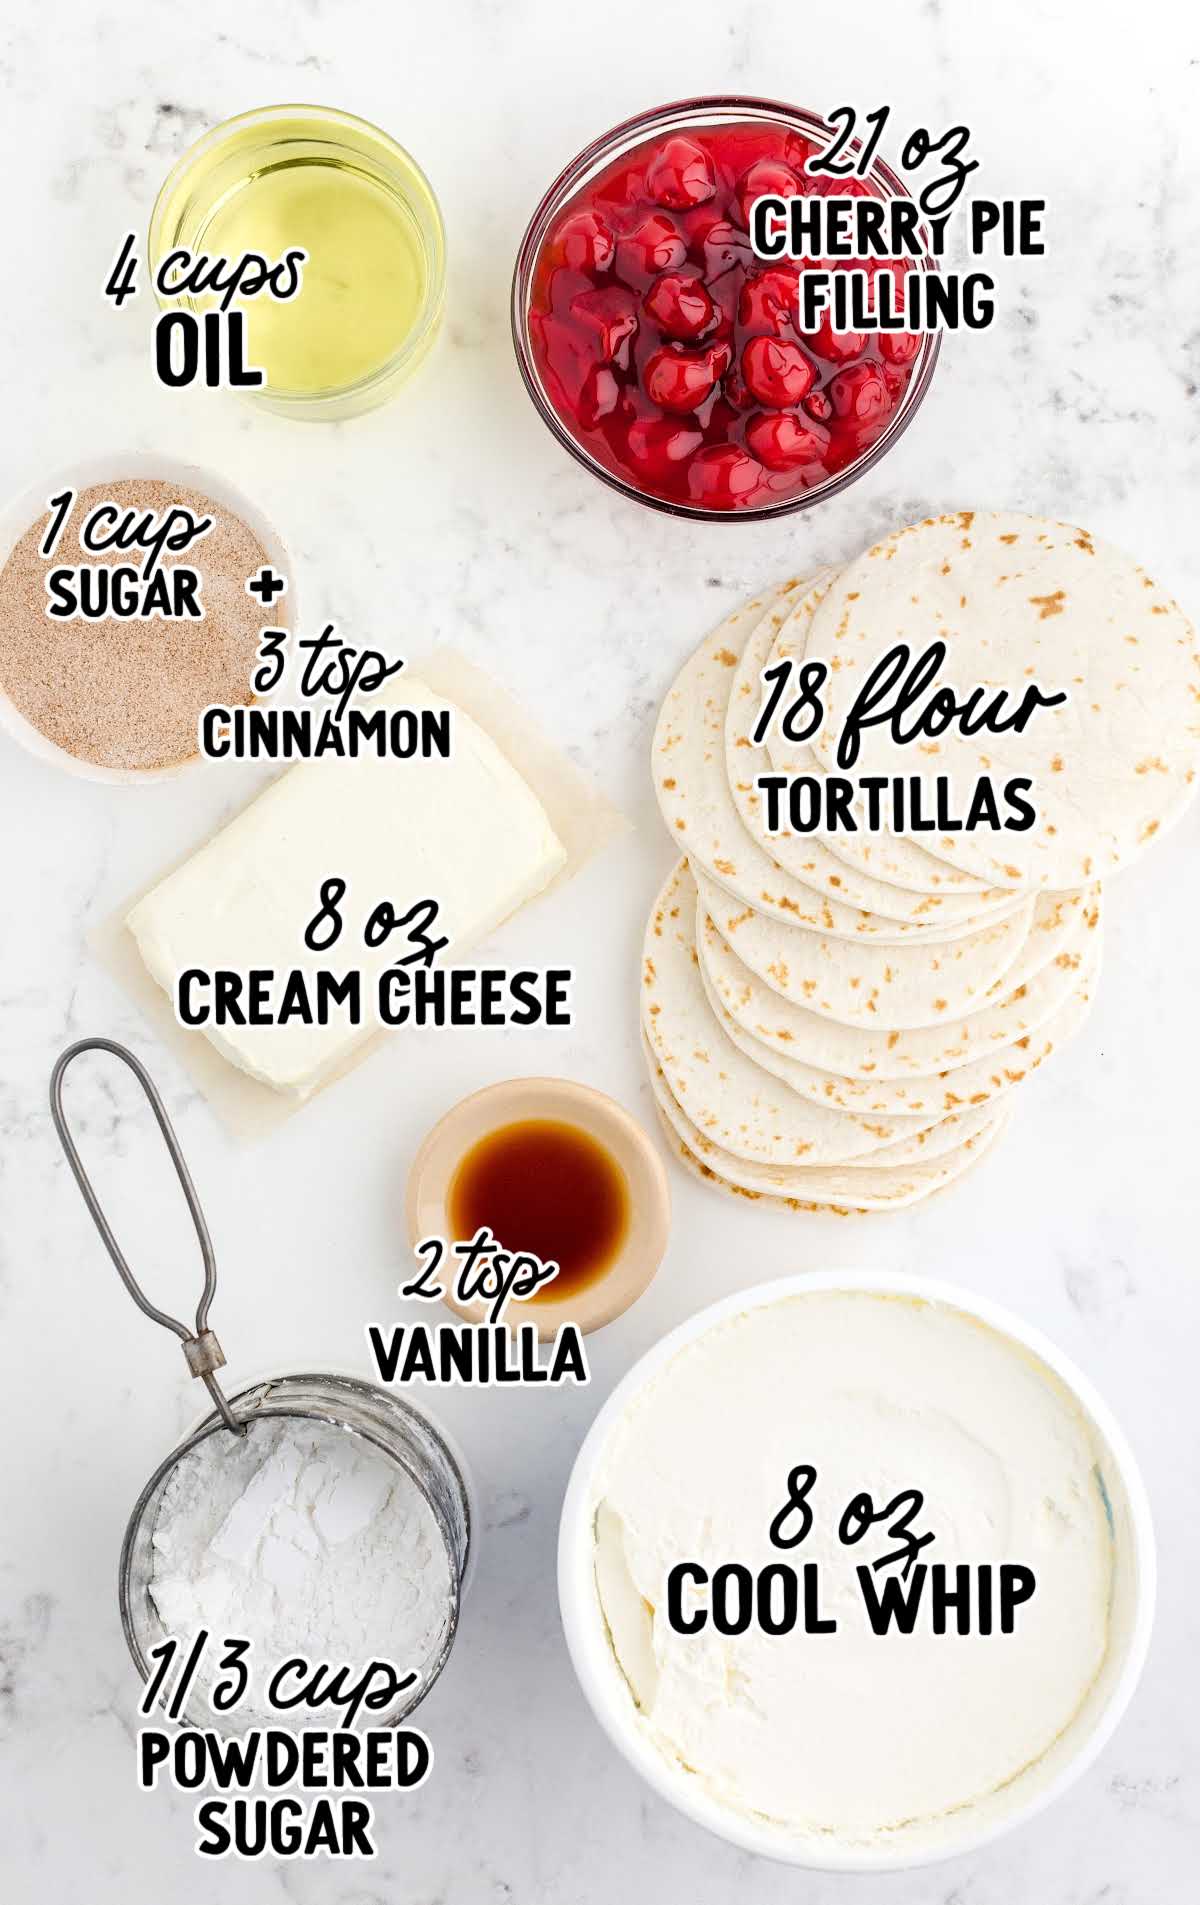
You’ll need:
For The Filling
- 1 (8-ounce) package of cream cheese, softened
- ⅓ cup of powdered sugar
- 2 teaspoons of vanilla extract
- 8-ounce tub of Cool Whip (frozen whipped topping), thawed
- 1 (21-ounce) can of cherry pie filling
For The Taco Shells
- 1 cup of granulated sugar
- 3 teaspoons of ground cinnamon
- 18 street taco-size flour tortillas (or cut soft taco-size tortillas to 4-inch tortillas with a bowl, glass, or round cookie cutter)
- ½ cup butter, melted
Substitutions And Additions
FRUIT: You could also top with blueberry pie filling, fresh strawberries, or other fresh fruit in this easy dessert tacos recipe.
CHOCOLATE CHIPS: If you’re a chocolate lover, sprinkle chocolate chips, white chocolate chips, butterscotch chips, or even peanut butter chips on your tacos.
NUTS: To add some crunch and depth of flavor, sprinkle chopped nuts like pecans, almonds, or walnuts on top of the cheesecake filling.
CINNAMON SUGAR: Customize your cinnamon sugar coating by adding a pinch of nutmeg or ground cloves for a warm, spiced flavor.
Alternatively, try using flavored sugars like vanilla sugar or lavender-infused sugar for a fragrant twist.
TOPPINGS: Fresh berries, sliced bananas, or a drizzle of caramel sauce can elevate the presentation and flavor of your cheesecake tacos.
Experiment with your favorite toppings to make them your own.
How To Make This Cherry Cheesecake Tacos Recipe
PRO TIP:
If you are making this for a crowd, this recipe will easily double or triple.
STEP ONE: Combine sugar and cinnamon. Set aside.
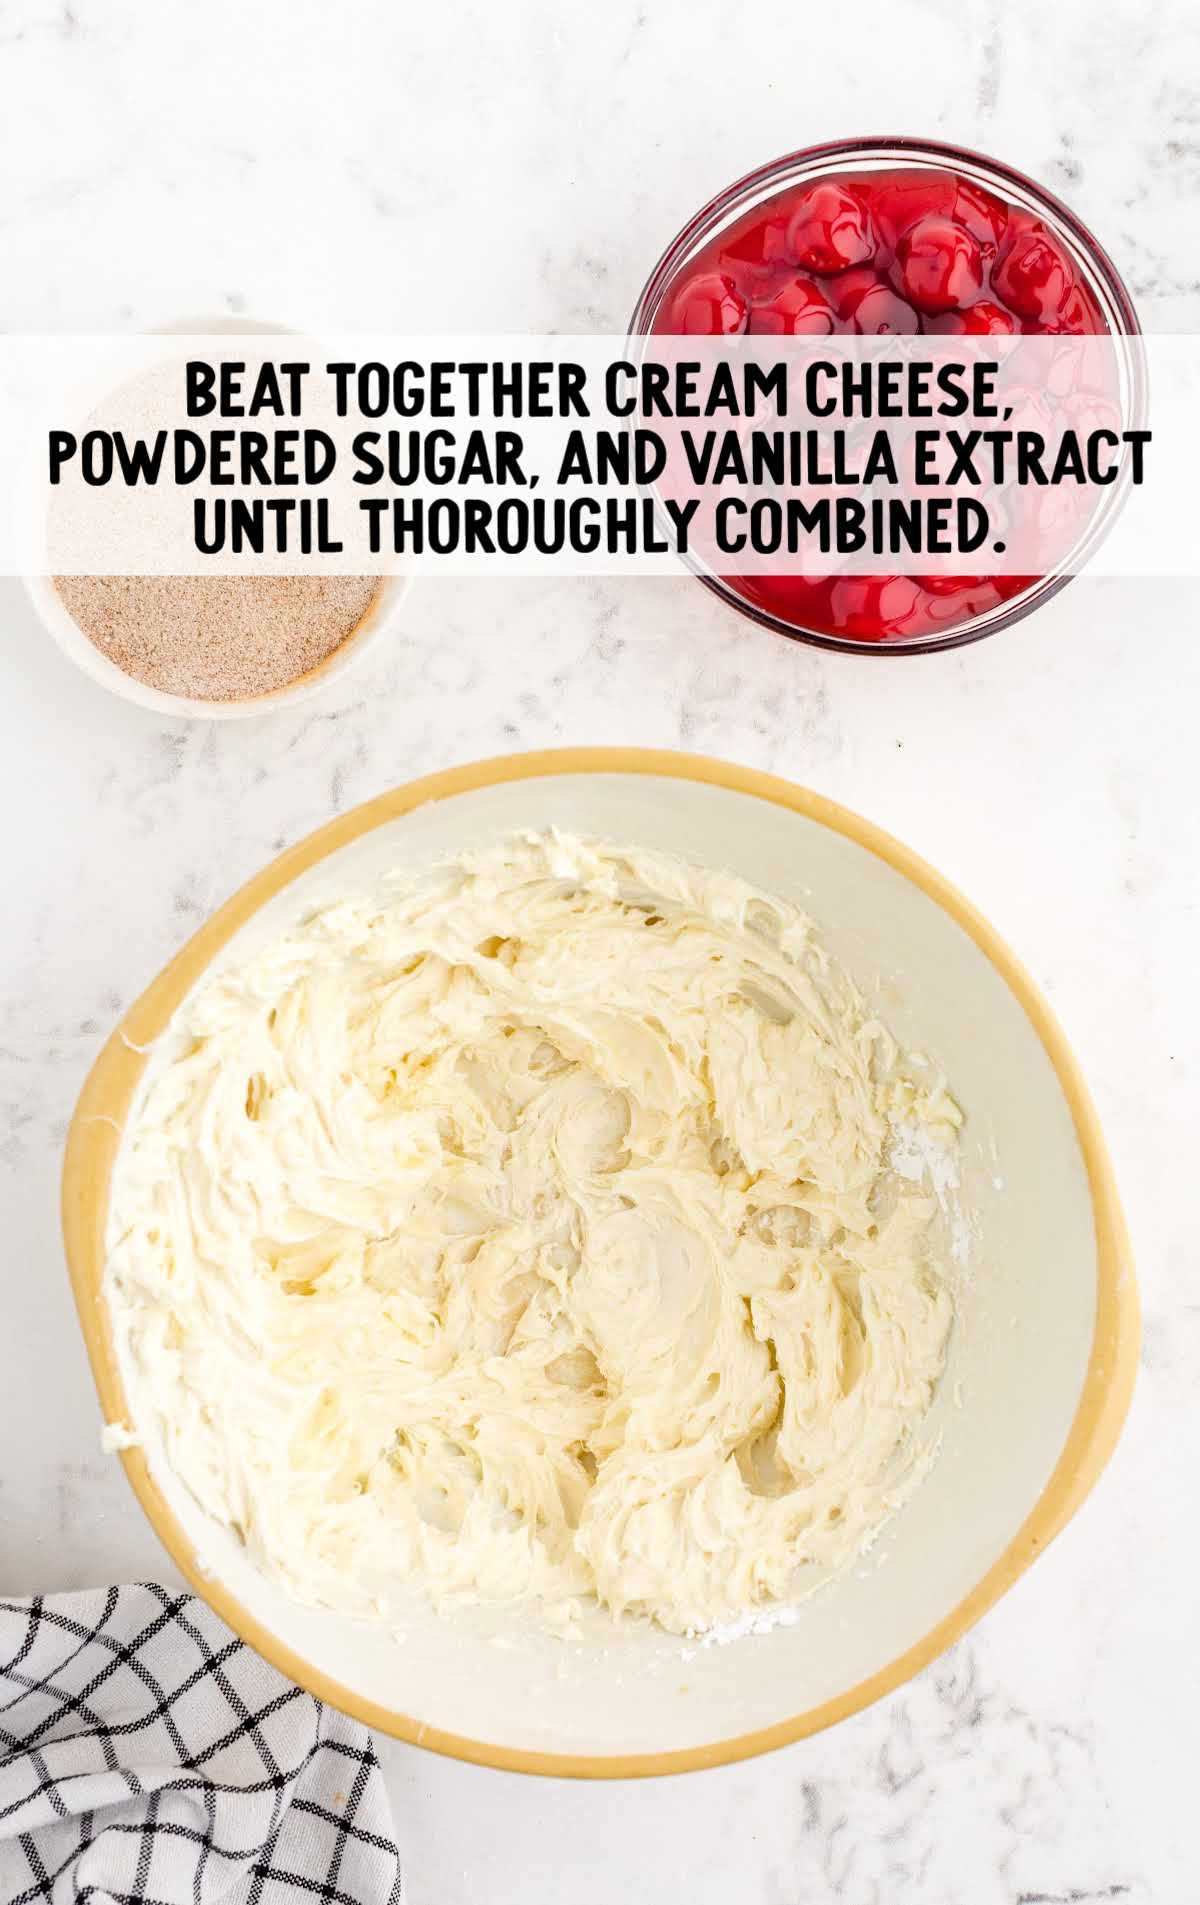
STEP TWO: In a medium mixing bowl, beat together cream cheese, powdered sugar, and vanilla extract until thoroughly combined.
PRO TIP:
The cream cheese should be at room temperature so that it mixes smoothly into the cheesecake mixture.
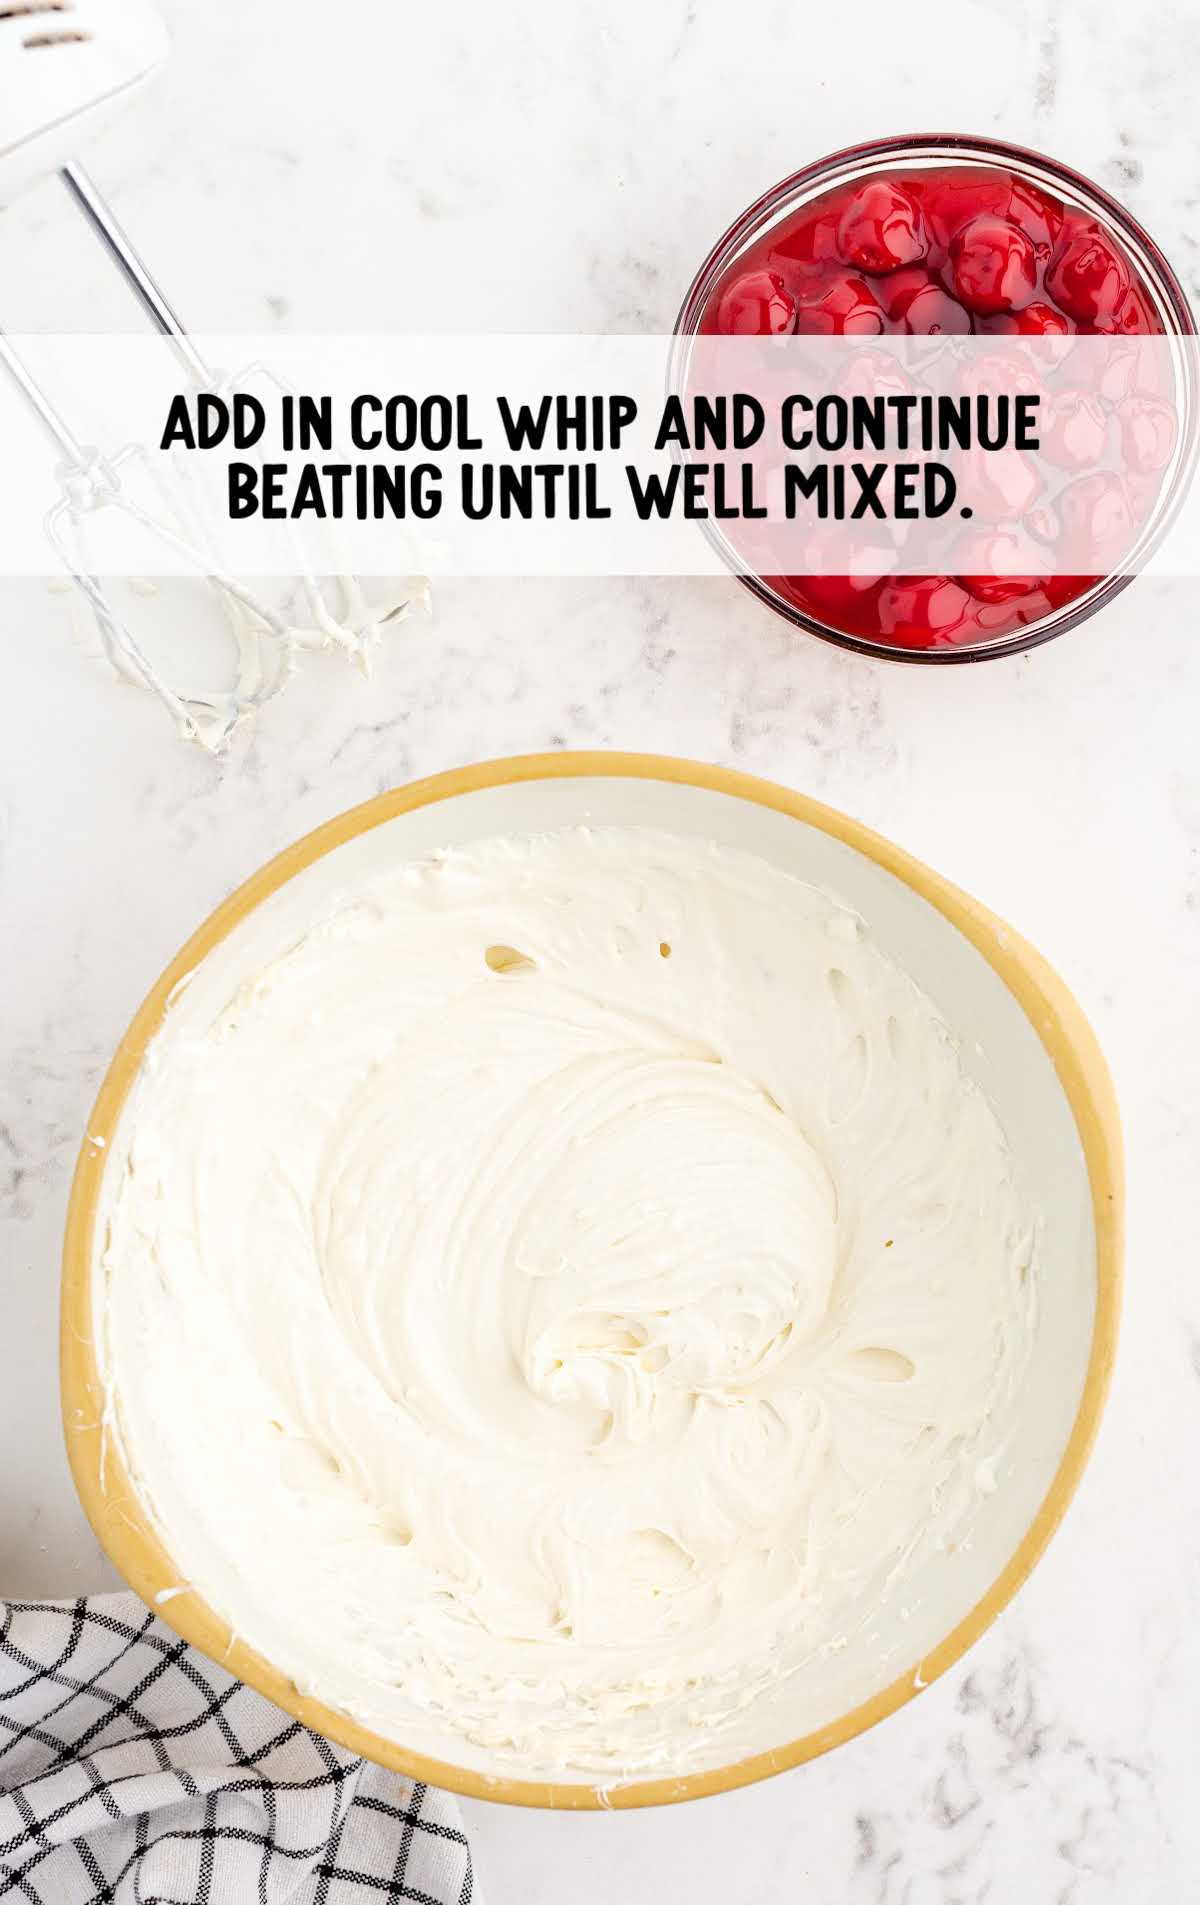
STEP THREE: Add in Cool Whip and continue beating until the cream cheese mixture is smooth and fluffy.
STEP FOUR: Transfer mixture to a piping bag fitted with tip #1M or a gallon-sized Ziploc plastic bag. Set in the refrigerator to stay cold while preparing taco shells.
STEP FIVE: Preheat the oven to 400°F. Cover the bottom of a cupcake pan with parchment paper.
STEP SIX: Brush the melted butter on both sides of the tortilla, and then, using a spoon, sprinkle both sides with cinnamon sugar.
Fold the tortilla in half like a taco and place it on the upside-down cupcake pan using the cupcake “bumps” to support the taco shape.
Repeat until you have filled the upside-down cupcake pan. I used three cupcake pans, but reusing one works fine.
STEP SEVEN: Bake in the 400°F oven for eight to ten minutes until the shells start to brown.
Cool in the pan for ten minutes. This is important because the tortillas will still be soft. After ten minutes, remove to a cooling rack until completely cooled.
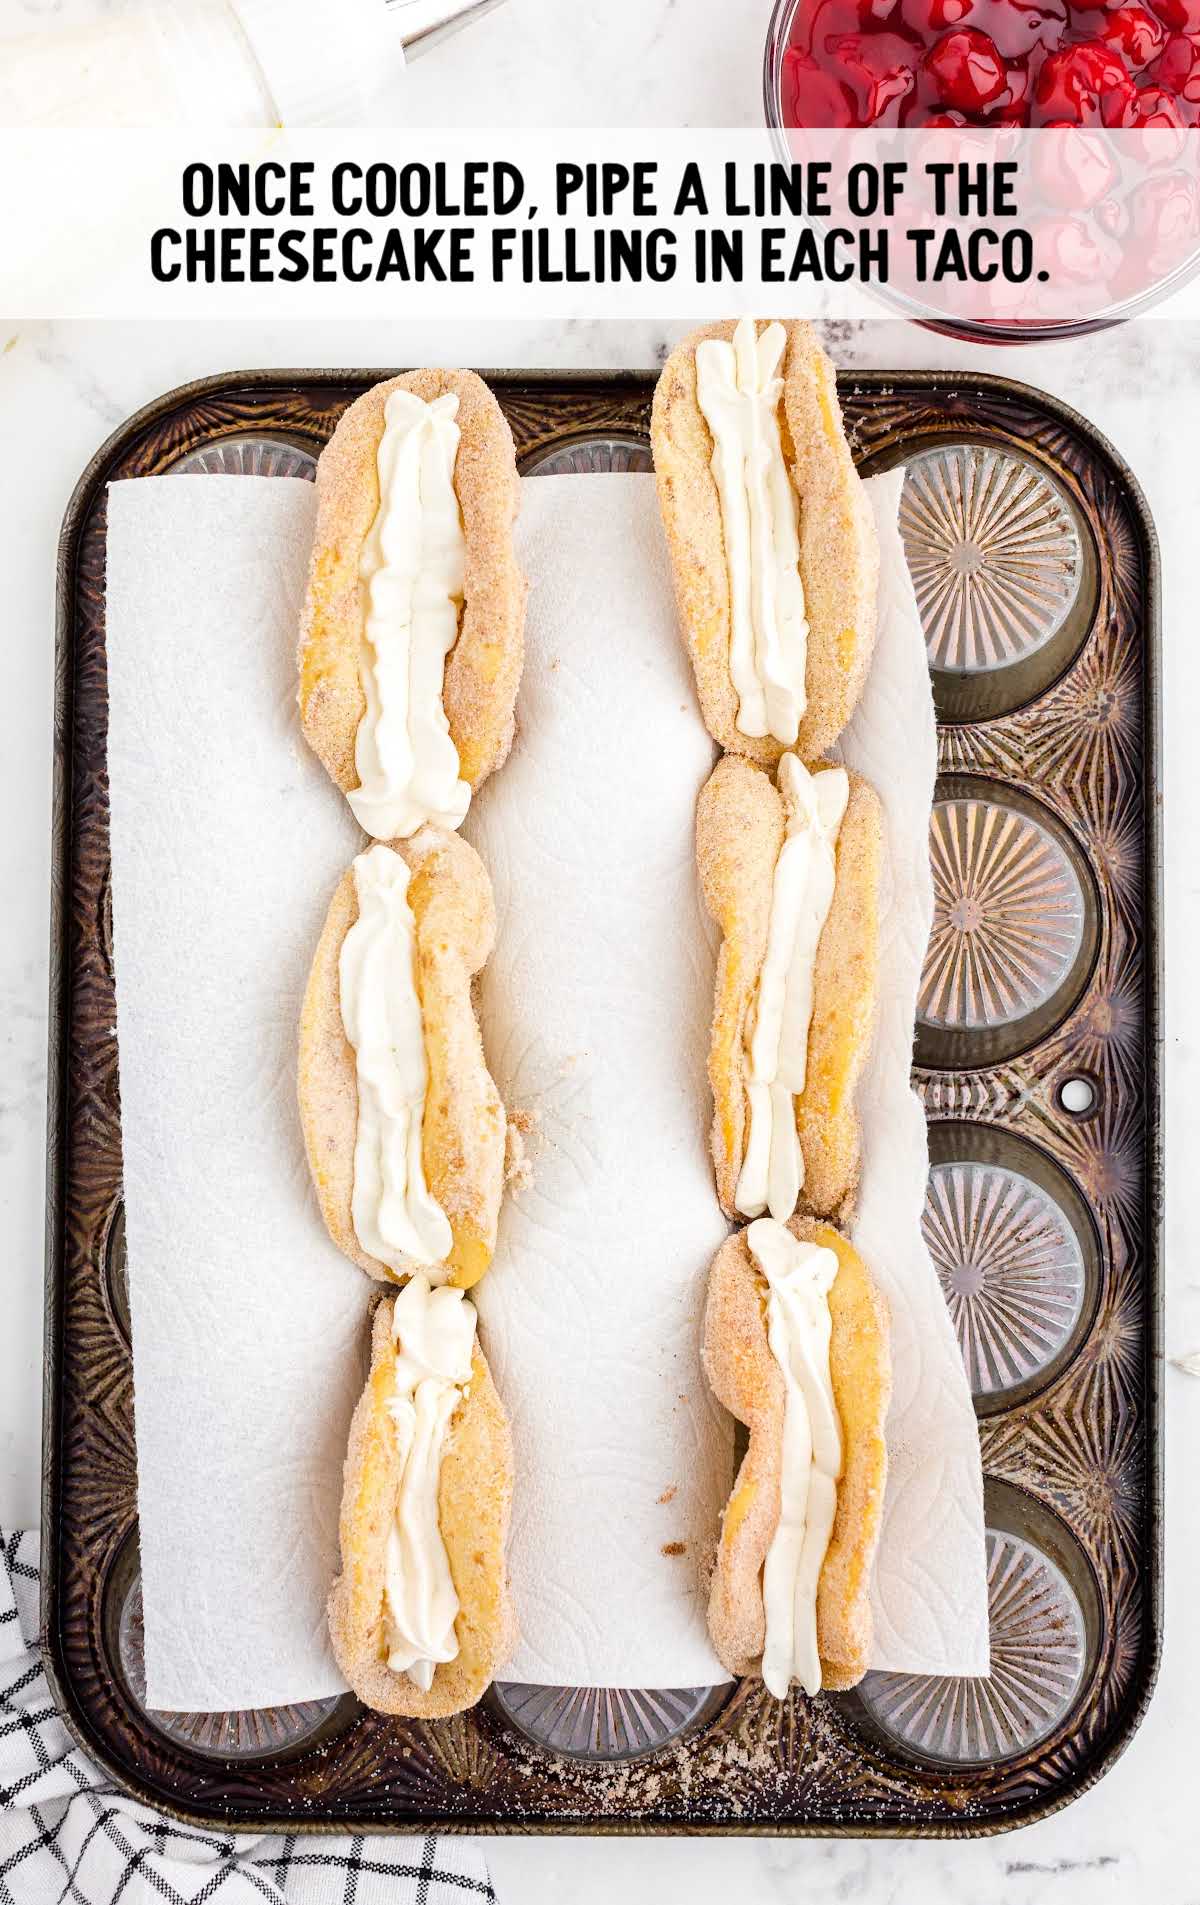
STEP TEN: When the tacos shells are cooled, pipe cheesecake filling in a line across the center of the taco.
STEP ELEVEN: Top with three to four cherries (and sauce) from the can of pie filling.
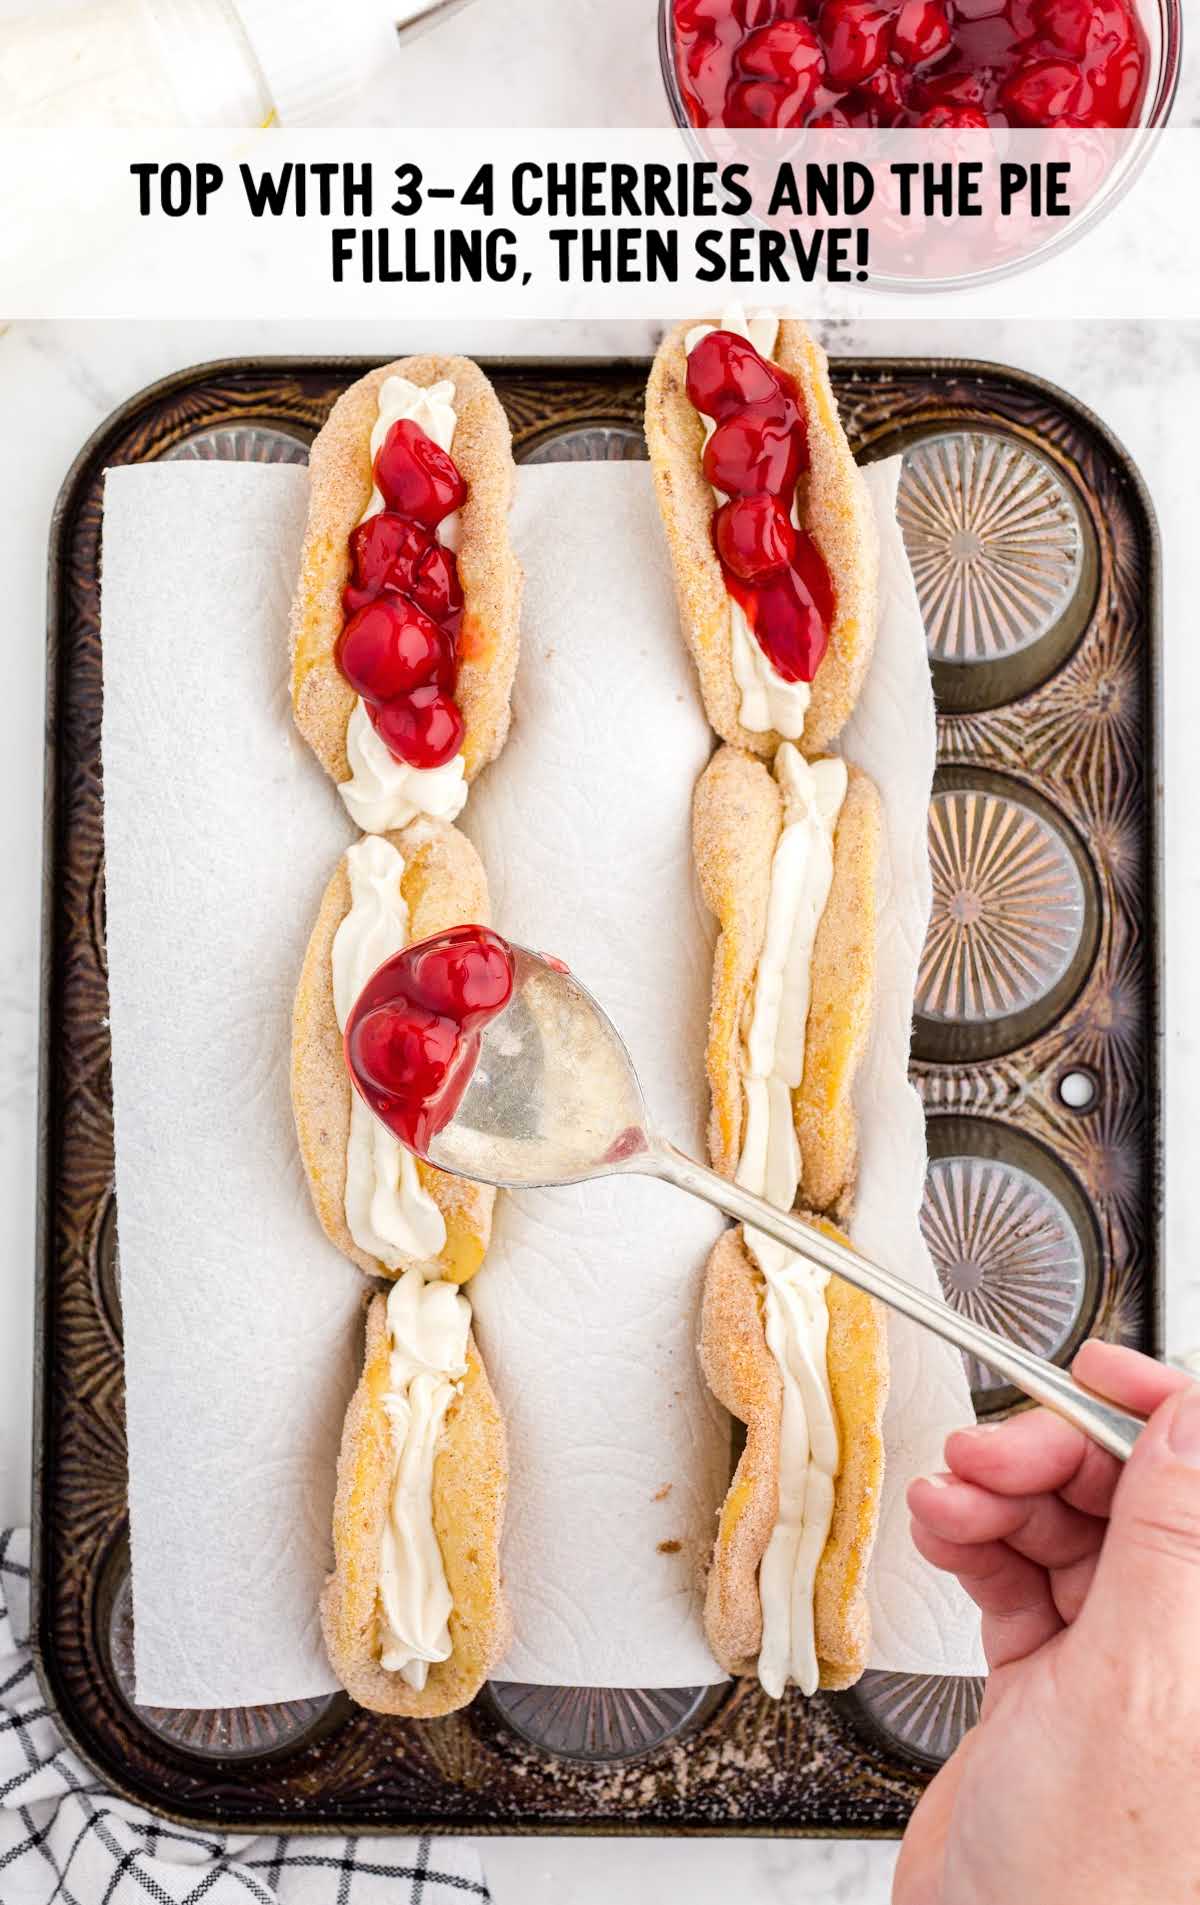
STEP TWELVE: Serve immediately.
How To Serve
This would be an awesome dessert for a special taco night or Mexican-themed party.
Set up a delicious taco bar with both sweet and savory shells, along with plenty of toppings for both.
Don’t forget to include our guacamole and salsa for the main course and fruit salsa with cinnamon chips for dessert.
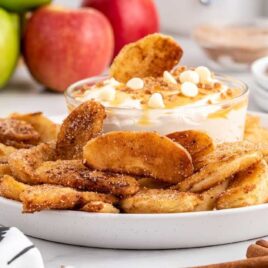
If you like this delectable dish, our apple enchiladas and Disney churro bites are two more easy recipes.
MORE SNACK RECIPES
Storage
IN THE FRIDGE: Store leftovers in the refrigerator for two to three days.
The crispness of the fried tortillas is best within a few hours.
Cheesecake filling can be stored in the refrigerator in an airtight container for up to one week.
IN THE FREEZER: You can also freeze the cheesecake filling for up to three months.
Thaw in the refrigerator and then pipe into freshly fried “taco” shells.
This fun twist on classic tacos only needs a few simple ingredients. With its creamy cheesecake filling and crunchy taco shells, you have a tasty treat on your hands. It’s always fun to think outside the box, and these crave-worthy dessert tacos definitely do the trick.
FREQUENTLY ASKED QUESTIONS
Can I freeze these dessert tacos?
These yummy little dessert tacos are best made fresh. The taco shells will not hold up in the freezer. You can however freeze the filling and make more taco shells fresh the next time you are ready to enjoy this dessert.
Can I use corn tortillas for this cheesecake dessert tacos recipe?
We find that flour tortillas are much easier to work with and are much more pliable than corn tortillas, so for best results, we suggest sticking with flour tortillas.
What is the best oil to use for deep frying?
Vegetable oil is the standard oil used for deep frying at home. It heats to the right temperature and won’t leave any extra taste on the finished product.
More Recipes You’ll Love
- Pecan Pie Bites
- Cherry Danish
- Cherry Chip Cake
- Mini Cherry Cheesecake
- Heaven on Earth Cake
- Vanilla Cool Whip Pie
- Cheesecake Stuffed Strawberries
- Cheese Danish
- Pecan Pie Cheesecake
- Dutch Baby
- Double Chocolate Chip Muffins
- Cheesecake Stuffed Strawberries
- Lemon Cheesecake Recipe
- Cherry Pie Bars
- Blueberry Lemon Blondies
- Blueberry Hand Pies
- No Bake Cherry Cheesecake
- Texas Roadhouse Butter Recipe
- Chocolate Cherry Cookies
- Blueberry Cheesecake Cookies
- Blueberry Cheesecake Bars
- Carrot Cake Cheesecake
- Cherry Pineapple Dump Cake
- Blueberry Cake Recipe
- Mini Blueberry Pies
- Fried Cheesecake
- Cherry Dr Pepper Cake
- Blueberry Cheesecake Dump Cake
- Cherry Cobbler Muffins


Cherry Cheesecake Tacos
These crunchy cherry cheesecake tacos are stuffed with cherry and cream cheese filling wrapped in a cinnamon sugar coated taco shell.
Prep Time 20 minutes
Cook Time 30 minutes
Total Time 50 minutes
Servings 18
Ingredients
Filling
- 8 ounces cream cheese, softened
- ⅓ cup powdered sugar
- 2 teaspoons vanilla extract
- 8 ounces Cool Whip frozen whipped topping, thawed
- 21 ounces cherry pie filling
Taco Shell
- 1 cup granulated sugar
- 3 teaspoons ground cinnamon
- 18 street taco-size flour tortillas, or cut soft taco-size tortillas to a 4-inch round with a bowl, glass, or cookie cutter
- ½ cup butter, melted
Instructions
- Combine sugar and cinnamon. Set aside.
- In a medium mixing bowl, beat together cream cheese, powdered sugar, and vanilla extract until thoroughly combined.
- Add in Cool Whip and continue beating until mixture is smooth and fluffy.
- Transfer mixture to a piping bag fitted with Tip #1M or a gallon-sized Ziploc bag. Set in the refrigerator to stay cold while preparing taco shells.
- Preheat the oven to 400°F. Cover the bottom of a cupcake pan with parchment paper.
- Brush the melted butter on both sides of the tortilla, and then, using a spoon, sprinkle both sides with cinnamon sugar. Fold the tortilla in half like a taco and place it on the upside-down cupcake pan using the cupcake “bumps” to support the taco shape. Repeat until you have filled the upside-down cupcake pan. I used three cupcake pans, but reusing one works fine.
- Bake in the 400°F oven for 8-10 minutes until the shells start to brown. Cool in the pan for 10 minutes. This is important because the tortilla will still be soft. After 10 minutes, remove to a cooling rack until completely cooled.
- When tacos shells are cooled, pipe a line of cheesecake filling across the center of the taco.
- Top with 3 to 4 cherries (and sauce) from the can of pie filling,
- Serve immediately.
Notes
- If you are making this for a crowd, this recipe will easily double or triple.
- The cream cheese should be at room temperature so that it mixes smoothly into the cheesecake mixture.
Nutrition
Calories: 244kcal | Carbohydrates: 42g | Protein: 4g | Fat: 7g | Saturated Fat: 3g | Polyunsaturated Fat: 1g | Monounsaturated Fat: 2g | Cholesterol: 16mg | Sodium: 261mg | Potassium: 114mg | Fiber: 1g | Sugar: 17g | Vitamin A: 260IU | Vitamin C: 1mg | Calcium: 65mg | Iron: 1mg
Have You Tried This Recipe?Follow me on Pinterest @spaceshipslb


Comments
Gloria says
Yummy, so cute and delicious!
Elizabeth Mccutchen says
Delicious and easy!
Renae says
This is awesome. It makes my mouth water. I would love it if you would share this on The Fabulous Friday Link Party this Friday. You can find the link on my website, Peacock Ridge Farm. Blessings to you.
Reba. Smart says
My favorite is noble cheesecake with cherry topping
Reba says
My favorite is no bake cheesecake with cherry topping
Reba says
My favorite is no bake cheesecake with cherry topping.
Cindy@CountyRoad407 says
I can hardly wait to try these! They look so yummy! Thank you for sharing the recipe with us at Farmhouse Friday. Hope you link up again soon.
Kerryanne says
Absolutely fabulous recipe… thank you!
Thank you for sharing this recipe at Create, Bake, Grow & Gather this week. I’m delighted to be featuring your cherry cheesecake tacos at the party tonight and pinning too.
Hugs,
Kerryanne
Judi says
Can the shells be made the day before then fill the day of? Have a large party to cater and want to make sure I have time to do it all 😊 This sounds wonderful!!
Layne Kangas says
You can make them ahead of time but they are definitely best when made fresh. Enjoy!
Linda B says
Would it be possible to make the tortillas in an air fryer? Or to bake them? I’m so excited to try this recipe!
Layne Kangas says
Hi, Linda – we haven’t tested those two methods so I’m sure it’s possible but I don’t have specifics for how to do so. Please let me know if you try it out, enjoy!
Nancy says
Can I make them a day ahead of time? How to store them if I do.
Layne Kangas says
Hi, Nancy – these are definitely best fresh.
Patty says
Hi how far in advance can I do the taco shells?
Layne Kangas says
Hi, Patty – they are best served fresh!
Brenda says
If I want to substitute fresh strawberries for the cherries, do the berries need to be prepared any special way?
Denise says
Excellent recipe!