

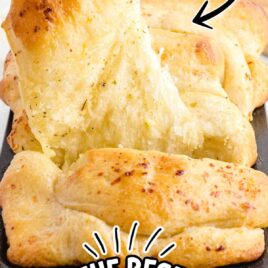
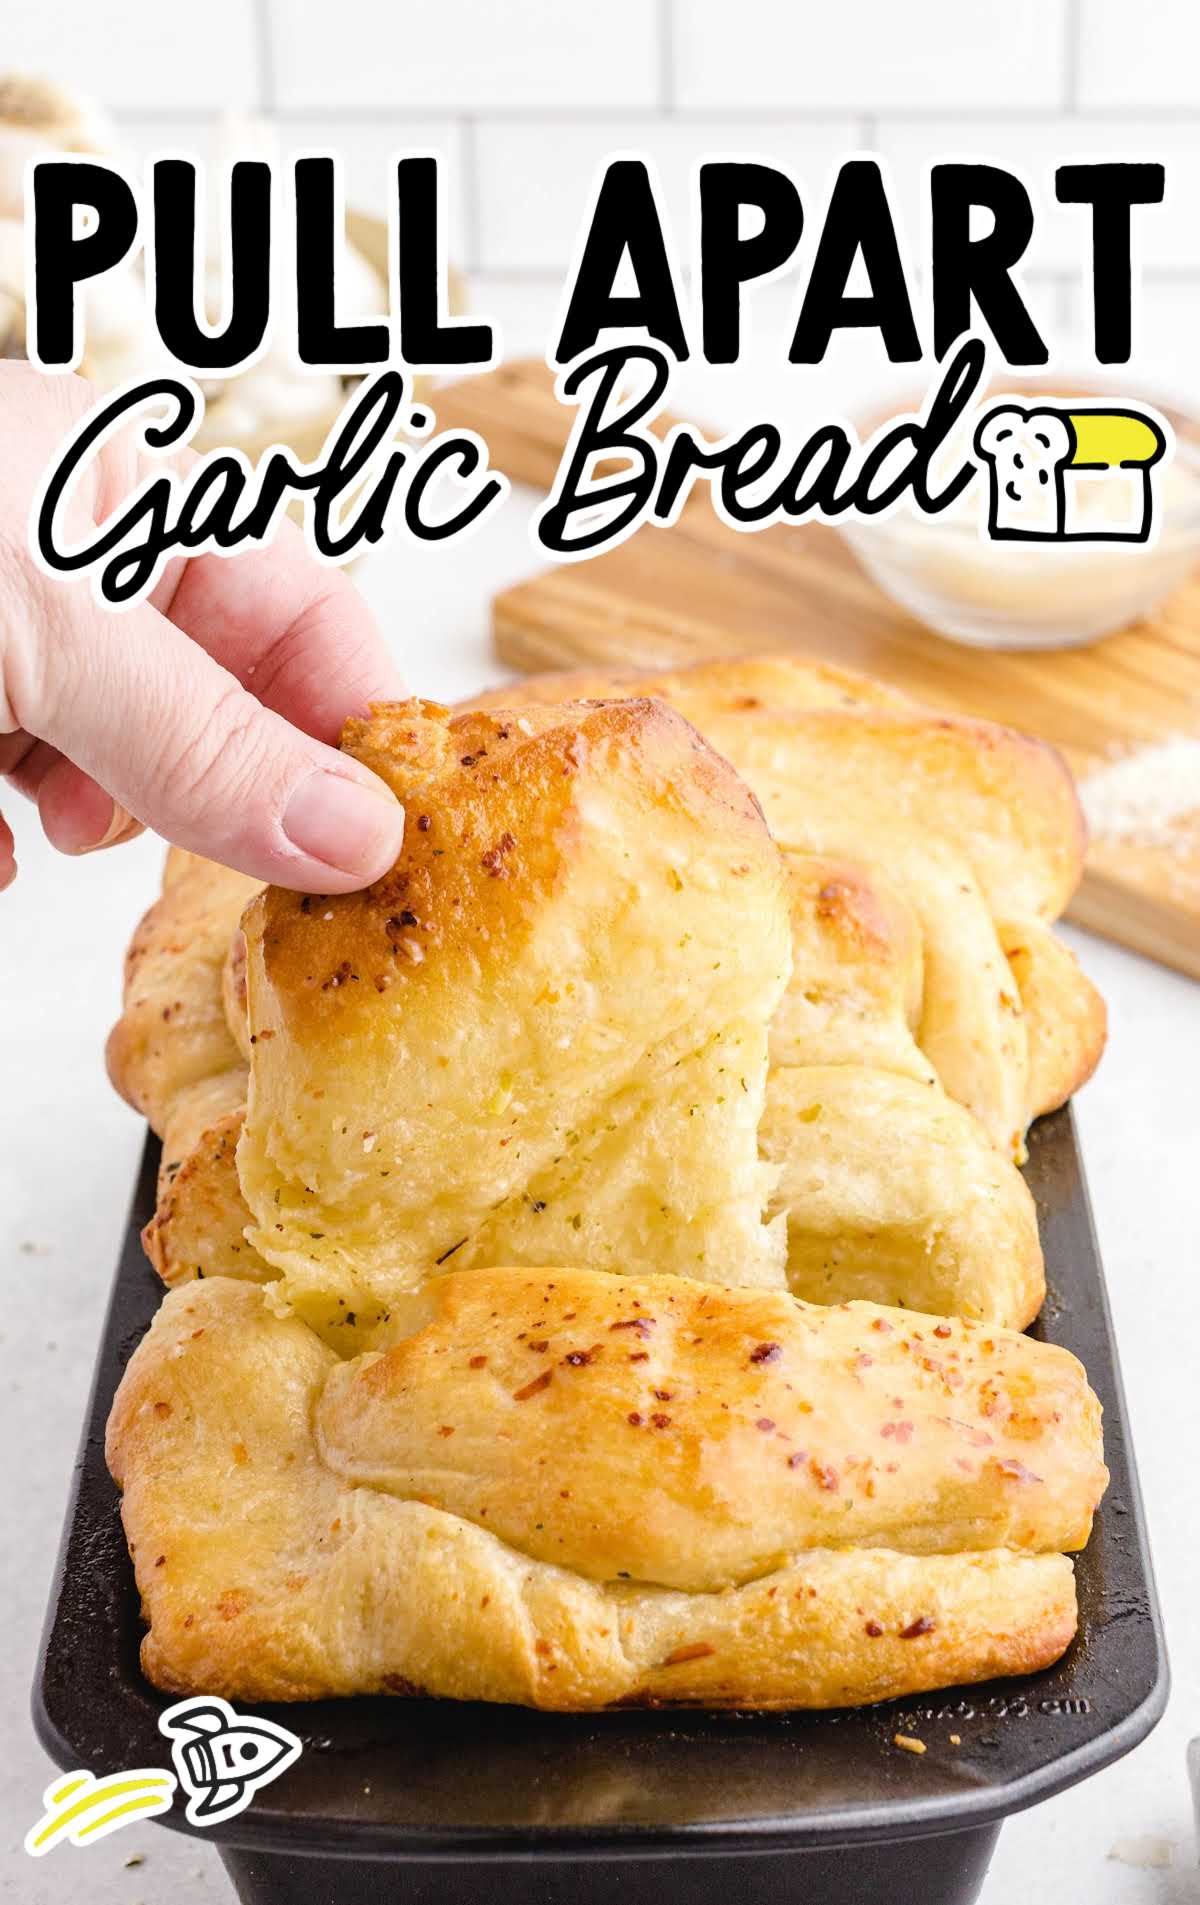
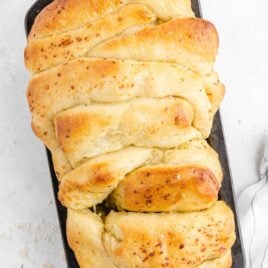
Upgrade your usual pasta night with this pull-apart garlic bread! The homemade bread is a twist on the classic recipe that is dripping with warm garlic herb butter and parmesan, making for an incredible appetizer or side dish.
Pull Apart Garlic Bread Ingredients
This pull-apart garlic bread recipe is a savory delight.
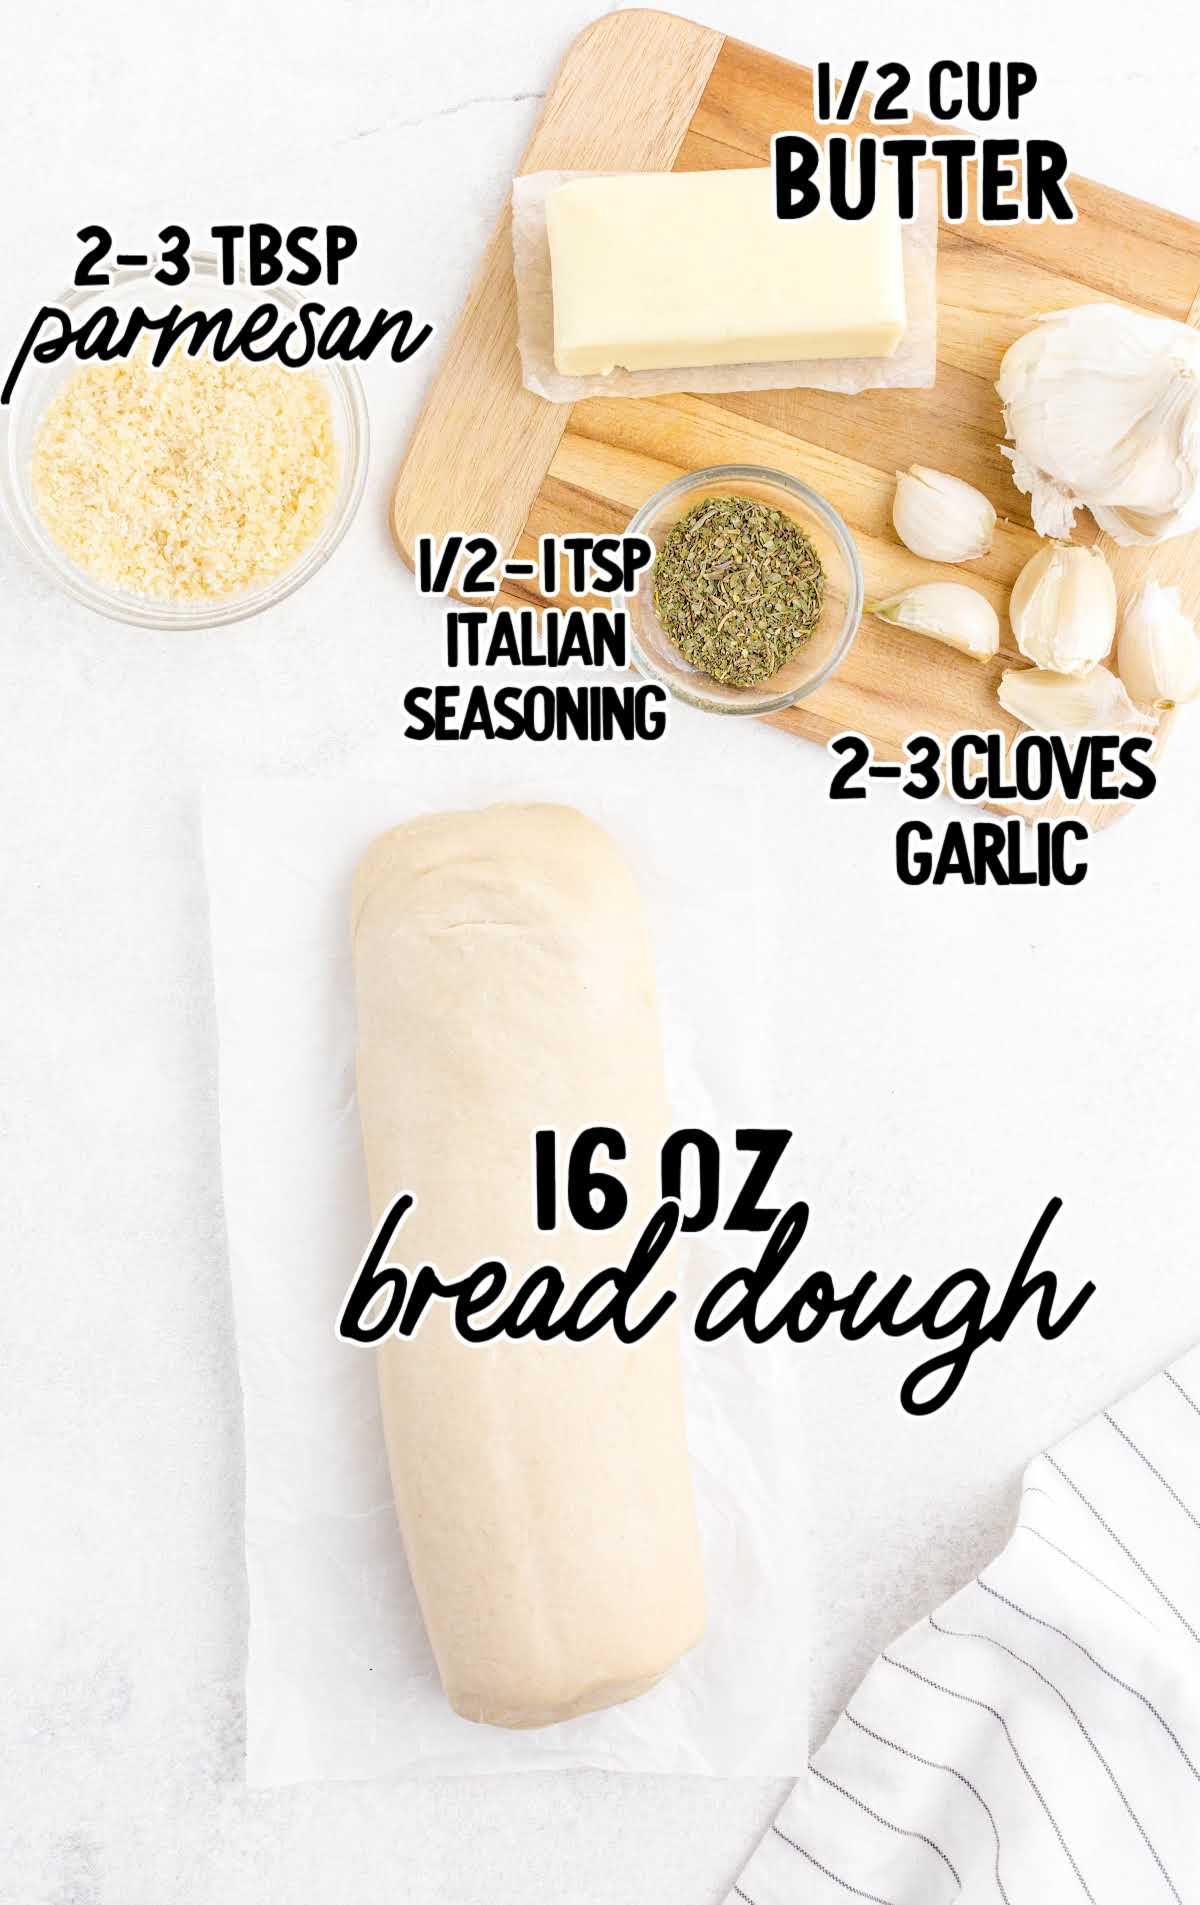
The bread dough forms a soft, pillowy base that’s elevated by melted salted butter, minced garlic for a bold flavor, Italian seasoning for a Mediterranean twist, and grated parmesan cheese.
You’ll need:
- 16-ounce loaf of frozen or refrigerated bread dough
- ½ cup of salted butter, melted
- ½ to 1 teaspoon of Italian seasoning
- 2 to 3 cloves of garlic, minced
- 2 to 3 tablespoons of parmesan cheese, grated
Substitutions And Additions
BACON BITS: Adding a sprinkle of bacon bits under the parmesan can add another twist to your cheesy garlic bread. Add as desired, but be careful not to overfill.
PARSLEY: Adding a sprinkle of chopped parsley allows the flavor of the herbs to enhance the end result.
The parsley sprinkle gives the dish a nice-looking finish and is a great subtle flavor to add in.
GARLIC: Instead of fresh garlic cloves, you can use a jar of minced garlic to make this recipe extra quick to make.
Raw garlic will not cook in the center of the bread, so be sure to use minced!
If you want a milder flavor, use less garlic, garlic paste, roasted garlic, or even garlic salt. For a stronger garlic flavor, use more garlic as desired.
SPICE: Add a dash of red pepper flakes to add a bit of heat to the bread.
CHEESE: If you would like to add a sprinkle of another kind of cheese, you could certainly add it when you add the parmesan cheese.
Try mozzarella, cheddar, or Monterey Jack cheese.
How To Make This Pull Apart Garlic Bread
We will walk you through the proper way to layer the bread dough to ensure when it bakes, everyone can pull off their own piece of garlic bread.
STEP ONE: Defrost the frozen bread dough overnight in the fridge. Once the dough is thawed, set it out at room temperature for at least one hour.
STEP TWO: Grease a loaf pan with butter and set it aside.
STEP THREE: Use a rolling pin or your fingers to spread the dough into a rectangle of approximately 9×12 inches.
STEP FOUR: Brush the dough heavily with melted butter.
STEP FIVE: Sprinkle the Italian seasoning over the melted butter.
Then sprinkle the finely minced garlic over the dough.
STEP SIX: Sprinkle the parmesan cheese over the dough.
STEP SEVEN: Use a pizza cutter or knife to cut the dough into 12 squares, about 3×3 inches each.
Stack the squares of dough on top of each other, forming a little pile.
STEP EIGHT: Carefully transfer the stack of dough pieces and lay it on its side in the prepared loaf pan.
You can see how the dough slightly resembles a reshaped “loaf”, but the dough will not fill the whole bottom of the loaf pan until it rises.
STEP NINE: Cover the pan with a light dishcloth and set it in a warm, draft-free location to rise.
Allow the dough to rise until the stacked layers have puffed up to the top of the loaf pan and filled it completely, this could take two to three hours.
PRO TIP:
If you have the ‘proof’ setting on your oven, this makes for an ideal location to keep the bread at the perfect temperature while allowing it to rise.
STEP TEN: Preheat the oven to 375°F.
STEP ELEVEN: Brush the risen bread with more melted butter. Cover the loaf pan loosely with aluminum foil.
STEP TWELVE: Bake the bread for a total of 25 minutes, removing the foil cover for the last five minutes of baking.
PRO TIP:
Oven temperatures vary and may need to be recalibrated periodically to ensure they are accurate. Make sure to keep a close eye on your bread as the suggested baking time approaches.
STEP THIRTEEN: Remove from the oven and brush with any remaining butter.
STEP FOURTEEN: Serve the loaf of bread hot straight out of the pan or remove the full loaf from the pan and serve.
How to Serve
While you’ll love this cheesy garlic bread on its own, it also works as a great side that pairs well with our 20 minute one pot pasta, or our flavorful and rich ground beef stroganoff.
Our cheesy pull apart bread and pull apart pizza bread are two more delicious recipes that put a fun spin on traditional garlic bread.
This pull apart garlic bread and a big bowl of fettuccine tossed in this Copycat Olive Garden Alfredo Sauce is one of those meals that feels fancy but takes under 30 minutes to pull together
Storing This Garlic Loaf
Let’s dive into some handy storage tips to make the most of this bread:
MAKE AHEAD: Preparing this garlic bread ahead of time is a great option for busy days or when you want a quick, satisfying snack.
After baking, allow it to cool completely. Once cooled, wrap it tightly in aluminum foil or plastic wrap to keep it fresh.
You can store it at room temperature for up to 24 hours, ensuring it’s well-covered to prevent drying out. When you’re ready to enjoy, simply reheat as per the instructions below.
IN THE FRIDGE: Cover the pull-apart bread with plastic wrap, or store it in an airtight container. This will allow it to keep for one to two days.
IN THE FREEZER: We don’t recommend freezing this bread as it will get soggy with the melted butter and not taste quite the same once thawed.
REHEATING: To bring your pull-apart garlic bread back to its warm, flavorful glory, it is best to reheat it in the oven.
Preheat your oven to 350°F (175°C). Place the bread in the oven, either directly on the rack or wrapped in aluminum foil.
Bake for about 10-15 minutes or until it’s heated through and crispy on the outside.

Why We Love This Recipe
IRRESISTIBLE GARLIC INFUSION: The recipe’s generous use of minced garlic creates a bold and aromatic garlic flavor that infuses every nook and cranny of the bread.
BUTTERY AND CRISPY EXTERIOR: The melted butter brushed over the dough before baking results in a crispy, golden-brown exterior that provides a delightful crunch with each bite.
QUICK AND EASY: With straightforward instructions and minimal ingredients, this recipe is incredibly easy to prepare, even for those new to baking. It’s a quick solution for satisfying garlic bread cravings.
The crispy crust of this warm, chewy, pull-apart garlic bread is complemented by the perfect blend of parmesan and seasonings. It makes for a great shareable dish to bring to the table.
Frequently Asked Questions
This delicious bread is best served fresh, but if you do have leftovers, you can keep them in the fridge for a day and warm them up in the oven to make your bread crispy again.
We do not recommend freezing this homemade garlic bread as the melted butter may make it soggy. It is best to make this recipe fresh.
If you would like to add a sprinkle of another kind of cheese, you could certainly add it when you add the parmesan cheese.
More Recipes You’ll Love
- Cauliflower Breadsticks
- Garlic Bread
- Garlic Bread Sloppy Joes
- Air Fryer Garlic Bread
- Garlic Knots from Crescent Rolls
- Garlic Bread Meatball Bombs


Pull-Apart Garlic Bread
Ingredients
- 16 ounce loaf bread dough, frozen or refrigerated
- ½ cup salted butter, melted
- ½ to 1 teaspoon Italian seasoning
- 2 to 3 cloves garlic, minced
- 2 to 3 tablespoons parmesan cheese, grated
Instructions
- Defrost frozen bread dough overnight. Once the dough is thawed, set it out at room temperature for at least 1 hour.
- Grease a loaf pan with butter and set aside.
- Use a rolling pin or your fingers to spread the dough into a rectangle of approximately 9×12 inches.
- Brush the dough heavily with melted butter.
- Sprinkle the Italian seasoning over the melted butter.
- Sprinkle finely minced garlic over the dough.
- Sprinkle the parmesan cheese over the dough.
- Use a pizza cutter or knife to cut the dough into 12 squares, about 3×3 inches each.
- Stack the squares on top of each other, forming a little pile.
- Carefully transfer the stack of dough and lie it on its side in the prepared loaf pan. You can see how the dough slightly resembles a reshaped “loaf”, but the dough will not fill the whole bottom of the loaf pan until it rises.
- Cover the pan with a light dishcloth and set it in a warm, draft-free location to rise. The proof setting on the oven works great. Allow the dough to rise until the stacked layers have puffed up to the top of the loaf pan and filled it completely, this could take 2 to 3 hours.
- Preheat the oven to 375°F.
- Brush the risen bread with more melted butter. Cover the loaf pan loosely with aluminum foil.
- Bake the bread for a total of 25 minutes, removing the foil cover for the last 5 minutes of baking.
- Remove from the oven and brush with any remaining butter.
- Serve hot straight out of the pan or remove the full loaf from the pan and serve.
Notes
- Raw garlic will not cook in the center of the bread, so be sure to use minced! If you want a milder flavor, use less garlic, garlic paste, roasted garlic, or even garlic salt. For a stronger garlic flavor, use more garlic as desired.
- If you have the ‘proof’ setting on your oven, this makes for an ideal location to keep the bread at the perfect temperature while allowing it to rise.
- Oven temperatures vary and may need to be recalibrated periodically to ensure they are accurate. Make sure to keep a close eye on your bread as the suggested baking time approaches.
Nutrition


Comments
Gloria says
I made a double batch of this and my guys inhaled it!
Lois Greene says
Yummy and so easy!