October 2, 2023
Review RecipeBlooming Quesadilla Ring

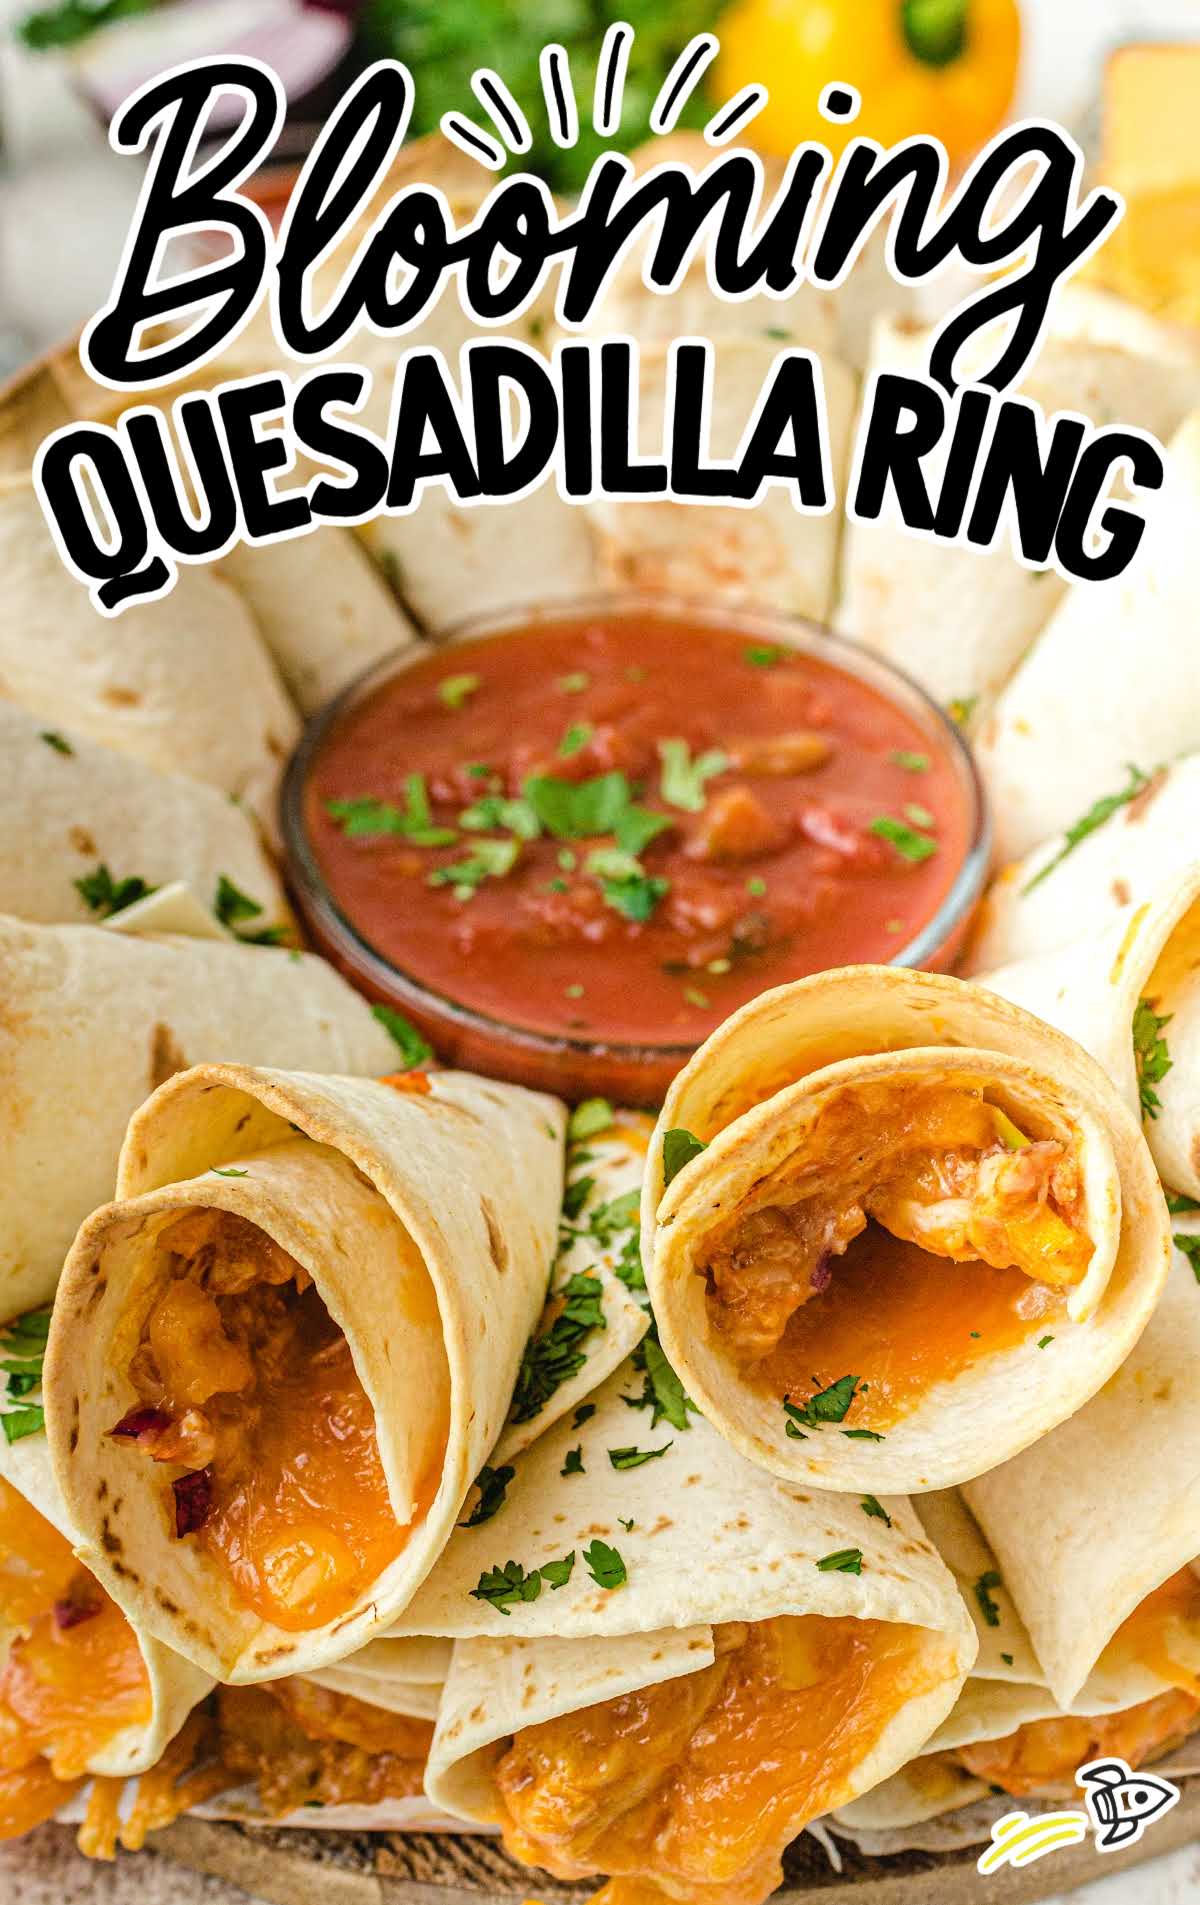
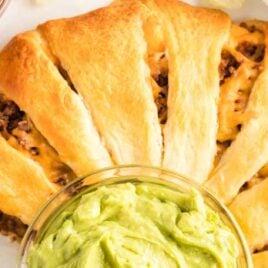
This tasty blooming quesadilla ring is a fun way to serve quesadillas and brings Mexican flavors to the dinner table.
Jump to Recipe

Table of Contents
This blooming quesadilla ring is one of those Mexican recipes that everyone will love to make. Cones of soft tortillas are loaded with yummy fillings and arranged around a tasty sauce that looks amazing on the table!
Blooming Quesadilla Ring Ingredients
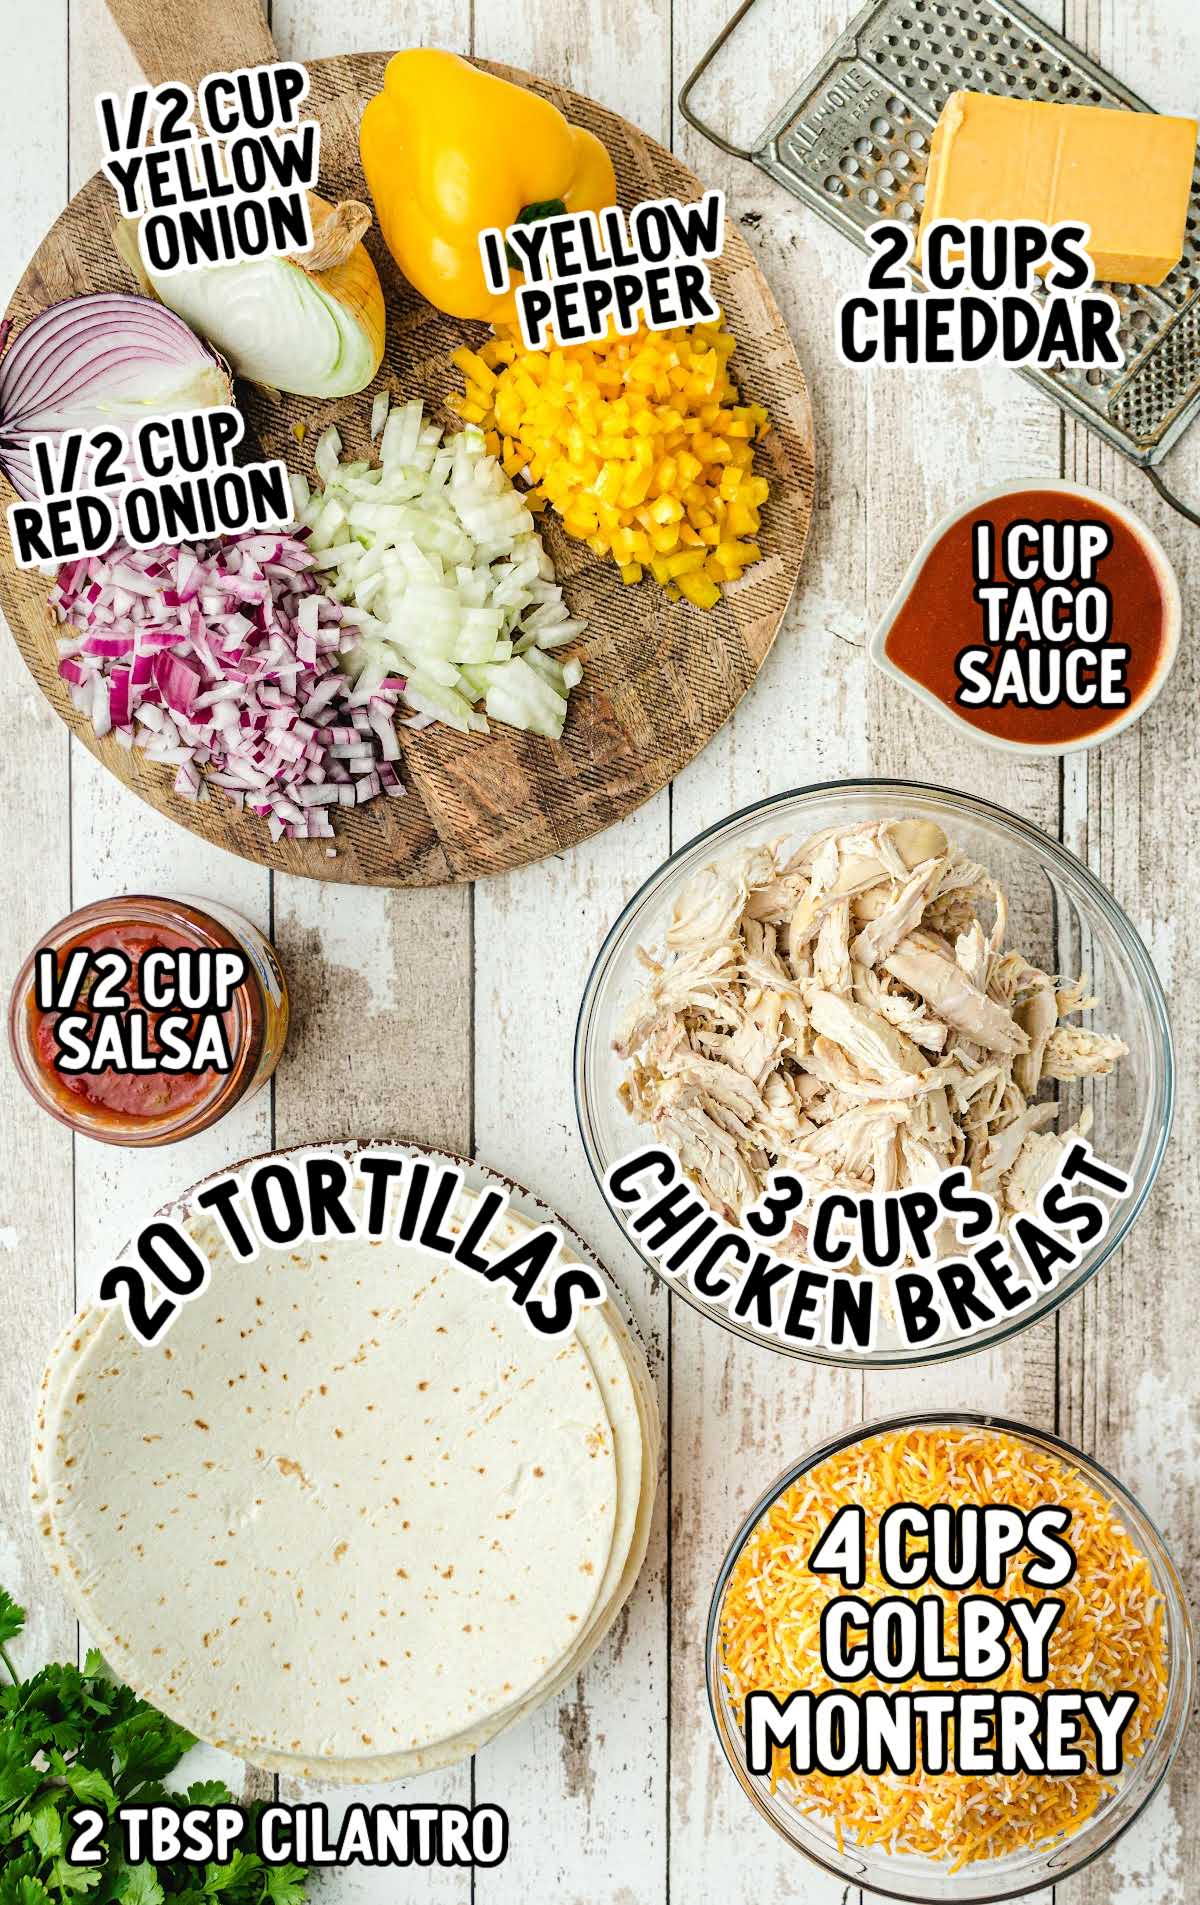
You’ll need:
- 20 soft flour taco-size tortilla shells
- 3 cups of cooked skinless and boneless chicken breast, shredded
- 1 yellow bell pepper, seeded and diced
- ½ cup of sweet yellow onion, finely diced
- ½ cup of red onion, finely diced
- ½ cup of salsa, your favorite brand
- 1 cup of taco sauce, your favorite brand
- 4 cups of Colby and Monterey Jack cheese, finely shredded
- 2 cups of cheddar cheese, finely shredded
- 2 tablespoons of fresh cilantro, chopped (optional garnish)
Substitutions And Additions
CHICKEN: If you prefer, you can use ground beef in place of the chicken in this recipe. Cook it first before adding it in place of the chicken.
TORTILLAS: Swap the flour tortillas for other types, such as corn tortillas or even flavored ones, to add something different to the recipe.
How To Make This Blooming Quesadilla Ring Recipe
STEP ONE: Preheat oven to 375°F. Line a baking sheet with parchment paper. Put a large wide-mouth jar in the center of the baking sheet.
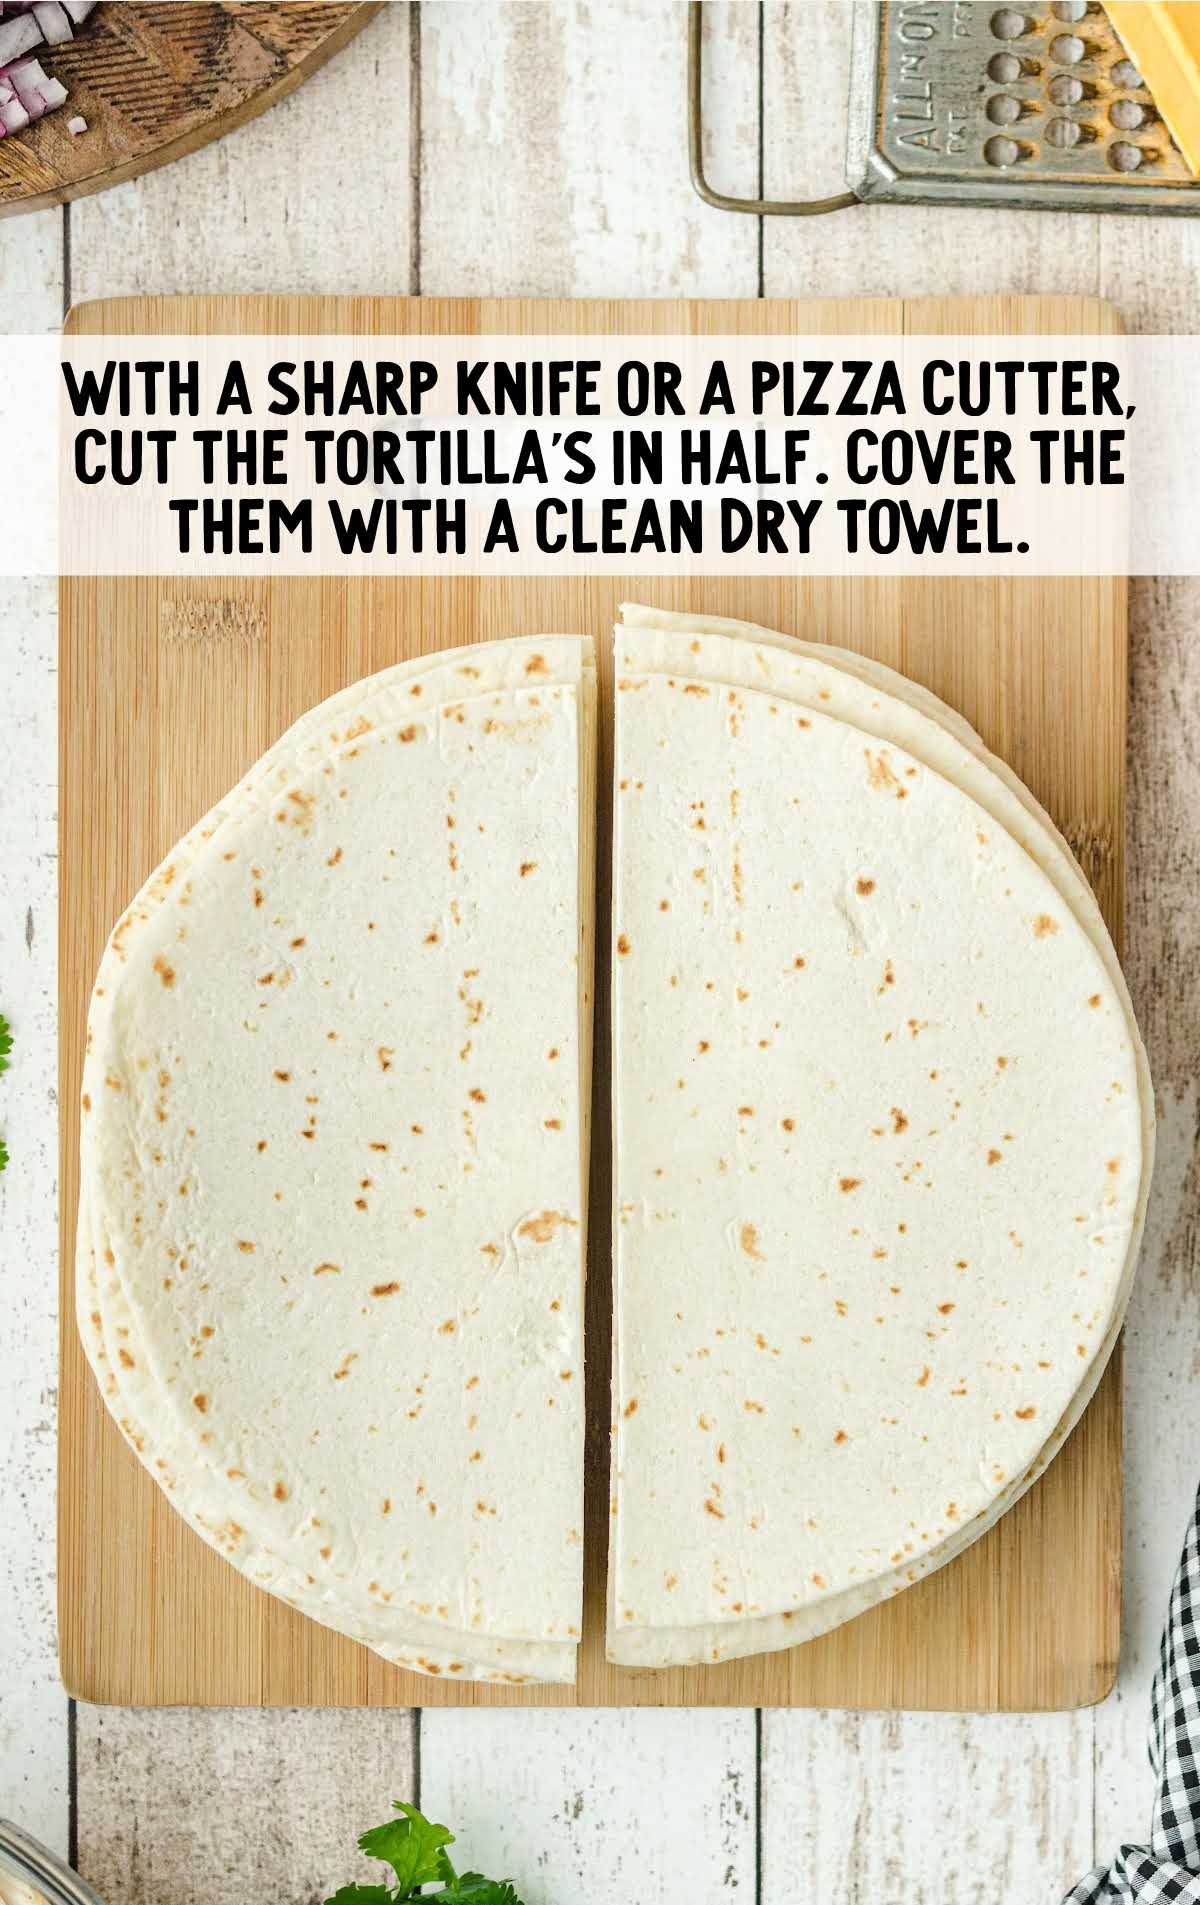
STEP TWO: Using a cutting board and a sharp knife or a pizza cutter, cut the tortillas in half.
Cover the halved tortillas with a clean, dry cloth and set aside.
OUR RECIPE DEVELOPER SAYS
Covering the tortillas will help ensure they remain soft while making your filling.
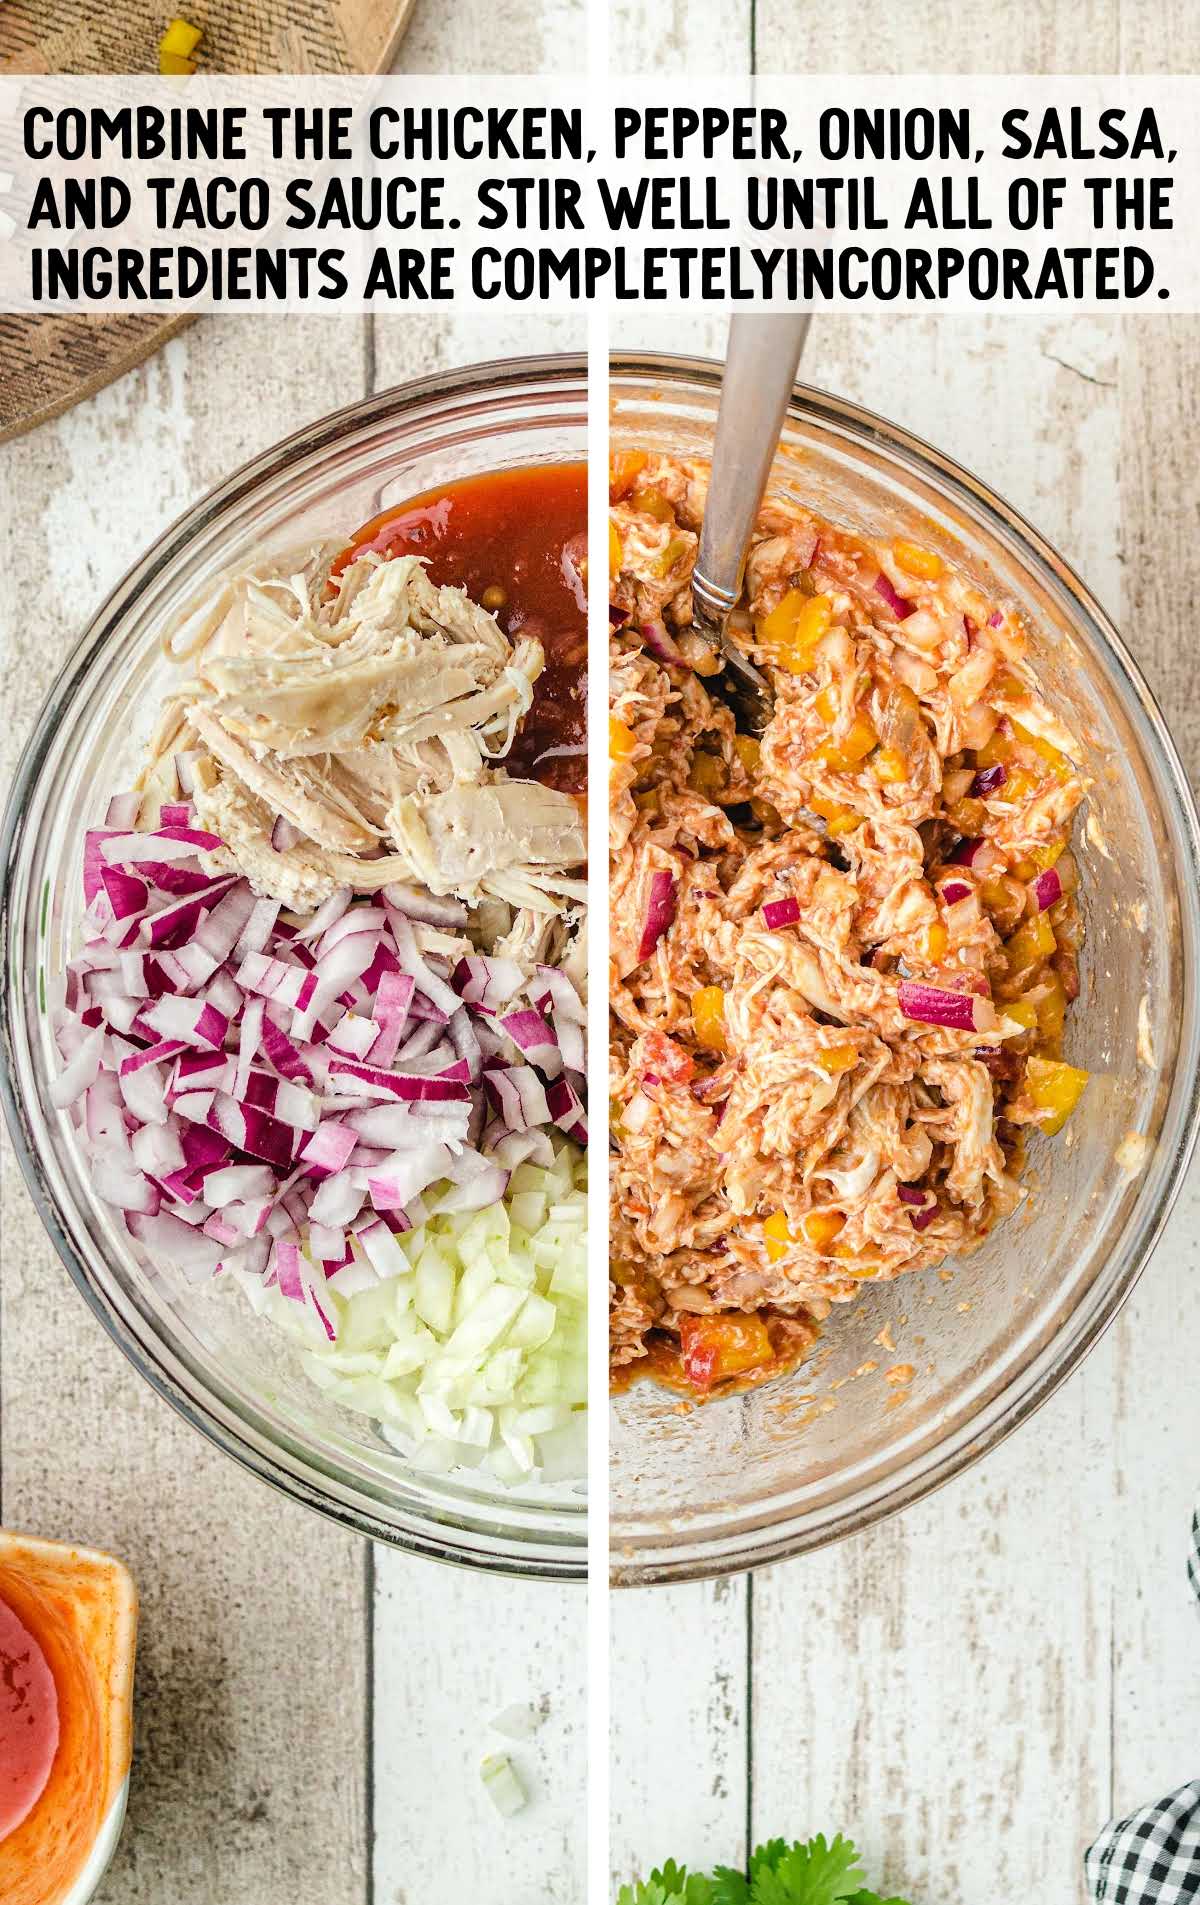
STEP THREE: In a large bowl, combine the shredded cooked chicken, diced yellow pepper, finely diced yellow onion, finely diced red onion, salsa, and taco sauce.
Stir well until all of the ingredients are completely incorporated.
STEP FOUR: Sprinkle 1½ to 2 tablespoons each of the shredded Colby and Monterey Jack cheeses and the chicken mixture.
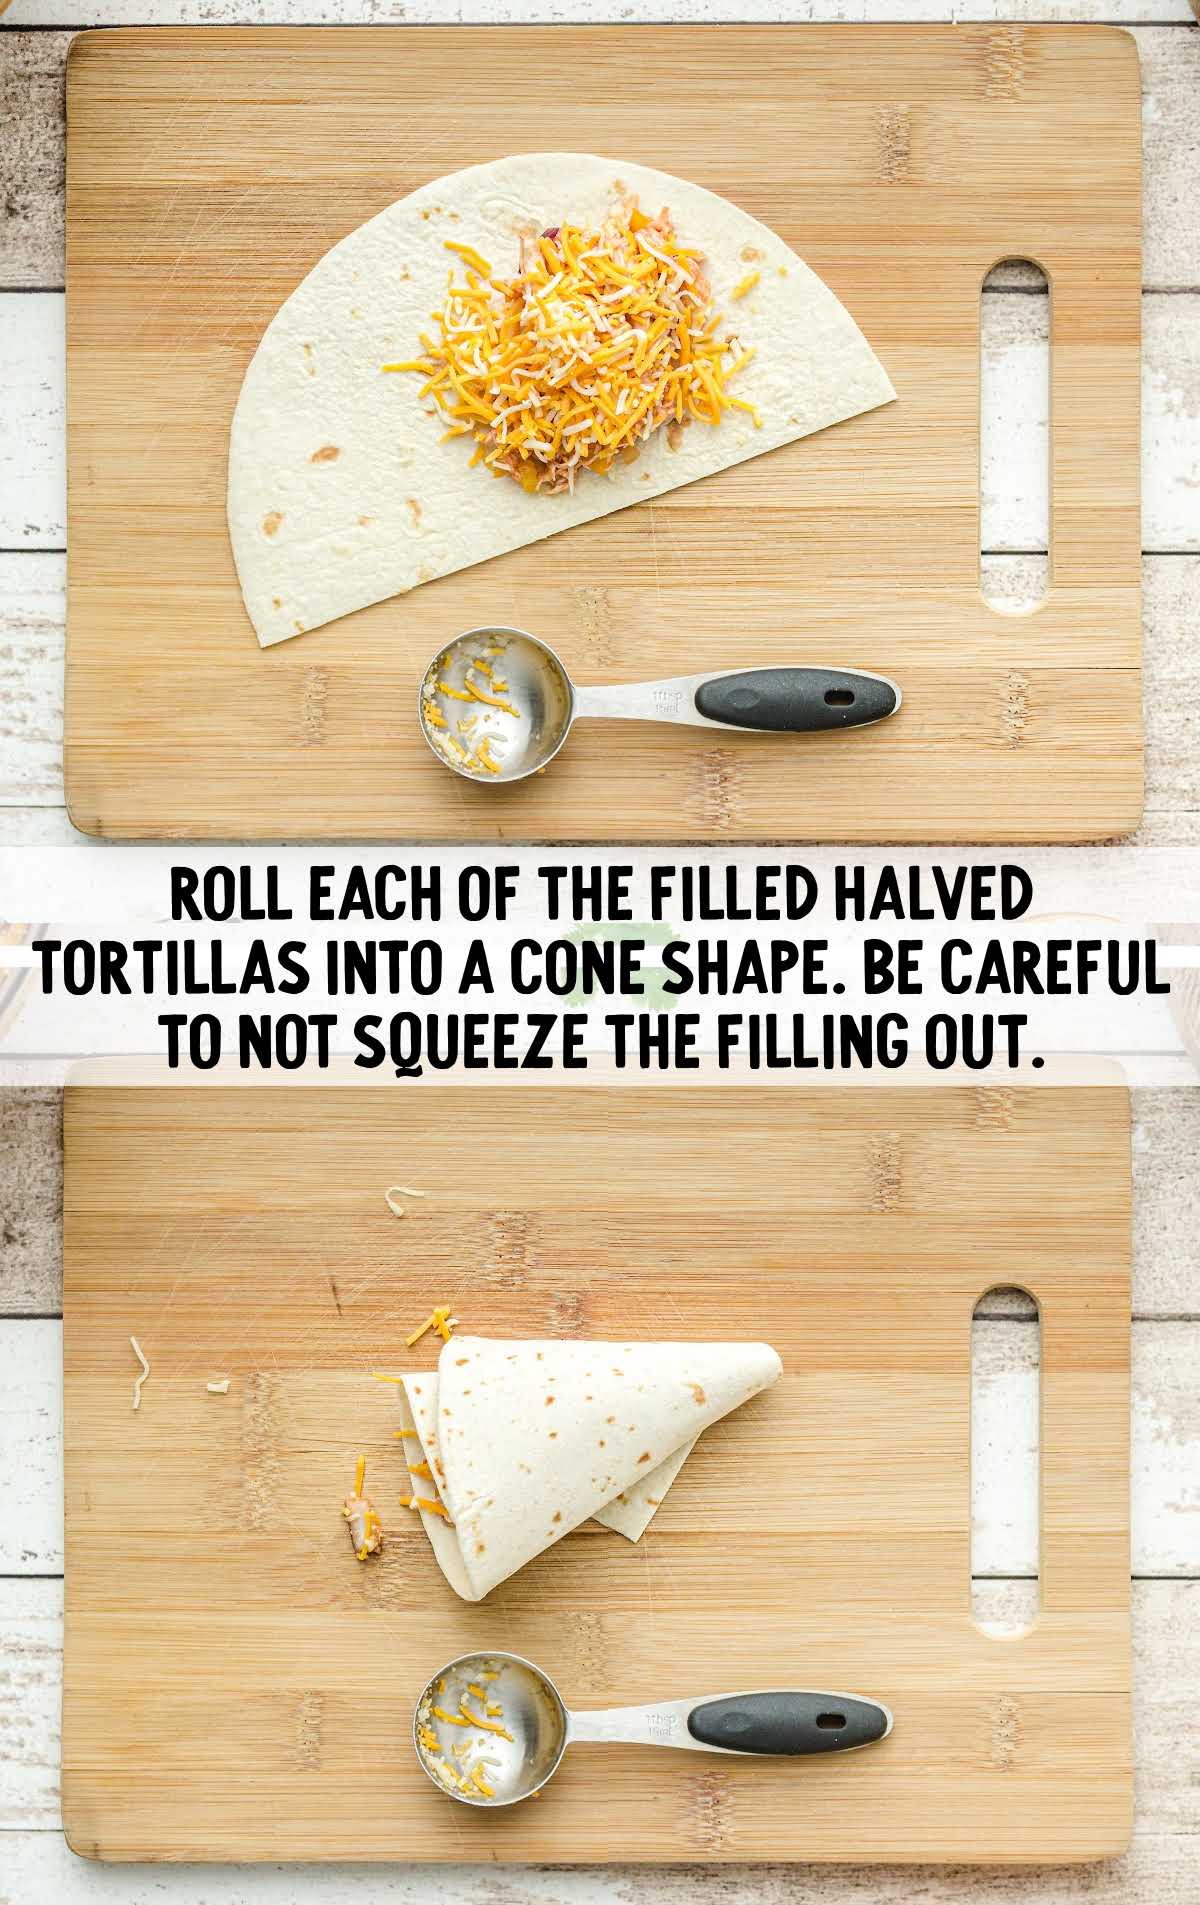
STEP FIVE: Roll each of the halved, filled tortillas into a cone shape. Be careful not to squish out the filling.
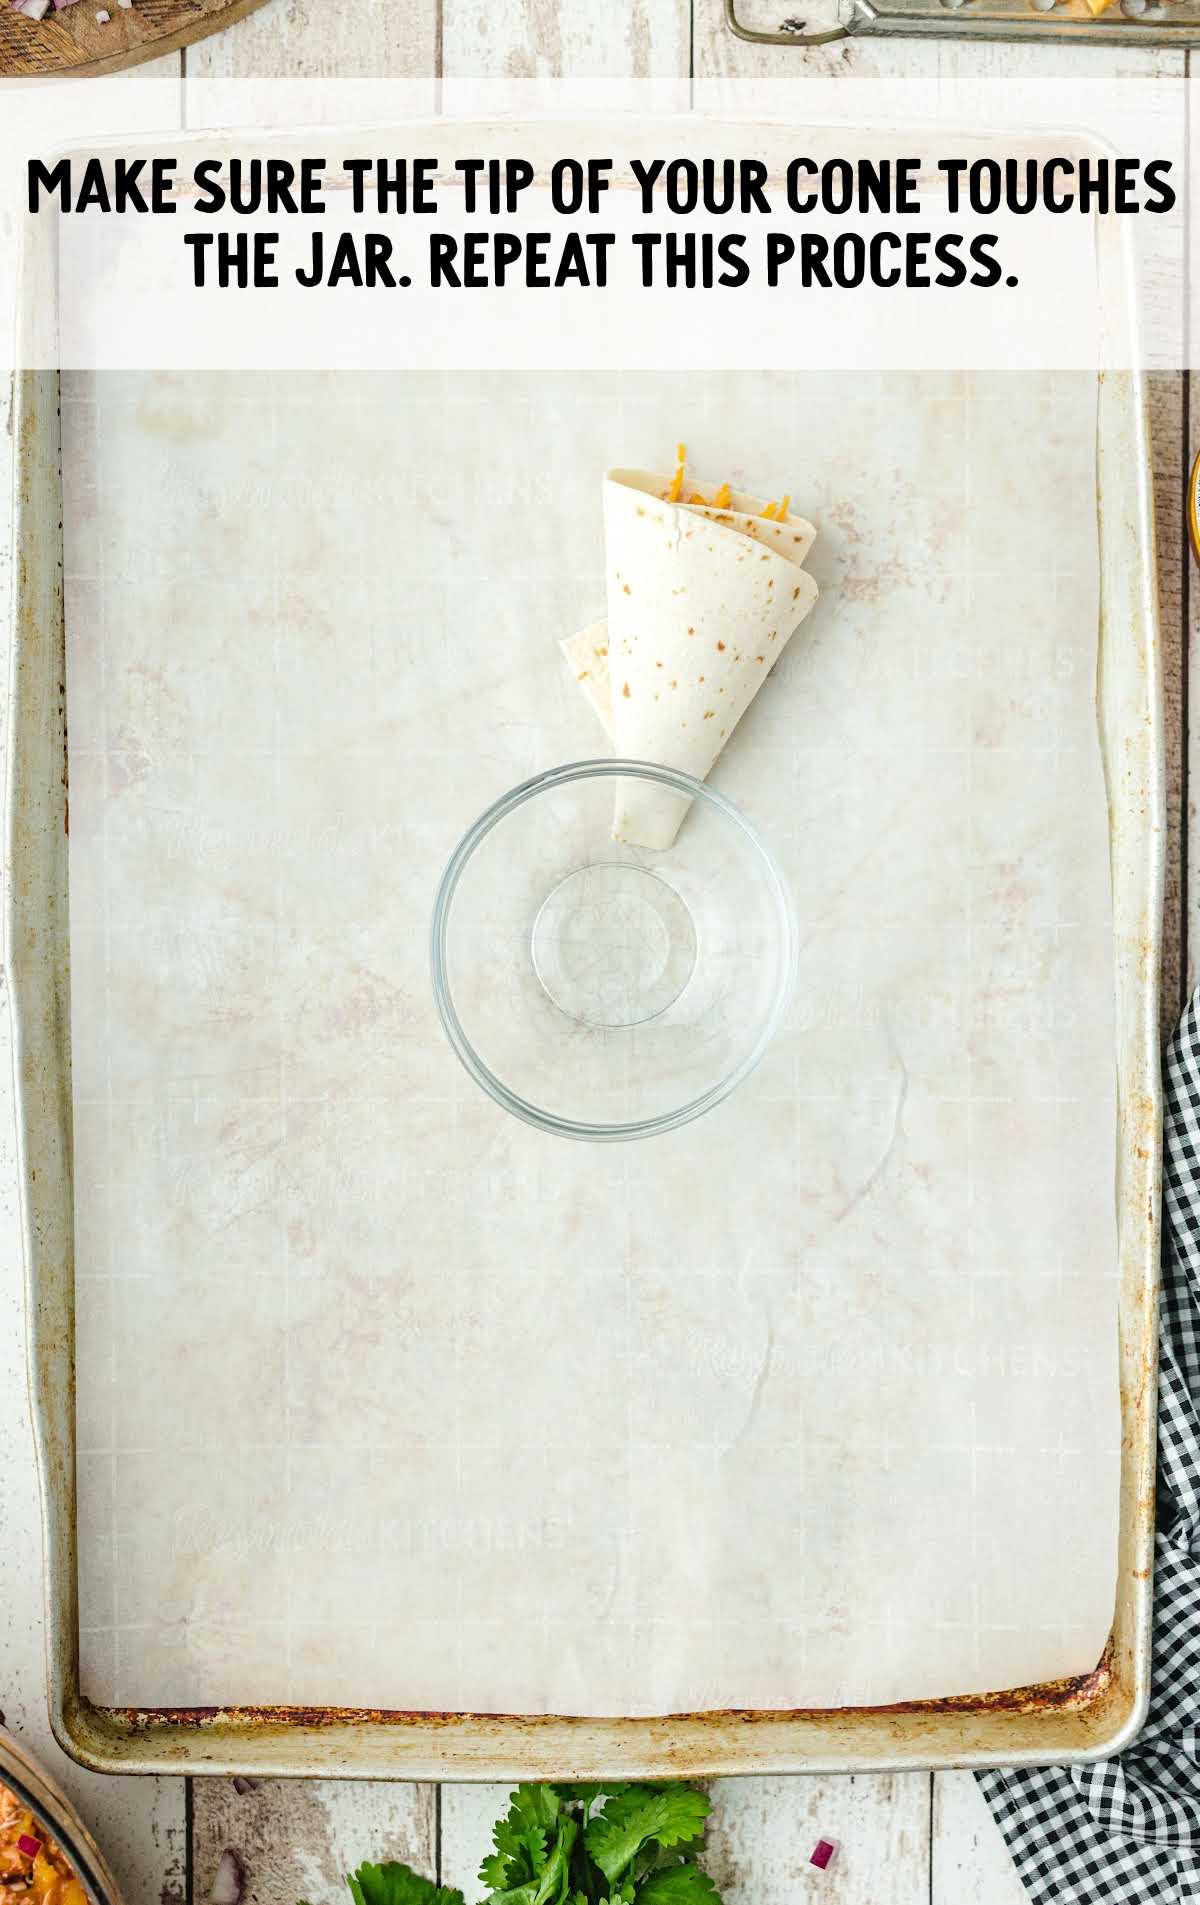
The small pointed ends of the cones need to touch the wide-mouth jar and form a ring around the jar.
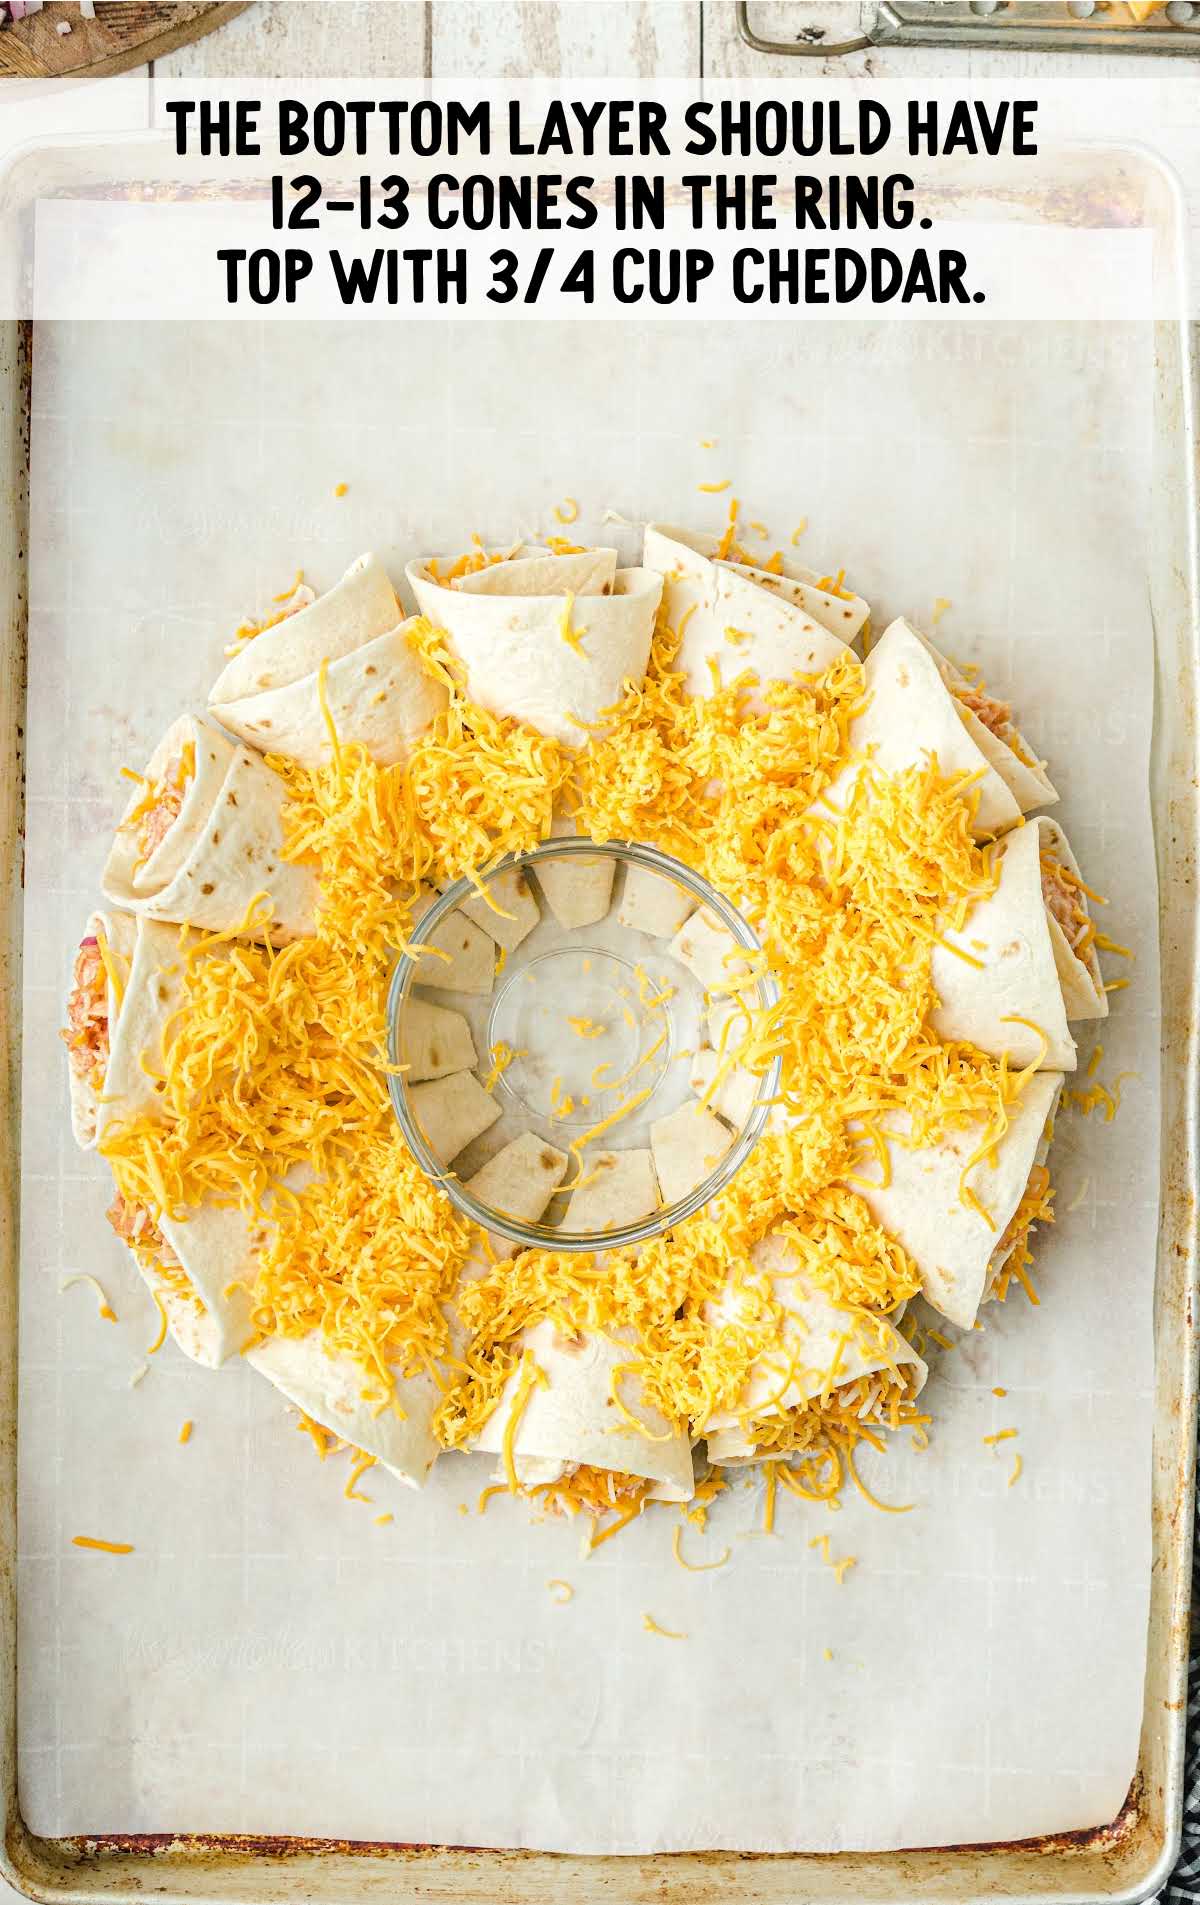
STEP SIX: Once you have made a complete bottom layer, about 12 to 13 tortilla cones, sprinkle ¾ cup of the shredded cheddar cheese on top of the ring.
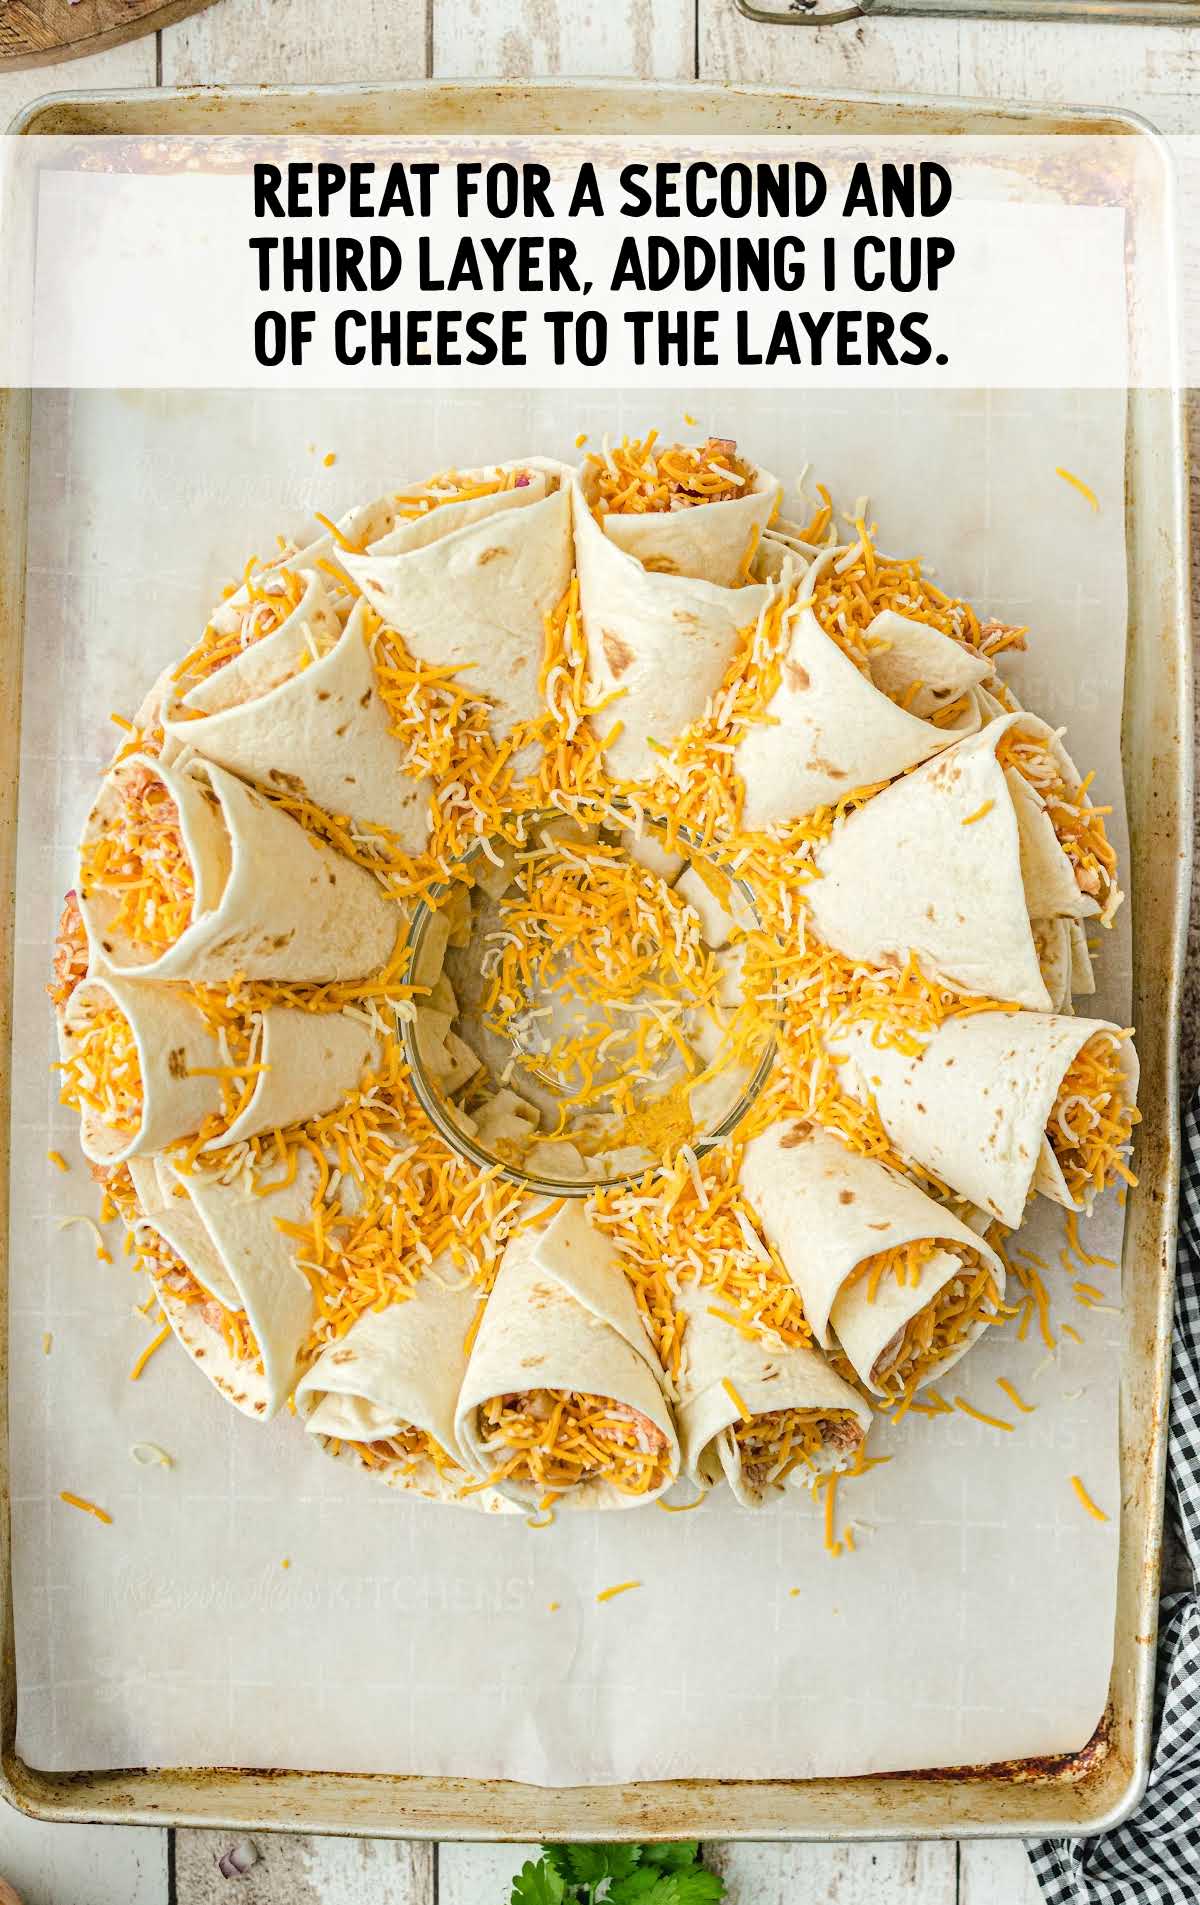
STEP SEVEN: Repeat the ring of cones for a second layer. Then top with one cup of the Colby and Monterey jack cheese.
STEP EIGHT: Repeat for the third and final ring. Remove the glass jar from the center of the cones.
STEP NINE: Bake for 15 to 20 minutes in the preheated oven or until the edges of the cones are golden brown and the cheese is melted.
PRO TIP:
Oven temperatures vary and may need to be recalibrated periodically to ensure they are accurate. Make sure to check your quesadilla ring at the lower end of the recommended baking time.
STEP TEN: Using the edges of the parchment paper, carefully transfer the quesadilla ring to a heat-safe serving plate.
PRO TIP:
If you want to trim the excess parchment paper, be very careful not to touch the hot cheese!
STEP ELEVEN: Serve the quesadilla ring with your favorite salsa or dipping sauce.
How To Serve
Serve your delicious quesadilla ring with all of your favorite toppings, including sour cream, pico de gallo, guacamole, and salsa.
This crowd-pleasing recipe makes a great appetizer or even a main course for taco night.
If you are more of a fan of beef in your quesadillas, then try this simple cheesy beef quesadilla recipe.
Or, for fans of sheet pan meals, make these sheet pan quesadillas to feed the whole family at once.
MORE MEXICAN RECIPES

Storage
IN THE FRIDGE: You can store any leftovers of this unique appetizer dish in the fridge.
Allow them to cool and pop the portions in an airtight container, then keep them in the fridge for three to four days.
IN THE FREEZER: Freezing the quesadillas is a great way to save any leftovers. Let them cool, then add them to a freezer bag or an airtight container.
Freeze for up to three months, then defrost thoroughly before reheating. Only freeze the dipping sauce if the packet recommends this.

This tasty blooming quesadilla ring is a fun way to serve quesadillas and brings that Mexican buffet vibe to your dining table. This appetizer also works as a lunch dish and can easily be increased if you have lots of mouths to feed.
Frequently Asked Questions
Can I use corn tortillas in this quesadilla recipe?
You can certainly use corn tortillas in this recipe, although we do find that flour tortillas tend to be more pliable and will roll into the cones easier.
Can I freeze this recipe?
You can freeze leftovers in an airtight container for up to three months.
Can I add other fillings to the tortilla cones?
You can get creative and add any fillings you enjoy in tacos or quesadillas that you like!
More Recipes You’ll Love
- Sheet Pan Tacos
- Spinach Artichoke Dip Recipe
- Spanish Rice
- Buffalo Chicken Dip
- Taco Bell Mexican Pizza
- Pineapple Salsa
- Cheeseburger Quesadilla
- Beef Stroganoff
- Mexican Corn Salad
- Taco Bake
- Oven Chicken Kabobs
- Diet Coke Chicken
- Taco Sticks
- French Onion Beef
- Puffy Tacos
- Taco Bites
- Air Fryer Pizza Rolls
- Pull-Apart Pizza Bread
- Zinger Burger
- No Peek Beef Tips
- Beef Enchilada Recipe
- Chicken Tortilla Roll-Ups
- Spinach Artichoke Quesadillas
- White Chicken Enchilada Skillet
- Grilled Corn on the Cob
- Air Fry Pizza
- Taco Seasoning


Blooming Quesadilla Ring
This tasty blooming quesadilla ring is a fun way to serve quesadillas and brings Mexican flavors to the dinner table.
Prep Time 25 minutes
Cook Time 20 minutes
Total Time 45 minutes
Servings 5
Ingredients
- 20 soft flour tortilla taco shells
- 3 cups cooked skinless and boneless chicken breast, shredded
- 1 yellow bell pepper, seeded and diced
- ½ cup sweet yellow onion, finely diced
- ½ cup red onion, finely diced
- ½ cup salsa, your favorite brand
- 1 cup taco sauce, your favorite brand
- 4 cups Colby and Monterey jack cheese, finely shredded
- 2 cups cheddar cheese, finely shredded
- 2 tablespoons fresh cilantro, chopped (optional garnish)
Instructions
- Preheat oven to 375°F. Line a baking sheet with parchment paper. Put a large, wide-mouth glass jar in the center of the baking sheet.
- Using a cutting board and a sharp knife or a pizza cutter, cut the tortillas in half. Cover the halved tortillas with a clean, dry cloth and set aside.
- In a large mixing bowl, combine the shredded cooked chicken, diced yellow pepper, finely diced yellow onion, finely diced red onion, salsa, and taco sauce. Stir well until all of the ingredients are completely incorporated.
- Sprinkle 1½ to 2 tablespoons each of the shredded Colby and Monterey jack cheese and the chicken mixture.
- Roll each of the halved, filled tortillas into a cone shape. Be careful not to squish out the filling. The small pointed ends of the cones need to touch the wide-mouth jar and form a ring around the jar.
- Once you have made a complete bottom layer, about 12 to 13 cones, sprinkle ¾ cup of the shredded cheddar cheese on top of the ring.
- Repeat the ring of cones for a second layer. Then top with 1 cup of the Colby and Monterey jack cheese.
- Repeat for the third and final ring. Remove the glass jar from the center of the cones.
- Bake for 15 to 20 minutes, or until the edges of the cones are golden brown and the cheese is melted.
- Using the edges of the parchment paper, carefully transfer the quesadilla ring to a heat-safe serving plate.
- Serve the quesadilla ring with your favorite salsa or dipping sauce.
Video
Notes
- Covering the tortillas will help ensure they remain soft while making your filling.
- Oven temperatures vary and may need to be recalibrated periodically to ensure they are accurate. Make sure to check your quesadilla ring at the lower end of the recommended baking time.
- If you want to trim the excess parchment paper, be very careful not to touch the hot cheese!
Nutrition
Calories: 1108kcal | Carbohydrates: 72g | Protein: 66g | Fat: 61g | Saturated Fat: 34g | Polyunsaturated Fat: 5g | Monounsaturated Fat: 16g | Trans Fat: 0.01g | Cholesterol: 203mg | Sodium: 2326mg | Potassium: 958mg | Fiber: 6g | Sugar: 9g | Vitamin A: 1925IU | Vitamin C: 51mg | Calcium: 1246mg | Iron: 6mg
Have You Tried This Recipe?Follow me on Pinterest @spaceshipslb


Comments
Cynthia says
I love to make mine with chicken. They are delightful.
Janet says
Looks wonderful! I love quesadillas!
Tara W. says
I like them with chicken on a flour tortilla.
Patty says
Prefer Chicken and not hot spices
Barbara Barnwell says
I like chicken and use cheddar cheese.
Sew Crafty Crochet says
This looks so delicious! I’m pinning this to make later.
Pat @ the blog Mille Fiori Favoriti says
Yummy! This looks like a wonderful party appetizer or entree. Thanks for the wonderful and fun presentation idea.
Kim from Clifornia says
Everyone loved this. I did have to subsitute jalapeños for the bell peppers and half 9f the cheese for pepper jack, since it was all I had on hand. I would make this again. Very tasty!