October 24, 2023
Review RecipeNo Bake Black Forest Cheesecake
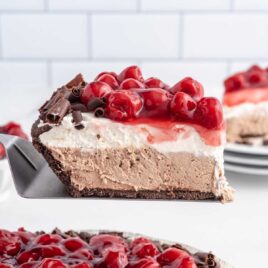
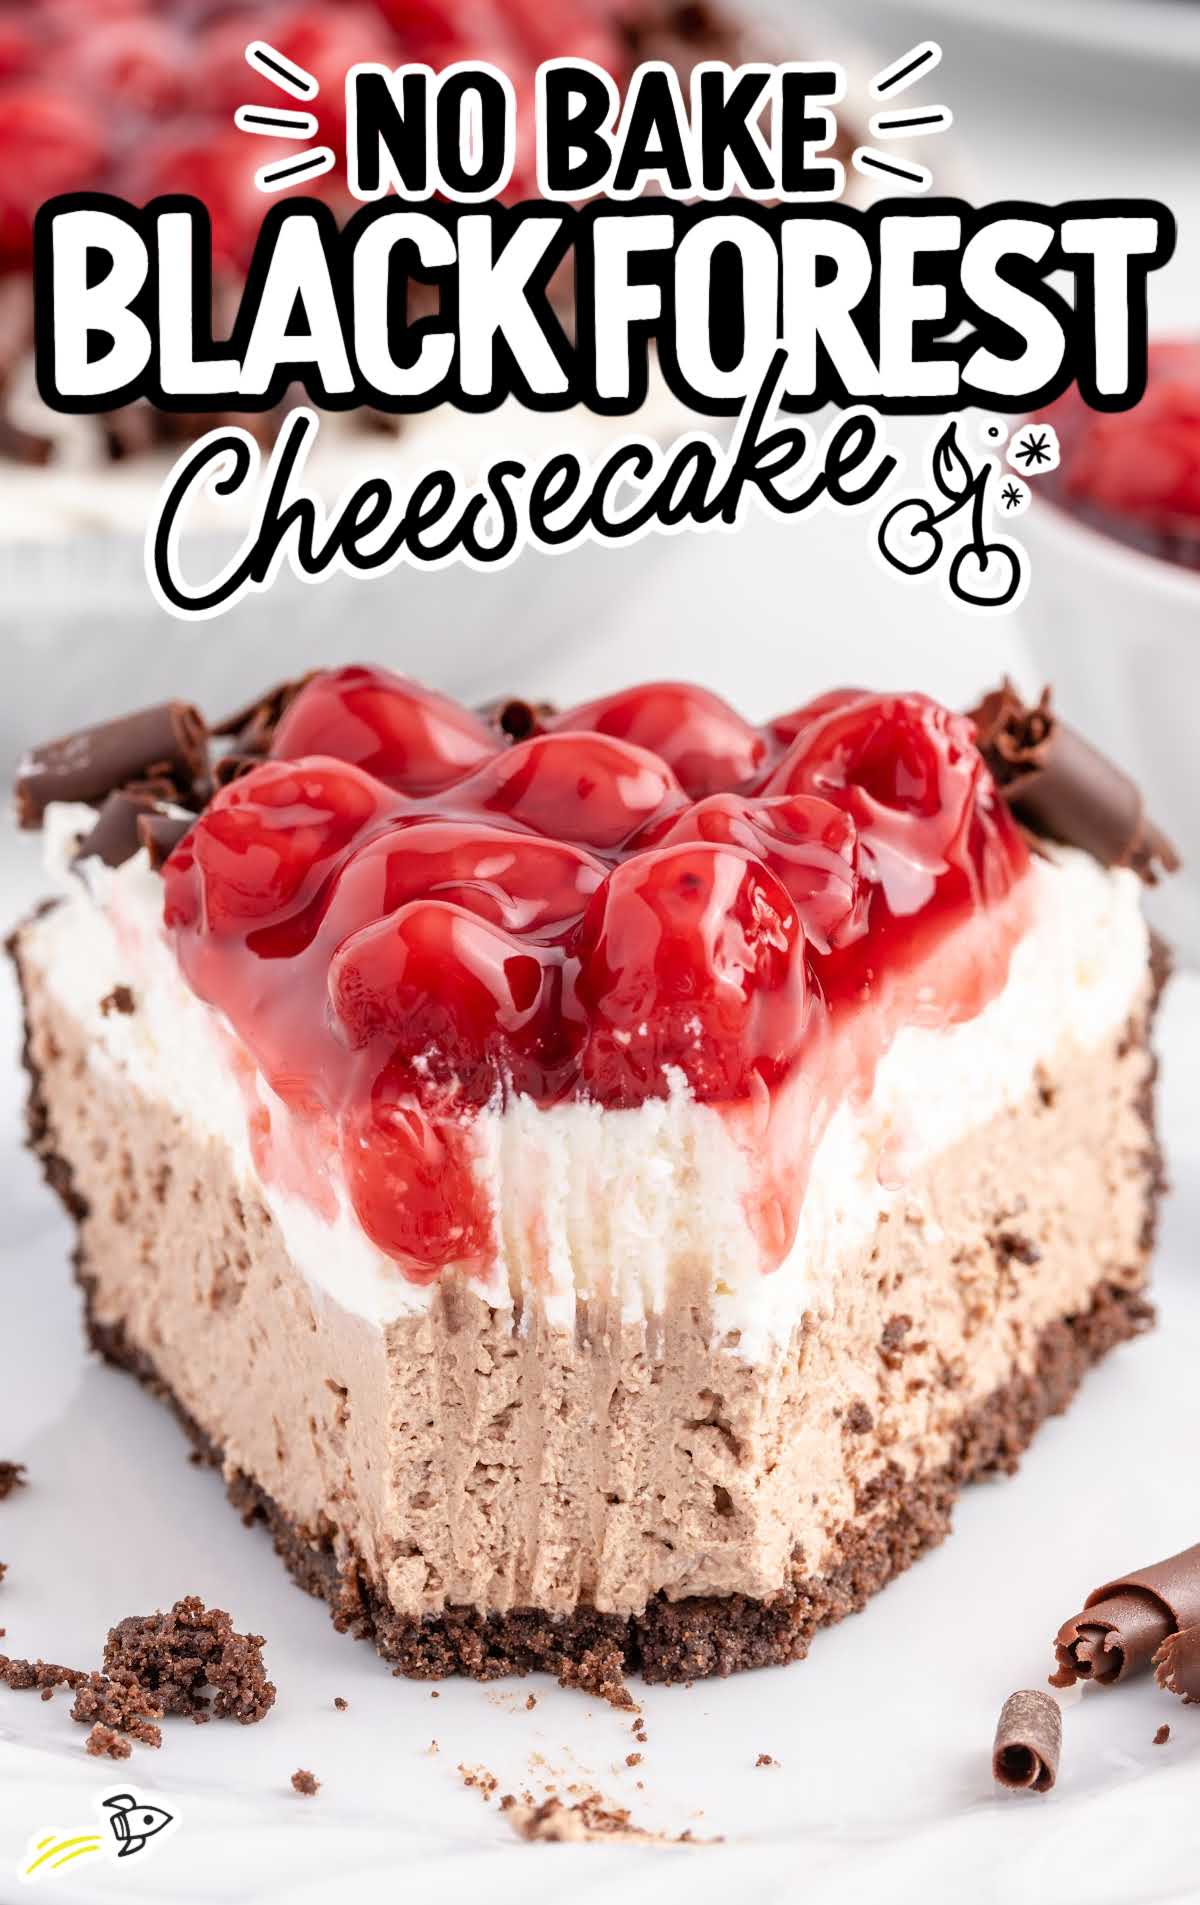
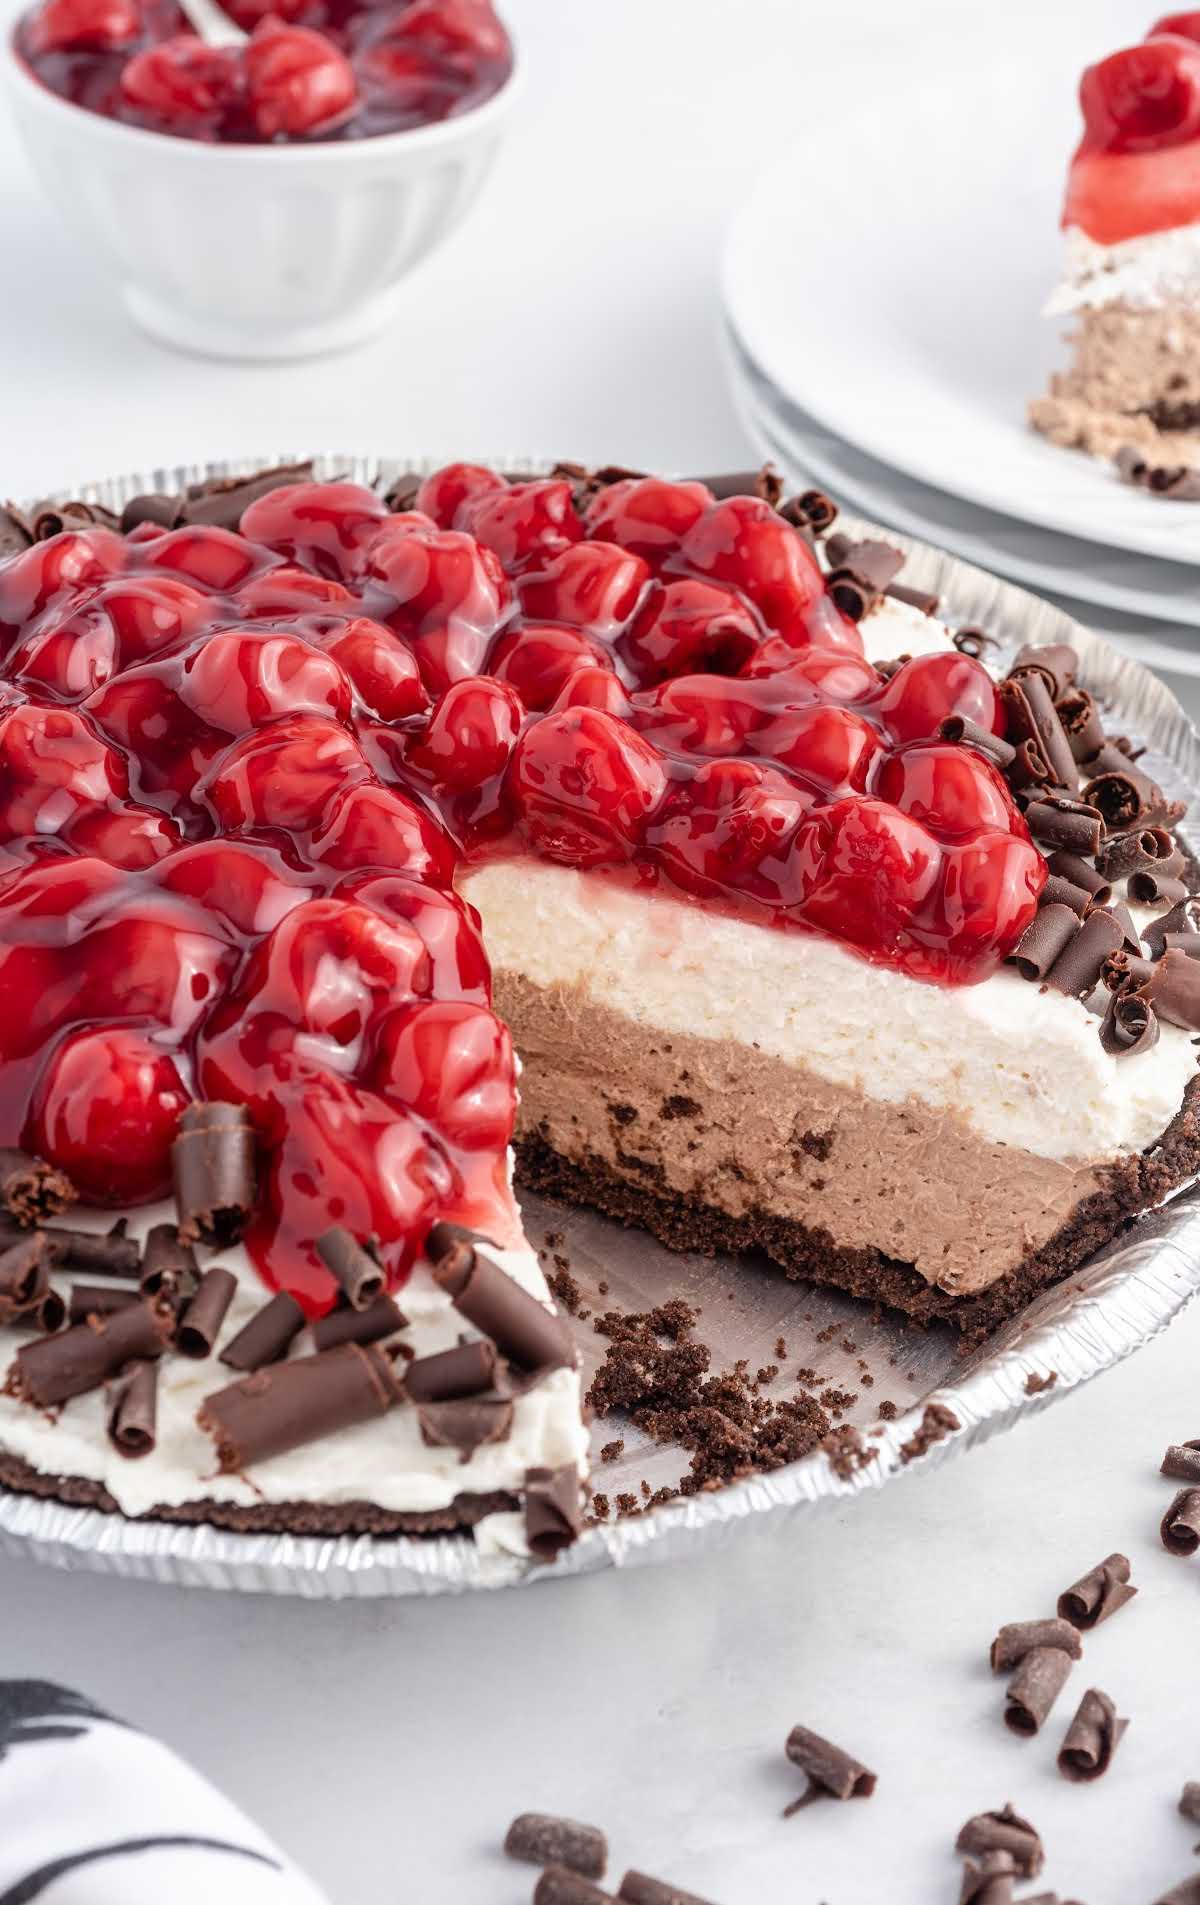
This no-bake black forest cheesecake is the ultimate rich and decadent dessert featuring layers of velvety cream cheese, whipped cream, sweet cherry pie filling, and chocolate curls.Inspired by: Mama’s Favorite Recipes
Jump to Recipe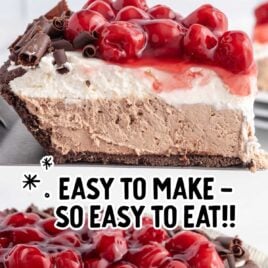
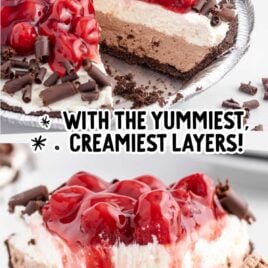
Table of Contents
Chocolate and cherry lovers will go crazy for this no-bake black forest cheesecake. Made with velvety cream cheese, whipped cream, tart cherry pie filling, and rich chocolate shavings to create a dessert with a dreamy mousse-like texture, this treat is as decadent and delicious as it sounds.
No Bake Black Forest Cheesecake Ingredients
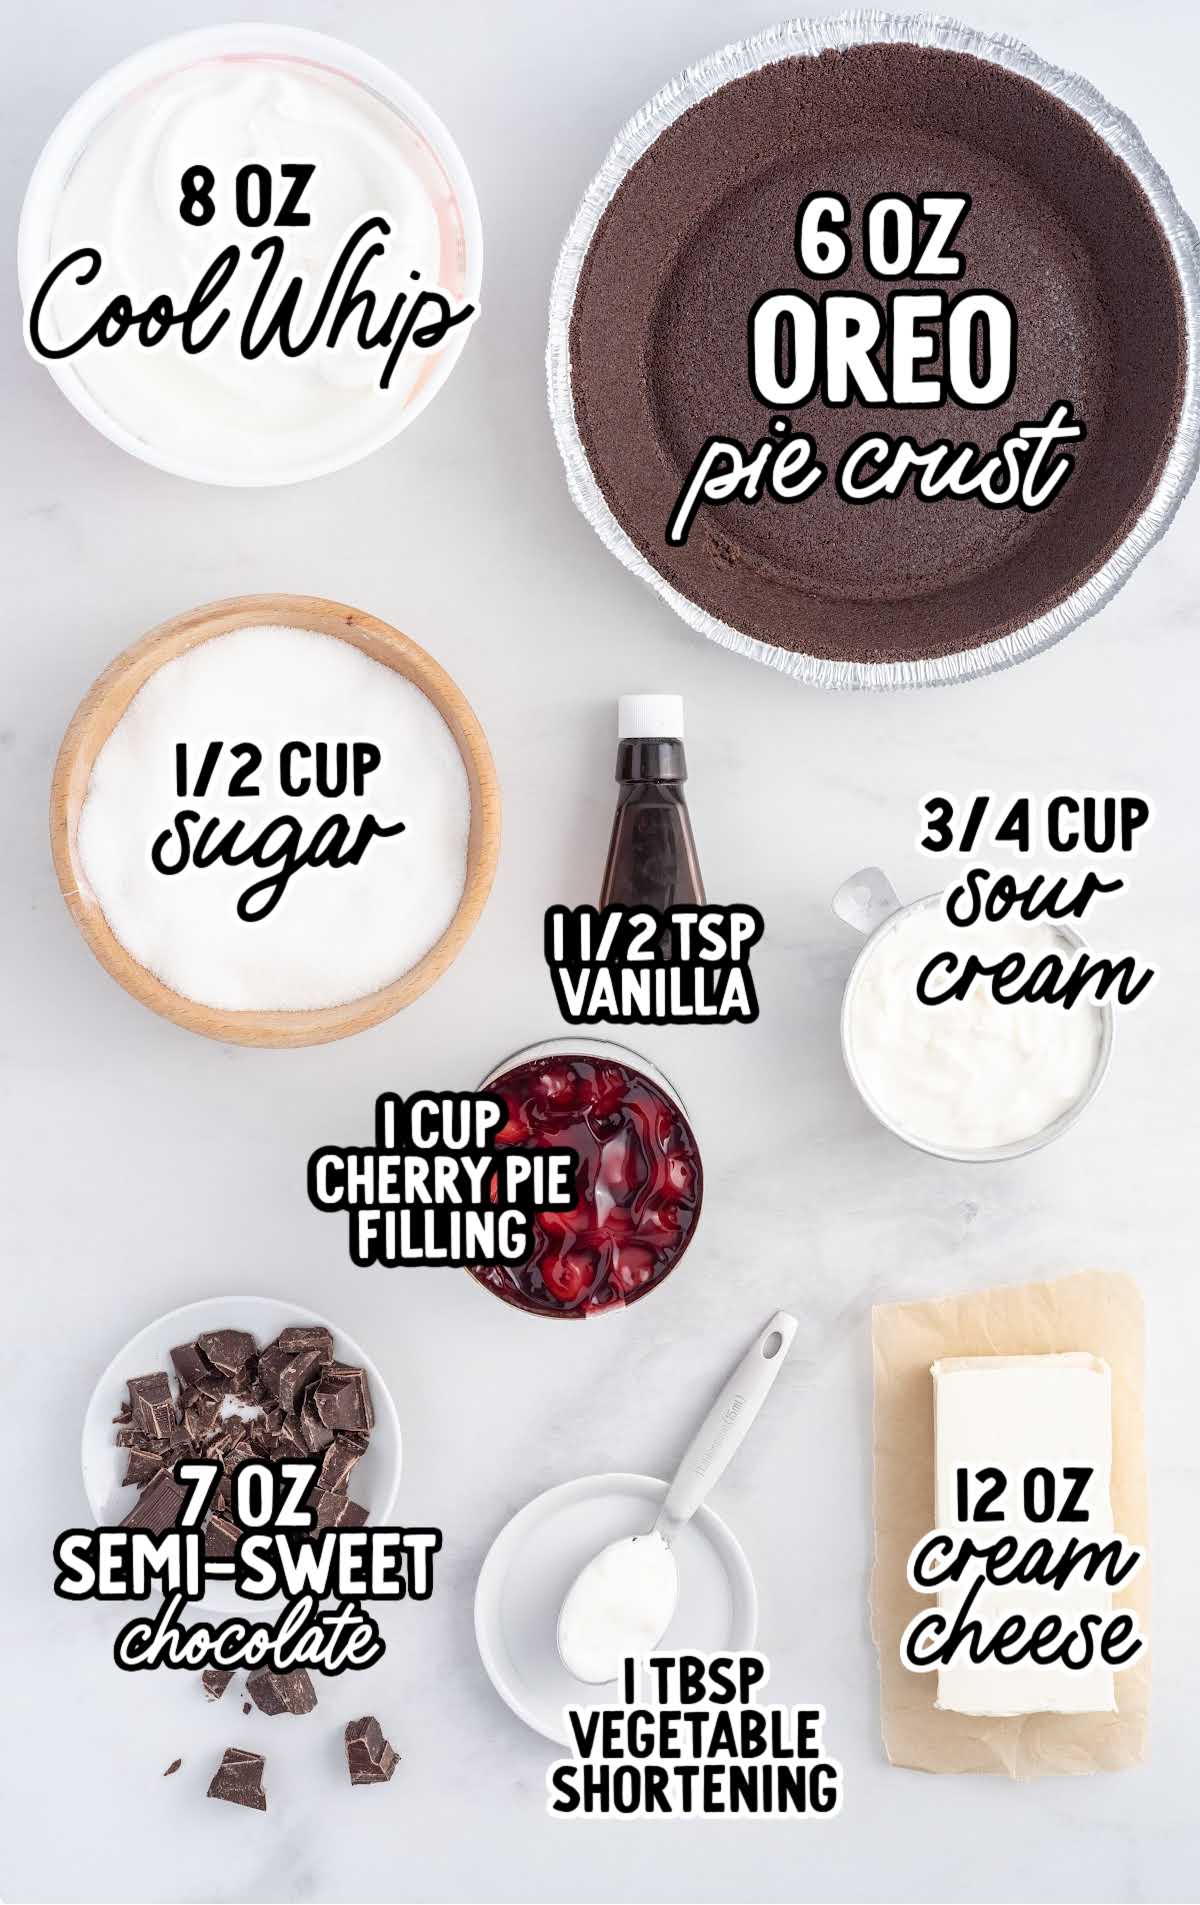
You’ll need:
- 1 (6-ounce) pre-made Oreo pie crust
- 12 ounces cream cheese, room temperature
- ½ cup granulated sugar
- ¾ cup full-fat sour cream
- 1½ teaspoons vanilla extract
- 3 ounces semi-sweet baking bar, chopped (I used Ghirardelli brand)
- 1 (8-ounce) tub whipped topping, thawed
- 1 cup canned cherry pie filling (I used Duncan Hines/Comstock more fruit)
- Chocolate curls, optional garnish
PRO TIP:
I like to buy the brands of canned fruit pie filling that are “more fruit” because they tend to have less of a jellied coating over the cherries. If you can not find a brand like this, you can get two cans and just use a slotted spoon to scoop out only the cherries, leaving most of the jellied coating in the can. If desired, you can reserve any remaining pie filling to add to individual slices of no-bake black forest cheesecake. The reserved pie filling can be stored in a sealed container in the refrigerator for up to 7 days.
For the Chocolate Curls
- 4 ounces semi-sweet chocolate baking bar, broken into small pieces (I used Ghirardelli brand)
- 1 tablespoon vegetable shortening (I used Crisco)
SUBSTITUTIONS AND ADDITIONS
CHOCOLATE: Use a good quality semi-sweet chocolate baking bar for this no-bake cheesecake recipe. They melt much more consistently, and since this is a very quick and easy dessert with very few ingredients, you want to use good quality ingredients. I like Ghirardelli, Baker’s, Lindt, and Guittard, to name a few.
DAIRY: I like using full-fat cream cheese, sour cream, and even whipped topping when baking. I find that full-fat dairy products yield much tastier results. The low-fat or no-fat varieties have too much water in them, and I find that they do not have a good texture or consistency with the final product.
WHIPPED TOPPING: I tried substituting the tub of whipped topping (like Cool Whip) for a homemade sweetened whipped cream, and it just did not set up as well as using the premade kind. You can make your own whipped topping by whipping 8 ounces of very cold heavy cream with ¼ cup sifted powdered sugar until soft peaks form if you would prefer to do so. I just find that there is something magical that the tub gives you that homemade just doesn’t for this recipe.
How to Make This No Bake Black Forest Cheesecake Recipe
STEP ONE: Remove the plastic cover for the pre-made chocolate crust and set it aside.
OUR RECIPE DEVELOPER SAYS
The plastic cover is perfect to use for storage. Flip it over and use it to cover your pie before you put it in the fridge.
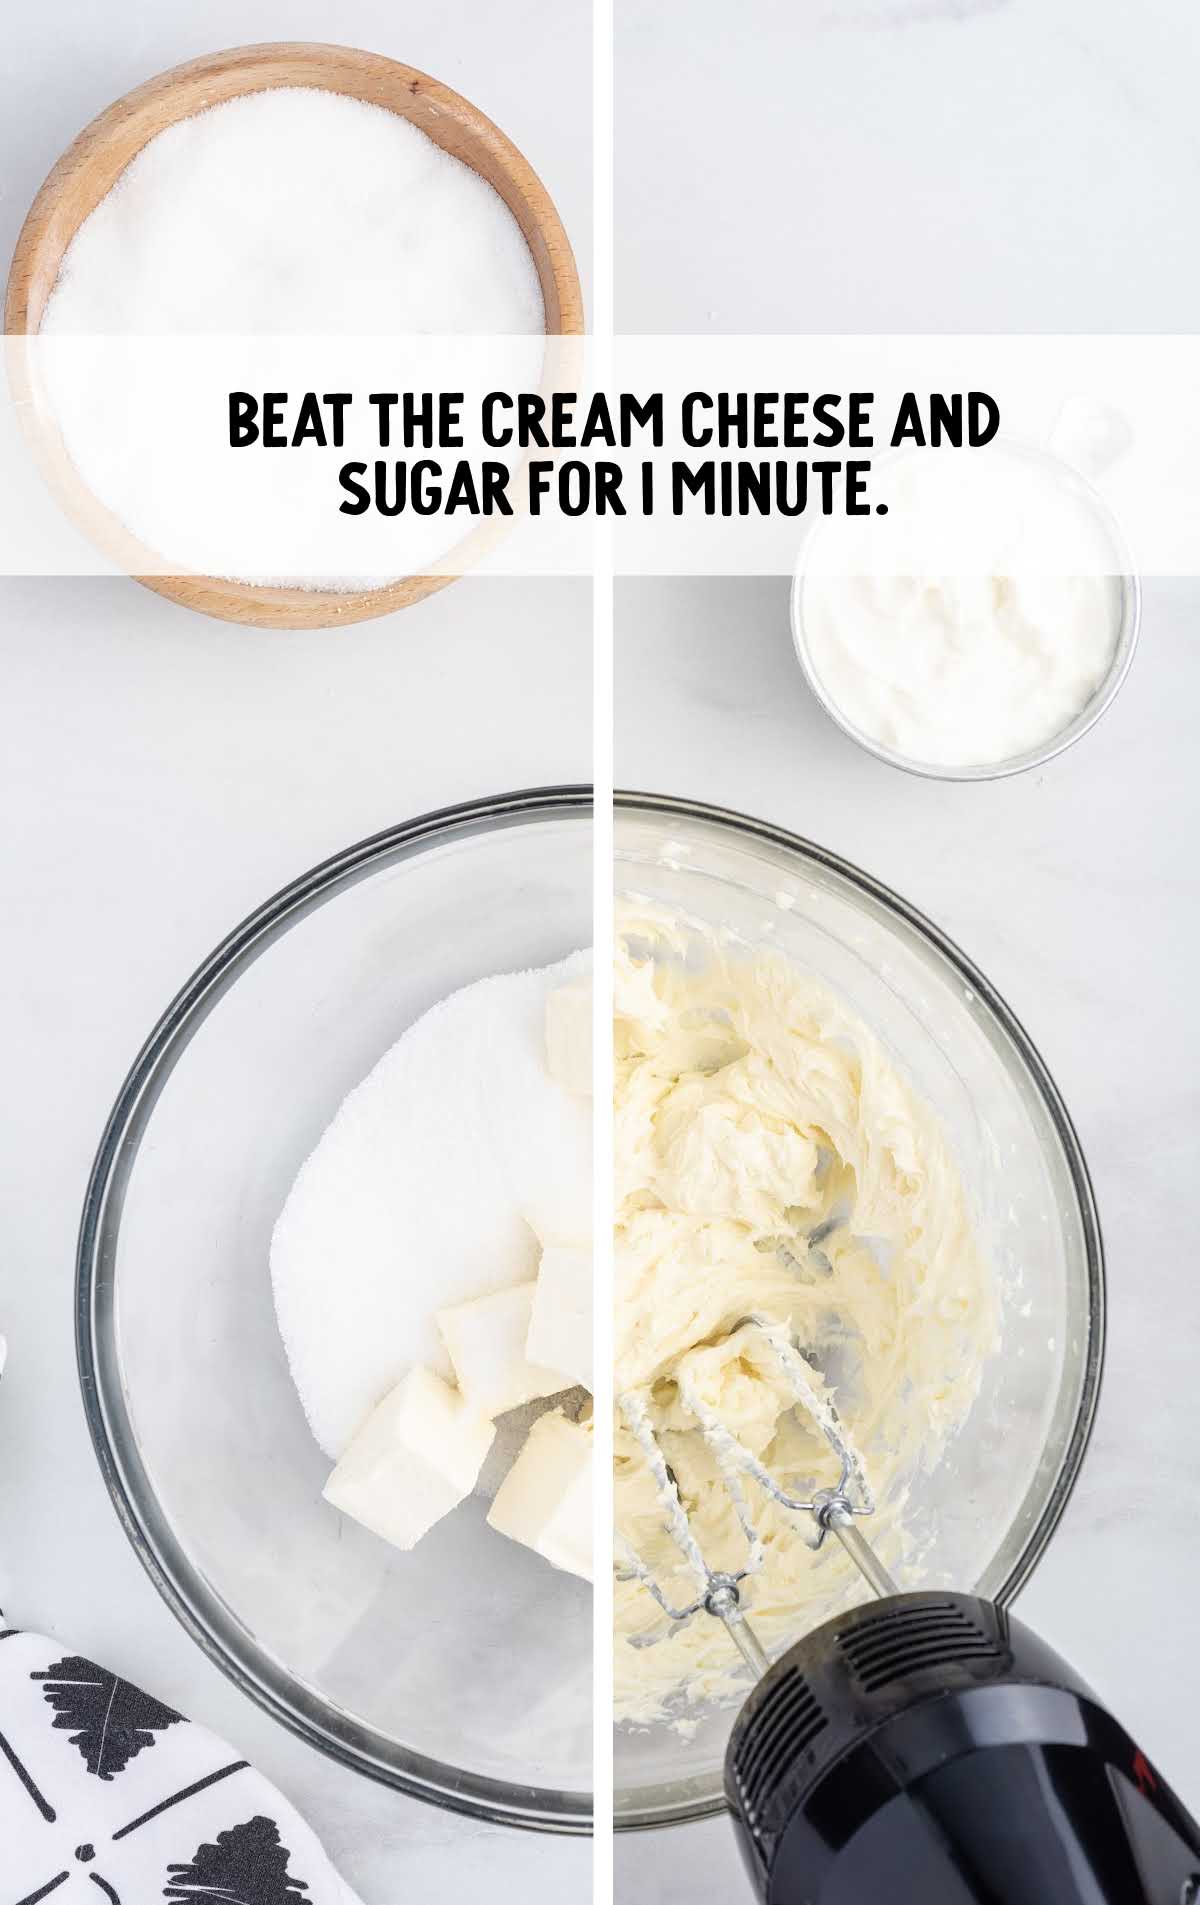
STEP TWO: In a large bowl using an electric mixer on medium speed, beat the cream cheese and granulated sugar for 1 minute or until light and fluffy.
PRO TIP:
Make sure your cream cheese is at room temperature, so you don’t have lumps in your cheesecake mixture.
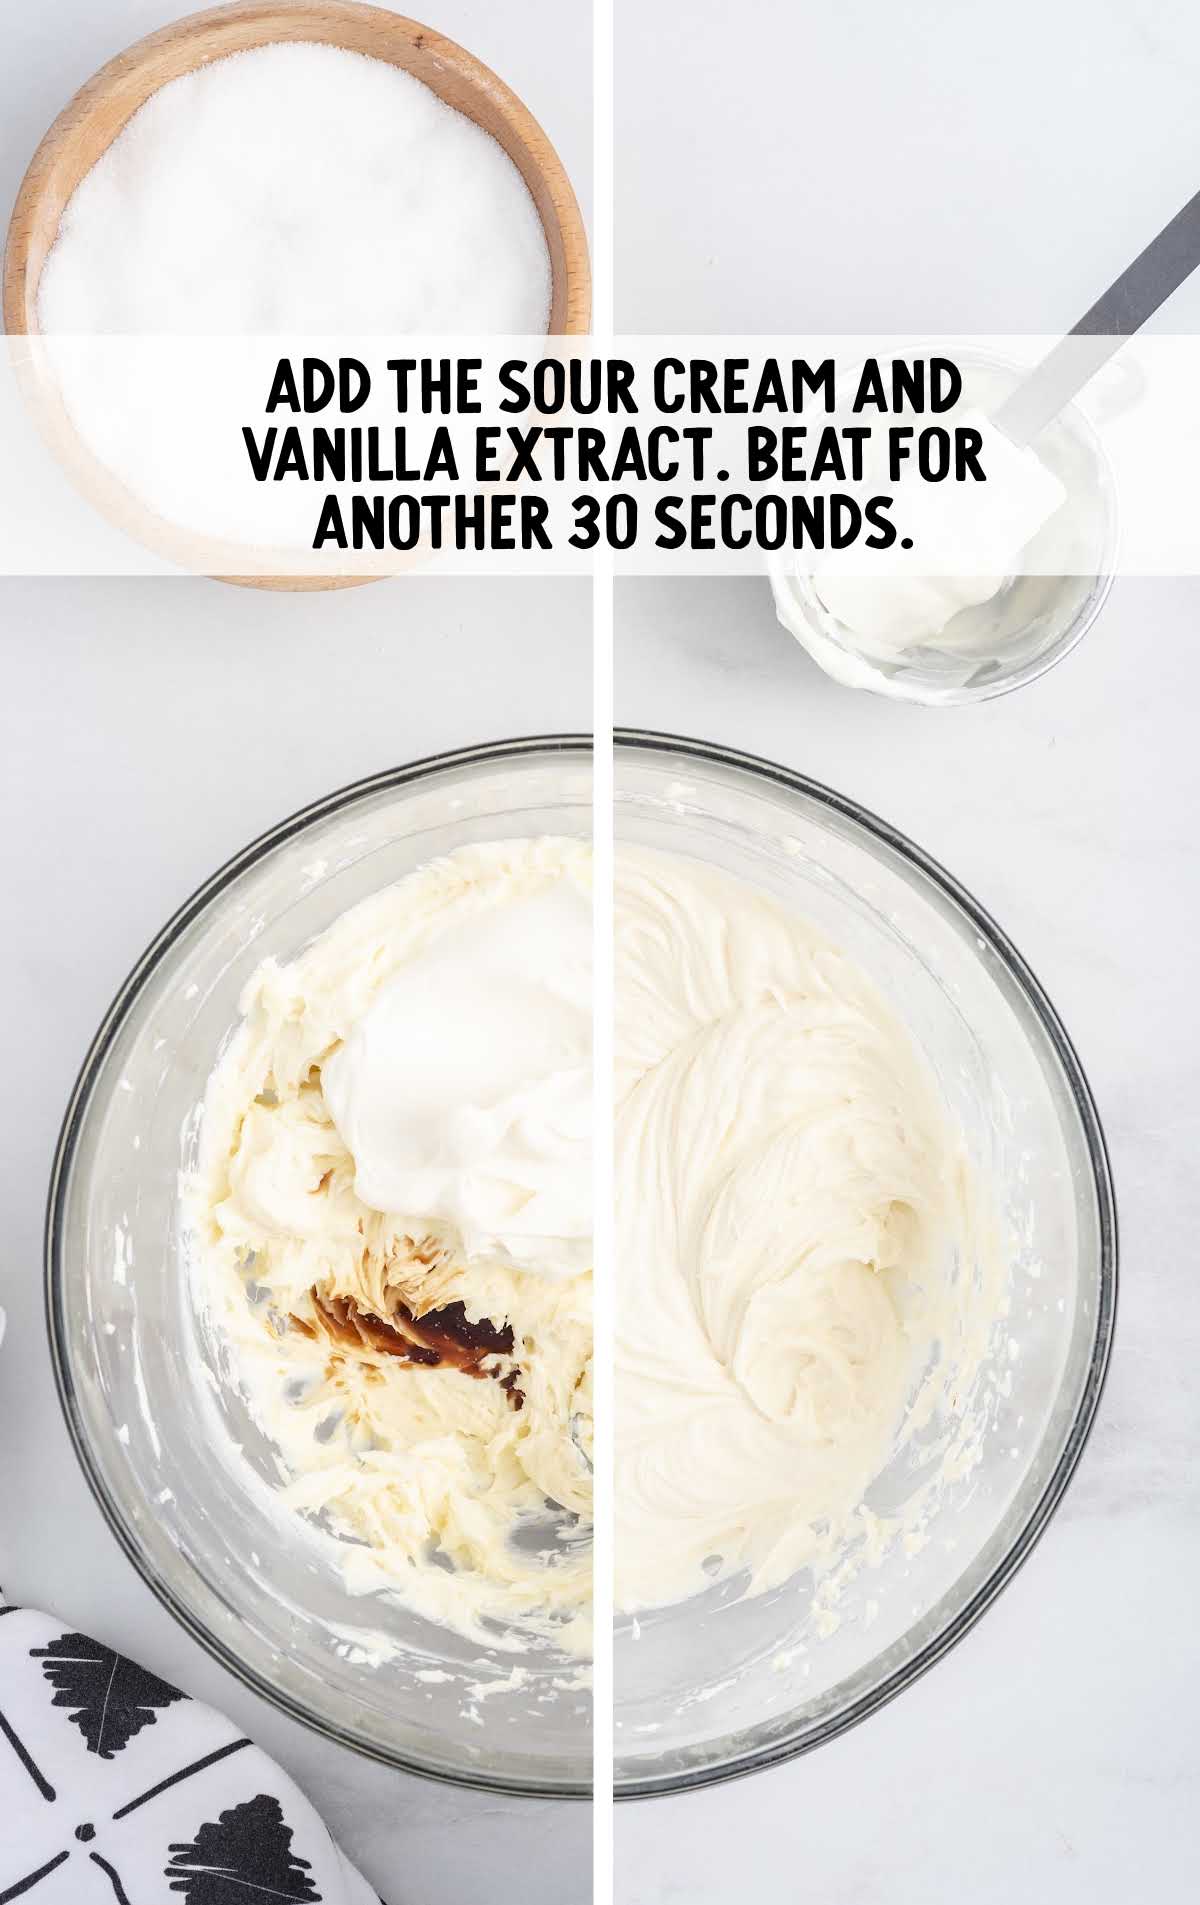
STEP THREE: Add the sour cream and vanilla extract. Beat for an additional 30 seconds until all the ingredients are fully incorporated.
STEP FOUR: Transfer half of the cheesecake batter to another large mixing bowl. Set both bowls aside.
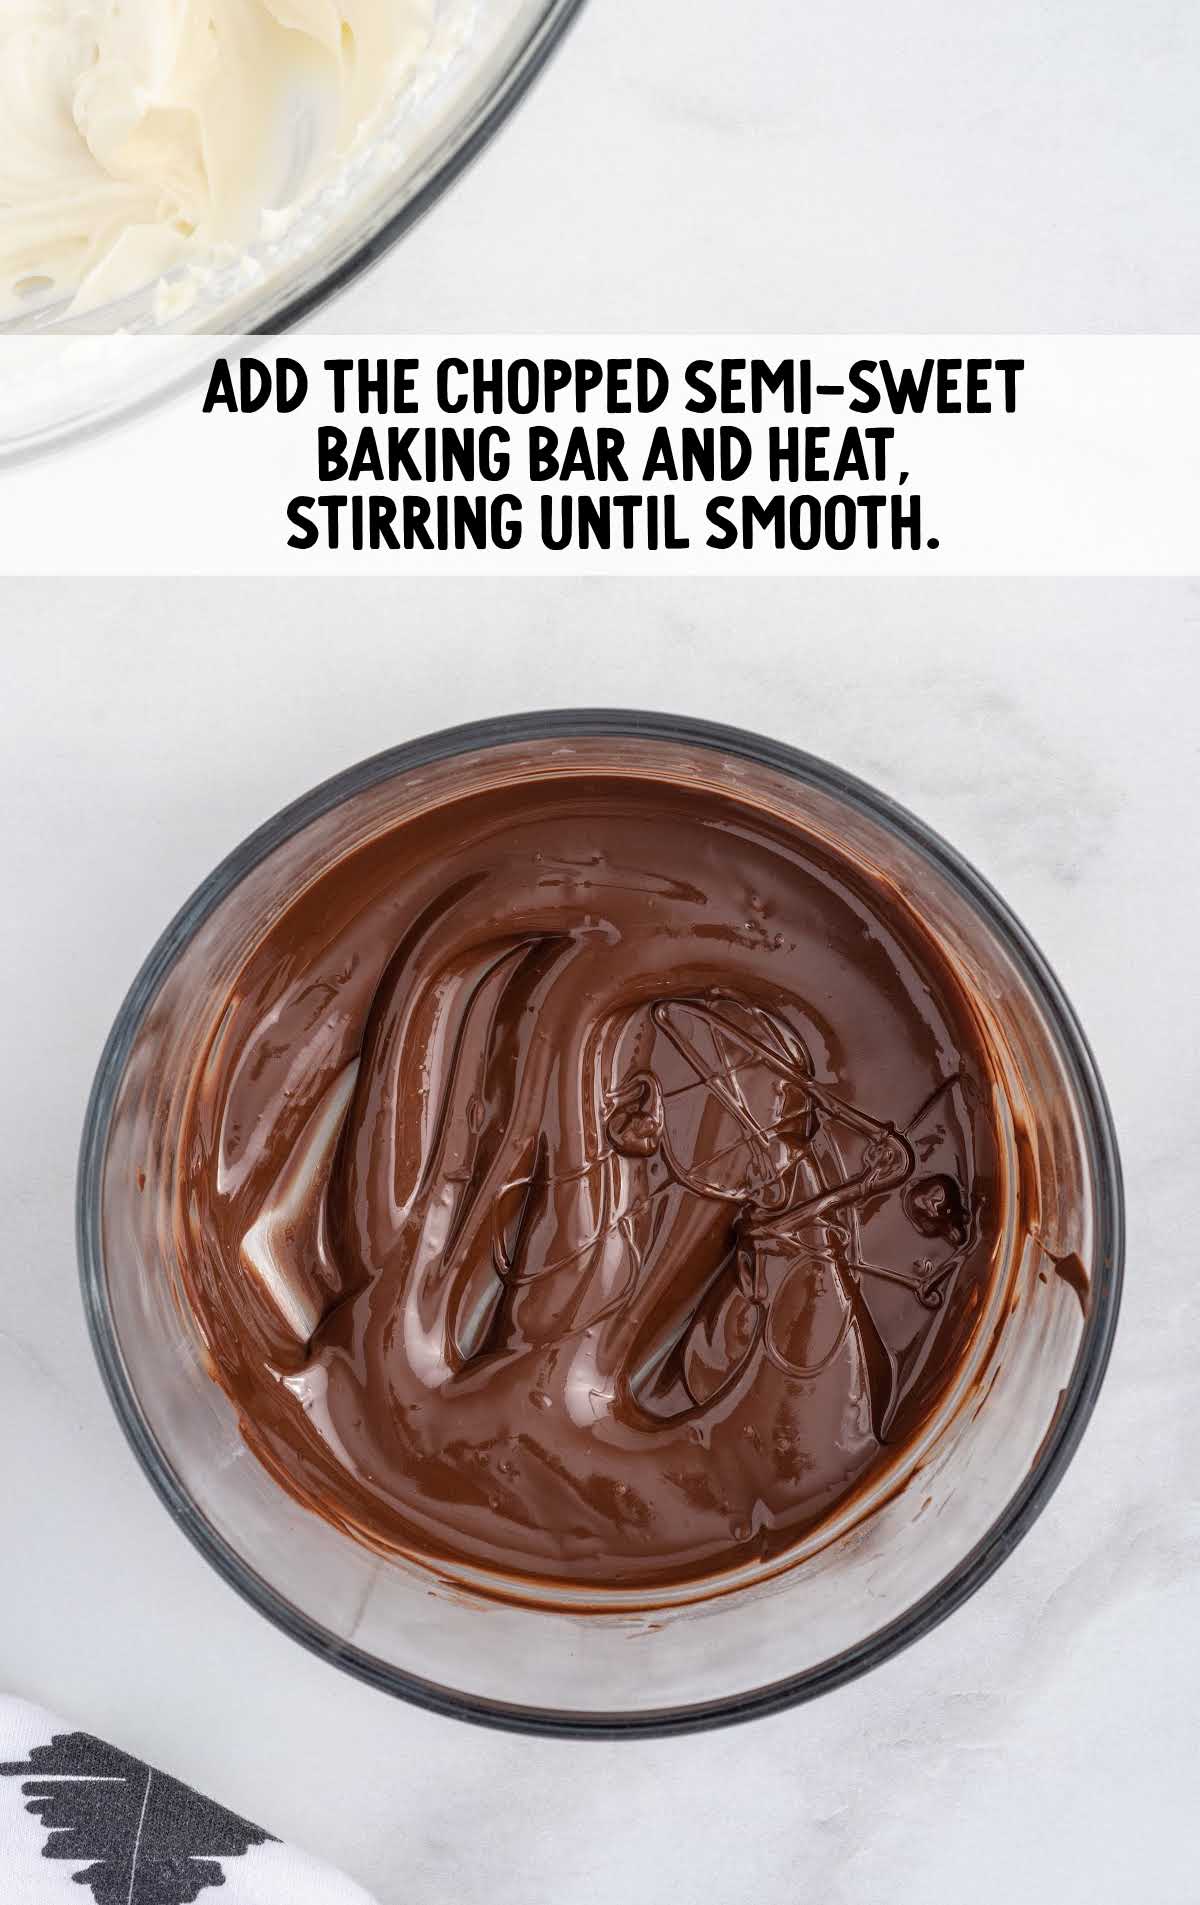
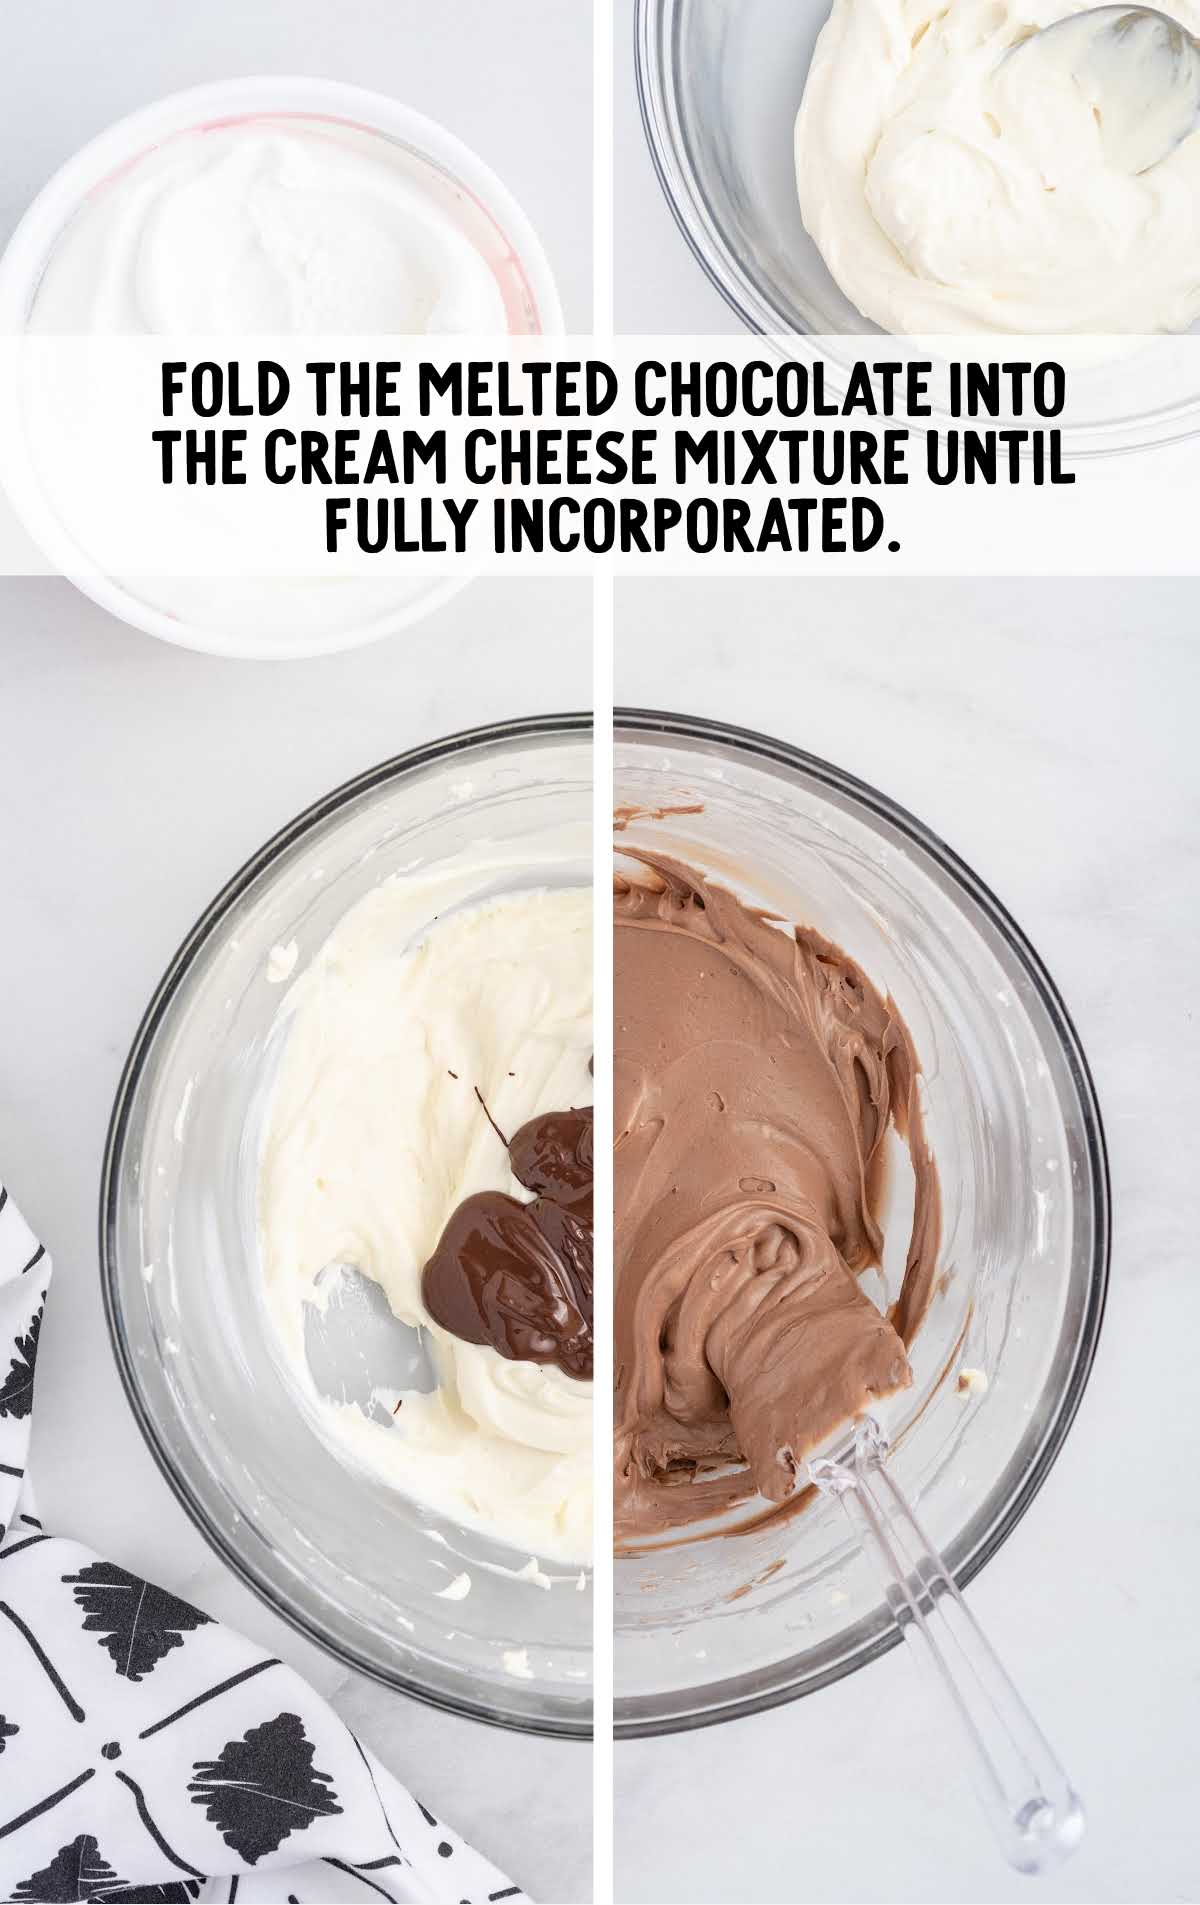
STEP FIVE: Add the chopped semi-sweet baking bar to a small microwave-safe bowl and heat for 1 minute at 60% power. Stir, then heat again for another 30 seconds to 1 minute at 60% power. Stir until smooth.
STEP SIX: To one of the bowls with the cream cheese mixture, fold in the melted semi-sweet chocolate until fully incorporated. Set aside.
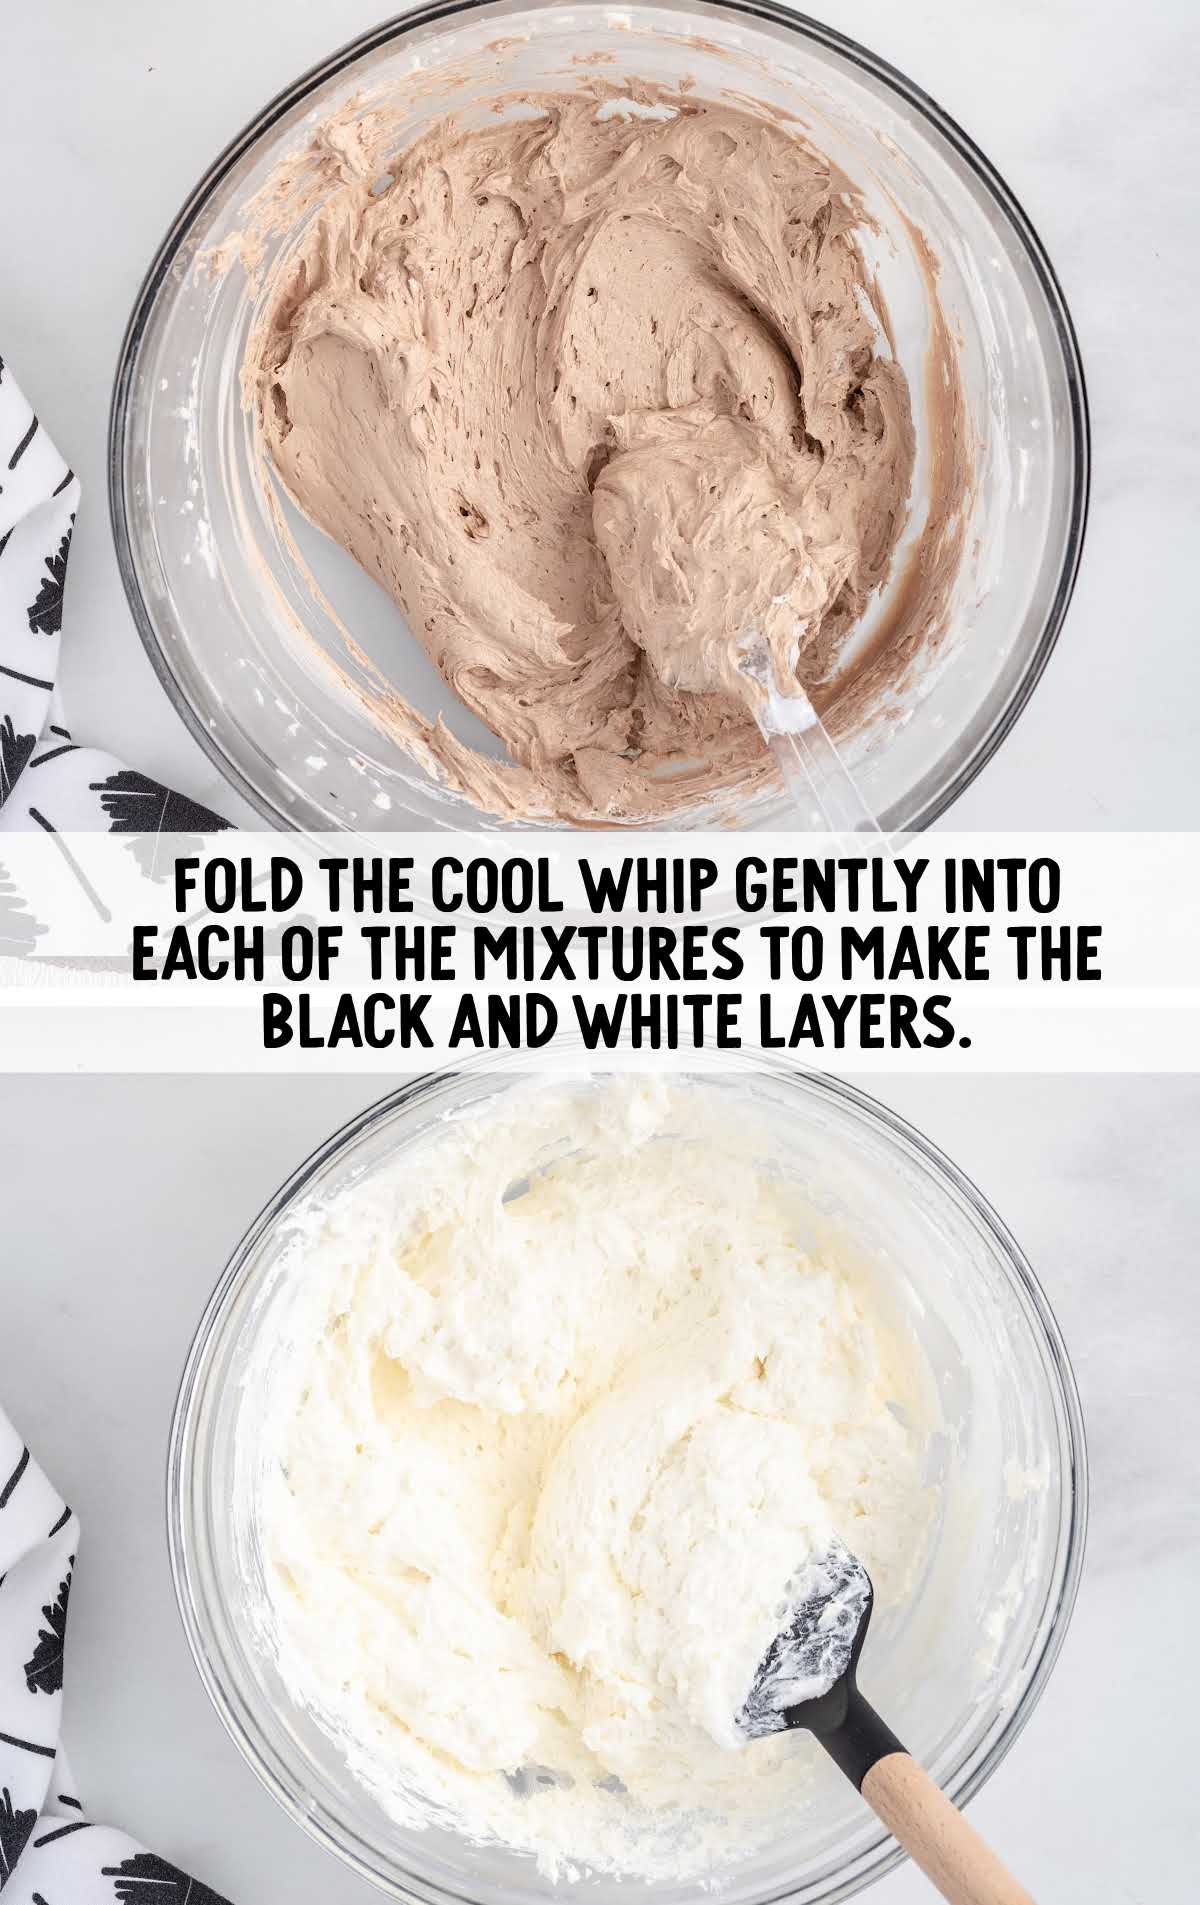
STEP SEVEN: Divide the thawed whipped topping equally between the chocolate cream cheese bowl and the plain cream cheese bowl.
STEP EIGHT: Fold the whipped topping gently into each of the mixtures. These will be the black and white layers of your pie.
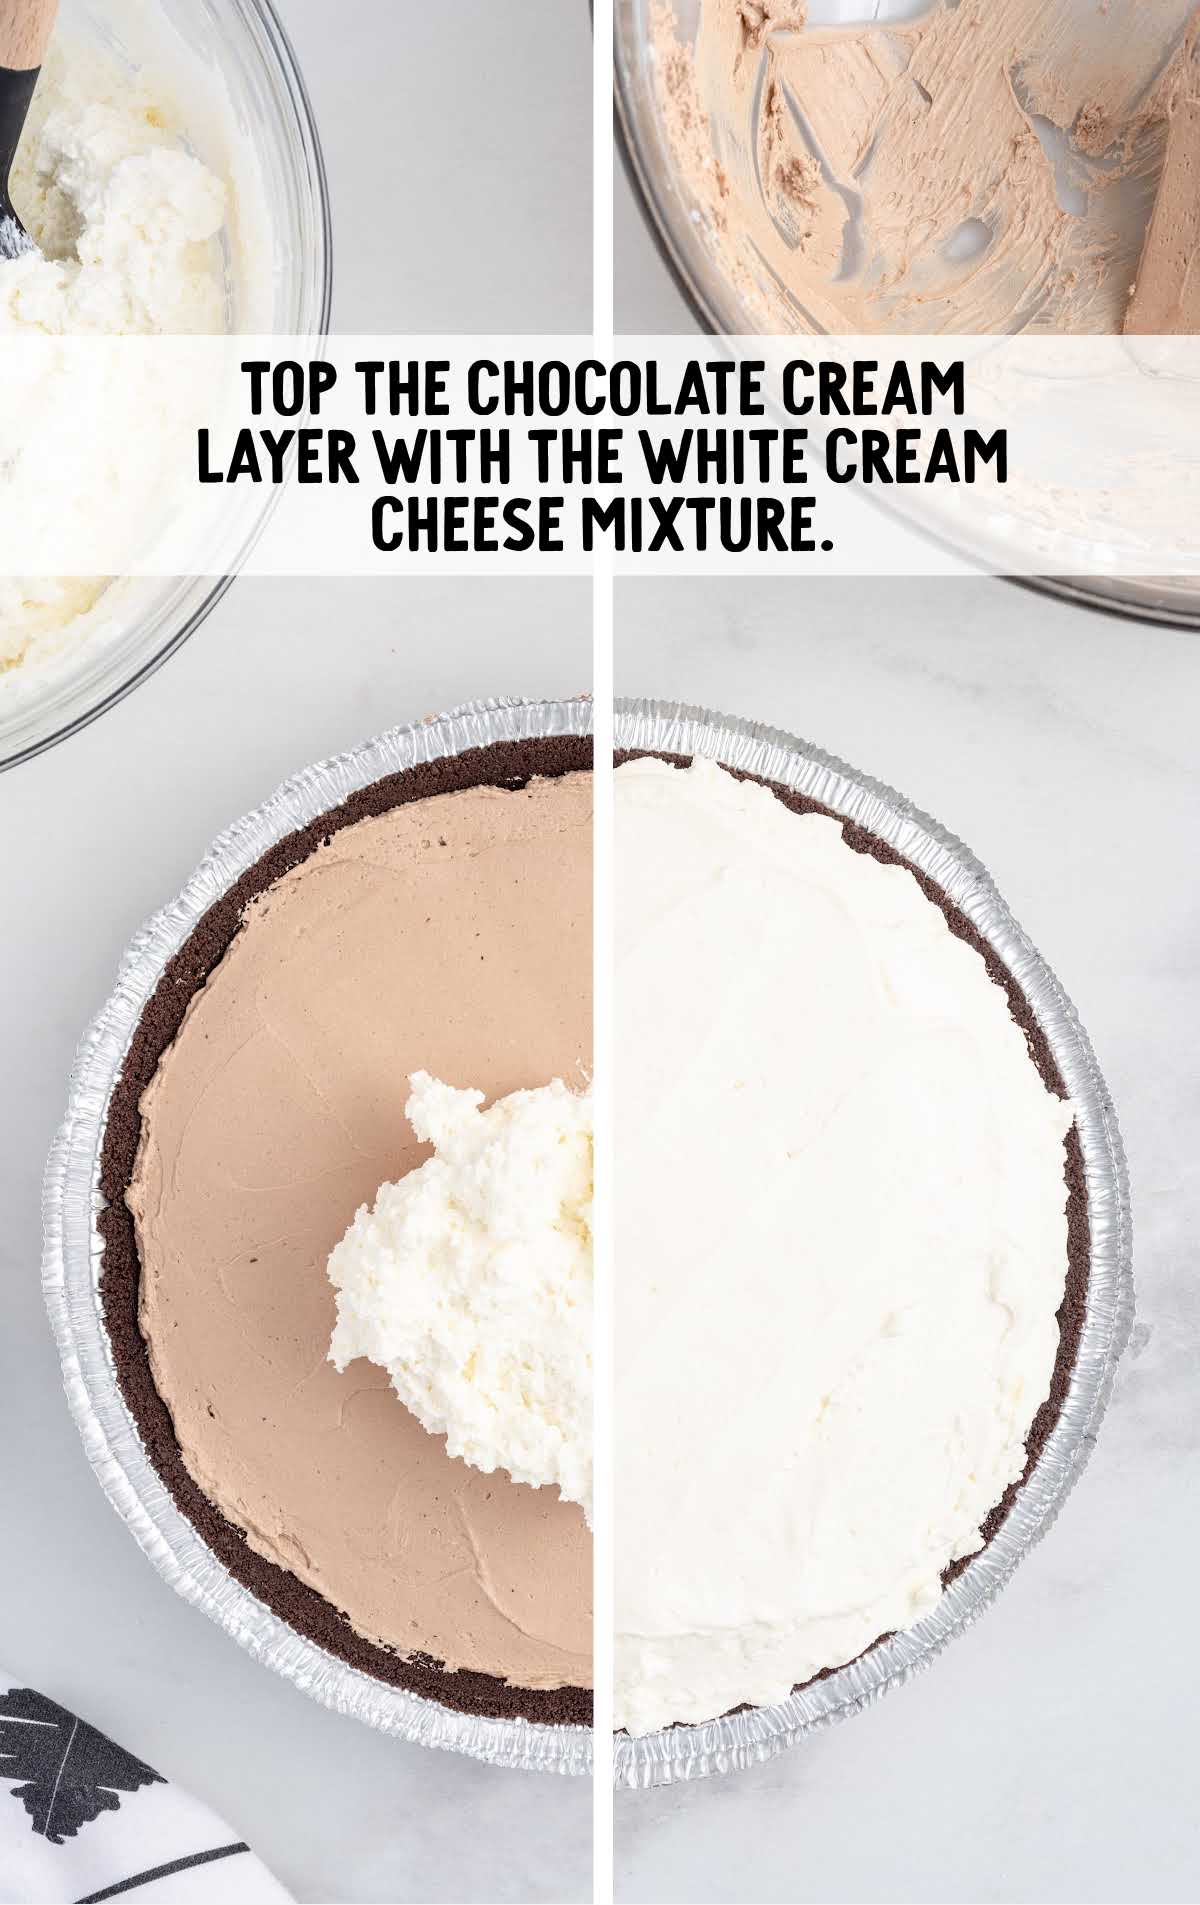
STEP NINE: Spread your chocolate filling mixture into an even layer onto the bottom of your chocolate crumb crust.
STEP TEN: Top that with the plain cream cheese mixture and spread it into an even layer.
STEP ELEVEN: Cover your pie with the plastic piece that came with the crust and refrigerate your no-bake black forest pie for 8 hours to overnight.
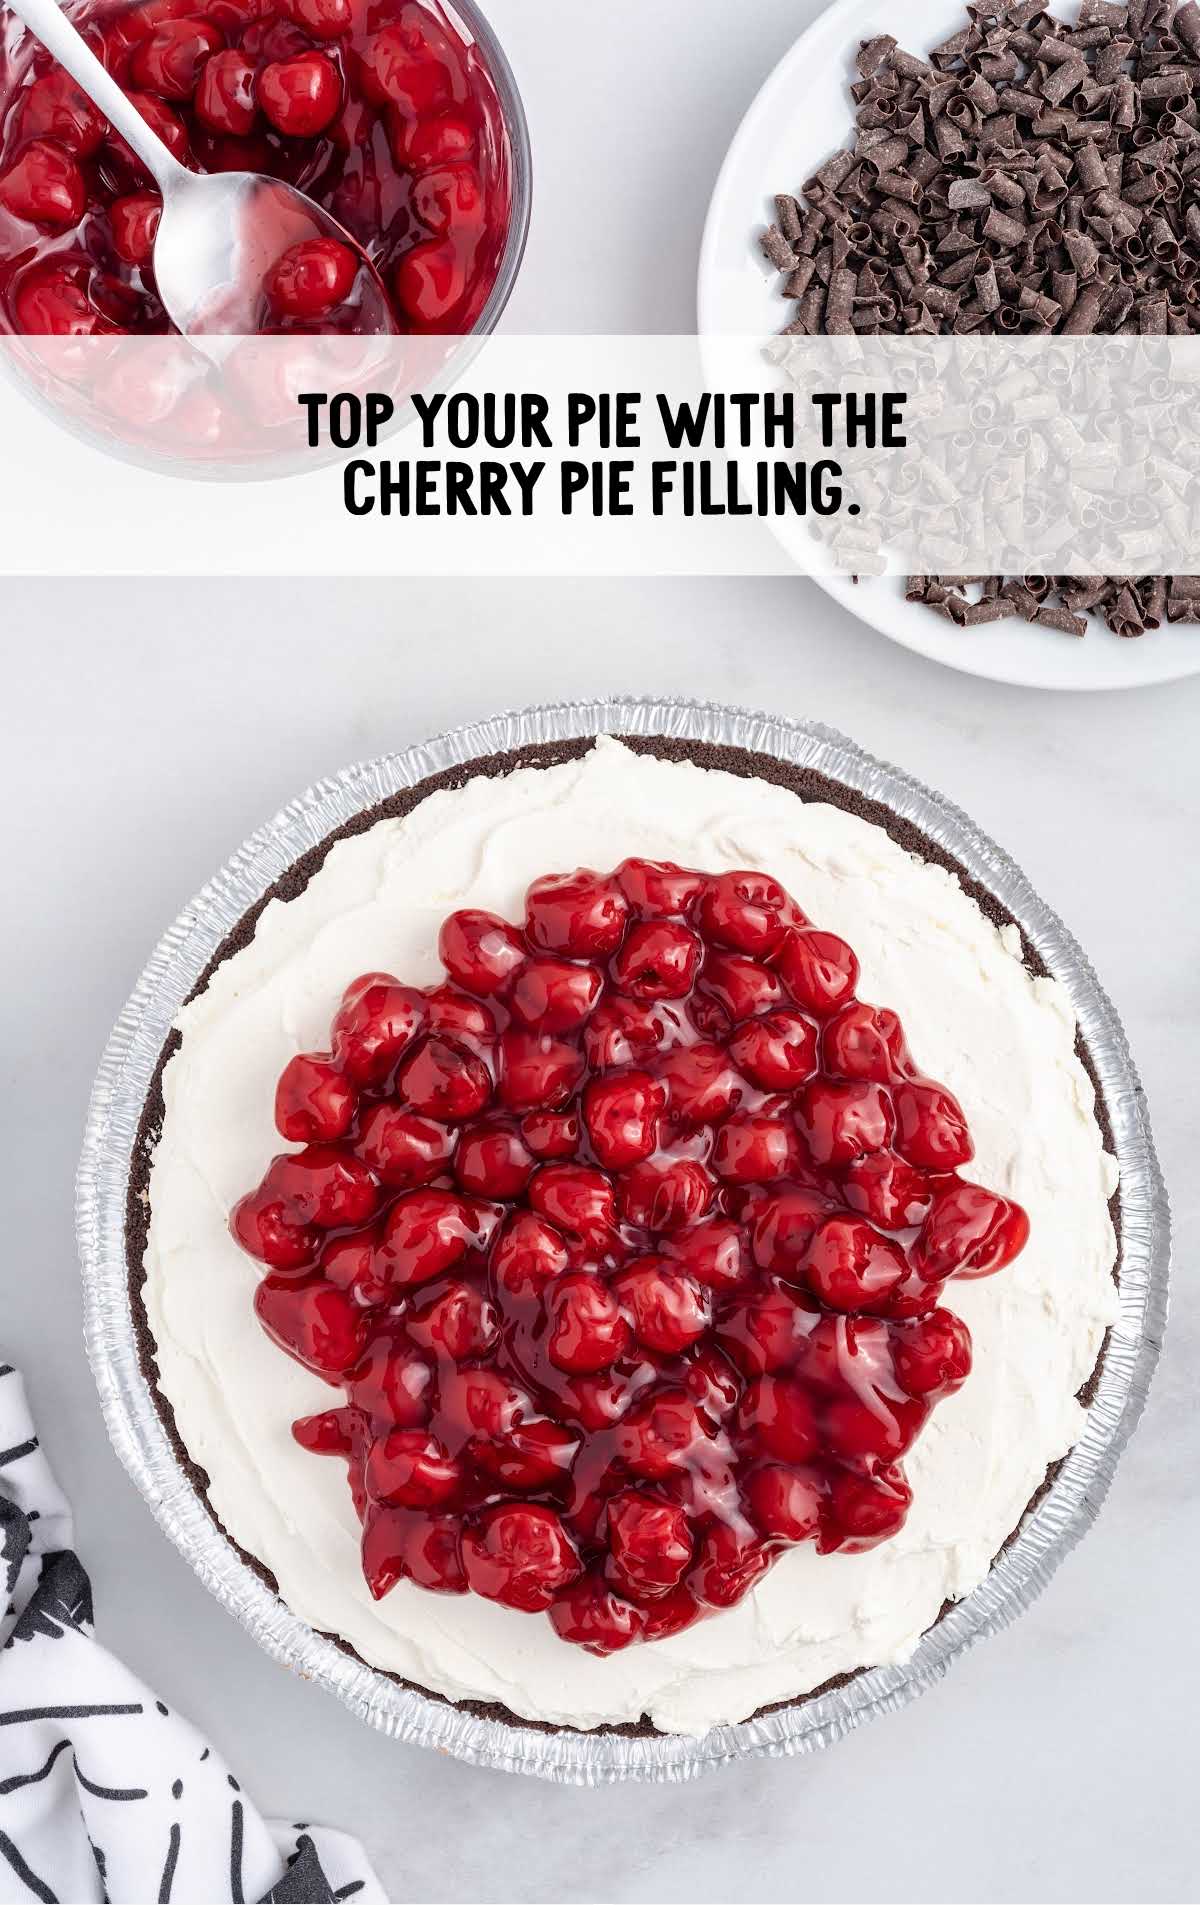
STEP TWELVE: Once your pie has chilled and fully firmed up, you will top it with the canned cherry pie filling. I used a heaping cup of the cherry pie filling (I made sure it was mostly cherries and not the sauce) and mounded them in the center of the no-bake black forest cheesecake, making sure to leave 1 to 2 inches around the edges of the cheesecake for the optional chocolate curls.
Chocolate Curls
STEP ONE: Add the semi-sweet chocolate pieces and vegetable shortening to a small, microwave-safe bowl. Microwave for 45 seconds to 1 minute or until the chocolate is melted. Stir to make sure the chocolate is smooth.

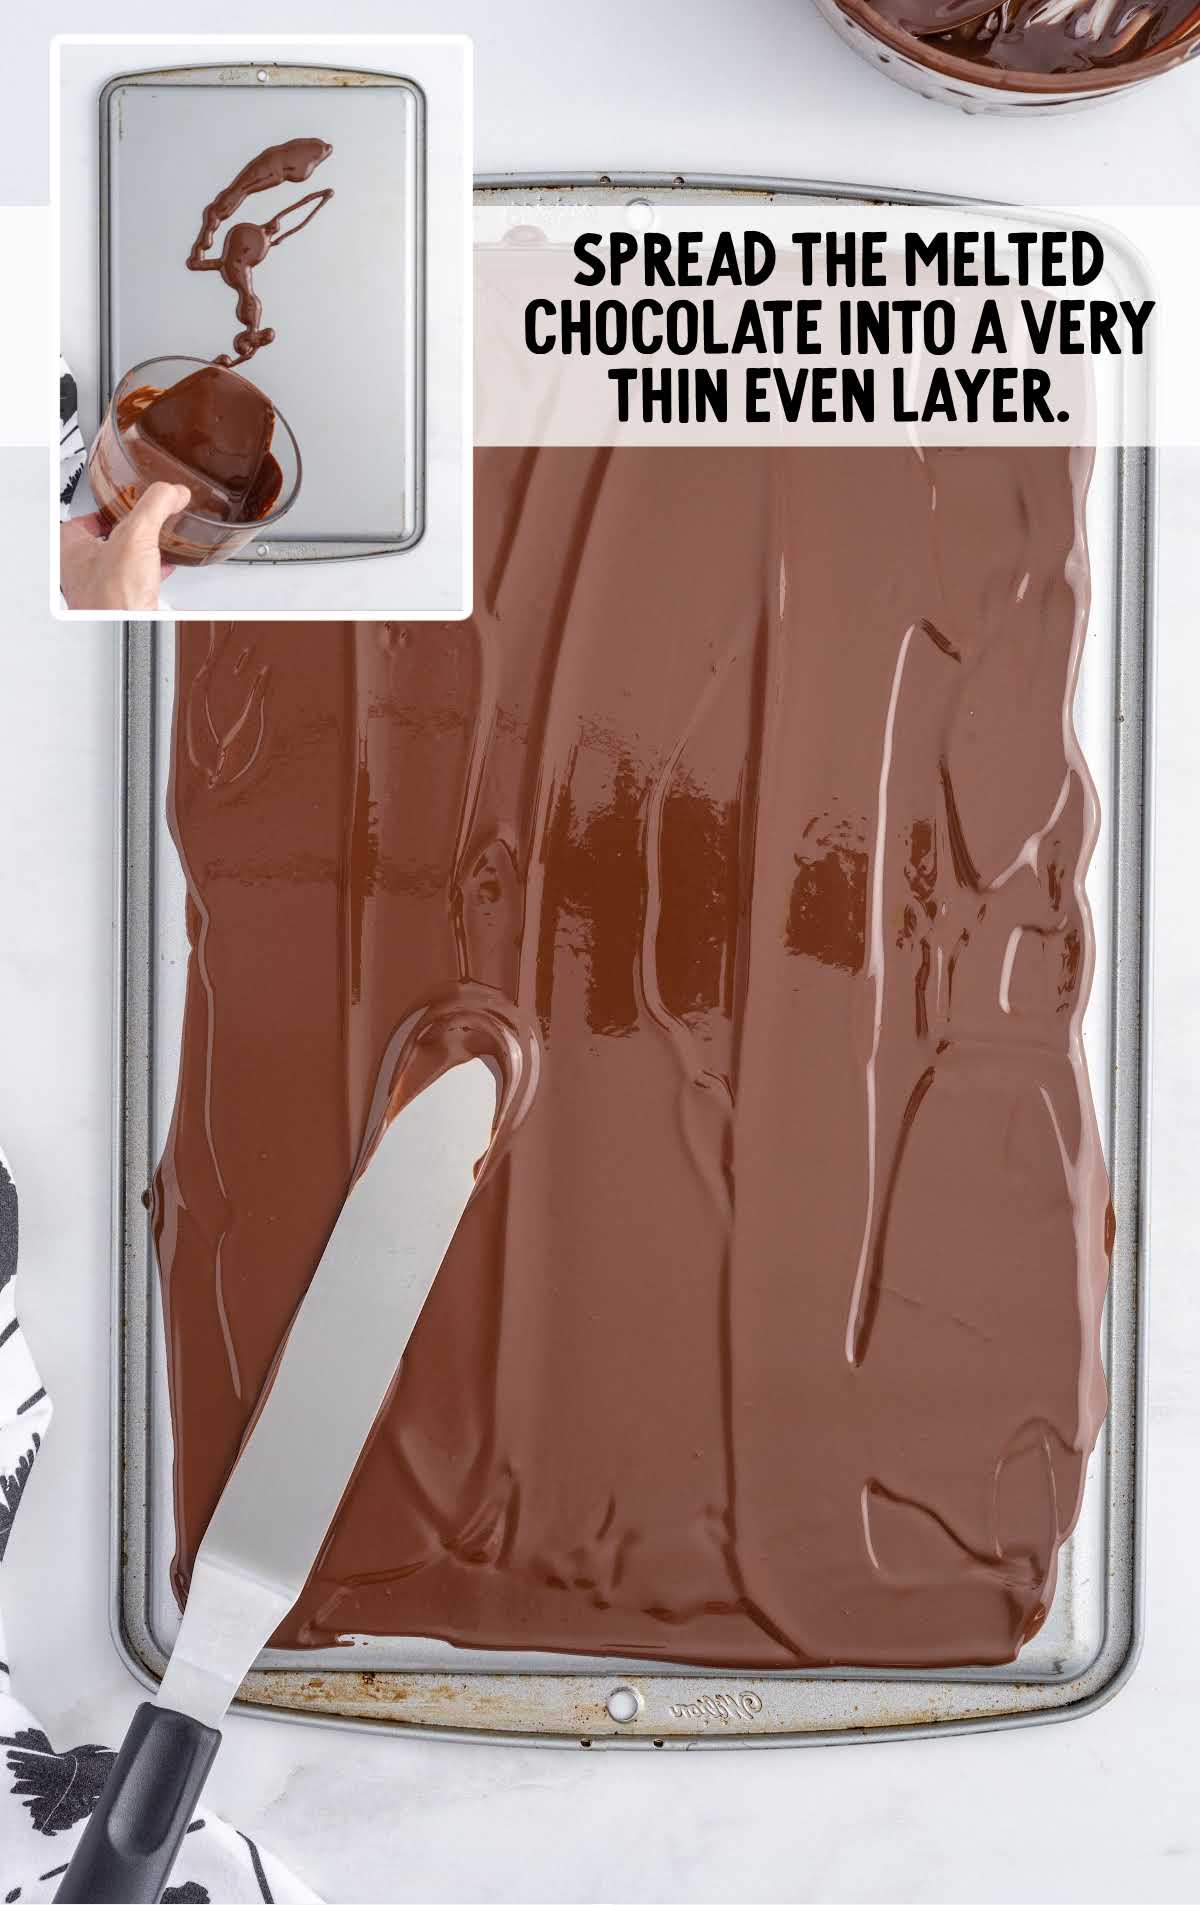
STEP TWO: Pour the melted chocolate onto a rimmed baking tray that has been flipped upside down.
STEP THREE: Using an offset spatula, spread the melted chocolate into a very thin, even layer.
STEP FOUR: Place the tray into the freezer for 3 to 5 minutes. You should be able to leave a fingerprint in the chocolate when touched but not a dent.
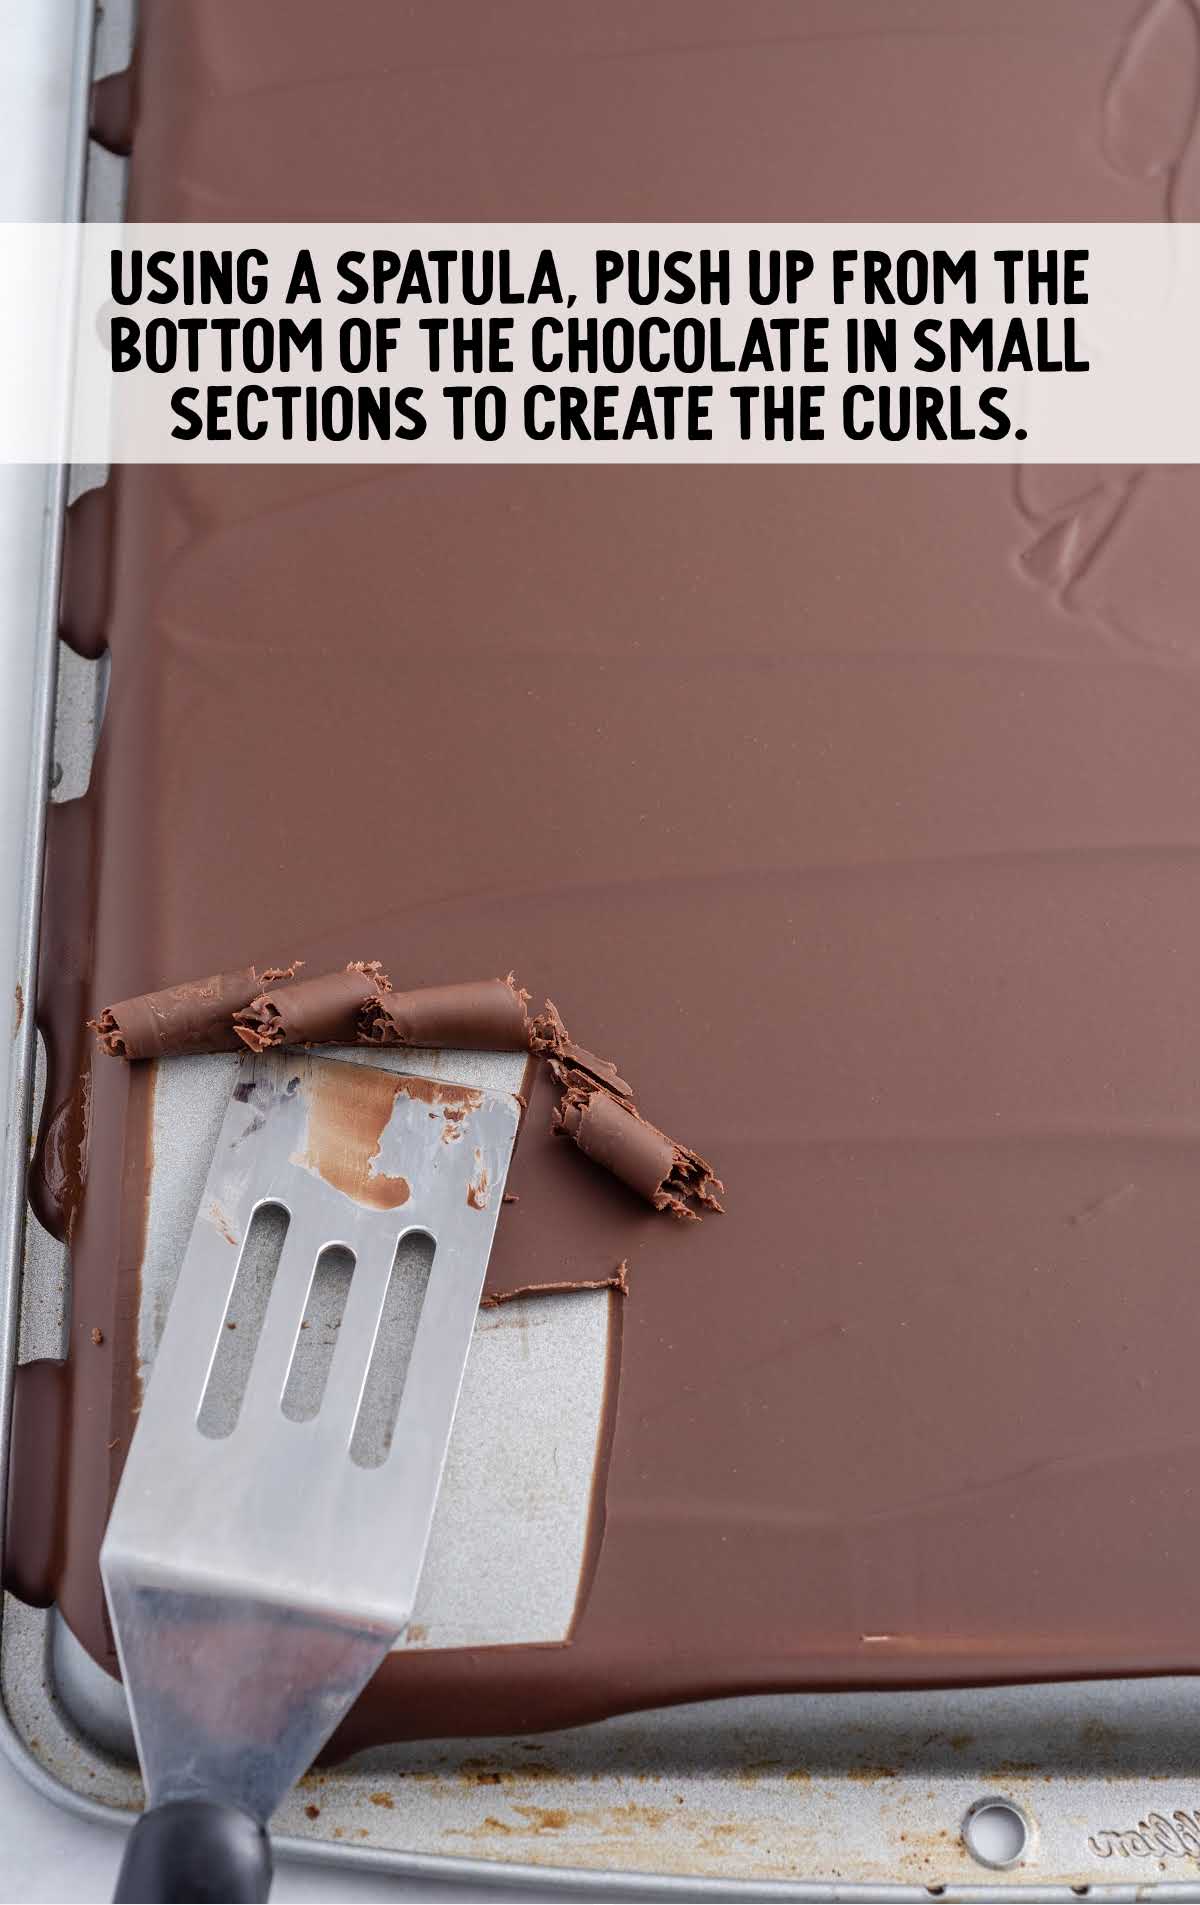
STEP FIVE: Using a sharp, straight-edged spatula, push up from the bottom of the chocolate in small sections to create the curls. If your chocolate is too hard, you will just get broken pieces and not curls. You can let it sit at room temperature for just a minute or so to soften up enough to create your curls.
STEP SIX: Once you have made your curls place them on a freezer-safe plate and place them into the freezer until ready to garnish the top of the cake.
How To Serve
This decadent dessert is so easy to make that it would make the perfect addition to any meal. Serve it with a scoop of vanilla ice cream on the side and a warm homemade hot chocolate to wash it down.
Looking for more no-bake cheesecake recipes? Our no-bake blackberry cheesecake and no-bake Oreo cheesecake would both be a huge hit.
MORE CHEESECAKE RECIPES
Storing Black Forest Cheesecake
IN THE FRIDGE: This creamy chocolate cheesecake can be stored in the refrigerator for up to 4 days.
IN THE FREEZER: You can also store the cheesecake in the freezer for up to 1 month.
If you’re looking for an easy and impressive dessert, look no further than this no-bake black forest cheesecake. With layers of fluffy cream cheese filling, rich chocolate cookie crust, and tart cherry topping, it’s sure to please everyone.
Frequently Asked Questions About Black Forest Cheesecake
Could I use a different crust for this no-bake dessert instead of the chocolate Oreo crust?
You could substitute a graham cracker crust, chocolate graham cracker crust, or Nilla wafer crust in this black forest no-bake cheesecake pie recipe.
How do you get the cream cheese to room temperature quickly?
To get the cream cheese to room temperature quickly, cut it into cubes and place it on a plate for about 20 minutes.
Can I freeze this black forest no bake cheesecake?
The cheesecake can be frozen in an airtight container for up to one month.
More Recipes You’ll Love
- No Bake Cheesecake Bites
- Vanilla Cool Whip Pie
- Instant Pot Cheesecake
- Chocolate Cheesecake Bites
- Cherry Cheesecake Cookies
- Chocolate Cherry Pie
- Upside Down Apple Cake
- Cherry Kiss Cookies
- Cheesecake Bites
- Blueberry Cheesecake Cookies
- Unicorn Cheesecake Bites
- Chocolate Cherry Dump Cake
- Carrot Cake Cheesecake
- Baileys Cheesecake
- Cherry Cheesecake Egg Rolls
- Cherry Chip Cake


No Bake Black Forest Cheesecake
This no-bake black forest cheesecake is the ultimate rich and decadent dessert featuring layers of velvety cream cheese, whipped cream, sweet cherry pie filling, and chocolate curls.Inspired by: Mama’s Favorite Recipes
Prep Time 15 minutes
Total Time 8 hours 15 minutes
Servings 8
Ingredients
- 6 ounces pre-made Oreo pie crust
- 12 ounces cream cheese, room temperature
- ½ cup granulated sugar
- ¾ cup full-fat sour cream
- 1½ teaspoons vanilla extract
- 3 ounces semi-sweet baking bar, chopped (I used Ghirardelli brand)
- 8 ounces tub whipped topping, thawed
- 1 cup canned cherry pie filling, I used Duncan Hines/Comstock more fruit
- Chocolate curls, optional garnish
For the Chocolate Curls
- 4 ounces semi-sweet chocolate baking bar, broken into small pieces (I used Ghirardelli brand)
- 1 tablespoon vegetable shortening, I used Crisco
Instructions
- Remove the plastic cover for the pre-made Oreo pie crust and set it aside.
- In a large mixing bowl, using a handheld mixer on medium speed, beat the cream cheese and granulated sugar for 1 minute or until light and fluffy.
- Add the sour cream and vanilla extract. Beat for an additional 30 seconds until all the ingredients are fully incorporated.
- Transfer half of the cream cheese mixture to another large mixing bowl. Set both bowls aside.
- Add the chopped semi-sweet baking bar to a small microwave-safe bowl and heat for 1 minute at 60% power. Stir, then heat again for another 30 seconds to 1 minute at 60% power. Stir until smooth.
- To one of the bowls with the cream cheese mixture, fold in the melted semi-sweet chocolate until fully incorporated. Set aside.
- Divide the thawed whipped topping equally between the chocolate cream cheese bowl and the plain cream cheese bowl.
- Fold the whipped topping gently into each of the mixtures. These will be the black and white layers of your pie.
- Spread your chocolate cream cheese mixture into an even layer onto the bottom of your pre-made Oreo cookie crust.
- Top that with the plain cream cheese mixture and spread it into an even layer as well.
- Cover your pie with the plastic piece that came with the crust (you will just flip it over, and it creates a lid for your pie) and refrigerate your no-bake black forest pie for 8 hours to overnight.
- Once your pie has chilled and fully firmed up, you will top it with the canned cherry pie filling. I used a heaping cup of the cherry pie filling (I made sure it was mostly cherries and not the sauce) and mounded them in the center of the no-bake black forest cheesecake, making sure to leave 1 to 2 inches around the edge for the optional chocolate curls.
Chocolate curls
- Add the semi-sweet chocolate pieces and vegetable shortening to a small, microwave-safe bowl. Microwave for 45 seconds to 1 minute or until the chocolate is melted. Stir to make sure the chocolate is smooth.
- Pour the melted chocolate onto a rimmed baking tray that has been flipped upside down.
- Using an offset spatula, spread the melted chocolate into a very thin, even layer.
- Place the tray into the freezer for 3 to 5 minutes. You should be able to leave a fingerprint in the chocolate when touched but not a dent.
- Using a sharp, straight-edged spatula push up from the bottom of the chocolate in small sections to create the curls. If your chocolate is too hard, you will just get broken pieces and not curls. You can let it sit at room temperature for just a minute or so to soften up enough to create your curls.
- Once you have made your curls place them on a freezer-safe plate and place them into the freezer until ready to garnish your no-bake black forest cheesecake.
Video
Notes
- I like to buy the brands of canned fruit pie filling that are “more fruit” because they tend to have less of a jellied coating over the cherries. If you can not find a brand like this, you can get two cans and just use a slotted spoon to scoop out only the cherries, leaving most of the jellied coating in the can. If desired, you can reserve any remaining pie filling to add to individual slices of no-bake black forest cheesecake. The reserved pie filling can be stored in a sealed container in the refrigerator for up to 7 days.
- The plastic cover is perfect to use for storage. Flip it over and use it to cover your pie before you put it in the fridge.
- Make sure your cream cheese is at room temperature, so you don’t have lumps in your cheesecake mixture.
Nutrition
Calories: 569kcal | Carbohydrates: 57g | Protein: 8g | Fat: 36g | Saturated Fat: 20g | Polyunsaturated Fat: 2g | Monounsaturated Fat: 10g | Trans Fat: 2g | Cholesterol: 46mg | Sodium: 303mg | Potassium: 361mg | Fiber: 4g | Sugar: 31g | Vitamin A: 713IU | Vitamin C: 1mg | Calcium: 113mg | Iron: 4mg
Have You Tried This Recipe?Follow me on Pinterest @spaceshipslb

More Easy Recipes
- Blueberry Cheesecake
- Cherry Wink Cookies
- Mini Black Forest Cheesecake
- Cheesecake
- Reese’s Cheesecake
- Cherry Cheesecake Tacos
- No Bake Raspberry Cheesecake
- Cherry Bread
- Pie Crust


Comments
Jessica Larkin says
I made this last year for the holidays and it was a HIT!! It’s now a staple. Super easy to make and the flavors go very well together. Thank you for this recipe, I can’t wait to have it again in a few days 🙂 Happy Thanksgiving!