
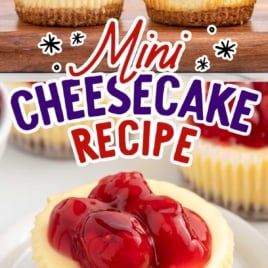
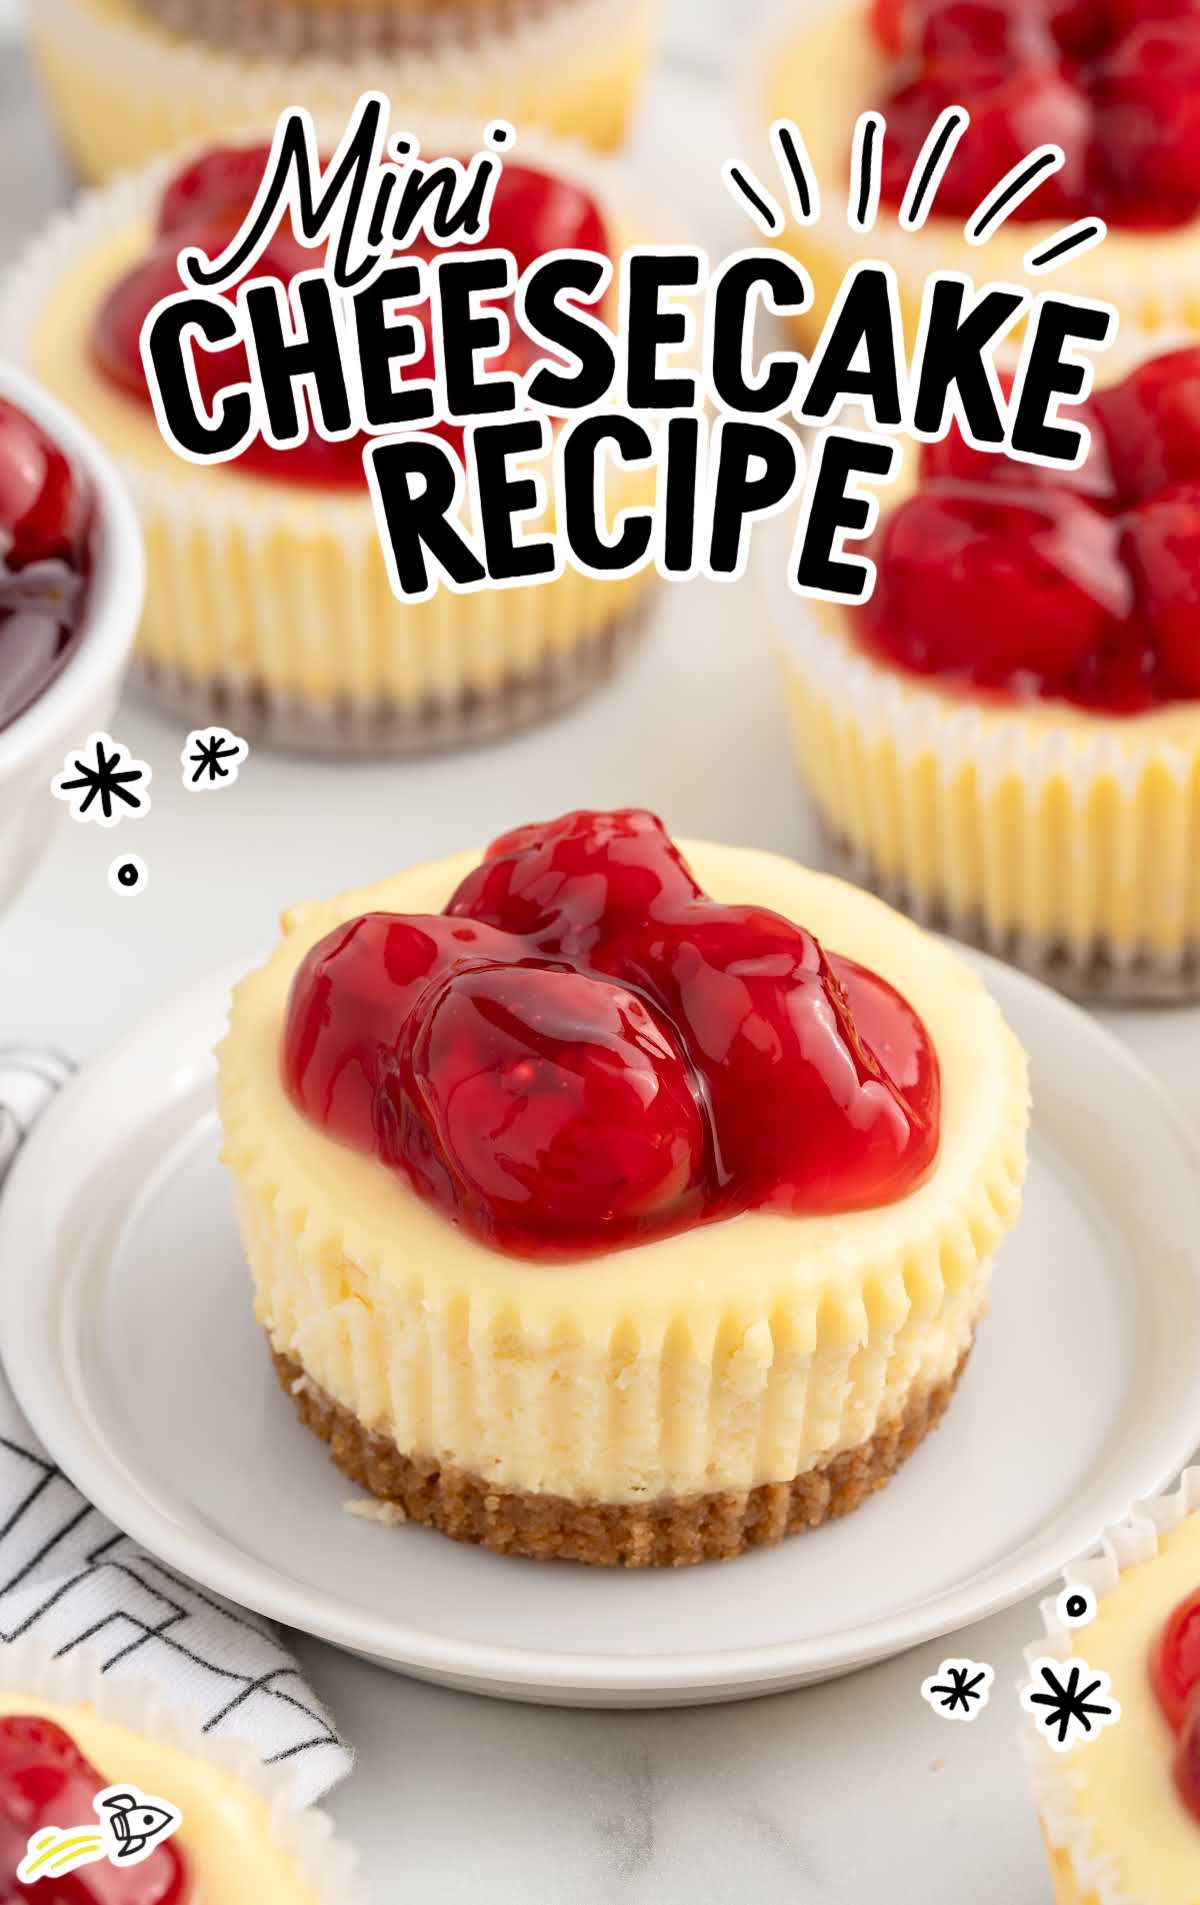
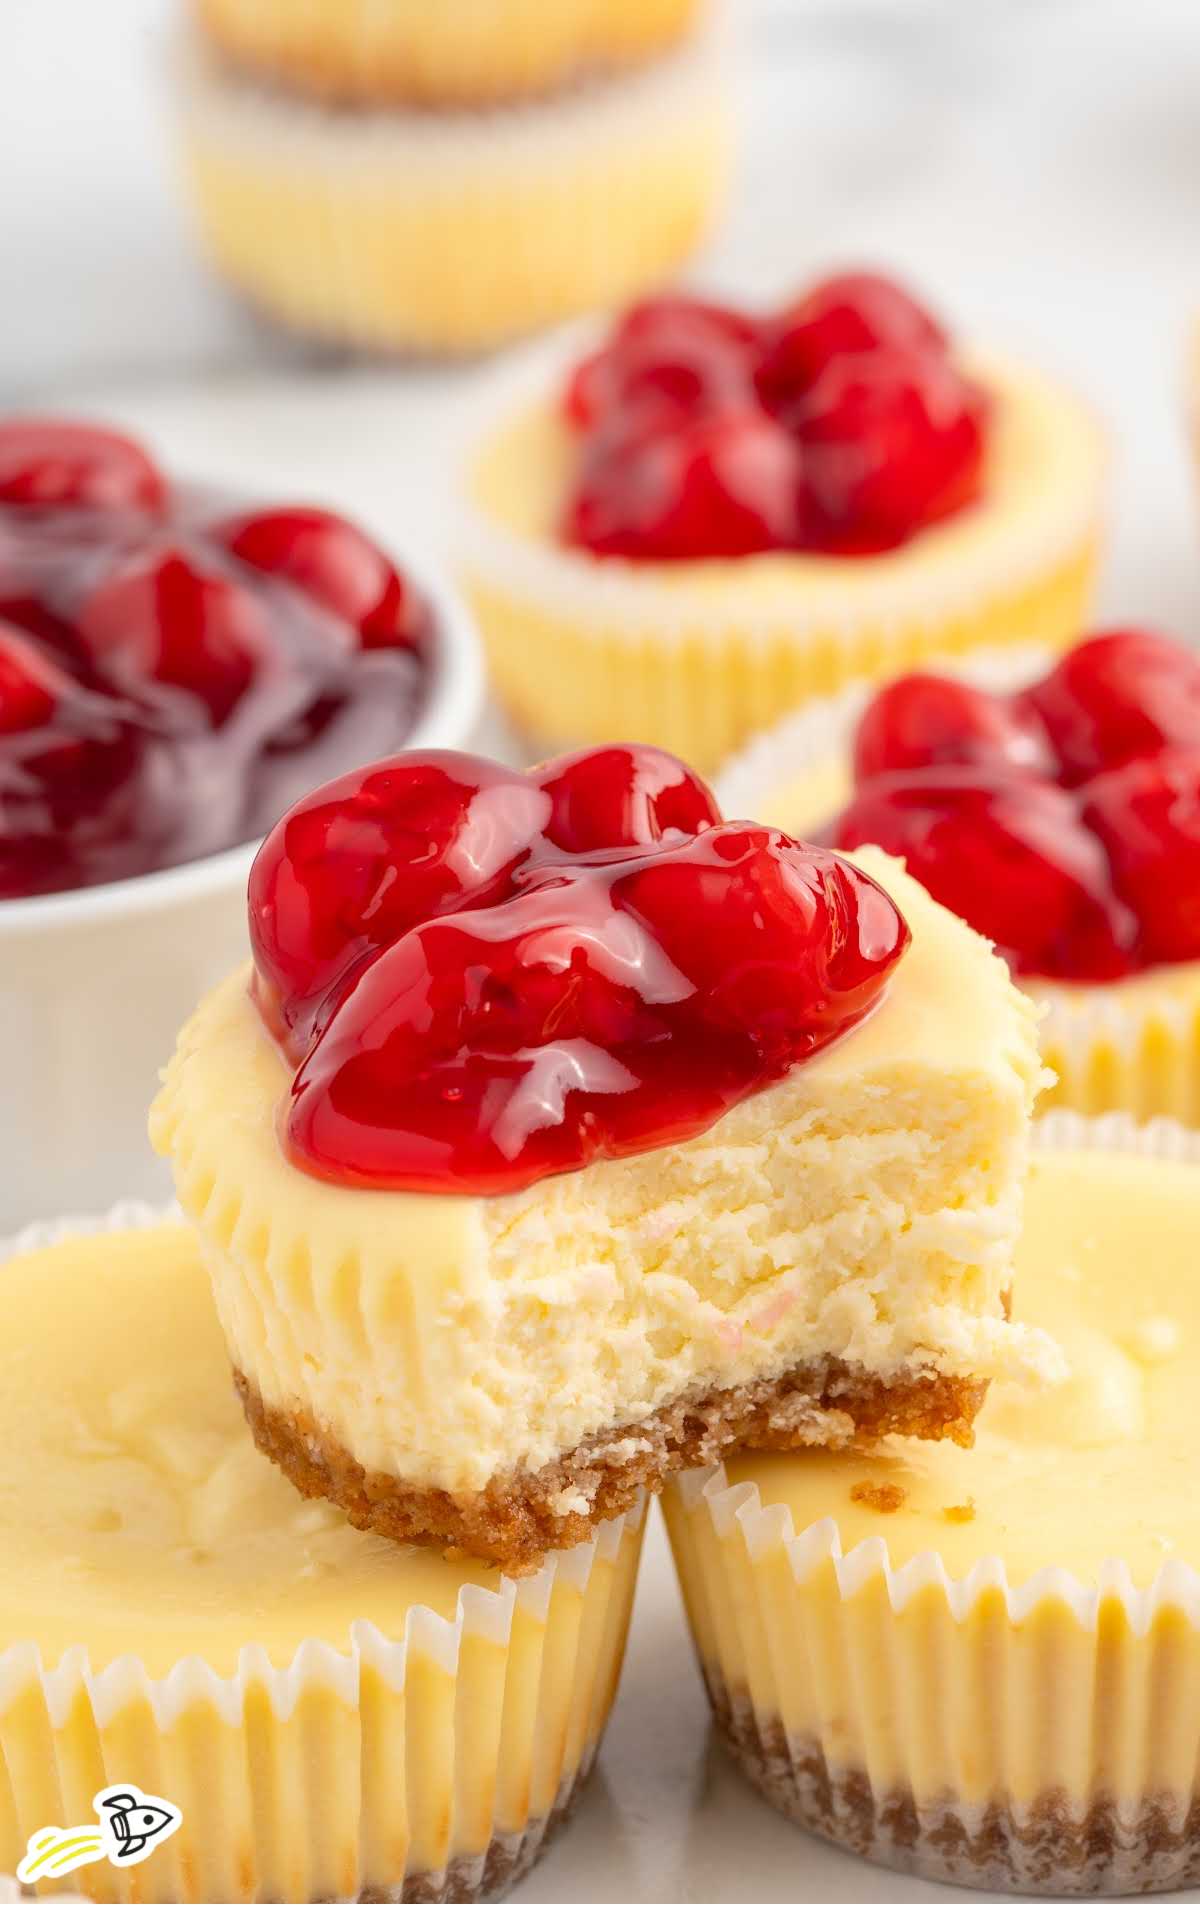
There’s something undeniably special about a mini cheesecake. It’s the perfect little bite of indulgence. The melt in your mouth filling is smooth and creamy, delivering that rich cream cheese flavor. The crust adds a buttery, slightly crunchy contrast making each bite irresistible.
However, getting to that perfect bite didn’t come without some work in the kitchen. When we set out to transform our beloved classic cheesecake into a mini version, we quickly learned that scaling down this recipe came with its own challenges. What seemed like a straightforward task quickly turned into a lesson in precision. From cracked tops to stubborn liners, after some trial and error, we discovered the ideal balance of ingredients, technique, and baking time to achieve bite-sized bliss.
We did the work so you don’t have to. This result is a mini cheesecake recipe that’s practically foolproof. From the specific baking times to the cooling process, each step is designed to ensure your success – even if it’s your first time baking a cheesecake.
Mini Cheesecake Recipe Ingredients
The ingredients we’ve chosen are simple yet crucial in creating a dessert that tastes like you spent hours in the kitchen. Each component works together to make these bite-sized treats both easy to make and deliciously rewarding.
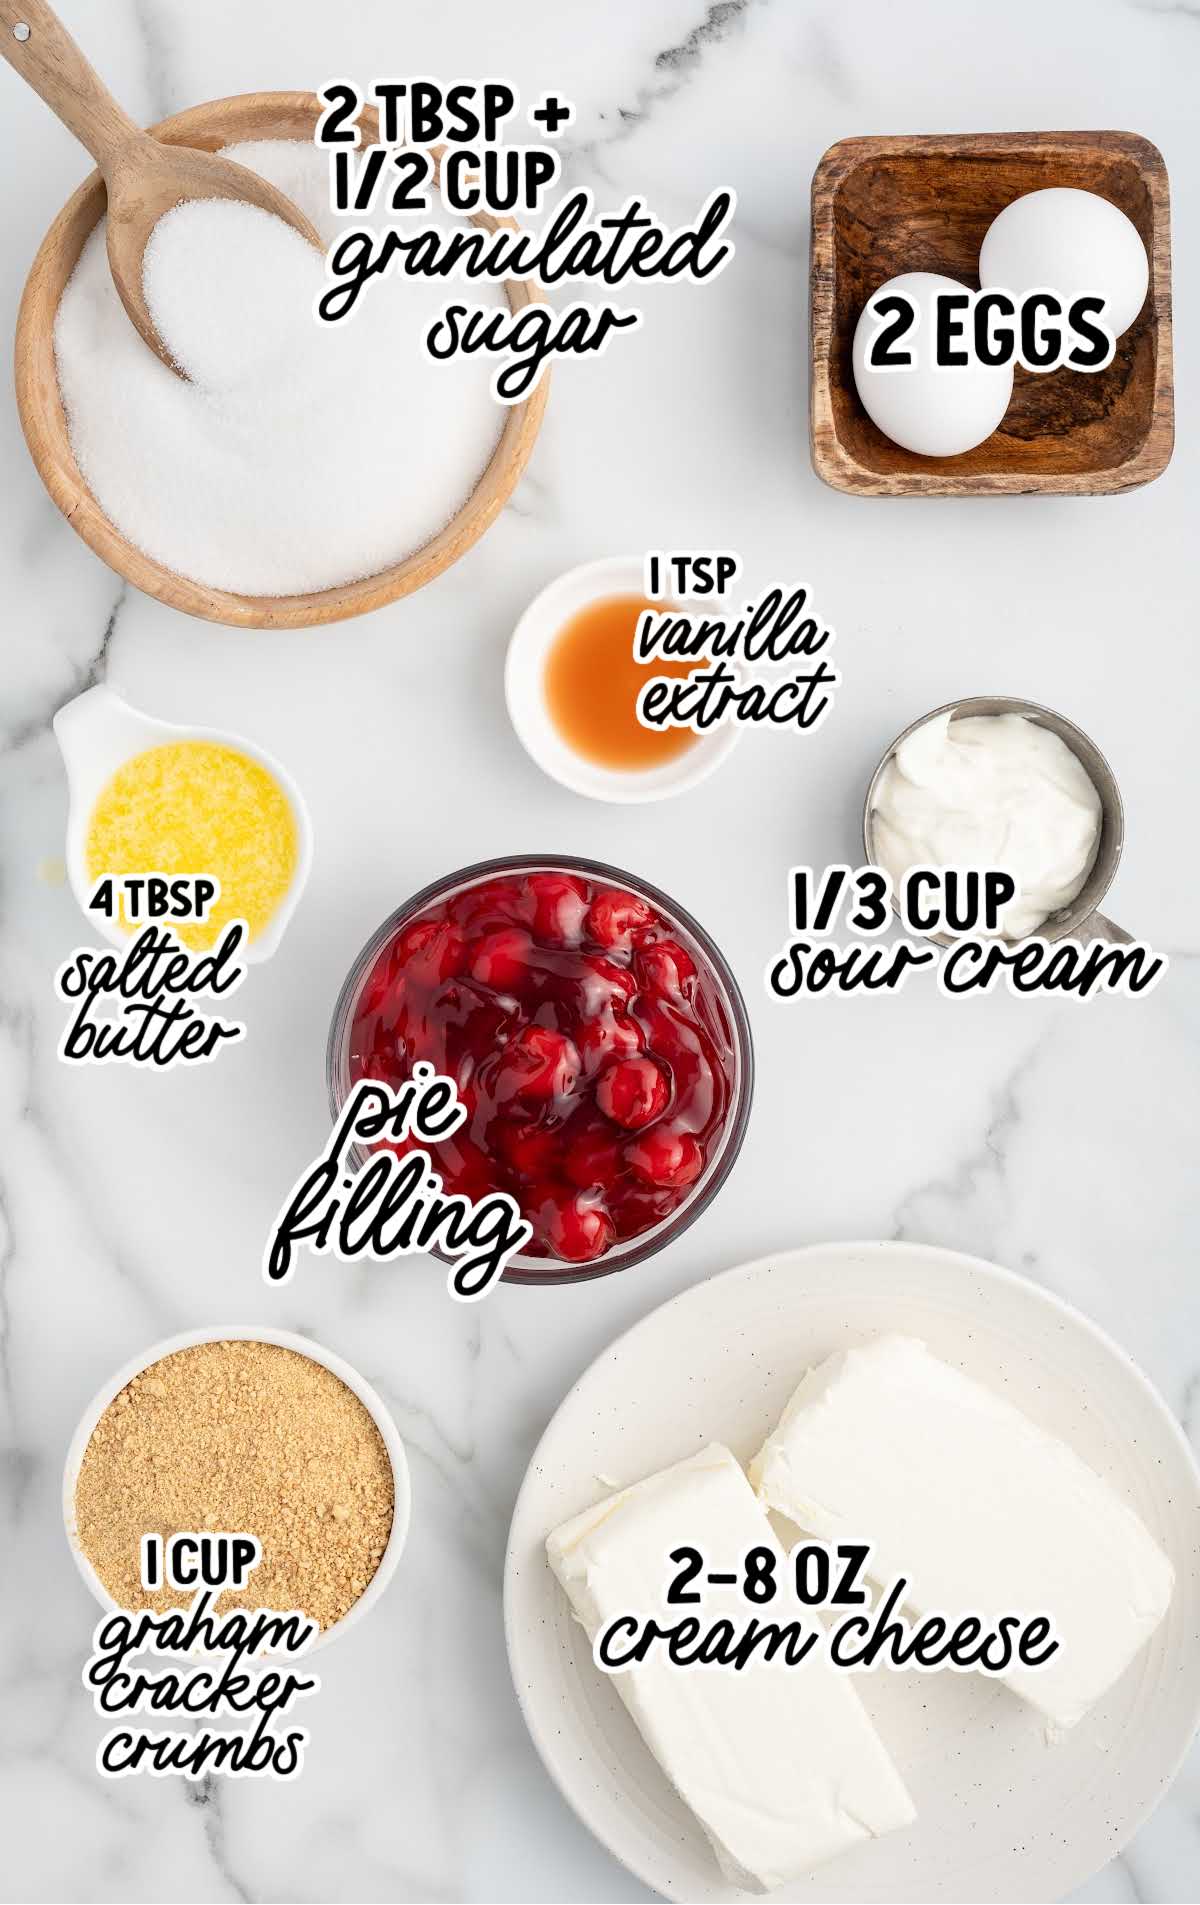
You’ll need:
For the Crust
- 1 cup crushed graham crackers
- 2 tablespoons granulated sugar
- 6 tablespoons salted sweet cream butter, melted
For the Cheesecake Filling
- ½ cup granulated sugar
- 2 8-ounce packages of cream cheese, softened
- ⅓ cup sour cream
- 1 teaspoon pure vanilla extract
- 2 extra large eggs, room temperature
For the Optional Garnish
- Your favorite canned pie filling or fresh fruit
Substitutions and Additions For Bite Size Cheesecake
Here are some ideas for ingredient substitutions and additions you can make to this recipe. Keep in mind that any changes may alter the taste and texture, so feel free to experiment but do so with care.
Graham Crackers: You can swap out the graham crackers for crushed vanilla wafers or digestive biscuits if you prefer a slightly different flavor. You might also like crushed Biscoff cookies or Oreo crumbs.
Sour Cream: If you don’t have sour cream, plain Greek yogurt works well as a substitute. It provides a similar tanginess and texture, though it may make the filling slightly thicker.
Additions:
- Strawberry Swirl – Mix a swirl of strawberry puree (or another fruit sauce or puree you love) into the batter of each cheesecake before baking.
- Chocolate Chips – Stir mini chocolate chips into the batter before baking to satisfy your chocolate craving.
- Citrus Zest – Add a teaspoon of orange or lemon zest to the cheesecake batter to give a refreshing, citrusy flavor.
- Nut Topping – Add a sprinkle of chopped nuts like pecans or almonds on top of each mini cheesecake before baking for a bit of crunch and extra flavor.
- Whipped Topping – For a homemade touch, you can use homemade whipped cream or even chocolate whipped cream instead of store-bought whipped topping. Just be sure to whip it to stiff peaks to maintain the same lightness.
How To Make This Mini Cheesecake Recipe
Making this easy mini cheesecakes recipe at home is a rewarding process that results in a dessert everyone will love. By following these detailed steps, you’ll find that creating these bite-sized treats is easier than you might think.
STEP ONE: Begin by gathering and measuring out all your ingredients. Gently melt your butter and allow it to cool. Preheat your oven and line a 12-cup cupcake pan with paper liners. This ensures even baking and easy removal of the cheesecakes later.
STEP TWO: In a small mixing bowl, combine the graham cracker crumbs and 2 tablespoons of sugar. Stir until well mixed.
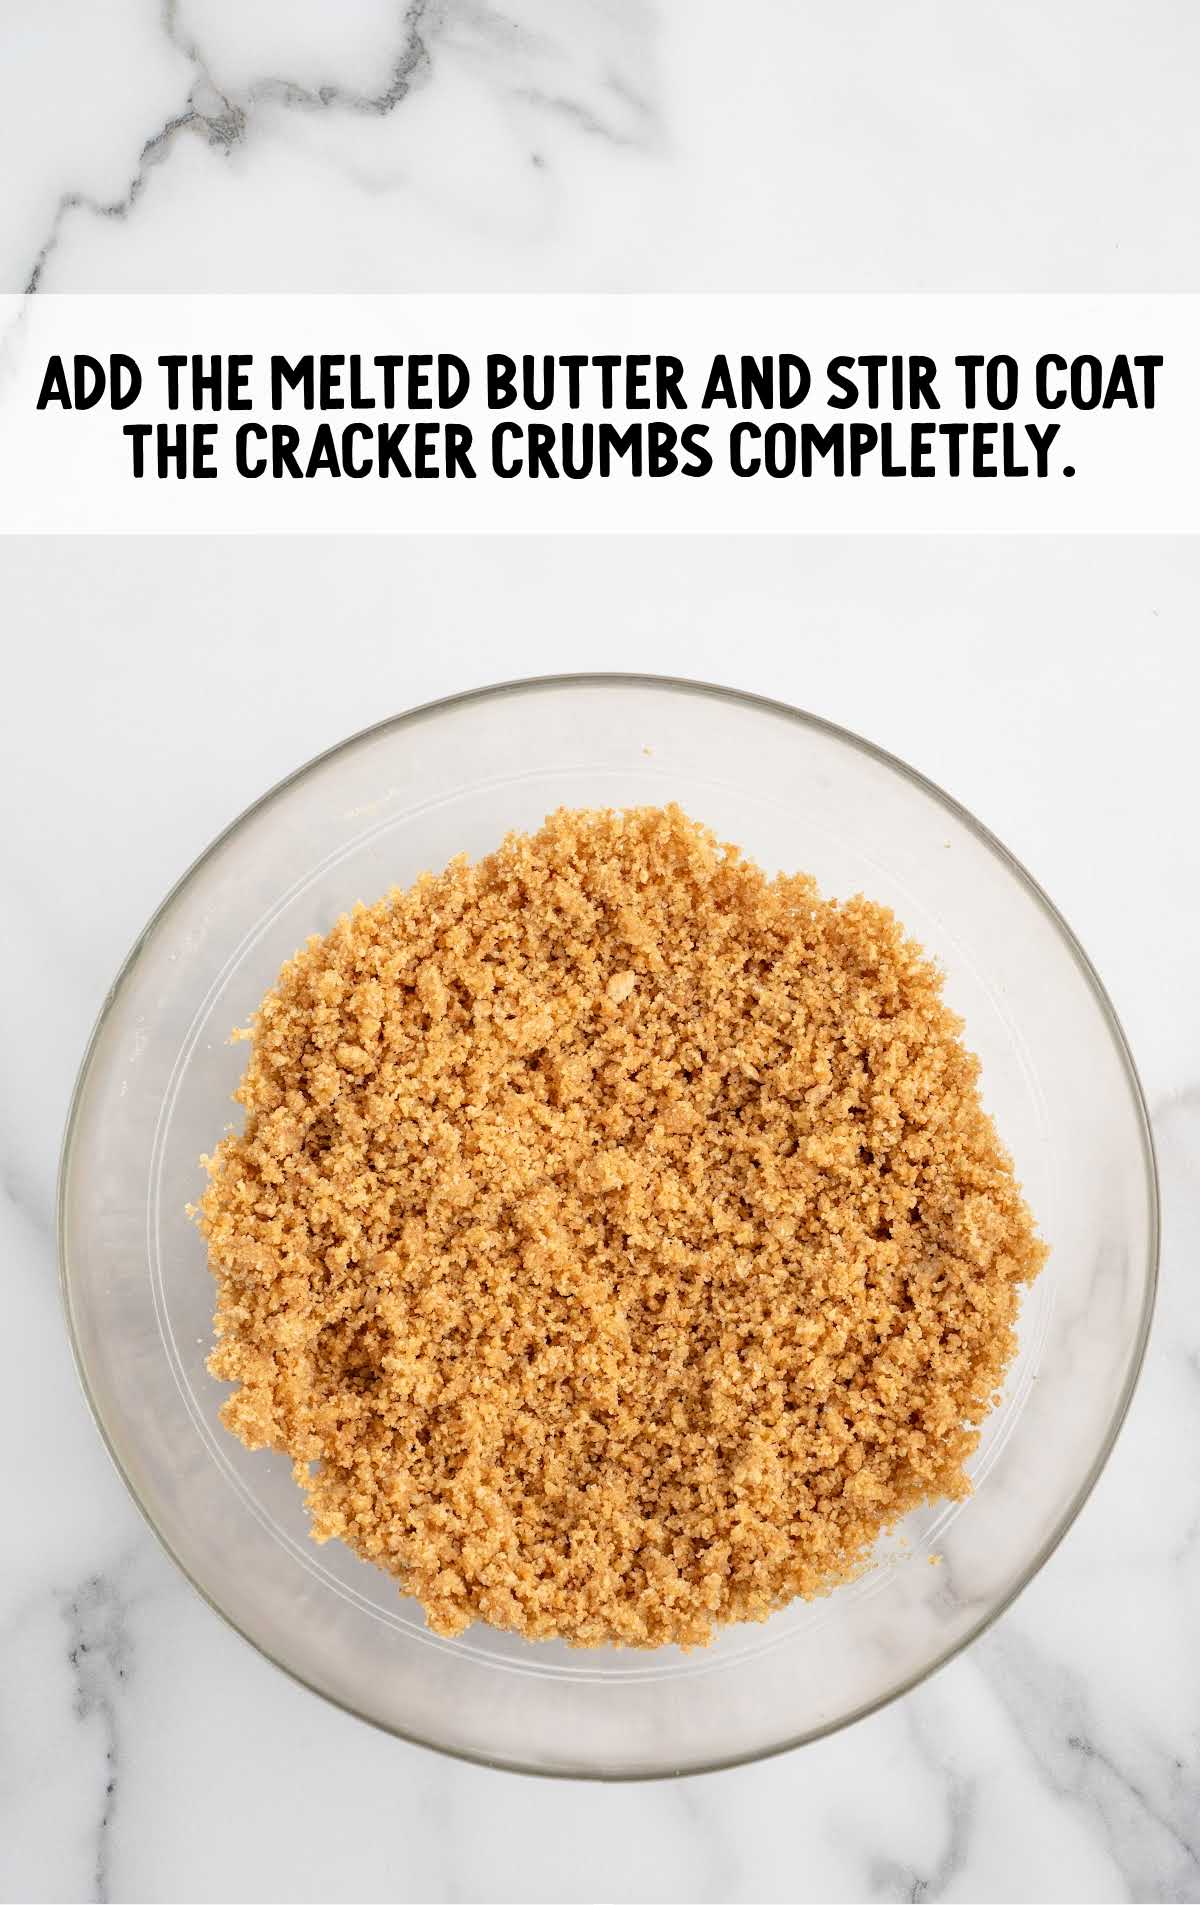
STEP THREE: Add the melted, cooled butter and stir again to fully coat the crumbs.
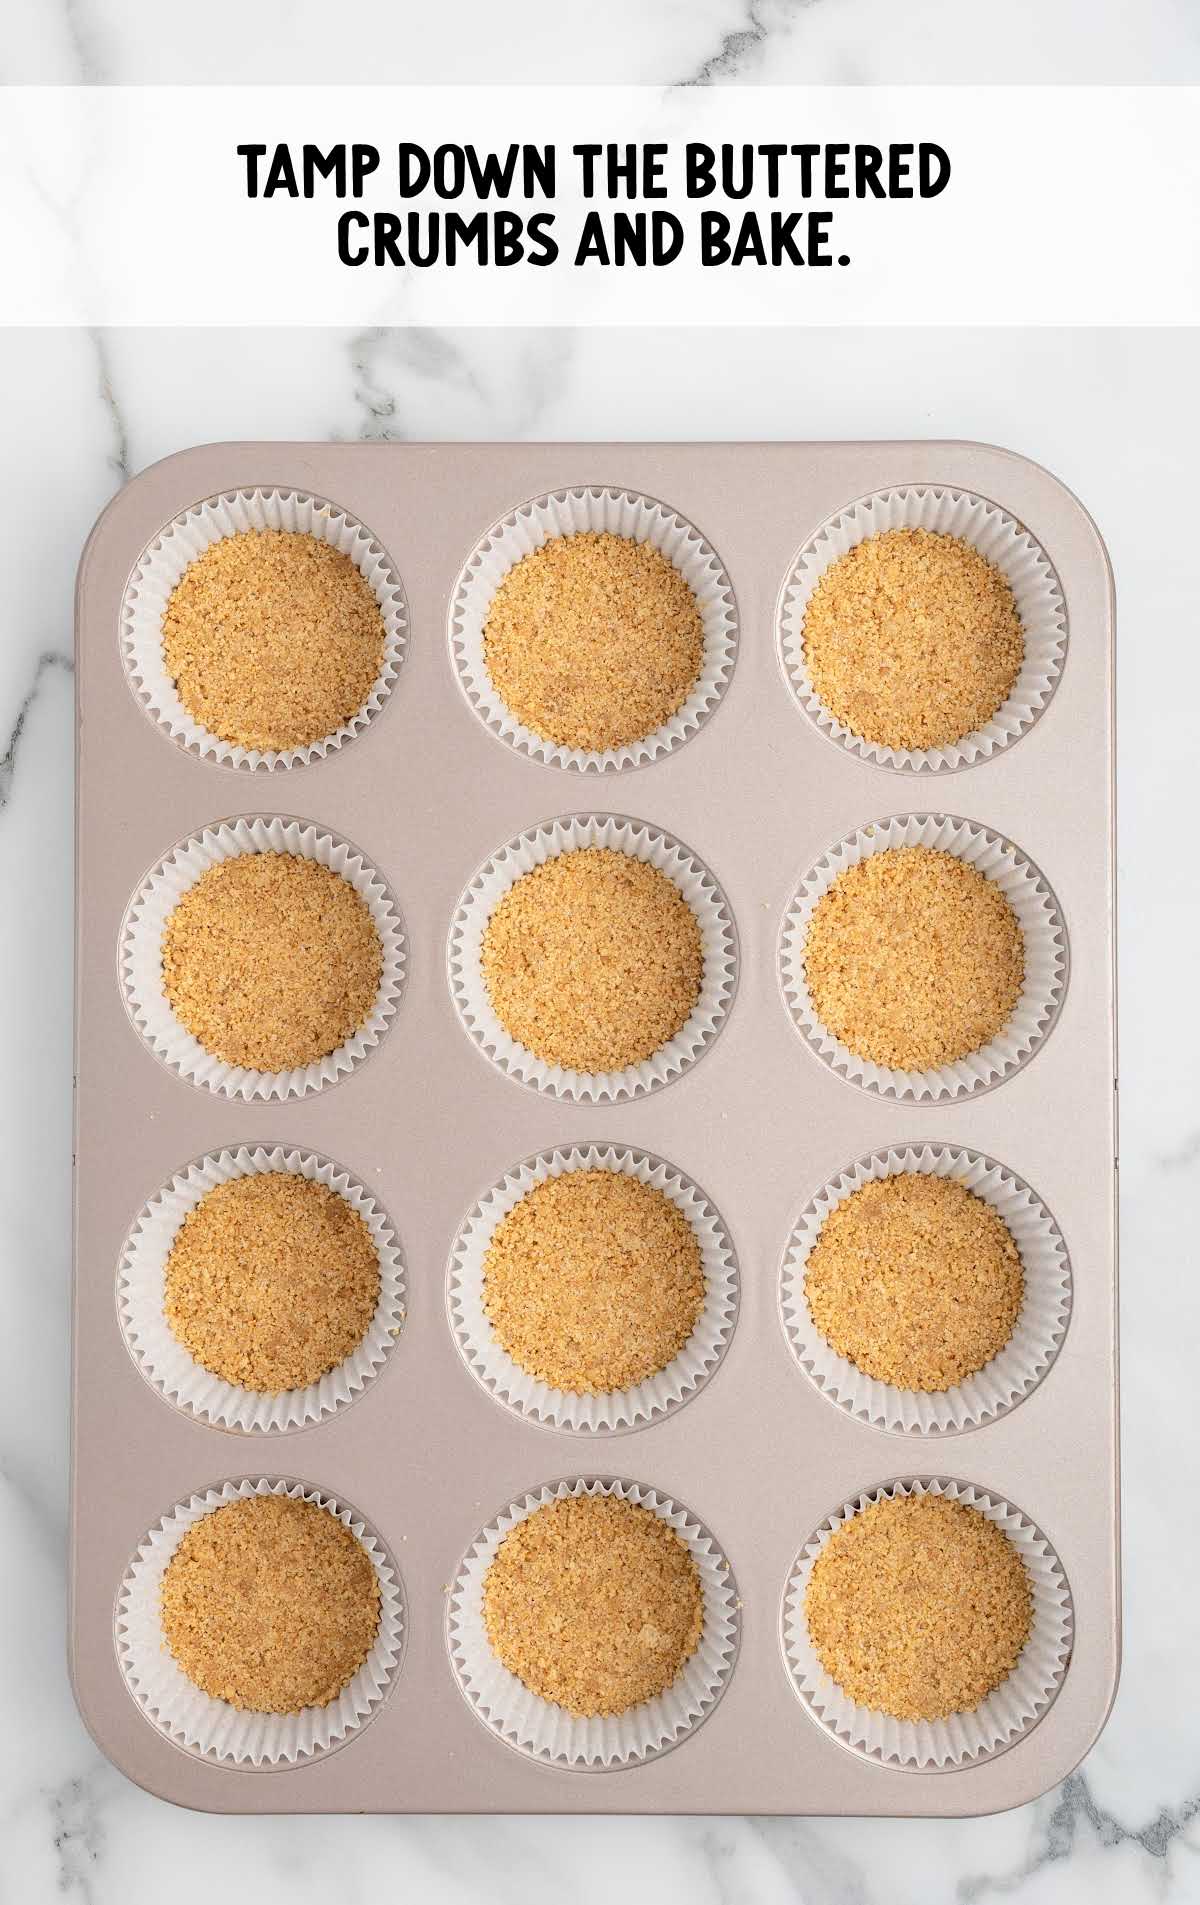
STEP FOUR: Measure one and a half tablespoons of the crust mixture into each of the muffin tin liners. Press down firmly to create a solid base. Bake the crusts for 5 minutes, then remove them from the oven and set them aside to cool slightly.
PRO TIP: You can use a shot glass or the pestle from a mortar and pestle to press the crumbs firmly into the liners.
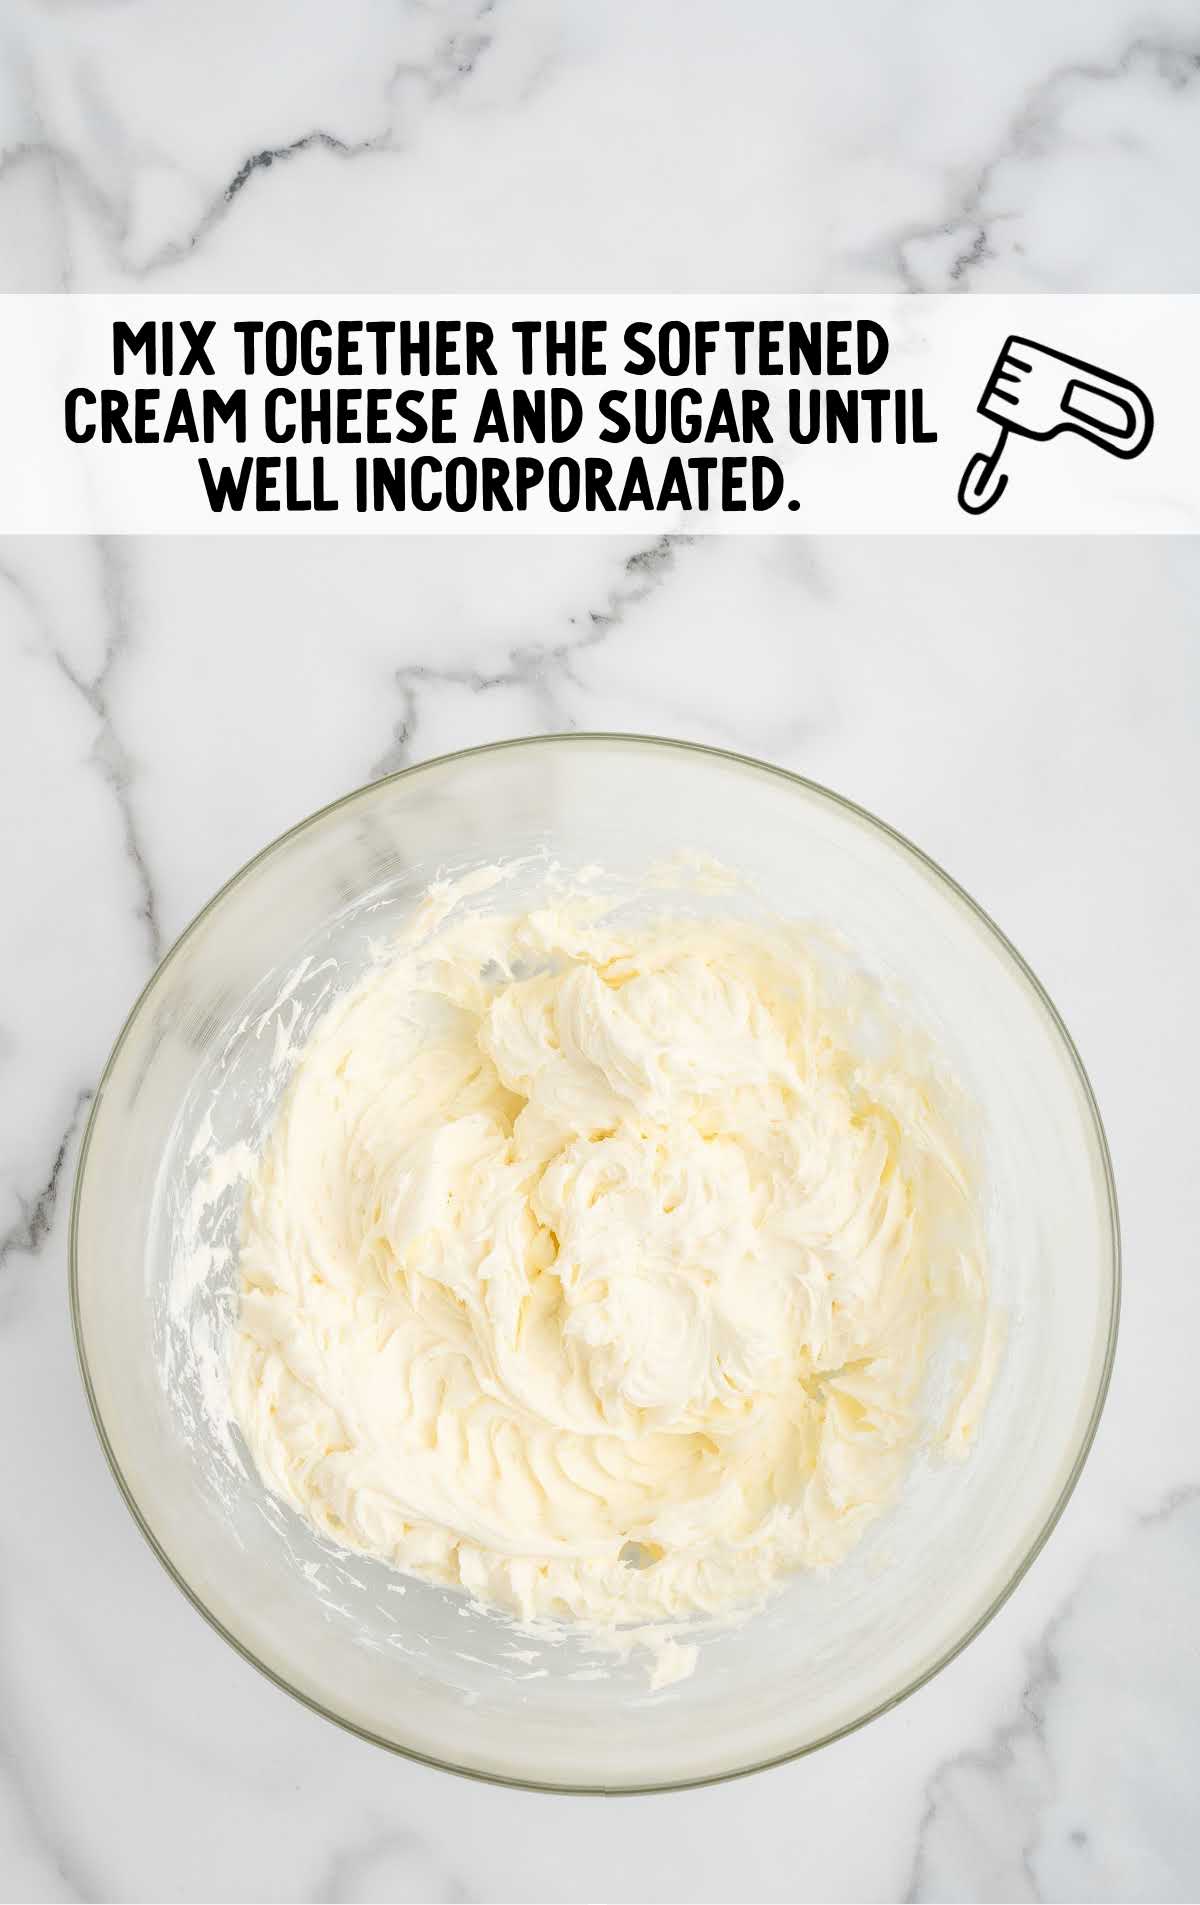
STEP FIVE: In a medium mixing bowl, or using a stand mixer fitted with a paddle attachment, mix the softened cream cheese with half a cup of granulated sugar. Keep the mixer speed on medium-low and blend just until the mixture is smooth and well combined.
PRO TIP: It’s important not to overmix, and to keep your mixer on a lower speed, as too much air in the batter can cause cracks in your cheesecakes.
STEP SIX: Add the sour cream and pure vanilla extract to the cream cheese mixture. Mix on low speed just until the ingredients are fully combined, with no visible streaks.
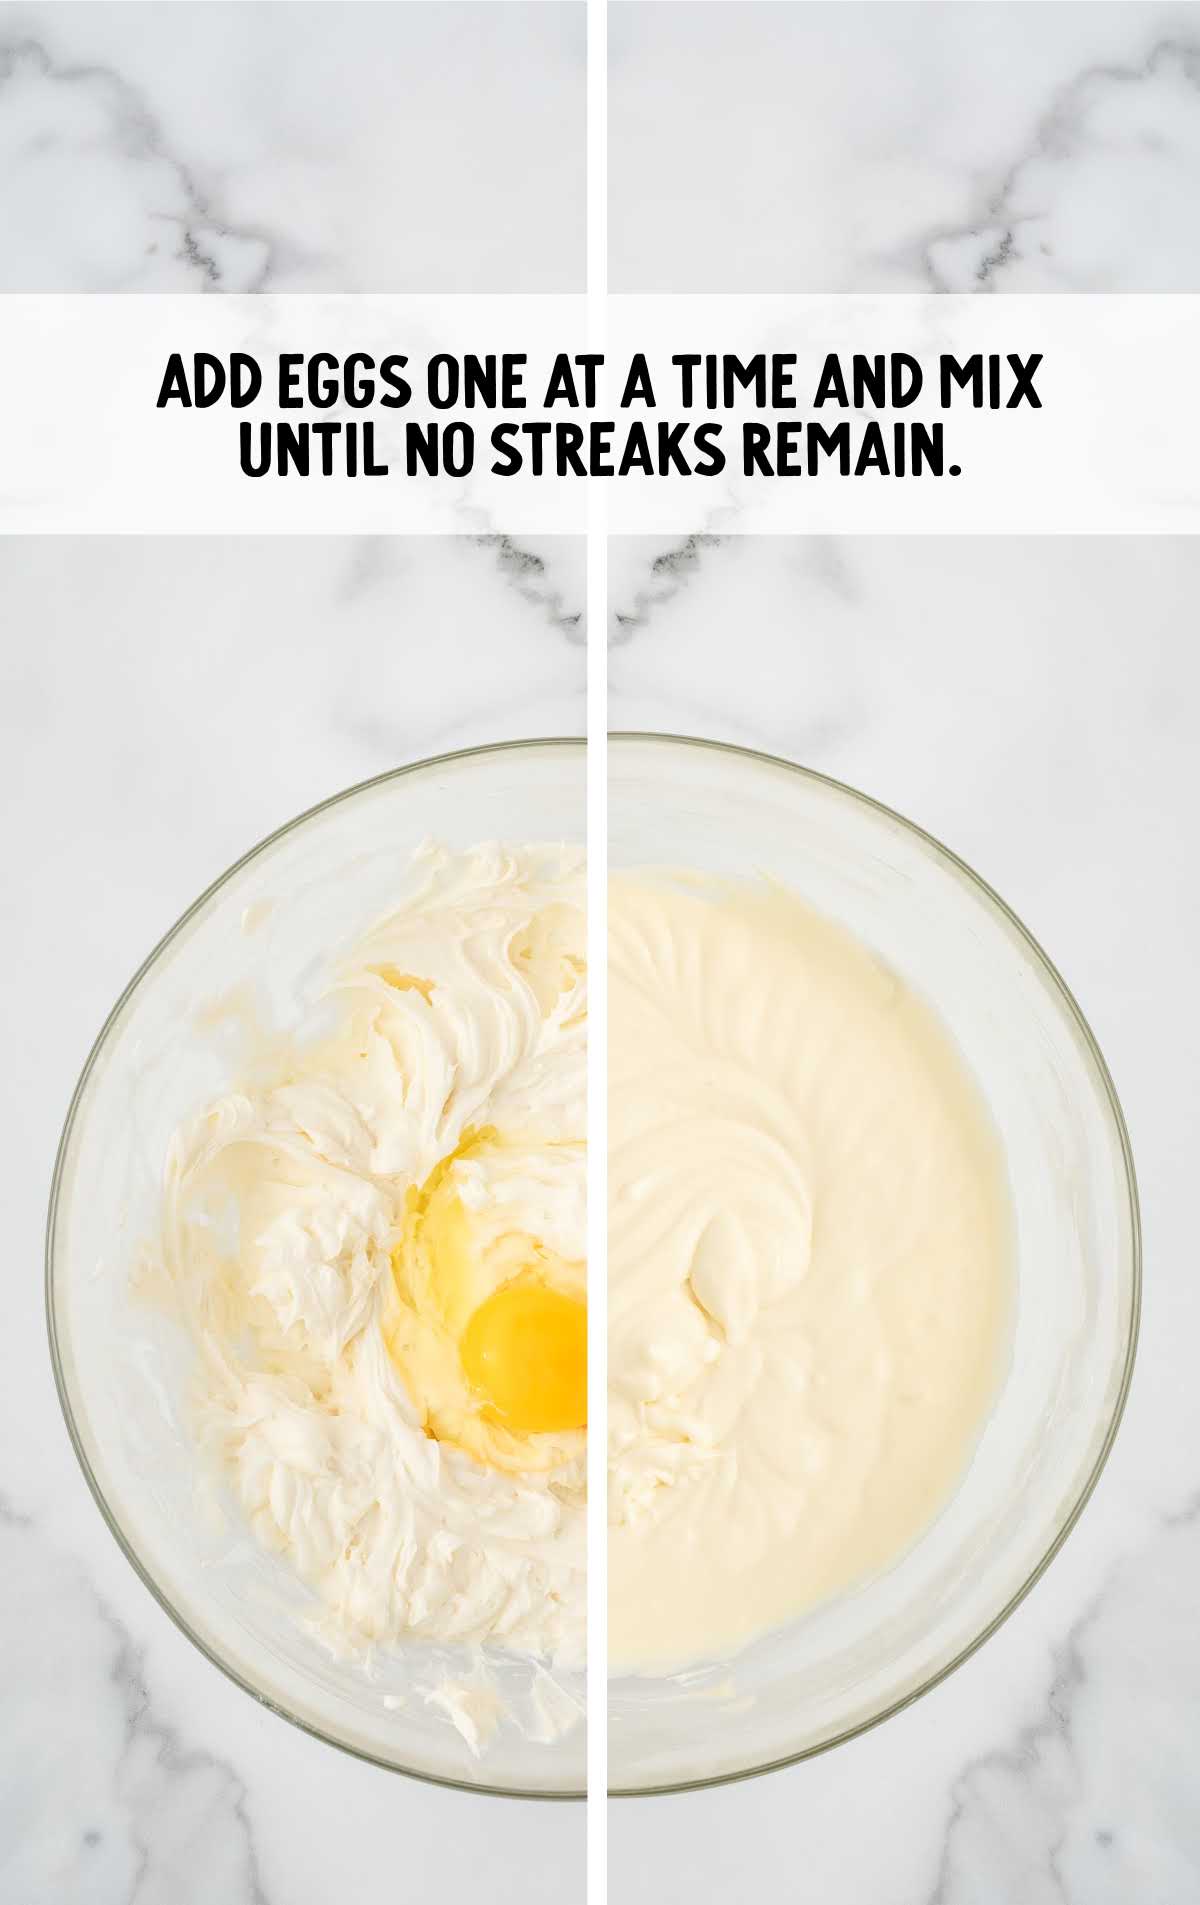
STEP SEVEN: With the mixer still on low, add the eggs one at a time, mixing just until the yolk is fully incorporated before adding the next.
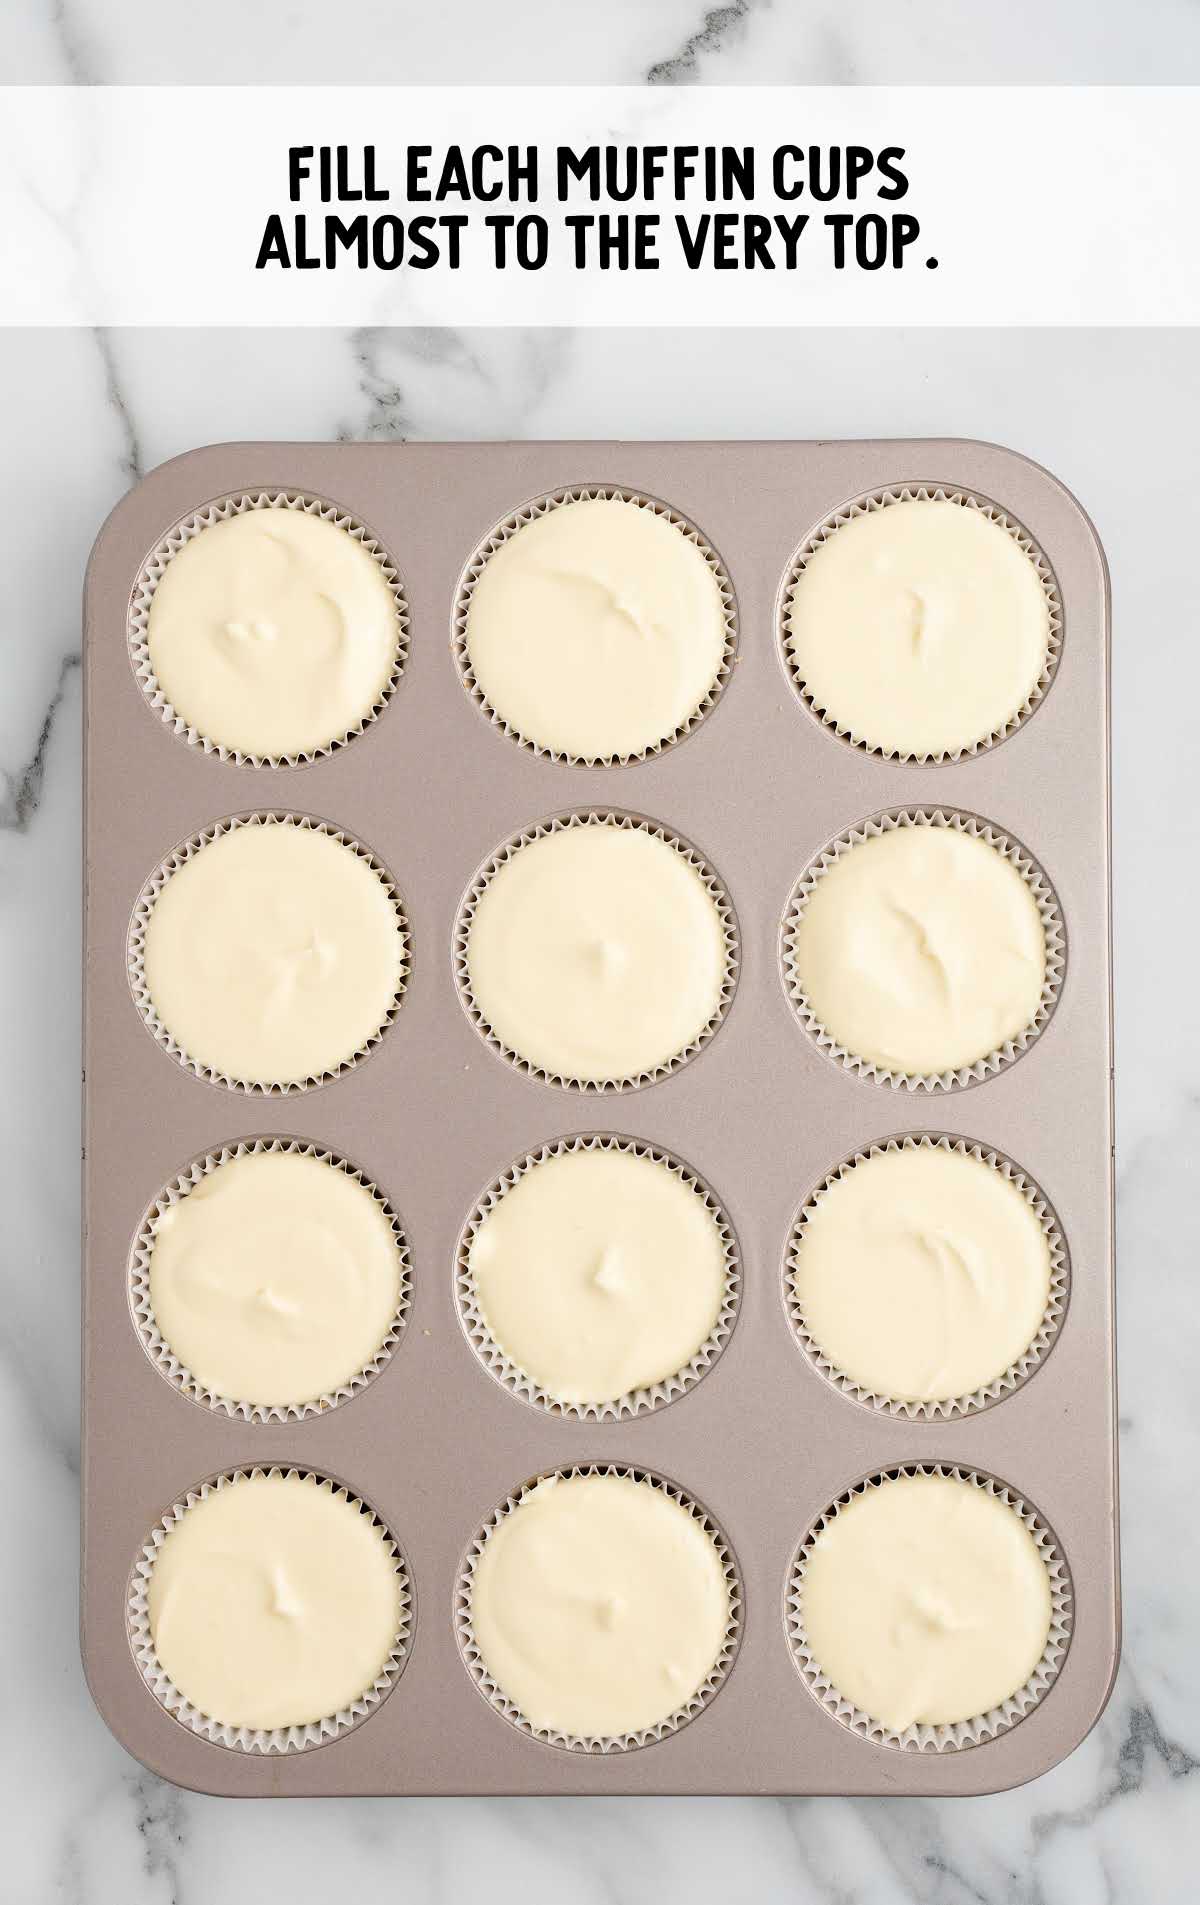
STEP EIGHT: Divide the cheesecake filling evenly between the muffin cups, filling each almost to the top.
STEP NINE: Bake the cheesecakes until the edges are set, but the center still has a slight jiggle. Remember, all ovens vary, so start checking early to avoid overbaking.
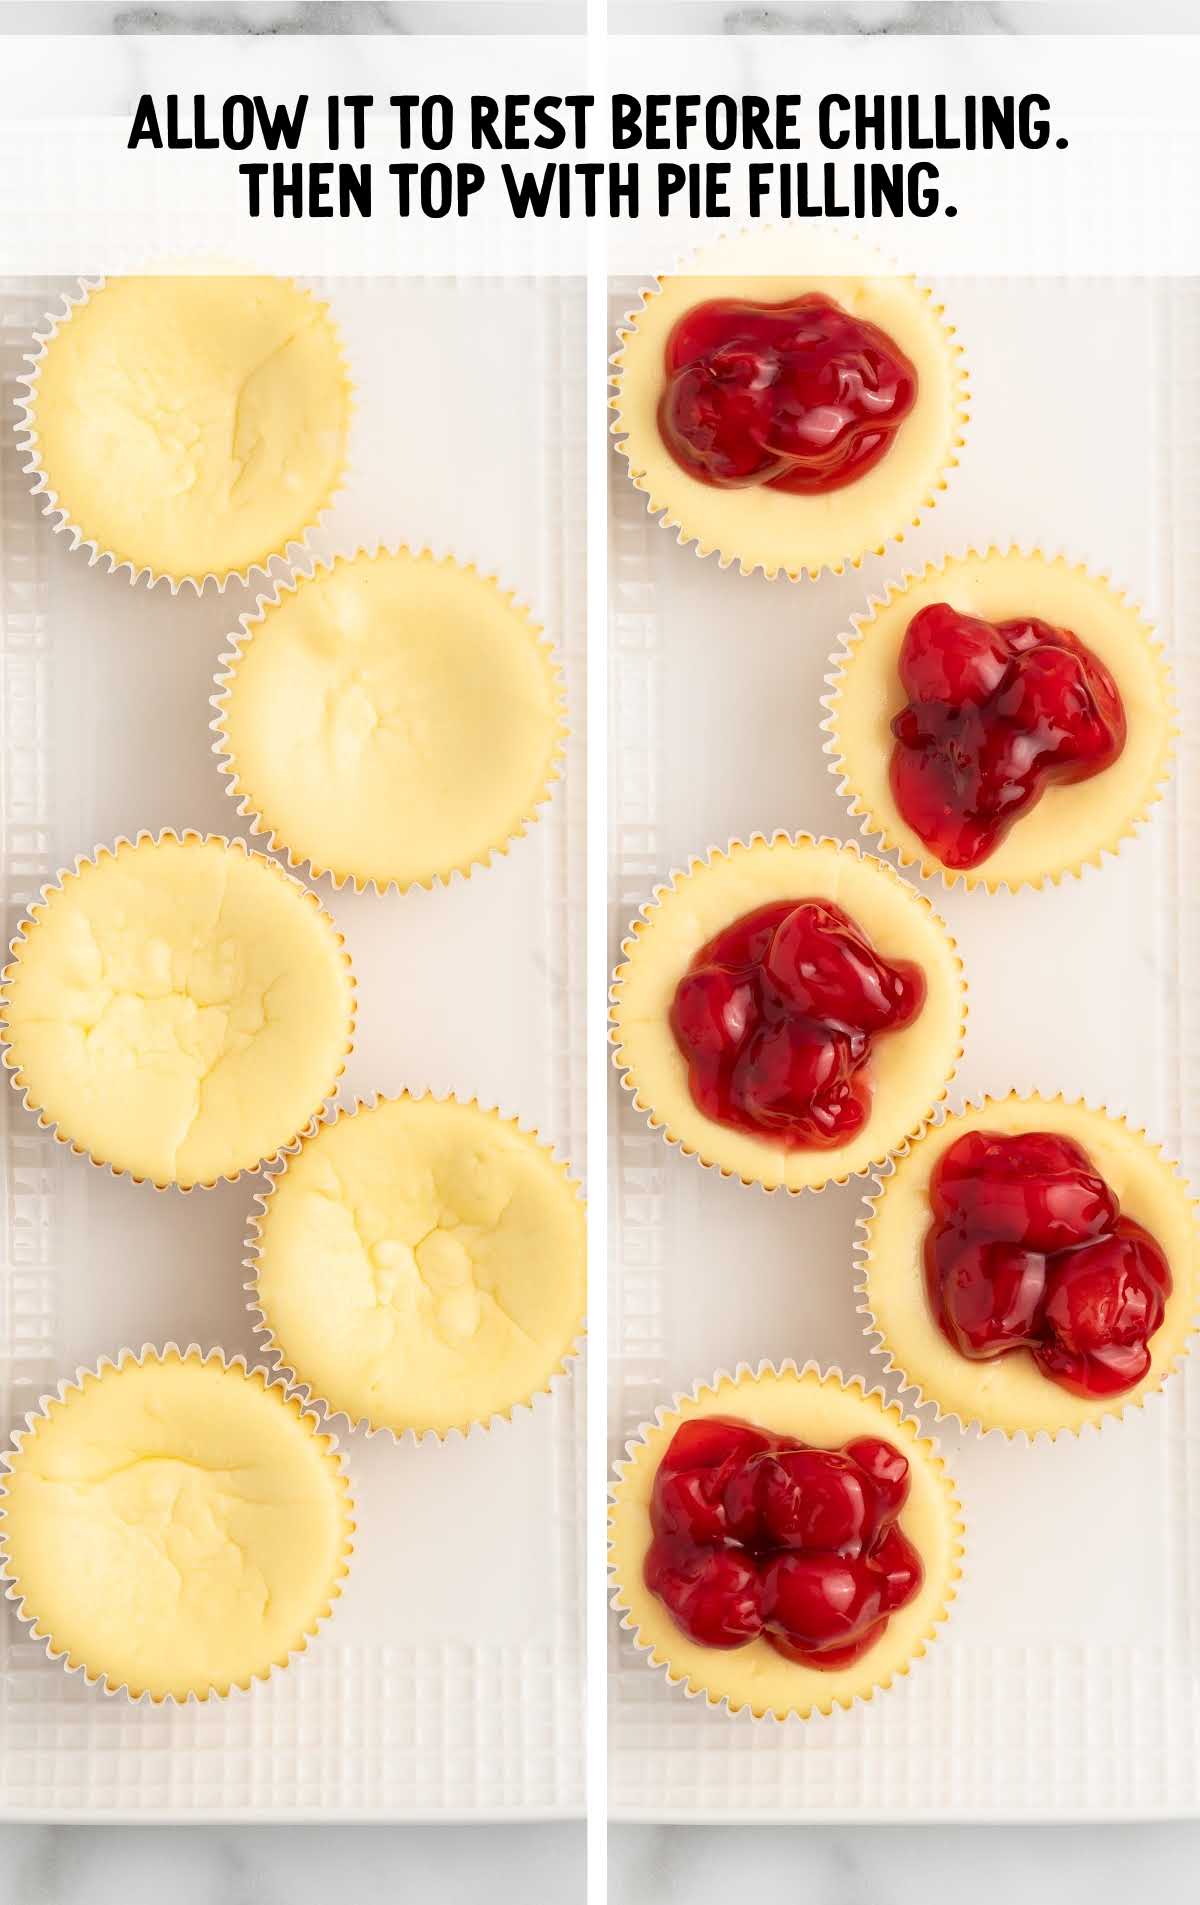
STEP TEN: Let the cheesecakes rest at room temperature for a while. This helps them set before you chill them. Once cooled, transfer them to the refrigerator, uncovered, and chill for at least 2 hours. Chilling firms up the texture, making them easier to top and serve.
STEP ELEVEN: After chilling, top each cheesecake with a tablespoon of your favorite pie filling or fresh fruit. Serve and enjoy!
Individual Cheesecakes Troubleshooting Guide
Here are some additional pro tips to help you achieve the best results when making this recipe for individual mini cheesecakes:
- Use Room Temperature Ingredients: Make sure all your ingredients, especially the cream cheese and eggs, are at room temperature before you start. This will help them blend more smoothly, resulting in a creamy filling with no lumps.
- Crust Compression: When tamping down the crust in each liner, press firmly but evenly to create a solid base. Too much pressure can make the crust too dense, while too little pressure can cause it to crumble when you remove the liners.
- Oven Placement: Bake the cheesecakes on the middle rack of your oven. If your oven has hot spots, or if the cheesecakes look unevenly baked about halfway through the cooking time, turn your oven 180 degrees.
- Cooling Process: Allow the cheesecakes to cool gradually by letting them rest in the oven with the door slightly open. A sudden temperature change can cause the tops to crack.
- Chilling Time: For the best texture, chill the cheesecakes for at least 2 hours, but overnight is even better. This allows the flavors to meld and the filling to set properly.
How To Serve Cheesecake Bites
Now that you’ve mastered the steps to making this mini cheesecake bites recipe, it’s time to think about how you’ll serve them. These versatile little desserts can be the star of any occasion, whether you’re hosting a gathering or simply enjoying a sweet treat at home.
Serve the mini cheesecakes as they are, topped with a dollop of fresh whipped cream and maybe a sprinkle of chopped fresh berries. You can also include a drizzle of chocolate sauce, chocolate ganache, or strawberry sauce. Arrange them on a beautiful platter for an elegant touch.
Set up a cheesecake dessert bar where guests can customize their own mini cheesecakes. For more options, serve these classic baked mini cheesecakes alongside other mini desserts like mint cheesecake bites, bite sized apple cheesecakes, or mini blueberry cheesecakes.
Offer a variety of toppings like crushed nuts, salted caramel sauce, or even a spoonful of lemon curd.
MORE BITES RECIPES


How To Store Bite Sized Cheesecakes
MAKE AHEAD: To make ahead, prepare these mini baked cheesecakes as directed, then allow them to cool completely before storing them. Once cooled, cover them tightly or place them in an airtight container and refrigerate. They can be made up to two days in advance.
IN THE FRIDGE: Store the mini cheesecakes in an airtight container in the fridge. They will keep fresh for up to five days. If you plan to add any toppings, it’s best to do so just before serving.
IN THE FREEZER: It’s best to freeze these cheesecakes without toppings. Place the cooled cheesecakes on a baking sheet and freeze until solid. Once frozen, transfer them to an airtight container or freezer bag. They can be frozen for up to one month. To thaw, transfer the cheesecakes to the refrigerator and let them thaw overnight before serving.
Why This Mini Cheesecake Recipe Is The Best
There are so many reasons to love these mini cheesecakes, and it’s not just about their taste.
Here’s why these little treats have become a favorite in our kitchen, and why we think you’ll love them, too:
Easy to Make: Just a few ingredients and simple steps – you can make this dessert without breaking a sweat!
Perfectly Portable: Their small size makes them easy to transport, so they’re perfect for potlucks and parties.
Customizable Toppings: You can easily swap out toppings to suit your preferences. Make them as simple or as fancy as you like.
Make-Ahead Friendly: Prepare them in advance, so you’re always ready to serve a delicious dessert without last-minute stress.
Frequently Asked Questions
Yes, but you’ll need to adjust the baking time and make fewer, larger cheesecakes.
Cool them gradually by leaving the oven door slightly open after baking to avoid cracks.
Absolutely, just make sure you have enough mini muffin tins and liners on hand.
A food processor works best, but you can also use a resealable bag and a rolling pin.
They should be slightly jiggly in the center but set around the edges.
It’s highly recommended to use liners for easy removal and serving of your mini cheesecakes
Yes, but it may slightly change the texture and richness of the cheesecakes. We recommend using full-fat cream cheese.
A water bath isn’t necessary, but if you want, you can set a pan of water on the lowest rack of the oven while you bake these cheesecakes.
Make sure the crust is firmly pressed down before baking and that the cheesecakes are completely chilled before removing from the liners.
This mini cheesecake recipe is easy to make, versatile, and perfect for any occasion. You’ll love how these bite-sized cheesecakes bring a sweet touch to your table without any fuss.
More Adorable Mini Cheesecakes You’ll Love
- Mini Snickers Cheesecakes
- Cheesecake In A Jar
- Oreo Cheesecake Bites
- Chocolate Chip Cookie Cheesecakes
- Reese’s Peanut Butter Cup Mini Cheesecakes
If you want even more ideas like this, you can see my complete collection of muffin pan desserts that are perfect for parties, bake sales, and dessert trays.


Mini Cheesecake Recipe
Ingredients
Crust
- 1 cup graham cracker crumbs
- 2 tablespoons granulated sugar
- 6 tablespoons salted butter, melted and cool
Cheesecake Filling
- 16 ounces cream cheese, softened (two 8-ounce packages)
- ½ cup granulated sugar
- ⅓ cup sour cream
- 1 teaspoon pure vanilla extract
- 2 extra large eggs, room temperature
Optional Garnish
- Your favorite canned pie filling or fresh fruit
Instructions
- Preheat the oven to 350°F. Line a 12 cup standard muffin tin with paper cupcake liners.
- Add the graham cracker crumbs and granulated sugar to a small mixing bowl. Stir to combine.
- Add the melted and cooled butter. Stir to completely coat the graham cracker crumbs.
- Use a 1 ½ tablespoon cookie scoop to measure and add the graham cracker crust to the prepared muffin tin. Tamp down the buttered crumbs. Bake for 5 minutes.
- Using either a stand mixer fitted with a paddle attachment, or a large bowl and a handheld mixer on medium low speed, mix together the softened, room temperature cream cheese and the granulated sugar for 1 ½ -2 minutes, or until well incorporated. It’s important to keep the mixer speed lower, as adding extra air to filling may cause cracks to form on the top of the cheesecakes.
- Add the sour cream and vanilla. Mix just until combined and no streaks of vanilla and sour cream remain.
- Lower the mixer speed to low. Add the eggs, one at a time, mixing just until no streaks of egg remain.
- Divide the filling evenly between the muffin cups, filling each almost to the very top.
- Bake for 18-20 minutes, until the outside edges are set and the center barely jiggles. Remember that all ovens cook differently, so begin to check your cheesecakes at the 15 minute mark.
- Allow the cheesecakes to rest at room temperature for 30 minutes before chilling uncovered in the refrigerator for 2 hours.
Notes
- Use Room Temperature Ingredients: Make sure all your ingredients, especially the cream cheese and eggs, are at room temperature before you start. This will help them blend more smoothly, resulting in a creamy filling with no lumps.
- Crust Compression: When tamping down the crust in each liner, press firmly but evenly to create a solid base. Too much pressure can make the crust too dense, while too little pressure can cause it to crumble when you remove the liners.
- Oven Placement: Bake the cheesecakes on the middle rack of your oven. If your oven has hot spots, or if the cheesecakes look unevenly baked about halfway through the cooking time, turn your oven 180 degrees.
- Cooling Process: Allow the cheesecakes to cool gradually by letting them rest in the oven with the door slightly open. A sudden temperature change can cause the tops to crack.
- Chilling Time: For the best texture, chill the cheesecakes for at least 2 hours, but overnight is even better. This allows the flavors to meld and the filling to set properly.
Nutrition


Leave a Comment