November 13, 2024
Review RecipeCookie Monster Cookies
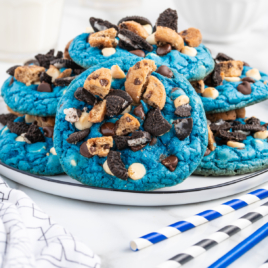
Table of Contents
- Let’s Dish: All About These Cookies
- Cookie Monster Cookies Ingredients
- Cookie Monster Chocolate Chip Cookies Substitutions And Additions
- How To Make This Cookie Monster Cookies Recipe
- How To Serve These Cookies
- Storage Tips
- Why These Cookie Monster Cookies are the Best
- Cookie Monster Cookies Frequently Asked Questions
- More Favorite Cookies You’ll Love
- JUMP TO RECIPE
- More Popular Recipes We Love
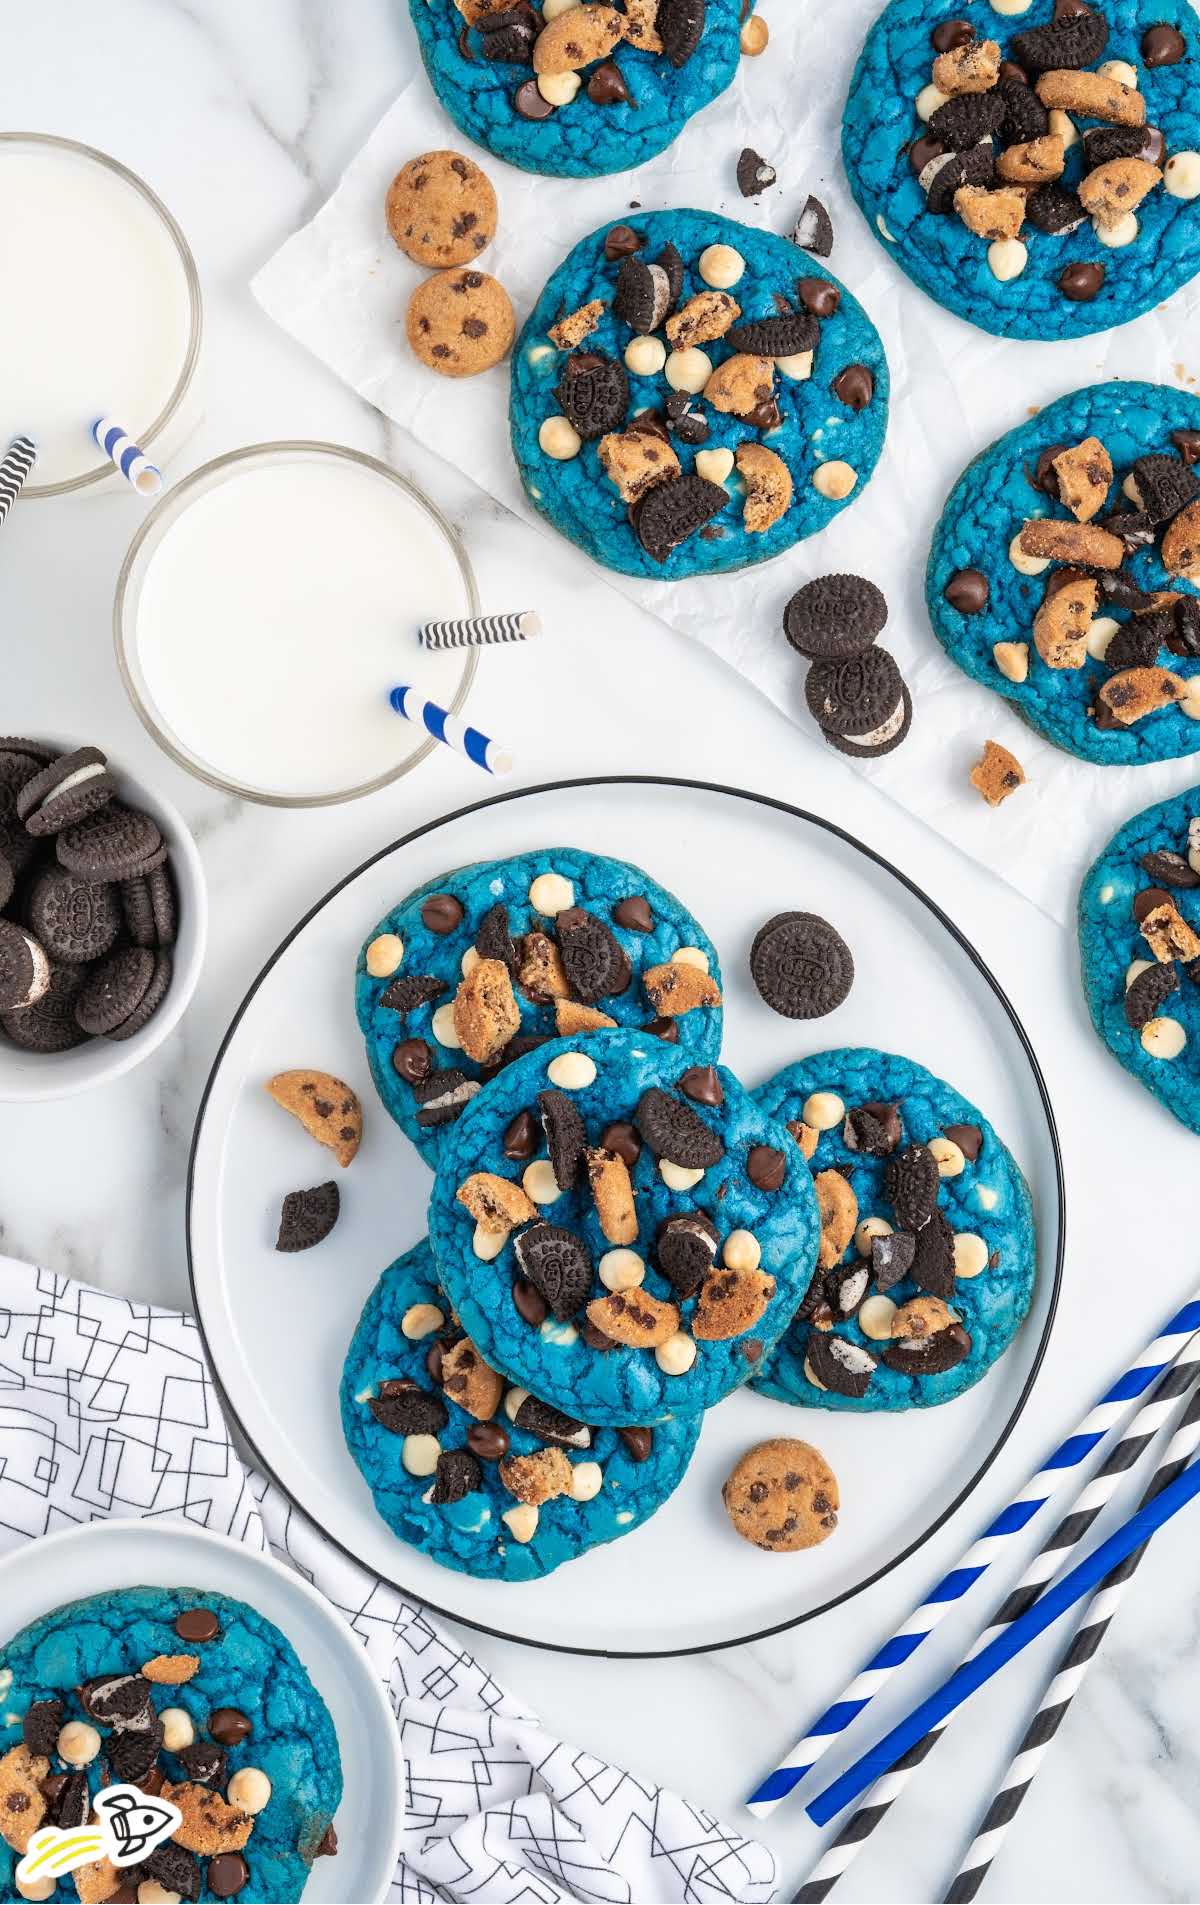
Cookie Monster cookies are a treat that combines whimsy with seriously good flavor. Made with a vibrant blue dough and loaded with chocolate chips, Oreo pieces, and mini cookies, these are no ordinary desserts. Every bite offers a perfect blend of sweetness, crunch, and chewiness, making them a hit with anyone who tries them. If you’re ready to bake cookies that look amazing and taste even better, this recipe is the perfect place to start.

Let’s Dish: All About These Cookies
MAIN INGREDIENTS: Blue food color gel, semi-sweet chocolate chips, white chocolate chips, Oreo cookies, mini chocolate chip cookies, butter, brown sugar, granulated sugar, eggs, all-purpose flour, baking soda, salt, vanilla extract.
QUICK STEPS: Mix wet and dry ingredients separately, combine into a dough, add blue food coloring and mix-ins, shape dough into balls, bake at 350°F until cookies are set.
TOTAL TIME AND YIELD: 40 minutes total, makes approximately 24 cookies.
Why This Recipe
- Surprise Center: Each cookie includes milk chocolate candy melt wafers in the center, adding a gooey, melty surprise that elevates the experience.
- Vibrant and Fun Appearance: The use of royal blue food color gel gives these cookies their signature playful look, making them perfect for parties or themed events.
- Loaded with Mix-Ins: This recipe features a generous combination of semi-sweet chocolate chips, white chocolate chips, and crushed Oreos for layers of flavor and texture in every bite.
Cookie Monster Cookies Ingredients
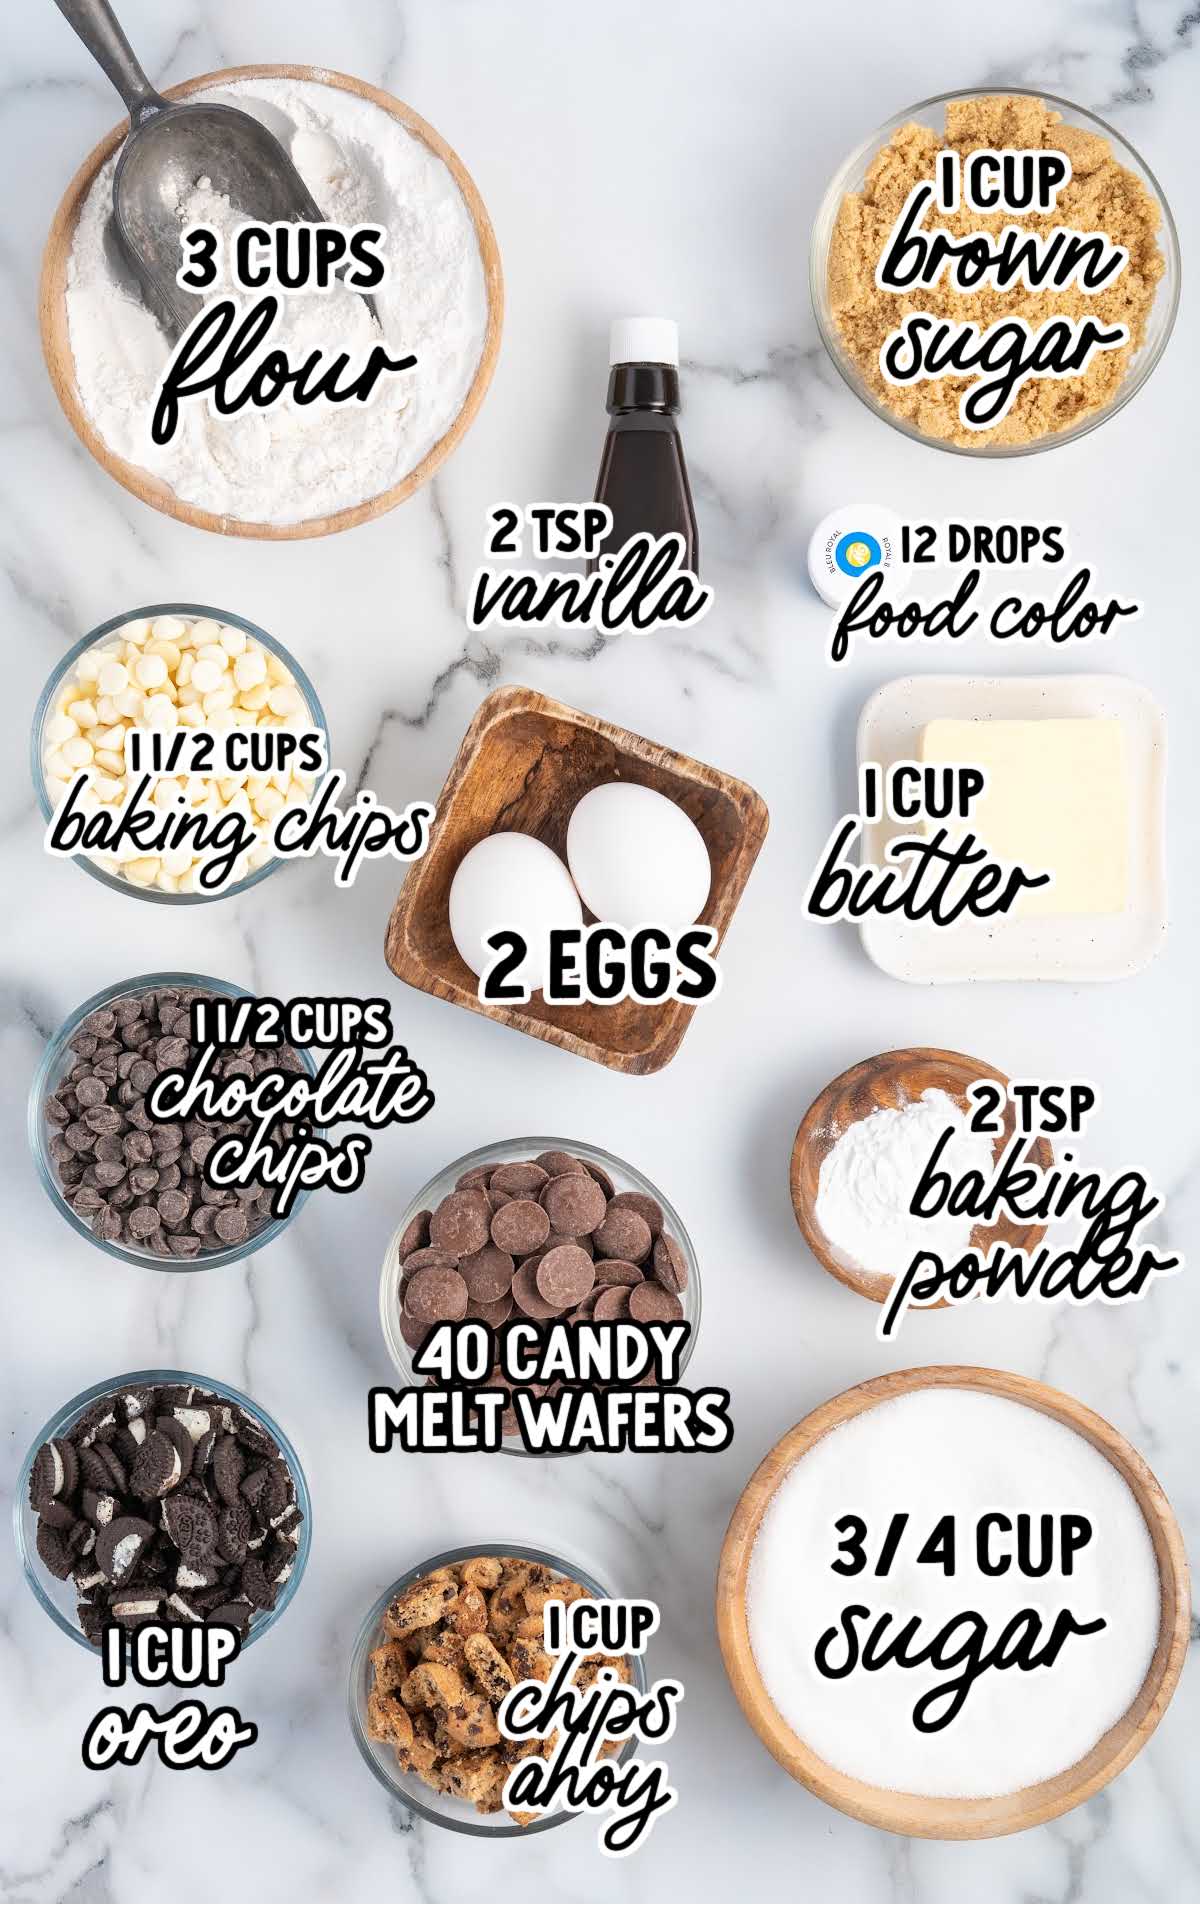
These cookies are jam-packed with chocolate chips, a surprise chocolate center, and topped with even more cookies.
They have the perfect amount of crunchiness on the outside while being soft and chewy on the inside.
The combination of flavors, not to mention the bright blue color, is simply irresistible and will leave you wanting more.
You’ll need:
- 3 cups of all-purpose flour, spooned and leveled
- 2 teaspoons of baking powder
- 1 cup of salted sweet cream butter, softened
- 1 cup of light brown sugar, tightly packed
- ¾ cup of granulated sugar
- 2 teaspoons of pure vanilla extract
- 2 large eggs, room temperature
- 10-12 drops of royal blue food coloring gel
- 1 cup of semi-sweet chocolate chips + ½ cup for topping
- 1 cup of white baking chips + ½ cup for topping
- 40 milk chocolate candy melt wafers (for the center of the cookies)
- 1 cup of broken mini Chips Ahoy cookies, optional garnish
- 1 cup of broken mini Oreo cookies, optional garnish
We Suggest…
- Sunny Side Up Bakery brand for the royal blue food coloring gel
- Ghiradelli brand white baking chips
- Chips Ahoy or Famous Amos chocolate chip cookies
Cookie Monster Chocolate Chip Cookies Substitutions And Additions
COOKIES: You can substitute full-size chopped Oreos and Chips Ahoy cookies for the mini versions.
DECORATION: You can add candy eyes to decorate these blue monster cookies.
How To Make This Cookie Monster Cookies Recipe
Our step-by-step instructions below will walk you through making these ultimate cookie treats. They are almost as fun to make as they are to eat!
STEP ONE: Add the flour and baking powder to a medium-sized mixing bowl. Whisk to combine. Set it aside.
STEP TWO: In the bowl of a stand mixer or a large mixing bowl and a handheld electric mixer on high speed, beat the softened butter for 1½ to 2 minutes until smooth.
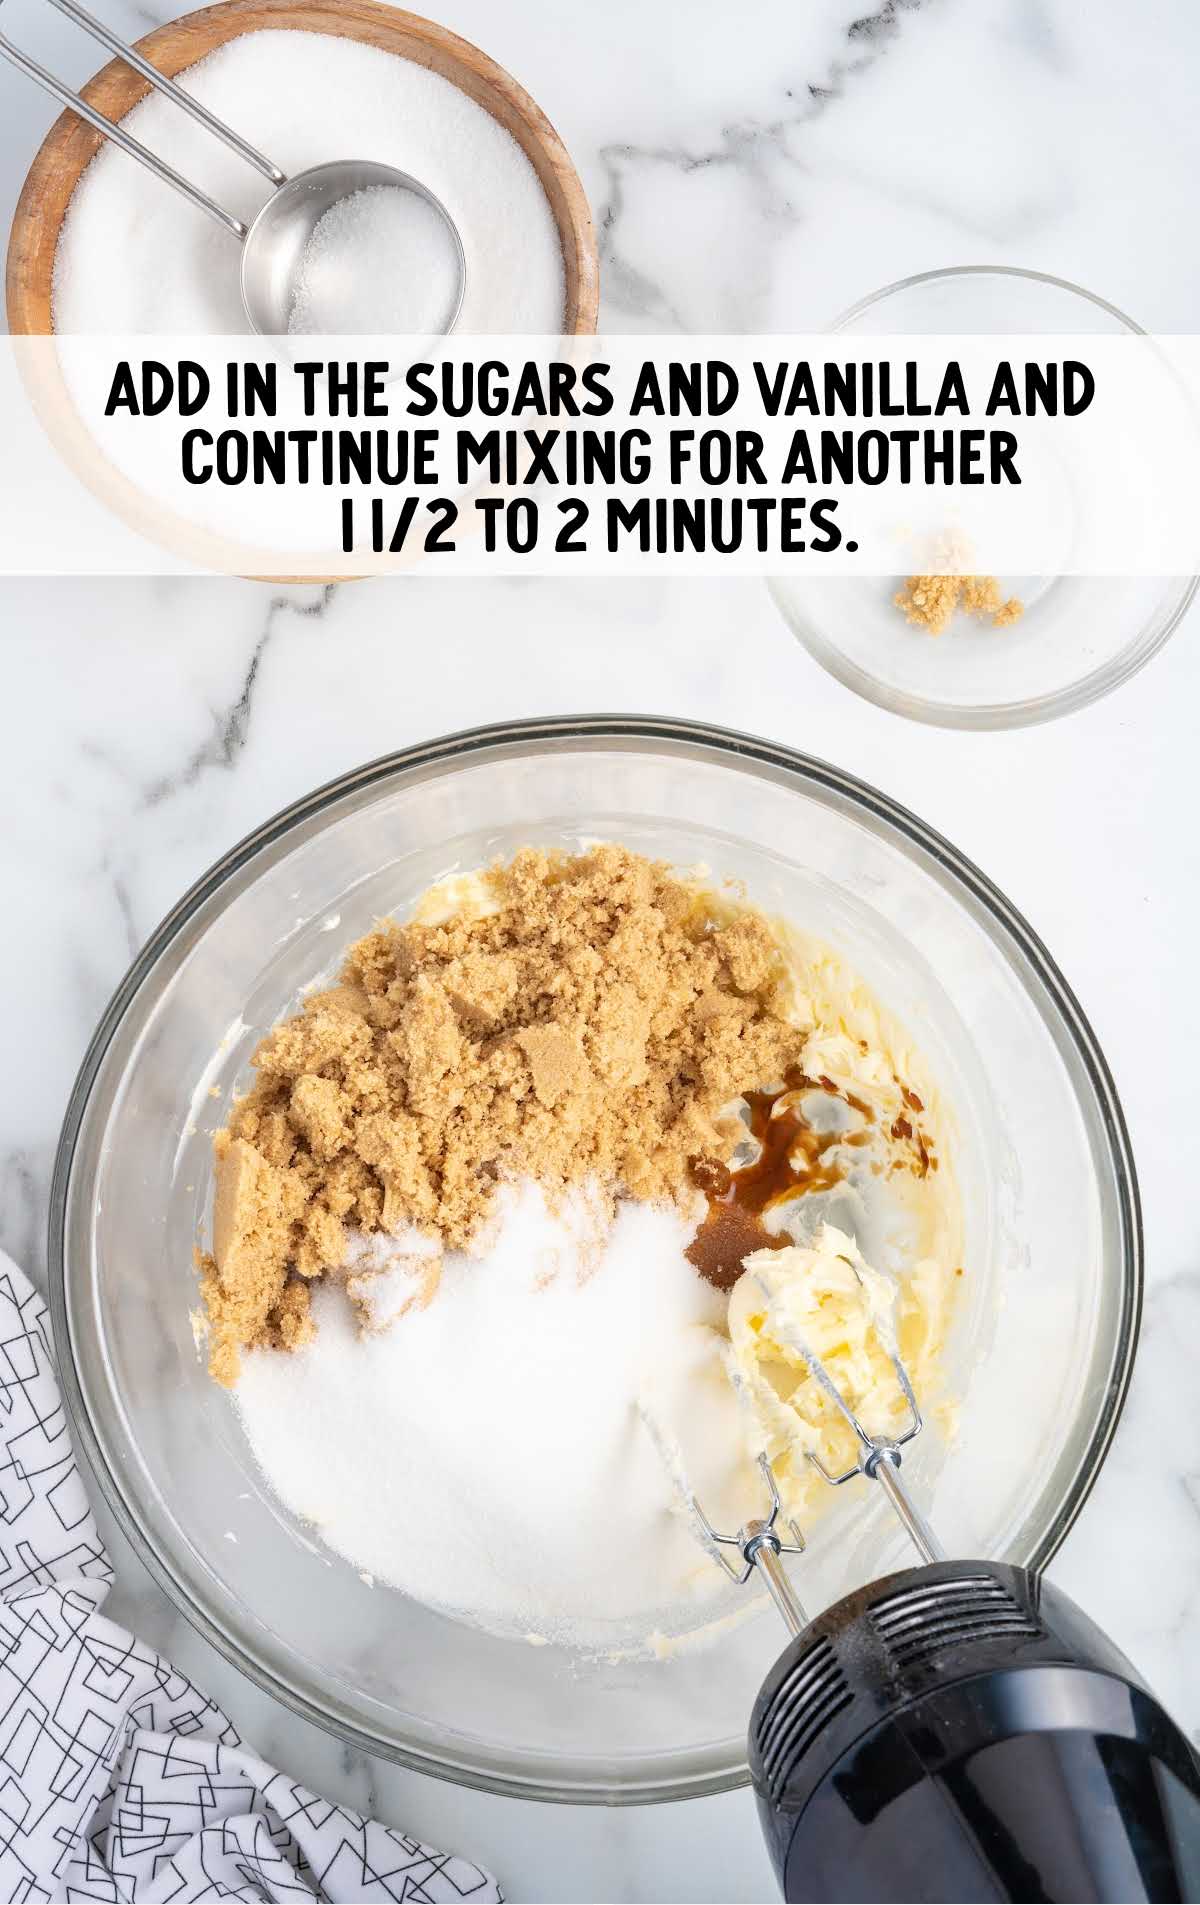
STEP THREE: Add in the sugars and vanilla extract and continue mixing for another 1½ to 2 minutes.
STEP FOUR: Add the eggs, one at a time, beating well after each egg.
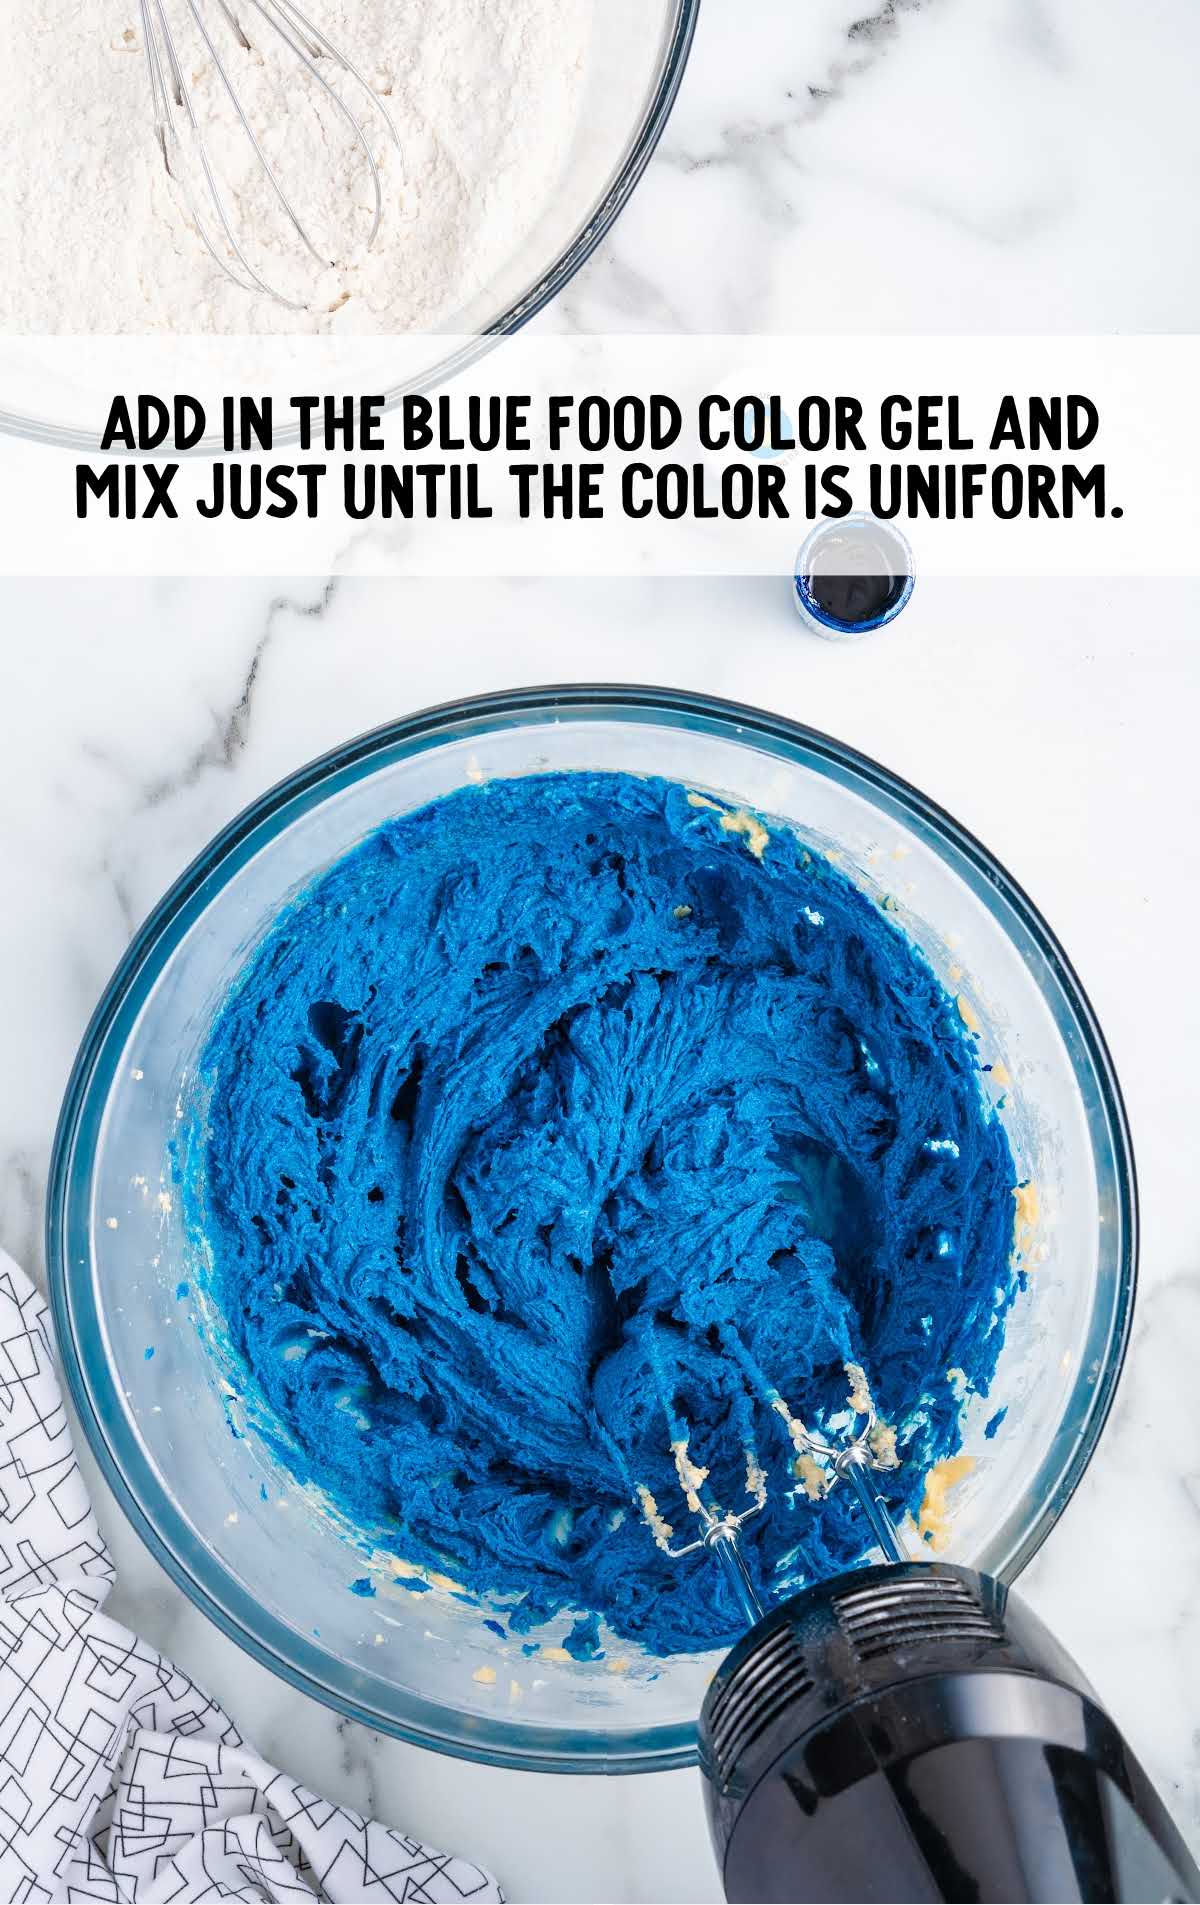
STEP FIVE: Add in the blue gel food coloring and mix just until the color is uniform and no streaks remain.
OUR RECIPE DEVELOPER SAYS
The color of the cookie dough should be vivid and vibrant. You can add extra drops until the desired color is reached. Also, remember that the blue dough may fade just a bit when you add the flour.
STEP SIX: Add the dry ingredients one cup at a time, mixing well after each cup.
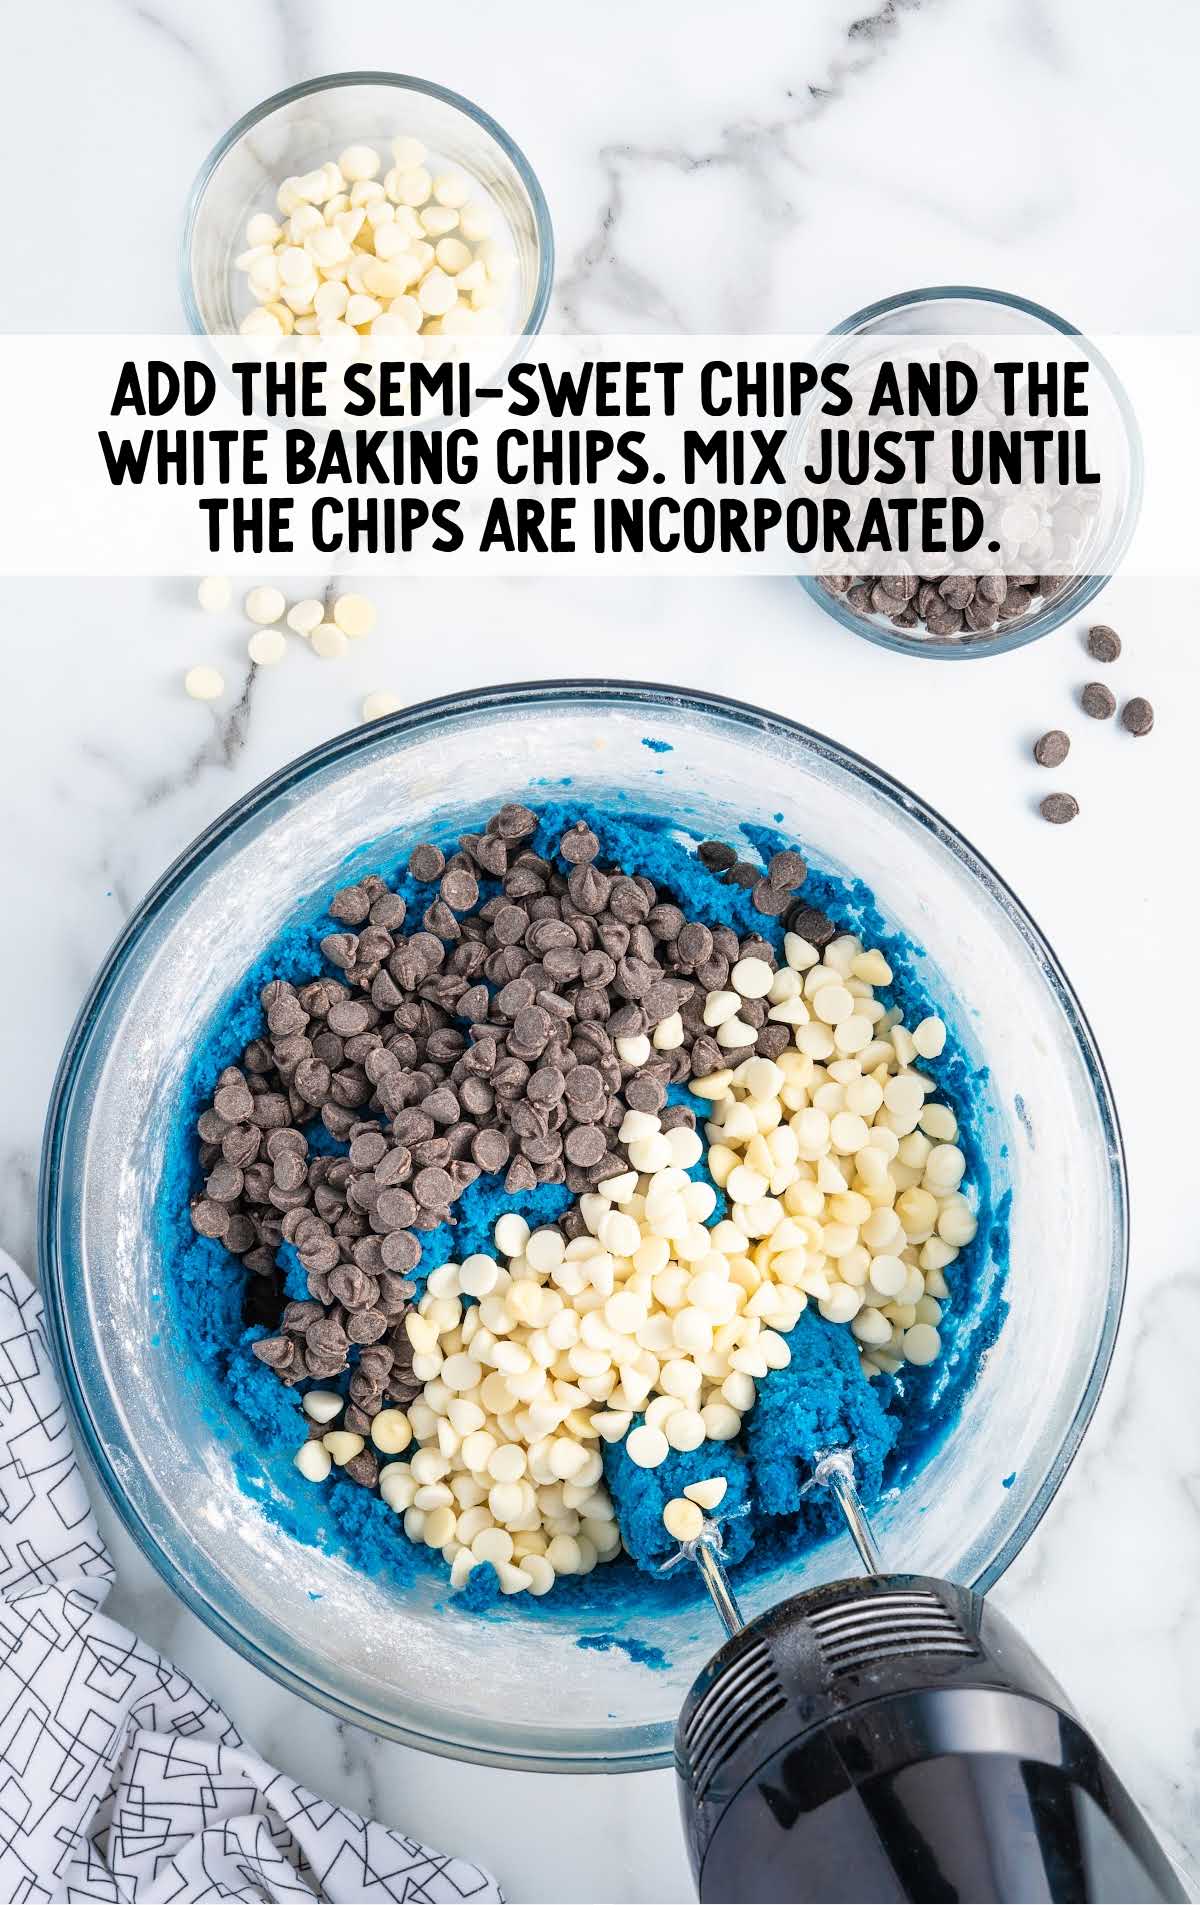
STEP SEVEN: Add the semi-sweet chips and the white baking chips. Mix just until the chips are incorporated.
Cover tightly with plastic wrap and chill in the refrigerator for 30 minutes.
PRO TIP:
Don’t skip the chilling stage, as this will help minimize the spread of the cookies when they are baking.
STEP EIGHT: Preheat the oven to 350°F. Line two baking sheets with parchment paper and set aside.
STEP NINE: Use a three-tablespoon cookie scoop to scoop the cookie dough balls. Slightly flatten the cookie dough ball.
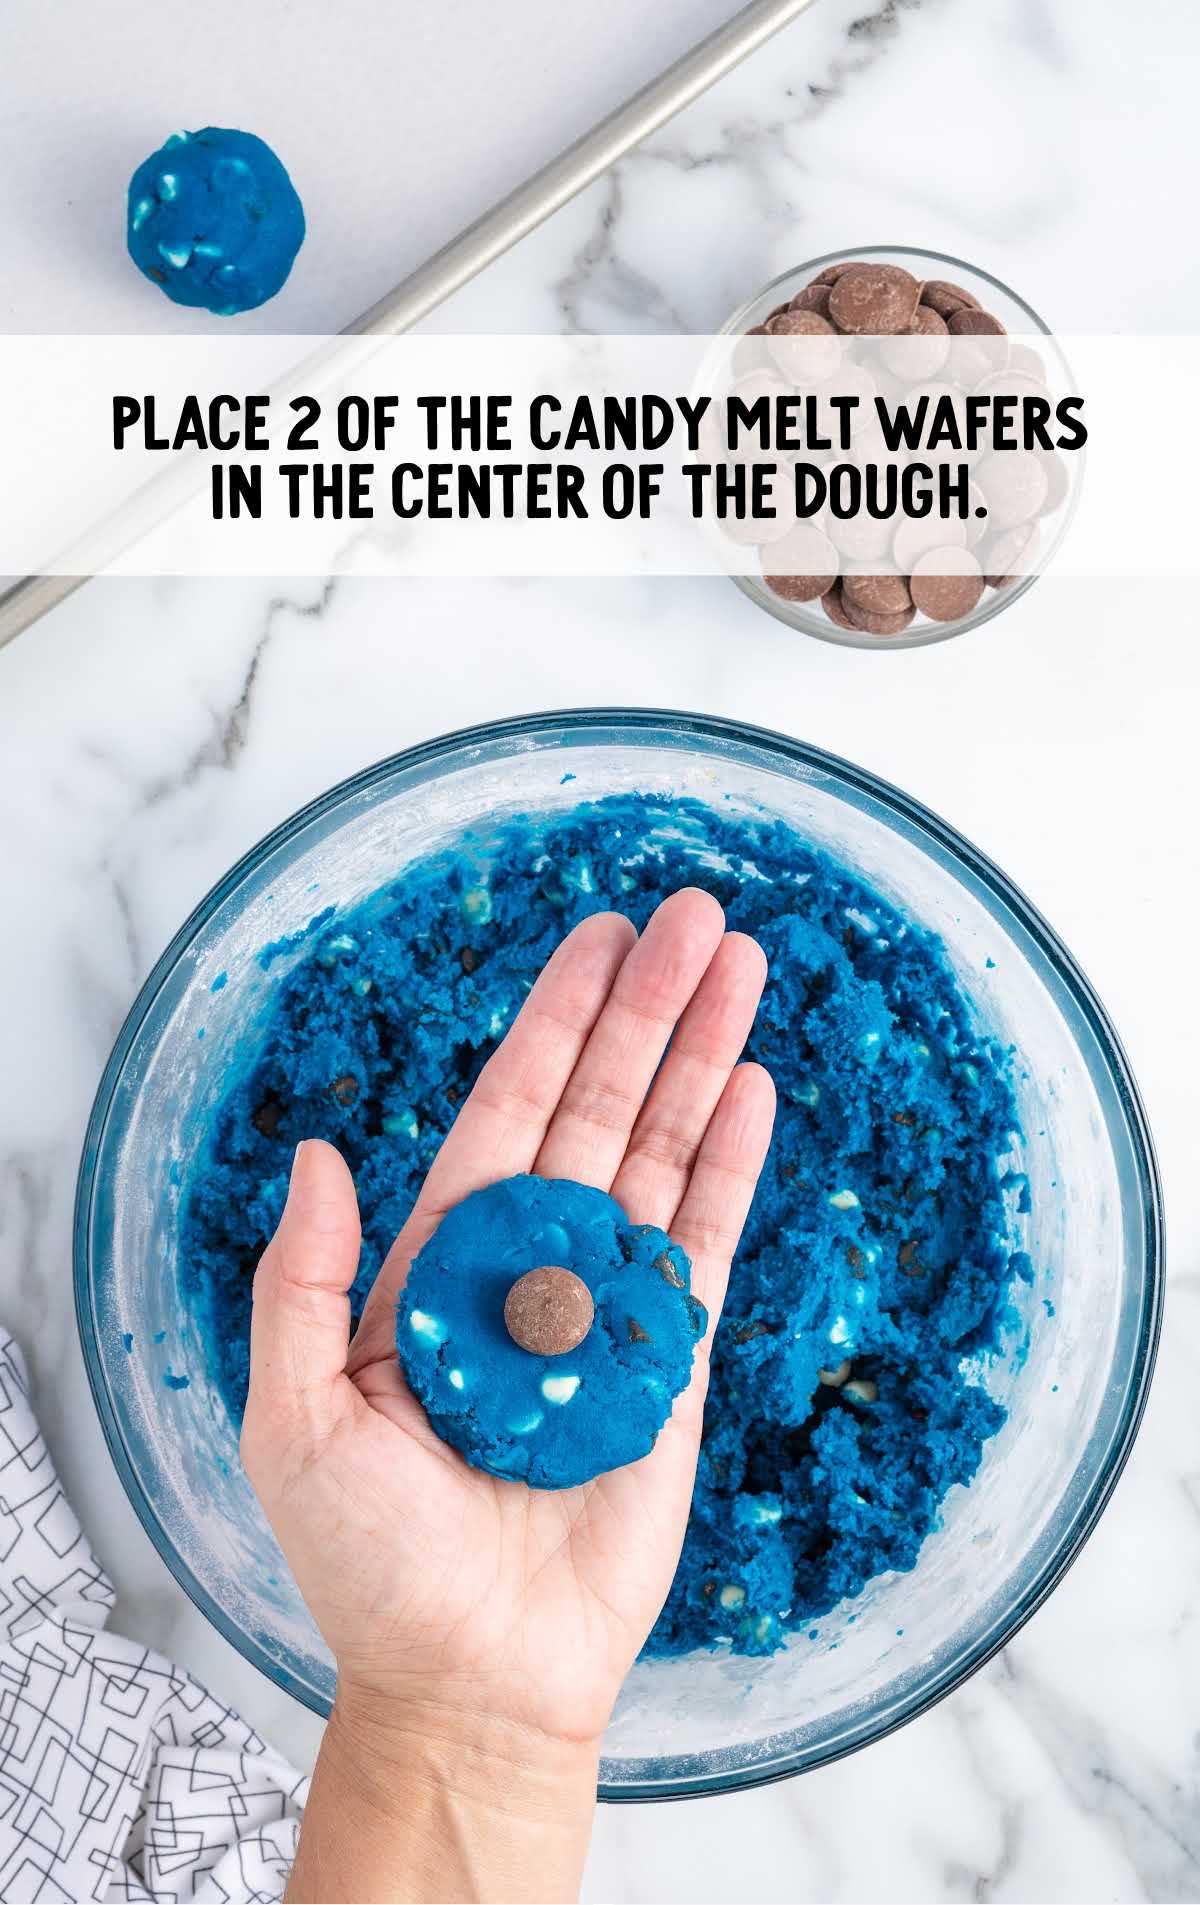
Place two of the candy melt wafers in the center of the dough. Carefully roll the cookie dough around the wafers and form it into a dough ball.
Place the filled dough ball onto the prepared baking sheet. Repeat the steps, placing dough balls two inches apart.
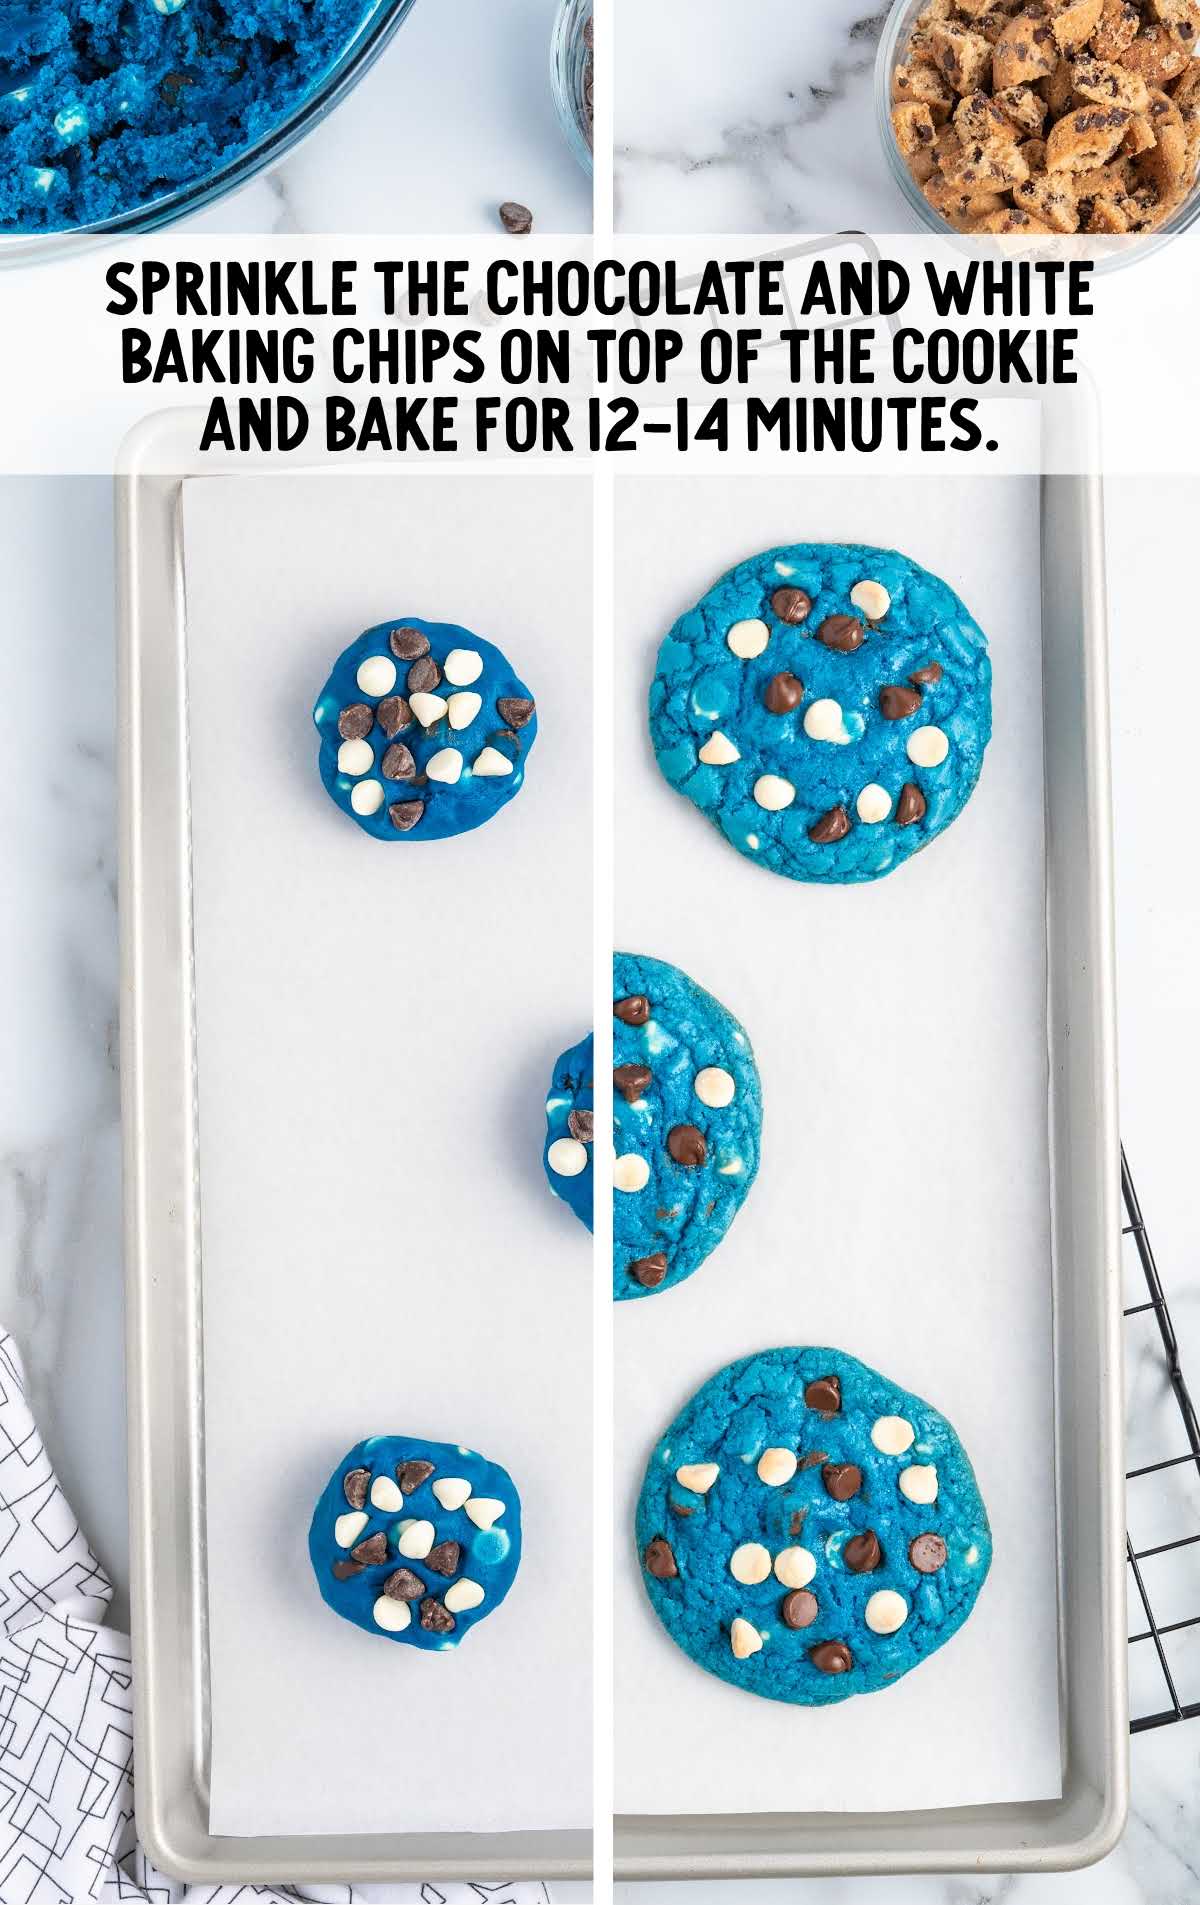
STEP TEN: Sprinkle the reserved chocolate and white baking chips on top of the cookies.
Bake for 12 to 14 minutes or until the edges are slightly golden brown.
PRO TIP:
Oven temperatures vary and may need to be recalibrated periodically to ensure they are accurate. Make sure to check your cookies at the lower end of the recommended bake time.
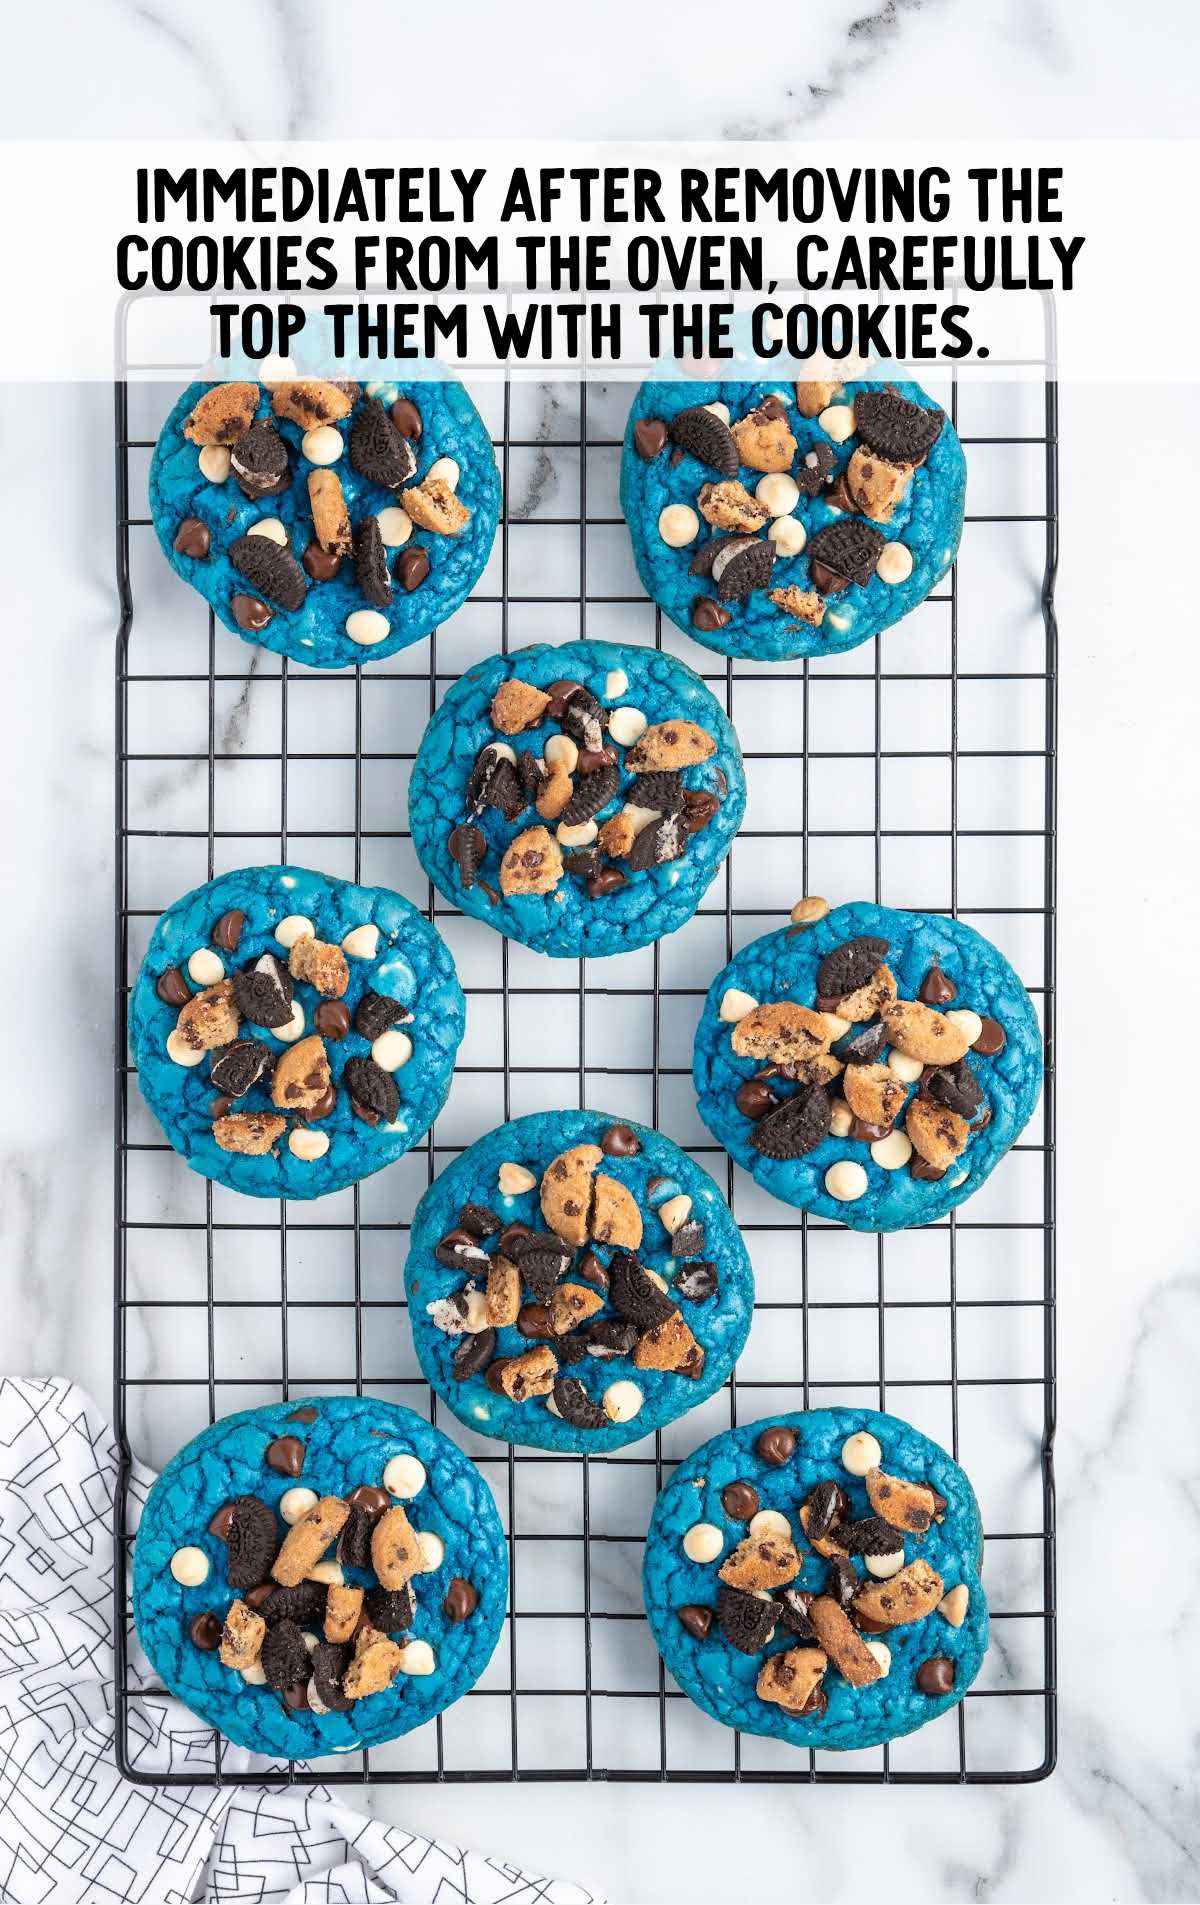
STEP ELEVEN: Immediately after removing the baked cookies from the oven, carefully top them with the broken pieces of cookies.
Allow the cookies to rest on the baking sheet for five to seven minutes before transferring them to a cooling rack to cool completely.
How To Serve These Cookies
These adorable blue cookie monster cookies will delight anyone they are served to.
They make the perfect afternoon snack after school, along with a Wendy’s Frosty or a mug of homemade hot chocolate.
If you’re feeling a little more adventurous, try a scoop of vanilla ice cream with these over-the-top cookies.
For even more fun blue treats, check out our cookie monster cupcakes and blue cookie monster ice cream.
MORE MONSTER RECIPES
Storage Tips
You could assemble the cookie dough balls ahead of time and freeze them, ready for baking a few at a time when the craving hits.
MAKE AHEAD: If you’re planning for a stress-free baking experience, you can prepare the cookie dough in advance.
Simply follow the recipe up to the point where you scoop the dough onto the baking sheets.
Instead of baking, freeze the cookie dough scoops on a tray until firm, then transfer them to an airtight container or resealable freezer bag.
When you’re ready to enjoy freshly baked cookies, pop the dough onto a baking sheet and bake as directed, adding an extra minute or two to account for the dough being frozen.
ON THE COUNTER: Store these delicious cookies in an airtight container at room temperature for up to three days.
IN THE FREEZER: You can freeze the cookie dough for up to one month in a freezer bag or airtight container.
Allow the dough to thaw overnight in the refrigerator before scooping, filling, and baking.
Why These Cookie Monster Cookies are the Best
COOKIE BLISS: These cookies are the epitome of cookie perfection. They are soft, chewy, and packed with generous chunks of chocolate chips and colorful candy-coated chocolates.
PLAYFUL APPEARANCE: The fun and whimsical appearance of these cookies is sure to bring smiles to both kids and adults. With googly eyes and bright candy pieces, they resemble Cookie Monster from Sesame Street.
EASY BAKING: The recipe is incredibly beginner-friendly, making it accessible to novice bakers. The step-by-step instructions and tips ensure that you can create these eye-catching cookies with ease, regardless of your baking experience.
These vibrant blue cookies are packed with flavor, oozing with chocolatey goodness, and sprinkled with a monster-sized punch of sweetness. With delicious, crunchy edges and a perfectly crispy interior, our cookie monster cookies will inject a burst of flavor into your day.
Cookie Monster Cookies Frequently Asked Questions
While we love the charm that the blue color adds to this monster cookie recipe, it is entirely optional to dye the dough blue.
Our easy cookie monster cookies can easily be kept on the counter at room temperature for up to three days.
You can use a silicone baking mat if you don’t have parchment paper. If you don’t have that, you can bake the cookies directly on the baking sheet sprayed with a little bit of baker’s spray.
More Favorite Cookies You’ll Love
- Cinnamon Roll Cookies
- Chocolate Marshmallow Cookies
- Traditional Chocolate Chip Cookies
- Chewy Peanut Butter Cookie Recipe
- Chocolate Chip Shortbread Cookies

Cookie Monster Cookies
Ingredients
- 3 cups all-purpose flour, spooned and leveled
- 2 teaspoons baking powder
- 1 cup salted sweet cream butter, softened
- 1 cup light brown sugar, tightly packed
- ¾ cup granulated sugar
- 2 teaspoons pure vanilla extract
- 2 large eggs, room temperature
- 10 to 12 drops royal blue food color gel, I used Sunny Side Up Bakery brand
- 1 ½ cup semi-sweet chocolate chips (½ cup for topping)
- 1 ½ cup white baking chips, I used Ghirardelli brand (½ cup for topping)
- 40 milk chocolate candy melt wafers, for the center of the cookies
- 1 cup broken mini Chips Ahoy, or Famous Amos (optional garnish)
- 1 cup broken mini Oreo cookies, optional garnish
Instructions
- Add the flour and baking powder to a medium-sized mixing bowl. Whisk to combine. Set it aside.
- Using a stand mixer or a large mixing bowl and a handheld mixer on high speed, beat the softened butter for 1½ to 2 minutes until smooth.
- Add in the sugars and vanilla extract and continue mixing for another 1½ to 2 minutes.
- Add the eggs, one at a time, beating well after each egg.
- Add in the blue food color gel and mix just until the color is uniform and no streaks remain. The color should be vivid and vibrant. You can add extra drops until the desired color is reached. Also, remember that it may fade just a bit when you add the flour.
- Add the flour mixture in 1 cup at a time, mixing well after each cup.
- Add the semi-sweet chips and the white baking chips. Mix just until the chips are incorporated. Cover tightly with plastic wrap and chill in the refrigerator for 30 minutes.
- Preheat the oven to 350°F. Line 2 baking sheets with parchment paper and set aside.
- Use a 3-tablespoon cookie scoop to scoop the cookie dough. Slightly flatten the cookie dough ball. Place 2 of the candy melt wafers in the center of the dough. Carefully roll the cookie dough around the wafers and form it into a dough ball. Place the filled dough ball onto the prepared baking sheet. Repeat the steps, placing dough balls 2 inches apart.
- Sprinkle the reserved chocolate and white baking chips on top of the cookies. Bake for 12 to 14 minutes or until the edges are slightly golden brown.
- Immediately after removing the cookies from the oven, carefully top them with the broken pieces of cookies. Allow the cookies to rest on the baking sheet for 5 to 7 minutes before transferring them to a cooling rack to cool completely.
Notes
- The color of the cookie dough should be vivid and vibrant. You can add extra drops until the desired color is reached. Also, remember that the blue dough may fade just a bit when you add the flour.
- Don’t skip the chilling stage, as this will help minimize the spread of the cookies when they are baking.
- Oven temperatures vary and may need to be recalibrated periodically to ensure they are accurate. Make sure to check your cookies at the lower end of the recommended bake time.









Leave a Comment