October 24, 2023
Review RecipeCookie Monster Cupcakes

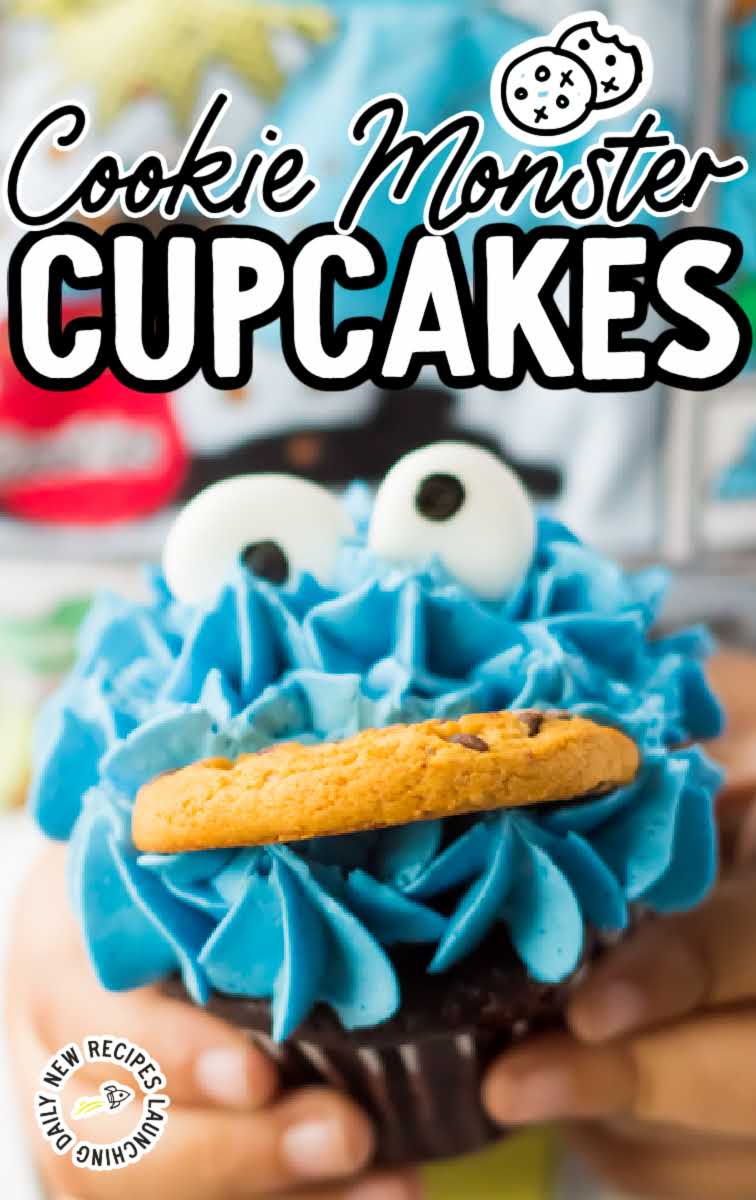
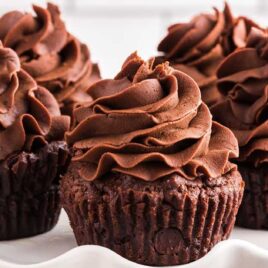
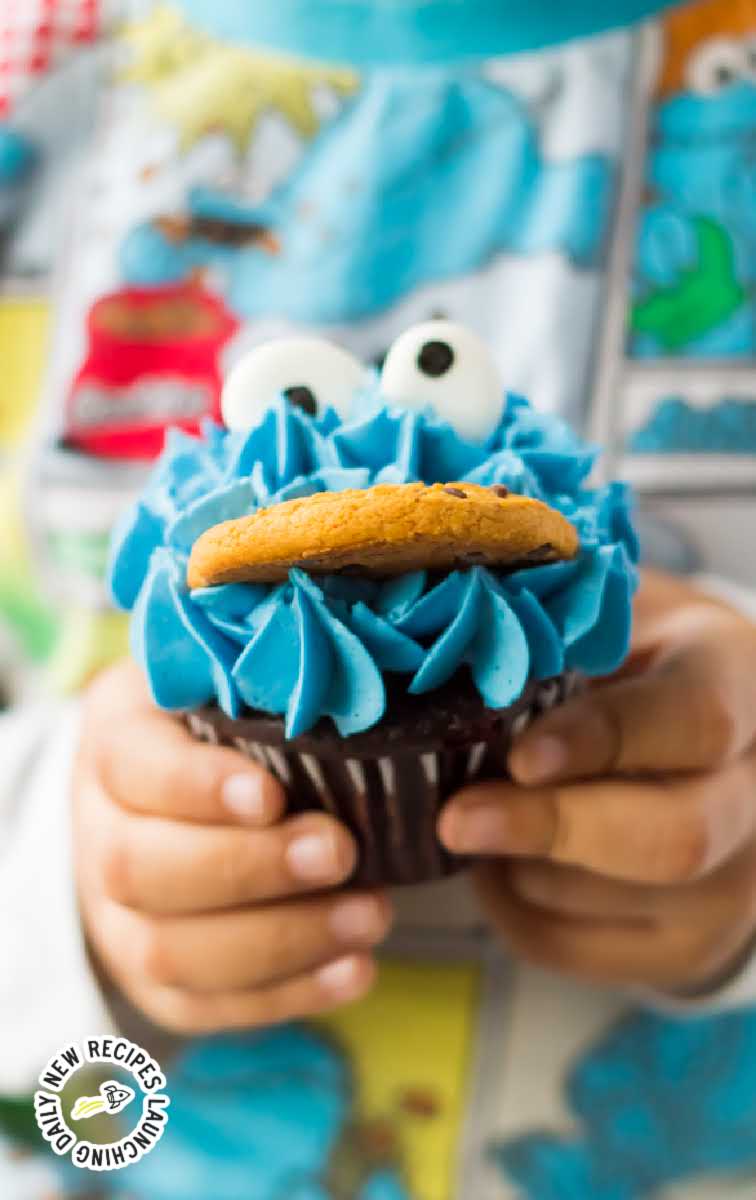
These adorable Cookie Monster cupcakes are perfect for a kid's birthday party. These moist chocolate cupcakes are topped with the perfect blue icing and finished off with cute cartoon eyes and a cookie mouth!
Jump to Recipe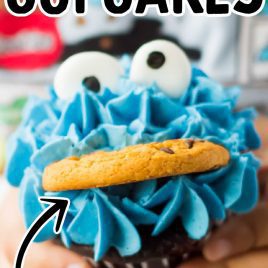
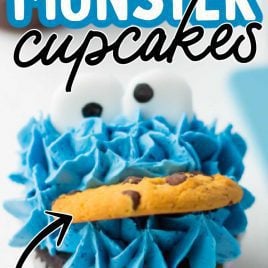
Table of Contents
How cute are these Cookie Monster cupcakes? Classic chocolate cupcakes are topped with bright blue frosting, googly eyes, and a cookie for a mouth, just like our favorite fluffy blue character, and they will be a guaranteed hit.
Cookie Monster Cupcakes Ingredients
These Cookie Monster cupcakes are a delightful treat featuring moist cupcakes that will bring a smile to your face.
The standout is the blue buttercream frosting, while the Cookie Monster face with candy eyes and a chocolate chip cookie adds a playful and crunchy element.
These cupcakes are perfect for indulging in a whimsical, sweet, and chocolaty dessert experience.
For The Cupcakes:
- 1¾ cups of all-purpose flour
- 2 cups of granulated sugar
- 1 cup of cocoa powder
- 1½ teaspoons of baking soda
- 1½ teaspoons of baking powder
- 1 teaspoon of salt
- 2 eggs
- 1 cup of whole milk
- ½ cup of oil
- 2 teaspoons of vanilla extract
- 1 cup of boiling water
For The Blue Frosting:
- 1½ cups of soft unsalted butter, room temperature
- 6 cups of powdered sugar
- 1-2 tablespoons of heavy whipping cream, plus more as needed to thin out the icing
- blue gel food coloring (don’t use liquid food coloring)
For The Cookie Monster Face:
- 2 large candy eyes
- 1 chocolate chip cookie
Substitutions And Additions
SPRINKLES: I have also seen these cupcakes made with sprinkles on top of the icing. A plain buttercream topped with blue sprinkles would mimic Cookie Monster’s fur.
CAKE MIX: If you are in a real pinch, you can use a store-bought boxed chocolate cake mix for this recipe.
COOKIE: Get creative with your cookie choice! Swap out the classic chocolate chip cookie for your favorite cookie variety, whether it’s oatmeal raisin, peanut butter, or a gluten-free alternative.
VANILLA EXTRACT: While vanilla extract adds a warm aroma, you can customize the flavor by using other extracts like almond, mint, or even orange for a unique twist.
How To Make This Cookie Monster Cupcakes Recipe
Let’s walk through the steps for creating these cute monster cupcakes.
STEP ONE: Mix the flour, sugar, cocoa powder, baking soda, baking powder, and salt in a bowl.
STEP TWO: In a separate bowl, add the eggs, whole milk, oil, and vanilla extract.
STEP THREE: Add the wet ingredients to the dry ingredients and beat with a hand mixer on medium until fully combined, about three minutes.
STEP FOUR: Slowly add boiling water, only starting with a small amount, then pouring in the rest. It’s okay if the batter is a little runny.
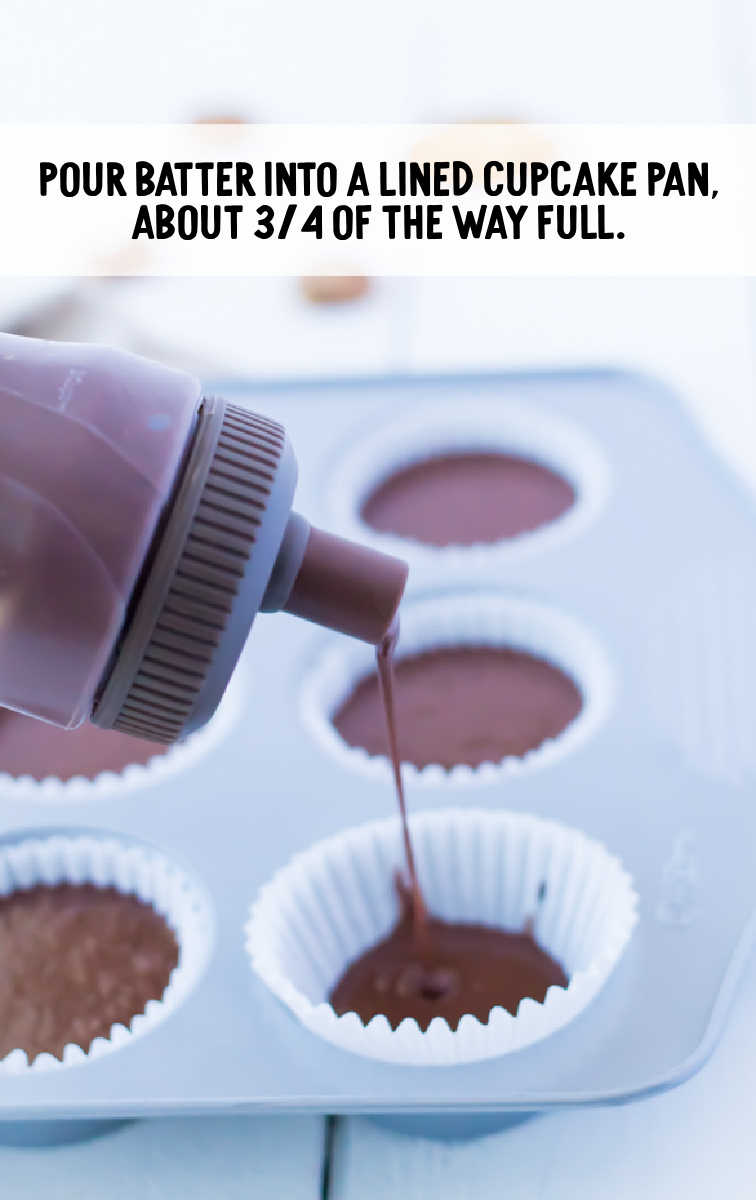
STEP FIVE: Scoop the batter into a cupcake pan lined with paper liners (black or blue work great for these character cupcakes) until ¾ filled.
You want to make sure you have enough batter to get a nice high dome at the top.
STEP SIX: Bake for 20 to 25 minutes in an oven preheated to 350°F.
STEP SEVEN: When the timer goes off, remove the cupcakes from the oven and use a toothpick to check if they’re done. Allow them to cool for 10 minutes.
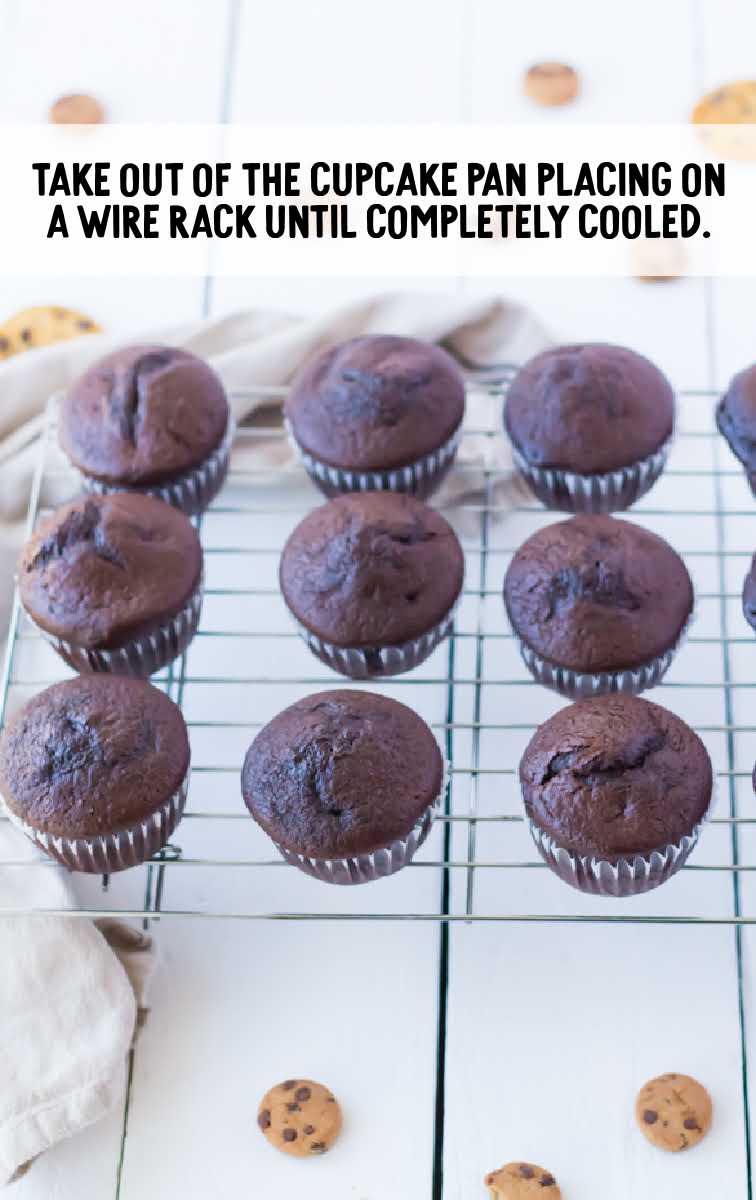
STEP EIGHT: Carefully take them all out of the cupcake pan and place the cupcakes on a wire rack until completely cooled.
If you try to decorate too soon, the icing will start to melt, and things will get messy fast.
For The Buttercream Frosting
STEP ONE: Cream the butter and powdered sugar by mixing the soft butter and sugar until it looks light and creamy. It should look like a fluffy, light yellowy mix.
STEP TWO: Add the heavy whipping cream. If it doesn’t cream, add several more drops of heavy whipping cream until it’s creamed properly.
Don’t over-mix because you want to create air pockets in the frosting.
STEP THREE: Add just a small amount of gel food coloring to get that royal blue color.
PRO TIP:
Make sure you are using gel food coloring rather than liquid food coloring. We like this gel food coloring set from Wilton.
STEP FOUR: Check to see if the frosting can hold a stiff peak by taking a spoonful of frosting and turning the spoon upside down.
If the frosting stays on the spoon, it’s ready. If not, then add more powdered sugar, about ½ cup at a time. Mix well.
STEP FIVE: When the frosting is ready, scoop the frosting into a piping bag with a large star tip. Push the frosting to the tip by twisting the open end of the pastry bag.
PRO TIP:
For the star tip, we like this set of piping tips.
STEP SIX: As you get ready to frost, hold the bag straight up and down and start frosting the top of the cupcake straight up and down.

Assembling The Cupcakes
STEP ONE: Place the candy eyeballs on top of the icing. I like to put one of the eyes higher to make him look googly-eyed, just like Cookie Monster’s signature look.
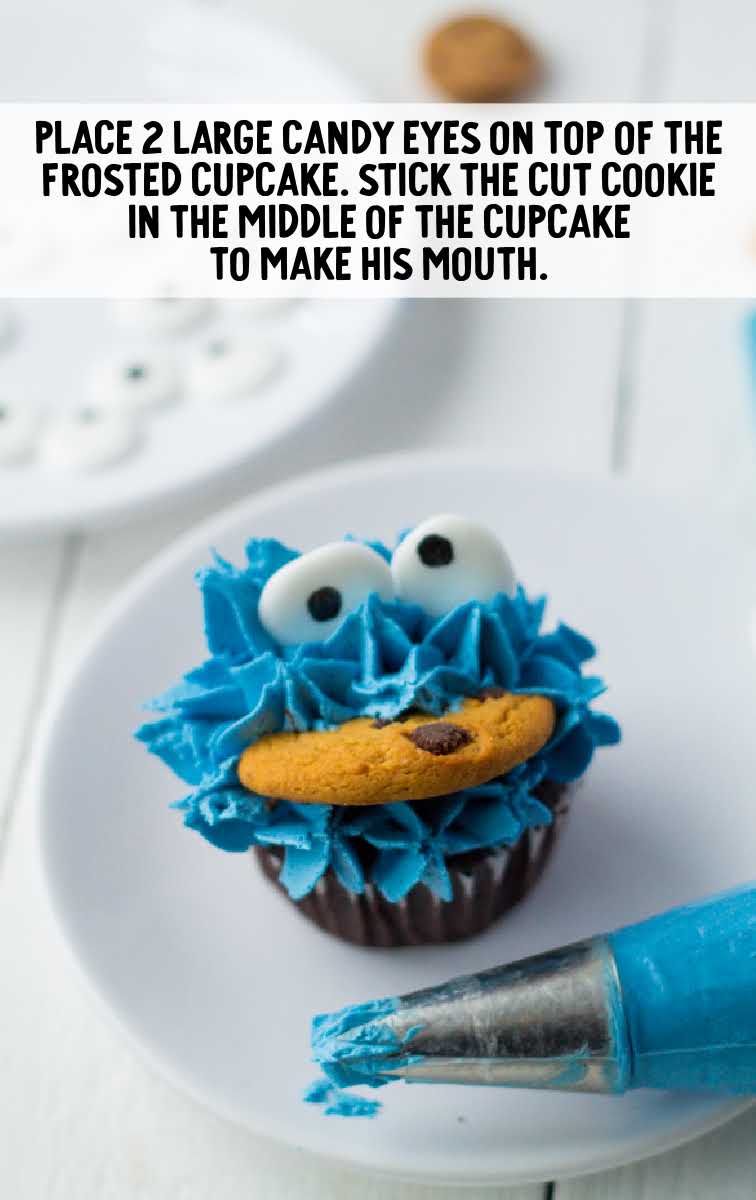
STEP TWO: For his mouth, break or cut a chocolate chip cookie in half. You can make a batch of chocolate chip cookies from scratch or buy some.
Stick it right into the frosting as though the cookie is sticking out of the cookie monster’s mouth.
If it doesn’t stay, you may have to use a sharp knife to make a cut in the middle of the cupcake and wedge in the cookie.
How To Serve
These cupcakes are so much fun and easy to make and would be ideal for a Sesame Street birthday party.
Kids love finger foods, so you could serve a few of our favorite kid-friendly recipes, including pepperoni rolls and pigs in a blanket, before the big cupcake reveal.
This treat would go great with our easy-to-make cookie monster ice cream. If you are looking for other fun cupcakes for a party, check out our cookie dough cupcakes.
MORE CUPCAKE RECIPES
Storage
To store these yummy cupcakes, here are a few handy tips:
ON THE COUNTER: Store these cupcakes on the counter for up to three days. It is best not to store cupcakes in the fridge as they will dry out.
IN THE FREEZER: The unfrosted cupcakes can be kept in the freezer for up to three months in an airtight container. Thaw on the counter and decorate before serving.
I’d say a cupcake eating a cookie is the best kind of cupcake. Mr. Cookie Monster would approve. Be sure to do your best impression of Cookie before you gobble up these cute Cookie Monster cupcakes.
Frequently Asked Questions
Should I use store-bought or homemade cookies for this recipe?
If you are in a rush, you can use store-bought cookies, but you are more than welcome to make your favorite chocolate chip cookie recipe.
Can I use a boxed cake mix for this recipe?
If you are in a pinch and don’t have time or the ingredients to make the cupcakes, you could use a store-bought chocolate cake mix.
How do I store these cupcakes?
If you are making them for a party, it is best to make them fresh as close to the party as you can. You can make them the day before and store them on the counter in an airtight container. Avoid storing them in the fridge, as the cupcakes will dry out.
More Recipes You’ll Love
- Carrot Cake Cupcakes
- Boston Cream Cupcakes
- Impossible Pumpkin Pie Cupcakes
- Hostess Cupcakes
- Pineapple Upside Down Mini Cakes
- Soda Cake
- Vanilla Cupcakes
- No Bake Monster Cookies
- Strawberry Crunch Cupcakes
- Lemon Cupcakes
- Cherry Cupcakes
- Lemon Raspberry Cupcakes
- Lemon Meringue Cupcakes
- Blueberry Cupcakes
- Lemon Buttercream
- Chocolate Cake with Whipped Cream Frosting
- Orange Chocolate Chip Cookies
- Icebox Cake (Chocolate)
- Chocolate Chip Cupcakes

Cookie Monster Cupcakes
These adorable Cookie Monster cupcakes are perfect for a kid's birthday party. These moist chocolate cupcakes are topped with the perfect blue icing and finished off with cute cartoon eyes and a cookie mouth!
Servings 24
Ingredients
Cupcakes
- 1¾ cups all-purpose flour
- 2 cups granulated sugar
- 1 cup cocoa powder
- 1½ teaspoons baking soda
- 1½ teaspoons baking powder
- 1 teaspoon salt
- 2 eggs
- 1 cup whole milk
- ½ cup oil
- 2 teaspoons vanilla
- 1 cup boiling water
Blue Frosting
- 1½ cups soft unsalted butter
- 6 cups powdered sugar
- 1-2 tablespoons heavy whipping cream, plus more as needed to thin the icing
- blue gel food coloring
Monster Cookie Face
- 2 large candy eyes
- 1 chocolate chip cookie
Instructions
Cupcakes
- Line the cupcake tins with paper liners. Preheat oven to 350°F.
- Mix the flour, sugar, cocoa, baking soda, baking powder, and salt in a bowl.
- In a separate bowl add the eggs, whole milk, oil, and vanilla.
- Add the eggs, whole milk, oil, and vanilla to the bowl holding the dry ingredients. Mix all together until fully incorporated.
- Beat for 3 minutes on medium.
- Slowly add the boiling water, starting with a small amount then pouring in the remaining boiling water.
- Scoop batter into cupcake-lined cups until ¾ filled. The batter may be a little runny.
- Bake for 20 to 25 minutes.
- Remove from the oven and allow to cool for 10 minutes.
- Take out of the cupcake pan placing on a wire rack until completely cooled.
Frosting
- Cream the butter and powdered sugar by mixing the soft butter and sugar until it looks light and creamy. It should look like a fluffy, light yellowy mix.
- Add the heavy whipping cream. If it doesn’t cream, add several more drops of heavy whipping cream until it’s creamed properly. Don’t over-mix because you want to create air pockets in the frosting.
- Add just a small amount of gel food coloring to get that royal blue color.
- Check to see if the frosting can hold a stiff peak by taking a spoonful of frosting and turning the spoon upside down. If the frosting stays on the spoon, it’s ready. If not, then add more powdered sugar, about ½ cup at a time. Mix well.
- Scoop the frosting into a pastry bag with a large star tip. Twist the open end of the pastry bag to push the frosting to the tip.
- Holding the bag straight up and down, frost the cupcake straight up and down.
Assembling The Cupcakes
- Place 2 large candy eyes on top of the frosted cupcake.
- Cut the chocolate chip cookie in half.
- Stick the cookie in the middle of the frosted cupcake as though it is sticking out of his mouth.
Video
Notes
- Make sure you are using gel food coloring rather than liquid food coloring. We like this gel food coloring set from Wilton.
- For the star tip, we like this set of piping tips.
Nutrition
Calories: 383kcal | Carbohydrates: 57g | Protein: 3g | Fat: 18g | Saturated Fat: 4g | Polyunsaturated Fat: 4g | Monounsaturated Fat: 9g | Trans Fat: 0.02g | Cholesterol: 16mg | Sodium: 312mg | Potassium: 119mg | Fiber: 2g | Sugar: 47g | Vitamin A: 553IU | Vitamin C: 0.03mg | Calcium: 37mg | Iron: 1mg
Have You Tried This Recipe?Follow me on Pinterest @spaceshipslb


Comments
Crystal Kinnunen says
i have made a Elmo cake for my friends sons first birthday. Plus at halloween i made monster cupcakes. Decorating and making desserts from scratch are truly my passion.
Sabrina Parnell says
Would have to add sprinkles too. Like a kid everything is better with sprinkles!
Cassandra Cranmer says
The recipe sounds delicious. I would make chocolate cupcakes.
Julia Salas says
My kids love chocolate like most kids do. I think I would most definitely make them in chocolate.. Looks very tasty. I will be making them very soon.
Peggy Ann says
I would use chocolate for these cupcakes! I am going to make these tomorrow for my grand kids!
Peggy Ann says
They were great! Forgot to rate these!