November 4, 2023
Review RecipeValentine Sugar Cookies

Table of Contents
You’ll fall in love with these Valentine sugar cookies. This is a soft and delicately sweet sugar cookie recipe that produces beautifully tender, buttery cookies you can decorate however you want, whether it’s frosting, sugar, sprinkles, or just leaving them plain.
If you’re baking this Valentine’s Day, then we recommend looking at our chocolate covered peanut butter hearts. For a fresh twist on sugar cookies, try our lemon sugar cookies – they are light and airy with a zip of lemon.

Valentine Sugar Cookies Ingredients
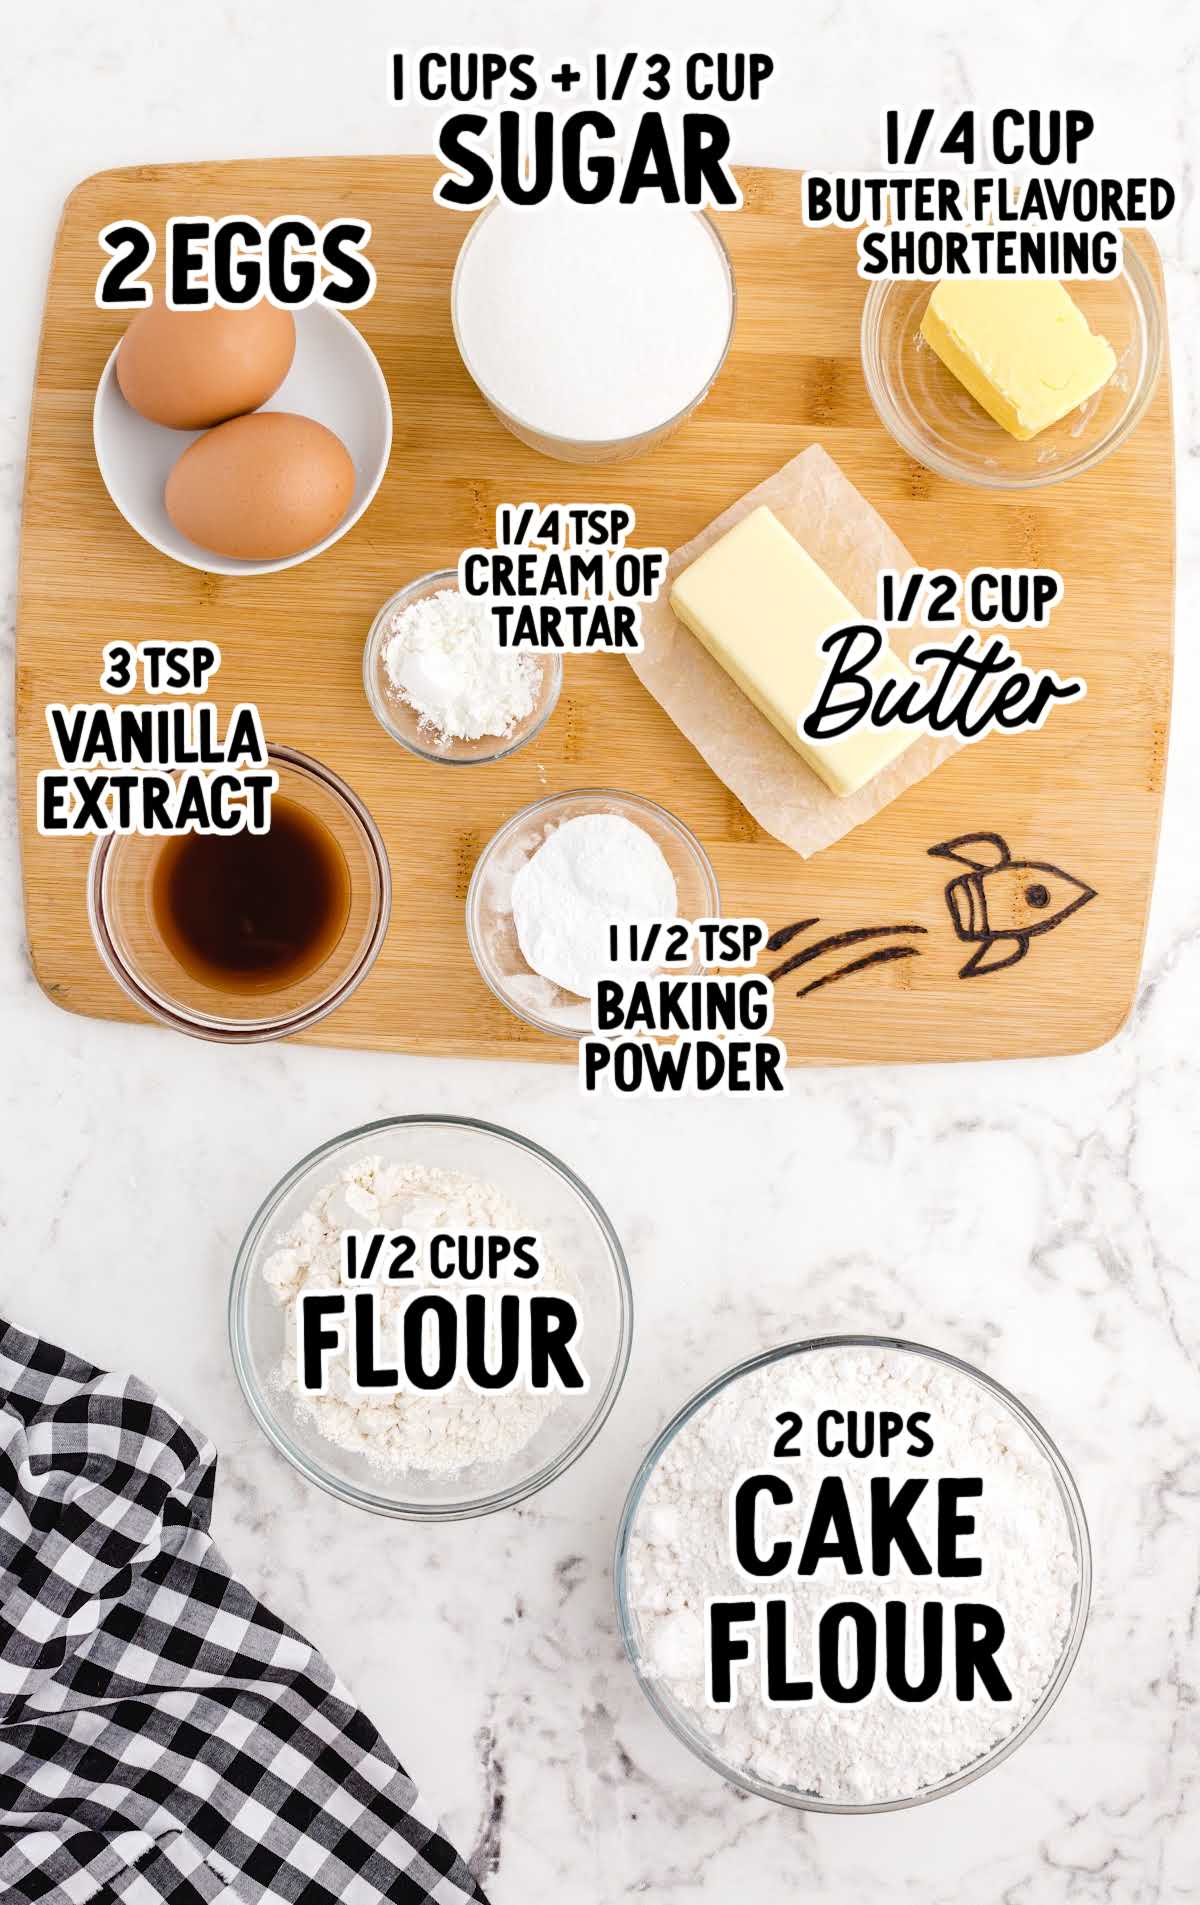
You’ll need:
For The Cookies
- 2 cups cake flour
- ½ cup all-purpose flour
- 1½ teaspoons baking powder
- ¼ teaspoon cream of tartar
- 1 cup of sugar
- ½ cup salted butter, softened
- ¼ cup butter flavored shortening, softened
- 3 teaspoons vanilla extract
- 1 whole egg + 1 egg white
- ⅓ cup sugar, for dusting the top of the cookies after they bake
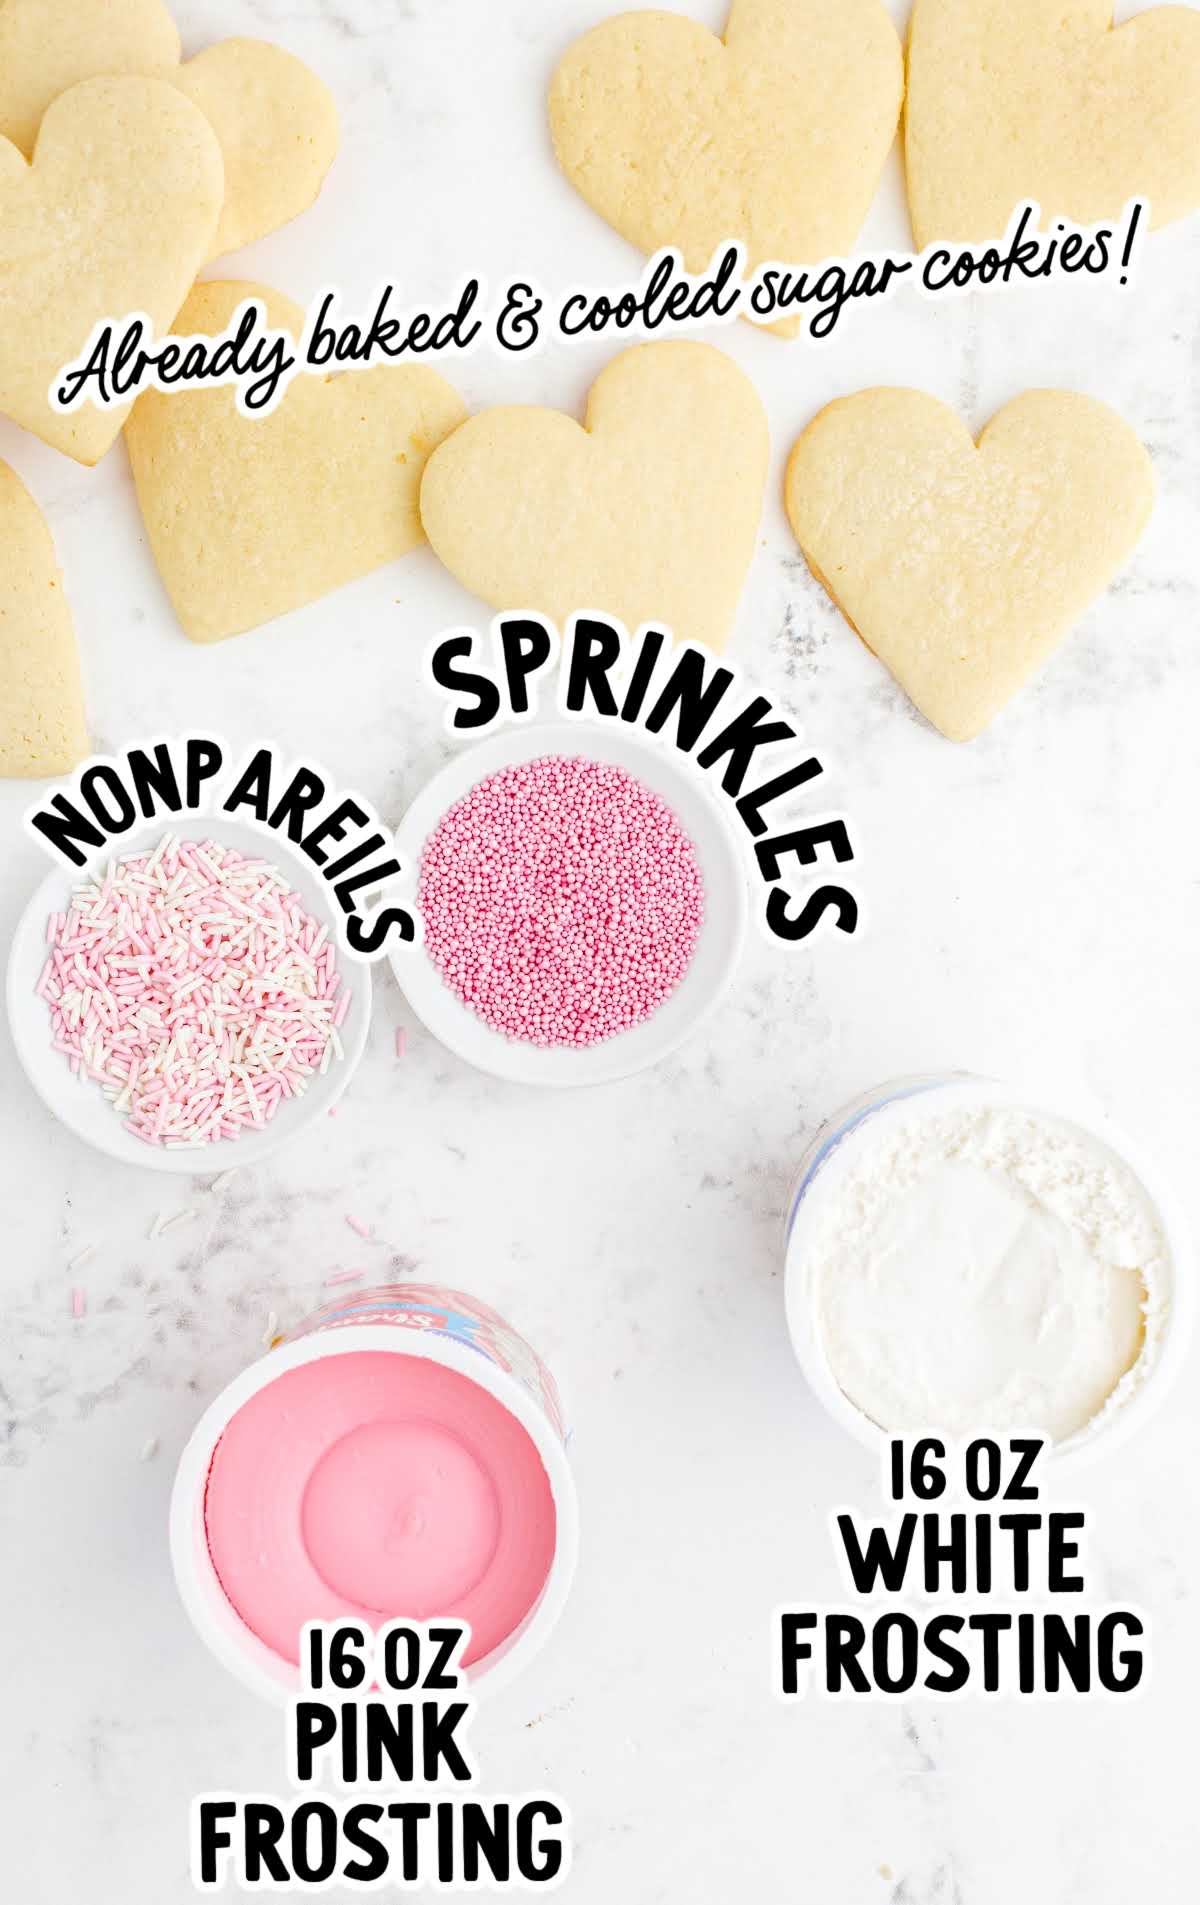
You’ll need:
For The Frosting
- 16-ounce tub white frosting, vanilla will be a creamy color, so be sure to use white if you want a pure white frosting
- 16-ounce tub pink frosting, strawberry
- Sprinkles and nonpareils
SUBSTITUTIONS AND ADDITIONS
CREAM OF TARTAR: You can replace the cream of tartar with lemon juice. Lemon juice has the same acidity as the cream of tartar – use an equal amount of lemon juice for the best results.
SHORTENING: You can substitute butter or margarine. Increase the butter or margarine just a little bit to compensate for the shortening’s extra fat content. So, for ¼ cup of shortening substitute about ¼ cup of margarine or butter plus 1½ teaspoons.
TOPPINGS: You can add toppings to these cookies – we recommend using sprinkles for some extra decoration.
How To Make This Valentine Sugar Cookies Recipe
For The Cookies
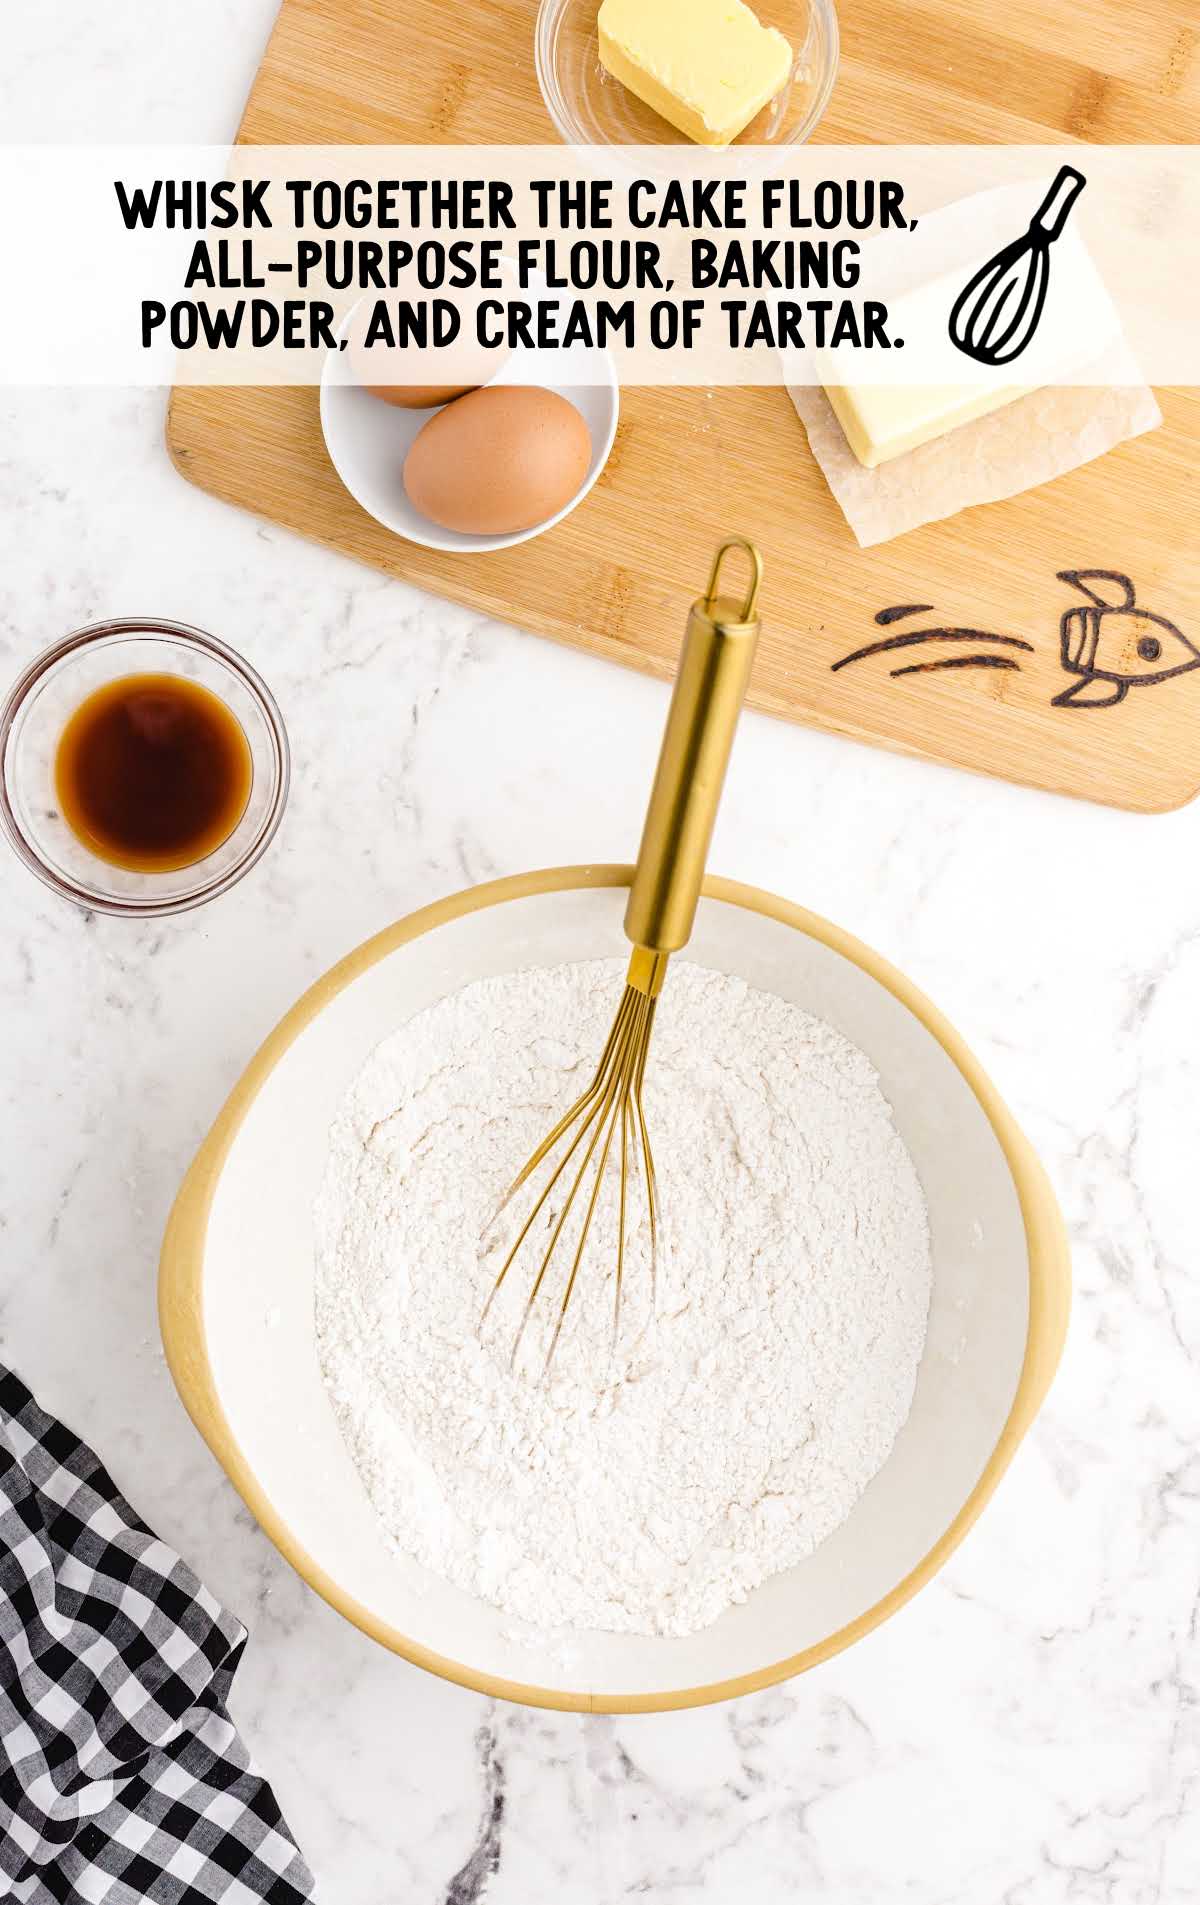
STEP ONE: In a large bowl, add the cake flour, all-purpose flour, baking powder, and cream of tartar. Then, whisk the flour mixture together and set it aside.
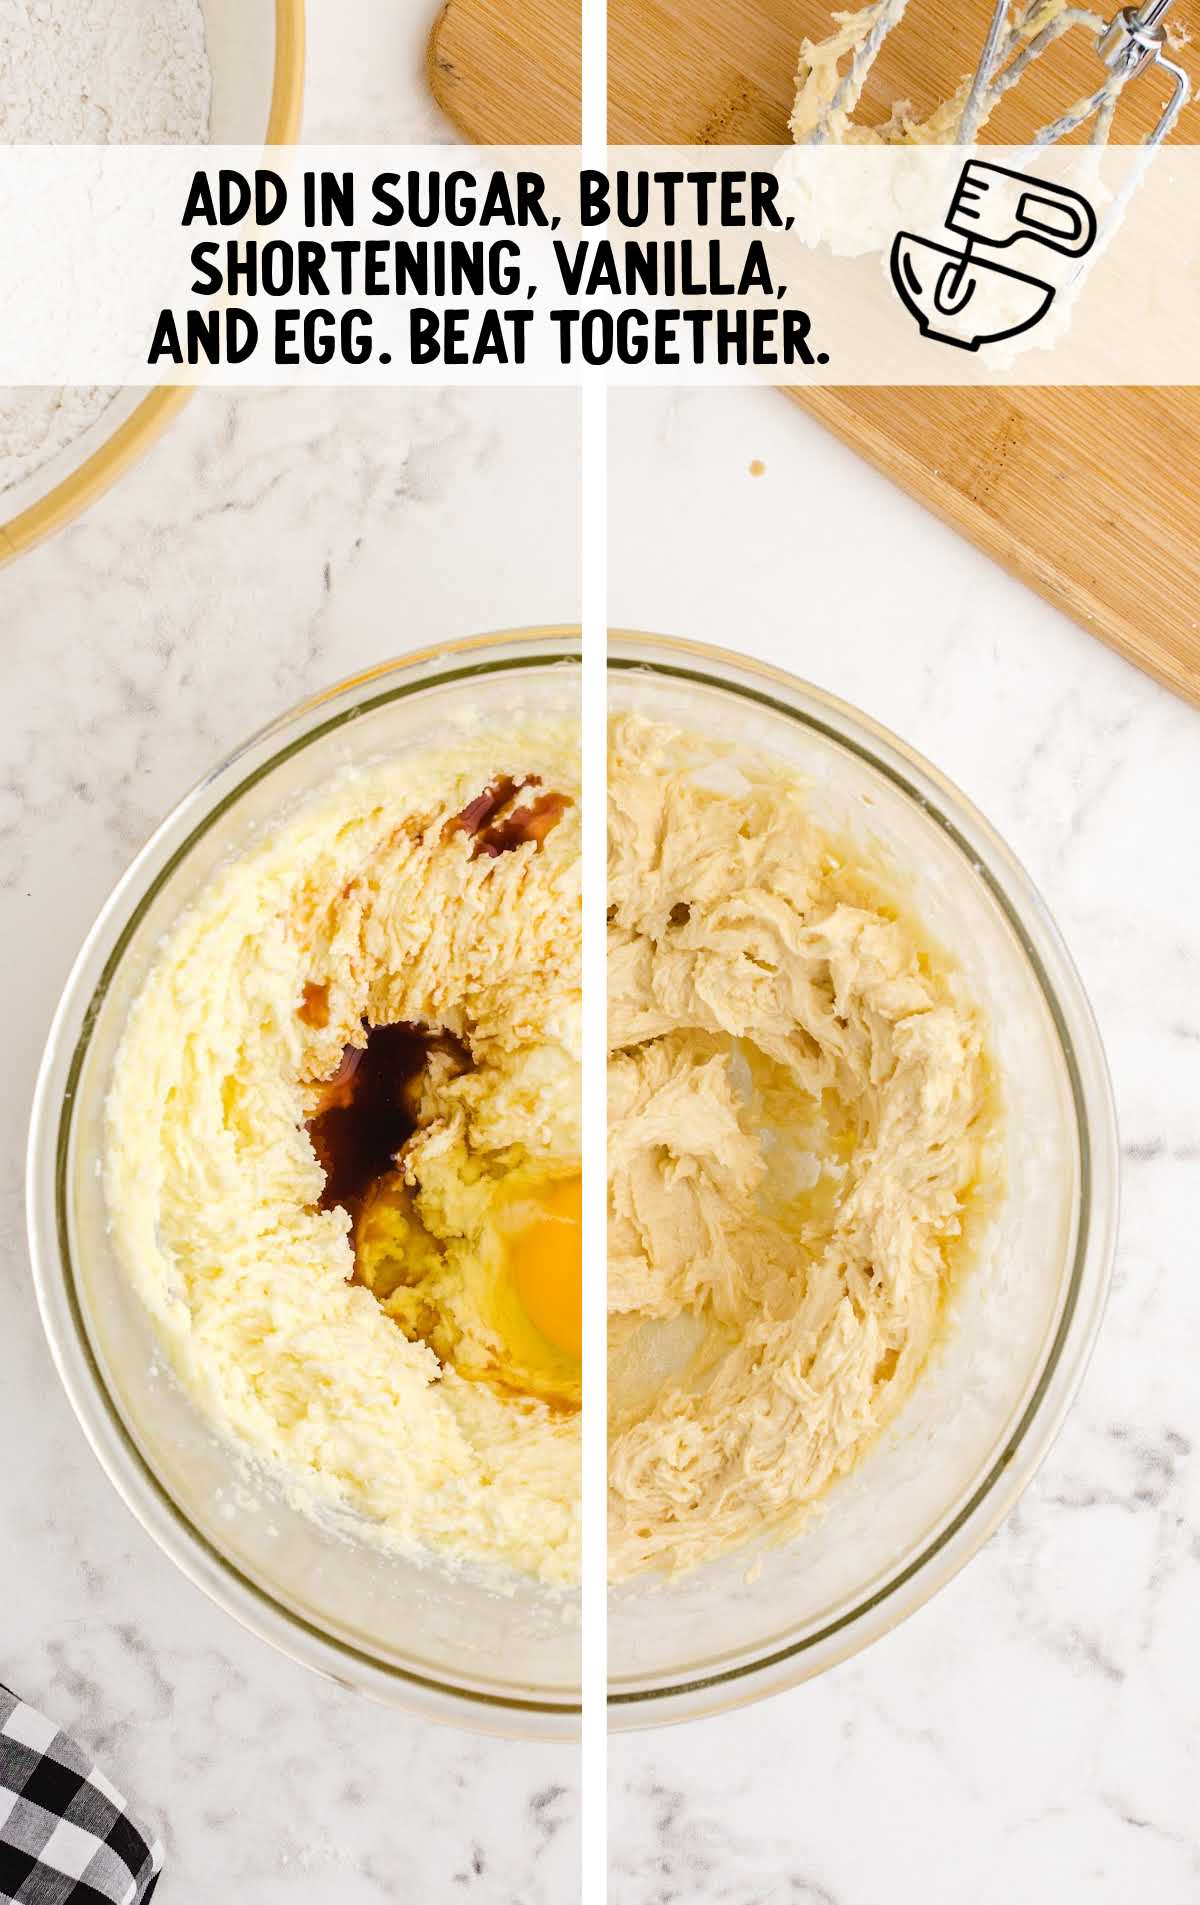
STEP TWO: Beat together at medium speed the sugar, butter, and shortening until it’s light and fluffy. Add in vanilla extract and the whole egg. Beat them together until they are fully combined. Add in an egg white and continue to beat until it’s well mixed. Turn off the electric mixer and use a rubber spatula to scrape the sides of the bowl.
STEP THREE: Turn the hand mixer down to low speed and gradually add the dry ingredients to the wet ingredients. Mix until no flour pockets remain.
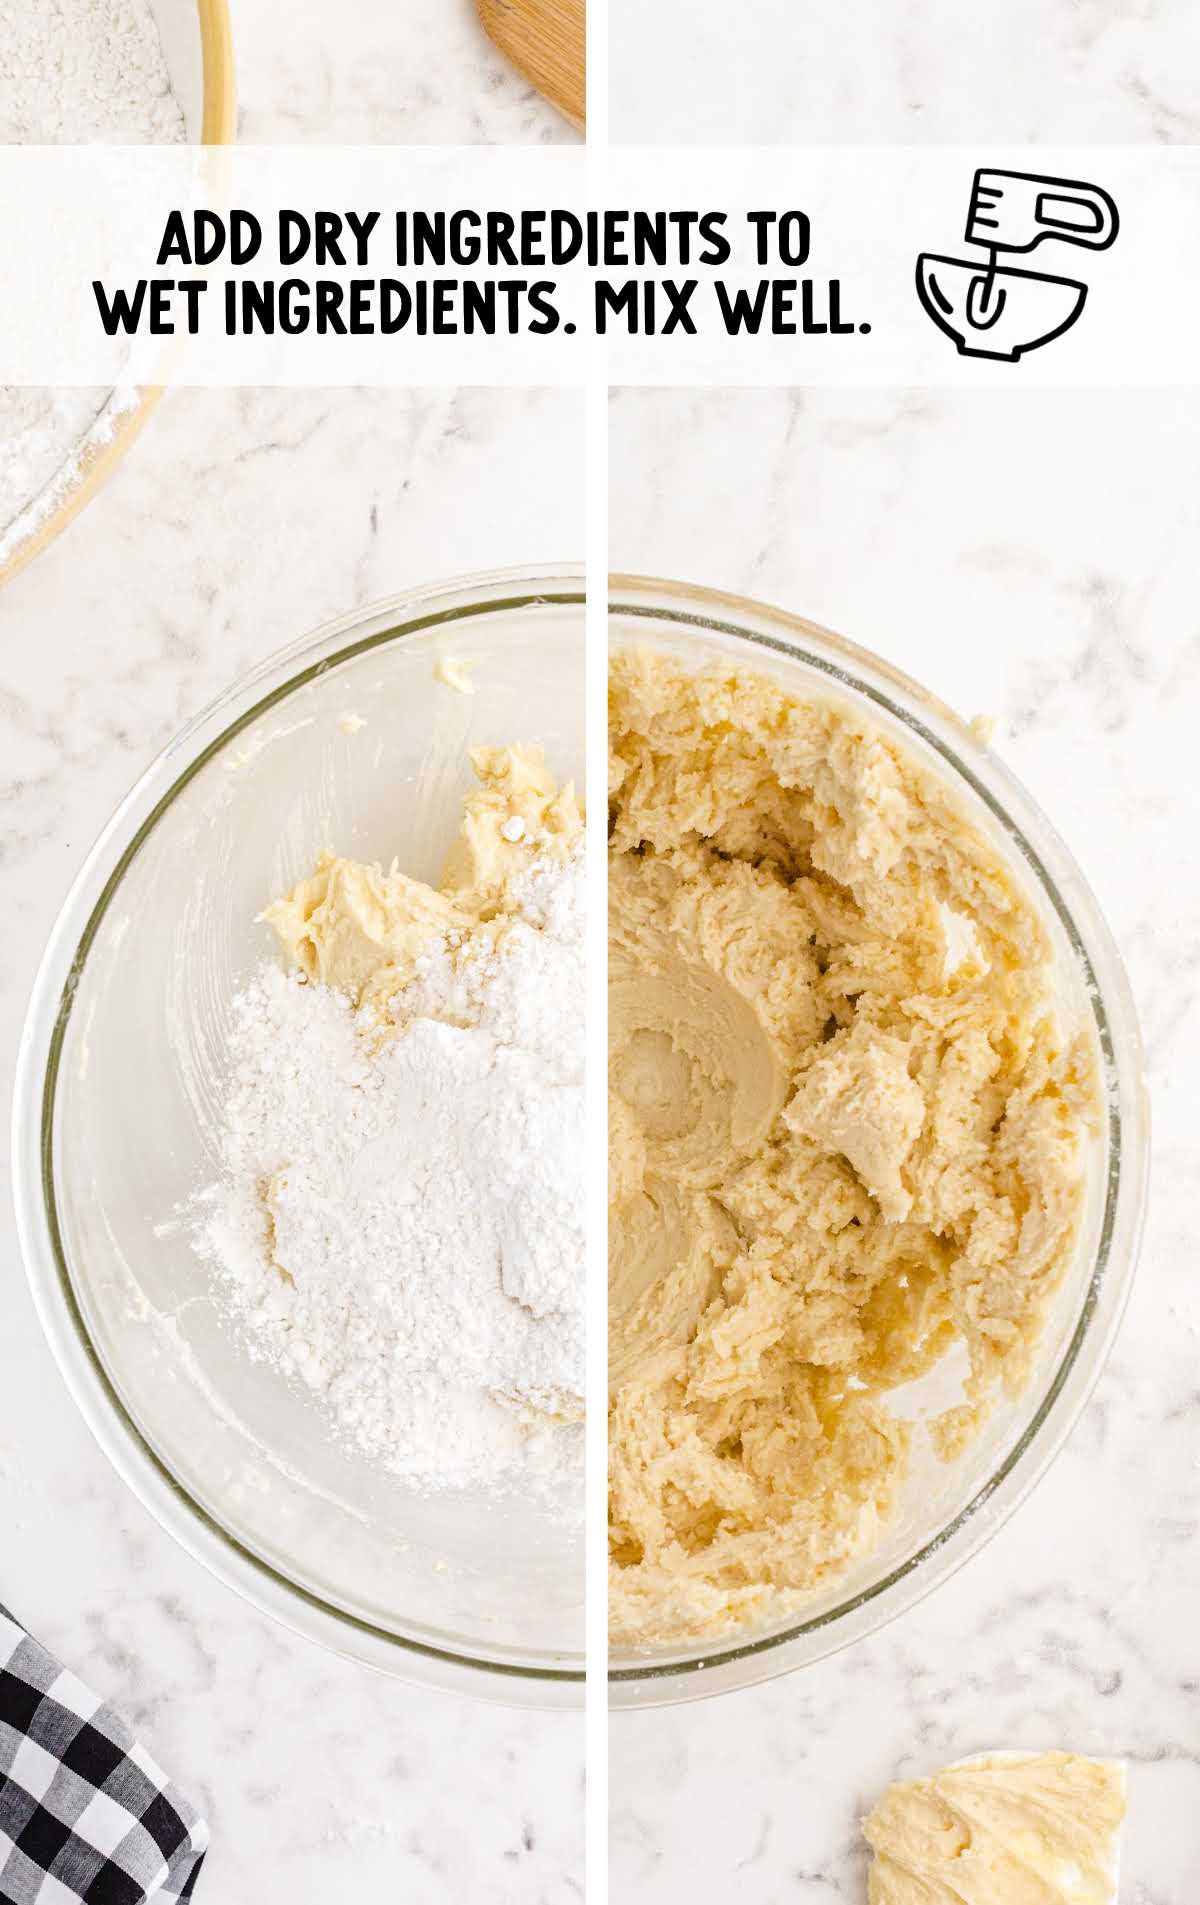
STEP FOUR: Cover the mixing bowl with plastic wrap and place the sugar cookie dough in the refrigerator overnight.
STEP FIVE: Preheat your oven to 375°F and line 2 baking sheets with parchment paper. Set them aside.
STEP SIX: Remove the cookie dough from your refrigerator and roll the dough onto a flat surface with a rolling pin to about ½ inch thick. Cut out heart shapes, or any other desired shape, with floured cookie cutters. Place 6 cookies onto one lined baking sheet, and 6 onto another.
PRO TIP:
If you don’t want to frost your cookies, you can add sprinkles or sanding sugar now, before you bake.
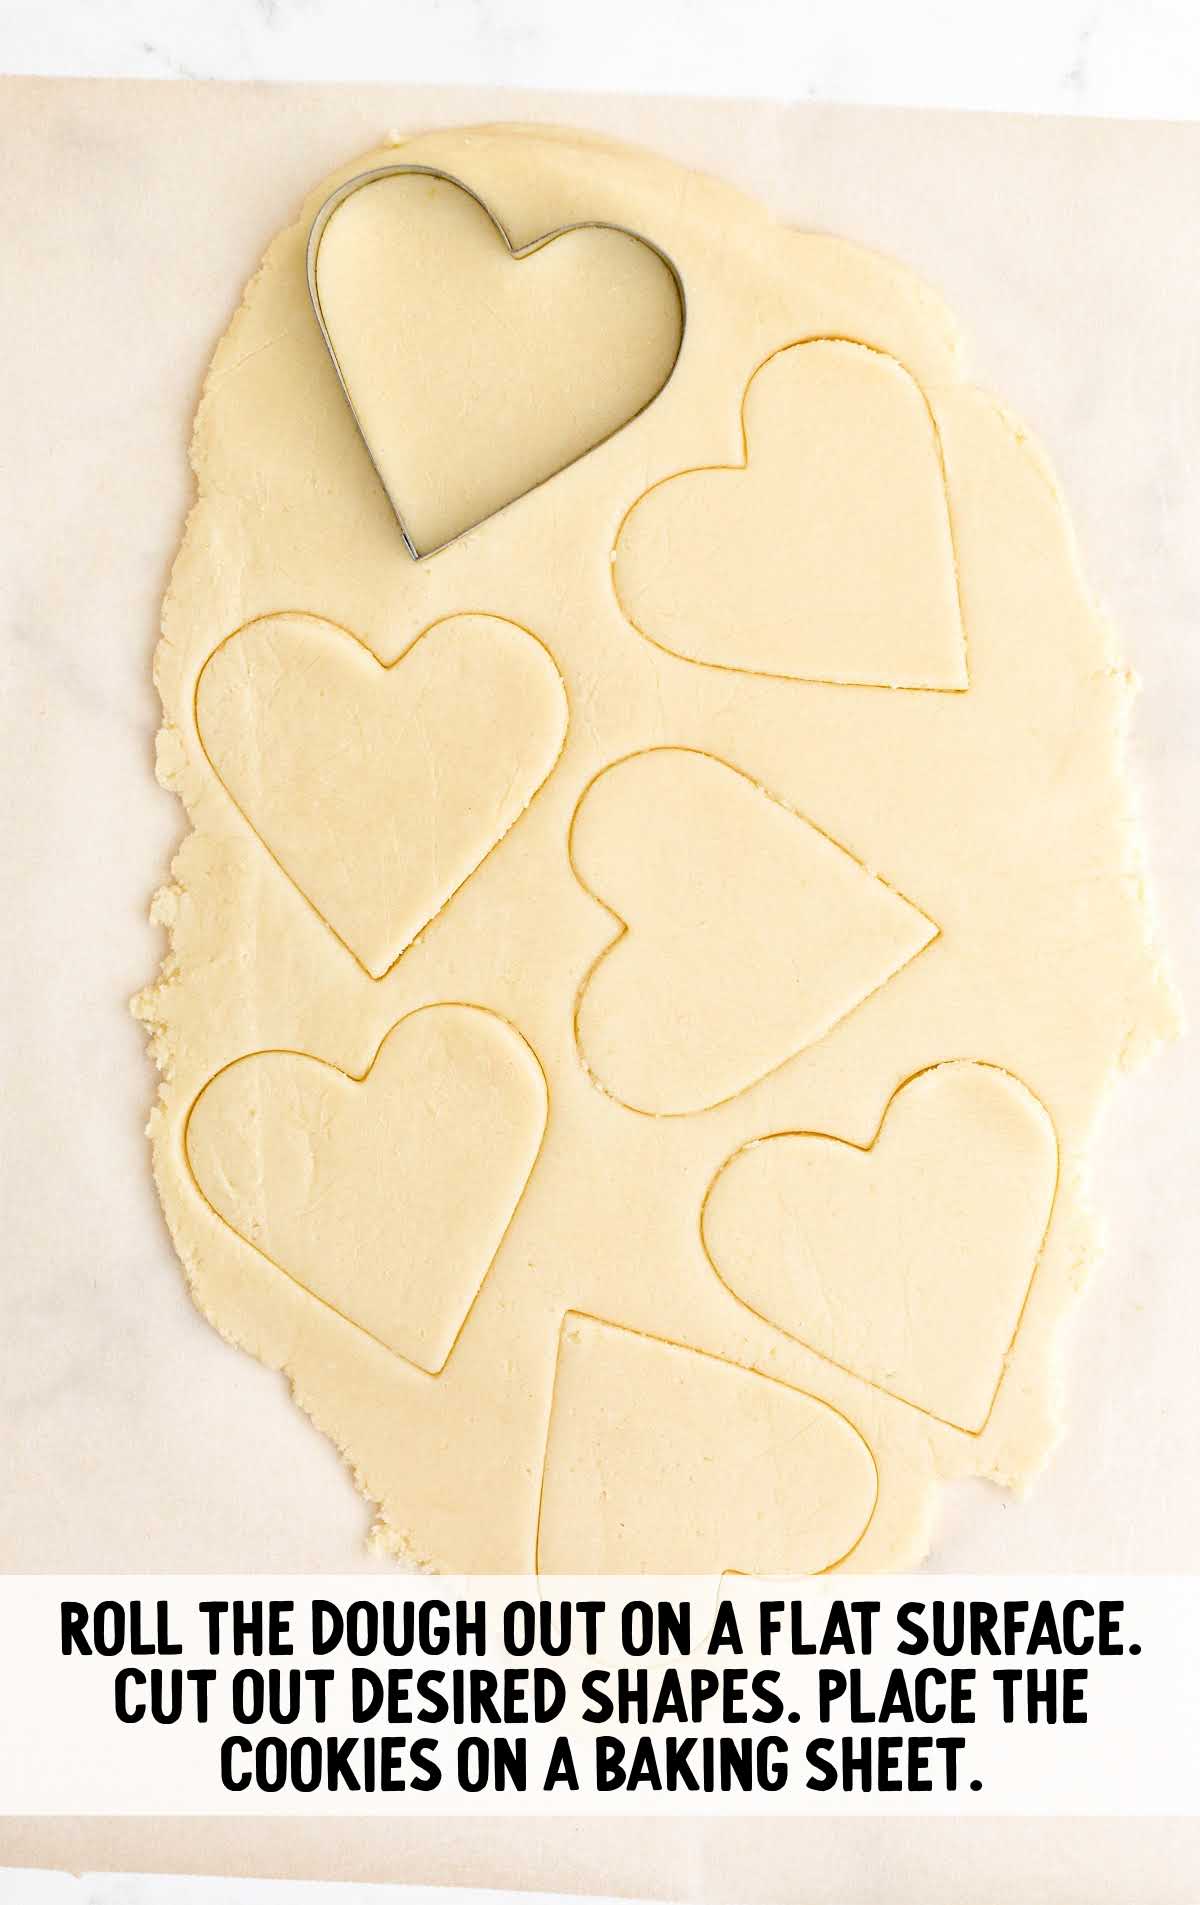
STEP SEVEN: Place one cookie sheet in the oven at a time and cook for 10 to 12 minutes. You want the edges to be firm without turning brown. Let the warm cookies cool for 2 to 3 minutes on the baking sheet and then transfer cookies to a wire rack. Place the other baking sheet in the oven and cook.
PRO TIP:
If you’d like to custom color your icing or you don’t want the flavor of a colored tub of icing, you can use gel food coloring to tint store-bought icing as well.
For The Frosting
STEP ONE: Remove the lid and foil wrapper from the tub of frosting. Transfer it to a microwave-safe container, if desired.
PRO TIP:
If you overheat the frosting, place the tub in the refrigerator until it resolidifies. Then, beat it with a hand or stand mixer to whip it back into a frosting texture. A warning: The frosting may not be salvageable, so it’s best to heat it in small increments from the beginning and avoid separation altogether.
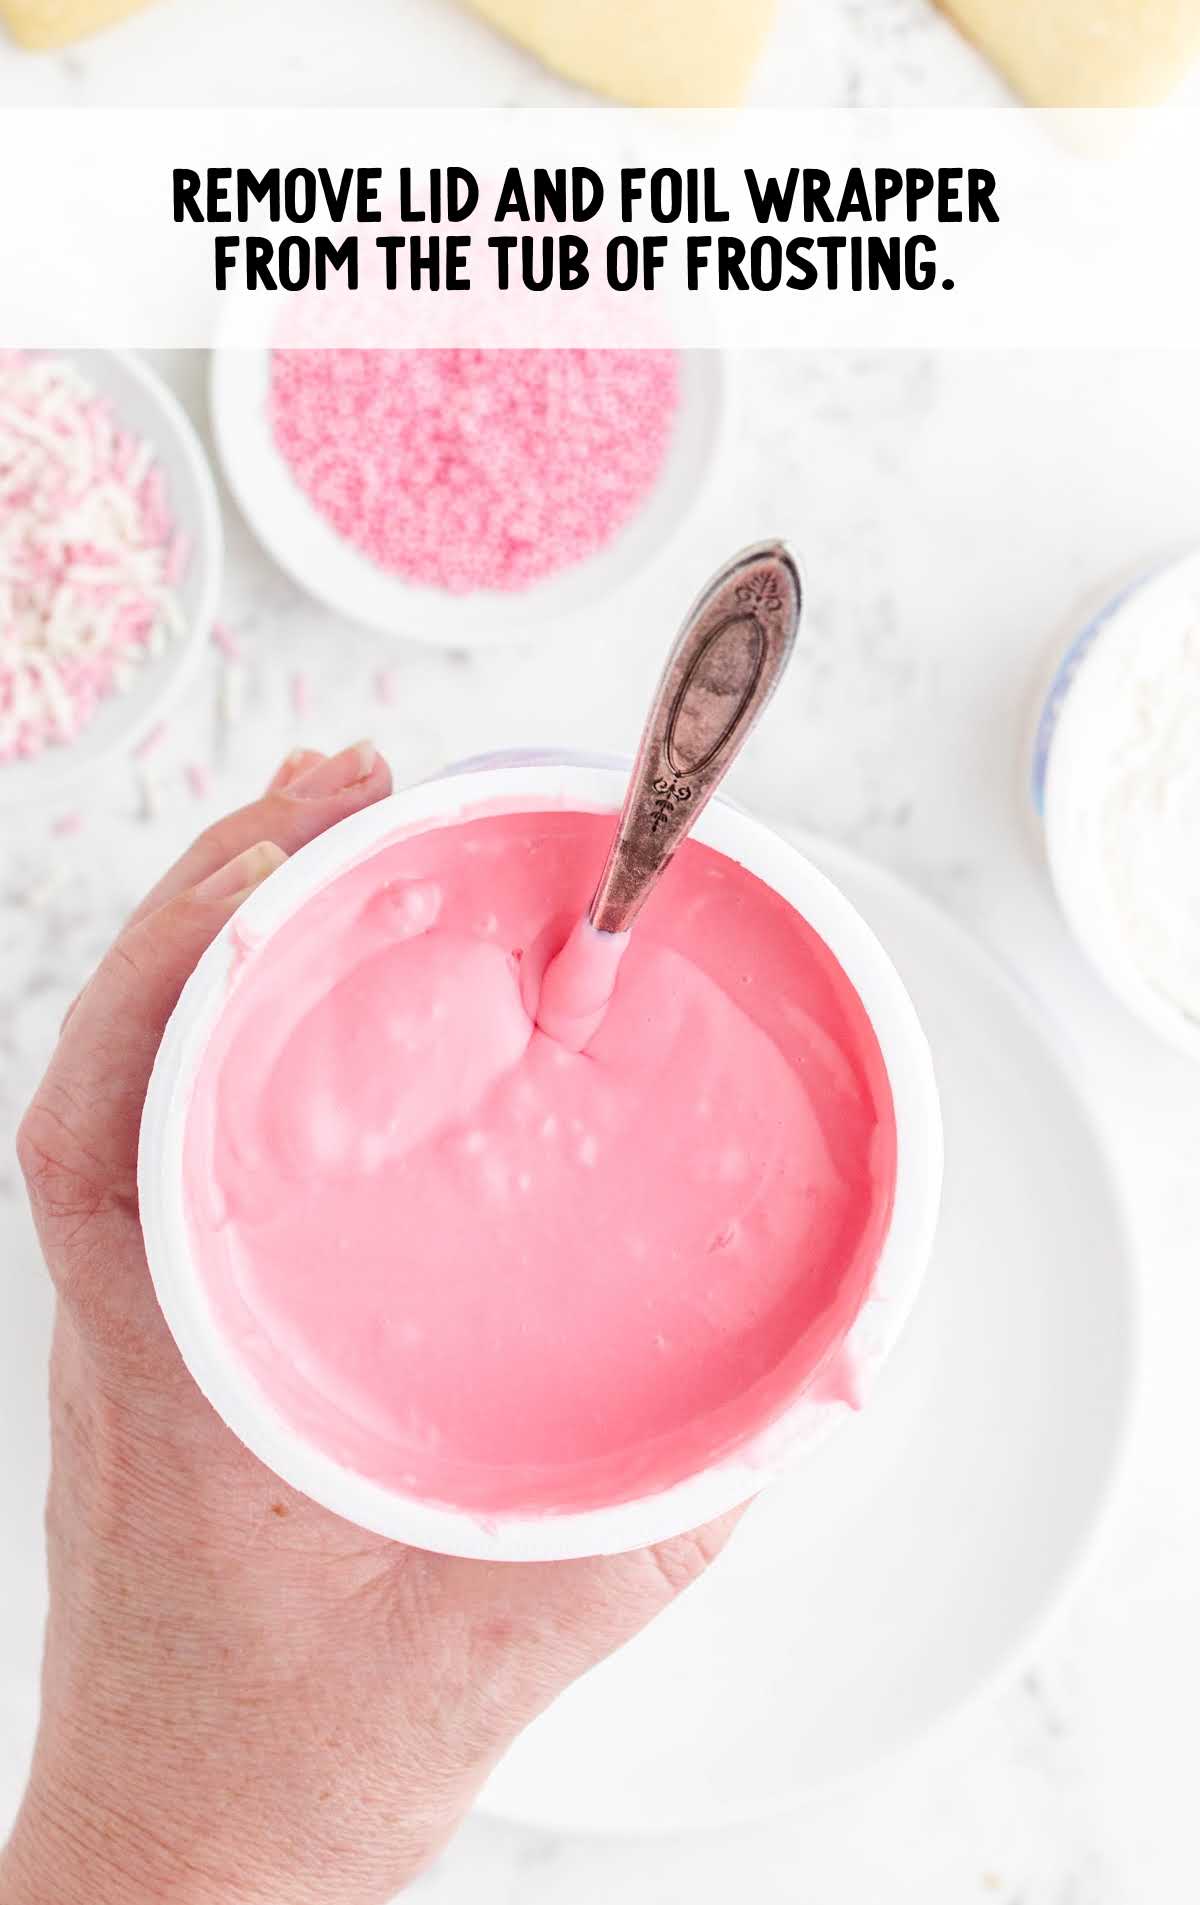
STEP TWO: Heat the frosting for 30 seconds in the microwave and stir. Heat for an additional 15 seconds until it’s the right consistency to pour. Do not overheat as the frosting will separate and become unusable. You just want it warm enough that a drizzle smooths back into a flat surface.
PRO TIP:
You can use a thin royal icing to achieve the same smooth frosting effect. This is a secret trick to imitate royal icing and it also tastes a lot better than royal icing.
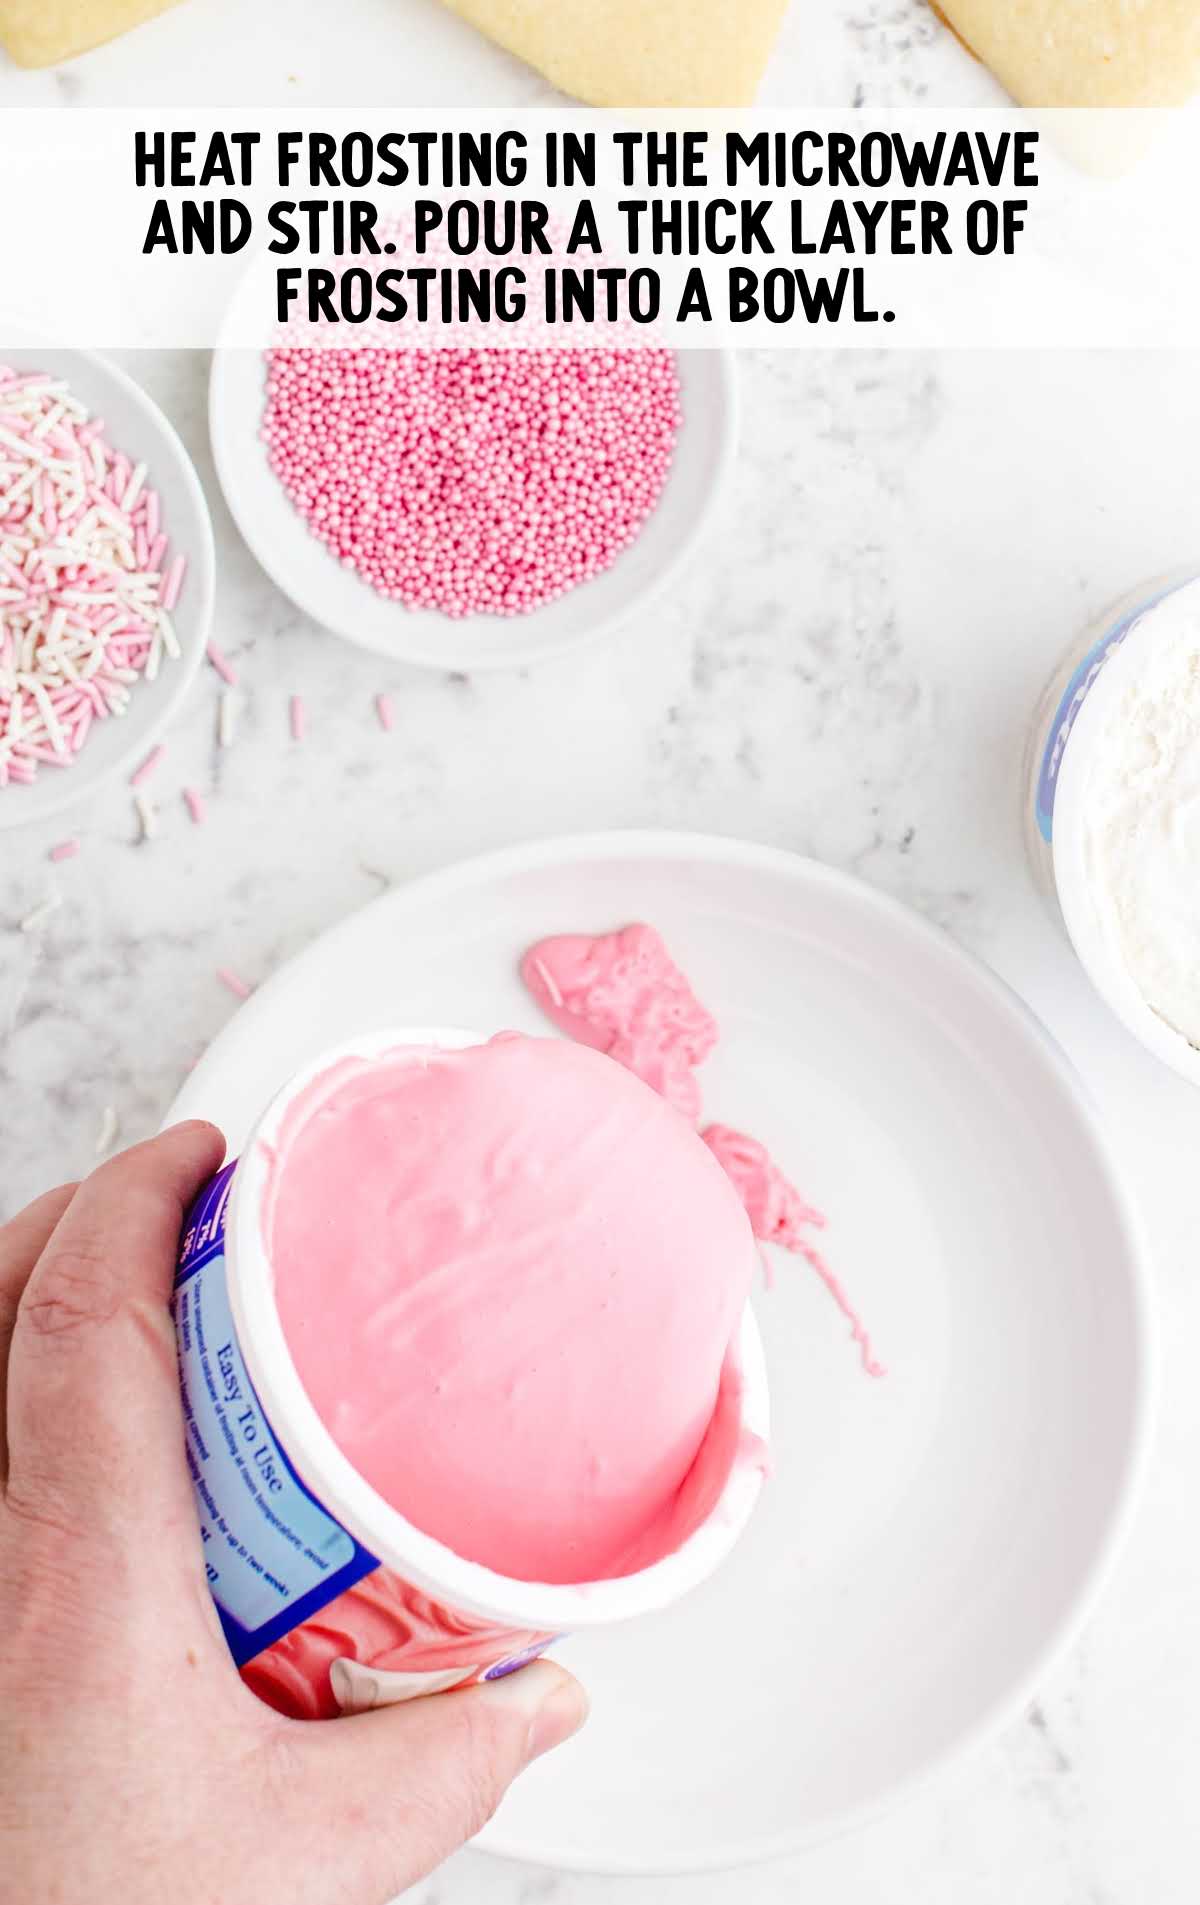
STEP THREE: Pour a ¾ to 1-inch thick layer of frosting into a shallow bowl.
STEP FOUR: Hold the sides of the cookie, dip the top face of the cookie straight down into the liquid frosting being sure to coat the entire top of the cookie. Lift the cookie back up, allowing the excess frosting to drop off, and then flip the cookie face up and place it on a sheet of parchment paper.
PRO TIP:
While dipping the remaining cookies, reheat and add frosting as needed to ensure smooth dipping.

STEP FIVE: Top with sprinkles and leave it to dry.
PRO TIP:
Add sprinkles right away as the frosting dries a bit on the surface after a few minutes and they won’t stick as well.
STEP SIX: Allow the cookies to dry for about 1 hour in a single layer before stacking them.
How To Serve
Valentine’s day just got even sweeter with these delicious sugar cookies. All your loves will adore these delightful treats. Wrap them up in cellophane bags with a pretty ribbon and share them with someone special.
MORE COOKIES RECIPES
Storage
ON THE COUNTER: Unfrosted cookies can be stored on the counter for up to five days.
IN THE FRIDGE: Store frosted or unfrosted cookies in an airtight container in the refrigerator for up to 1 week.
IN THE FREEZER: The frosted or unfrosted cookies can be stored in the freezer for up to three months.

You’re going to love our sweet Valentine sugar cookies. Heart-shaped and frosted pink, you can make these a cute Valentine’s Day treat. Perfectly tasty with just the right amount of crunch, you’ll return to this classic sugar cookie recipe time and time again.
FREQUENTLY ASKED QUESTIONS
The dough for these classic sugar cookies does need to be chilled to ensure it is the right consistency to roll out and cut.
These Valentine cookies can be frozen for up to three months in an airtight container. Just make sure to thaw them on the counter before serving.
Stainless steel cookie cutters work well for sugar cookies. Cover them in flour before using them so they don’t stick to the dough.
More Recipes You’ll Love
- Carmelitas
- Cheesecake Bars
- Chocolate Pudding Cake
- Strawberry Angel Food Cake
- Lemon Raspberry Cookies
- Valentines Cookies
- Strawberry Sorbet
- Amish Sugar Cookies
- Disney Cookie Fries
- Turtle Cookies
- Molasses Cookies
- Strawberry Cookies with Cream Cheese Frosting
- 4th of July Sugar Cookies
- Edible Cookie Dough
- Strawberry Tres Leches Cake

Valentine Sugar Cookies
Ingredients
Cookies
- 2 cups cake flour
- ½ cup all-purpose flour
- 1½ teaspoons baking powder
- ¼ teaspoon cream of tartar
- 1 cup sugar
- ½ cup salted butter, softened
- ¼ cup butter flavored shortening, softened
- 3 teaspoons vanilla extract
- 1 whole egg
- 1 egg white
- ⅓ cup sugar, for dusting the top of the cookies after they bake
Frosting
- 16 ounces white frosting, vanilla will be a cream color, so be sure to use white if you want a pure white frosting
- 16 ounces pink frosting (strawberry)
- sprinkles and nonpareils
Instructions
Cookies
- In a large mixing bowl, add the cake flour, all-purpose flour, baking powder, and cream of tartar. Whisk together then set aside.
- In a large mixing bowl, add the sugar, butter, and shortening. Use a hand mixer to beat together until light and fluffy. Add vanilla extract and the whole egg. Beat together until combined. Add egg white and continue beating until well combined. Turn off the mixer and use a rubber spatula to scrape the sides of the mixing bowl.
- Turn the hand mixer on low and gradually add dry ingredients to wet ingredients. Mix until no flour pockets remain. Cover the mixing bowl with saran wrap and place in the refrigerator overnight.
- Preheat the oven to 375°F and line 2 baking sheets with parchment paper. Set aside.
- Remove cookie dough from the refrigerator and roll the dough out on a flat surface to about ½ inch thick. Cut out desired shapes with floured cookie cutters. Place 6 cookies on one baking sheet, and 6 on another.
- Place one cookie sheet in the oven at a time and cook for 10 to 12 minutes. You want the edges to be firm without turning brown. Let the cookies cool for 2 to 3 minutes on the baking sheet. Place the other baking sheet in the oven and cook.
Frosting
- Remove lid and foil wrapper from the tub of frosting. Transfer to a microwave-safe container, if desired.
- Heat frosting for 30 seconds in the microwave and stir. Heat for an additional 15 seconds at a time JUST until frosting is pourable. Do not overheat as the frosting will separate and become unusable. You just want it warm enough that a drizzle smooths back into a flat surface.
- Pour a ¾ to 1-inch thick layer of frosting into a shallow bowl. Holding on to the sides of the cookie, dip the top face of the cookie straight down into the liquid frosting, being sure to coat the entire top of the cookie. Lift the cookie back up, allowing excess frosting to drip off, and then flip the cookie face up and place it on a sheet of parchment paper.
- Top with sprinkles and leave to dry.
- Continue dipping remaining cookies, reheating/adding frosting as needed to ensure smooth dipping.
- Allow the cookies to dry for about 1 hour before stacking.



Comments
Bonnie says
These are so yummy. The flavor is great. They are fun to bake and then decorate with your kids. I set out different colors of icings and toppings so they could go to town!
Gloria says
Love these – very yummy. The kids had fun decorating their own cookies.
Marilyn Roe says
These are sooo good! They did last very long at my house! I need to make more!