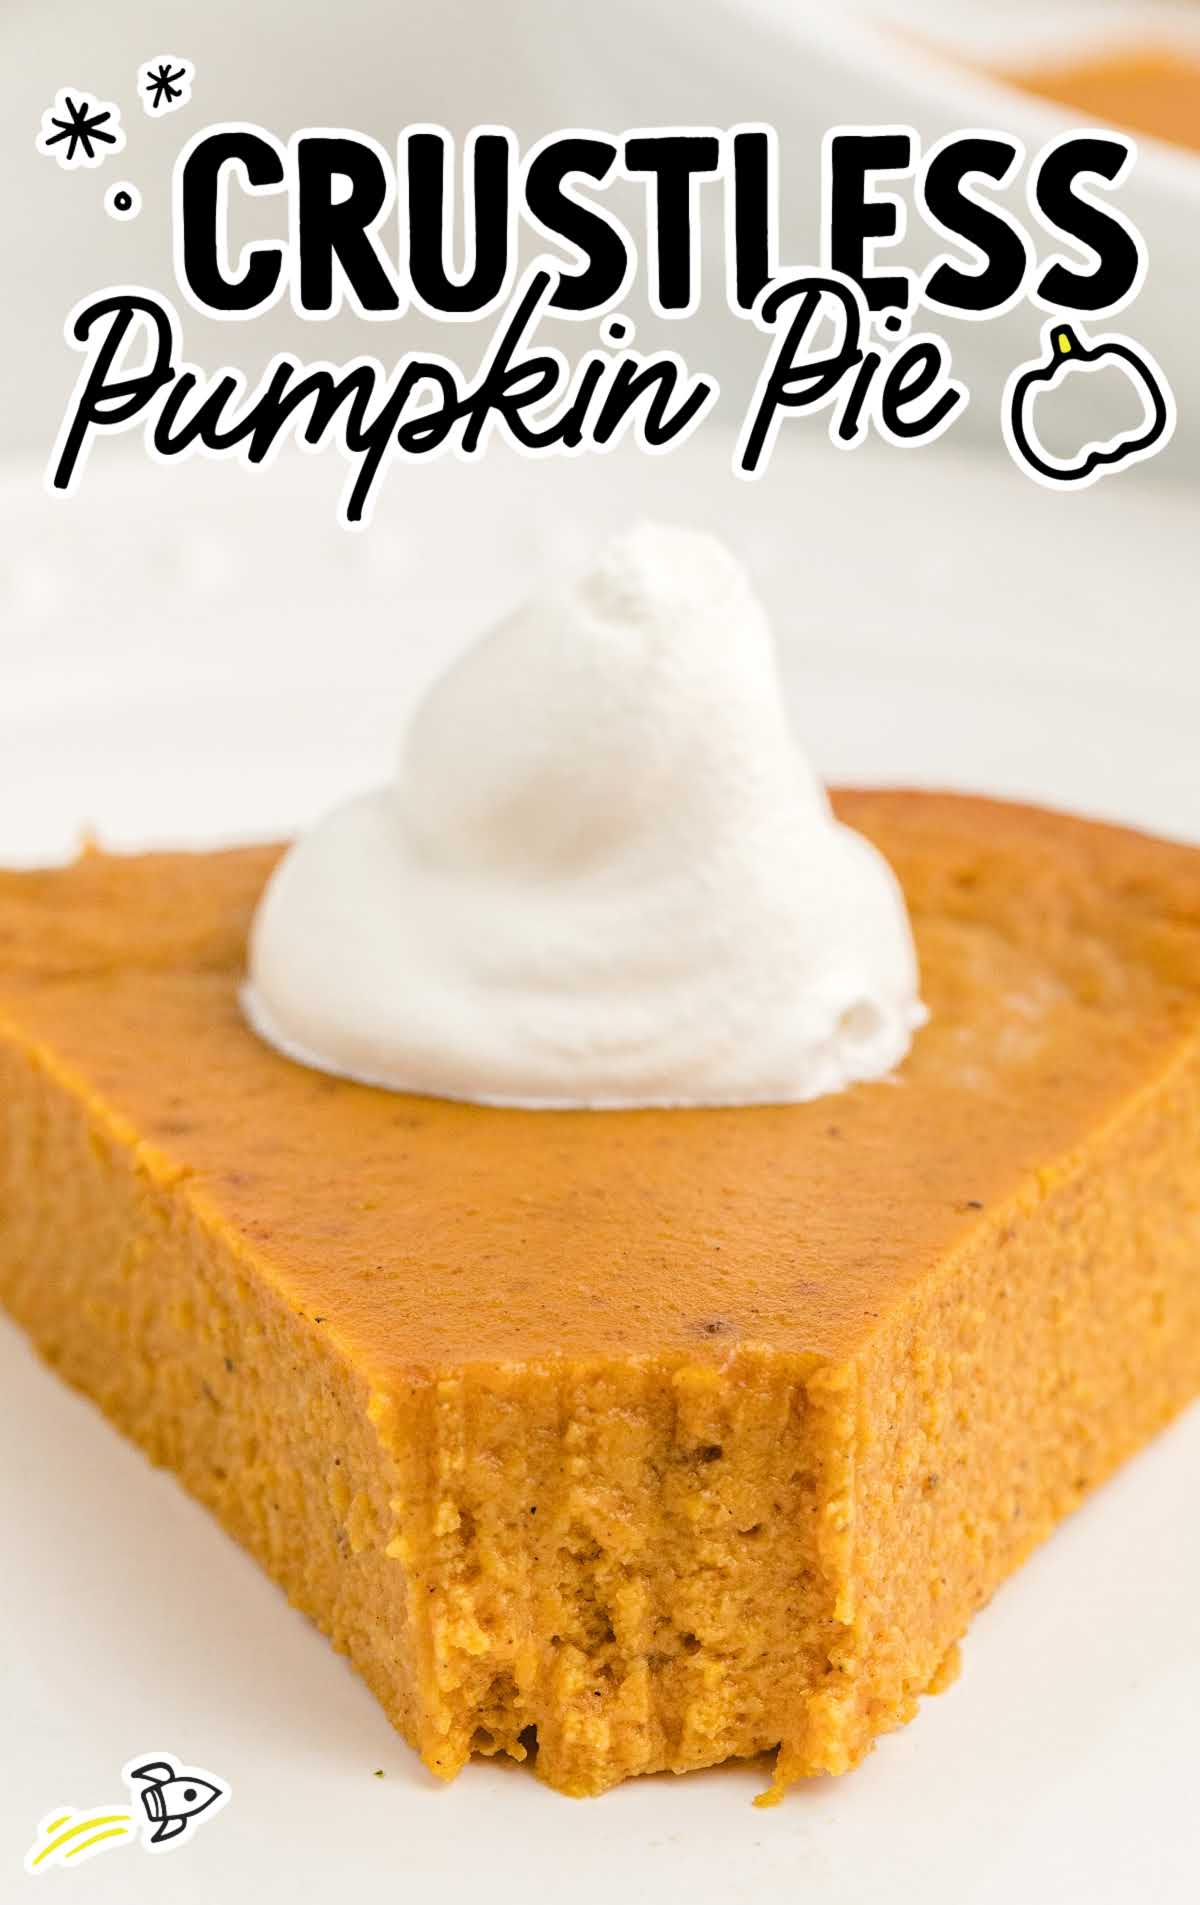
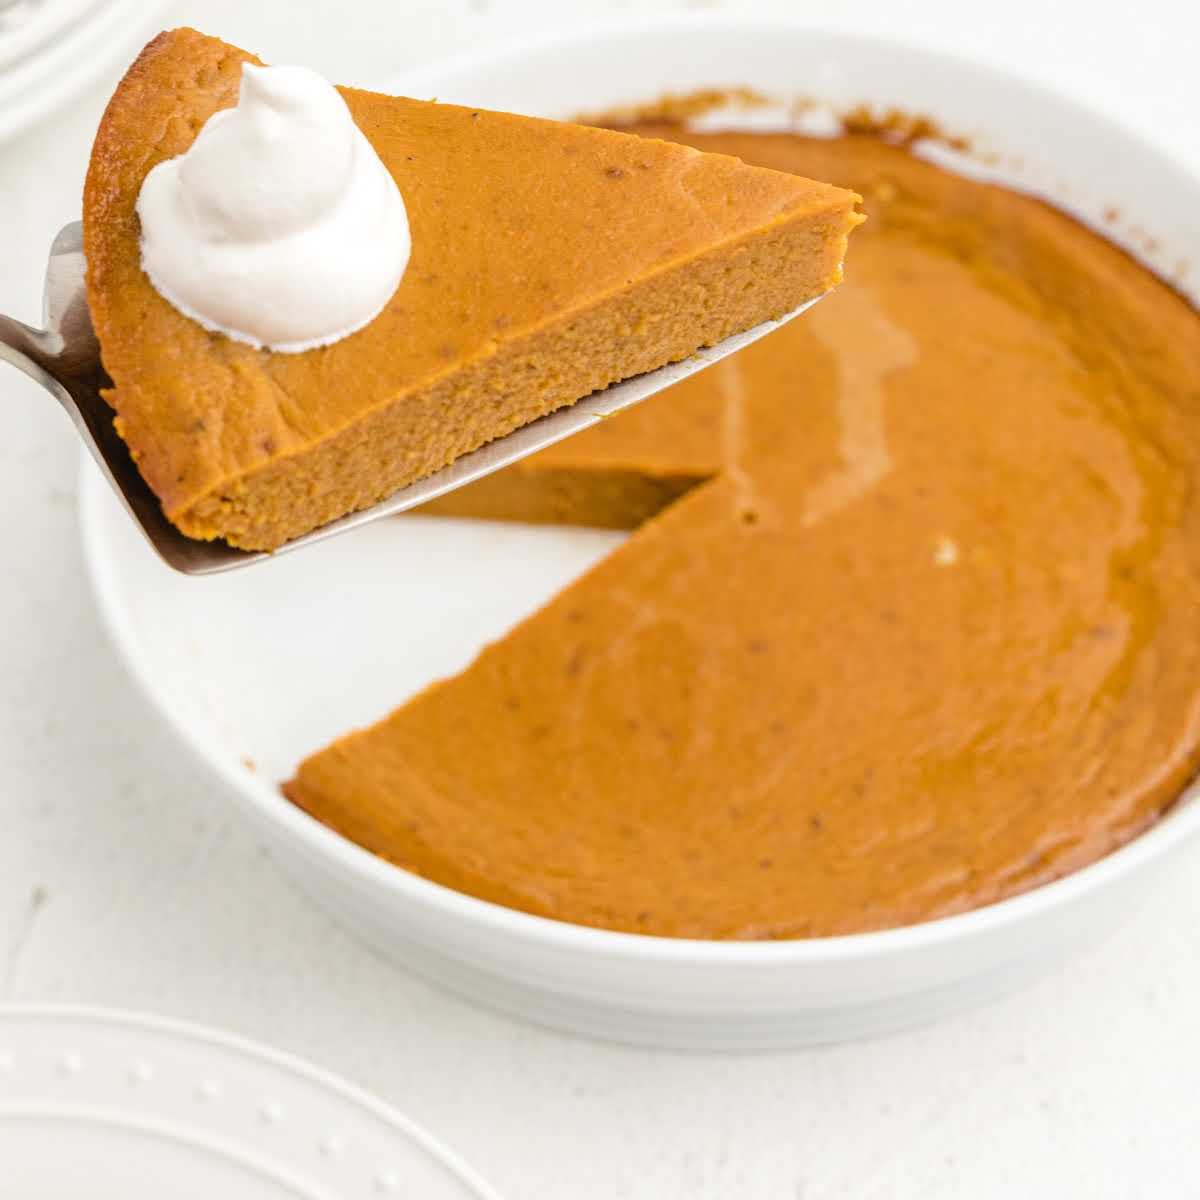
This crustless pumpkin pie recipe could not be easier to make, and with just six simple steps, you’ve got a classic pumpkin dessert. It’s just as good as a traditional pie, but this pumpkin pie will save you so much time when putting together your Thanksgiving day meal.
Crustless Pumpkin Pie Ingredients
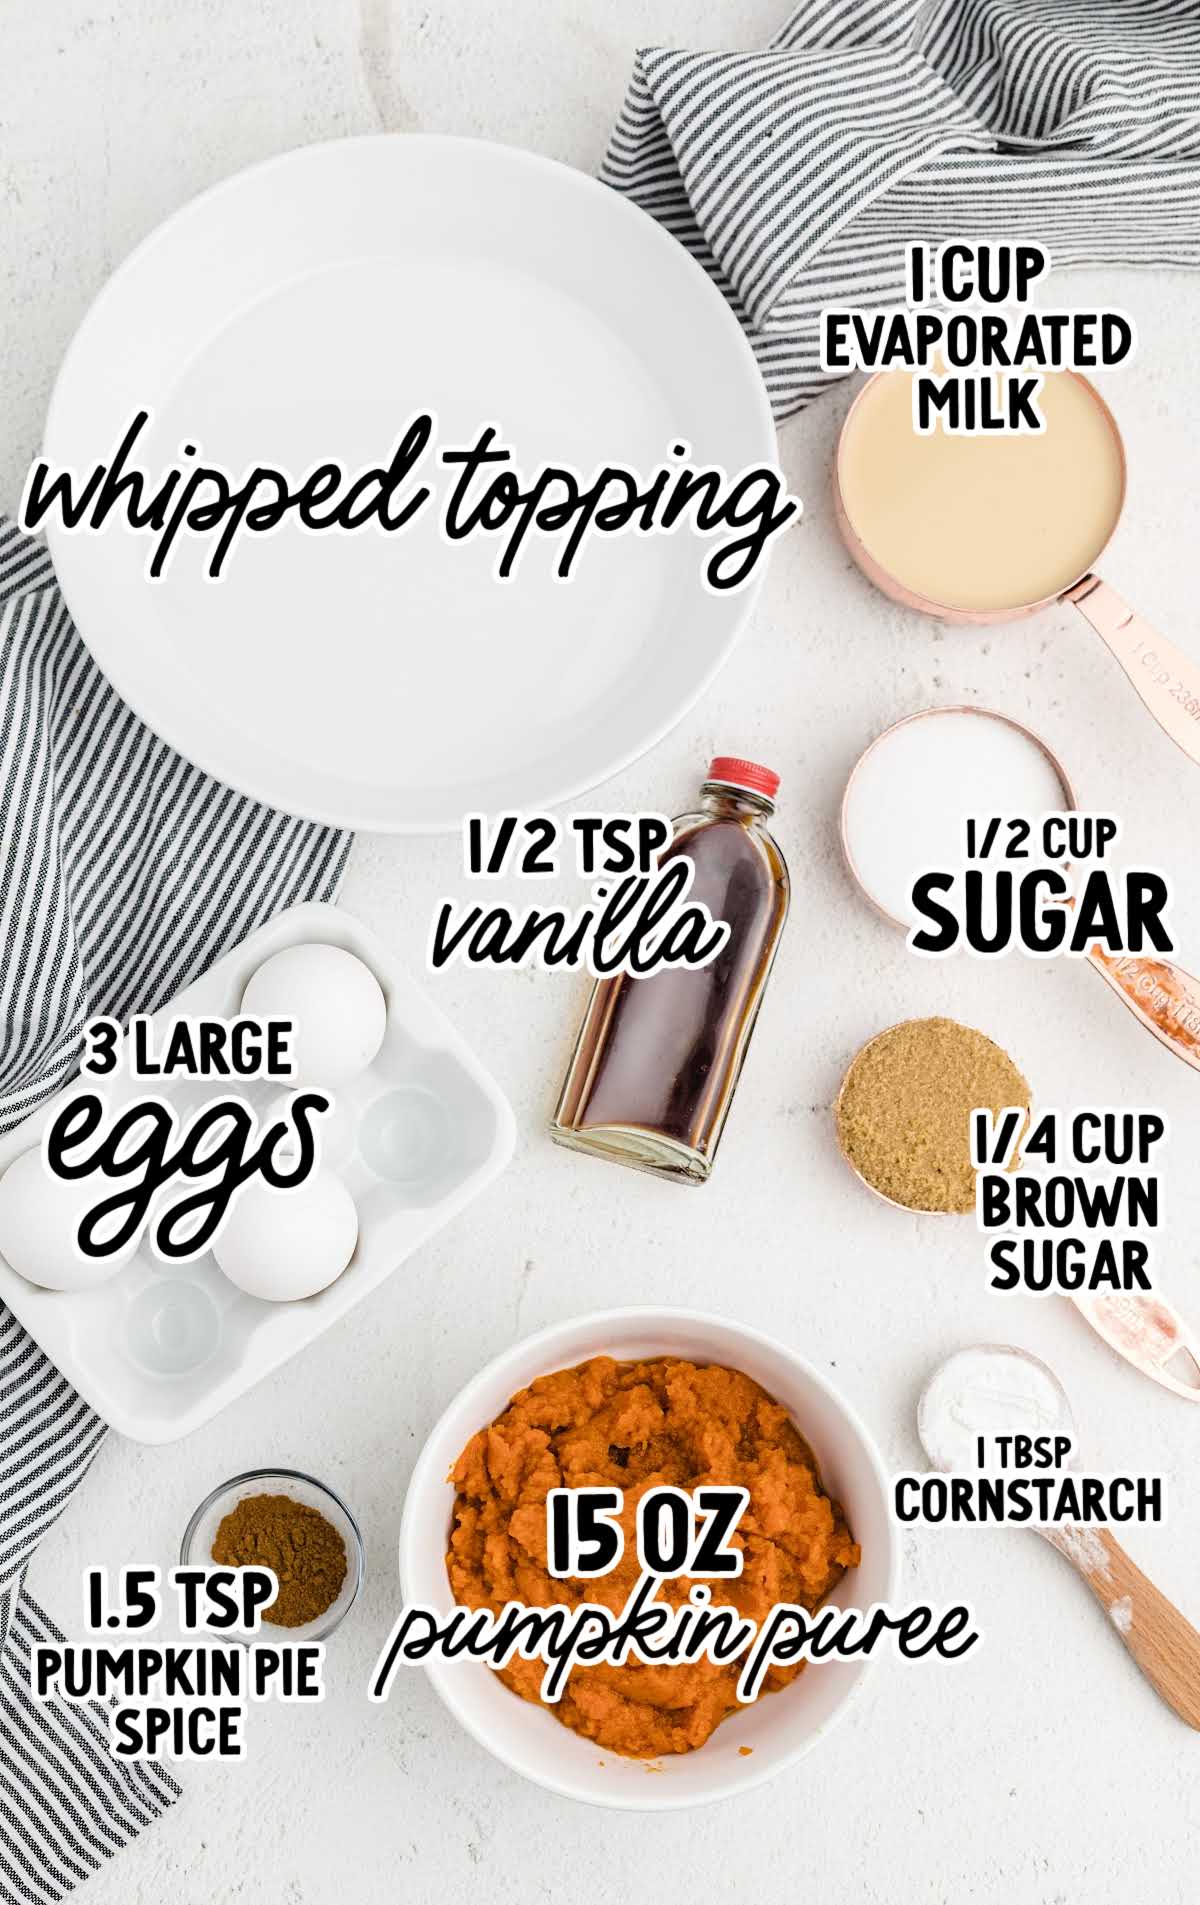
In this crustless pumpkin pie, the star ingredient, pumpkin puree, brings a rich, earthy sweetness to the pie.
A blend of granulated and light brown sugars adds depth, while pumpkin pie spice infuses warm, aromatic notes.
The custardy texture comes from eggs and cornstarch, and a hint of vanilla extract rounds out the flavors.
You’ll need:
- 1 cup of evaporated milk
- 1 tablespoon of cornstarch
- 1 (15-ounce) can of pumpkin puree
- 3 large eggs
- ½ cup of sugar
- ¼ cup of packed light brown sugar
- 1½ teaspoons of pumpkin pie spice
- ½ teaspoon of vanilla extract
- Whipped topping (optional)
PRO TIP:
Make sure you buy pure pumpkin puree rather than pumpkin pie filling at the grocery store for this easy recipe.
Substitutions And Additions
TOPPINGS & GARNISHES: Whipped topping is a classic garnish for pumpkin pie. It’s usually my go-to.
You can get creative and add other toppings as well. Pecans would add a nice crunch, and a dusting of cinnamon would bring out the spicy pumpkin flavor.
PUMPKIN PUREE: While the recipe calls for canned pumpkin puree, you can certainly use homemade pumpkin puree if you have it available.
It can result in a slightly fresher and earthier pumpkin flavor.
Alternatively, butternut squash puree can be a worthy substitute, bringing its unique sweetness and a hint of nuttiness to the pie.
PUMPKIN PIE SPICE: If you’re like me, you always have pumpkin pie spice mix on hand.
If not, you can make your own by combining a half teaspoon each of ground nutmeg, ground ginger, ground cloves, and ground allspice.
You will have leftovers that you can store in your pantry until the next time you need this spice combination.
How To Make This Crustless Pumpkin Pie Recipe
With no rolling out of a crust, this pumpkin pie is so simple to put together.
STEP ONE: Preheat the oven to 325°F and spray a 9-inch pie dish very lightly with nonstick cooking spray. Set aside.
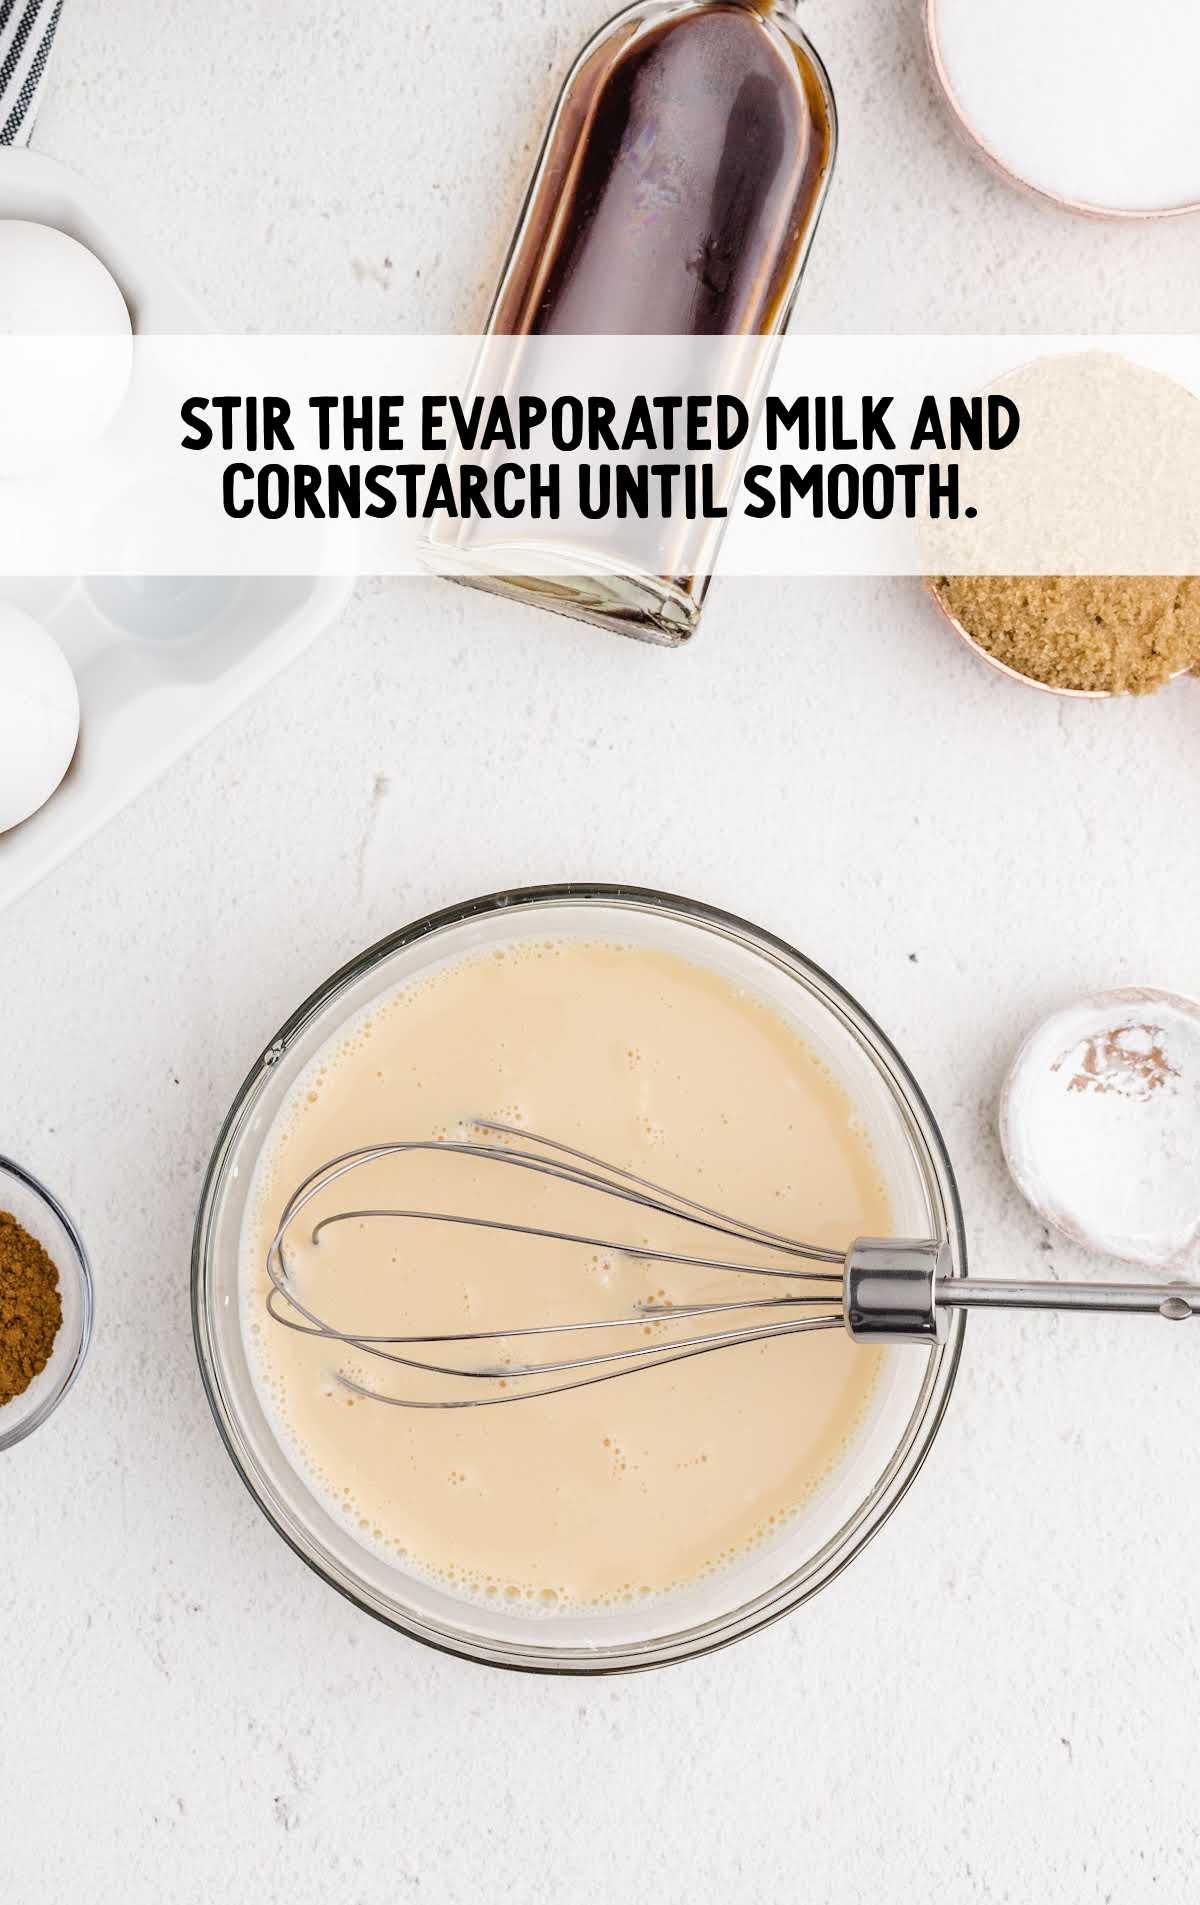
STEP TWO: In a small bowl, stir the evaporated milk and cornstarch until smooth.
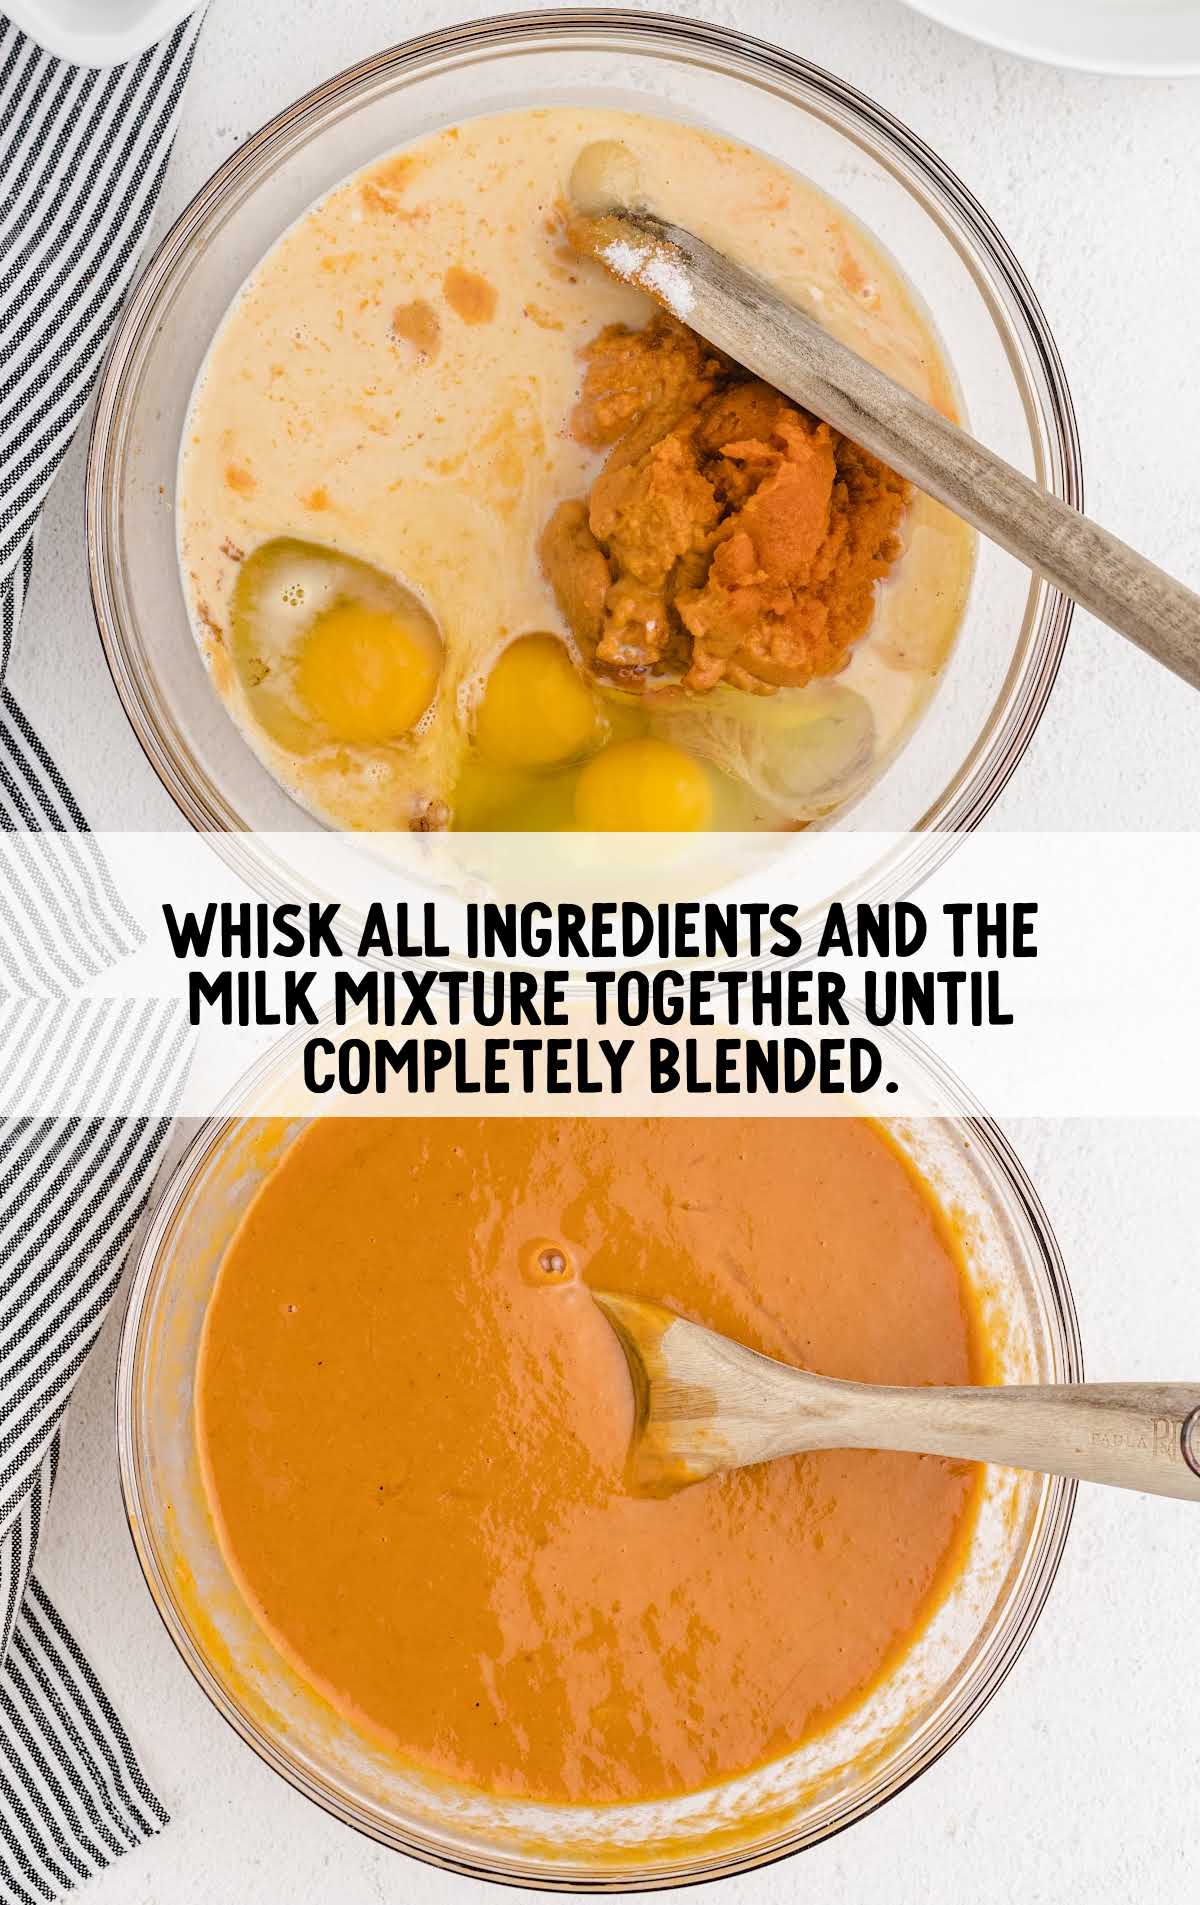
STEP THREE: In a large mixing bowl, whisk together all of the ingredients and the milk/cornstarch mixture until completely blended.
STEP FOUR: Pour the pumpkin filling into the greased pie plate.
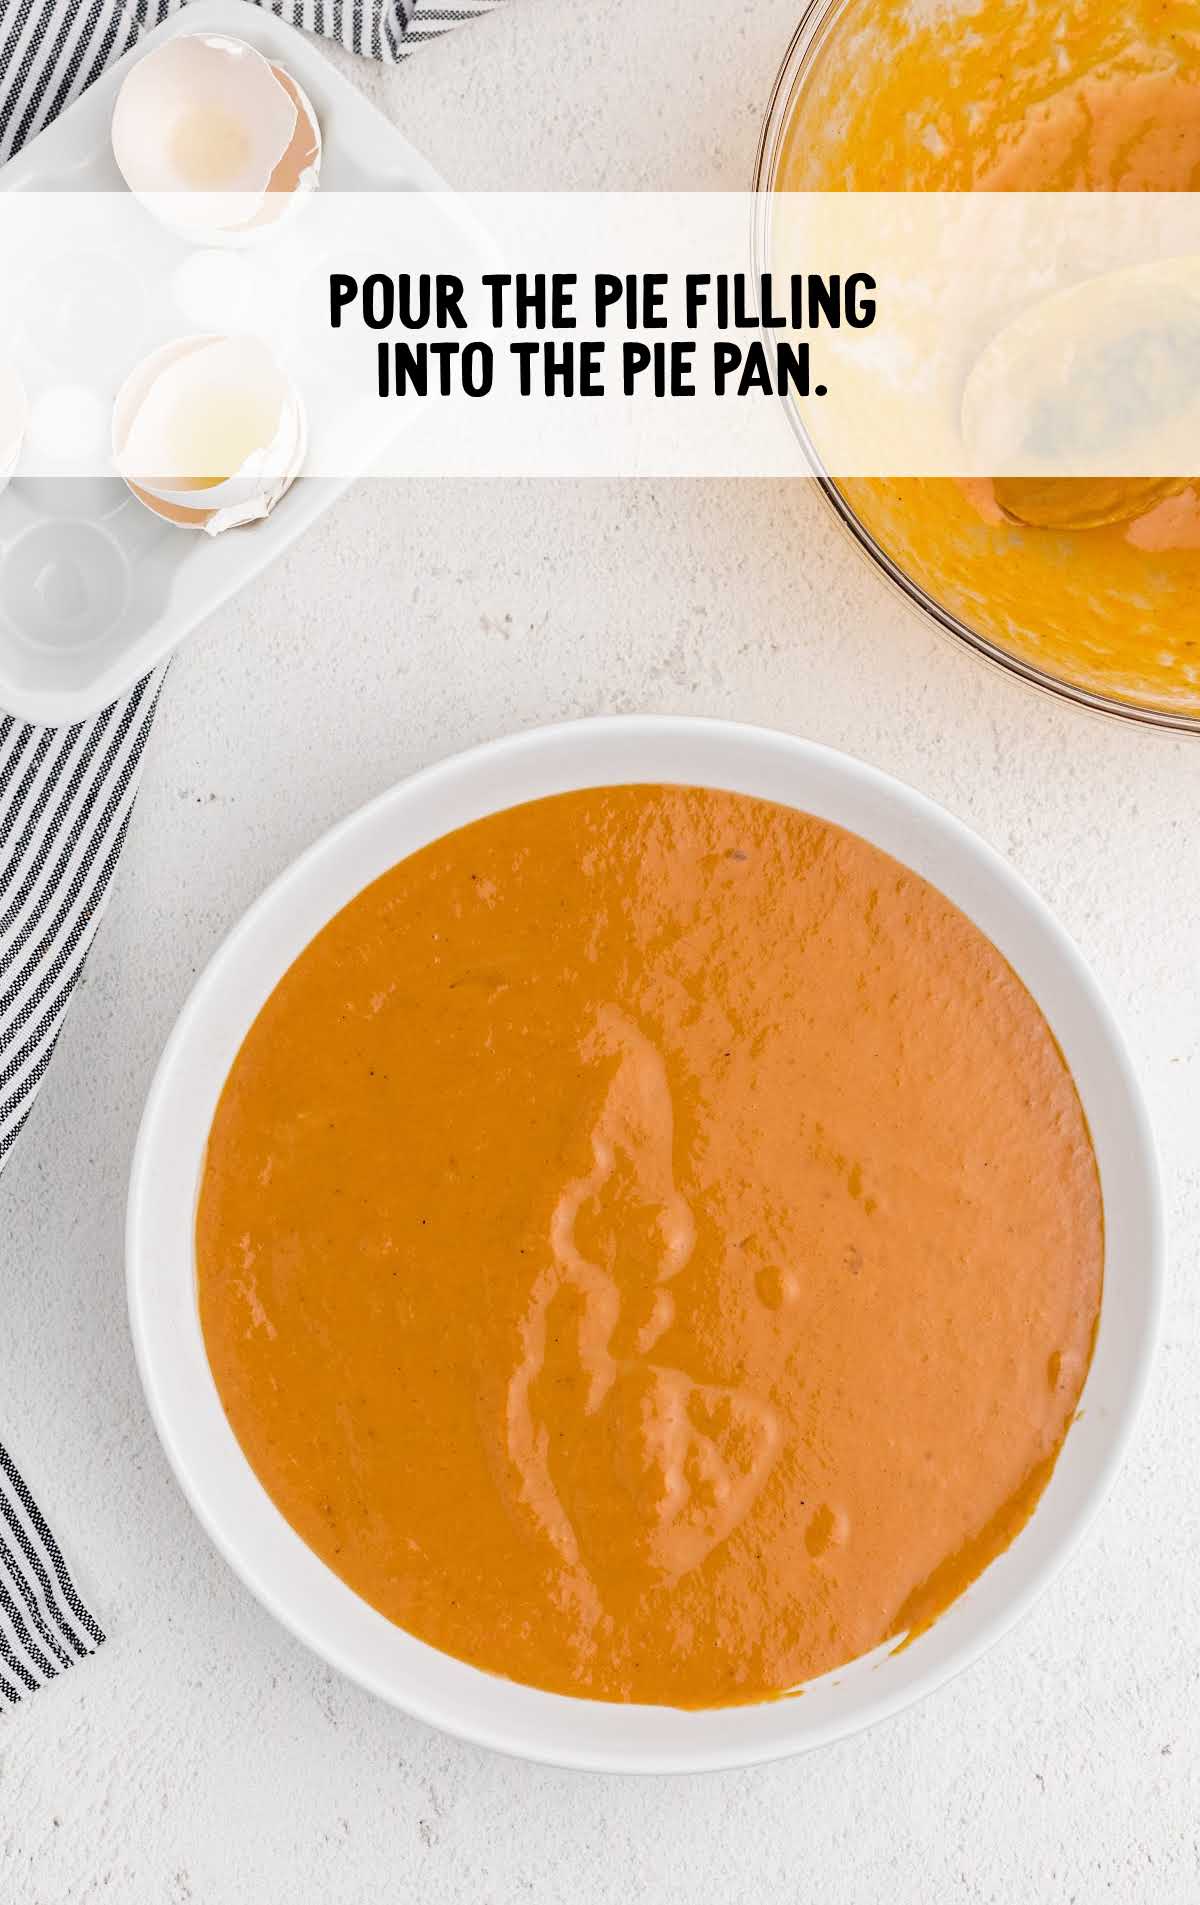
STEP FIVE: In the preheated oven, bake the pie for 1 hour and 5 minutes, or until a knife inserted into the center of the pie comes away clean.
OUR RECIPE DEVELOPER SAYS
Oven temperatures vary and may need to be recalibrated periodically to ensure they are accurate. Make sure to keep a close eye on your pie as the suggested baking time approaches.
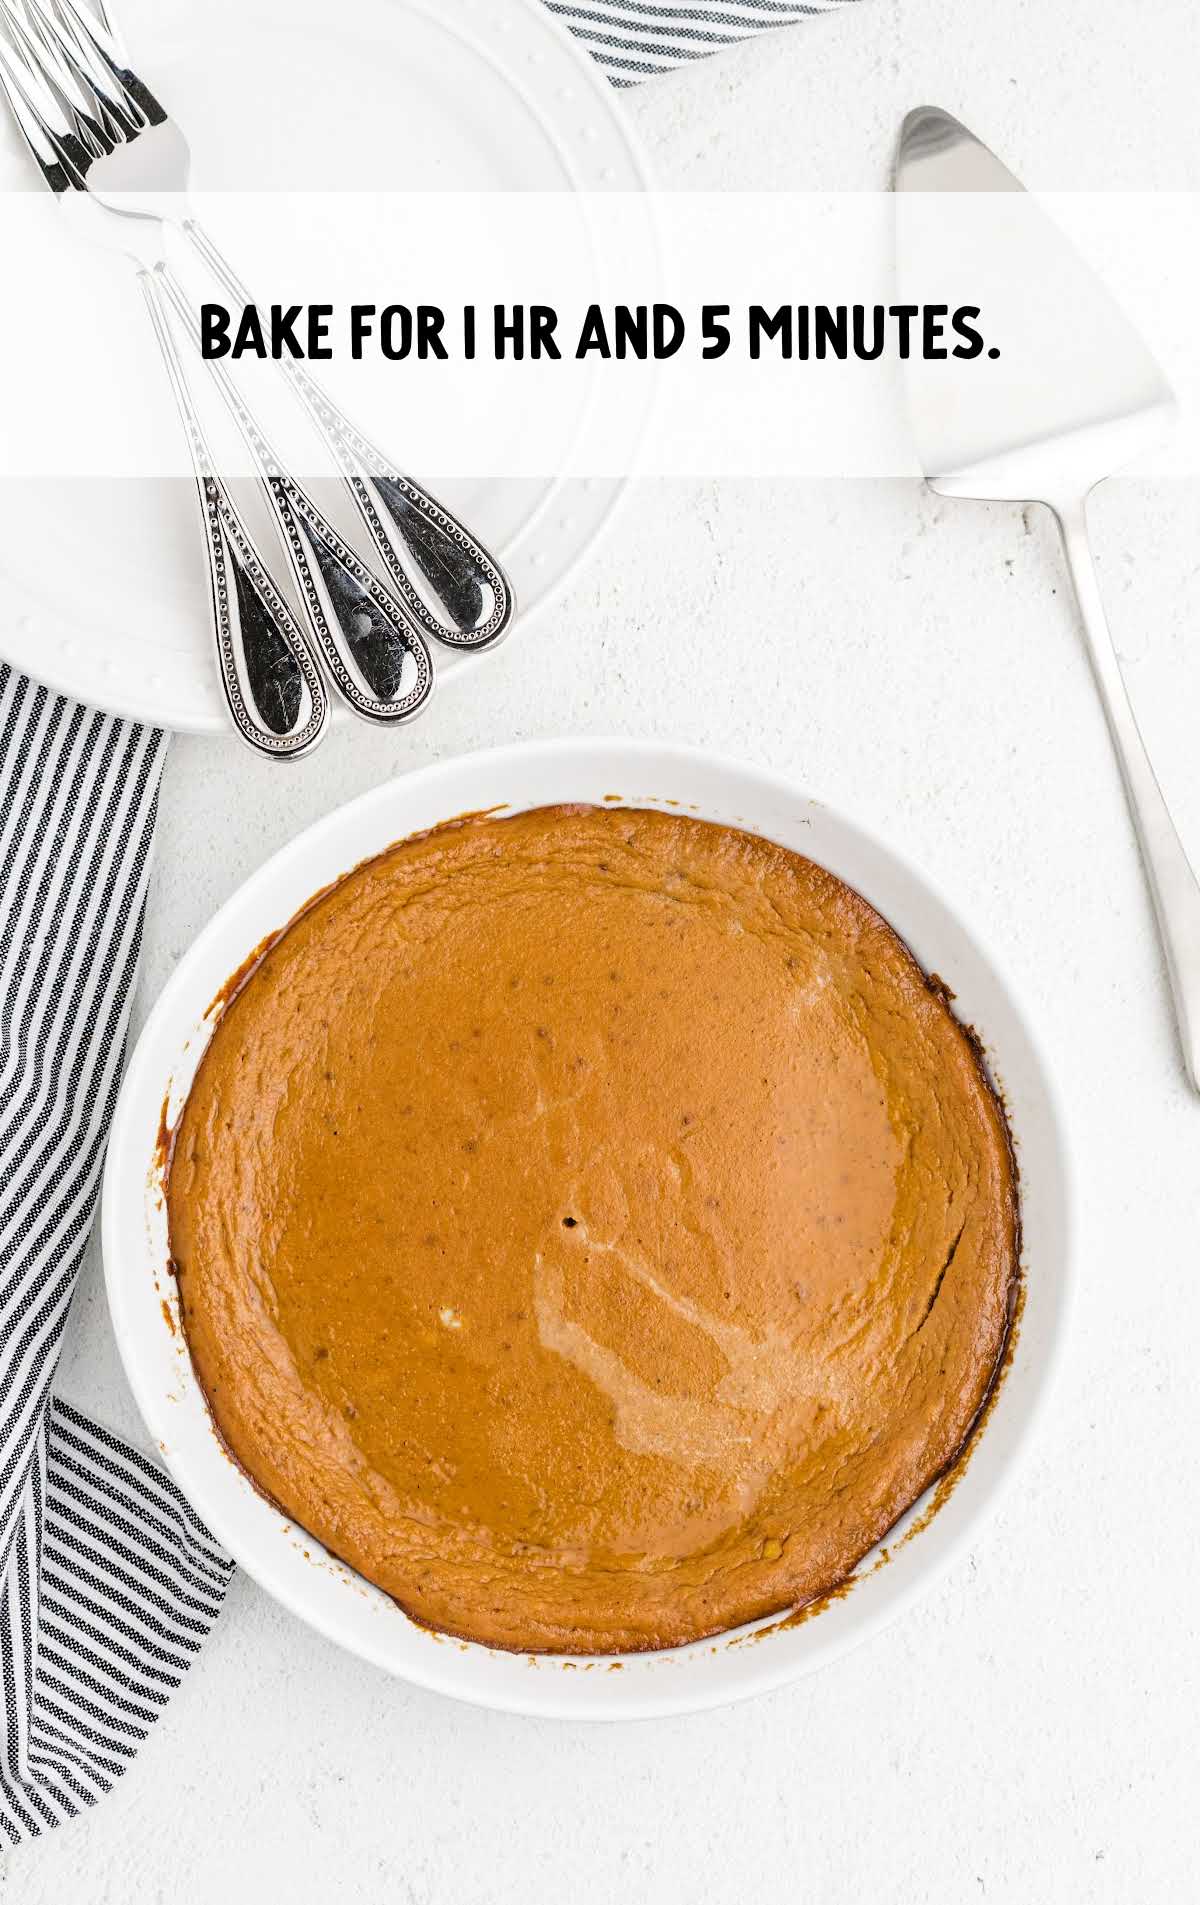
STEP SIX: Allow the pie to completely cool. Serve with whipped topping if desired.
How To Serve
Enjoy this no-crust pumpkin pie with a dollop of whipped cream and a scoop of vanilla ice cream.
It’s the perfect addition to your Thanksgiving turkey dinner, along with our homemade cranberry sauce and sweet potato casserole.
This no bake pumpkin pie and these pumpkin cheesecake bars are a couple more fall treats that also use pumpkin and are totally delicious.
If you like all things pumpkin, you will love both of these pumpkin desserts!
Storage
I’ve got all the details to ensure your pie stays fresh and delightful.
MAKE AHEAD: You can absolutely make this crustless pumpkin pie in advance to save time on your special occasion.
Follow the recipe as usual, bake it, and let it cool to room temperature. Once it’s cool, cover it with plastic wrap or aluminum foil and pop it in the fridge.
It will stay lovely for up to two days before you plan to serve it. Just remember to hold off on adding the whipped topping until serving to keep it fluffy.
IN THE FRIDGE: It’s best to store this creamy pumpkin pie in the fridge to keep it as fresh as possible.
Loosely cover your crustless pie with aluminum foil or plastic wrap. It will last in the fridge for three to four days.
IN THE FREEZER: If you’re not planning to eat your pumpkin pie within four days, you can store it in the freezer to enjoy later.
After it is completely cooled, wrap tightly in foil or plastic and place in a freezer Ziploc bag. Keep in the freezer for up to four months.
Why We Love This Recipe
SIMPLICITY AT ITS BEST: This recipe skips the fuss of dealing with a traditional pie crust, making it incredibly easy and foolproof to prepare, even for novice bakers.
PURE PUMPKIN FLAVOR: With no crust to distract from the star of the show, the pumpkin flavor shines through brilliantly.
PERFECT FOR LEFTOVERS: The leftovers of this pie are just as amazing, if not better, than the first serving. Store and reheat it with ease.
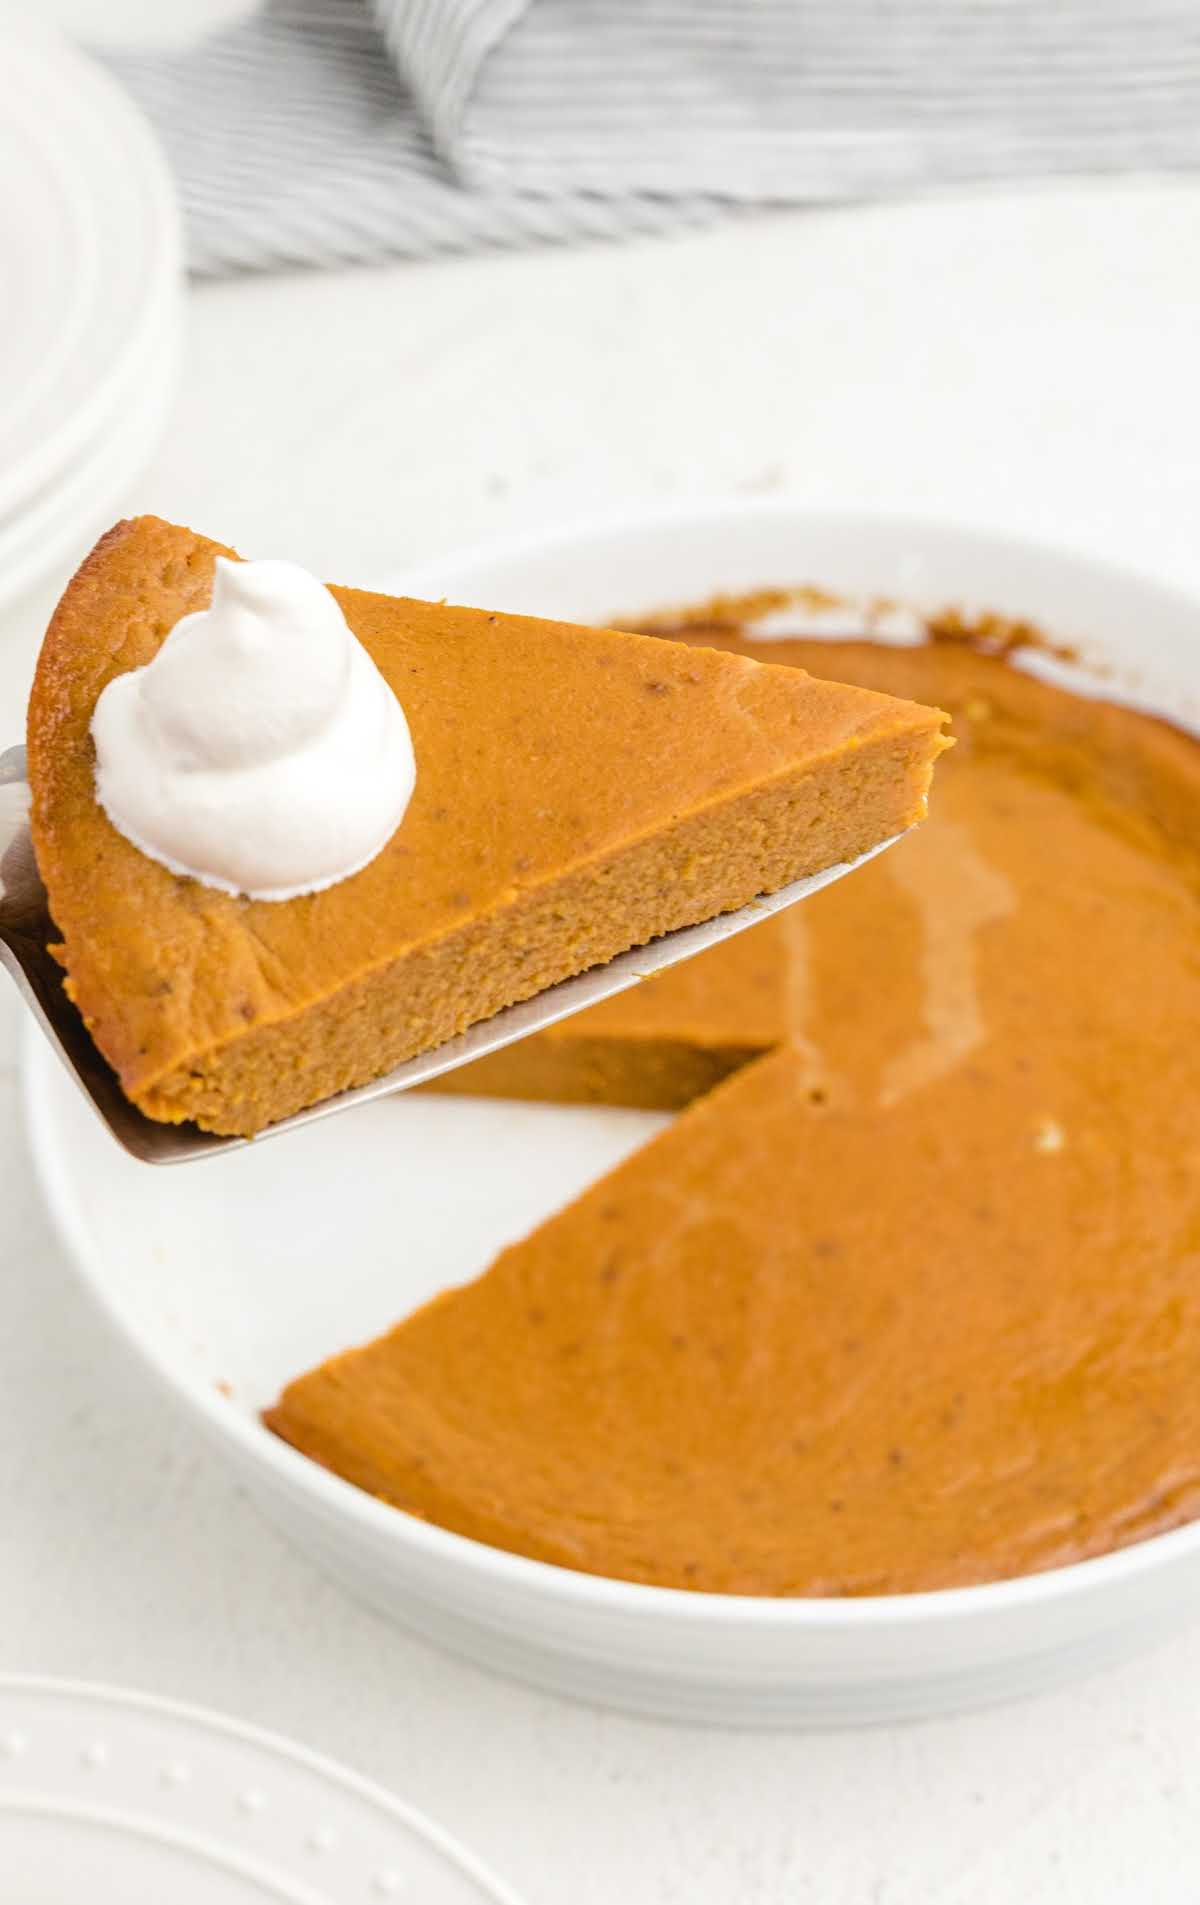
Crustless pumpkin pie is full of all the same great flavor as a traditional pumpkin pie, but it’s much easier and quicker to make. It’s the perfect easy dessert for your Thanksgiving dinner. Pumpkin pie is a must-have for fall desserts, it’ll hit the spot every time!
FREQUENTLY ASKED QUESTIONS
This great recipe would be just as delicious using homemade pumpkin puree instead of the canned version.
You can freeze this pie, but we would recommend leaving off any garnishes until you are ready to serve.
If you can’t find pumpkin pie spice in the store, you could use either cinnamon or a combination of cinnamon and nutmeg.
More Recipes You’ll Love
- Cinnamon Roll Cookies
- Cinnamon Roll Monkey Bread Recipe
- Old Fashioned Cinnamon Ornaments
- Vanilla Trifle
- Apple Slab Pie
Crustless Pumpkin Pie
Ingredients
- 1 tablespoon cornstarch
- 1 cup evaporated milk
- 15 ounces pumpkin puree
- 3 large eggs
- ½ cup sugar
- ¼ cup light brown sugar, packed
- 1½ teaspoons pumpkin pie spice
- ½ teaspoon vanilla extract
- whipped topping, optional
Instructions
- Preheat the oven to 325°F.
- Spray a 9-inch pie pan very lightly with non-stick spray.
- In a small bowl, stir the evaporated milk and cornstarch until smooth.
- In a large mixing bowl, whisk all ingredients and the milk mixture together until completely blended.
- Pour the pie filling into the pie pan.
- Bake for 1 hour and 5 minutes, or until a knife inserted into the center of the pie comes away clean.
- Allow the pie to completely cool.
- Top with whipped topping if desired.
Notes
- Make sure you buy pure pumpkin puree rather than pumpkin pie filling at the grocery store for this easy recipe.
- Oven temperatures vary and may need to be recalibrated periodically to ensure they are accurate. Make sure to keep a close eye on your pie as the suggested baking time approaches.



Comments
Michelle says
What if you use real pumpkin instead of caned
Layne Kangas says
Hi, Michelle – we haven’t tested it like that so unfortunately, I don’t have any input for changing to that method. Please let me know if you try it. Enjoy!
Dan says
Tastes great! Just wondering the best way to store? Can it be frozen?
Nancy Polster says
Can I use non dairy creamer with corn starch instead of the evaporated milk to make the pie non- dairy? If do, would I use the same amount of creamer as the milk? Thank you.
Layne Kangas says
Hi, Nancy – we haven’t tried that so I’m not sure if it would work!
Linda Groff says
Nancy, I have used canned coconut milk with good results
Alice says
Made this recipe with roasted, puréed Hubbard squash from my garden, it was Amazing! I used about half of the brown sugar called for and substituted monk fruit for the white sugar, also about half of what was called for and could have used even less because the squash was so sweet. I also used fat free evaporated milk. I made it in a square pan so I could cut it into small squares for a potluck and everyone loved them! Thanks for sharing this recipe, this is a keeper!