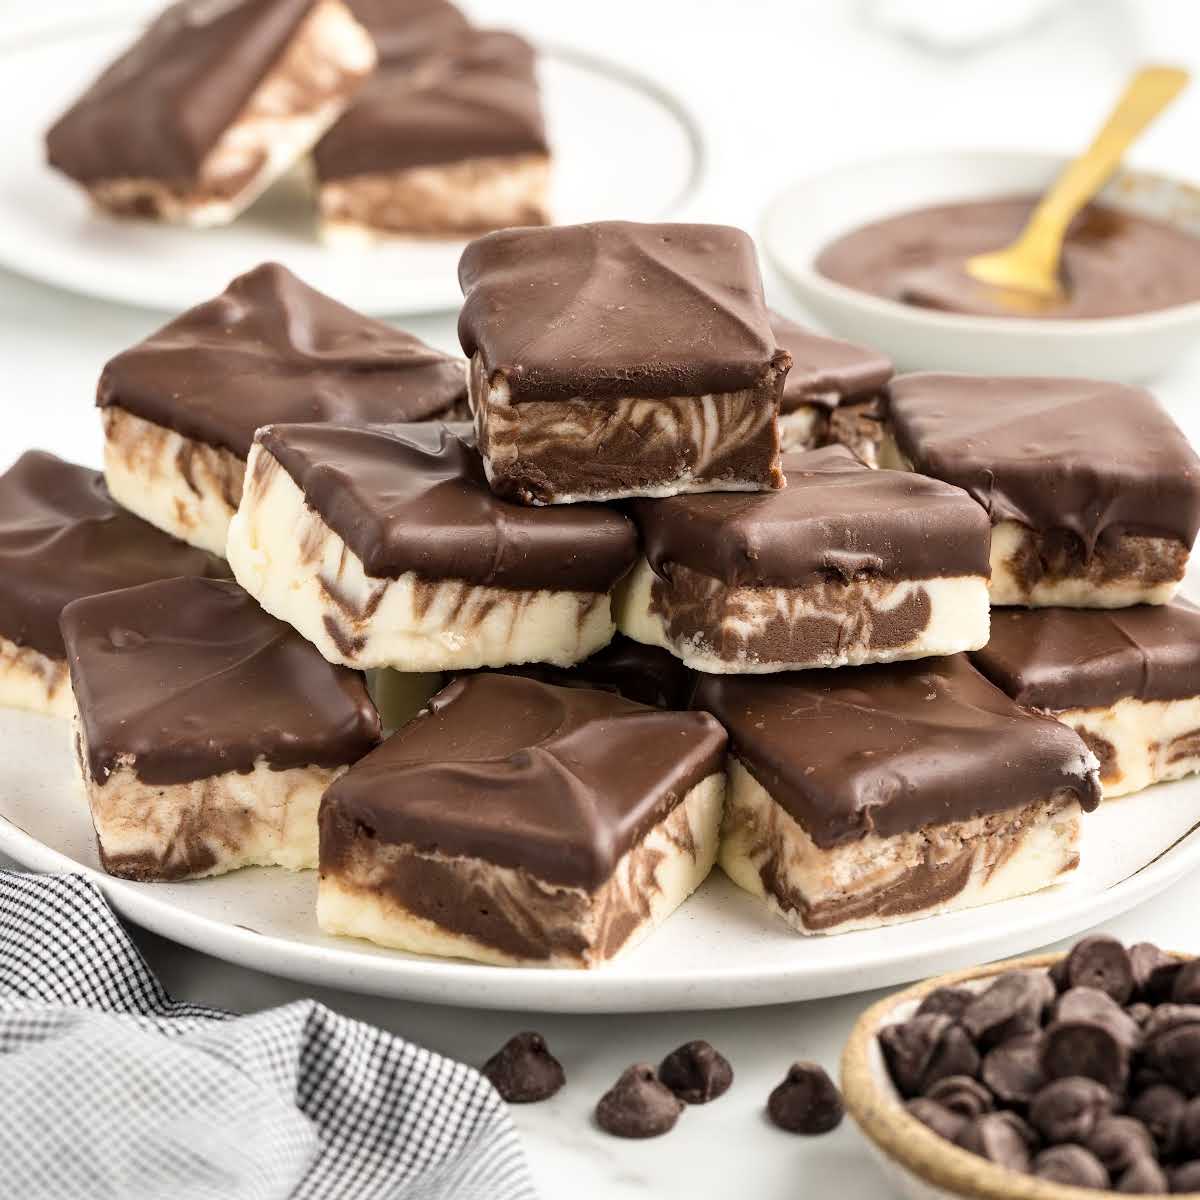


If you love the rich, decadent flavors of Boston cream pie, you’re going to adore this Boston cream pie fudge. This recipe brings together the classic elements of the famous dessert—creamy vanilla custard and silky chocolate ganache—into a bite-sized fudge form. Each piece captures the smooth, indulgent layers you crave, but in a way that’s easy to share and perfect for satisfying your sweet tooth without the fuss of a full pie.
What You Need To Know
Main Ingredients: sweetened condensed milk, white chocolate chips, vanilla extract, butter, chocolate chips, heavy cream
Quick Steps: melt white chocolate and sweetened condensed milk, stir in vanilla and butter, spread into pan, melt chocolate with cream, pour over fudge layer, chill until set
Why Our Recipe: Our Boston Cream Fudge recipe sets itself apart with its unique use of sweetened condensed milk in the vanilla custard layer, which gives it an extra creamy texture. Many Boston cream fudge recipes rely solely on pudding mix for flavor, but we combine it with the richness of sweetened condensed milk, which not only enhances the vanilla flavor but also provides a melt-in-your-mouth consistency.
Estimated Time and Yield: 2 hours 15 minutes, makes 16-20 pieces
Boston Cream Fudge Ingredients
Creating Boston Cream Fudge at home is straightforward and quick, requiring just a few basic ingredients and a little bit of time.
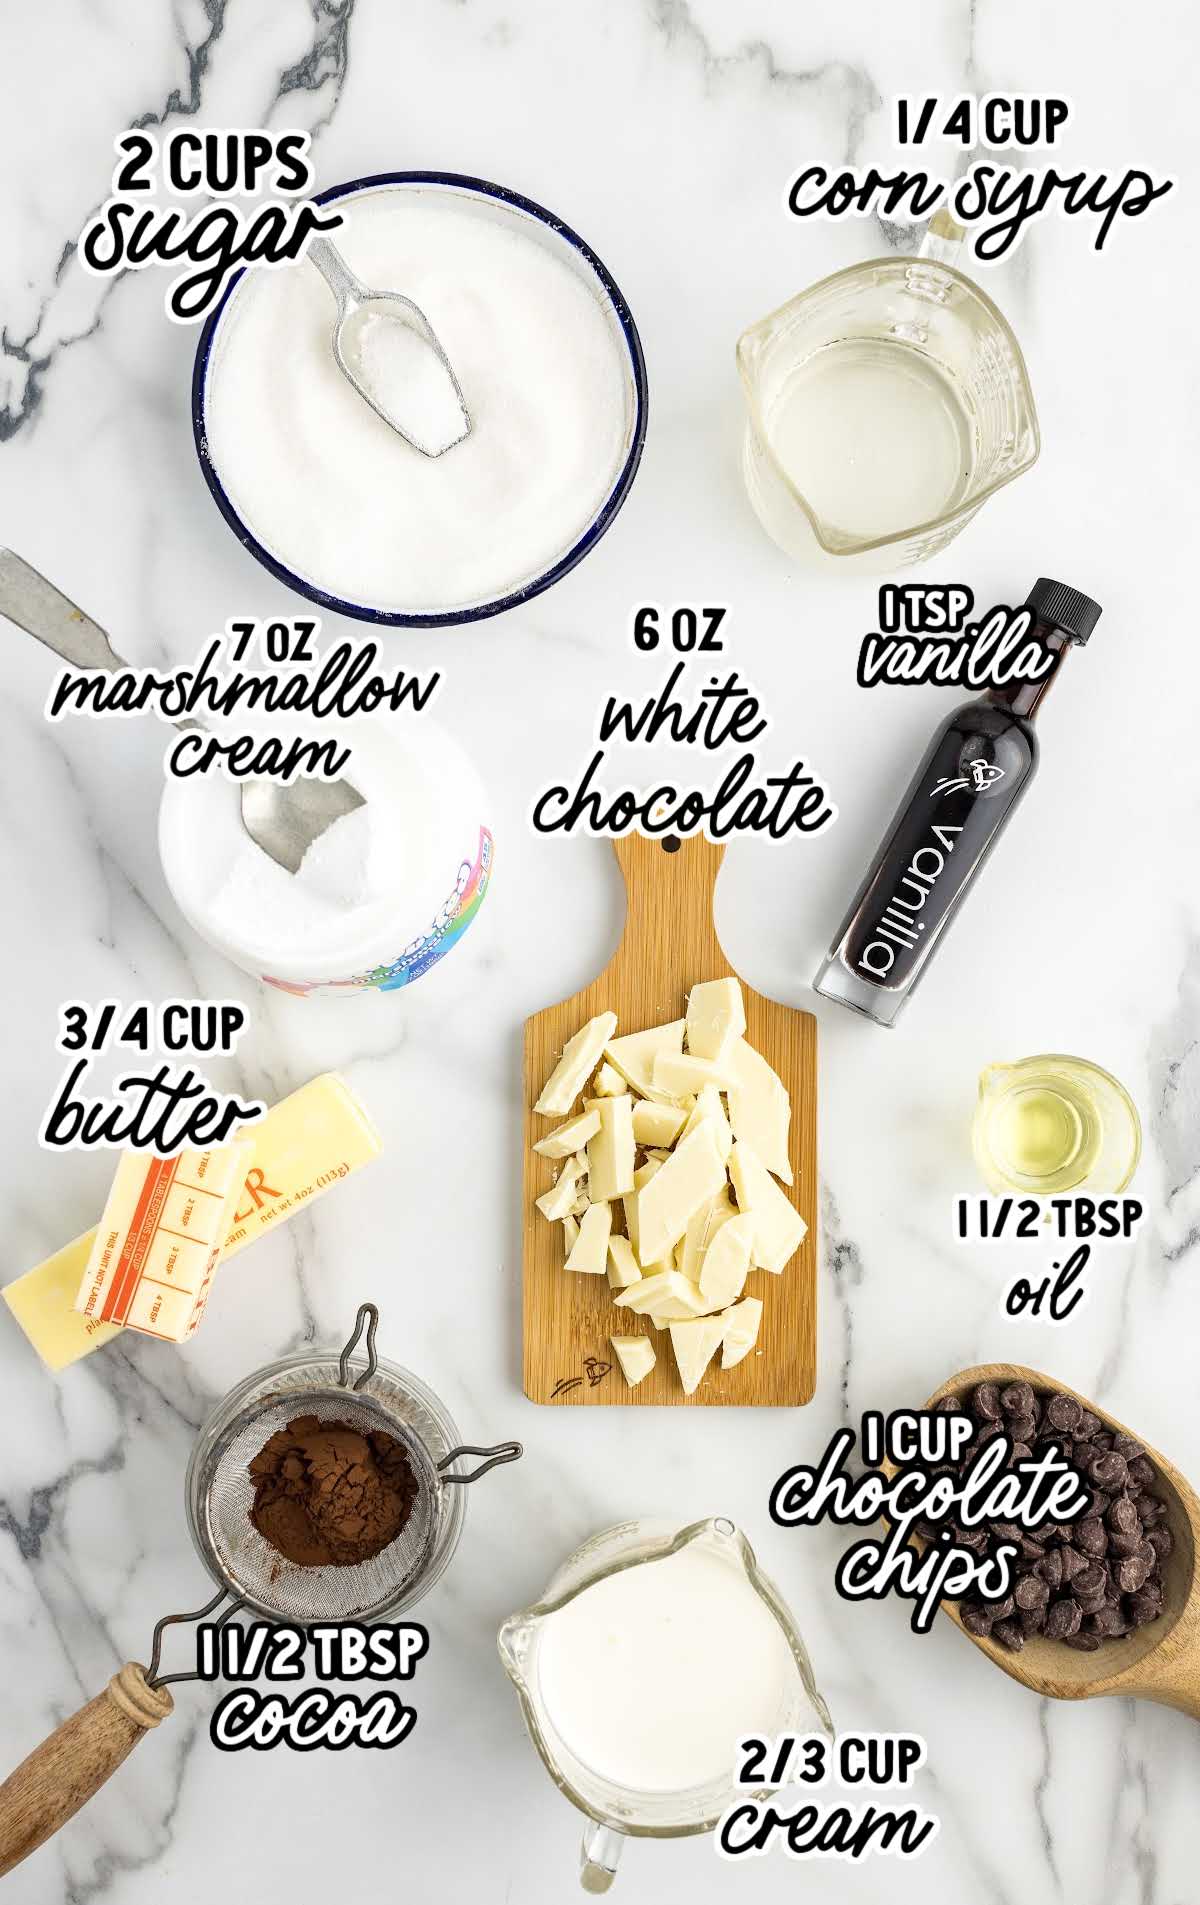
You’ll Need:
- 2 cups granulated sugar
- ¾ cup unsalted butter
- ⅔ cup heavy cream
- ¼ cup light corn syrup
- 6 ounces white baking chocolate, chopped
- 7 ounces marshmallow cream
- 1 teaspoon vanilla extract
- 1½ tablespoons unsweetened cocoa powder, sifted to remove any clumps
- 1 cup semi-sweet chocolate chips
- 1½ tablespoons vegetable oil
Boston Cream Fudge Substitutions and Additions
Need to adapt this recipe based on what you have on hand? Here are some easy substitutions and additions you can try.
Granulated Sugar: If you’re out of granulated sugar, you can use an equal amount of powdered sugar. Just be sure to sift it to avoid clumps.
Unsalted Butter: Salted butter can be used in place of unsalted butter.
White Baking Chocolate: If you don’t have white baking chocolate, white chocolate chips can be used as a substitute.
Unsweetened Cocoa Powder: Dutch-processed cocoa can be used in place of unsweetened cocoa powder for a deeper chocolate flavor.
Semi-Sweet Chocolate Chips: Dark chocolate chips can be used if you prefer a richer, more intense chocolate topping. Milk chocolate will make your fudge topping even sweeter.
Vegetable Oil: If you’re out of vegetable oil, you can use coconut oil or melted butter.
How To Make This Boston Cream Fudge Recipe
Making Boston Cream Fudge is an easy process that yields a rich, delicious treat the whole family will love. Will all the goodness of homemade chocolate fudge and the nostalgic flavor of Boston cream in every bite, you’ll make this impressive recipe every time you need a quick no-bake treat.
STEP ONE: Line an eight by eight inch baking pan with parchment paper, leaving an overhang to easily pull the fudge out later. Lightly spray the parchment paper with nonstick cooking spray to ensure easy removal.
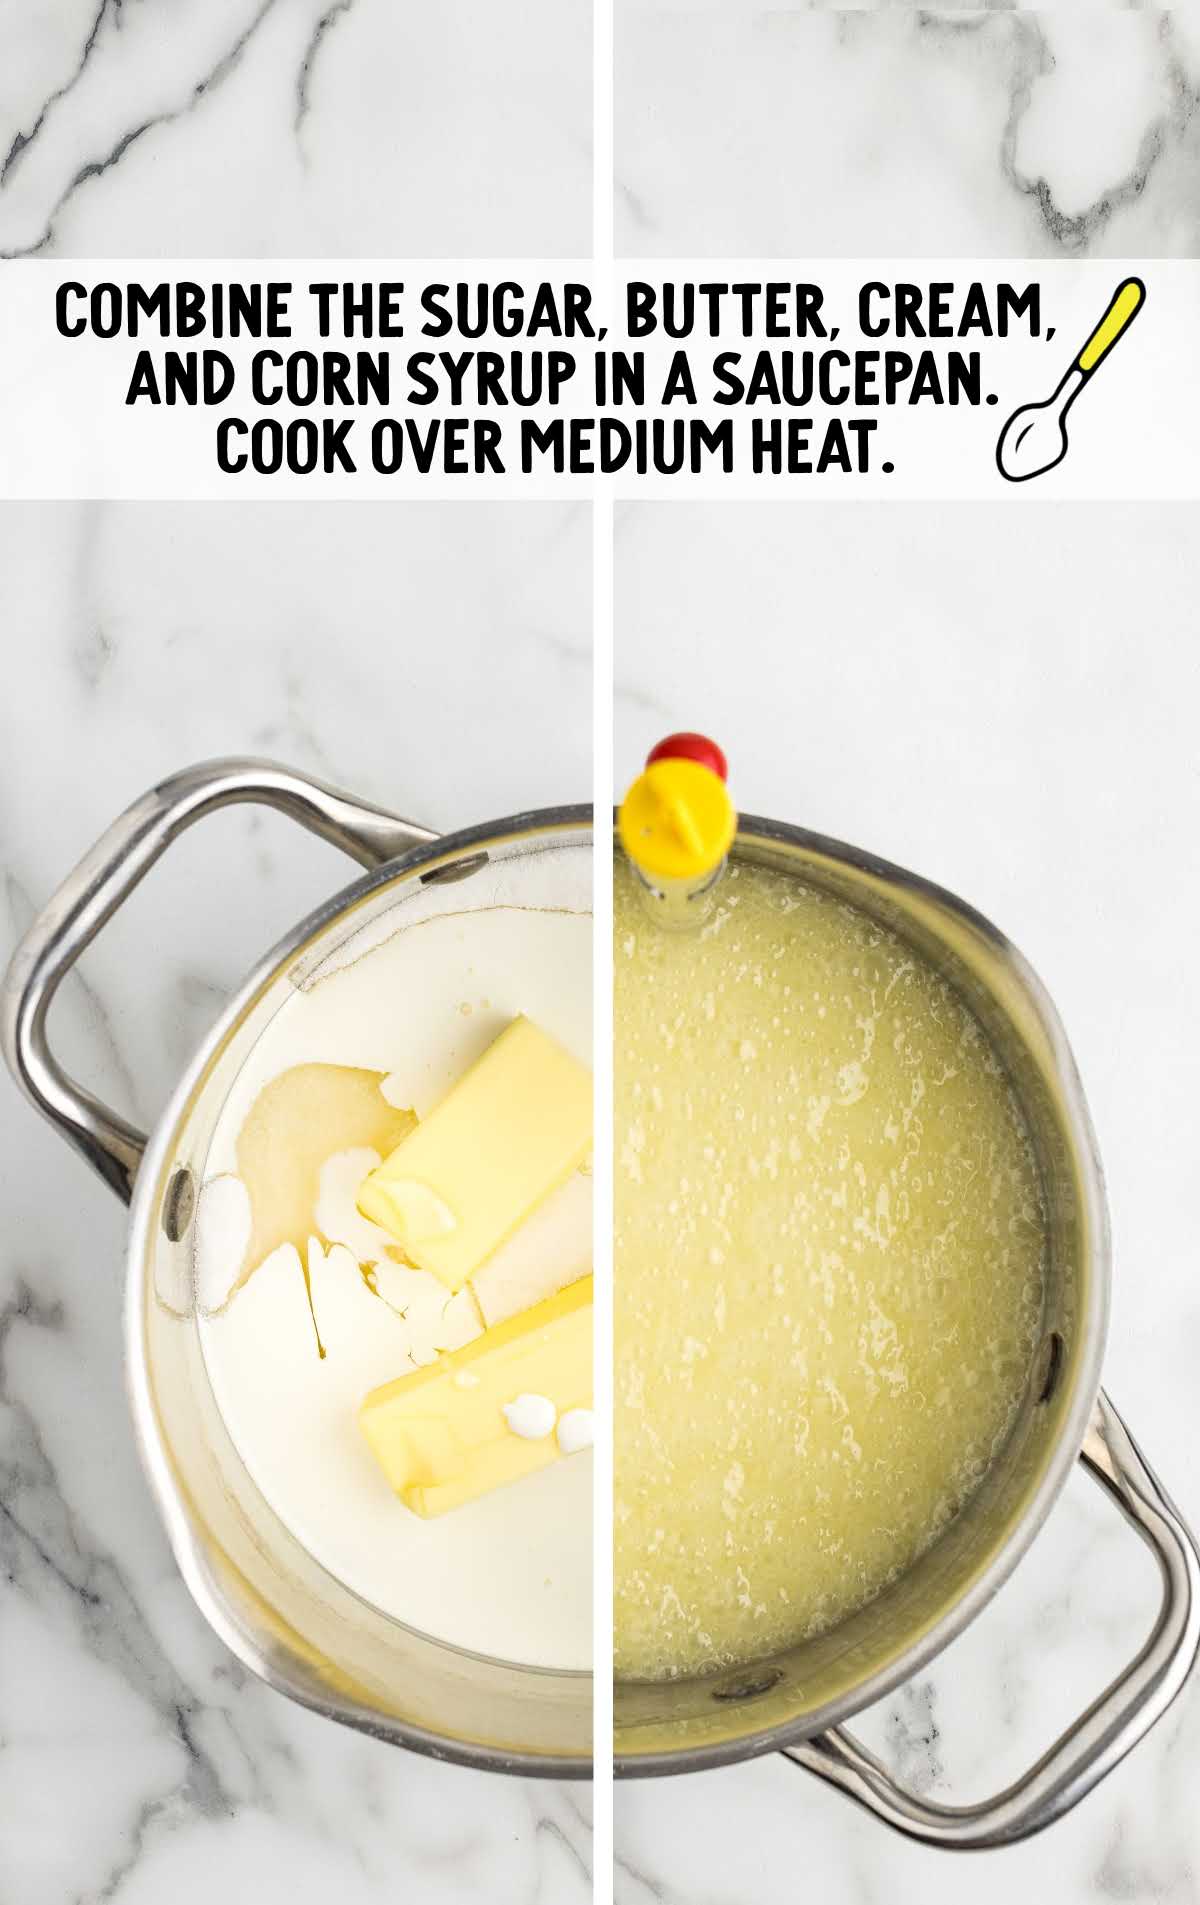
STEP TWO: In a large saucepan, combine sugar, unsalted butter, heavy cream, and light corn syrup. Use a medium heat setting, and stir constantly with a wooden spoon. This mixture should reach a rolling boil.
PRO TIP: Boiling sugar can quickly burn. Don’t leave the stove top, stir constantly, and adjust the temperature if needed.
STEP THREE: Once boiling, continue stirring for about four to five minutes. Use a candy thermometer to check the temperature, aiming for 235-240°F.
STEP FOUR: Remove the saucepan from heat and immediately stir in the chopped white baking chocolate. Stir until completely melted and smooth.
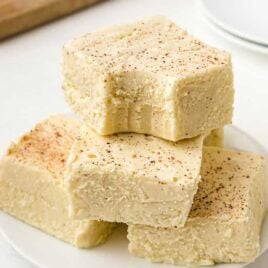
This makes the creamy base for your fudge.
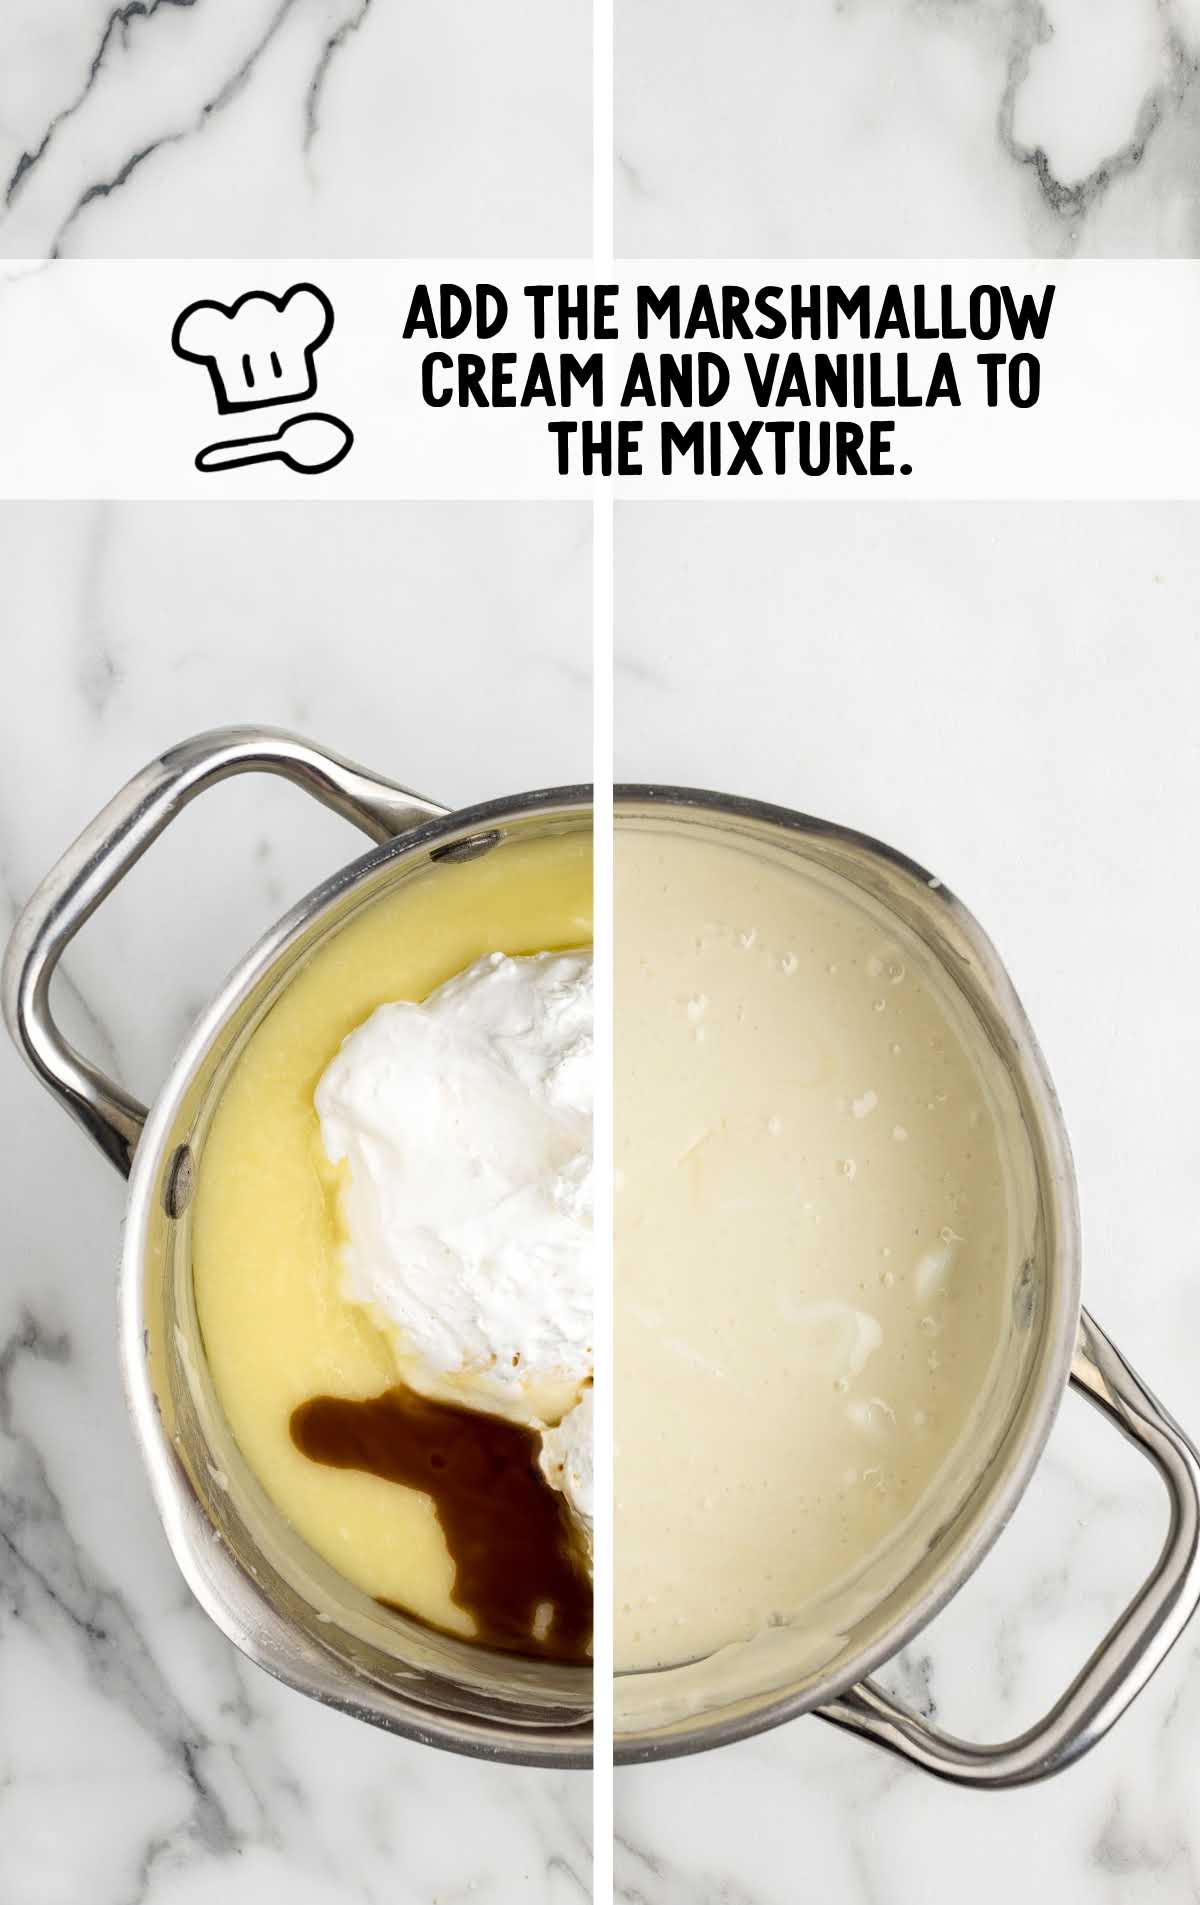
STEP FIVE: Add the marshmallow cream and vanilla extract to the mixture. Stir until the mixture is fully combined.
STEP SIX: Pour ¾ of the fudge mixture into the prepared baking dish, spreading it evenly.
PRO TIP: You can estimate ¾ of the fudge mixture. It doesn’t have to be perfect.
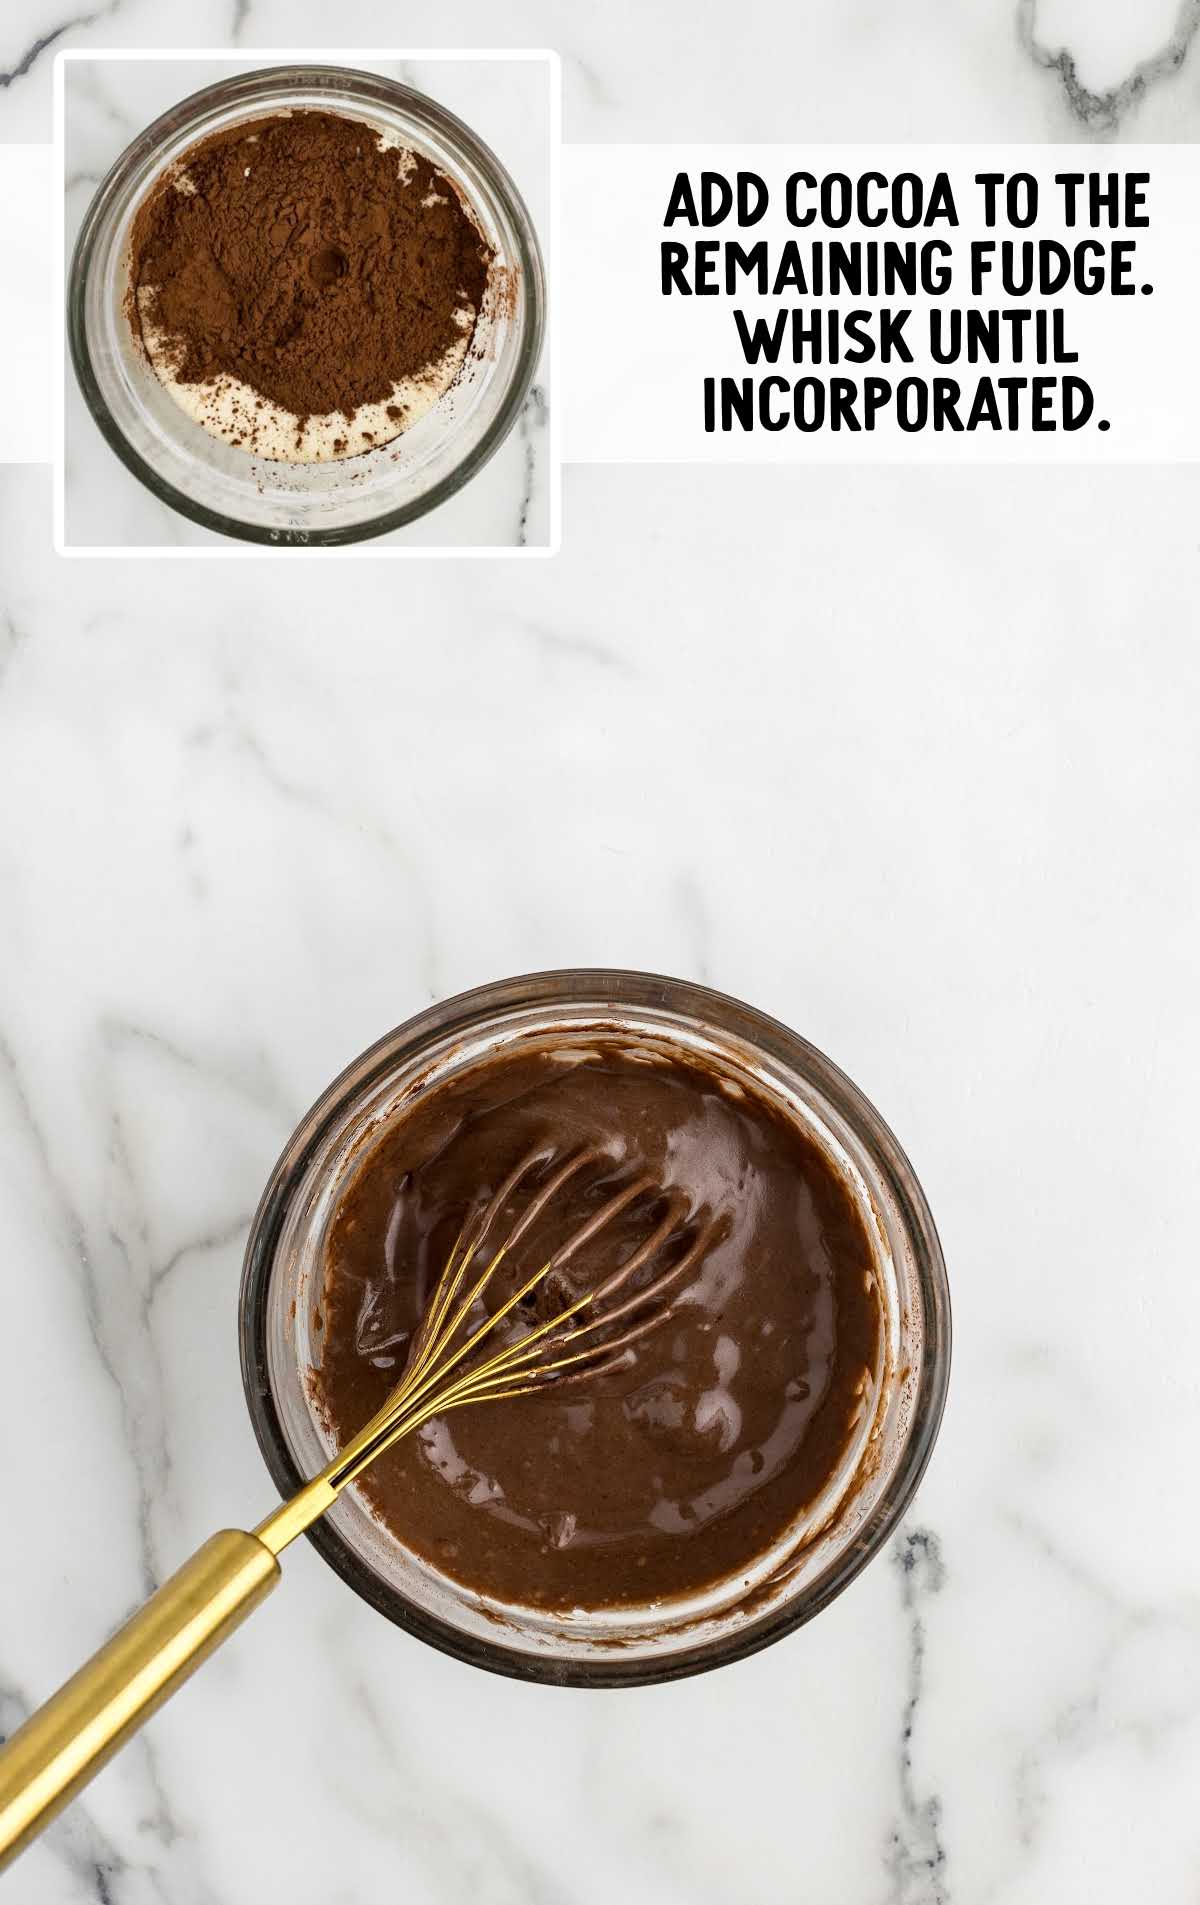
STEP SEVEN: Add the cocoa powder to the remaining fudge mixture in the saucepan. Whisk thoroughly until the cocoa is fully incorporated, creating a rich chocolate layer.
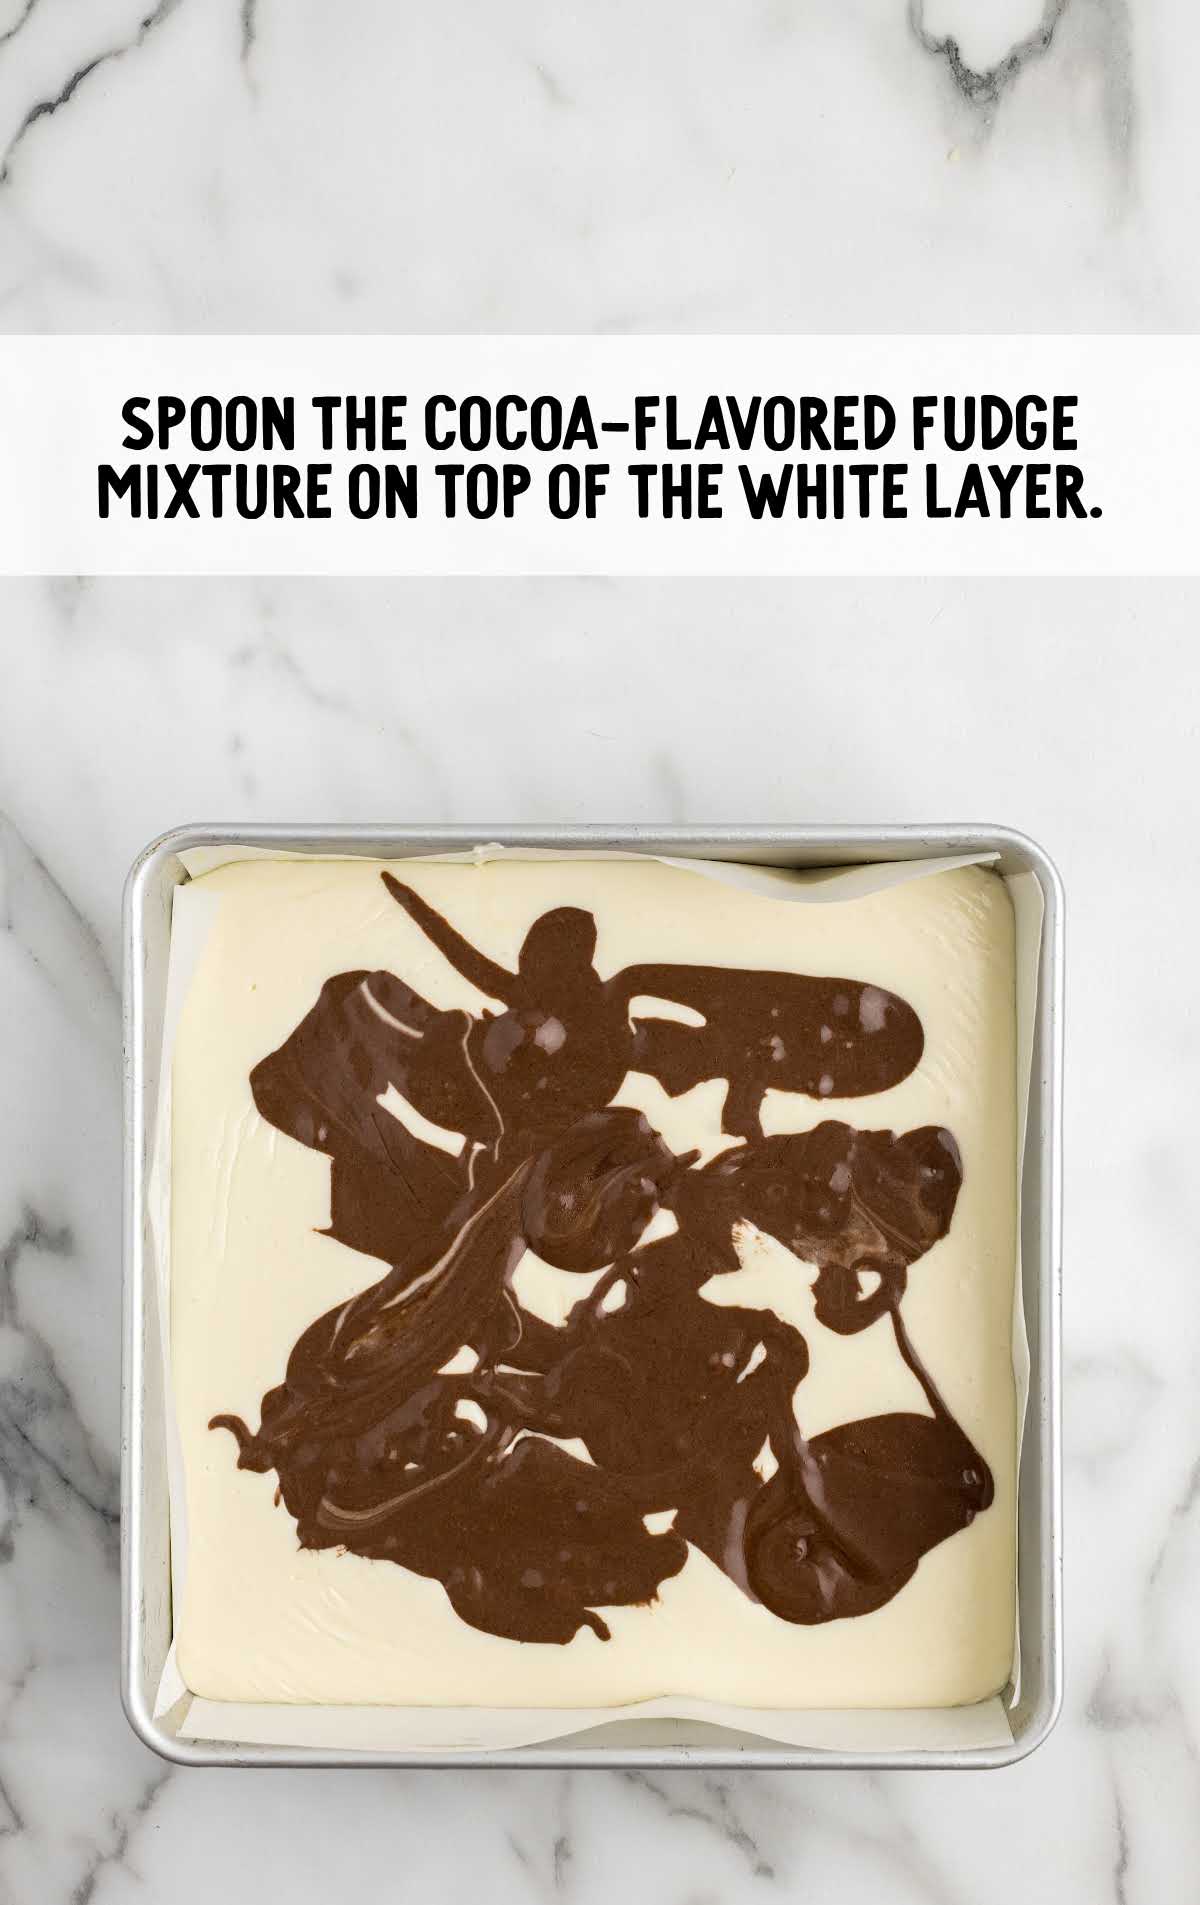
STEP EIGHT: Carefully spoon the cocoa-flavored fudge mixture on top of the white fudge layer in the baking dish.
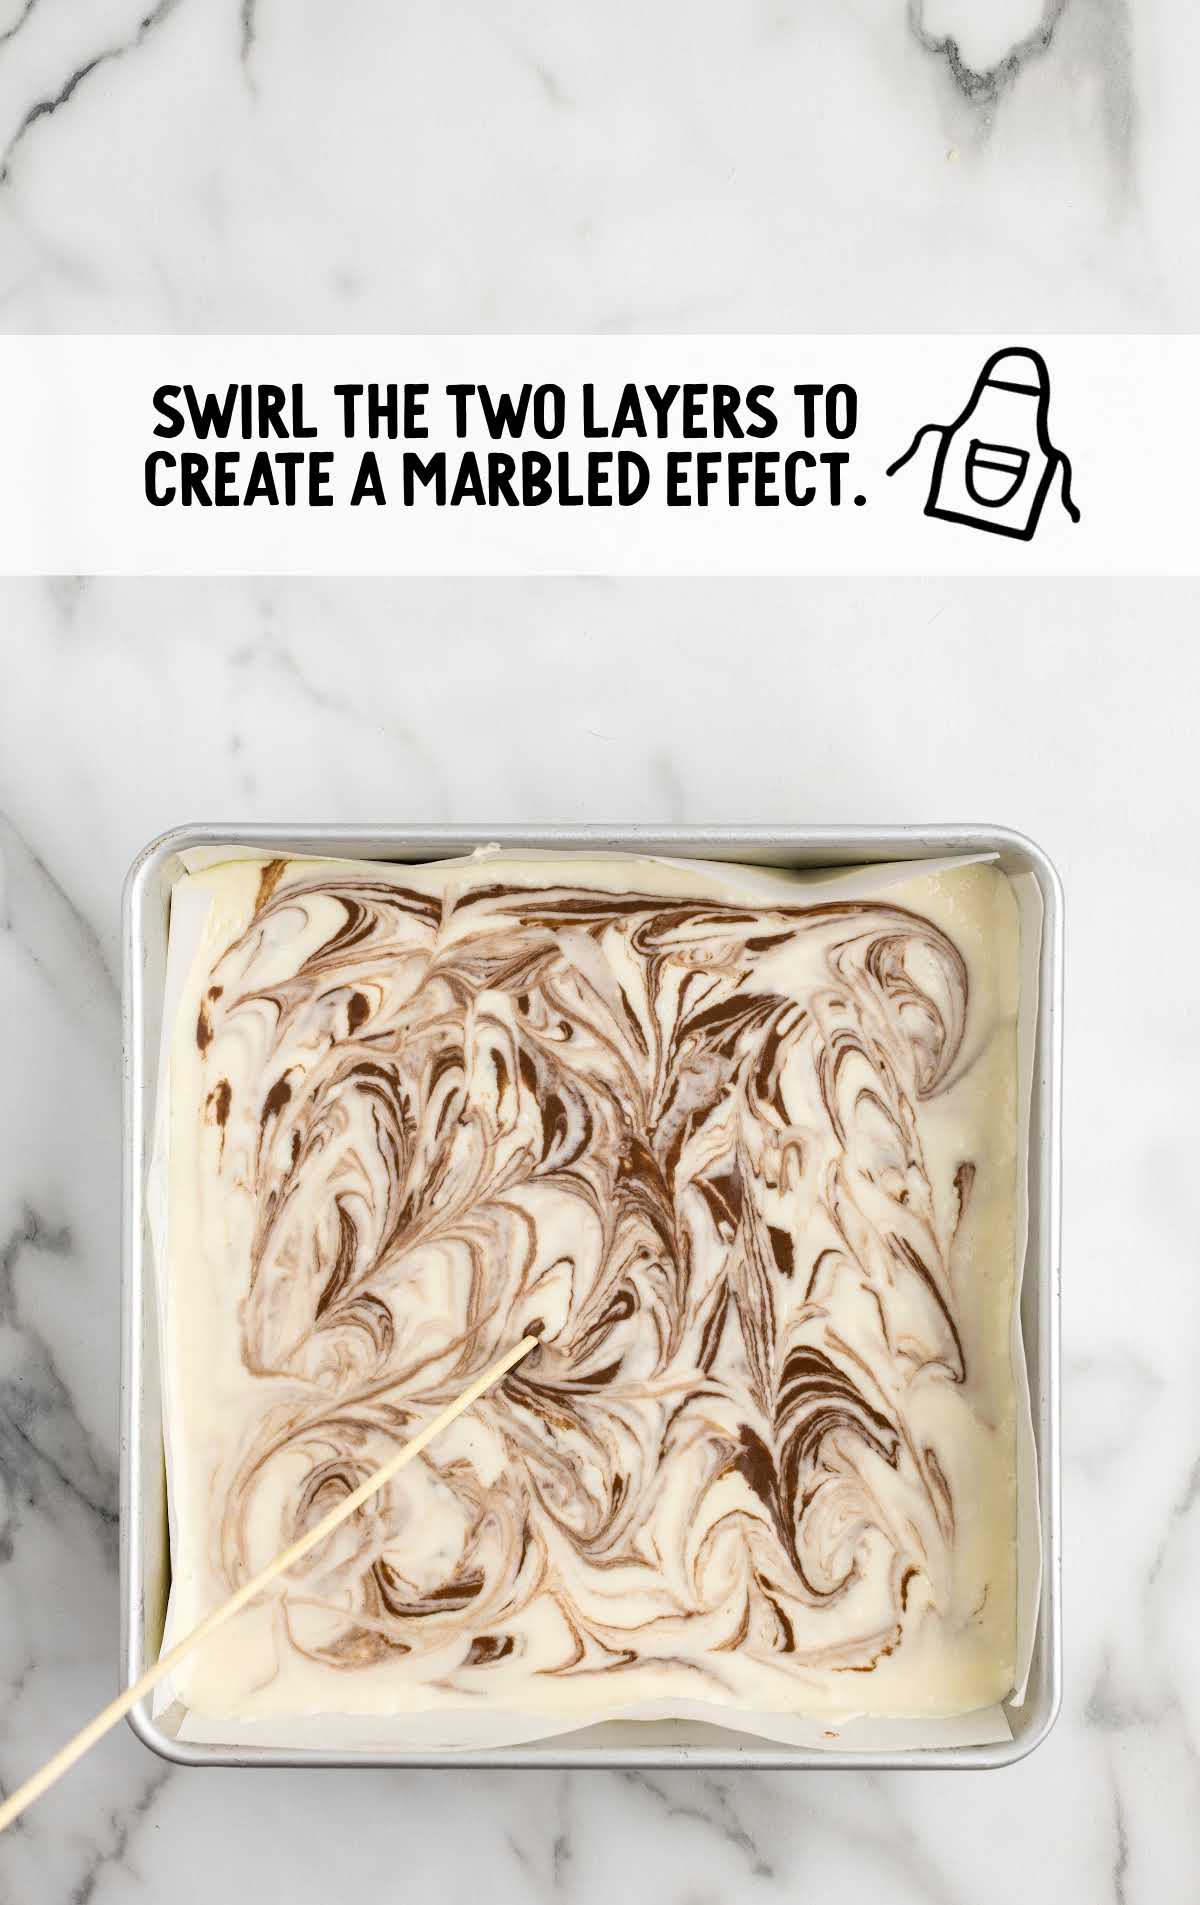
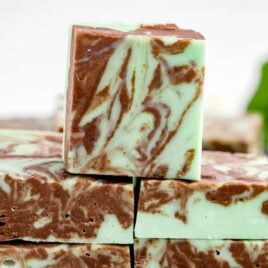
Use a toothpick or skewer to swirl the two layers together, creating a marbled effect.
PRO TIP: Don’t over-swirl the chocolate mixture and white fudge layer. Your fudge will look nicer if the two mixtures are distinct.
STEP NINE: Let the fudge cool at room temperature for about one hour. Then, cover it with aluminum foil and chill in the refrigerator for another hour or until firmly set.
PRO TIP: If your kitchen is cooler, you can let it set on the counter instead.
STEP TEN: Once the fudge is set, lift it out of the pan using the parchment paper overhang. Use a sharp knife to slice the fudge into 25 pieces (five by five slices) or 36 pieces (six by six slices).
STEP ELEVEN: In a microwave-safe bowl, combine the semi-sweet chocolate chips and vegetable oil. Heat on high for 30 seconds, stir, and then continue heating in 15-second intervals until fully melted.
PRO TIP: When your chocolate only has a few small unmelted pieces left, simply stir and they’ll melt into the mixture.

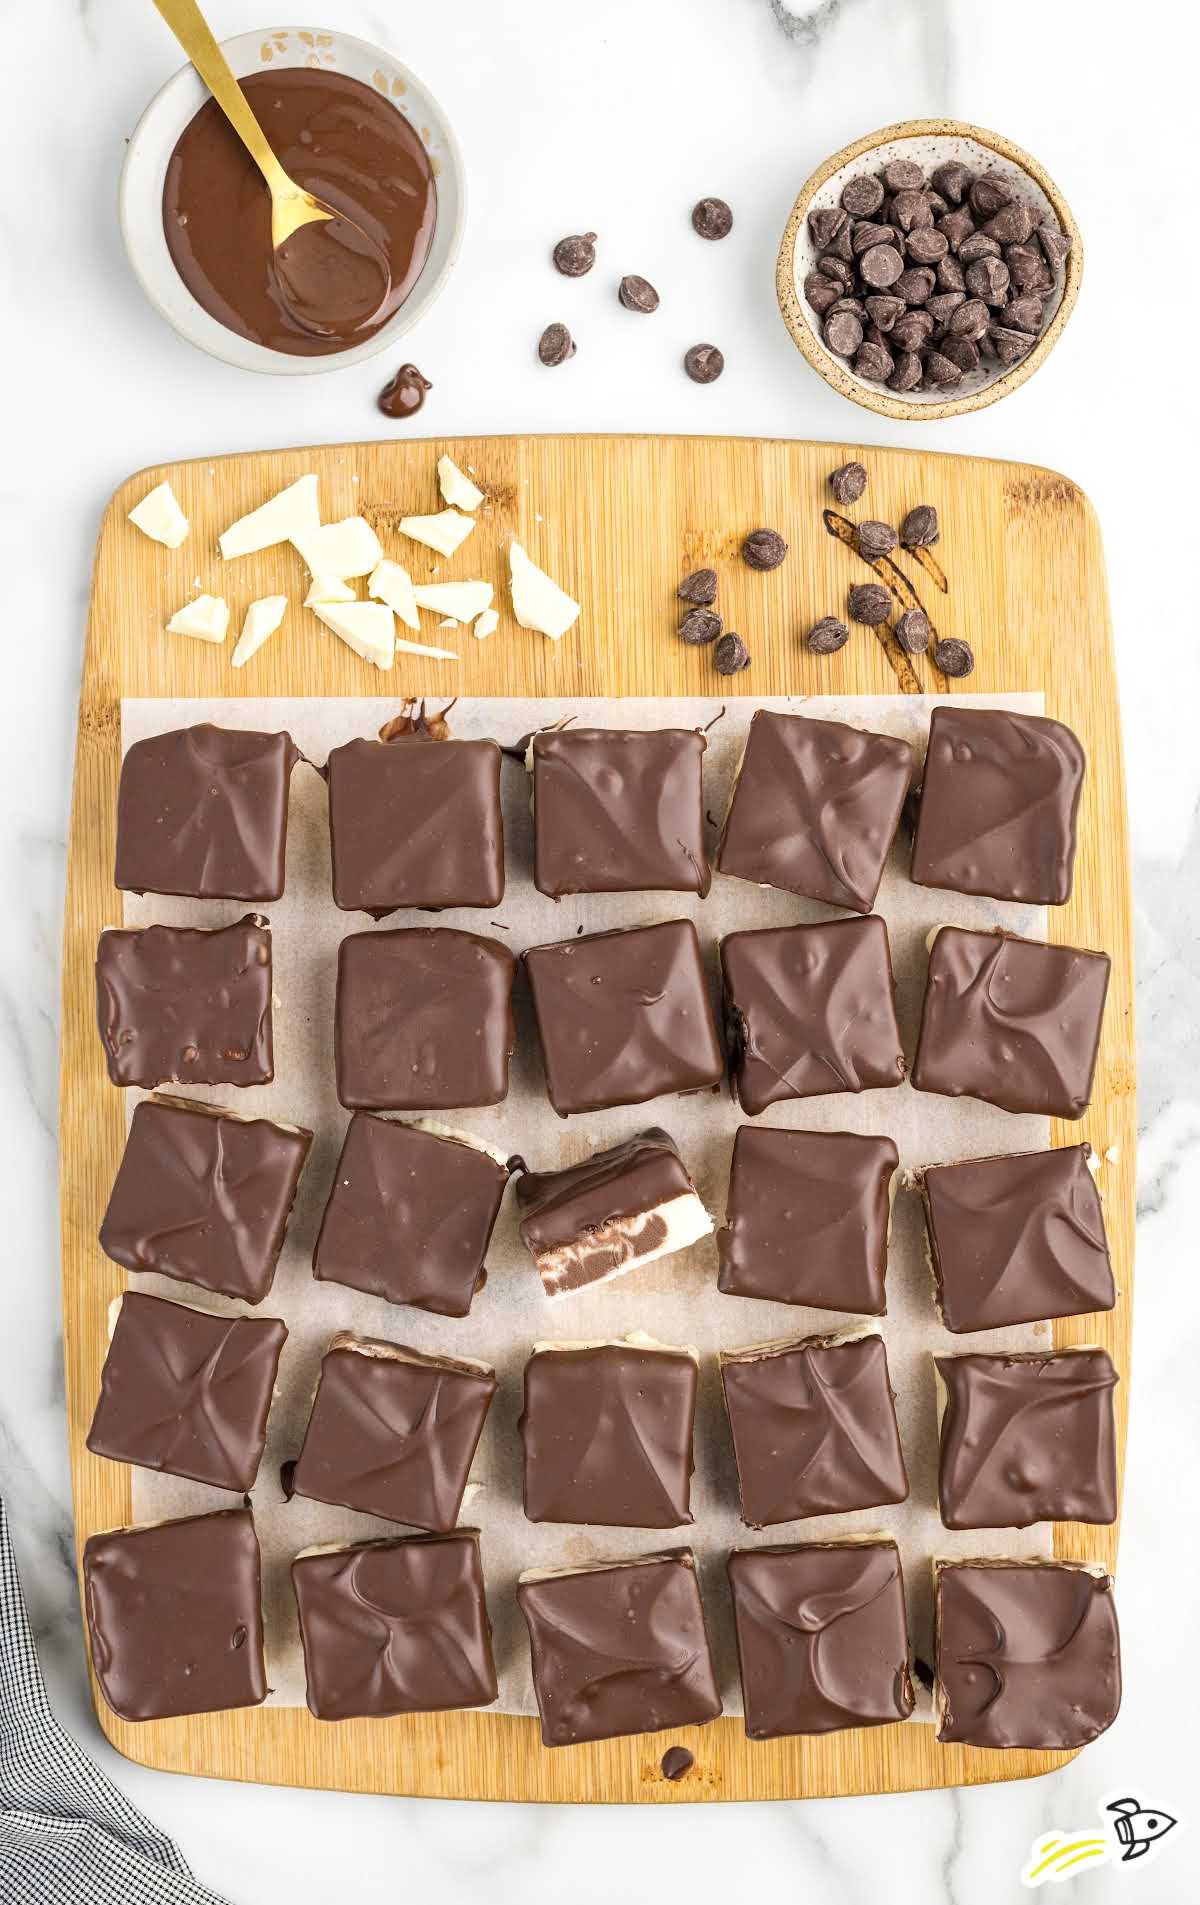
Dip the tops of the fudge pieces into the melted chocolate and allow it to set completely before serving.

Troubleshooting
If you follow this recipe closely, we don’t think you’ll have any trouble making this Boston cream pie fudge recipe. But just in case you run into trouble, for the best experience, here are some ways to prevent and solve trouble spots.
The fudge mixture is burning while it’s cooking.
Stir constantly and keep the heat at medium. Avoid using high heat to prevent burning.
The fudge is grainy.
Make sure to reach the correct temperature (235-240°F) when cooking your fudge mixture, and stir until the sugar is fully dissolved before removing from heat.
The fudge doesn’t set properly.
Ensure you allow the fudge to cool at room temperature for 1 hour before refrigerating. Make sure the mixture reached the correct temperature while cooking.
The white chocolate doesn’t melt completely.
Chop the white chocolate finely to help it melt faster and more evenly when added to the hot mixture.
My swirls don’t look as expected.
Use a toothpick or skewer to gently swirl the two layers together. Avoid overmixing to keep the distinct swirled appearance.
The fudge sticks to the pan.
Line the baking pan with parchment paper and lightly spray with nonstick cooking spray.
I’m having difficulty cutting fudge into clean pieces.
Use a sharp knife and warm it slightly under hot water before cutting. Clean the knife between cuts for smoother slices.
The chocolate topping doesn’t set.
Let the dipped fudge pieces sit at room temperature or refrigerate until the chocolate is completely set.
How To Serve Boston Cream Fudge
Whether you’re planning a casual get-together or a special celebration, there are many ways to enjoy this creamy, chocolatey treat.
Garnish your dipped fudge with a light dusting of cocoa powder or a few shavings of white chocolate to make this fudge even more special.
Chop up some fudge and sprinkle it over a scoop of vanilla or chocolate chip ice cream on the side. Drizzle some hot fudge on top for an extra indulgence.
For a delightful afternoon treat, serve your fudge with a selection of teas. Earl Grey, green tea, or a light herbal blend can balance the sweetness of the fudge.
Incorporate the fudge into your holiday dessert spread. Place it alongside other favorites like brownies, cheesecake bites, and truffles for a sinfully delicious, celebratory dessert table.
Serve with other fun Boston cream recipes. For the Boston cream fan in your life, serve this dessert along with Boston Cream Pie or a Boston Cream Poke Cake with chocolate ganache.
This recipe is the perfect sweet treat for the holiday season. Whether for your Christmas, Thanksgiving, or Easter dessert tables, this Boston Cream Fudge will disappear before your eyes.
MORE FUDGE RECIPES
How To Store Boston Cream Fudge
Whether you’re making it ahead of time, storing it in the fridge, or freezing it for later, here are the best methods to keep your fudge fresh and delicious.
MAKE AHEAD: Prepare the fudge according to the recipe and let it set completely. Once set, cut it into pieces and store them in an airtight container. You can keep them in the fridge or freezer, depending on when you want to serve the fudge. This makes it very convenient to have on hand for last minute parties when you need a ready-to-serve dessert.
IN THE FRIDGE: Store the fudge in an airtight container in the fridge to keep it fresh. It will last up to two weeks when stored this way. Just be sure to separate layers with parchment paper to prevent them from sticking together.
IN THE FREEZER: Place the pieces in a single layer on a baking sheet and freeze until solid. Once frozen, wrap the pieces in plastic wrap, then transfer them to an airtight container or freezer bag.
The fudge can be stored in the freezer for up to three months. To thaw, move the container to the fridge and let it defrost overnight.
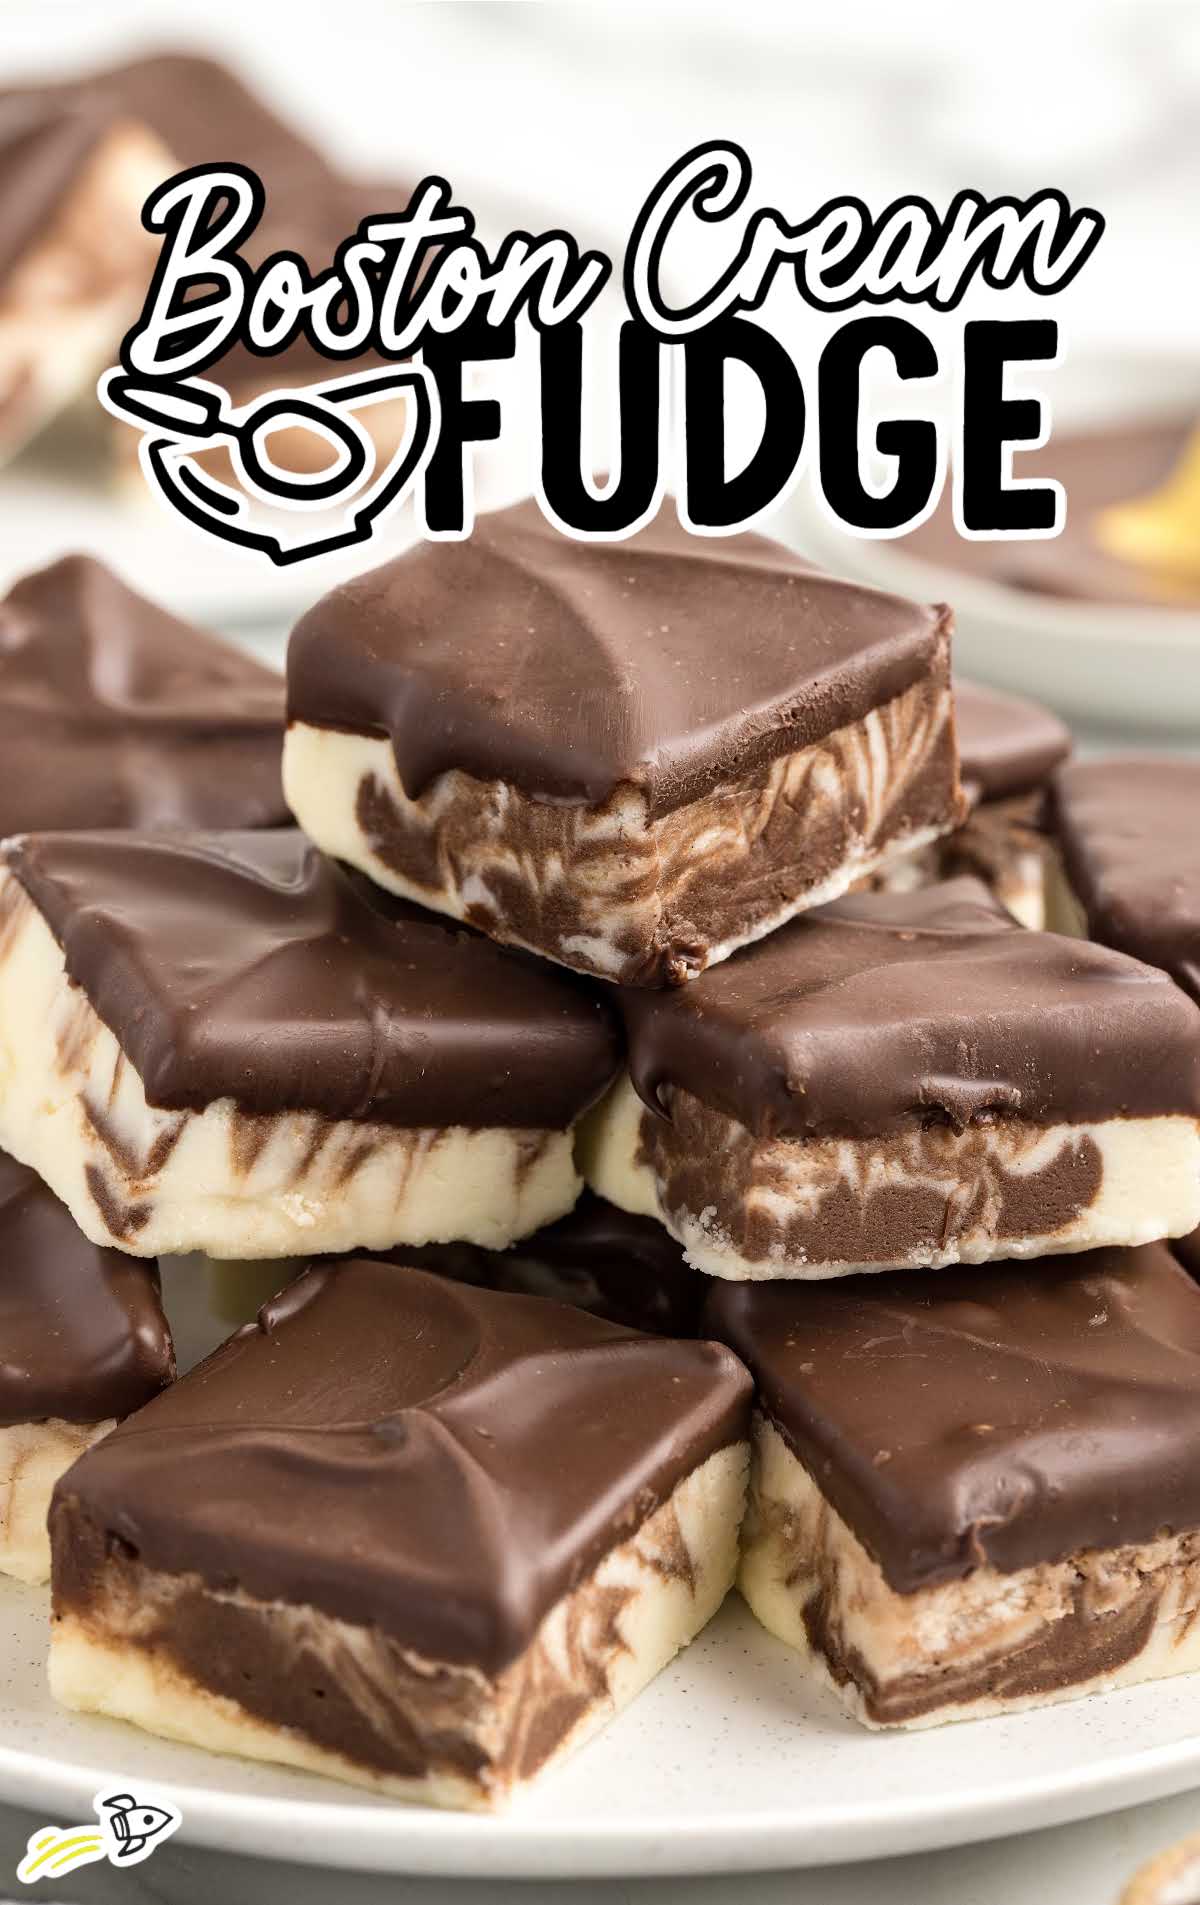
Why This Boston Cream Fudge Recipe Is The Best
Boston Cream Fudge is a deliciously creamy treat that combines all the flavors of your favorite Boston cream donuts.
Here’s why we adore this recipe:
Easy to Make: Quick prep and a fast cook time mean dessert is ready in no time.
Rich and Creamy Texture: Every bite of this creamy fudge melts in your mouth!
Beautiful Presentation: The marbled look and dipped tops make for a pretty dessert that looks impressive on a dessert tray.
No-Fail Recipe: This recipe is easy to follow, and the step-by-step instructions make it foolproof.
Boston Cream Fudge Frequently Asked Questions
This recipe contains dairy, but it doesn’t contain gluten, wheat flour, or tree nuts. Always verify with your own product packaging to be sure if you’re concerned about the allergen content of your fudge.
The fudge should be firm to the touch and hold its shape when cut. If it’s still soft after chilling, let it sit in the fridge a bit longer.
Corn syrup helps prevent crystallization, but you can substitute it with an equal amount of honey or glucose syrup.
Yes, parchment paper makes it easier to remove the fudge from the pan and cut it into pieces without sticking. If you don’t have any, try non-stick aluminum foil, instead.
Use a sharp knife and warm it under hot water before each cut. Wipe the knife clean between cuts for neat slices.
Absolutely. You can add chopped nuts, dried fruits, or even candy pieces. Fold them in after adding the marshmallow cream and vanilla.
Yes, you can use white chocolate chips or even milk chocolate for a different flavor. Just measure the same amount by weight.
Boston Cream Fudge is a quick and easy treat that combines creamy white chocolate and rich cocoa for a satisfying dessert. Perfect for any occasion, it’s a delicious homemade treat you’ll love to share with friends and family.
More Easy Dessert Recipes To Try:
- No Bake Strawberry Pie
- Chocolate Mint Poke Cake
- Chocolate Layer Cheesecake
- Vanilla Pudding Cool Whip Pie
- Chocolate Mint Cheesecake With Chocolate Glaze


Boston Cream Fudge
Ingredients
- 2 cups granulated sugar
- ¾ cup unsalted butter
- ⅔ cup heavy cream
- ¼ cup light corn syrup
- 6 ounces white baking chocolate, chopped
- 7 ounces marshmallow cream
- 1 teaspoon vanilla extract
- 1½ tablespoons unsweetened cocoa powder, sifted to remove any clumps
- 1 cup semi-sweet chocolate chips
- 1½ tablespoons vegetable oil
Instructions
- Prepare an 8×8-inch baking pan by lining it with parchment paper, leaving an overhang to pull the fudge out of the pan. Very lightly spray the parchment paper with nonstick cooking spray.
- Combine the sugar, butter, heavy cream, and corn syrup in a heavy-bottomed saucepan. Cook over medium heat, stirring constantly, until the mixture reaches a rolling boil.
- Once boiling, continue stirring and allow it to boil for about 4-5 minutes, or until a candy thermometer registers around 235-240°F (soft-ball stage).
- Remove the saucepan from heat and stir in the chopped white chocolate until it’s completely melted and smooth.
- Add the marshmallow cream and vanilla extract to the mixture, stirring until well combined.
- Pour ¾ of the fudge mixture into the prepared baking dish.
- Add the unsweetened cocoa powder to the remaining fudge. Whisk until fully incorporated.
- Carefully spoon the cocoa-flavored fudge mixture on top of the white layer.
- Use a toothpick or skewer to swirl the two layers, creating a marbled effect.
- Let the fudge cool at room temperature for about 1 hour. Cover with aluminum foil. Then, chill in the refrigerator for 1 hour or until firmly set. (If your kitchen is on the colder side, you can allow the fudge to finish setting on the counter)
- Once set, lift the fudge from the pan using the parchment paper overhang. Use a sharp kitchen knife to slice the fudge 5 x 5 slices. (You can also cut the fudge 6 x 6 slices)
- Add the chocolate chips and vegetable oil to a microwave-safe bowl. Heat on high for 30 seconds, stir, and heat in 15-second intervals until the chocolate is completely melted.
- Dip the tops of the fudge in the melted chocolate. Allow the chocolate to completely set before serving.
Notes
- Boiling sugar can quickly burn. Don’t leave the stove top while your fudge cooks. Stir constantly and adjust the temperature if needed.
- Don’t over-swirl the chocolate mixture and white fudge layer. Your fudge will look nicer if the two mixtures are distinct.
- If your kitchen is on the cooler side, you can let it set on the counter instead.
- When your chocolate and oil mixture only has a few small unmelted pieces left, simply stir and they’ll melt into the mixture.
Nutrition


Comments
Mya says
I’ve never had candy or fudge like this before—absolutely delicious! It was so fun to make something different from our normal sweets. I will definitely make it again during the holidays!