


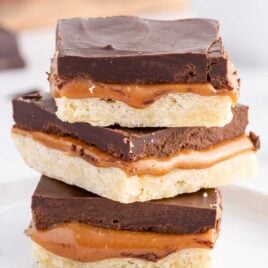
There’s something about these Twix bars and the combination of chocolate and caramel that just makes them irresistible. They have a great crisp crunch from the shortbread crust, a soft caramel center, and a decadent chocolate ganache top layer that makes them taste just like the Twix candy bar.

If Twix is your absolute favorite candy bar, you’ll also have to try out these Twix cookies while these cake mix cookies are another sweet treat.
Twix Bars Ingredients
You’ll need:
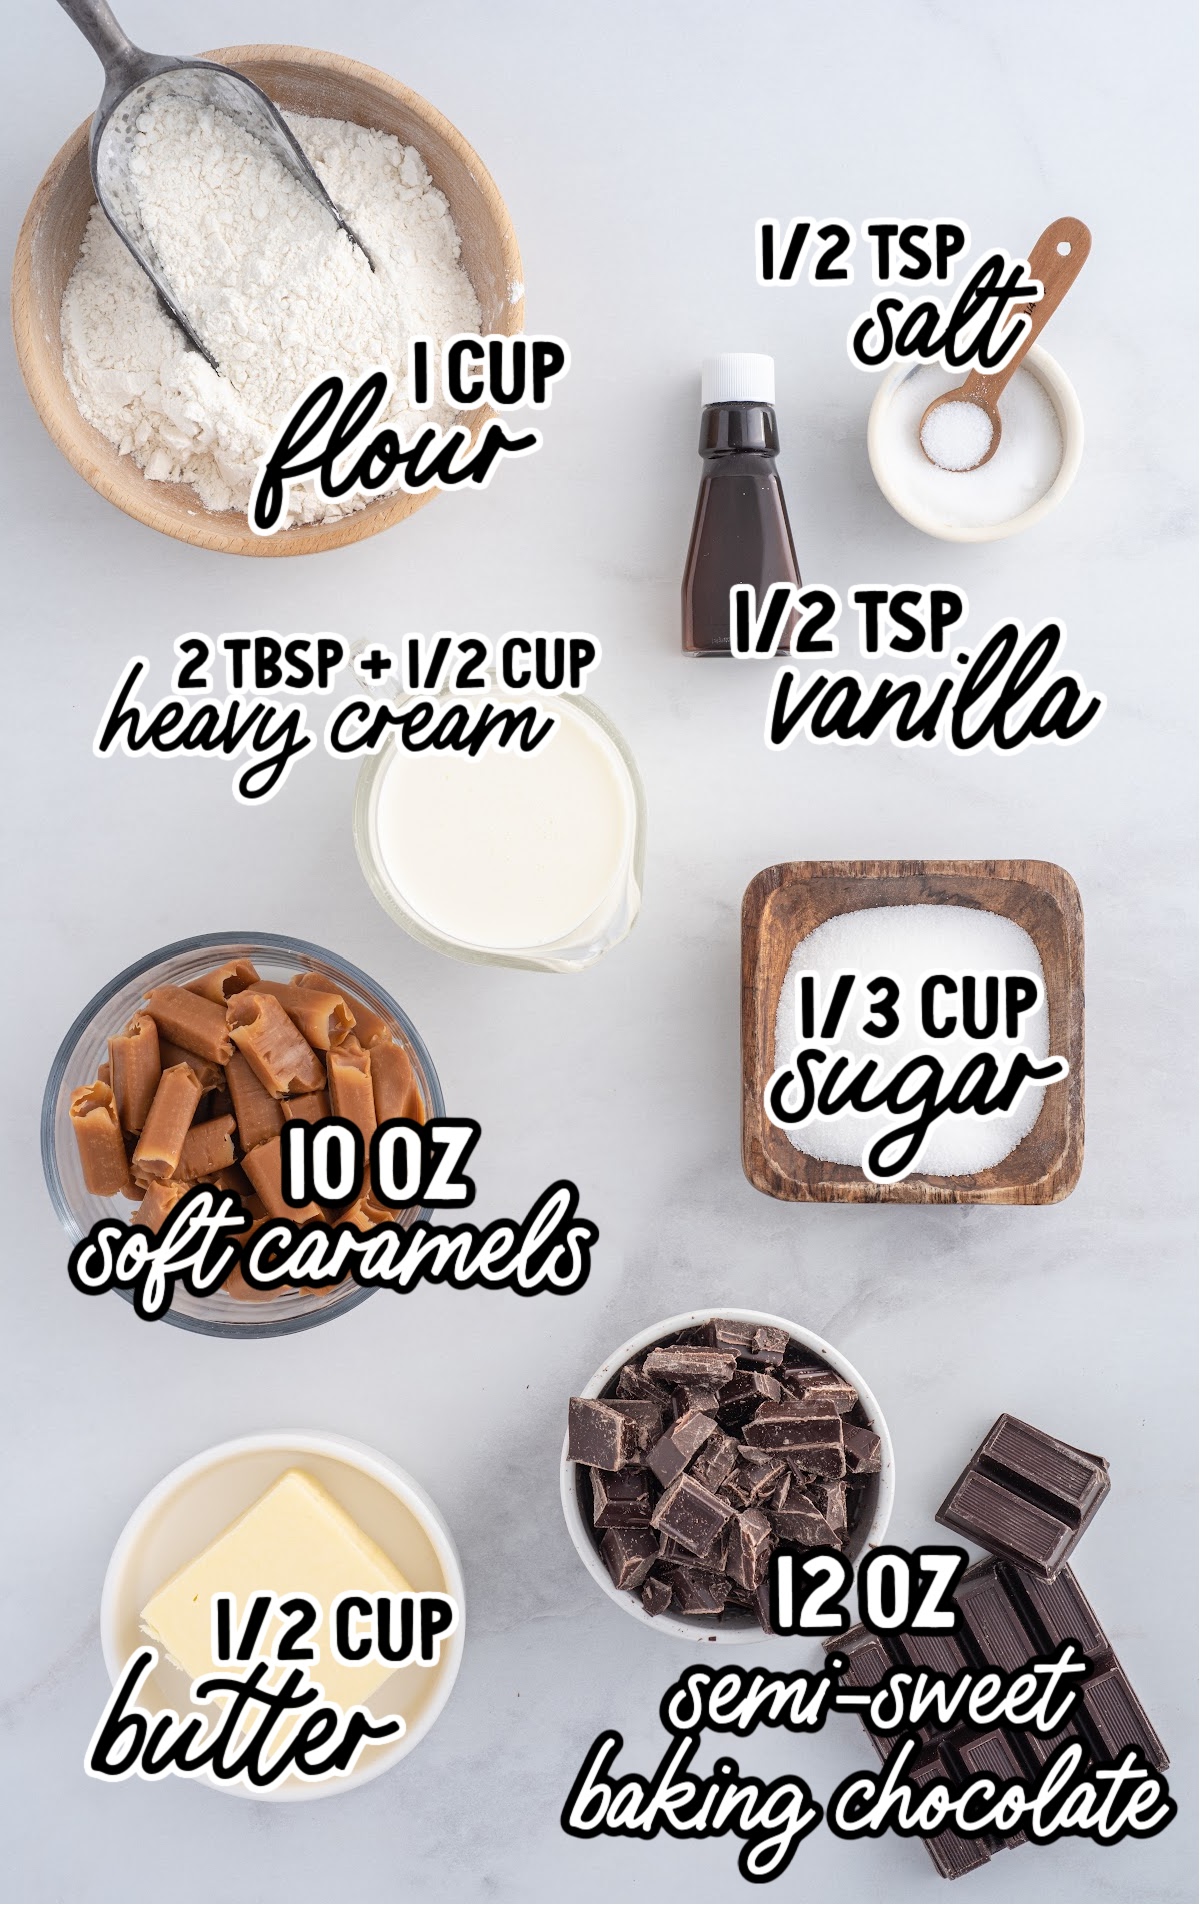
For the Shortbread Crust Layer
- 1 cup all-purpose flour
- ½ cup unsalted butter
- ⅓ cup granulated sugar
- ½ teaspoon vanilla extract
- ¼ teaspoon salt
For the Caramel Layer
- 2 (5-ounce) bags of soft caramel candies, unwrapped (I used Werther’s Original chewy caramels brand)
- 2 tablespoons heavy cream
- ¼ teaspoon salt
For the Chocolate Layer
- 3 (4-ounce) bars semi-sweet chocolate baking bars (I used Ghirardelli brand), broken into small pieces
- ½ cup heavy cream
PRO TIP:
When making the caramel sauce, I highly suggest using a good quality soft caramel candy. That will ensure that you have the best flavor in your final product. If your caramel candies are a little harder (NOT hard candies), then you may need to add an additional 1 tablespoon heavy cream to get a nice smooth caramel mixture when heated.
Substitutions and Additions
CHOCOLATE: Milk chocolate baking bars would be an excellent substitution for the semi-sweet; however, I would not use a bittersweet, unsweetened, or dark chocolate variety in this recipe.
You can use good quality chocolate chips (a standard 11.5-ounce bag), but your heat times may be a little longer. You will want to heat in 30-second increments, stirring in between, because the chips can have a tendency to burn or separate if not heated properly.
How to Make These Twix Bars
STEP ONE: Preheat the oven to 350°F. Line an 8×8-inch baking pan with parchment paper. Set aside.
PRO TIP:
Keep in mind that you will get a different shape and depth of corner bars depending on the baking pan you are using. If you are using a baking pan with rounded corners (usually glass), your corner pieces will not come out quite so defined, while metal pans tend to have clean-cut corners that will give you better-formed corner bars.
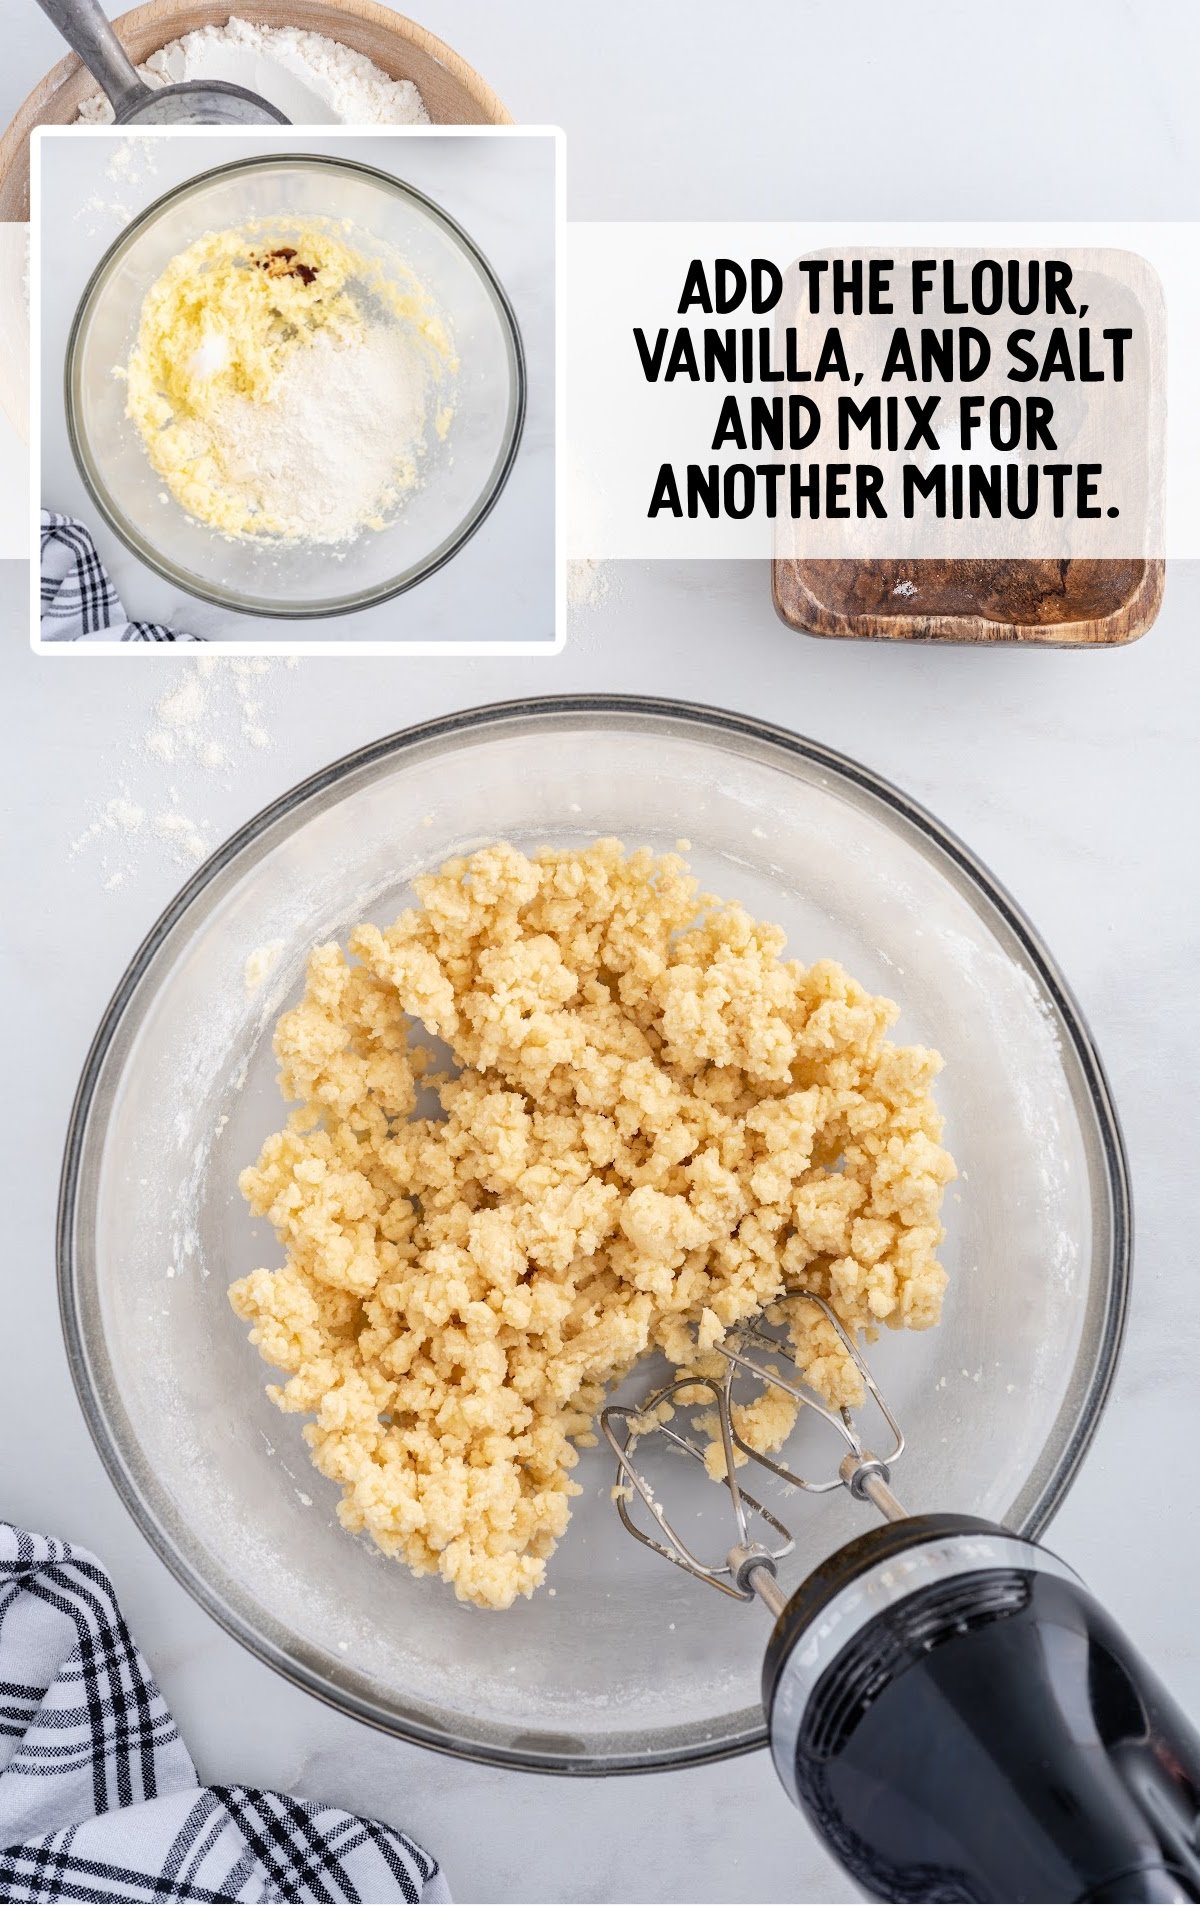
STEP TWO: In a large mixing bowl, with a handheld mixer on medium speed, cream the butter and sugar for 1 to 2 minutes or until completely incorporated.
STEP THREE: Add the all-purpose flour, vanilla extract, and salt and mix for another 1 minute.
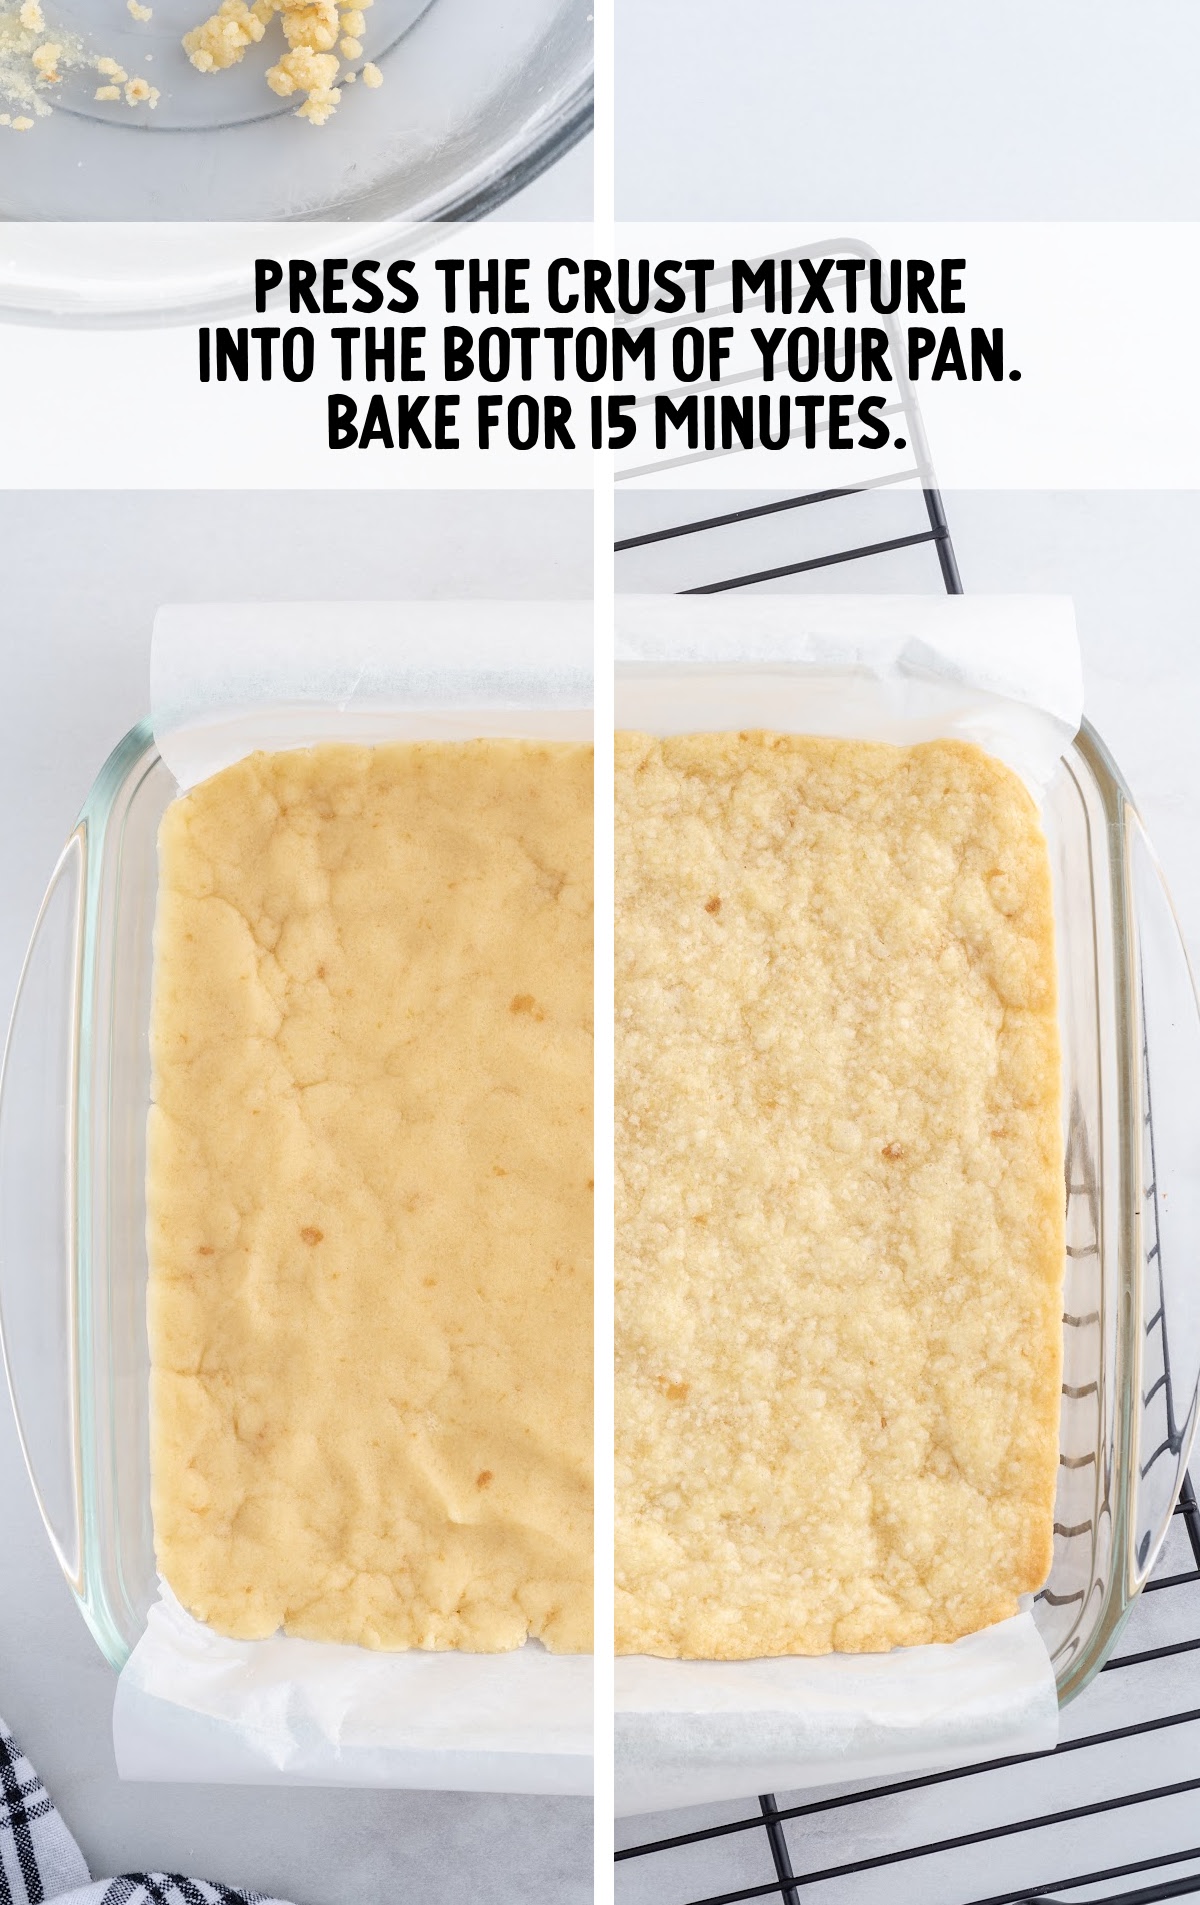
STEP FOUR: Press the crust mixture into the bottom of the prepared pan. You can lightly wet your fingertips with cold water to help press the crust into an even layer. The damp fingertips help keep the shortbread cookie dough from sticking to your fingers while you press it into place. Bake for 15 minutes.
STEP FIVE: Allow your baked shortbread layer to cool on the counter for 10 minutes before adding the caramel layer.
STEP SIX: To a medium-sized, microwaveable bowl, add the unwrapped soft caramel candies and the 2 tablespoons of heavy cream. Microwave on high for 1 minute, stir, then microwave for another 1 minute. Add the ¼ teaspoon salt and, if needed, microwave for an additional 30 seconds to completely melt the caramel candies. Your caramel should be smooth and pourable.
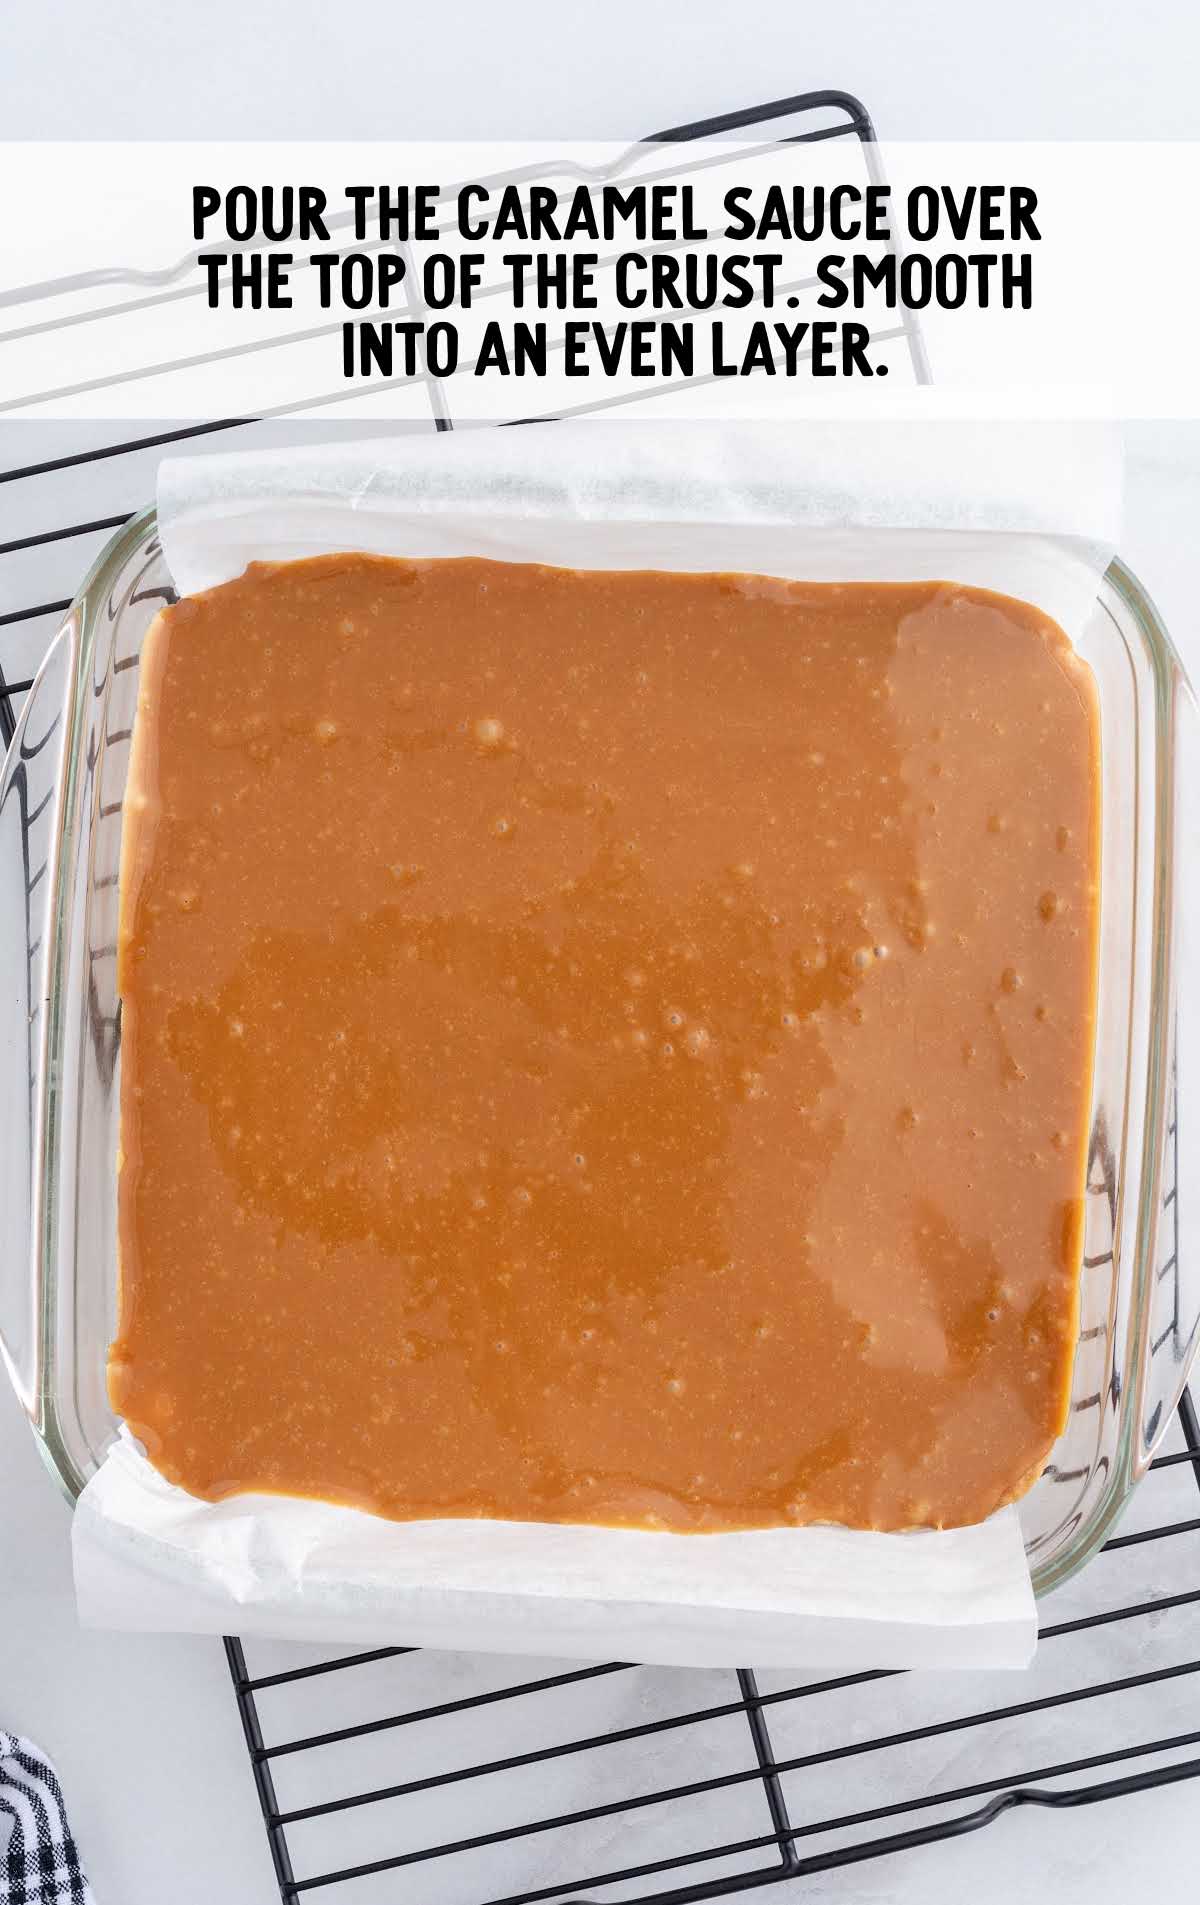
STEP SEVEN: Very carefully pour the caramel sauce over the top of the cooled crust and smooth it into an even layer. Allow the crust and caramel to cool on the counter for 20 minutes before moving forward with adding the chocolate layer. This ensures that your chocolate and caramel layers stay separated.
STEP EIGHT: In a medium-sized bowl, add your broken-up pieces of semi-sweet chocolate baking bars.
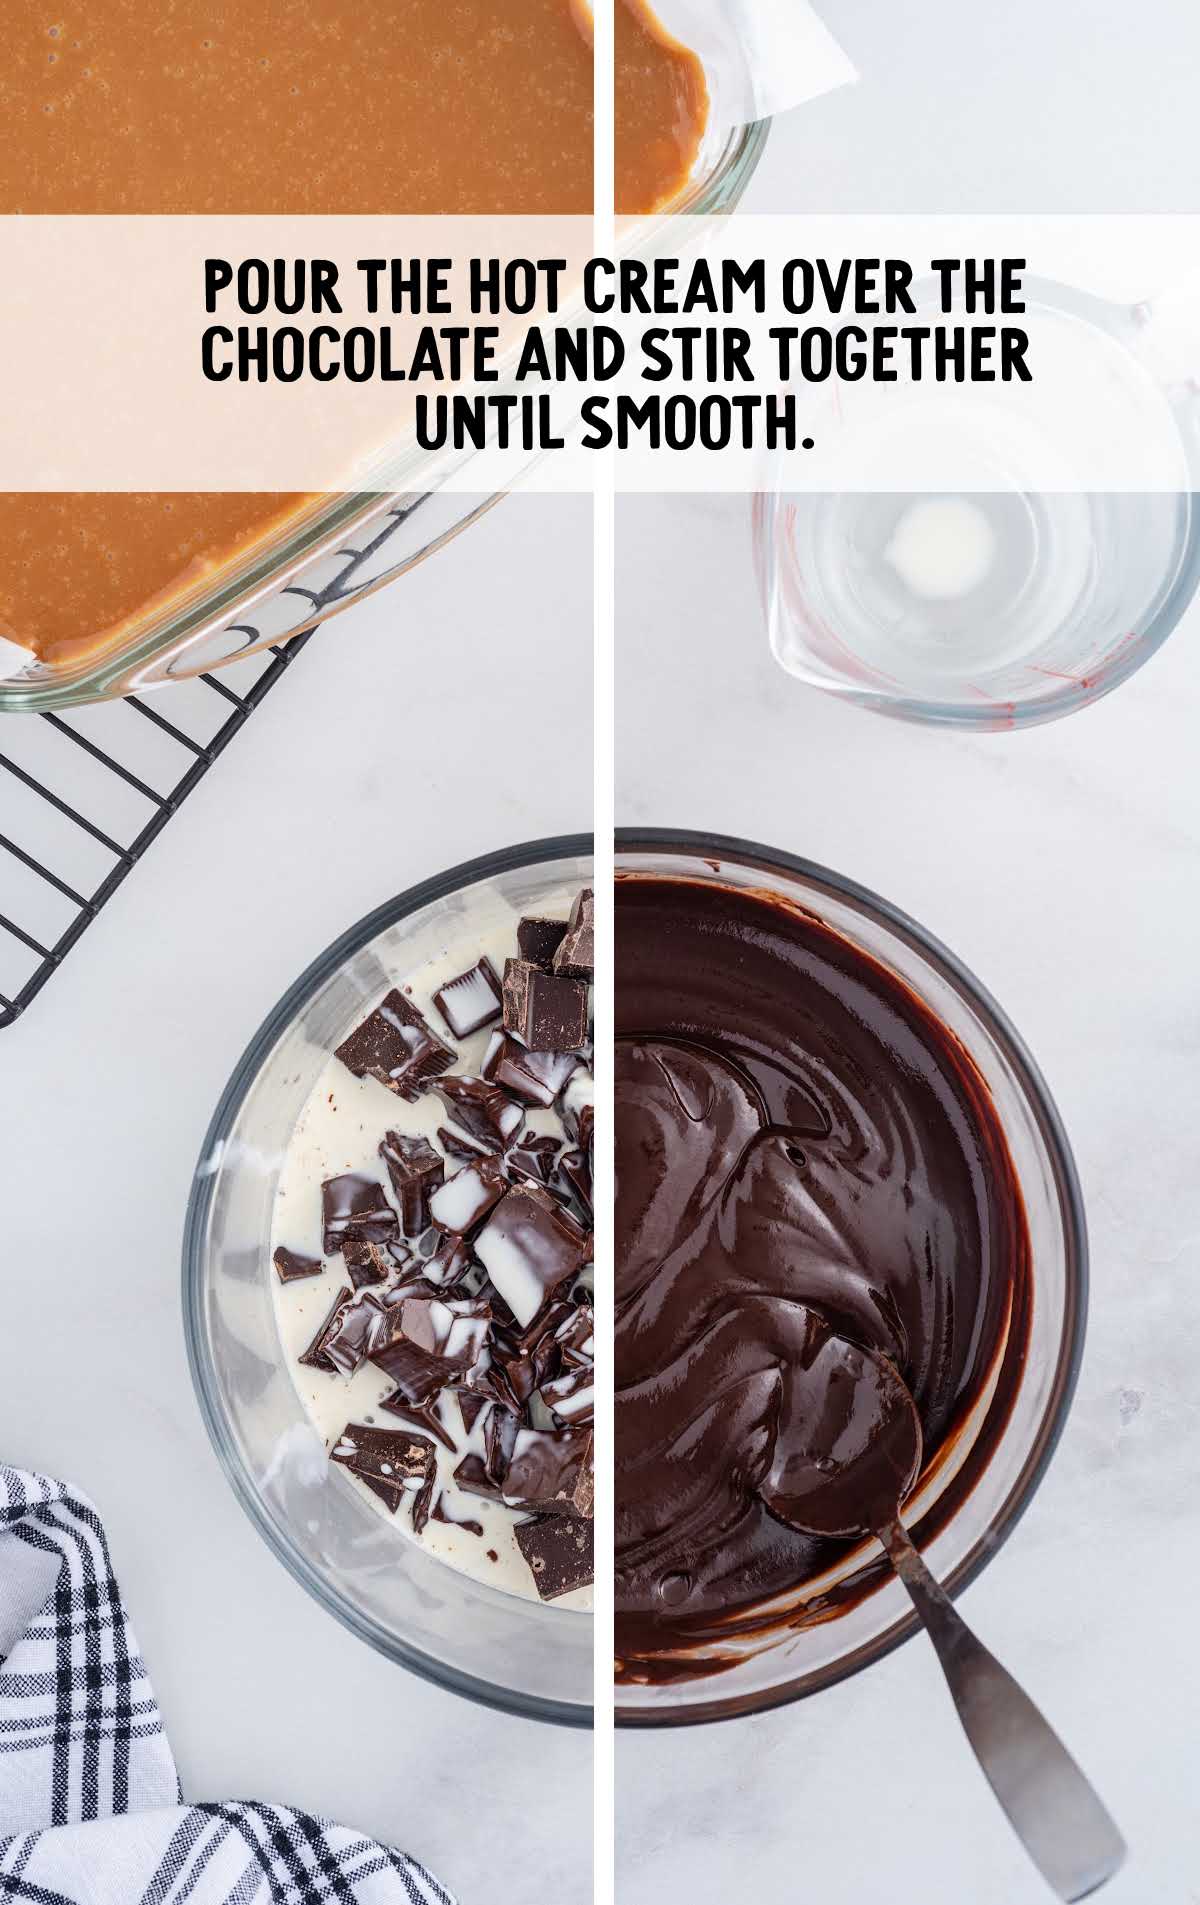
STEP NINE: In a microwave-safe, liquid measuring cup with a pour spout, add the ½ cup heavy cream. Microwave for 1 minute. Slowly pour the hot cream over the top of the chocolate pieces, ensuring that all the chocolate is covered. Allow the chocolate to sit for 3 minutes before stirring. If needed, you can microwave your chocolate mixture for additional 30-second intervals to get the chocolate completely smooth and the heavy cream completely incorporated.
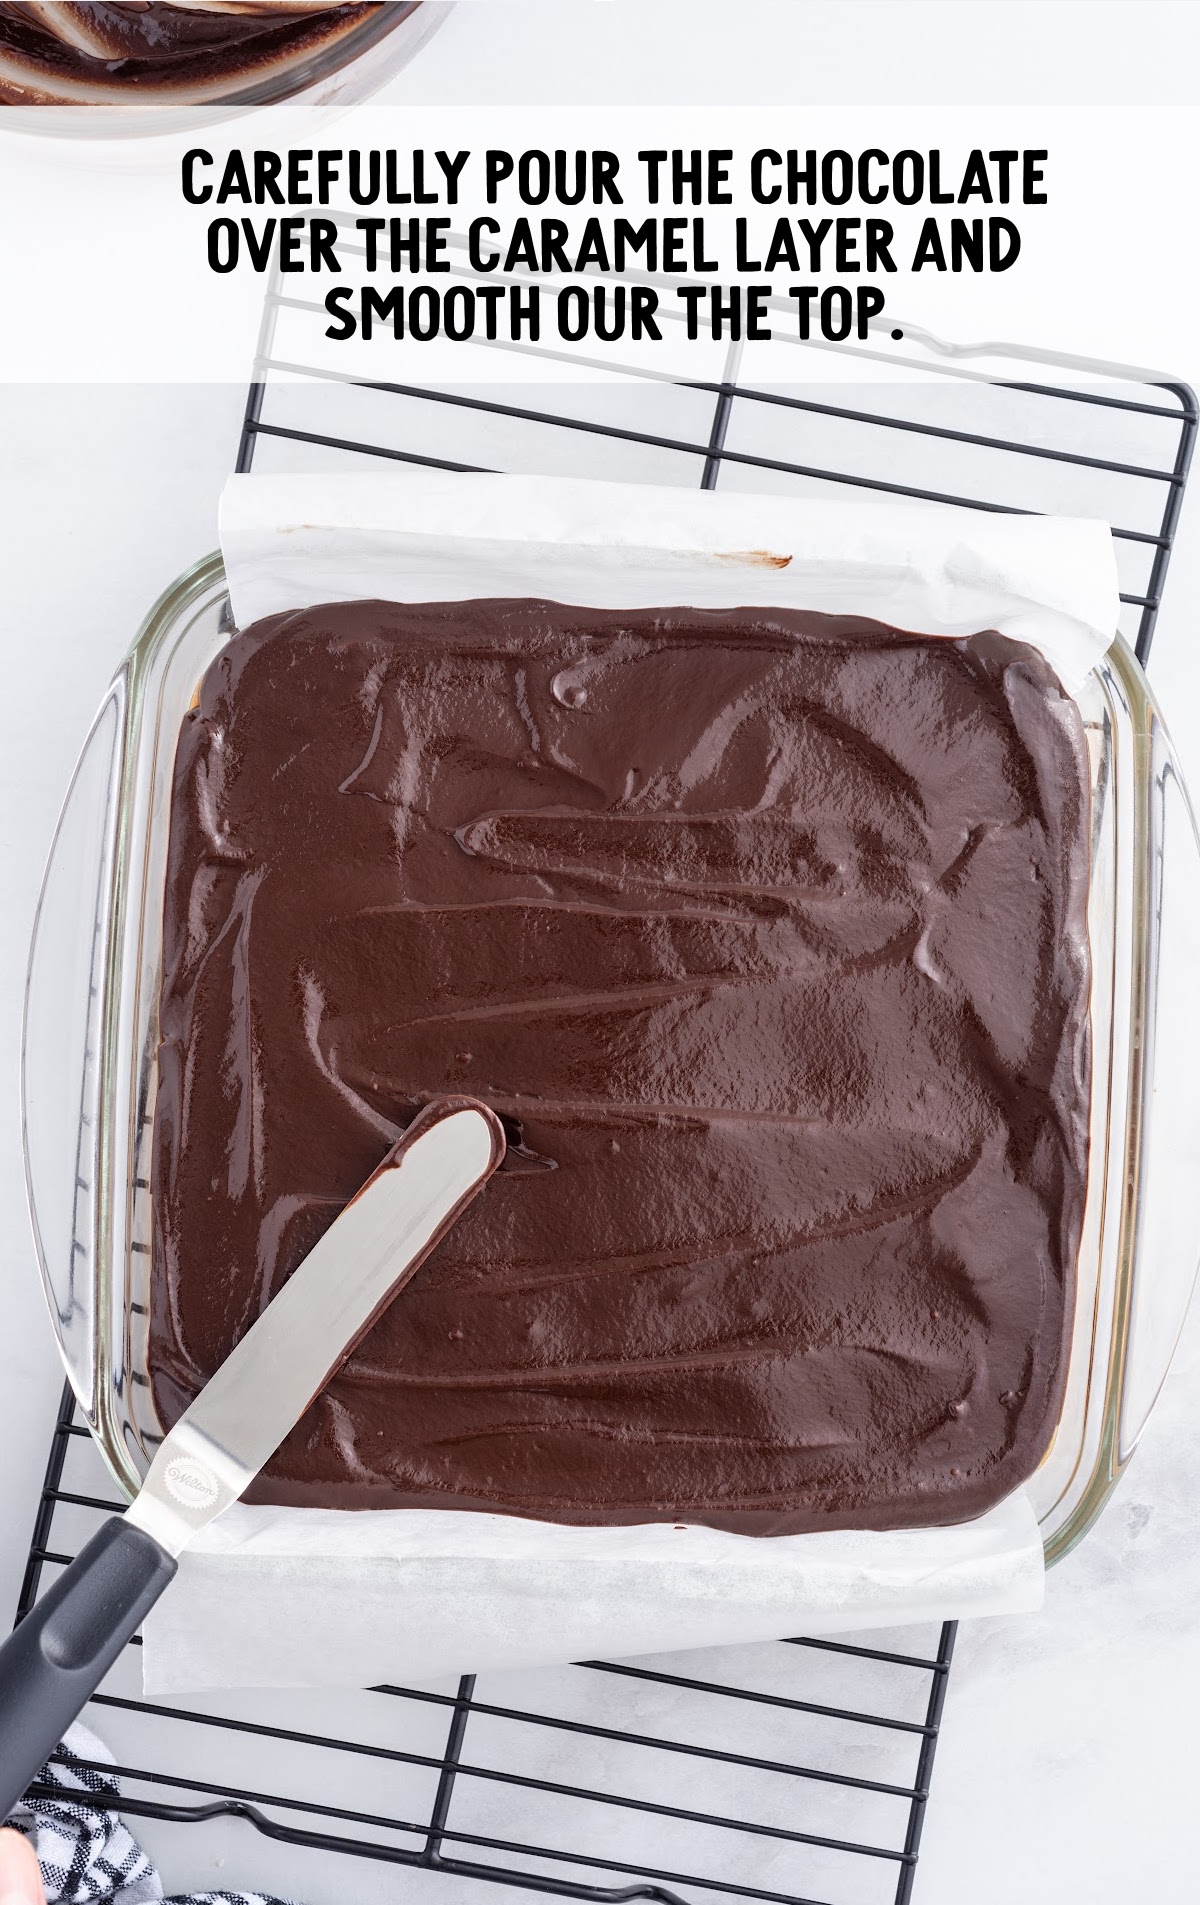
STEP TEN: Slowly pour the melted chocolate topping over the top of the caramel layer. You do not want to disturb the caramel layer so that your final product has nice separate layers. Spread your chocolate with an offset spatula to get a nice smooth top layer for your Twix bars.
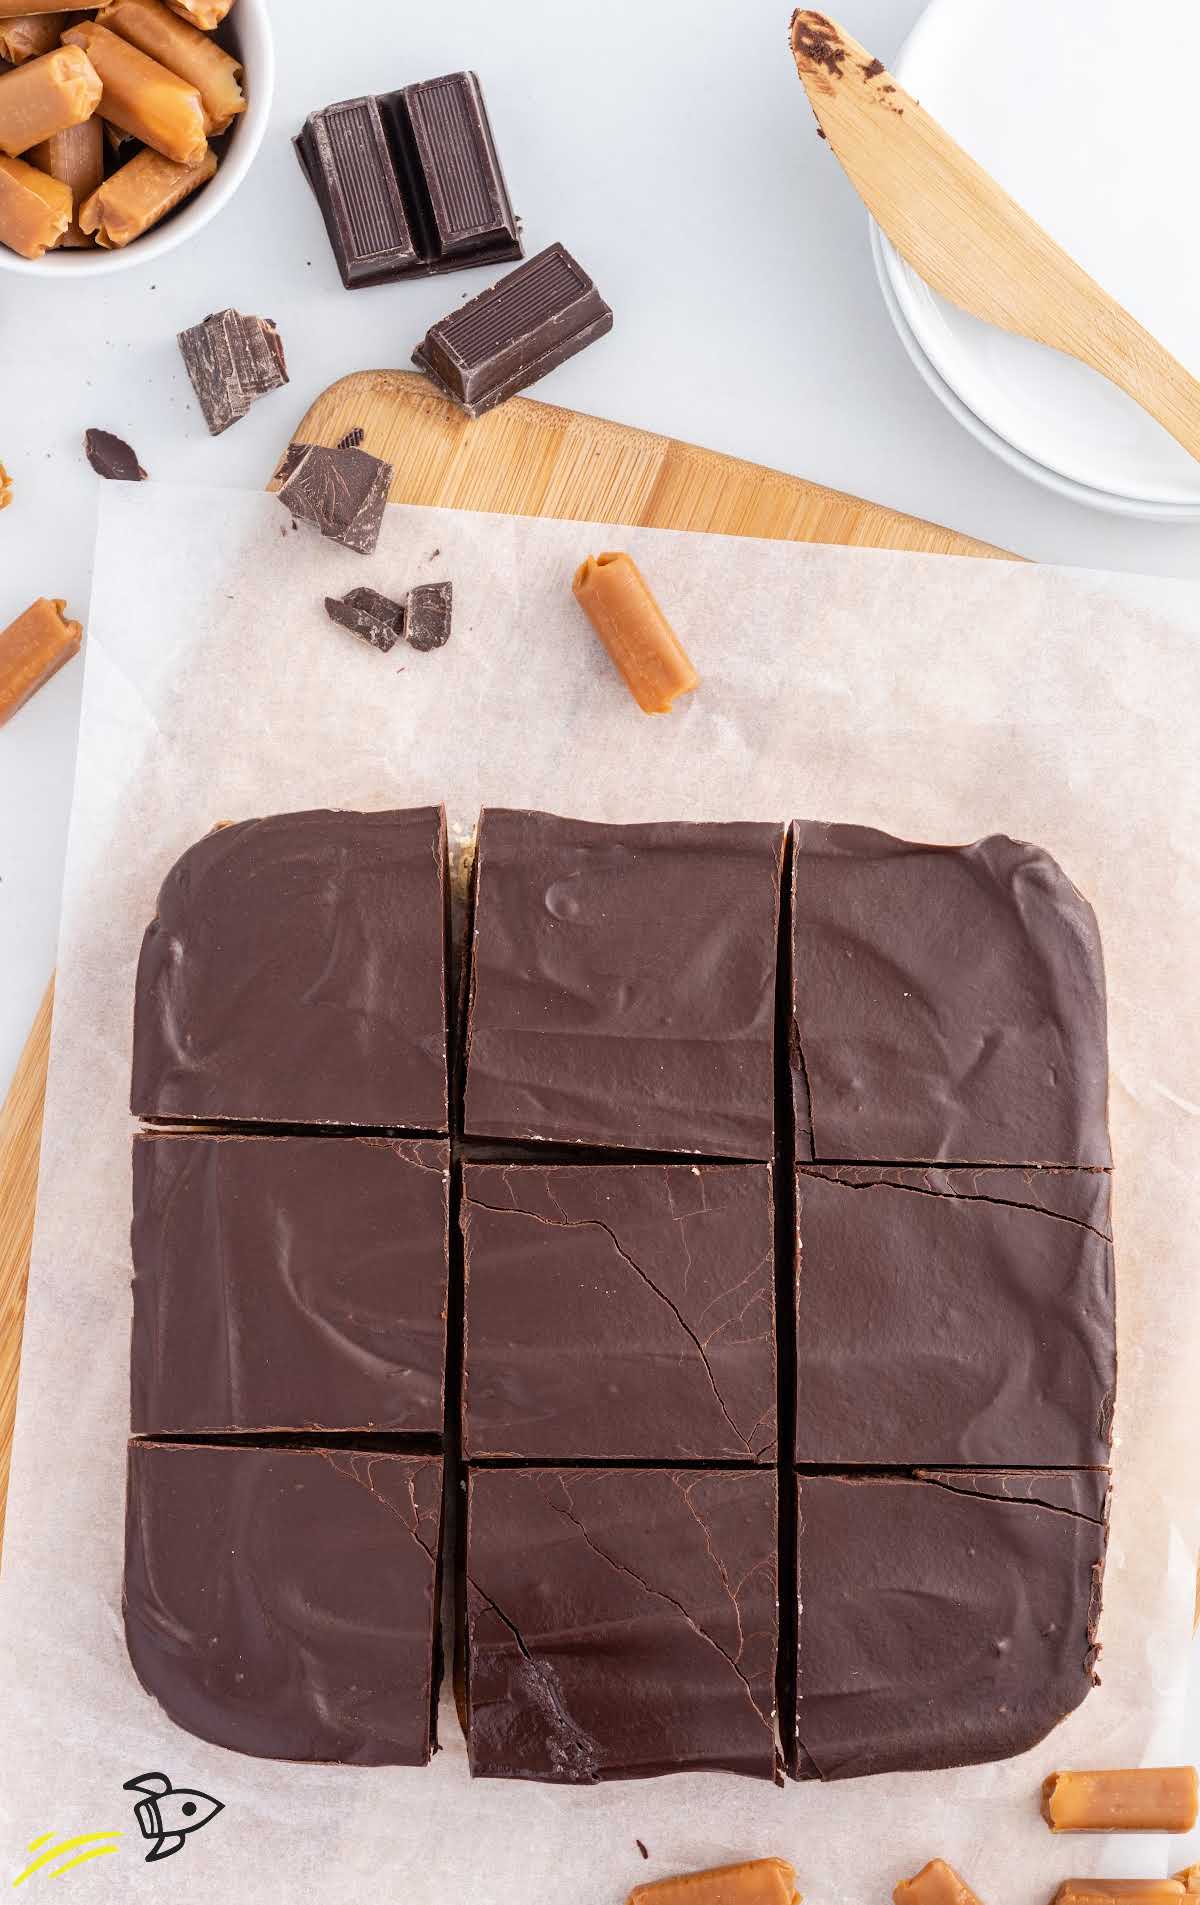
STEP ELEVEN: Cover your pan with plastic wrap or aluminum foil and place your pan of Twix bars into the refrigerator to chill for 1 hour 30 minutes, or until the chocolate ganache layer has enough time to firm up before cutting them into squares.
PRO TIP:
You can allow your Twix bars to cool completely on the counter before slicing if your room is not extremely warm or humid. I put mine in the refrigerator to help the chocolate ganache layer to set up quicker. Remember that if you allow them to chill overnight in the refrigerator before slicing that you may need to allow them to come to room temperature before slicing them with a sharp knife as the caramel layer will be very firm if kept in the refrigerator for that amount of time.
How To Serve
If you enjoy a tasty Twix chocolate bar, this treat is for you. One of these and a warm cup of homemade hot chocolate or a pumpkin spice latte would be just the thing if you are looking for a decadent treat.
Storage
ON THE COUNTER: These bars can sit out at room temperature, but if it is a hot day, you will want to keep them in the refrigerator as the caramel and chocolate layers may get too soft and not hold their shape.
IN THE FRIDGE: Your Twix cookie bars can be stored in a covered container in the refrigerator for up to 1 week.
IN THE FREEZER: These bars can be frozen in an airtight container for up to three months.
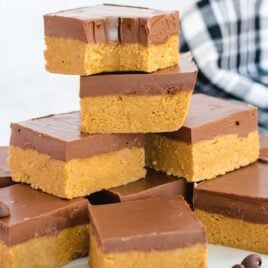
Homemade Twix bars are so decadent with the buttery shortbread crust, homemade caramel filling, and chocolate coating that you won’t be able to keep them in the house. They are addictive and perfect for sharing or whipping up to enjoy on your own.
Frequently Asked Questions
Try using a hot knife (run under hot water) which will make slicing through the chewy caramel much easier.
These Twix bars can be stored on the counter, but if you are in a warmer climate, the caramel may get too soft, so in that case, it is best to store them in the fridge.
These bars can be stored in an airtight container for up to three months in the freezer.
More Dessert Bars You’ll Love
- No Bake Peanut Butter Bars
- S’mores Bars
- Lemon Bars
- Pumpkin Cheesecake Bars
- Oreo Chocolate Chip Cheesecake Cookie Bars


Twix Bars
Ingredients
Shortbread Crust Layer
- 1 cup all-purpose flour
- ½ cup unsalted butter
- ⅓ cup granulated sugar
- ½ teaspoon vanilla extract
- ¼ teaspoon salt
Caramel Layer
- 10 ounces soft caramel candies, unwrapped (I used Werther’s Original chewy caramels brand) (two 5-ounce bags)
- 2 tablespoons heavy cream
- ¼ teaspoon salt
Chocolate Layer
- 12 ounces semi-sweet chocolate baking bars, broken into small pieces (I used Ghirardelli brand) (three 4-ounce bars)
- ½ cup heavy cream
Instructions
- Preheat oven to 350°F. Line an 8×8 baking pan with parchment paper. Set aside.
- In a large mixing bowl, with a handheld mixer on medium speed, cream the butter and sugar for 1 to 2 minutes or until completely incorporated.
- Add the all-purpose flour, vanilla extract, salt and mix for another 1 minute.
- Press the crust mixture into the bottom of the parchment-lined 8×8 pan. You can lightly wet your fingertips with cold water to help press the crust into an even layer. The damp fingertips help keep the shortbread crust from sticking to your fingers while you press it into place. Bake for 15 minutes.
- Allow your cooked shortbread crust to cool on the counter for 10 minutes before adding the caramel layer.
- To a medium-sized, microwave-safe, bowl add the unwrapped soft caramel candies and the 2 tablespoons heavy cream. Microwave on high for 1 minute, stir, then microwave for another 1 minute. Add the ¼ teaspoon salt and, if needed, microwave for an additional 30 seconds to completely melt the caramel candies. Your caramel should be smooth and pourable.
- Very carefully pour the caramel sauce over the top of the shortbread crust and smooth it into an even layer. Allow the crust and caramel to cool on the counter for 20 minutes before moving forward with adding the chocolate layer. This ensures that your chocolate and caramel layers stay separated.
- In a medium-sized bowl, add your broken-up pieces of semi-sweet chocolate baking bars.
- In a microwave-safe, liquid measuring cup with a pour spout, add the ½ cup heavy cream. Microwave for 1 minute. Slowly pour the hot cream over the top of the chocolate pieces, ensuring that all the chocolate is covered. Allow the chocolate to sit for 3 minutes before stirring. If needed, you can microwave your chocolate mixture for 30 seconds to get the chocolate completely smooth and the heavy cream completely incorporated.
- Slowly pour the chocolate mixture over the top of the caramel layer. You do not want to disturb the caramel layer so that your final product has nice separate layers. Spread your chocolate with an offset spatula to get a nice smooth top layer for your Twix bars.
- Place your pan of Twix bars into the refrigerator to chill for 1 hour 30 minutes, or until the chocolate ganache layer has firmed up before cutting them into squares.
Notes
- When making the caramel sauce, I highly suggest using a good quality soft caramel candy. That will ensure that you have the best flavor in your final product. If your caramel candies are a little harder (NOT hard candies), then you may need to add an additional 1 tablespoon heavy cream to get a nice smooth caramel mixture when heated.
- Keep in mind that you will get a different shape and depth of corner bars depending on the baking pan you are using. If you are using a baking pan with rounded corners (usually glass), your corner pieces will not come out quite so defined, while metal pans tend to have clean-cut corners that will give you better-formed corner bars.
- You can allow your Twix bars to cool completely on the counter before slicing if your room is not extremely warm or humid. I put mine in the refrigerator to help the chocolate ganache layer to set up quicker. Remember that if you allow them to chill overnight in the refrigerator before slicing that you may need to allow them to come to room temperature before slicing them with a sharp knife as the caramel layer will be very firm if kept in the refrigerator for that amount of time.
Nutrition


Comments
Paula says
Wondering if I can use sugar substitutes