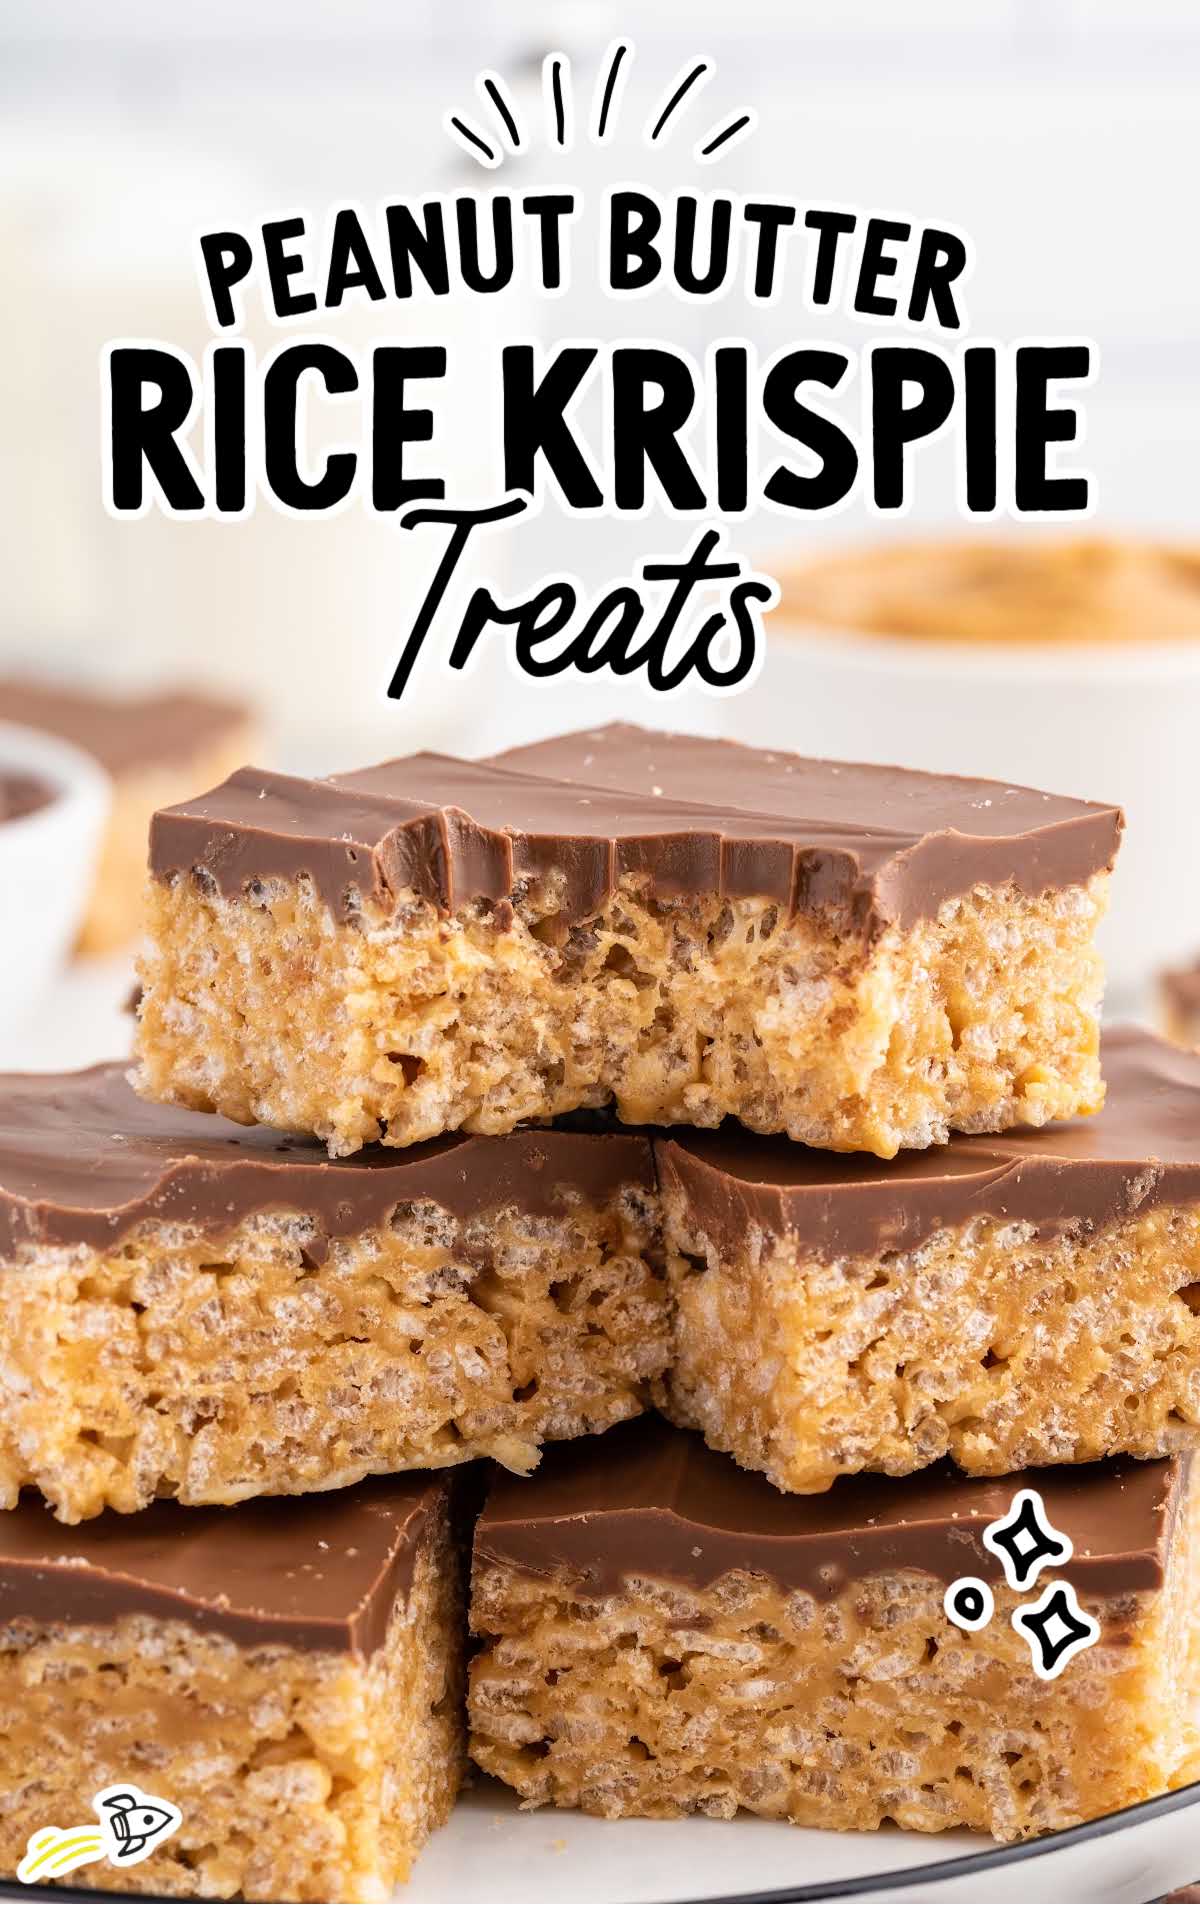
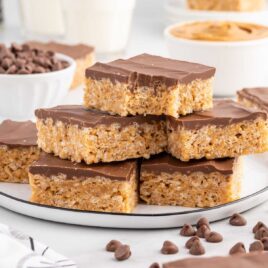
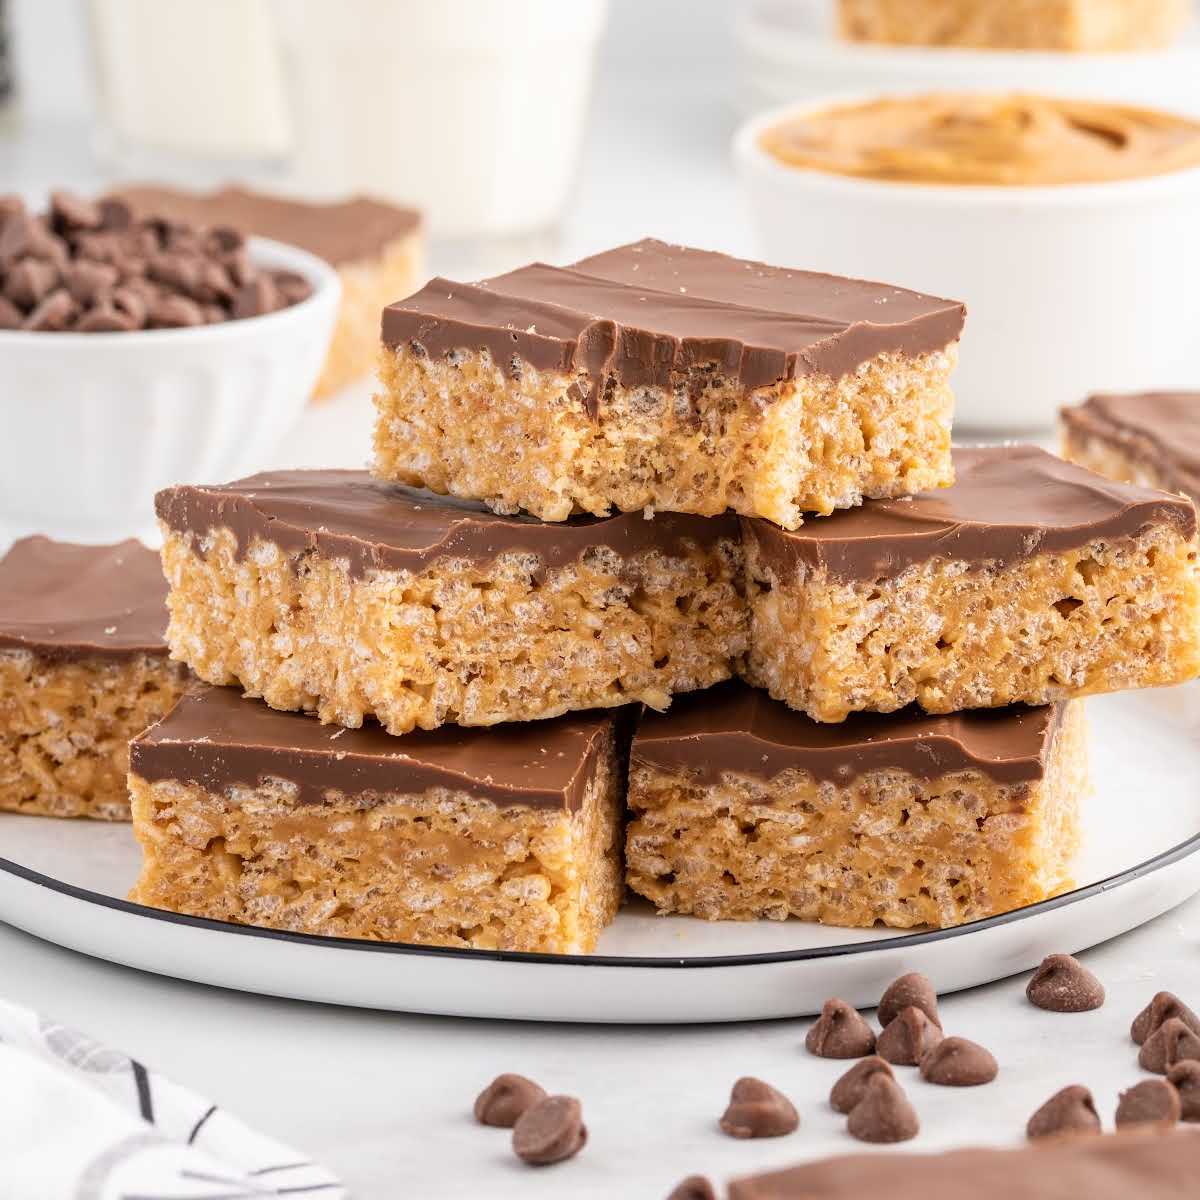
These delicious peanut butter Rice Krispie treats are as delicious as they are easy. We take classic Rice Krispie squares to the next level by adding creamy peanut butter and topping them off with a layer of chocolate.
Peanut Butter Rice Krispie Treats Ingredients
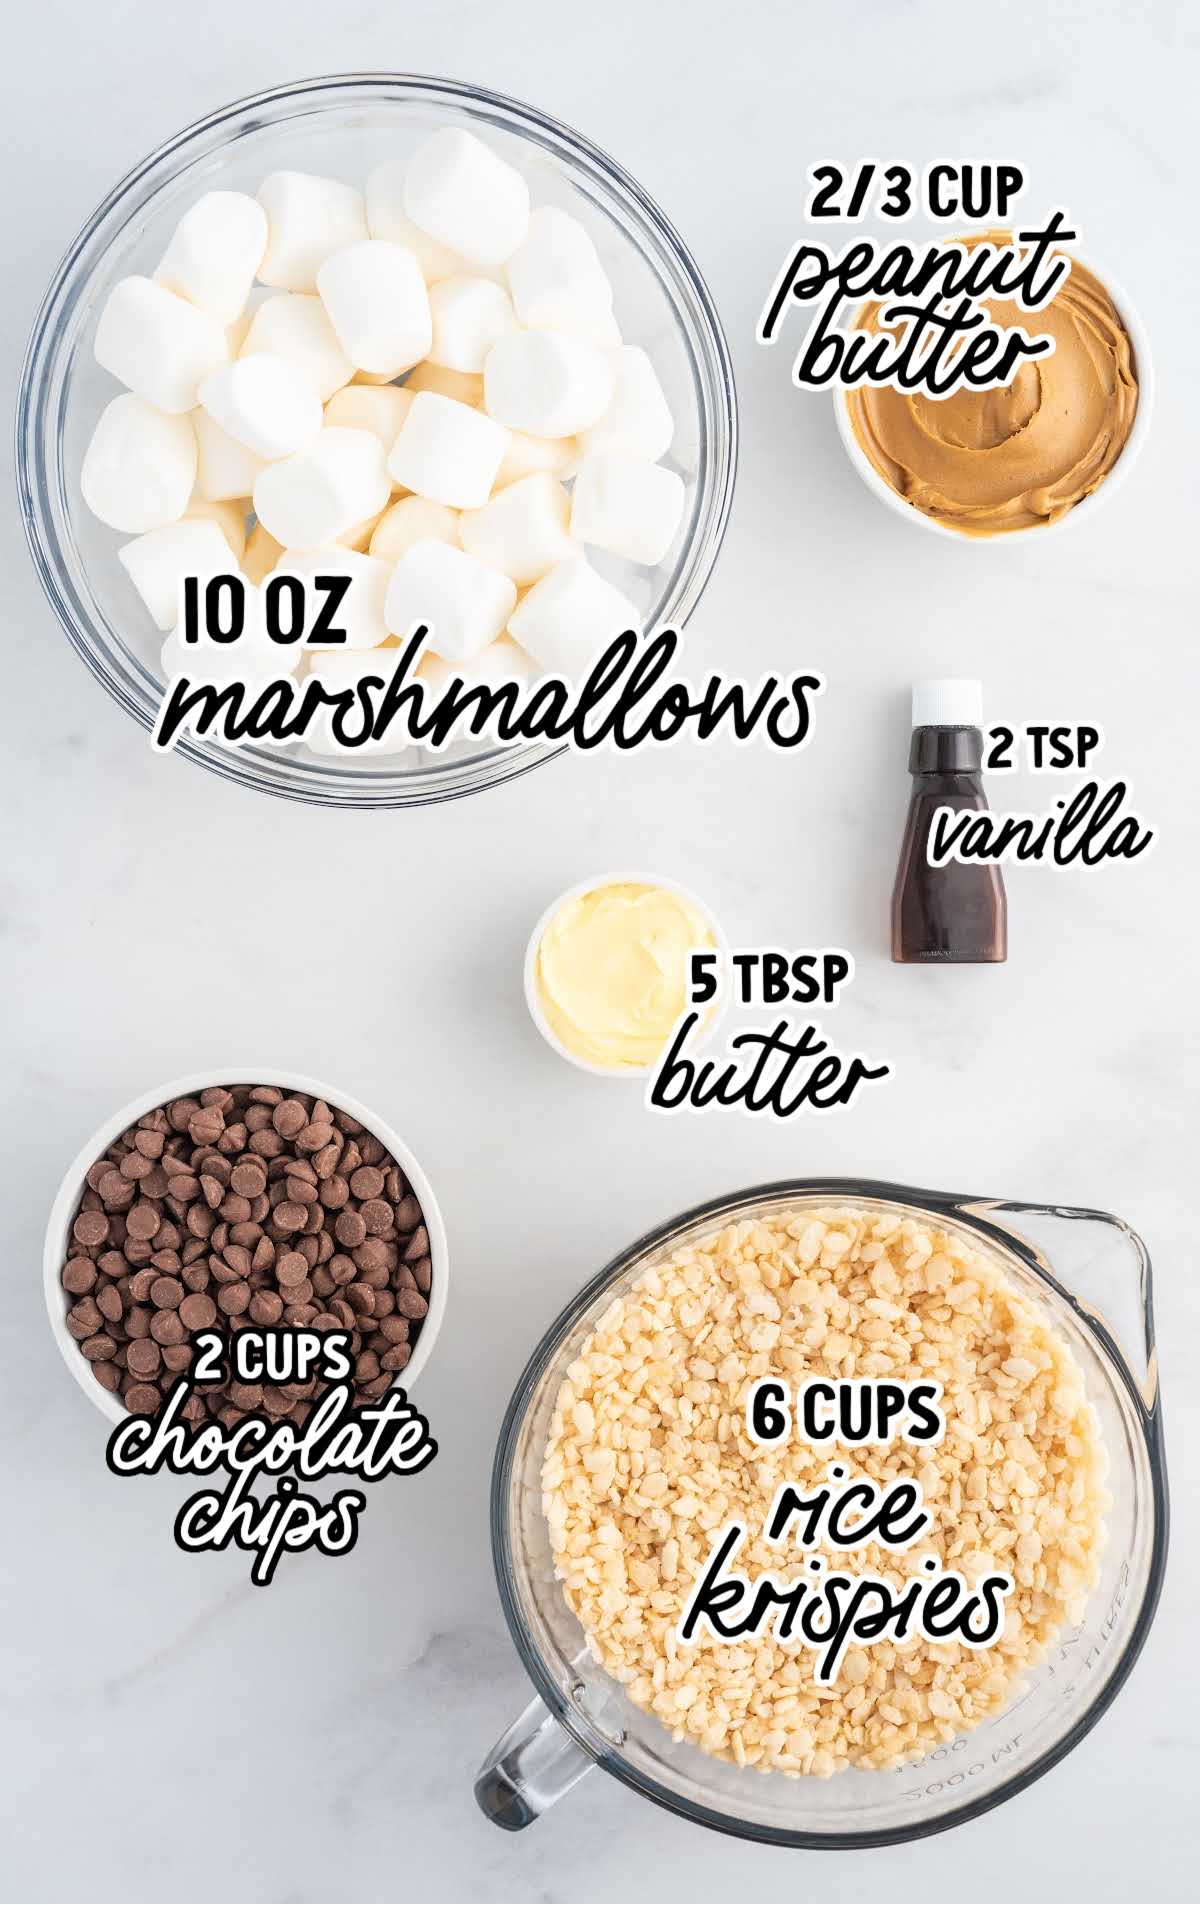
You’ll need:
- 5 tablespoons of salted butter, room temperature, divided
- ⅔ cup of creamy peanut butter (I used the Peter Pan brand)
- 10-ounce bag of marshmallows
- 2 teaspoons of vanilla extract
- 6 cups of Rice Krispies cereal
- 2 cups of milk chocolate chips (approximately 1½ (11.5-ounce) bags)
Krispie Treat Substitutions And Additions
BUTTER: If you do not keep salted butter on hand in your kitchen, you can add ½ teaspoon of salt to the melted marshmallow mixture.
The salt helps to balance the sweetness of the marshmallows.
PEANUT BUTTER: I do not suggest using fresh or natural peanut butter for this recipe as they tend to have a lot of excess peanut oil. This extra oil will alter the texture of your Rice Krispie treats.
I used the Peter Pan brand, but your favorite standard brand will work well. You can even use chunky peanut butter for a fun texture if you desire.
CHOCOLATE: I like the combination of milk chocolate and peanut butter for this easy recipe, but you can certainly substitute semi-sweet or dark chocolate chips instead if that is your preference.
OUR RECIPE DEVELOPER SAYS
You can cut this recipe in half and make them in an 8×8 square pan if this recipe makes too many. That is never the issue in my house, so I often will double the recipe.
How To Make This Peanut Butter Rice Krispie Treats Recipe
These classic treats come together with the easy combination of Rice Krispies, peanut butter, butter, and marshmallows. Once pressed into your pan, you will add a layer of rich, decadent chocolate on top.
Follow our directions below to whip up a batch:
STEP ONE: Butter a 9×13 baking dish with one tablespoon of the salted butter. Set aside.
STEP TWO: In a large sauce pot on medium-low heat, melt the remaining four tablespoons of salted butter, peanut butter, and marshmallows.
Stir often to avoid burning the melted marshmallows. This will take about three to five minutes.
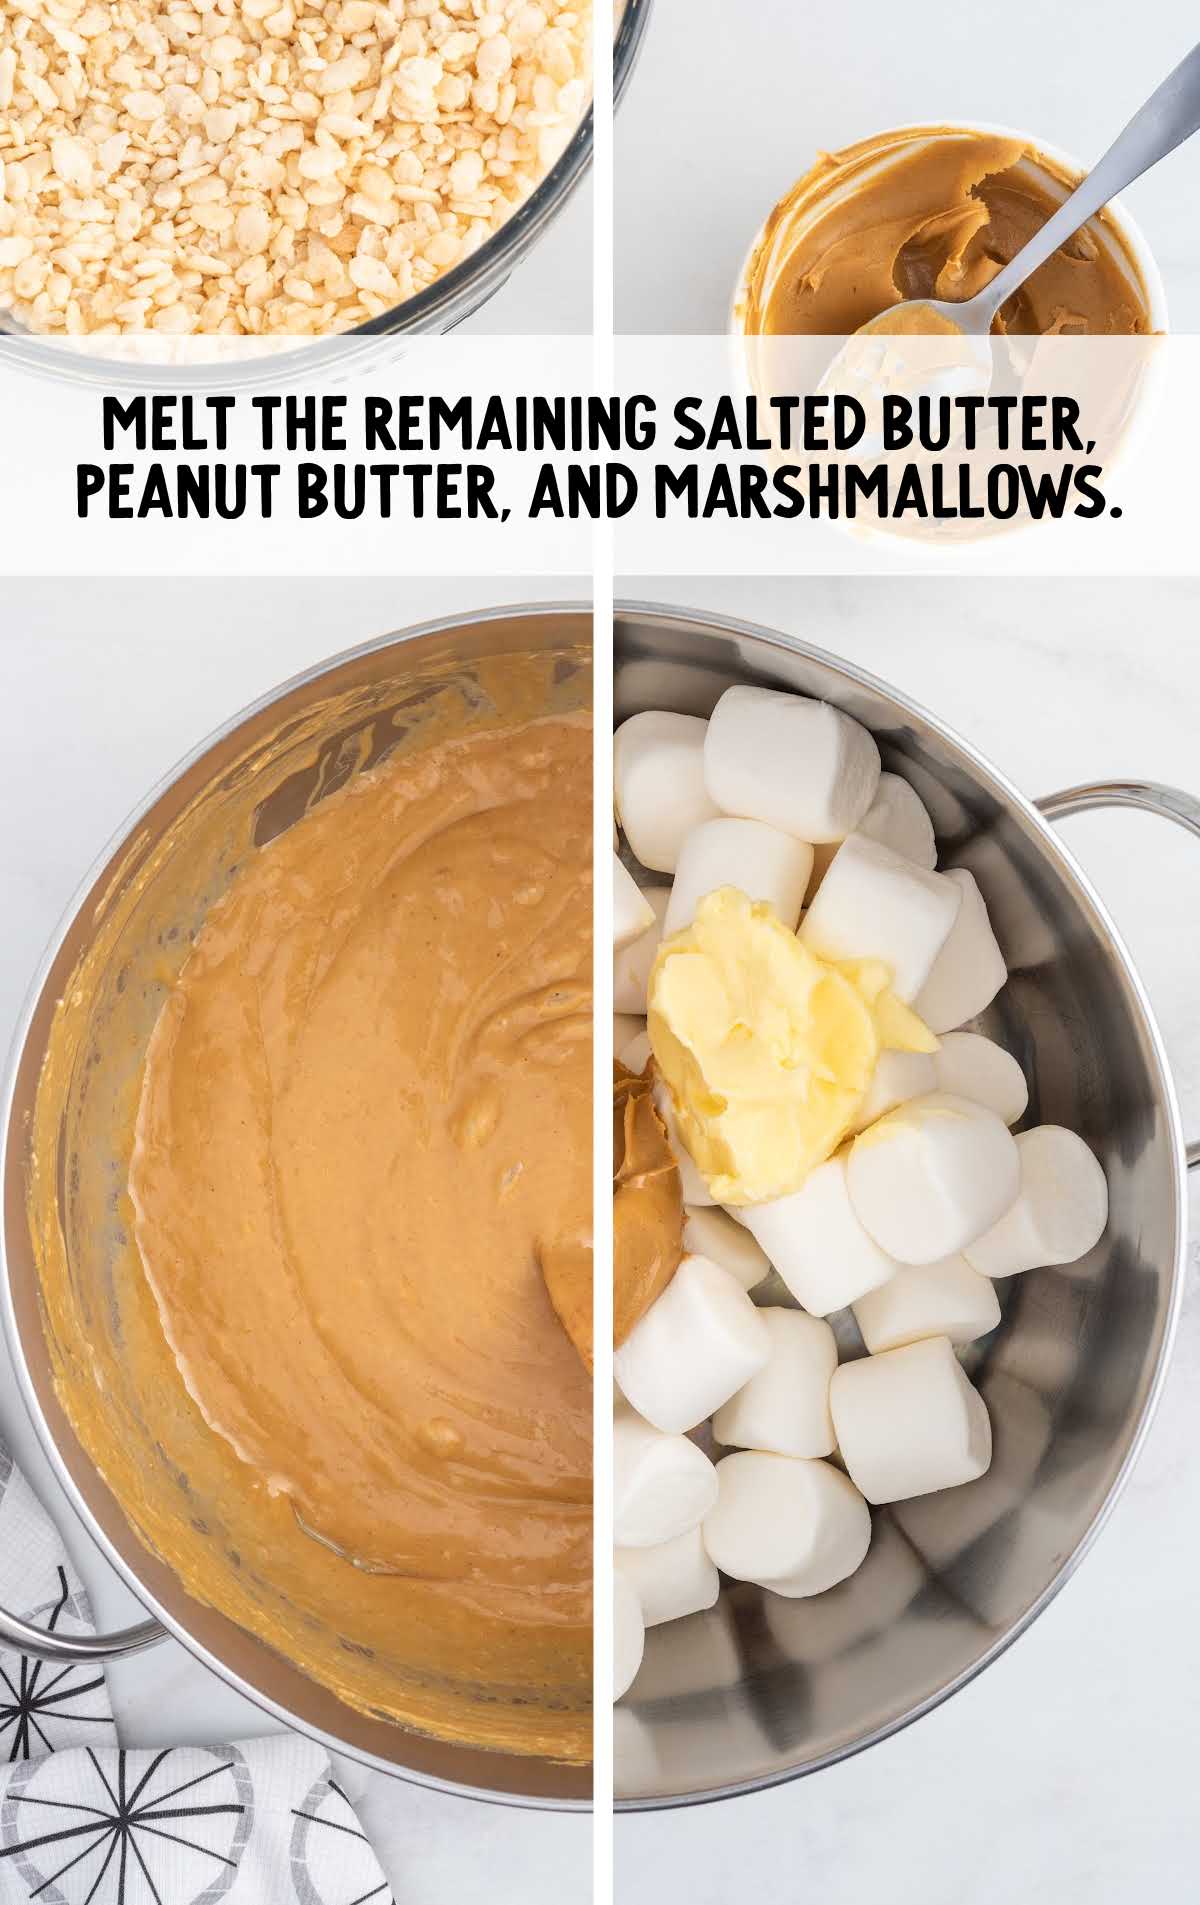
STEP THREE: Remove the large pot from the heat and stir the vanilla extract and Rice Krispie cereal into the melted marshmallow and peanut butter mixture.
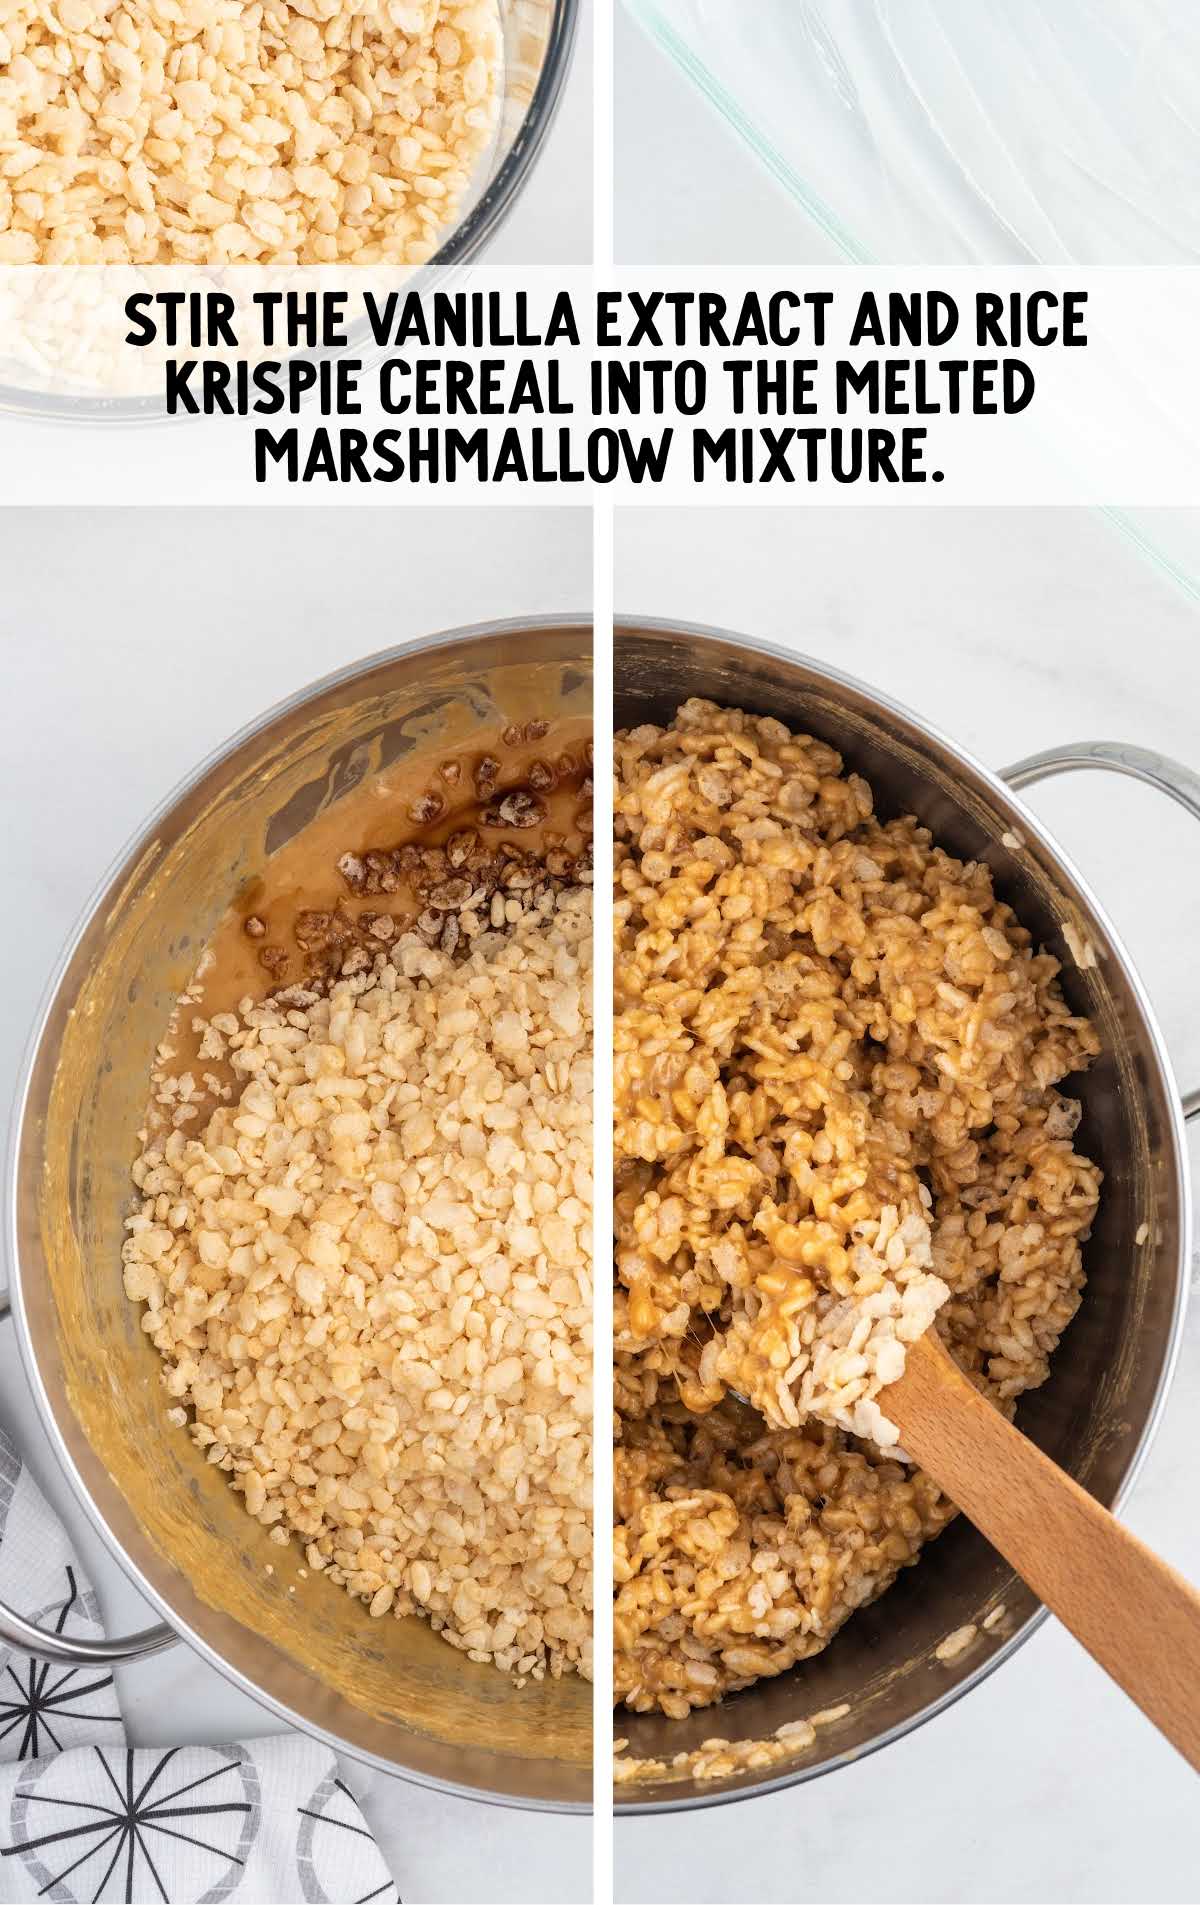
STEP FOUR: Stir to incorporate all the ingredients evenly.
PRO TIP:
You can spray your hands, spatula, or wooden spoon with a little bit of cooking spray so that the gooey mixture doesn’t stick when you are mixing it.
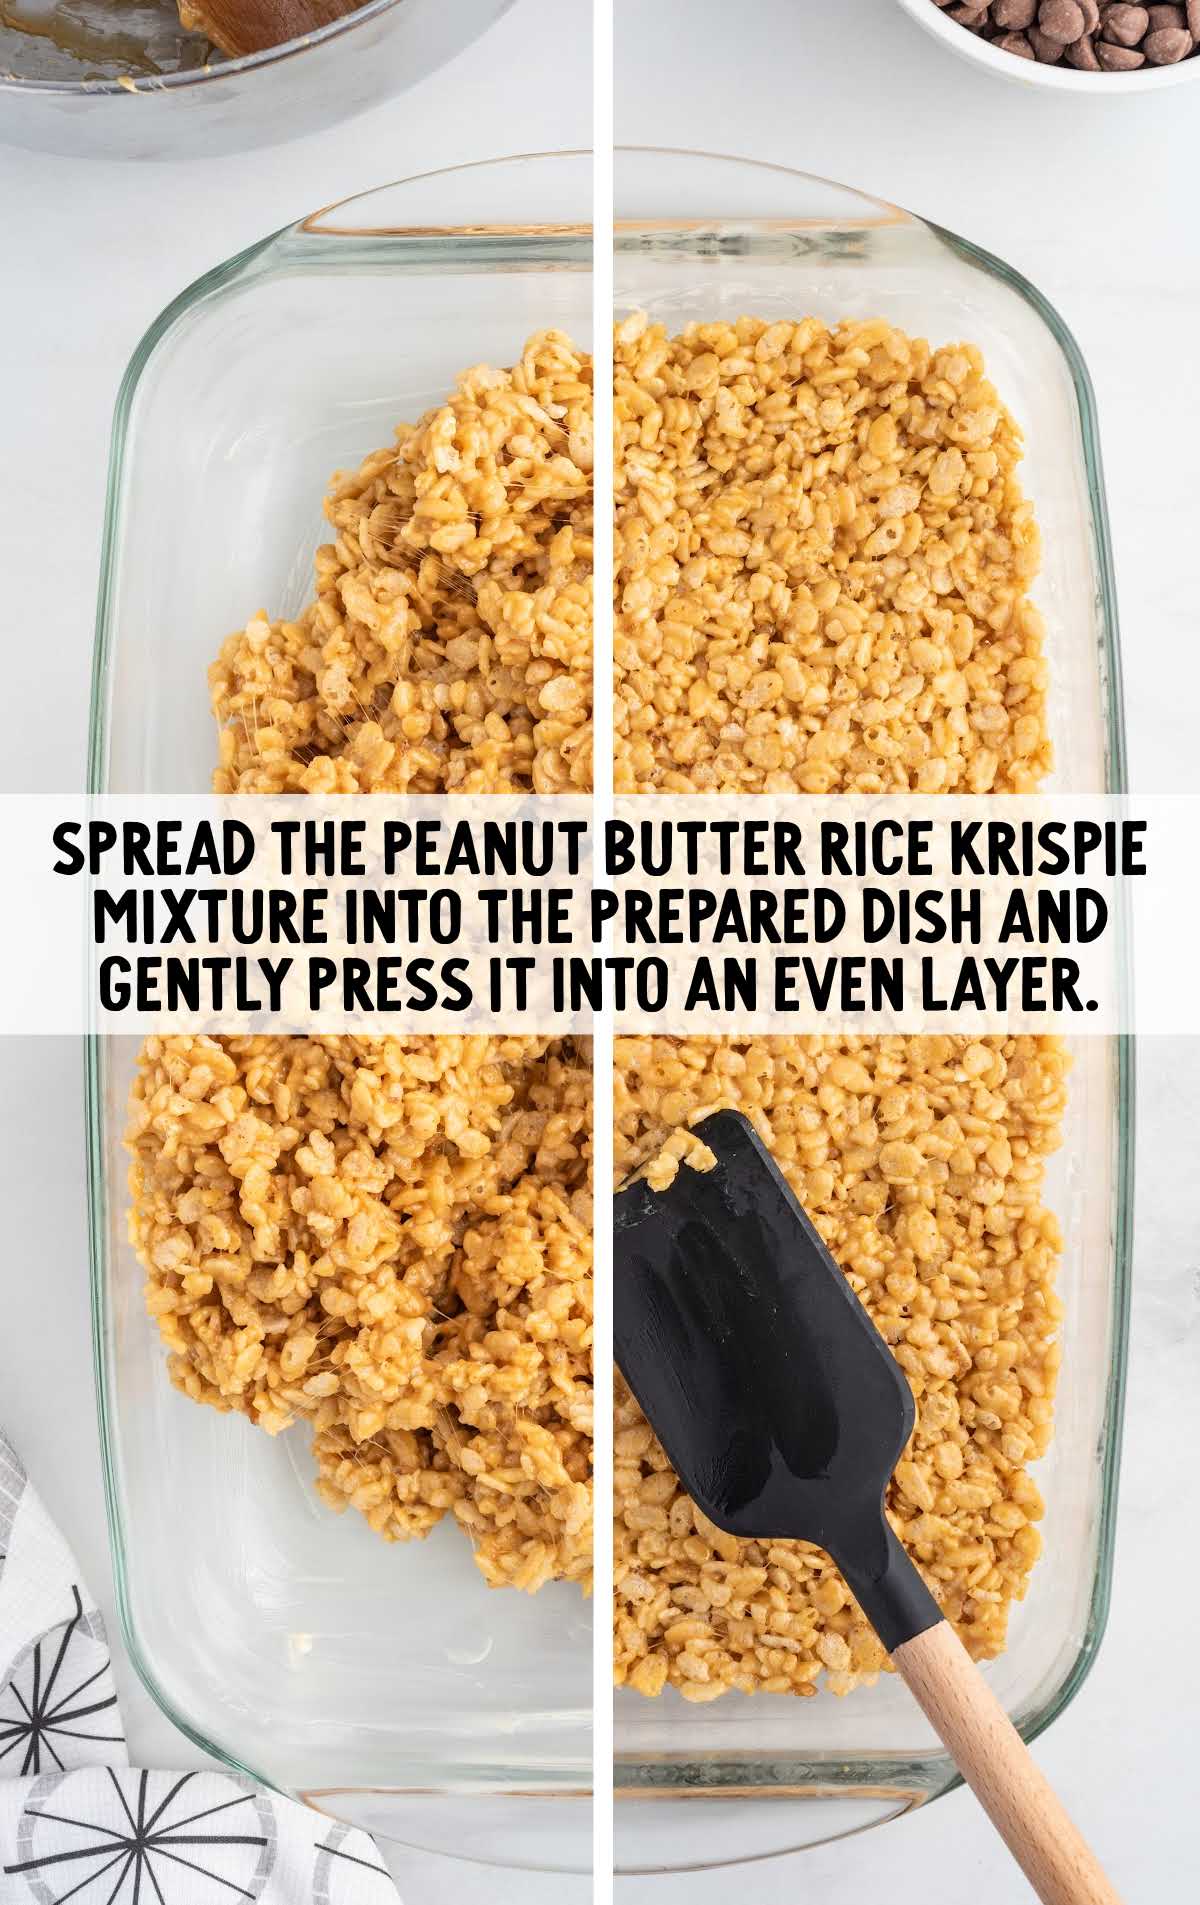
STEP FIVE: Spread the peanut butter Rice Krispie mixture into the prepared pan and gently press it into an even layer.
Do not pack the mixture into the dish too tightly. This will ensure that your Rice Krispie treats are light and chewy.
STEP SIX: In a microwave-safe bowl, melt the milk chocolate chips for one minute at 50% power, stir, and heat in additional 30-second increments until completely melted.
Stir the melted chocolate until completely smooth. Be sure not to overheat the milk chocolate chips, or they will seize up and be unusable.
PRO TIP:
When melting your chocolate chips, be very careful not to overheat them in the microwave.
If your microwave has a “melt” preset, then you can use that according to your microwave’s manual.
You can also melt them on the stovetop in a small saucepan on medium-low heat or in a double boiler. Use the method that works best for you.
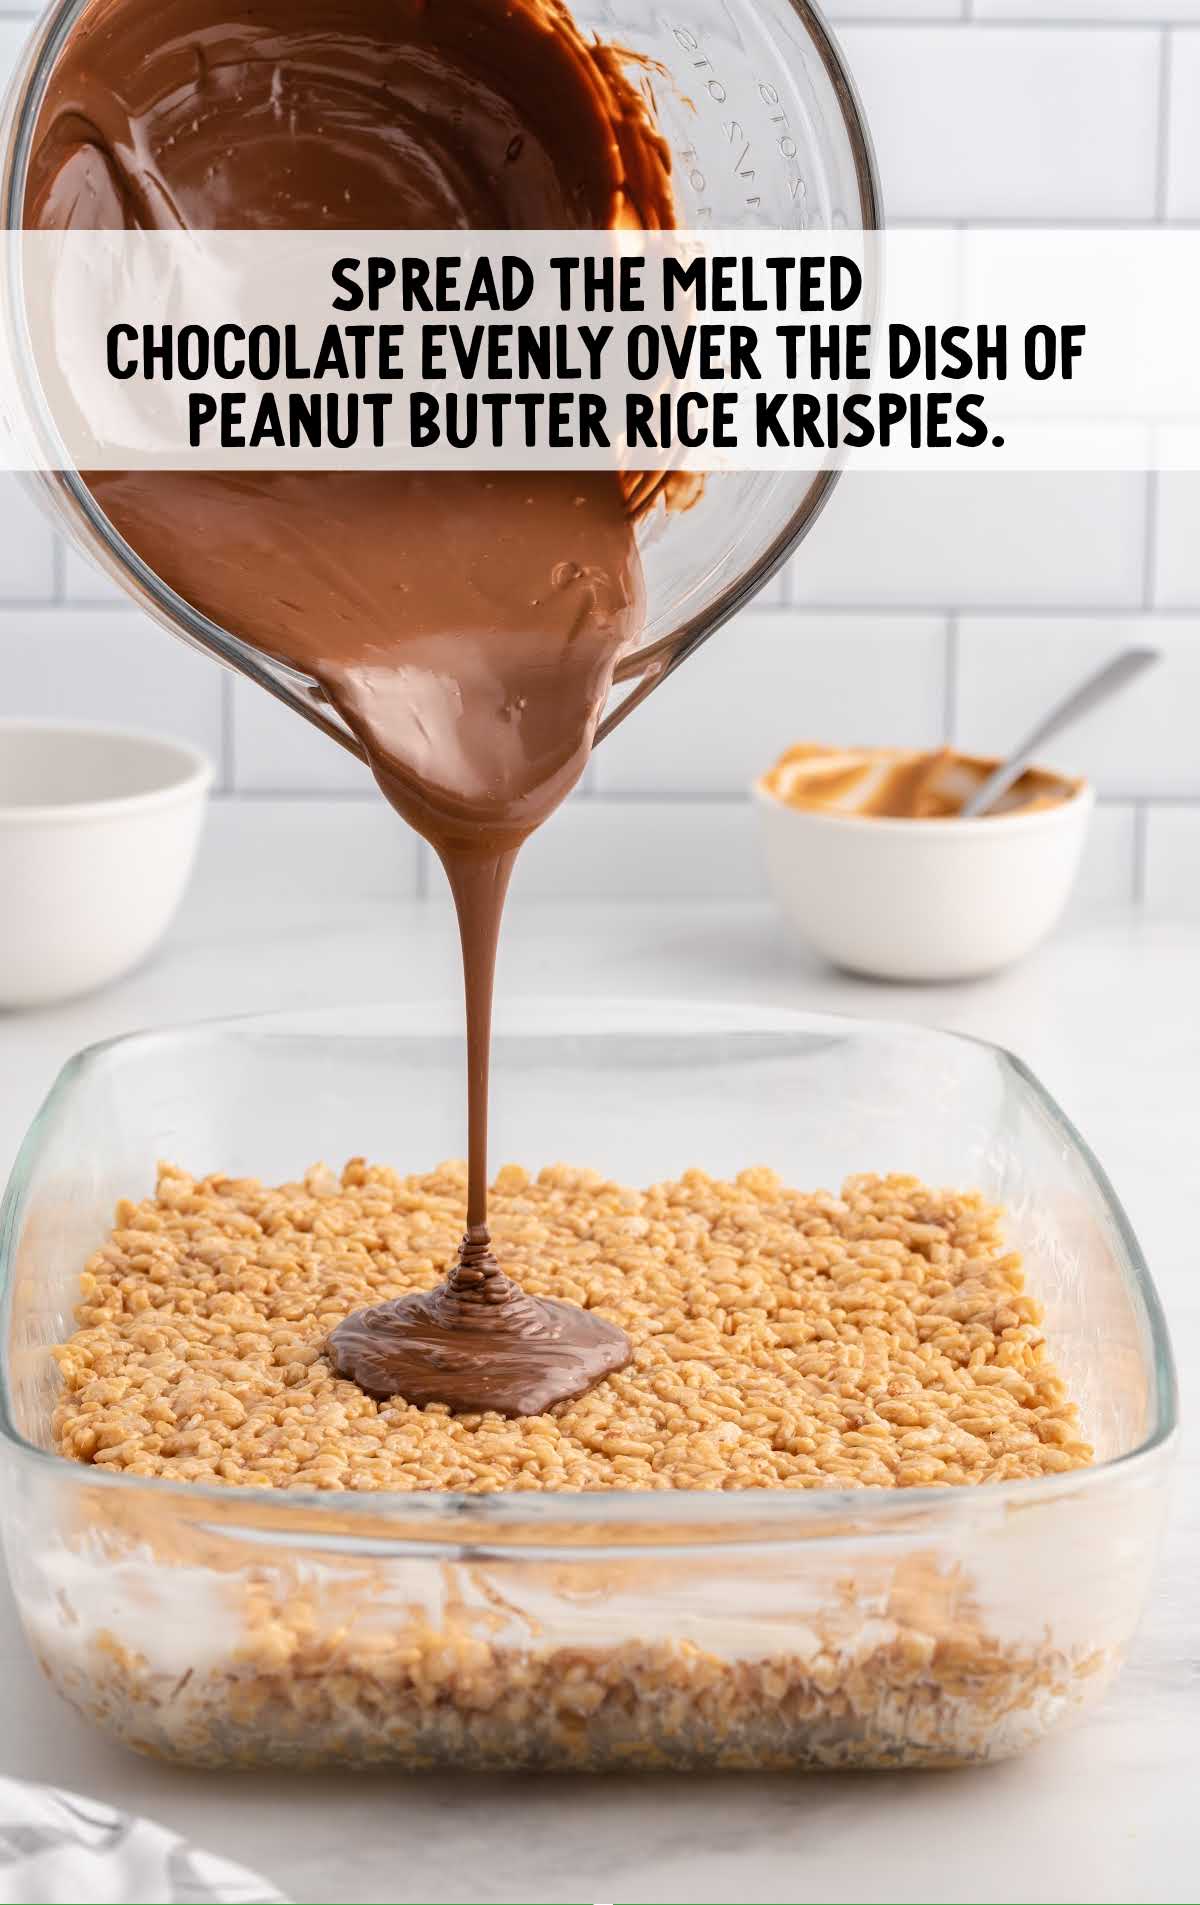
STEP SEVEN: Spread the melted chocolate evenly over the dish of peanut butter Rice Krispies.
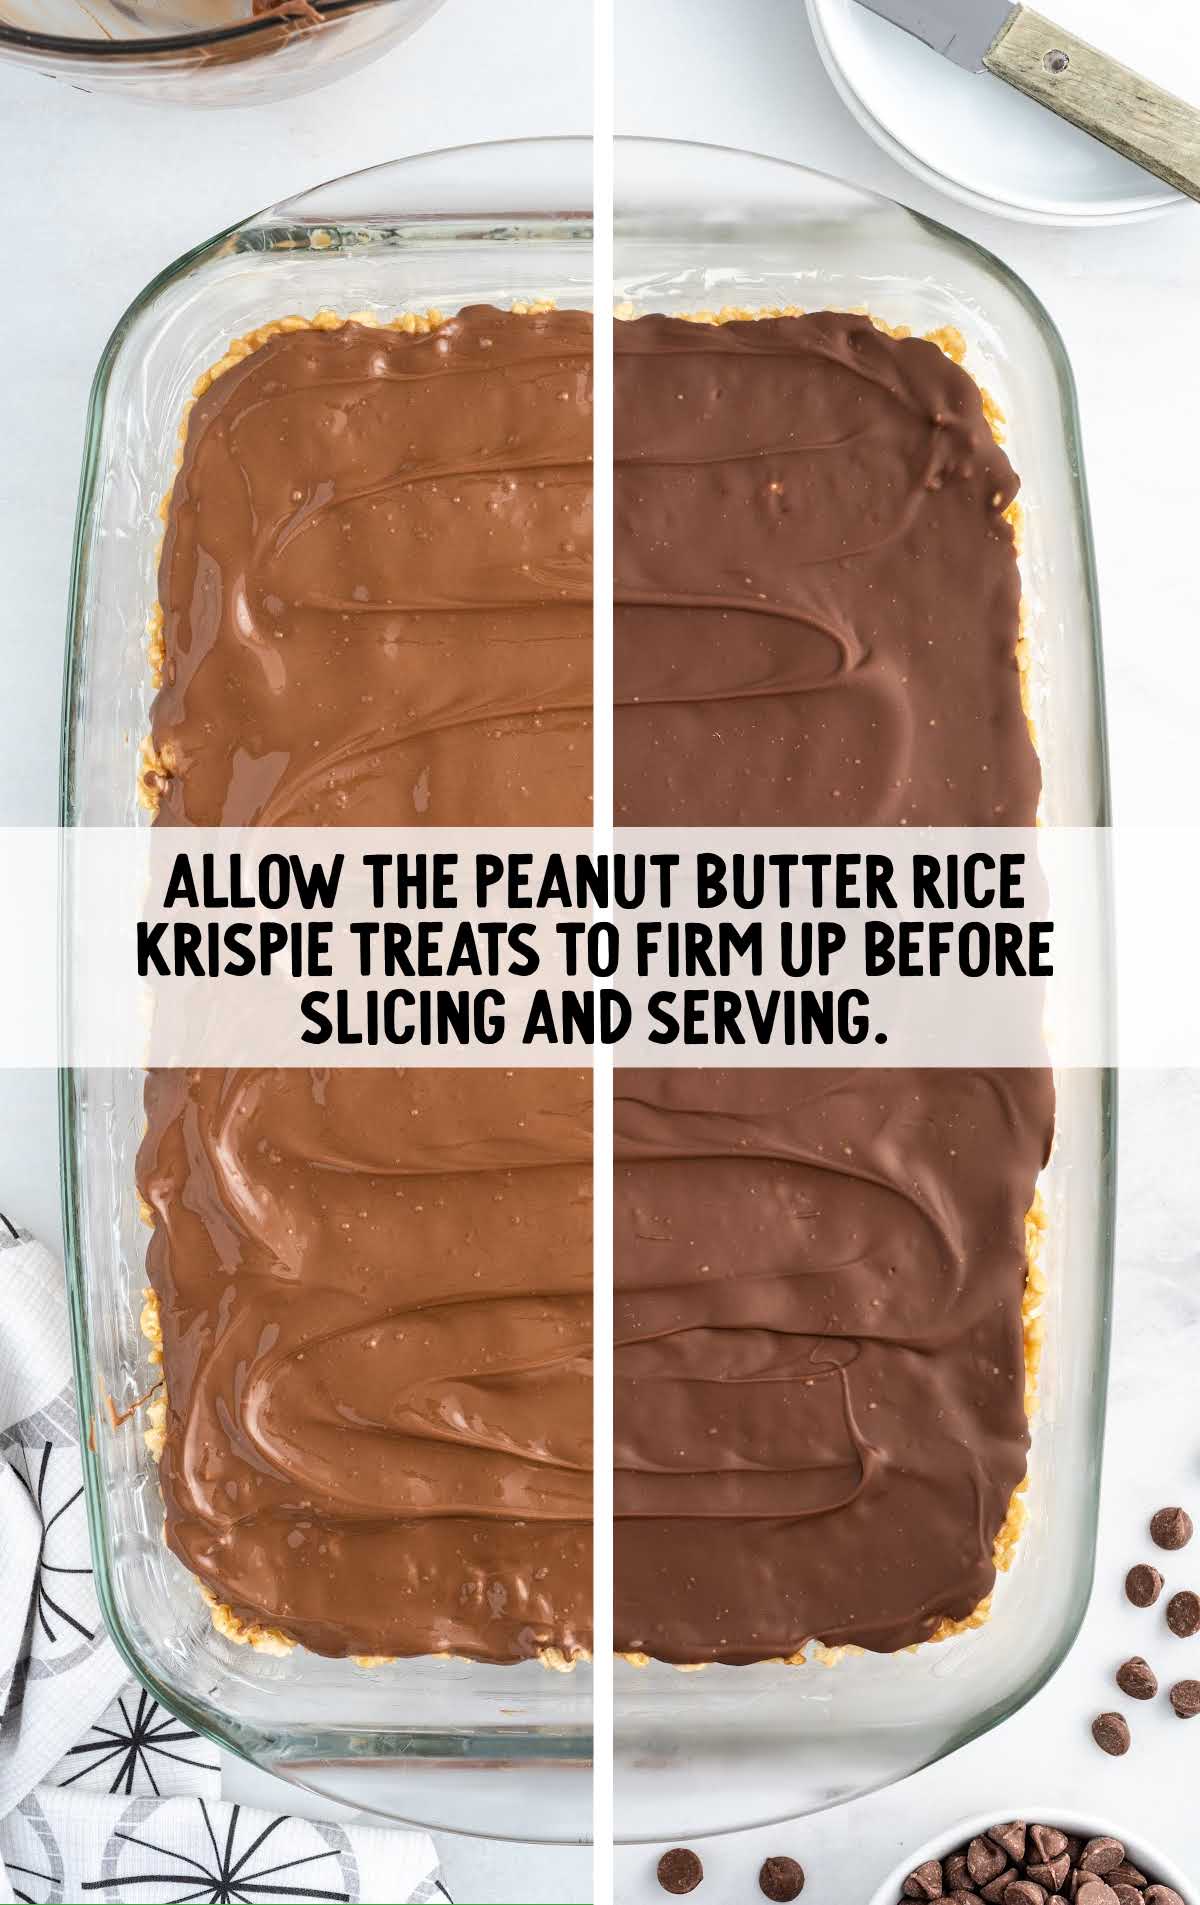
STEP EIGHT: Allow the peanut butter Rice Krispie treats to chill for 30 minutes, or up to an hour, to allow the chocolate to firm up before slicing and serving.
Troubleshooting This Recipe
Treats Won’t Hold Their Shape
If your treats aren’t holding their shape and are falling apart, they may not have been pressed firmly enough into the pan.
Use a greased spatula or your hands (lightly greased) to press the mixture firmly into the pan.
You can also try adding a few more marshmallows to improve binding.
Uneven Distribution of Ingredients
To ensure an even distribution of ingredients, be thorough when mixing the Rice Krispies cereal into the peanut butter-marshmallow mixture.
Stir until all the cereal is well coated and there are no dry pockets.
Rice Krispie Treats Are Too Hard
Getting the marshmallow and butter mixture too hot can lead to your peanut butter chocolate Rice Krispie treats getting too hard.
Also, if you don’t use fresh marshmallows or butter, it can impact your treats.
How To Serve Peanut Butter Rice Krispie Bars
Whip up a batch of these ooey-gooey treats for all the peanut butter lovers in your life.
They would make a delicious afternoon snack along with a creamy chocolate milkshake or Wendy’s Frosty.
Customize the treats with decorations or colors to match the theme of special occasions like holidays, baby showers, or weddings. They can be a part of dessert tables or party favors.
MORE SNACK RECIPES
Our original Rice Krispie treats are always a winner, while our Fruity Pebbles treats are a fun twist on the classic.
When to Serve
These treats are versatile and suitable for various occasions, including parties, picnics, school lunches, bake sales, dessert tables, and casual gatherings:
Parties and Celebrations: Peanut Butter Rice Krispie Treats are always a hit at parties and gatherings.
Cut them into smaller pieces for bite-sized treats, and they’ll be a crowd-pleaser at birthdays, picnics, potlucks, and more.
Movie Nights: Enjoy Peanut Butter Rice Krispie Treats as a movie night snack. They’re easy to share and appreciated by all.
Care Packages: Send a care package to a friend or loved one with some homemade Peanut Butter Rice Krispie Treats. They travel well and can provide comfort and a taste of home.
Storing Rice Krispie Peanut Butter Squares
- After making the treats, let them cool and set at room temperature for about 30 minutes to 1 hour. This will help them firm up and hold their shape.
- Once the treats have cooled and solidified, cut them into your desired portions, such as squares or rectangles, using a sharp knife.
- Layer the individual treats with parchment paper or wax paper between them. This will prevent them from sticking together.
- Place the separated treats in an airtight container or a resealable plastic bag. Press out as much air as possible before sealing to help maintain freshness.
Storing on the Counter
You can store Rice Krispie treats with peanut butter on the counter in an airtight container for two to three days.
Storing in the Fridge
If you want to extend the shelf life of crispy treats, you can store them in the refrigerator for up to a week.
Allow them to come to room temperature before serving so that their texture is chewy and not hard.
Storing in the Freezer
If you want to store them for an even longer period, you can freeze peanut butter Rice Krispie treats.
Wrap individual treats or layers of treats in plastic wrap or aluminum foil, and place them in a freezer-safe container or resealable freezer bags. They can be stored in the freezer for up to 2-3 months.
When you’re ready to enjoy them, remove the treats from the freezer and let them thaw at room temperature for about 30 minutes to one hour before serving.
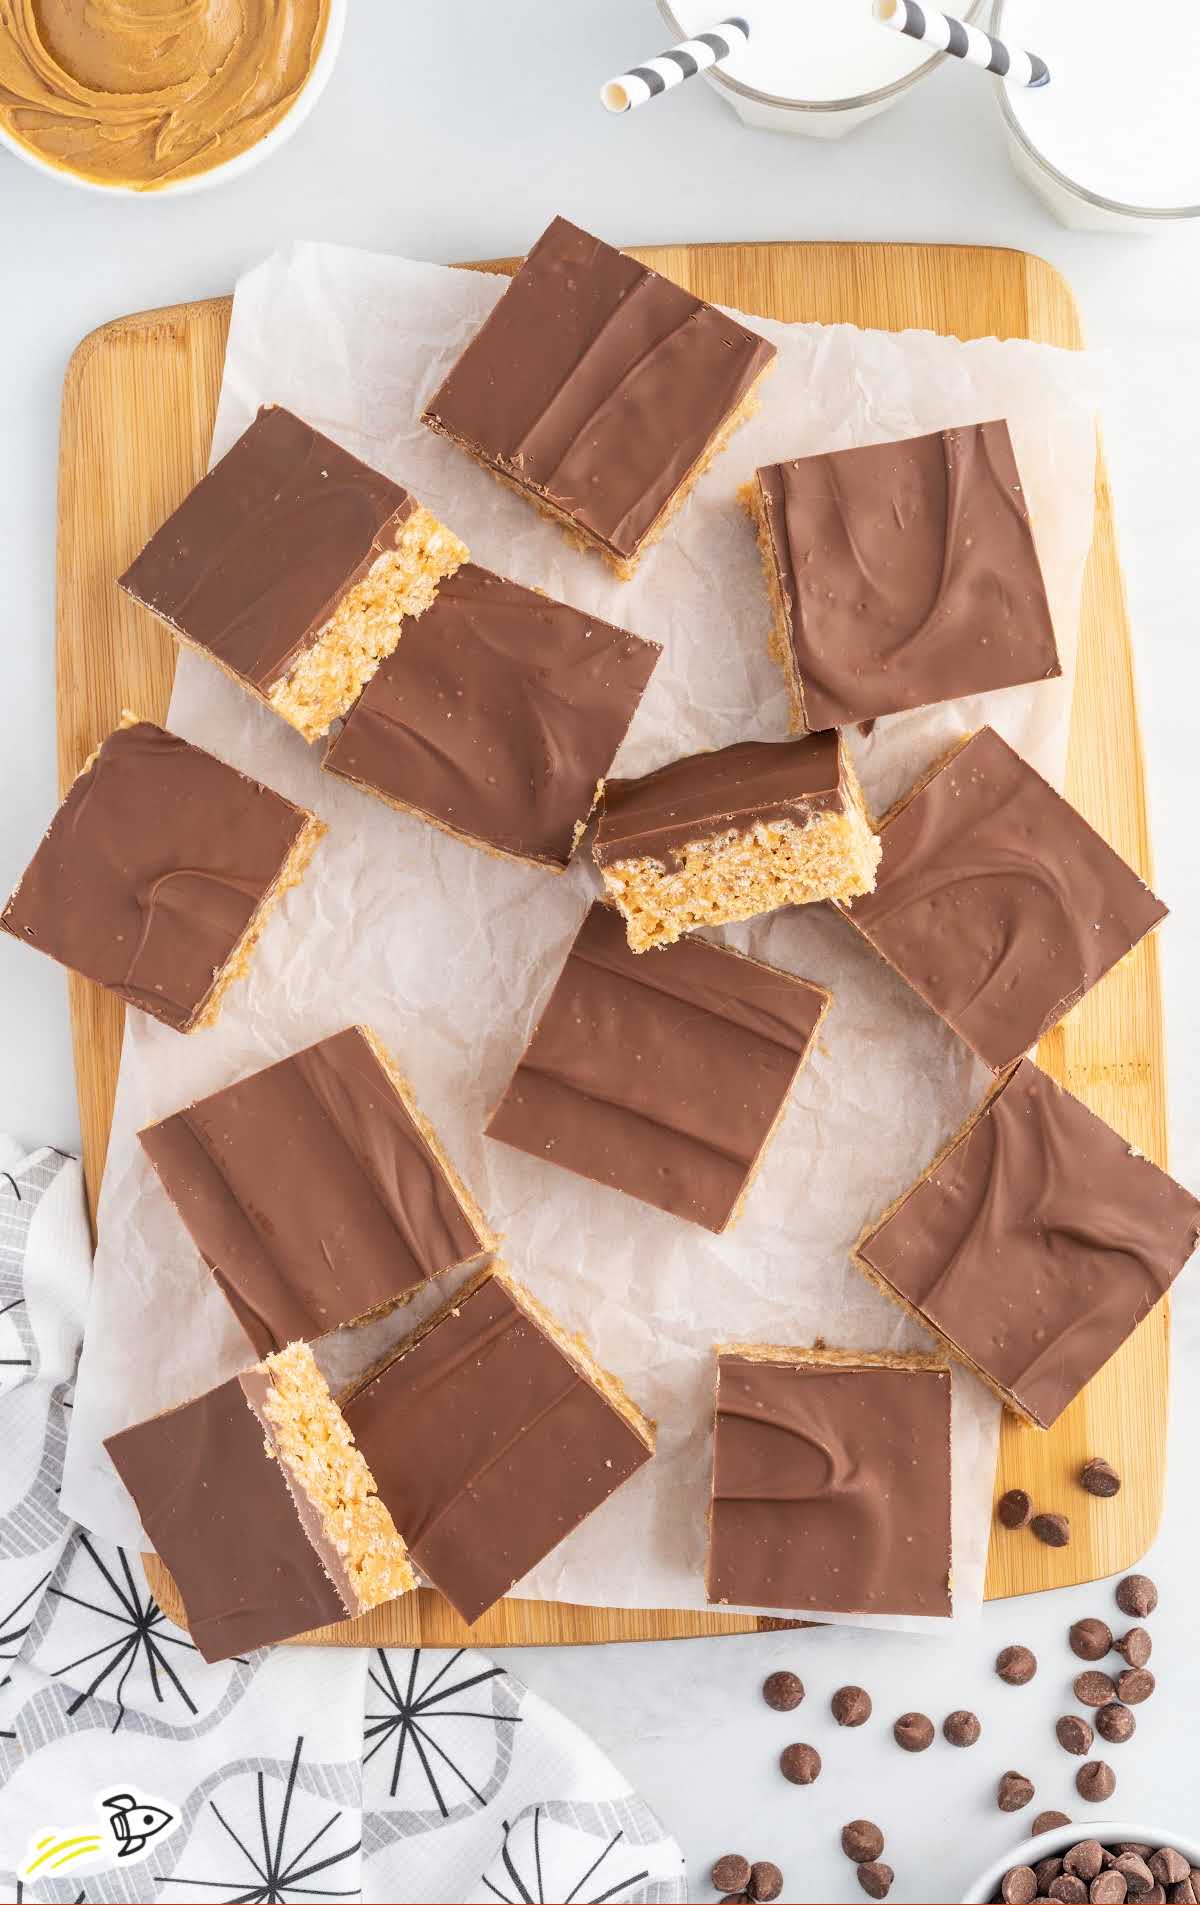
Why These Peanut Butter Rice Krispie Treats Are the Best
IRRESISTIBLE FLAVOR COMBO: The combination of creamy peanut butter and gooey marshmallows are a delicious twist on the classic Rice Krispie Treats.
VERSATILE: Peanut Butter Rice Krispie Treats can be customized to suit individual preferences. You can add chocolate chips, nuts, or other mix-ins to tailor the flavor to your liking.
KID FRIENDLY: Peanut Butter Rice Krispie Treats are universally loved. They’re a hit with kids and adults alike, making them an excellent choice for family gatherings, bake sales, or simply satisfying your sweet tooth.
FREQUENTLY ASKED QUESTIONS
As long as you use vegan marshmallows and a vegan butter substitute, you can make these treats suitable for both vegetarians and vegans.
Store any leftover chocolate peanut butter Rice Krispie treats in an airtight container or bag in between sheets of wax paper to help keep each square from sticking to the others.
You can dampen your hands and spatula with water or spray both with cooking spray to help avoid the mixture sticking to you.
Yes, you can use crunchy peanut butter if you prefer the added texture and nutty crunch. It will give your treats a different texture and a more pronounced peanut flavor.
Peanut butter Rice Krispie treats are loved because of their delicious taste, satisfying texture, nostalgic qualities and how easy they are to make.
Whether enjoyed as a simple snack, a sweet ending to a meal, or a delightful addition to any social gathering, these treats never fail to bring a smile to the face of anyone who tries them.
More Recipes You’ll Love
Peanut Butter Rice Krispie Treats
Ingredients
- 5 tablespoons salted butter, room temperature, divided
- ⅔ cup creamy peanut butter, I used Peter Pan brand
- 10 ounce bag marshmallows
- 2 teaspoons vanilla extract
- 6 cups Rice Krispies cereal
- 2 cups milk chocolate chips, approximately 1½ (11.5-ounce bags)
Instructions
- Butter a 9×13 baking dish with 1 tablespoon of the salted butter. Set aside.
- In a large sauce pot on medium-low heat, melt the remaining 4 tablespoons of salted butter, peanut butter, and marshmallows. Stir often to avoid burning the melted marshmallows. This will take about 3 to 5 minutes.
- Remove the large pot from the heat and stir the vanilla extract and rice Krispie cereal into the melted marshmallow mixture.
- Stir to incorporate all the ingredients evenly.
- Spread the peanut butter Rice Krispie mixture into the prepared dish and gently press it into an even layer. Do not pack the mixture into the dish too tightly. This will ensure that your rice Krispie treats are light and chewy.
- In a microwave-safe bowl, melt the milk chocolate chips for 1 minute at 50% power, stir and heat in additional 30-second increments until completely melted. Stir the melted chocolate until completely smooth. Be sure not to overheat the milk chocolate chips, or they will seize up and be unusable.
- Spread the melted chocolate evenly over the dish of peanut butter rice Krispies.
- Allow the peanut butter Rice Krispie treats to chill for 30 minutes, or up to an hour, to allow the chocolate to firm up before slicing and serving.
Notes
- You can cut this recipe in half and make them in an 8×8 square pan if this recipe makes too many. That is never the issue in my house, so I often will double the recipe. These keep great in the refrigerator and, when packed in your child’s lunch, will be perfectly chewy and delicious by the time they get to eat them.
- You can spray your hands, spatula, or wooden spoon with a little bit of cooking spray so that the gooey mixture doesn’t stick when you are mixing it.
- When melting your chocolate chips, be very careful not to overheat them in the microwave. If your microwave has a “melt” preset, then you can use that according to your microwave’s manual. You can also melt them on the stovetop in a small saucepan on medium-low heat or in a double boiler. Use the method that works best for you.
- Once the chocolate layer has firmed up, you can slice your peanut butter Rice Krispies into single servings and store them in a lidded rectangular container. I would suggest you place a piece of parchment paper between the layers of Rice Krispie treats to avoid them from sticking to each other.






Comments
Ruthann says
I’m using the cocoa rice krispies, chunking peanut butter and denim sweet chips. I have marshmallow cream in a jar and will try using that in leak of marshmallows. Expecting chocolate nirvanna!
Frances Lowe says
Have’t tried this recipe yet, but have always liked similar recipes
BARB says
My daughter requests rice krispy treats as her birthday cake. I don’t care for them, but with this topping, I’m sure I would. Have to try soon.
M Starner says
Excellent, used fresh ground peanut butter, added chopped salted peanuts and dark chocolate top with sea salt sprinkle! They are perfect!