October 19, 2023
Review RecipePeppermint Cheesecakes
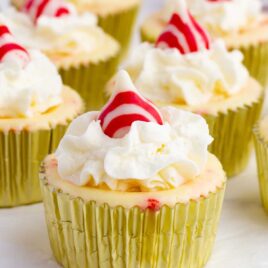
Table of Contents
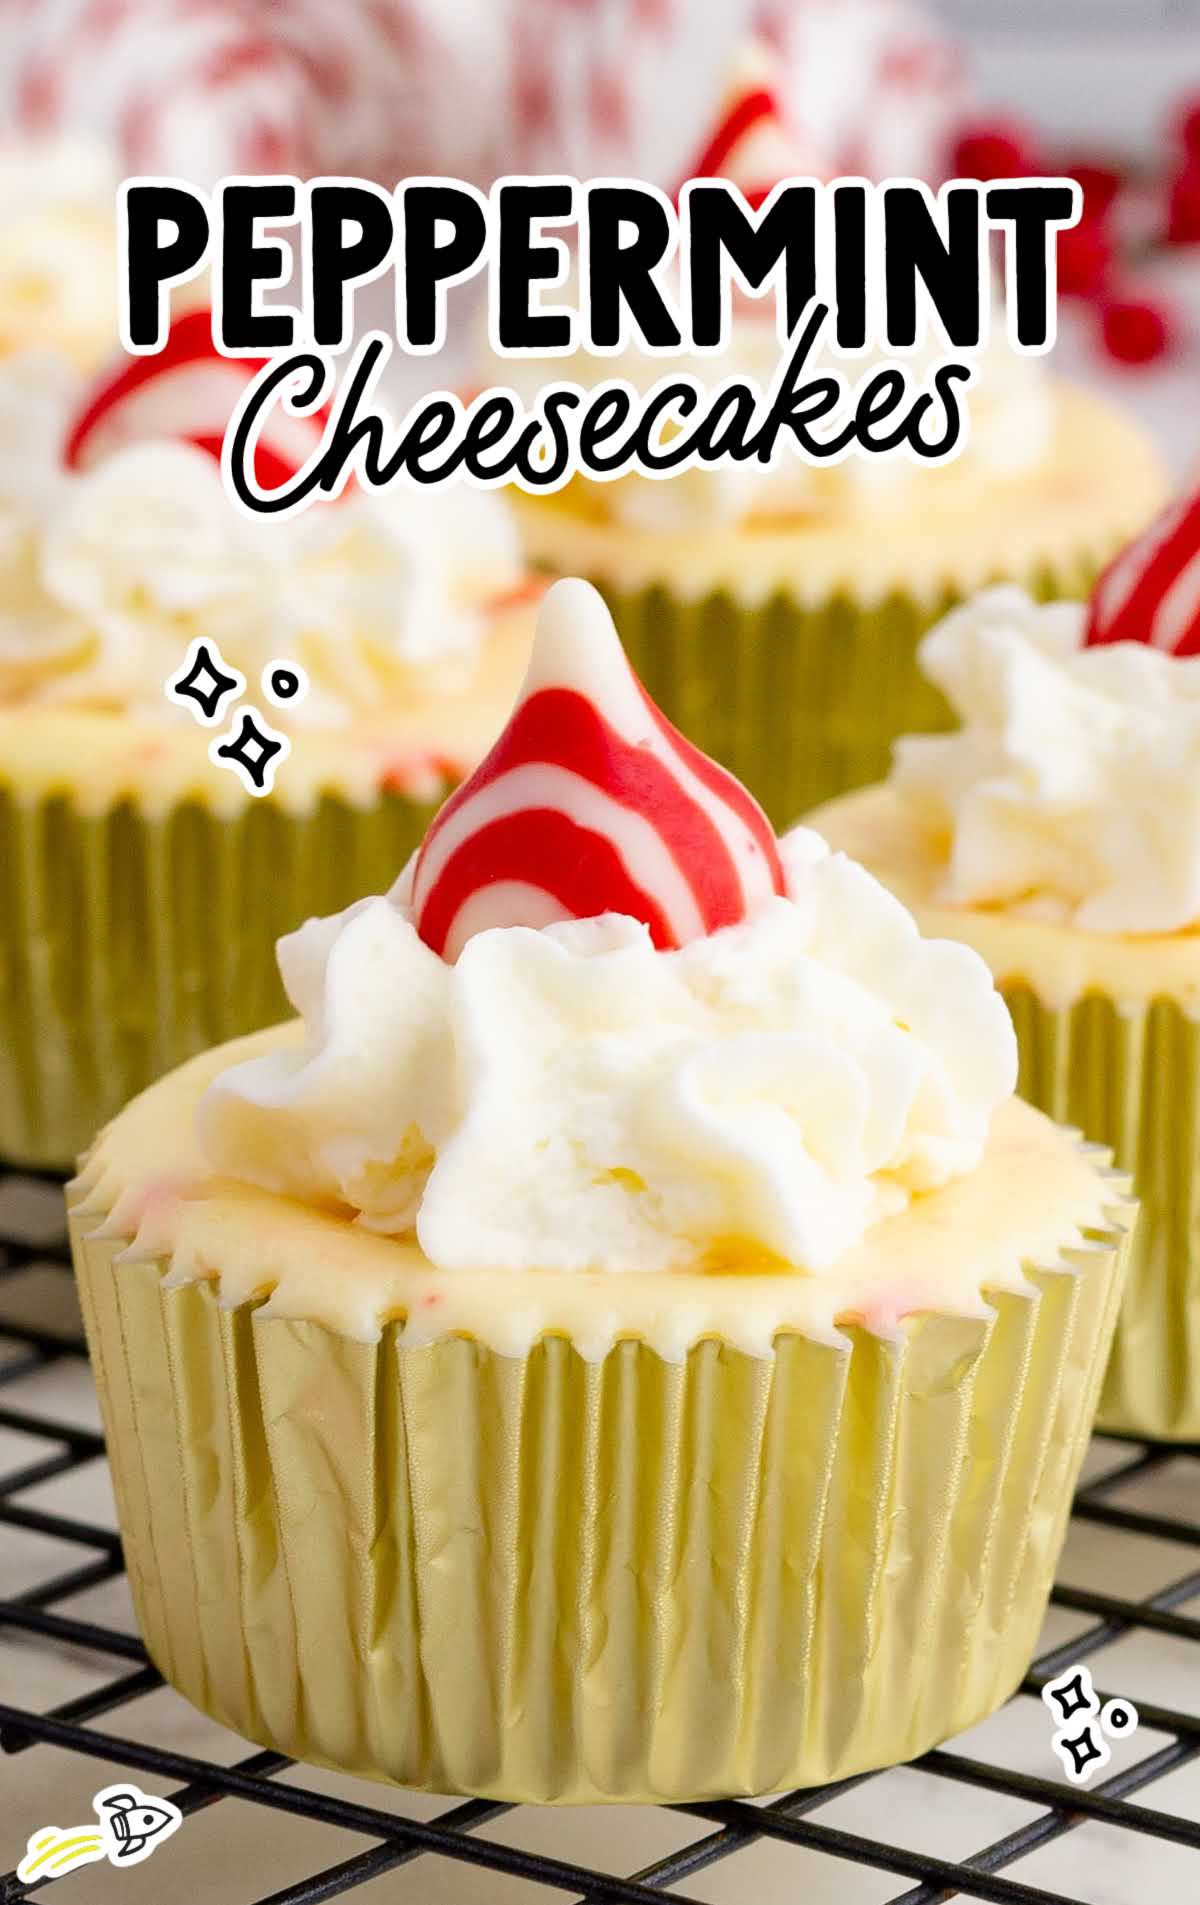
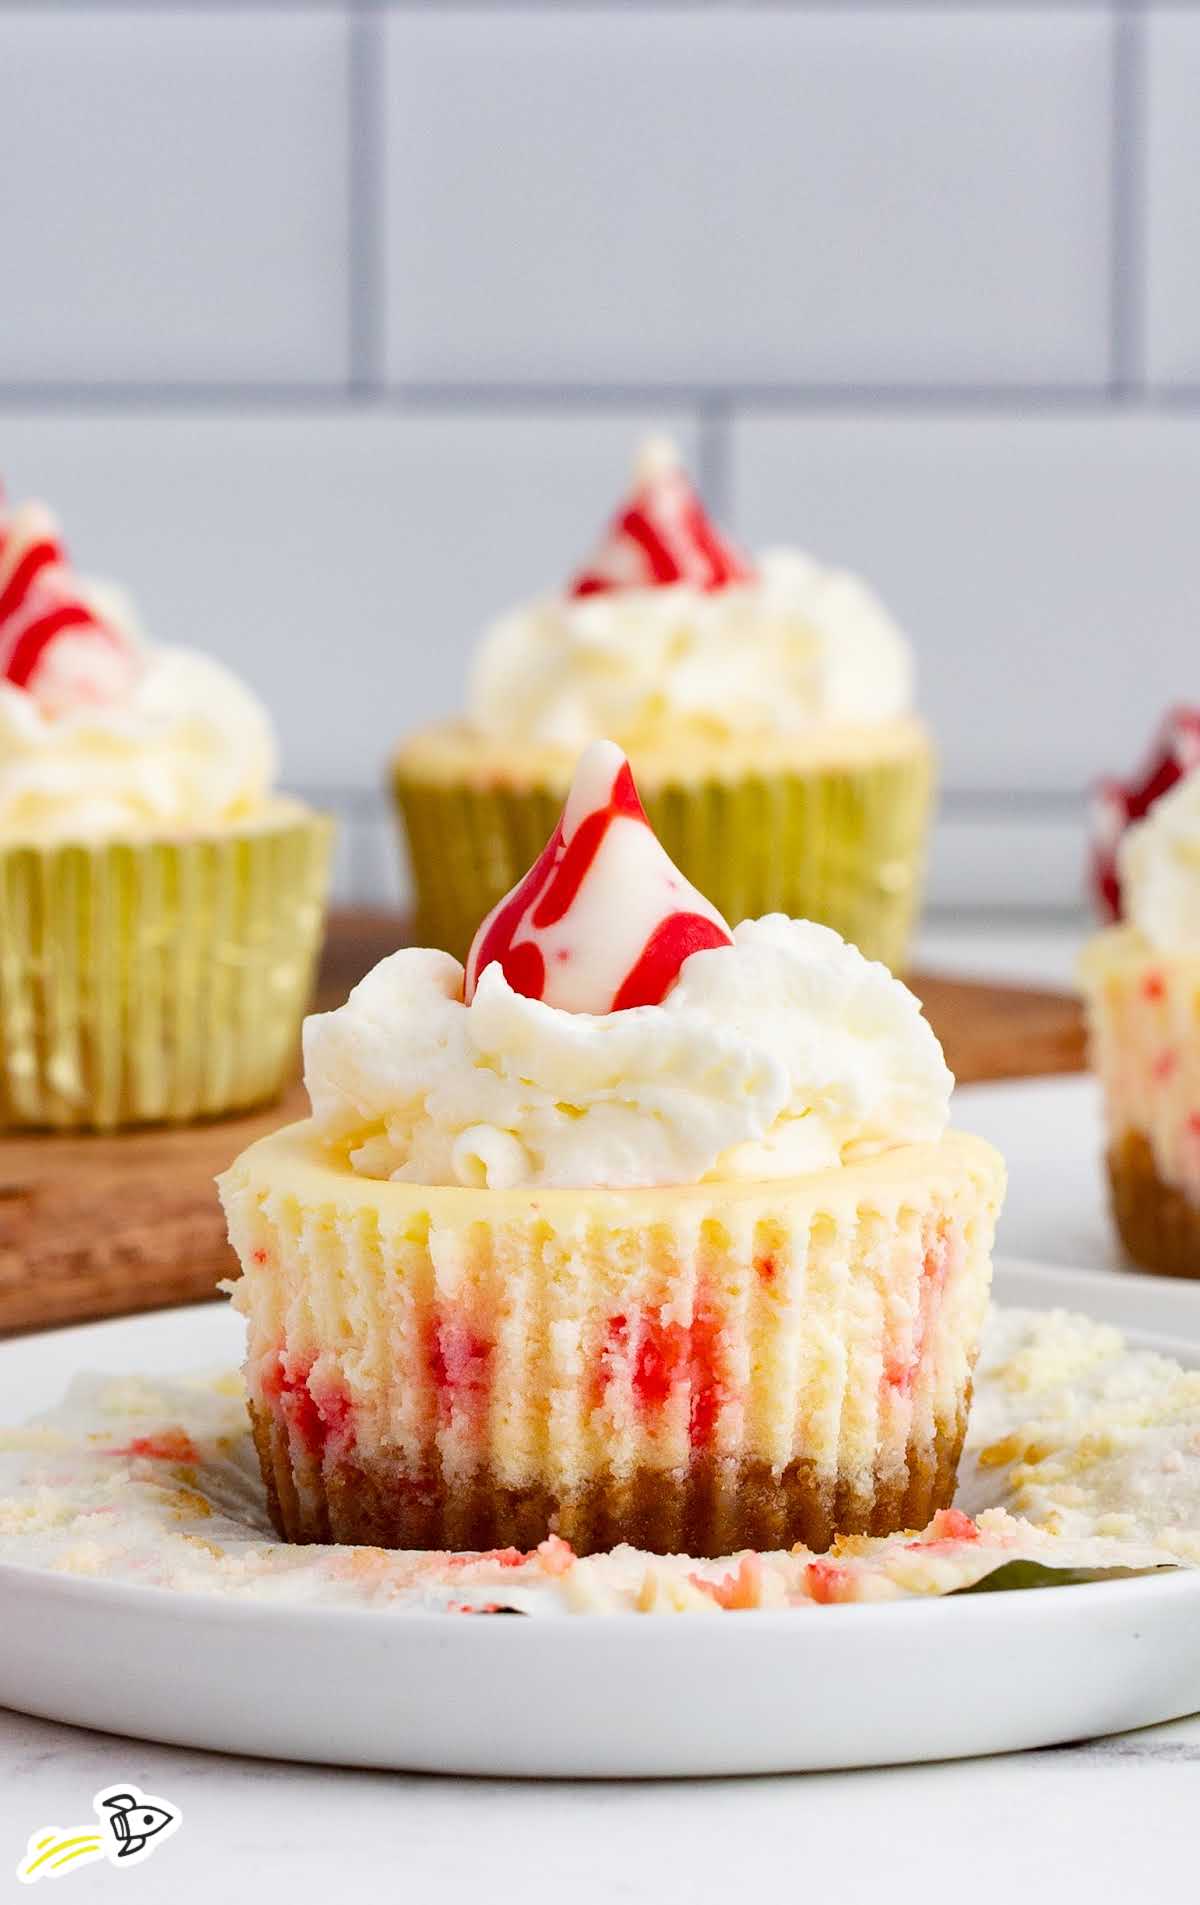
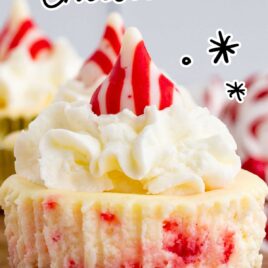
These easy and adorable peppermint cheesecakes are perfect for celebrating the holiday season. Set on a honey graham crust, the rich cheesecake is infused with peppermint and Hershey’s Kisses, and topped with a layer of whipped cream.
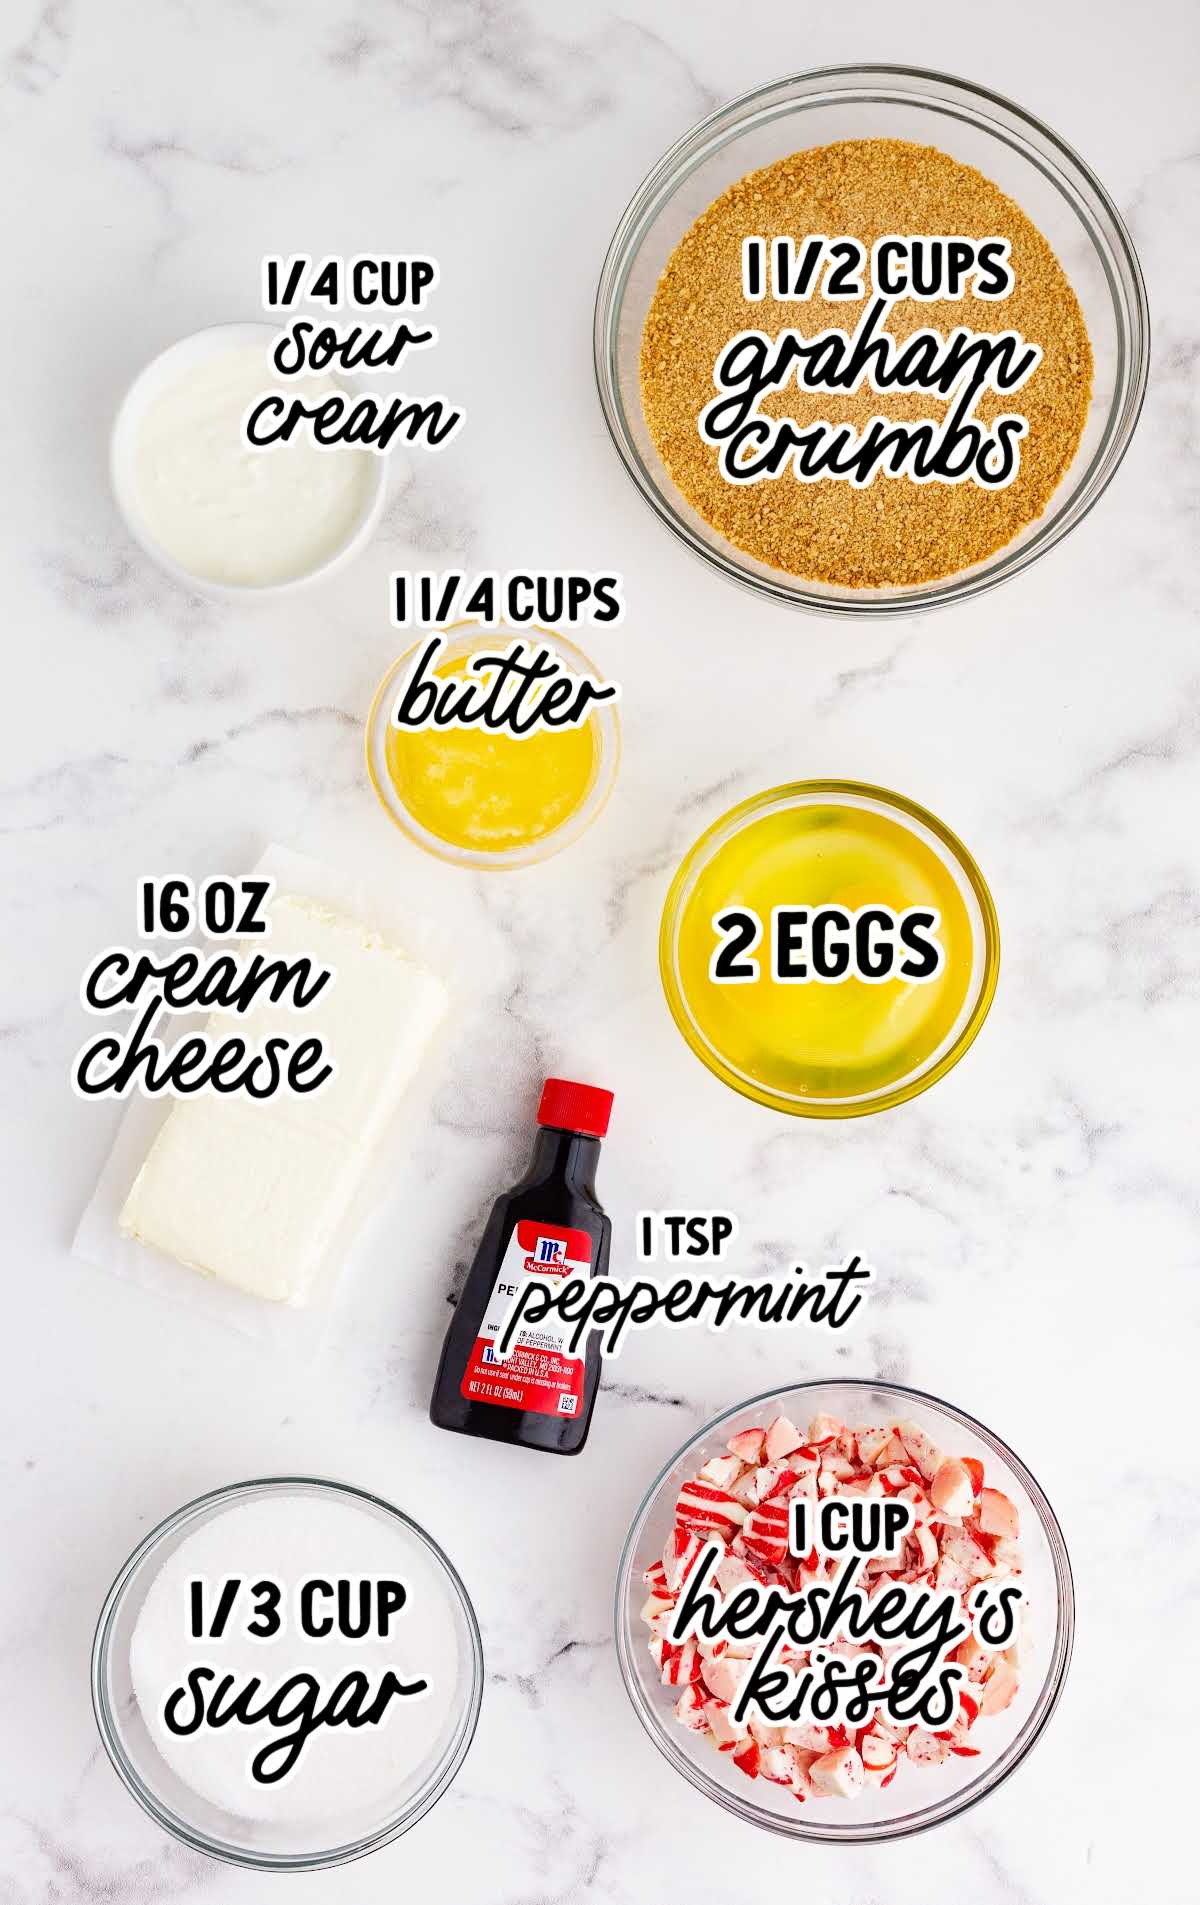
Peppermint Cheesecakes Ingredients
Peppermint cheesecake is a heavenly indulgence. A creamy and decadent treat, it combines the richness of cream cheese with the cool freshness of peppermint.
The graham cracker crust provides the perfect crunchy contrast to the smooth cheesecake center that is overflowing with peppermint candies.
To make these exquisite little treats, you’ll need:
For The Crust:
- 1½ cups of honey graham crumbs
- 1¼ cups of butter, melted
For The Cream Cheese Filling:
- 2 (8-ounce) packages of cream cheese, room temperature
- ⅓ cup of granulated sugar
- 2 eggs, room temperature
- ¼ cup of sour cream
- 1 teaspoon of peppermint extract
- 1 cup of Hershey’s Kisses in peppermint flavor, quartered + 12 whole Hershey’s Kisses (optional)
For The Whipped Cream (optional)
- 1 cup of heavy whipping cream
- ¾ cup of powdered sugar
Substitutions And Additions
WHIPPED CREAM: Whipping cream tends to melt fairly quickly. There are a couple of options you can choose from instead.
You could use Cool Whip whipped topping as it tends to hold its shape much longer than regular whipped cream.
You can also make your own stabilized whipped cream at home.
PEPPERMINT FLAVOR: If you prefer a stronger taste of peppermint, add a half teaspoon more of the peppermint extract or add about a half cup of Hershey’s Kisses.
Not a peppermint fan? Get creative! Use your favorite chocolate candy instead for this mini cheesecake recipe.
CRUST: You can definitely swap out the graham crackers for vanilla wafers for these mini peppermint cheesecakes.
How To Make This Peppermint Cheesecakes Recipe
To make these little cheesecakes, you’ll be working in layers. First, you will make the buttery graham cracker crust layer in each muffin tin.
Follow this by whipping up the creamy cheesecake layer. Don’t forget the peppermint kisses so that you have a minty surprise in every bite.
Finally, top the baked cheesecake with fluffy whipped cream and a festive kiss. Let’s get baking with the instructions below.
STEP ONE: Preheat the oven to 350°F. Line the muffin pan with cupcake liners.
OUR RECIPE DEVELOPER SAYS
Parchment paper or foil-lined liners are the easiest to peel from the cheesecake filling.
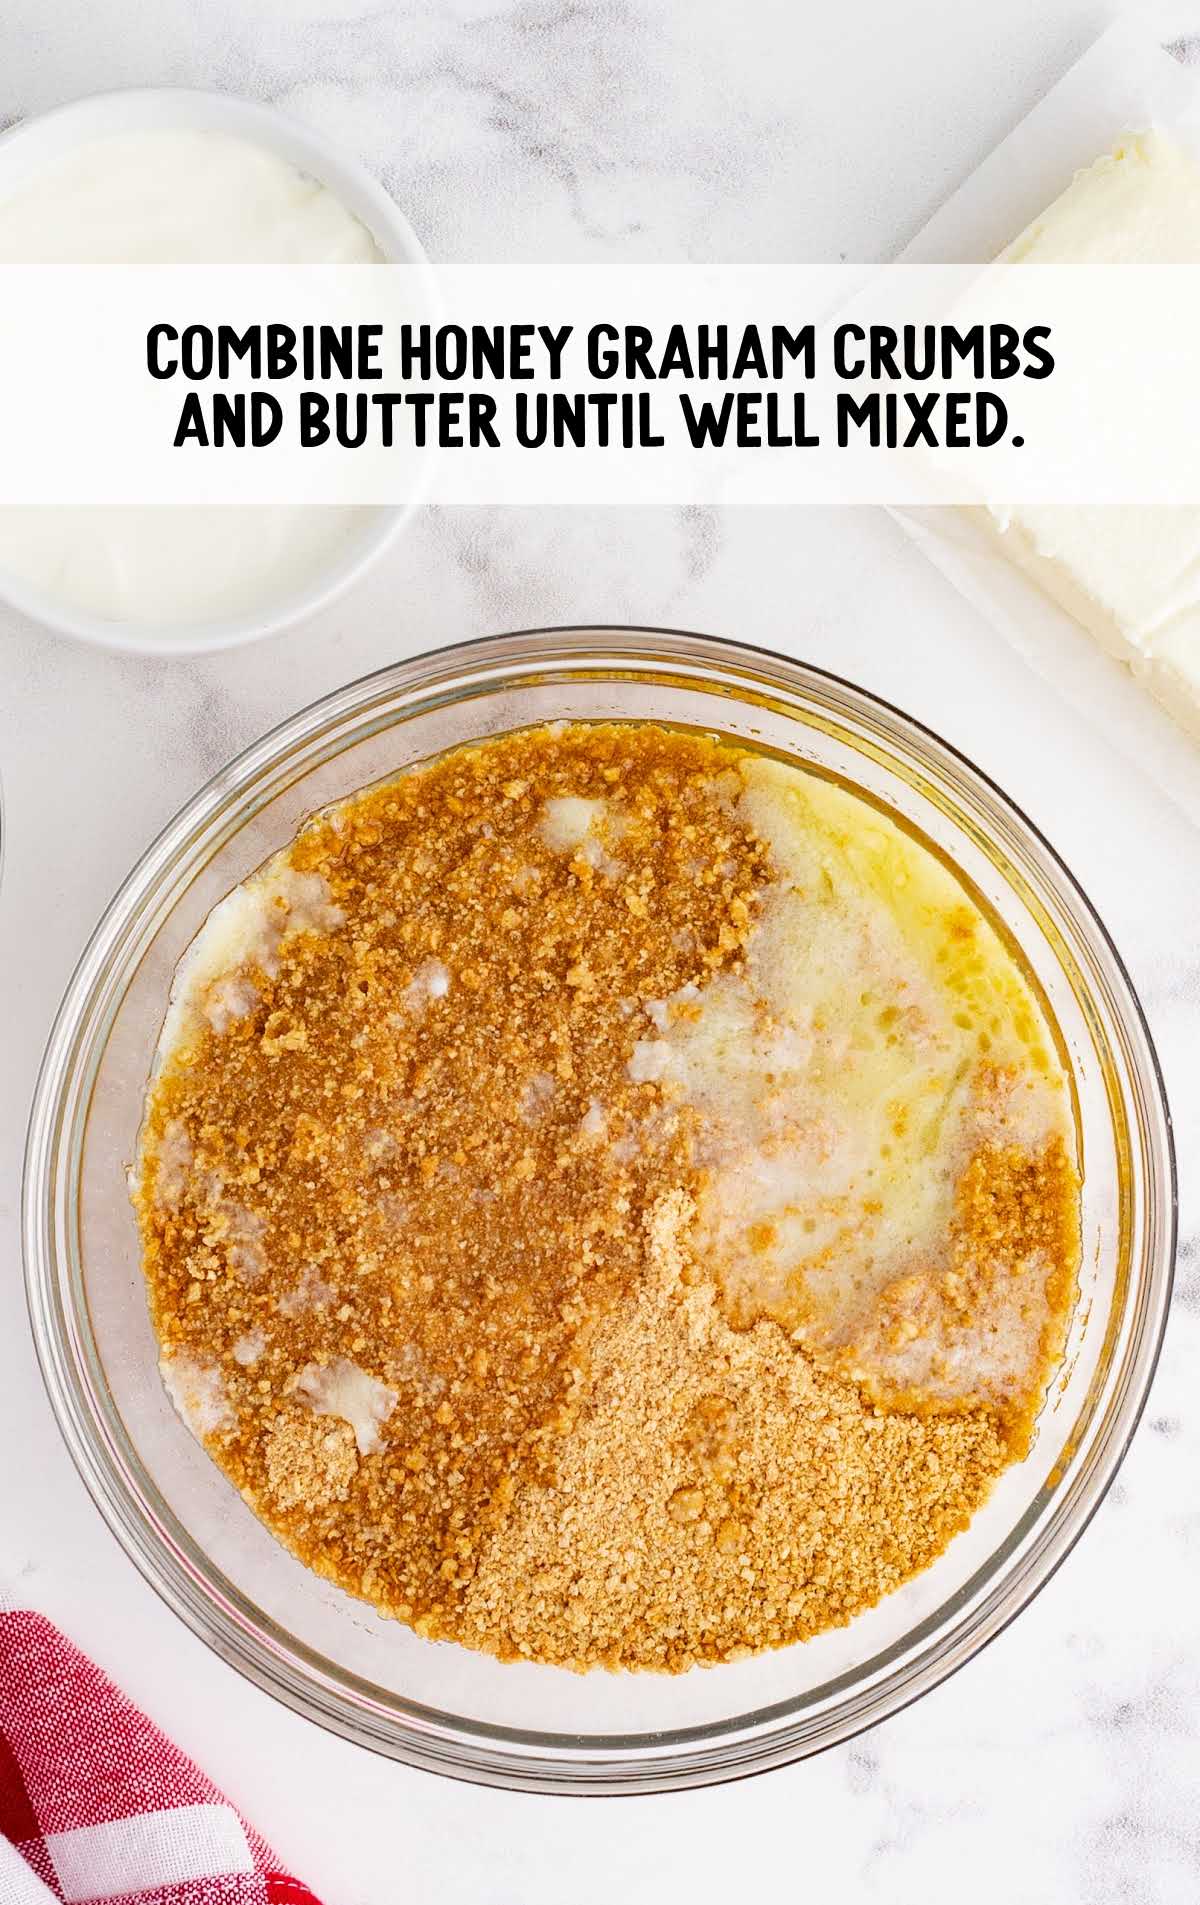
STEP TWO: In a mixing bowl, combine the honey graham crumbs and melted butter until well mixed.
STEP THREE: Scoop about one tablespoon of the cookie crumb mixture into each muffin tin.
Using your fingertips, press the mixture into an even layer until it’s evenly packed.
STEP FOUR: Bake the cookie crust for five minutes. Allow it to cool on the countertop while you prepare the cheesecake batter.
PRO TIP:
Oven temperatures vary and may need to be recalibrated periodically to ensure they are accurate. Make sure to keep a close eye on your crust as the suggested baking time approaches.
STEP FIVE: Reduce the oven to 325°F.
STEP SIX: In a large bowl, combine the cream cheese and sugar until well incorporated using a hand mixer on low speed.
PRO TIP:
Make sure the cream cheese is fully warmed to room temperature. This is important! If you choose to use it while it’s cold or even chilled, it will cause lumps in the batter mixture.
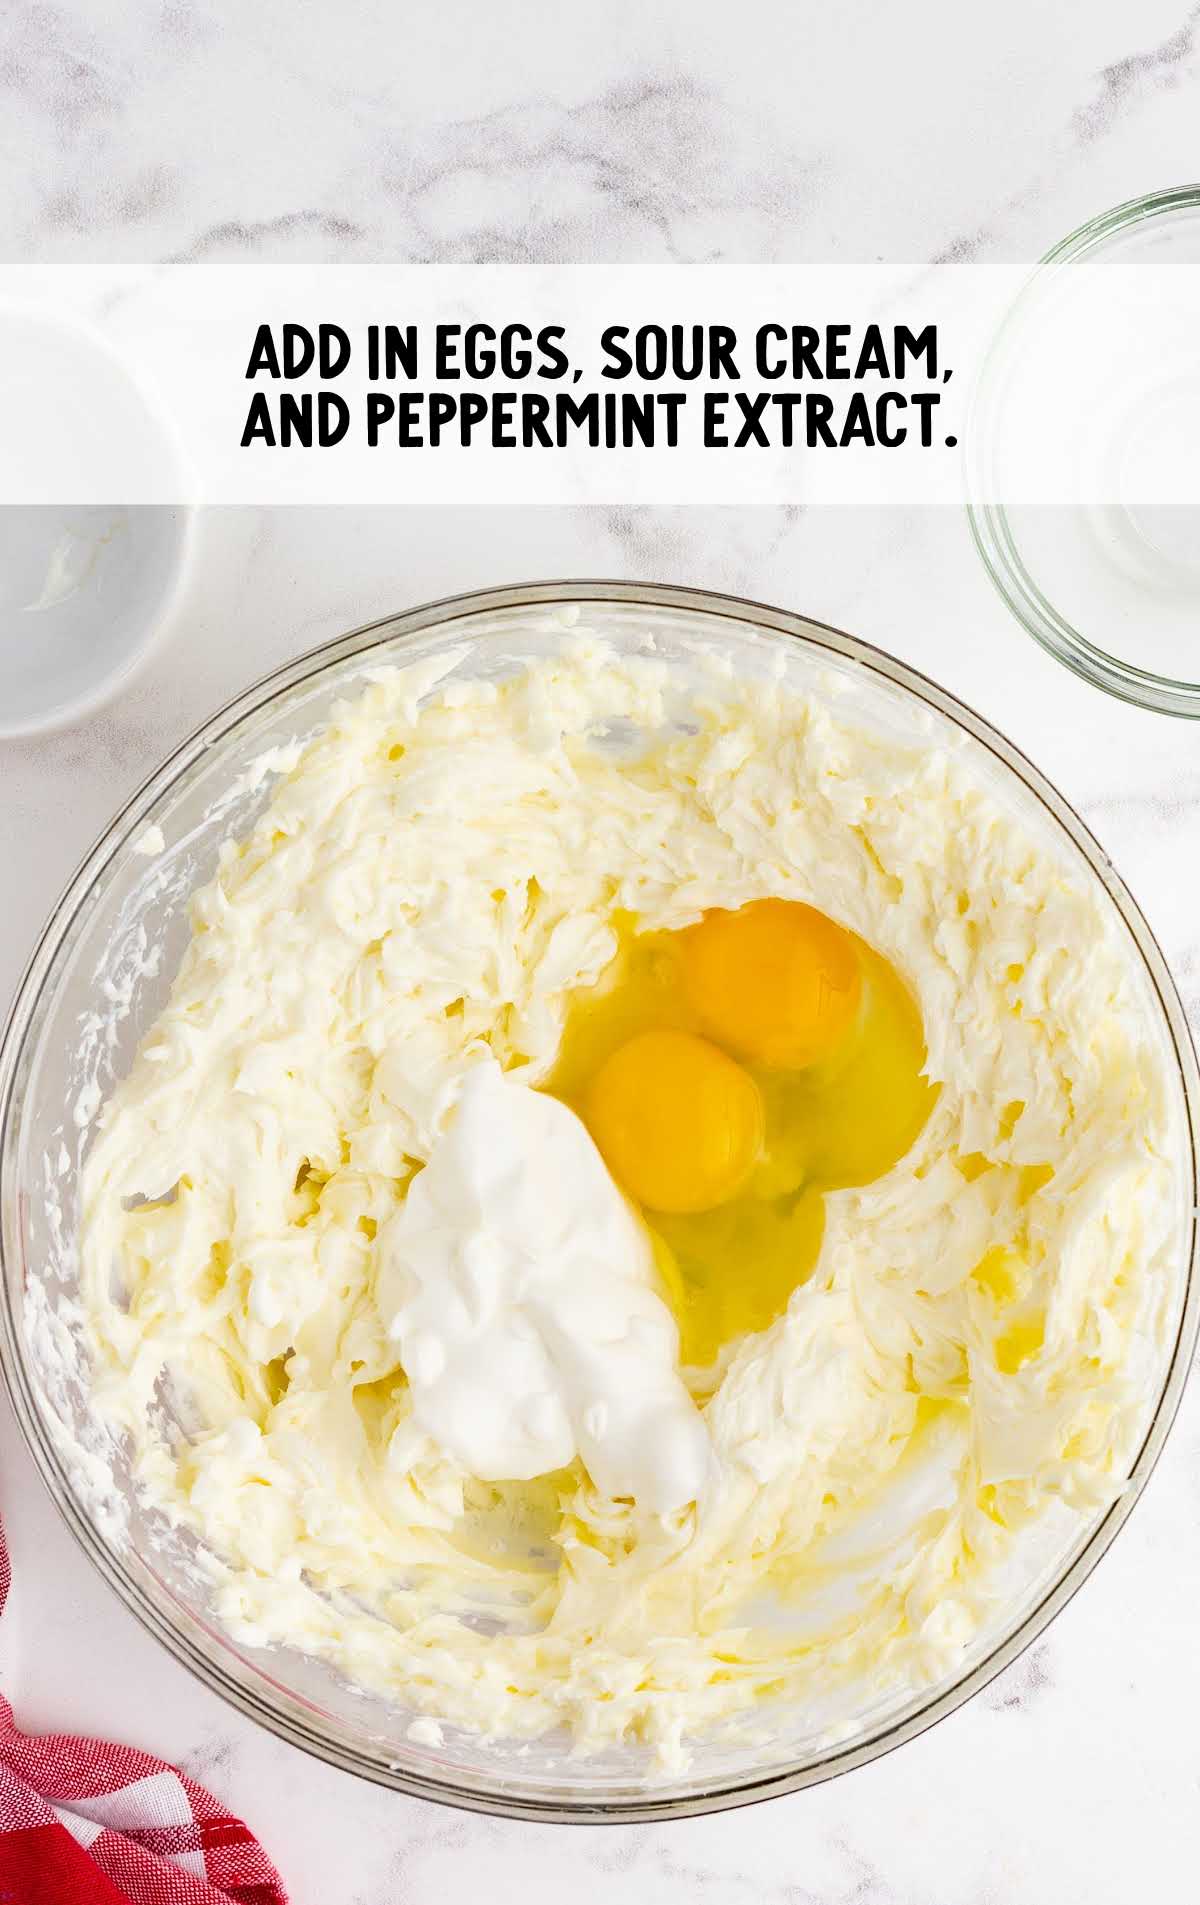
STEP SEVEN: Add in the eggs, sour cream, and peppermint extract.
Beat for about one minute. Mix in the quartered peppermint kisses with a wooden spoon.
PRO TIP:
Be careful not to overbeat the cream cheese mixture because you don’t want to incorporate air into the mixture. Make sure you always beat at l ow speed. Overbeating can cause cracks in the cheesecake once baked.
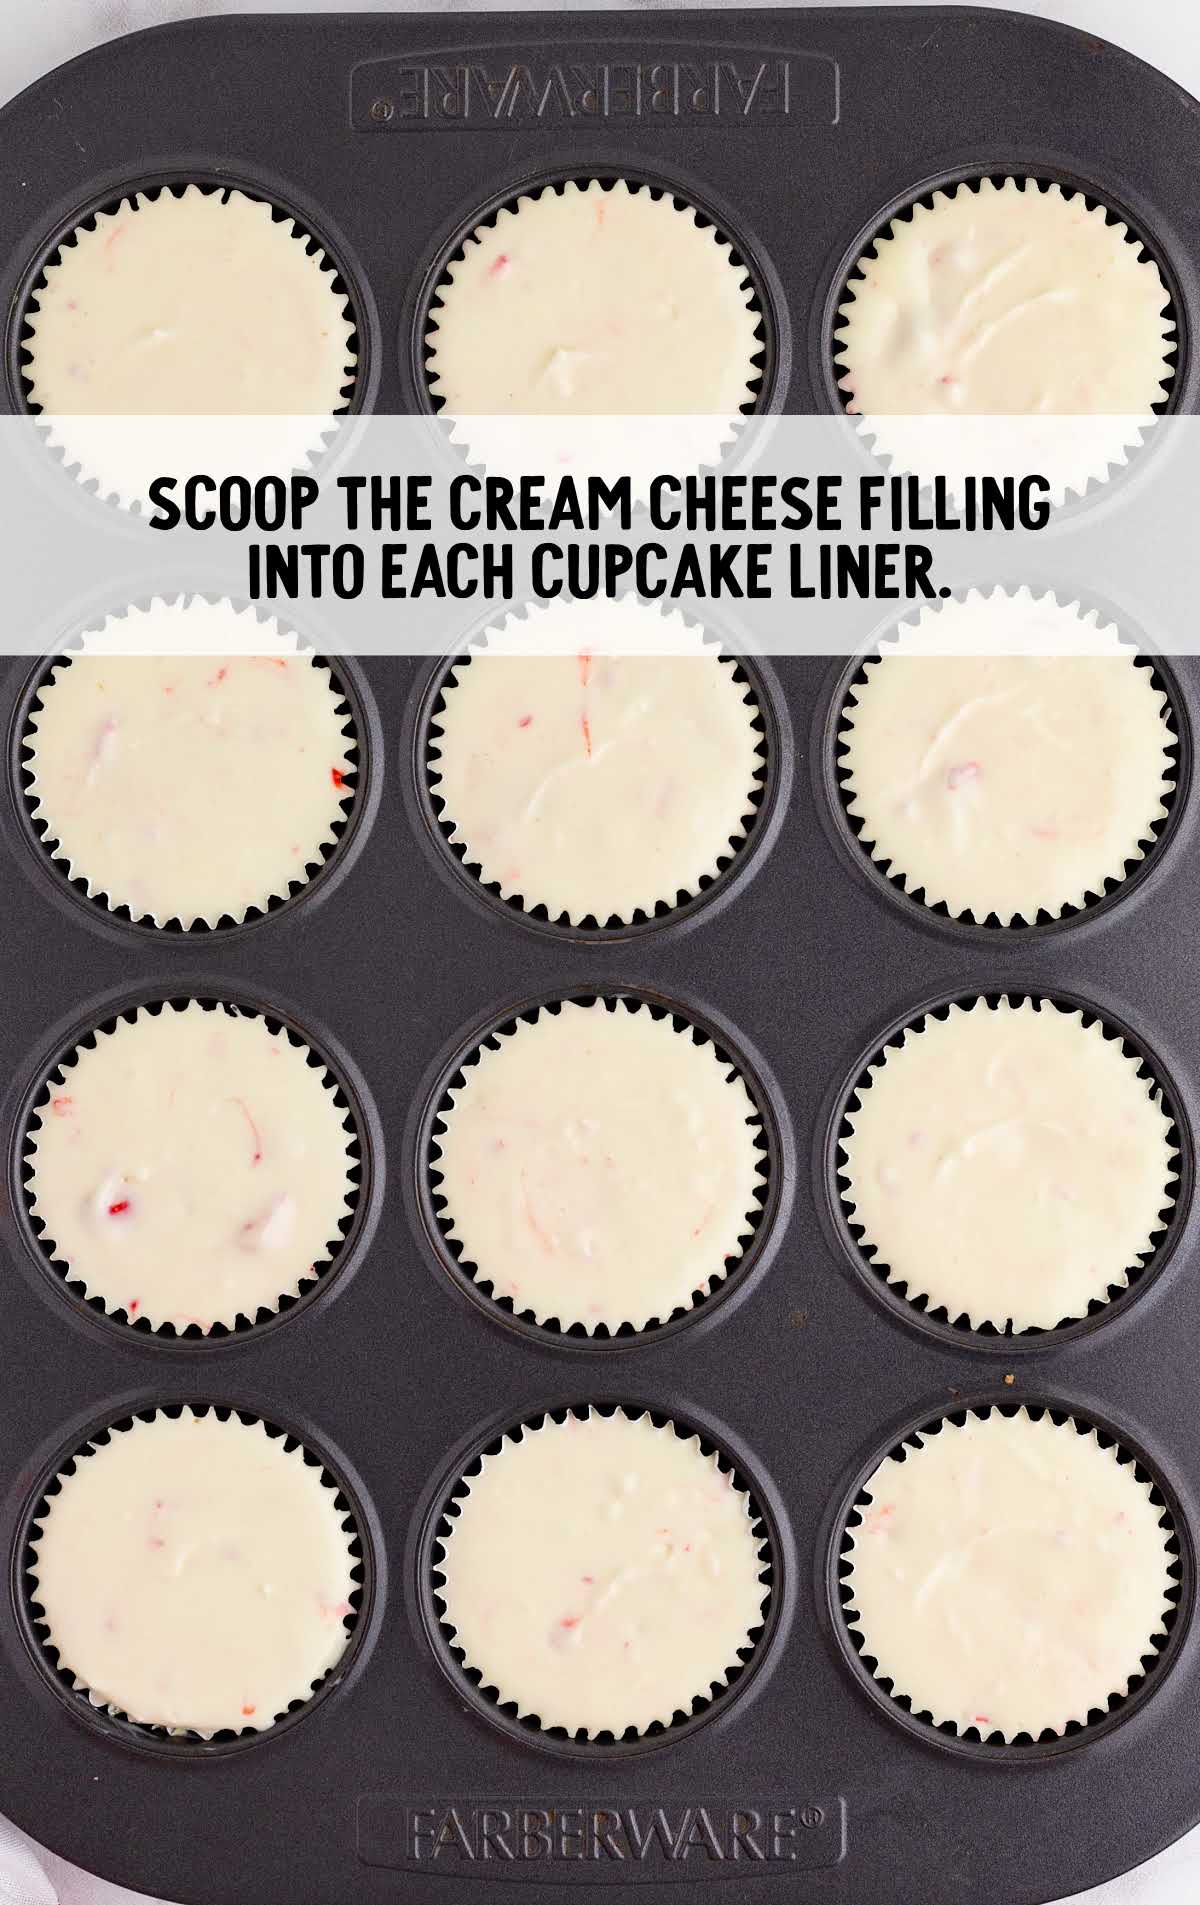
STEP EIGHT: Using a cookie scoop, scoop the cream cheese filling into each cupcake liner until it lines right at the top of the cupcake liner.
STEP NINE: Bake cheesecakes in the oven for 20 to 22 minutes. Cool cheesecake on top of the countertop.
STEP TEN: In a medium mixing bowl, beat heavy whipping cream and powdered sugar with a handheld mixer. Beat until it forms stiff peaks.
STEP ELEVEN: Transfer the whipping cream into a piping bag.
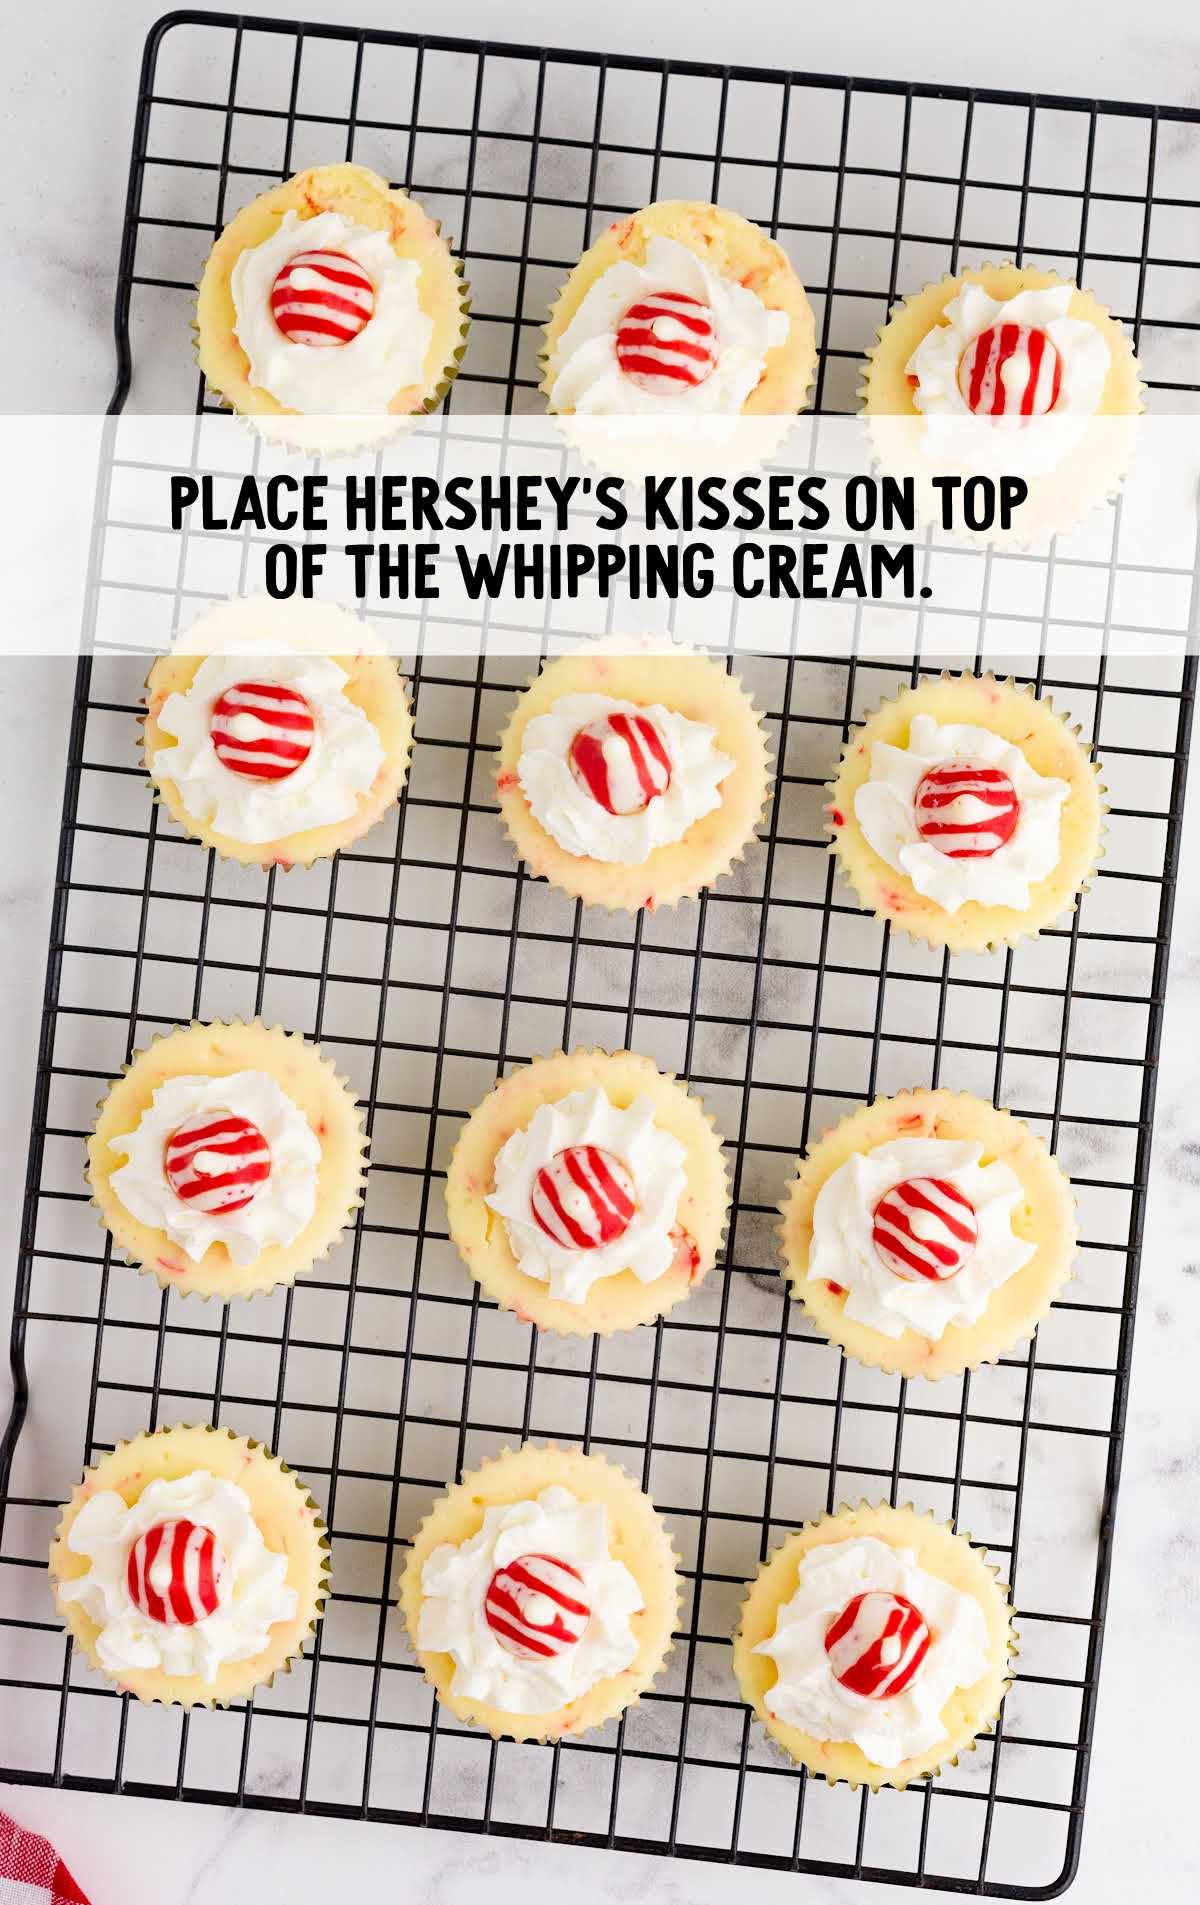
STEP TWELVE: Pipe the cream onto the middle of the cheesecake cups.
STEP THIRTEEN: Place Hershey’s Kisses on top of the whipping cream.
STEP FOURTEEN: Refrigerate overnight.
How To Serve
This creamy peppermint cheesecake makes the perfect holiday dessert.
Serve the individual-serving treat with a scoop of vanilla ice cream and a warm mug of homemade hot chocolate.
Peppermint cheesecakes would be complemented nicely by something light to contrast the rich cream cheese filling.
Try fresh fruits like raspberries, blueberries, blackberries, or strawberries—the juicy sweetness of these tart delights can help break up the indulgent flavor of the cheesecake.
Love the idea of mini cheesecakes? For two more decadent flavors, check out our mini cherry cheesecake and mini apple cheesecakes.
MORE CHEESECAKE RECIPES
Storage
Let’s make sure you know how to store these little cheesecakes for later.
MAKE AHEAD: After following the recipe, let them cool to room temperature. Then, place them in an airtight container.
These creamy delights can be made up to two days ahead of time.
Just remember to add those festive crushed candy cane toppings right before serving to keep them looking and tasting their best.
IN THE FRIDGE: Keep the mini cheesecakes in an airtight container and refrigerate for up to five days.
IN THE FREEZER: Keep this easy dessert in an airtight container and place them in the freezer for up to two months.
Label the container so that you remember to enjoy them before their best-by date.
When you’re ready to serve them, take them out and let them thaw in the fridge overnight.
Why We Love This Recipe
FESTIVE FLAVOR FUSION: The combination of creamy cheesecake and the cool, refreshing taste of peppermint creates a delightful flavor fusion that’s both comforting and festive.
INDIVIDUAL SERVINGS: The recipe yields individual-sized cheesecakes, making it perfect for portion control and serving at parties or gatherings.
These peppermint cheesecakes have the classic thick and creamy texture that everyone loves. You can taste the hints of peppermint in the creamy cheesecake filling, making them the perfect festive dessert for your holiday party.
Frequently Asked Questions
Keep these treats in an airtight container and refrigerate for up to five days.
Keep them in an airtight container and place them in the freezer for
up to two months. If you’re ready to serve them, take them out and let them thaw.
To get the cream cheese to room temperature quickly, cut it into cubes and place it on a plate for about 20 minutes.
Your peppermint cheesecake recipe is done if the center looks set but still jiggles when you move the pan.
More Recipes You’ll Love
- Cool Whip Candy
- Peppermint Meltaways
- Chocolate Covered Graham Crackers
- Chocolate Peppermint Cookies
- Graham Cracker Crust
- Blueberry Cheesecake Cookies

Peppermint Cheesecakes
Ingredients
Crust
- 1½ cups honey graham crumbs
- 1¼ cups butter, melted
Cream Cheese Filling
- 16 ounces cream cheese, room temperature
- ⅓ cup granulated sugar
- 2 eggs, room temperature
- ¼ cup sour cream
- 1 teaspoon peppermint extract
- 1 cup Hershey’s Kisses in peppermint flavor, quartered plus 12 whole Hershey’s Kisses (optional)
Whipping Cream (optional)
- 1 cup heavy whipping cream
- ¾ cup powdered sugar
Instructions
- Preheat the oven to 350°F. Line the muffin pan with cupcake liners.
- In a mixing bowl, combine honey graham crumbs and butter until well mixed.
- Scoop about 1 tablespoon of cookie crumb mixture into each muffin tin. Using your fingertips, press the mixture into an even layer until it’s evenly packed.
- Bake the cookie crust for 5 minutes. Allow it to cool on the countertop while you prepare the cheesecake batter.
- Reduce the oven to 325°F.
- In a large mixing bowl, combine cream cheese and sugar until well incorporated using a hand mixer on low speed.
- Add in eggs, sour cream, and peppermint extract. Beat for about 1 minute. Mix in the quartered peppermint kisses with a wooden spoon.
- Using a cookie scoop, scoop the cream cheese filling into each cupcake liner until it lines right at the top of the cupcake liner.
- Bake in the oven for 20 to 22 minutes. Let cool on top of the countertop.
- Meanwhile, in a medium mixing bowl, beat together heavy whipping cream and powdered sugar with a handheld mixer. Beat until it forms a peak.
- Transfer the whipping cream into a piping bag.
- Pipe the cream onto the middle of the cheesecake cups.
- Place Hershey’s Kisses on top of the whipping cream.
- Refrigerate overnight.
Notes
- Parchment paper or foil-lined liners are the easiest to peel from the cheesecake filling.
- Oven temperatures vary and may need to be recalibrated periodically to ensure they are accurate. Make sure to keep a close eye on your crust as the suggested baking time approaches.
- Make sure the cream cheese is fully warmed to room temperature. This is important! If you choose to use it while it’s cold or even chilled, it will cause lumps in the batter mixture.
- Be careful not to overbeat the cream cheese mixture because you don’t want to incorporate air into the mixture. Make sure you always beat at low speed. Overbeating can cause cracks in the cheesecake once baked.
Nutrition
Even More Recipes You’ll Love
Mini Cheesecake Recipes
Cheesecake Recipes
- Lemon Cheesecake
- Brownie Bottom Cheesecake
- Turtle Cheesecake
- Unicorn Cheesecake
- No Bake Raspberry Cheesecake
- Pecan Pie Cheesecake
- Blueberry Cheesecake
- Carrot Cake Cheesecake





Leave a Comment