Published on
Last updated on
Pizza Pockets

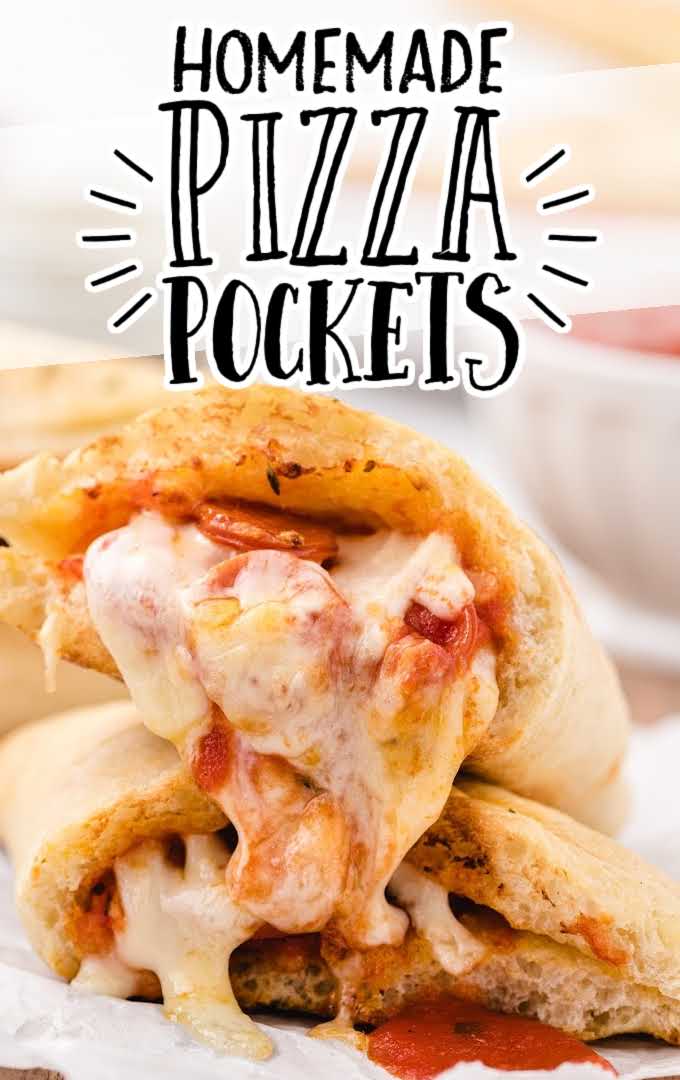
These delicious homemade pizza pockets (also called calzones) are so good, it’ll be hard to choose just one time during the day to serve them! Whenever you decide, you’ll be treated to gooey melted cheese, mouthwatering pepperoni, and your favorite sauce, all wrapped up in a deliciously crisp, seasoned pizza dough.
Pizza Pockets Ingredients
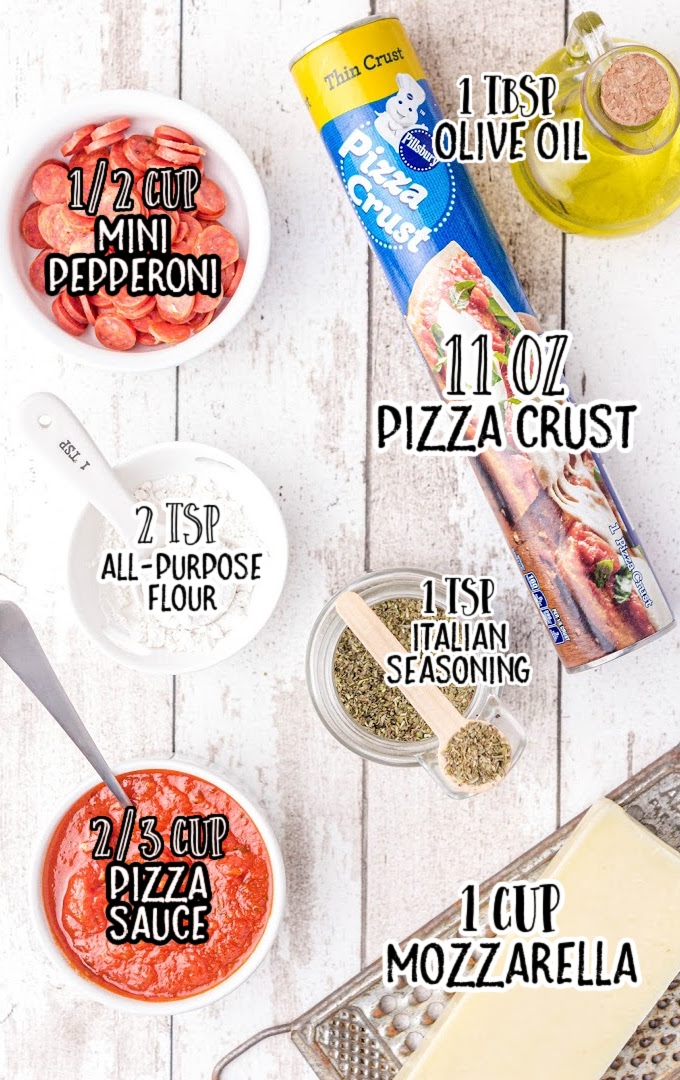
You’ll need:
- 11-ounce tube of pre-made pizza crust
- ⅔ cup of your favorite pizza sauce
- 1 cup of shredded mozzarella cheese
- ½ cup of mini pepperoni slices
- 1 tablespoon of olive oil
- 1 teaspoon of Italian seasoning for topping
Substitutions And Additions
VEGETABLES: Feel free to dice up your choice of veggies to add them to the pizza filling. Consider green bell pepper, white button mushrooms, and onions.
BACON BITS: Bacon bits are small enough to fit in your already delicious pizza pockets, and they add another layer of mouthwatering flavor.
How To Make This Pizza Pockets Recipe
STEP ONE: Preheat the oven to 400°F. Measure out enough parchment paper to line a standard baking sheet.
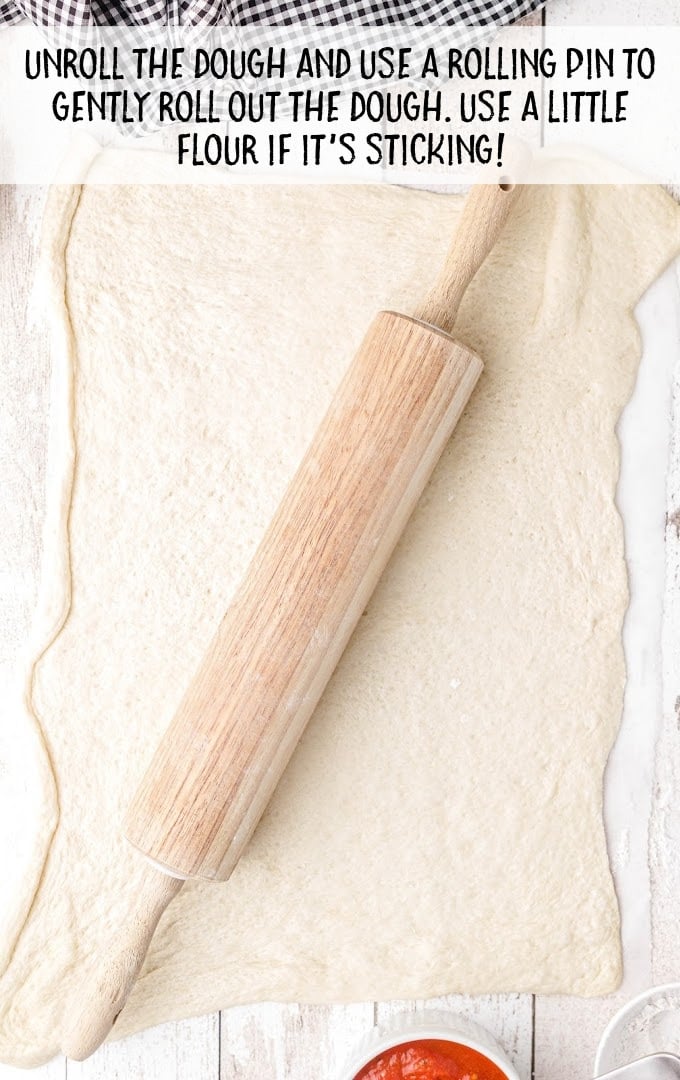
STEP TWO: Open and unroll the pre-made pizza crust. On the parchment paper, use a rolling pin to lightly flatten the dough.
OUR RECIPE DEVELOPER SAYS
Feel free to add a dusting of flour if the dough is too sticky.
STEP THREE: Using a pizza cutter, evenly slice long ways down the center of the pizza dough. Then slice each half into 3 pieces.
This will give you 6 pieces of pizza dough.
STEP FOUR: Spread 1½ to 2 tablespoons of pizza sauce off center of the dough. It may help to picture the dough as two back-to-back triangles.
You are putting the sauce over one of the triangles. The other triangle will be folded over to make the top.
PRO TIP:
Be sure not to spread too close to the edges, or the sauce will leak out and cause a problem sealing the edges.
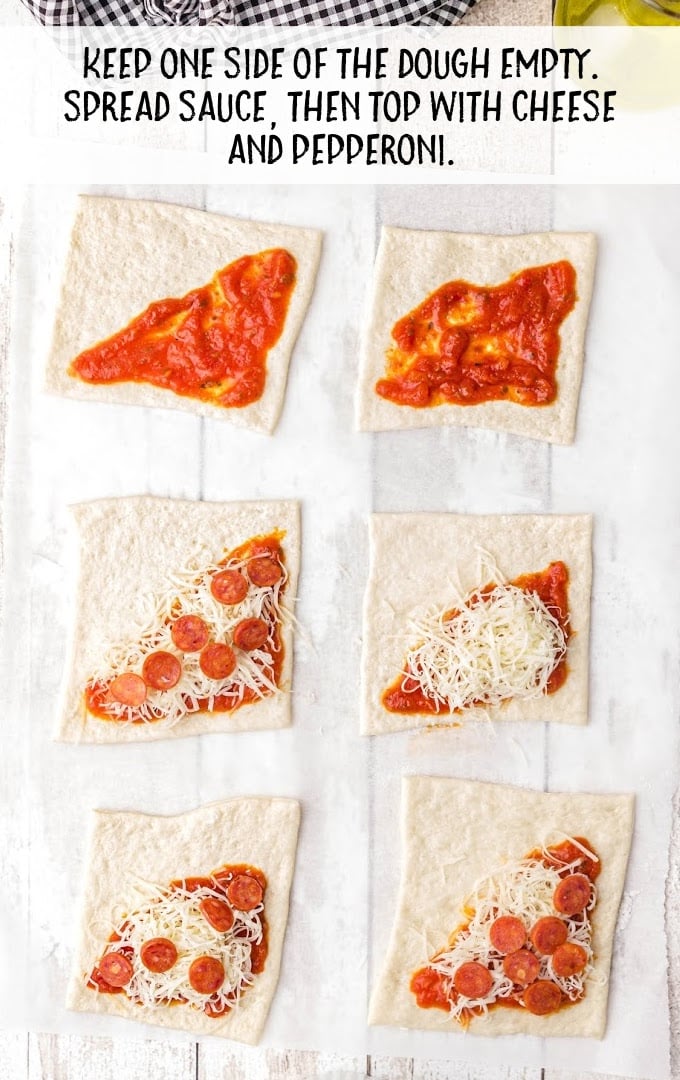
STEP FIVE: Sprinkle 2 to 2½ tablespoons of mozzarella cheese over the sauce. Then lay the mini pepperoni over the top of the cheese.
STEP SIX: Carefully fold the tops of the pizzas. Using a fork, press the edges closed.
STEP SEVEN: Using a pastry brush, lightly baste the olive oil over the tops of the pizzas. Lightly sprinkle the Italian seasoning over the tops of the pizzas.
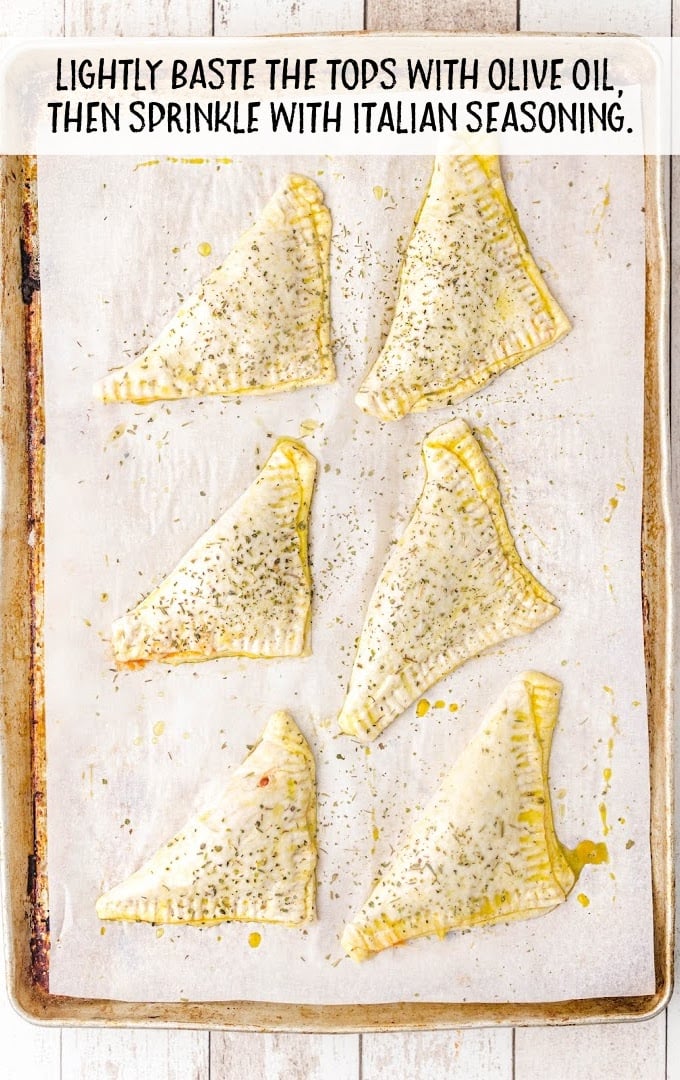
STEP EIGHT: Bake for 10 to 13 minutes, until the top is golden brown.
PRO TIP:
Oven temperatures vary and may need to be recalibrated periodically to ensure they are accurate. Make sure to check your pizza pockets at the lower end of the recommended baking time.
How To Serve
Pair your pizza pockets with classic marinara sauce for dipping. The rich tomato sauce complements the cheesy, savory filling, creating a timeless combination that kids and adults alike will adore.
Turn your pizza pockets into a complete meal by serving them with a crisp Caesar salad.
Still searching for more pizza-based inspiration? While these pizza pockets are amazing, our pull apart pizza bread is another great dish that can satisfy your pizza cravings.
Making these for a party? The kids will love our Oreo milkshakes on the side!
Storage
You’ll want to reach for these tasty snacks throughout the day, so make sure you store them properly for the best quality leftovers.
IN THE FRIDGE: Homemade pizza pockets will last in the refrigerator for five days. Keep in an airtight container, or wrap individually.
IN THE FREEZER: Fully cook and let cool before you freeze. Wrap individually and store each in the freezer for up to three months.
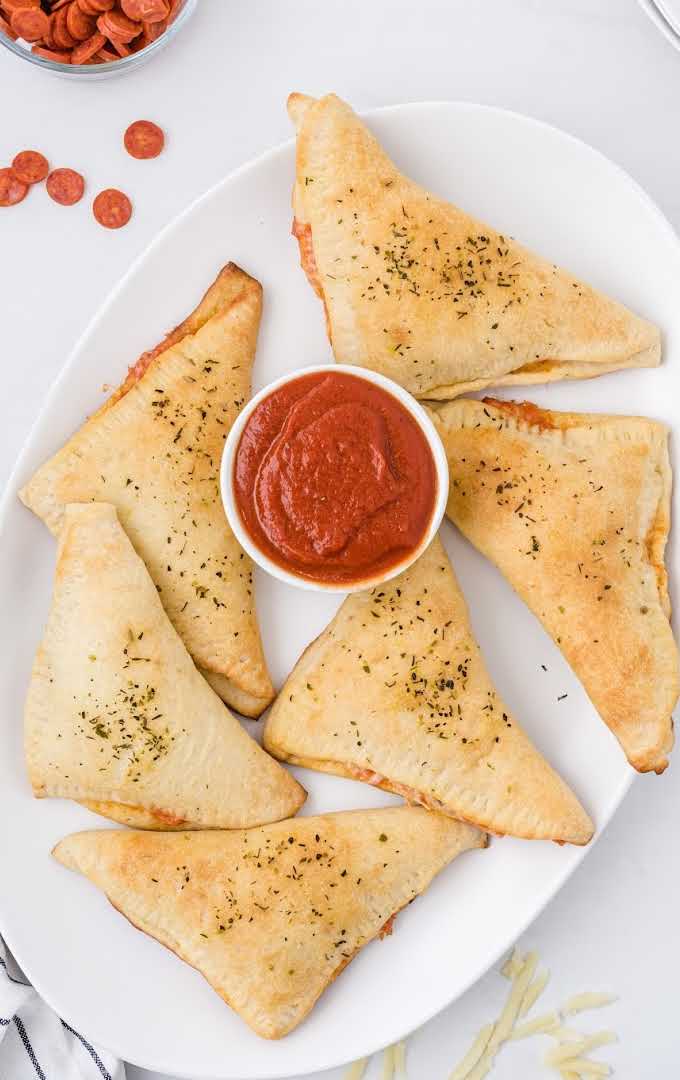
Making an appetizing dish for the kids (or for yourself, we won’t tell!) only needs to take 20 minutes. These pizza pockets are the perfect snack food. The crispy, seasoned pizza dough paired with a cheesy pepperoni pizza filling is a classic taste that can’t be beaten.
Frequently Asked Questions
For best results, use mozzarella cheese for the pizza pockets. You can also use cheddar, gouda, and provolone cheese, as they will melt well.
If they are frozen, you don’t need to thaw. Just put them in the microwave for a minute or two to thaw, and then continue to heat them for another 2-3 minutes to make sure they are heated through.
You can use homemade pizza dough if you prefer. Just roll it out to a similar shape as the pre-made dough above and fill and bake according to our directions.
More Recipes You’ll Love
- Air Fryer Pizzas
- Air Fryer Pizza Rolls
- Pizza Zucchini Boats
- Easy Pepperoni Rolls
- Crustless Pizza
- Pizza Casserole with Biscuits

Pizza Pockets
Ingredients
- 11 ounces pre-made pizza crust
- ⅔ cup of your favorite pizza sauce
- 1 cup mozzarella cheese, shredded
- ½ cup mini pepperoni slices
- 1 tablespoon olive oil
- 1 teaspoon Italian seasoning, for topping
Instructions
- Preheat the oven to 400°F.
- Measure out enough parchment paper to line a standard baking sheet.
- Open and unroll the pre-made pizza crust. Lightly flatten the dough using the parchment paper, a rolling pin, and a dusting of flour if the dough is too sticky.
- Using a pizza cutter, evenly slice long ways down the center of the pizza dough. Then slice each half into 3 pieces. This will give you 6 pieces of pizza dough.
- Spread 1½ to 2 tablespoons of the pizza sauce off center of the dough. It may help to picture the dough as 2 back-to-back triangles. You are putting the sauce over 1 of the triangles. The other triangle will be folded over to make the top.
- Sprinkle 2 to 2½ tablespoons of mozzarella cheese over the sauce.
- Lay the mini pepperoni over the top of the cheese.
- Carefully fold the tops of the pizzas. Using a fork, press the edges closed.
- Using a pastry brush, lightly baste the olive oil over the tops of the pizzas.
- Lightly sprinkle the italian seasoning over the tops of the pizzas.
- Bake for 10 to 13 minutes, until the top is golden brown.
Notes
- Feel free to add a dusting of flour if the dough is too sticky when rolling it out.
- Be sure to not spread too close to the edges, or the sauce will leak out and cause a problem sealing the edges.
- Oven temperatures vary and may need to be recalibrated periodically to ensure they are accurate. Make sure to check your pizza pockets at the lower end of the recommended baking time.




Comments
Gloria says
Easy and flavorful – so many great options for fillings. We made Hawaiian with ham and pineapple as well as deluxe with sausage, peppers, and onions. YUM!