
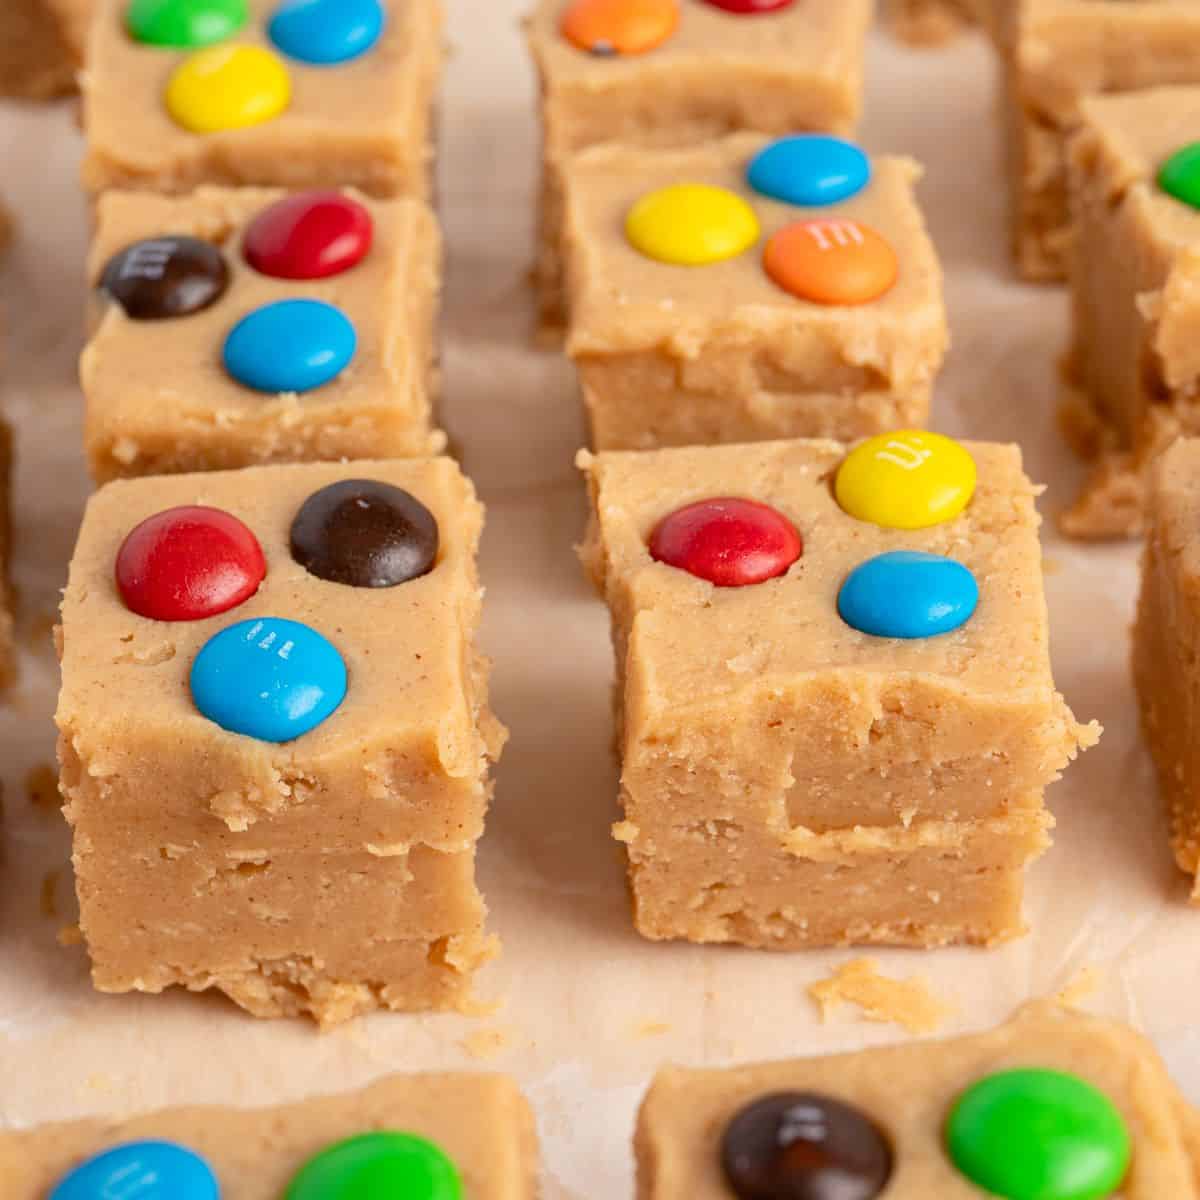
The fastest way to ruin peanut butter fudge is trying to make it less sweet. It sounds backwards, but the powdered sugar in this recipe is what makes the fudge firm up, and cutting it back is the most common reason a pan of fudge comes out of the refrigerator soupy two hours later.
This recipe solves the sweetness problem differently. It uses more peanut butter instead of less sugar, so every piece tastes like peanut butter first, and the fudge still sets firm enough to slice cleanly.
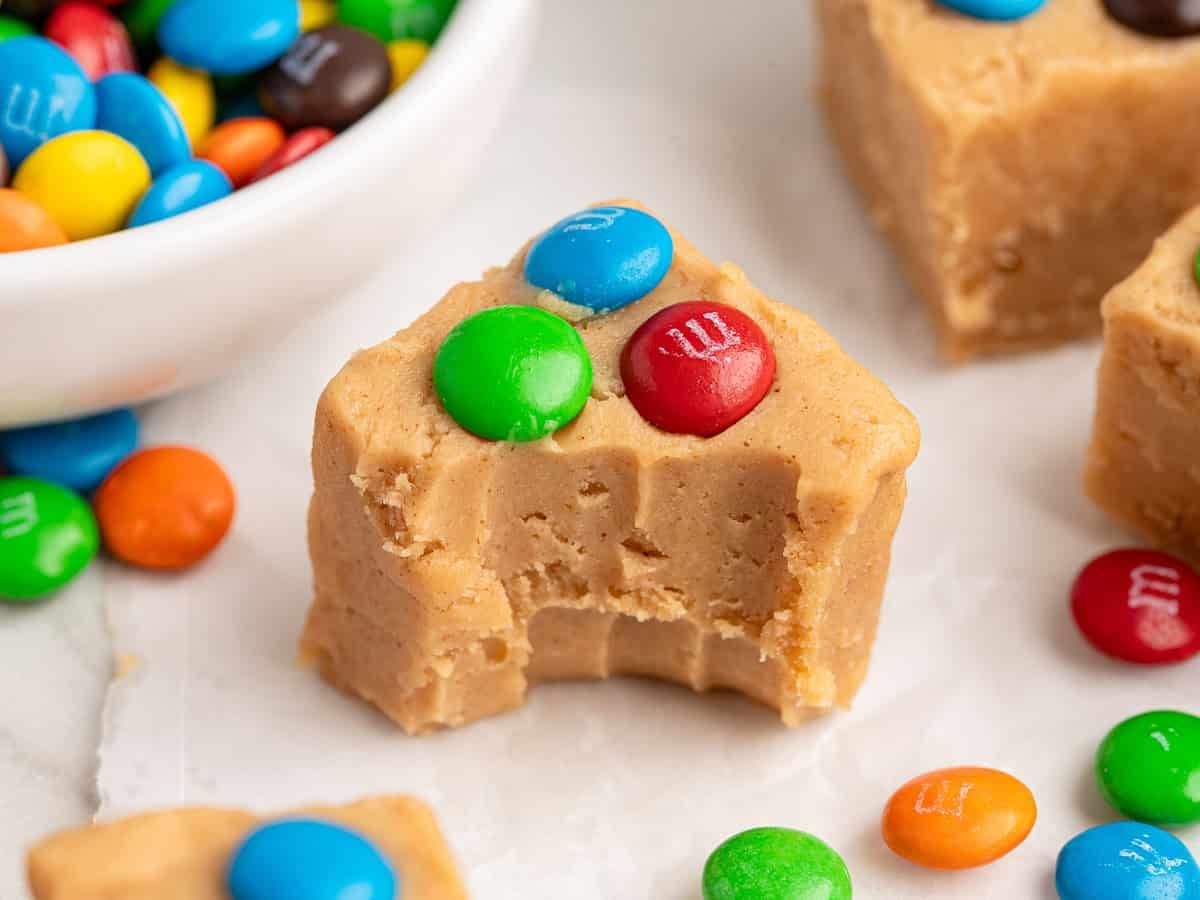
This is also about as simple as candy gets. You melt everything in one bowl in the microwave, and the refrigerator does the rest, the same way I make my chocolate fudge. There is no thermometer and nothing boiling on the stove.
When my recipe tester, Angela, tested the recipe in May, her biggest fight was with a sheet of parchment paper, and even that got fixed. More on that below.
Why This Fudge Sets Properly
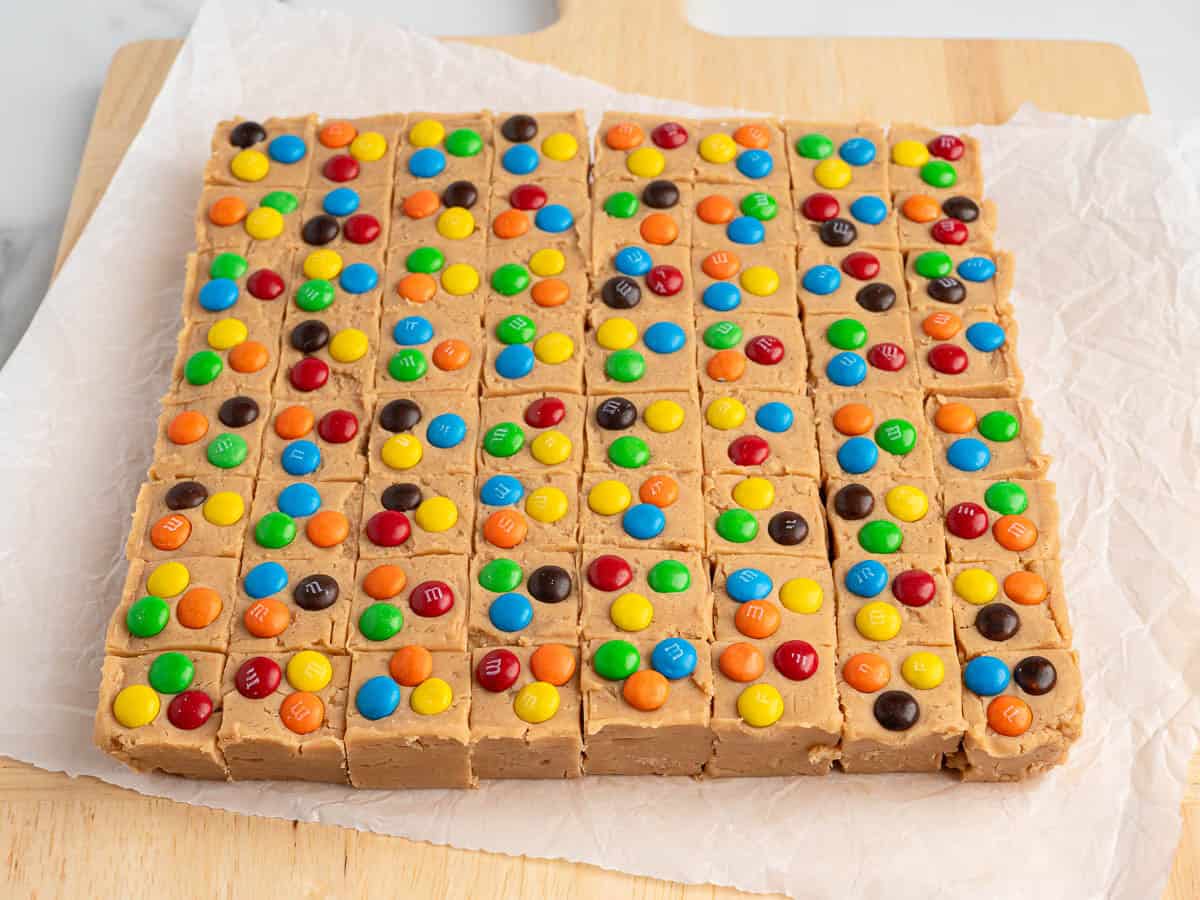
The powdered sugar is what makes this fudge firm up, so the amount matters. Use too little and the fudge never sets. Add extra to be safe and it turns dry and crumbly. The amount on the recipe card is the amount that works.
The sugar is measured in cups on purpose. Some recipes call for a pound of powdered sugar, and I’ve seen readers get the conversion to cups wrong and then wonder why their fudge never came together. Measuring in cups means there’s no math.
Ingredient Notes
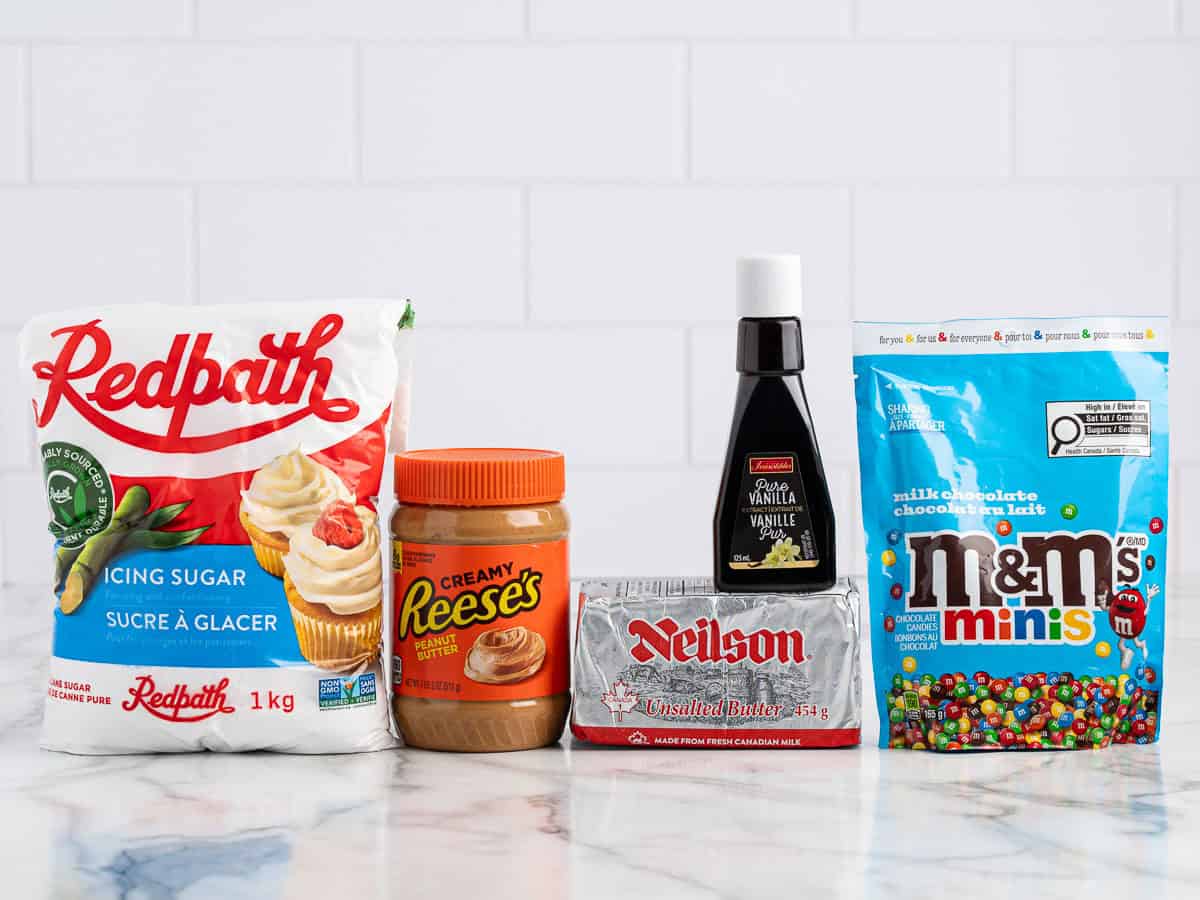
- Granulated sugar won’t work as a substitute for the powdered sugar. It doesn’t dissolve into the melted mixture, so the fudge turns gritty and never sets.
- Salted butter is fine if that’s what you have; the fudge will just taste a little saltier.
- And keep the vanilla. Some versions of this fudge leave it out, and their comment sections fill up with people asking what’s missing from the flavor and stirring vanilla back in on their own. Without it, the fudge tastes flat.
Any Jar Of Regular Peanut Butter Works
I made this fudge with Peter Pan, Skippy, Reese’s, and JIF to see whether the brand makes a difference, and the differences turned out to be small.
- Peter Pan made fudge that was a shade darker and a touch sweeter, because that peanut butter has more sugar in it.
- JIF was a little saltier and made the lightest-colored fudge of the four.
- Reese’s had a faint orange tint that you would only notice next to another batch.
- Skippy fell somewhere in the middle.
Nobody tasting a single piece could tell you which brand made it, so unless you already have a favorite, use whichever jar is in your pantry.
My buckeye fudge starts with this same melted peanut butter base but adds a chocolate layer.
The Check Before You Pour
Two moments in this recipe decide how the texture turns out.
The first is melting the butter and peanut butter. Microwaves vary, so go by what you see instead of the clock.
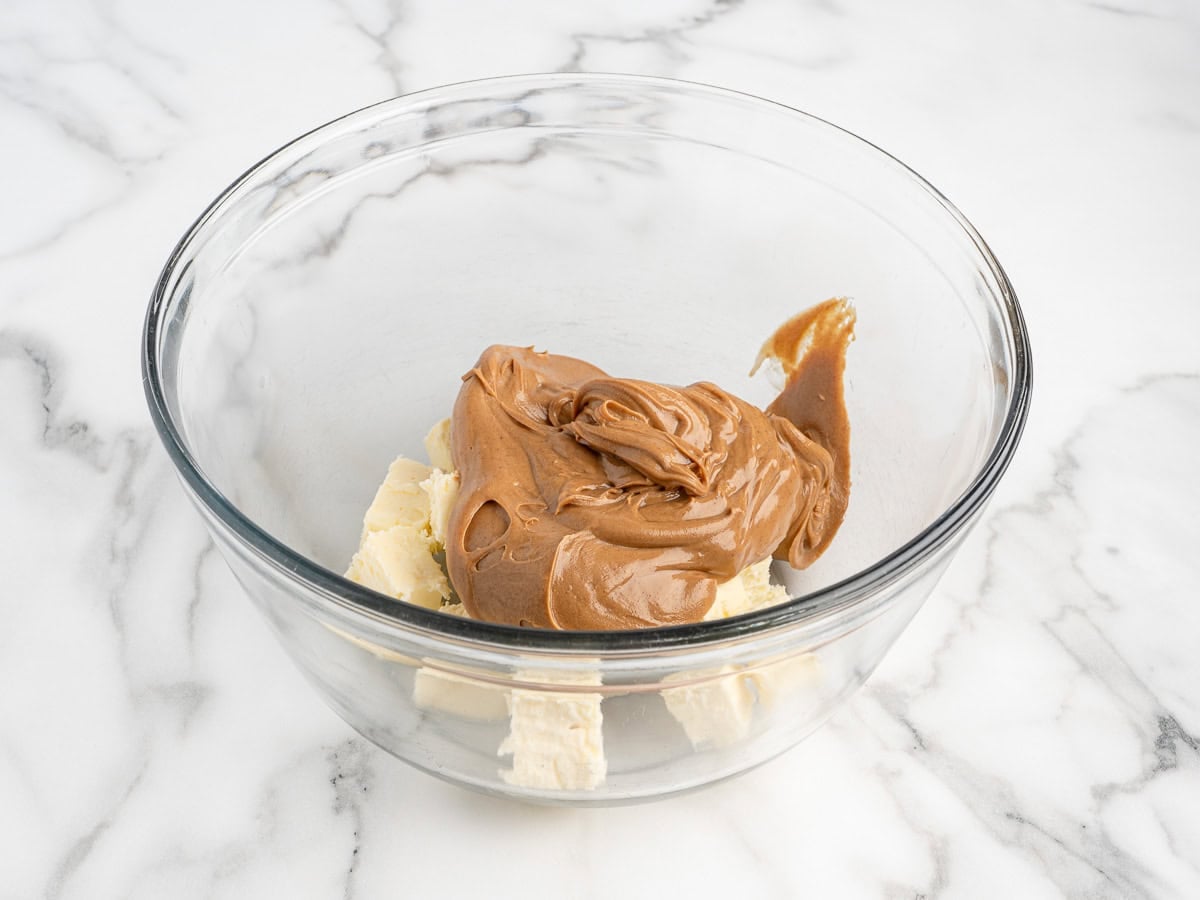
Stir when you check the bowl, and if you can still see solid pieces of butter, keep heating. If the butter isn’t fully melted, the sugar won’t blend in smoothly.
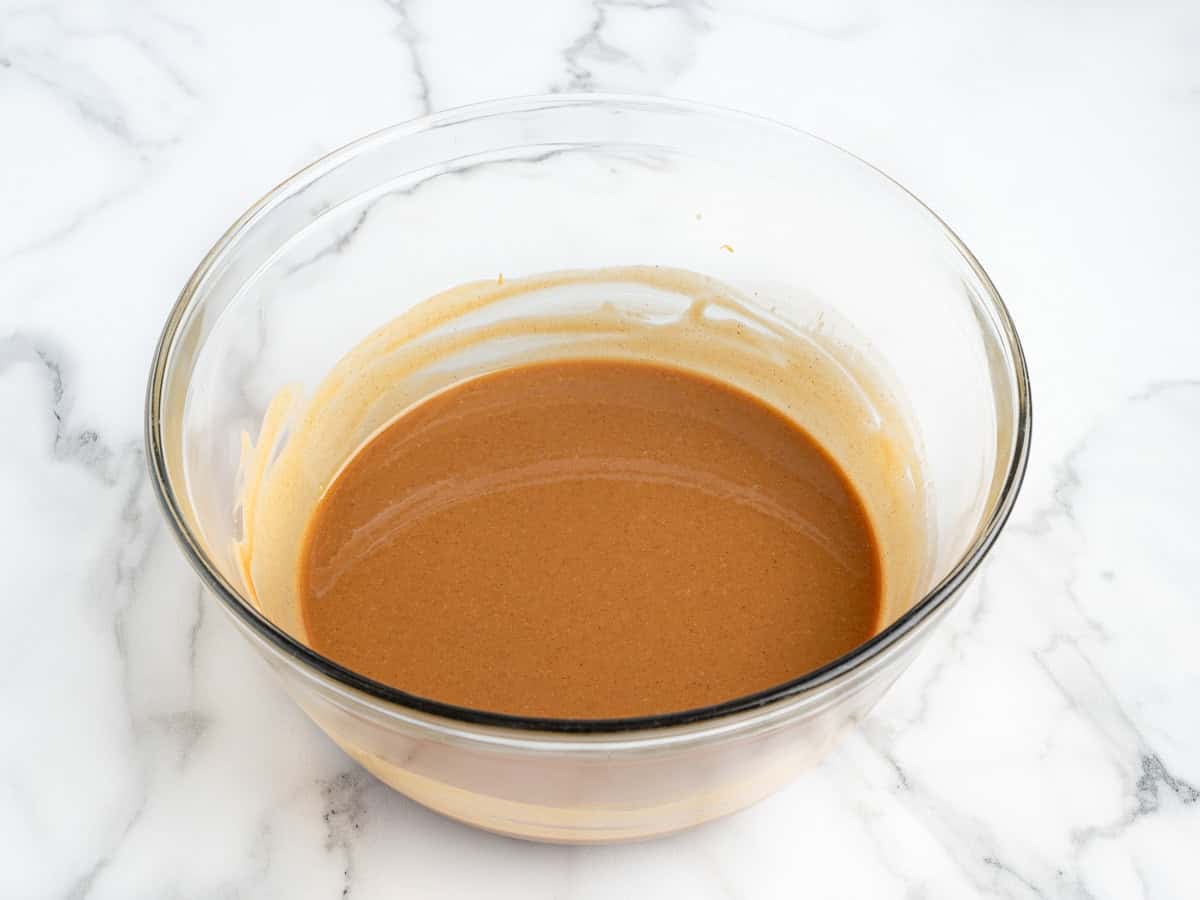
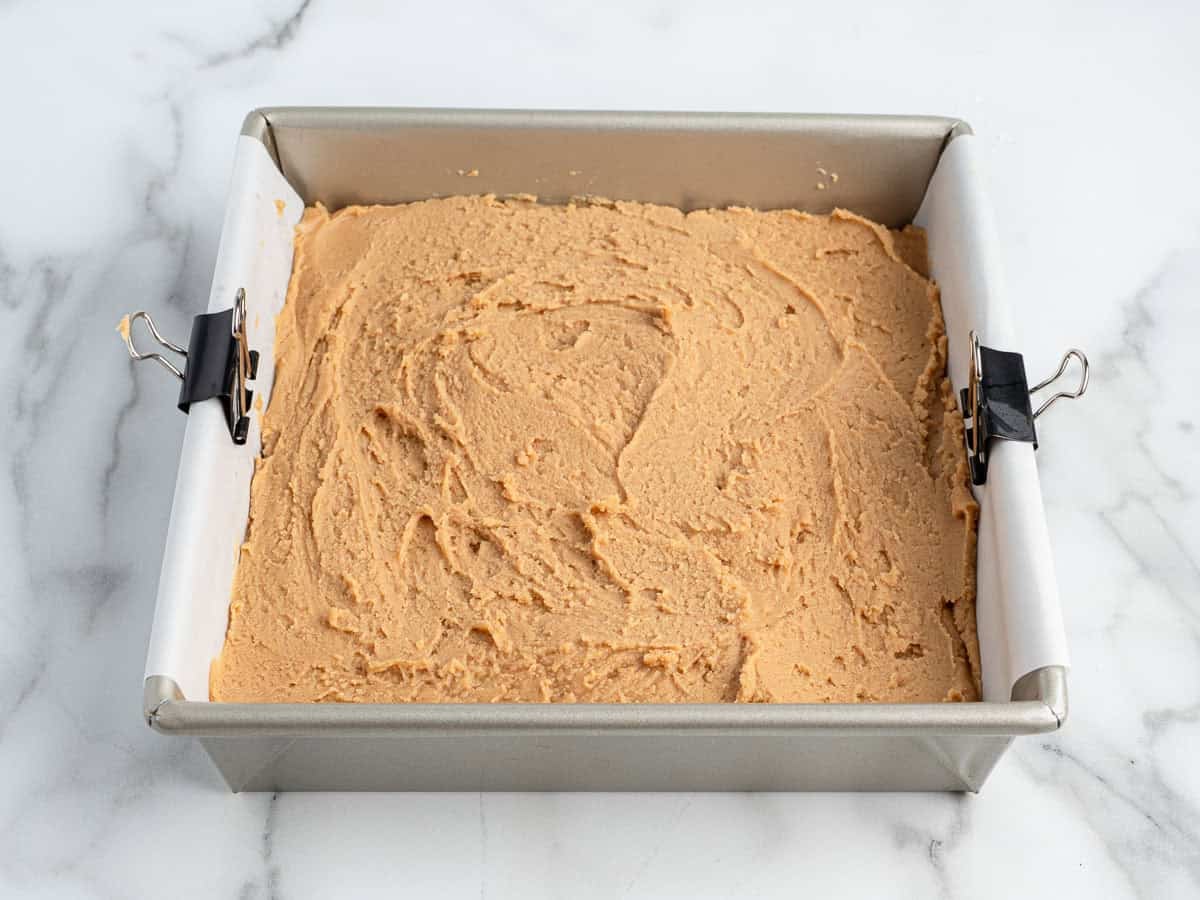
The second is the end of the stirring. By the time the last cup of powdered sugar goes in, the spoon gets hard to move. The mixture should pull together into a thick paste that is all one color, with no pale patches of sugar left.
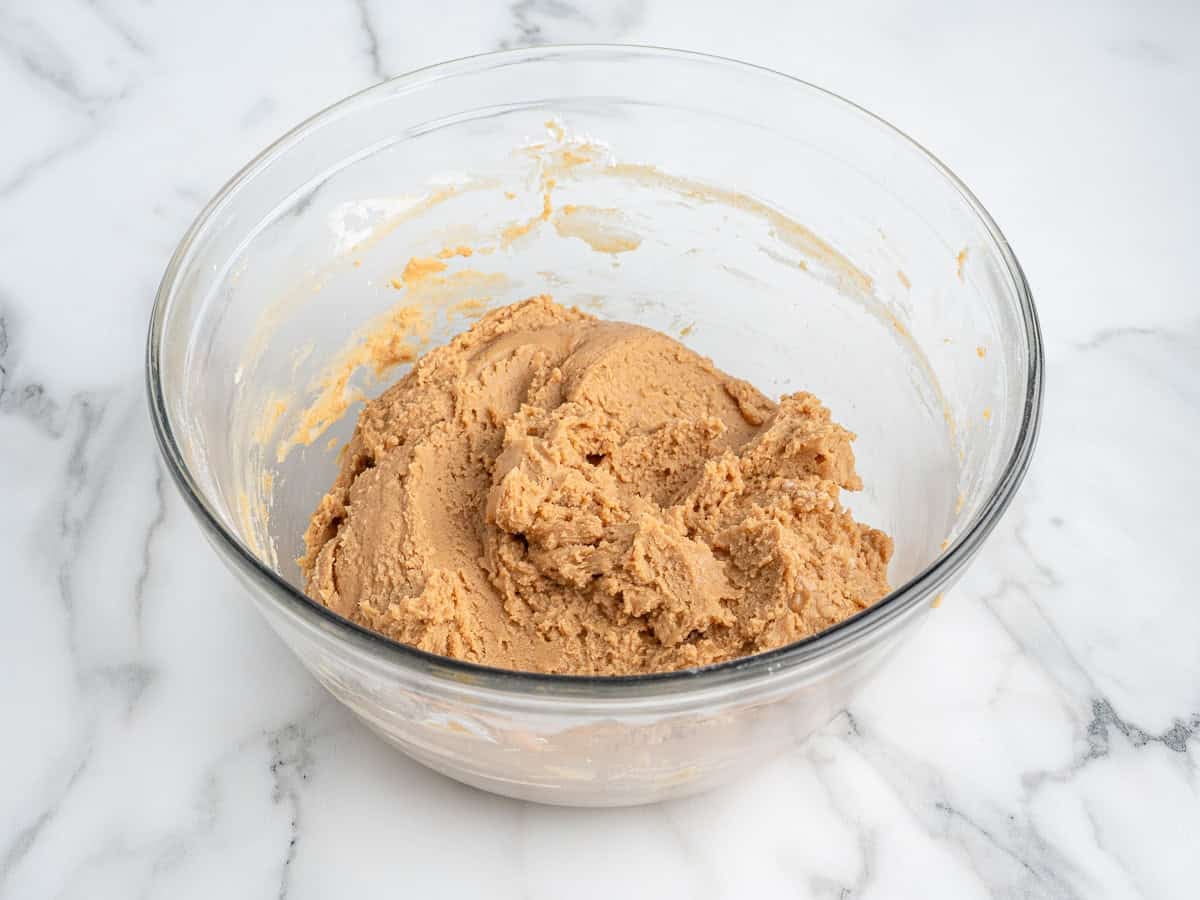
The stirring is supposed to feel like work at that point. If the mixture is still loose enough to pour like cake batter, it usually means the sugar isn’t fully mixed in yet. Keep stirring instead of adding more.
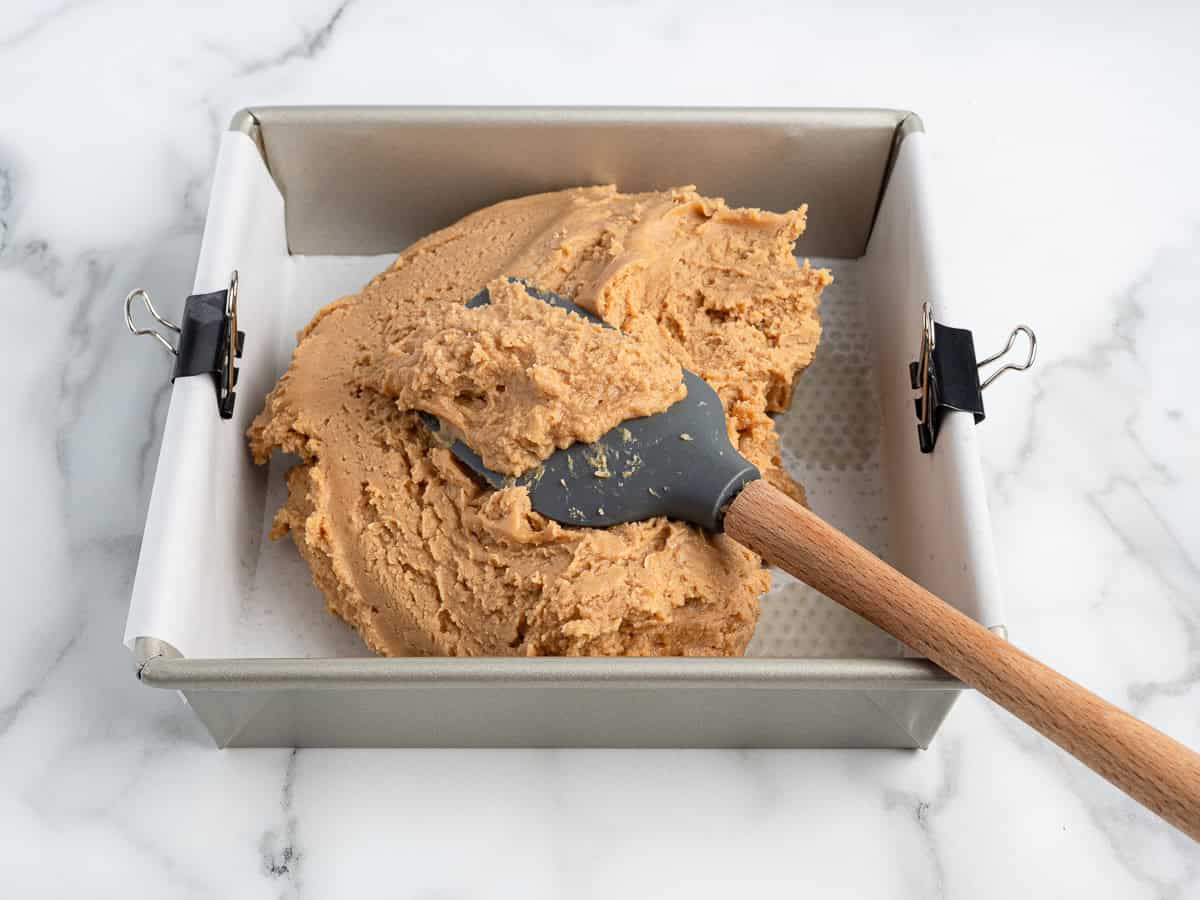
If the mixture is dry and breaking into clumps instead of holding together, the sugar was over-measured or the melted mixture got too hot. A batch like that will still taste fine, but it won’t smooth out.
What Changed During Testing
Angela tested this recipe on May 9, 2026, and two things changed because of what happened in her kitchen.
The first was the pan lining. The original recipe held the parchment paper in place with a spoonful of water underneath it. The paper still slid around, and the water oozed out from under it while she worked. She dried the pan, sprayed the bottom lightly with cooking spray instead, and the paper stayed put. That’s how the recipe is written now.
The second was the melting time. Sixty seconds in her microwave left solid butter in the bowl, so she kept heating until it was fully melted. That test is the reason the instructions give a time range and tell you to watch the butter instead of the timer.
Her note after the test: “Overall, the recipe worked very well. The peanut butter fudge tasted good and looked very pretty.”
Before You Serve It
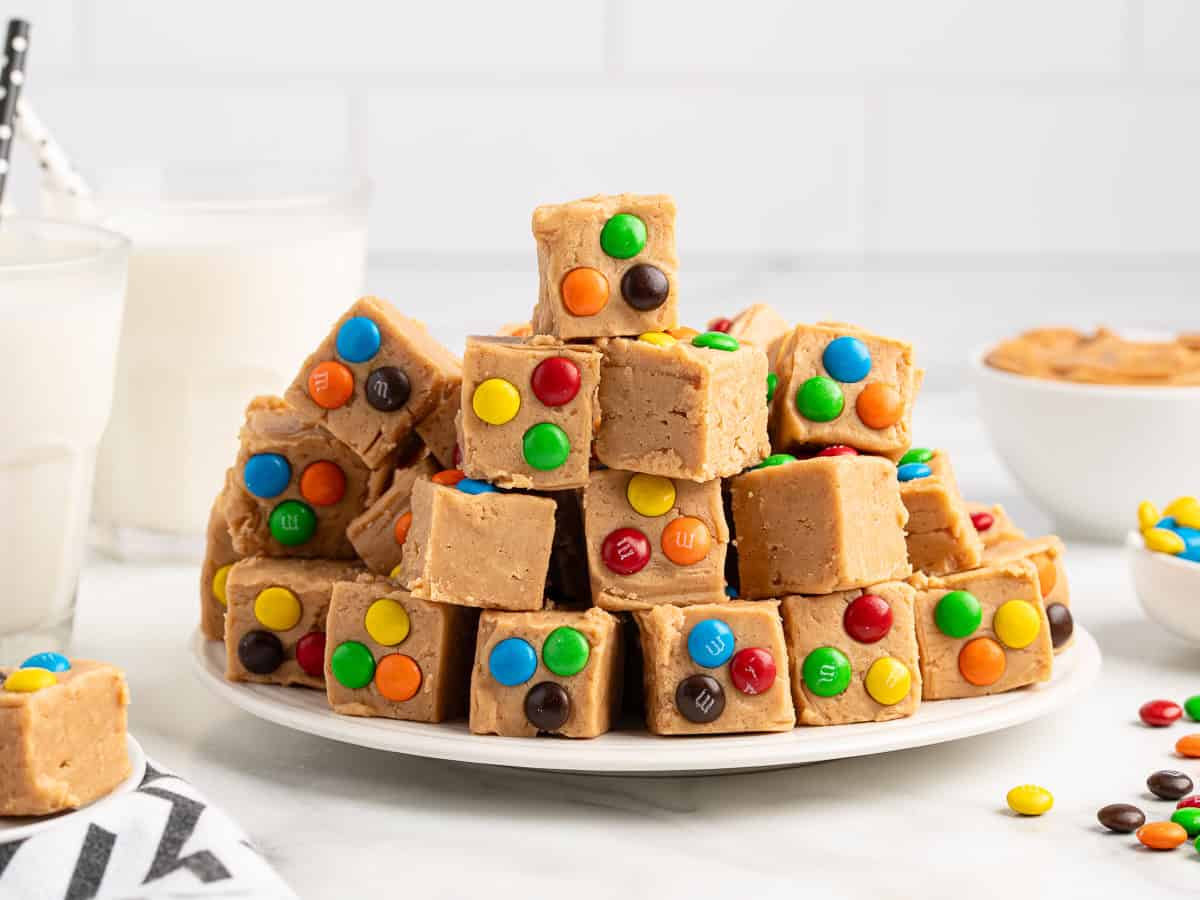
Fudge straight from the refrigerator is firm and doesn’t have much flavor until it warms up a little. Let the pieces sit on the counter for fifteen to twenty minutes before serving. The texture softens and the peanut butter flavor comes through.
This post was originally published in December 2020, it was updated with new photos in July 2026.



Peanut Butter Fudge (Microwave)
Ingredients
- 1 cup unsalted butter
- 1½ cups creamy peanut butter
- 2 teaspoons vanilla extract
- 3¼ cups powdered sugar
- 1 tablespoon water (for the 8×8 pan to help keep the parchment paper in place while pouring and smoothing out the fudge)
- red and green M&M's, optional seasonal garnish
Instructions
- Using the bottom of the 8×8 baking dish as a template, cut out a piece of parchment paper. This piece will be used to help smooth the peanut butter fudge and will stay in place and protect the top of the fudge while it is chilling in the refrigerator.
- Measure out enough parchment paper to hang over the sides of the pan. You will use the overhanging edges to lift the fudge out of the pan.
- Spray the bottom of the 8×8 baking pan with cooking spray before lining the pan with the parchment paper. This keeps the paper in place while you are spreading the fudge.
- Line the 8×8 prepared pan with the parchment paper.
- Add the unsalted butter and creamy peanut butter in a medium-sized microwave-safe bowl. Heat for 60-90 seconds until the butter is completely melted. Carefully remove the bowl from the microwave and stir.
- Add the 2 teaspoons of vanilla extract and stir until the vanilla is incorporated.
- Slowly add the sifted powdered sugar, 1 cup at a time, stirring with a large spoon in between adding the powdered sugar. The peanut butter mixture will become stiffer to stir; continue stirring until the powdered sugar is completely combined and no white streaks or lumps are visible.
- Pour the fudge mixture into the prepared 8×8 baking dish. Using a spatula to help evenly distribute the fudge in the pan.
- Place the pre-measured piece of parchment paper on top of the fudge. Use this to help smooth the top of the fudge. Leave this piece of parchment paper in place, and put the fudge in the refrigerator to chill for 2 hours.
- Remove the fudge from the refrigerator at the end of the 2 hours. Remove the top piece of parchment paper. Using a sharp kitchen knife, pre-score the size and number of the serving pieces of fudge (4 by 4 or 6 by 6), but do not cut the fudge until you remove it from the pan.
- Using the over-hang pieces of paper, lift out the fudge, and place it on a cutting board.
- Warm a large sharp knife under hot water. Dry the blade and, using the pre-measured score marks, slice the pieces of fudge.
- Once the pieces are cut, gently press 2-3 red and green M&M’s on the top of each piece of fudge for decoration. (Pressing too firmly can cause the fudge to crack).
Video
Notes
- Any commercial brand of peanut butter will work for this recipe, although you may find that the brand you choose will affect the color of your fudge slightly. We tested four different brands (JIF, Peter Pan, Skippy, and Reese’s) and found that Peter Pan produced a darker color, JIF was the lightest, and Reese’s had a slight orange hue, but the fudge consistency was the same. The Peter Pan brand was also slightly sweeter, while the JIF was just a bit saltier. Overall, any brand will give you delicious fudge!
- Sifting the powdered sugar before mixing it in will help ensure that you have a very smooth fudge.
Nutrition











Comments
Gloria says
My auntie makes peanut butter fudge this way – easy and yummy!
Mary says
Love this – how yummy!
Eileen Ball says
I only had crunchy peanut butter so I used that. Yummy anyway! The fudge is very creamy but with some crunch added in!
Donna says
I bet that would also be good with Peanut Butter M&M’s!
Karen says
This microwave peanut butter fudge turned out really good and was so easy to make. My husband loves everything peanut butter and I love easy to make recipes. It’s a win-win.
I cut the pieces a little bigger than suggested (not 64 1″x1″ pieces) and then I added regular size M&Ms. The pieces were so cute and tasted great!