

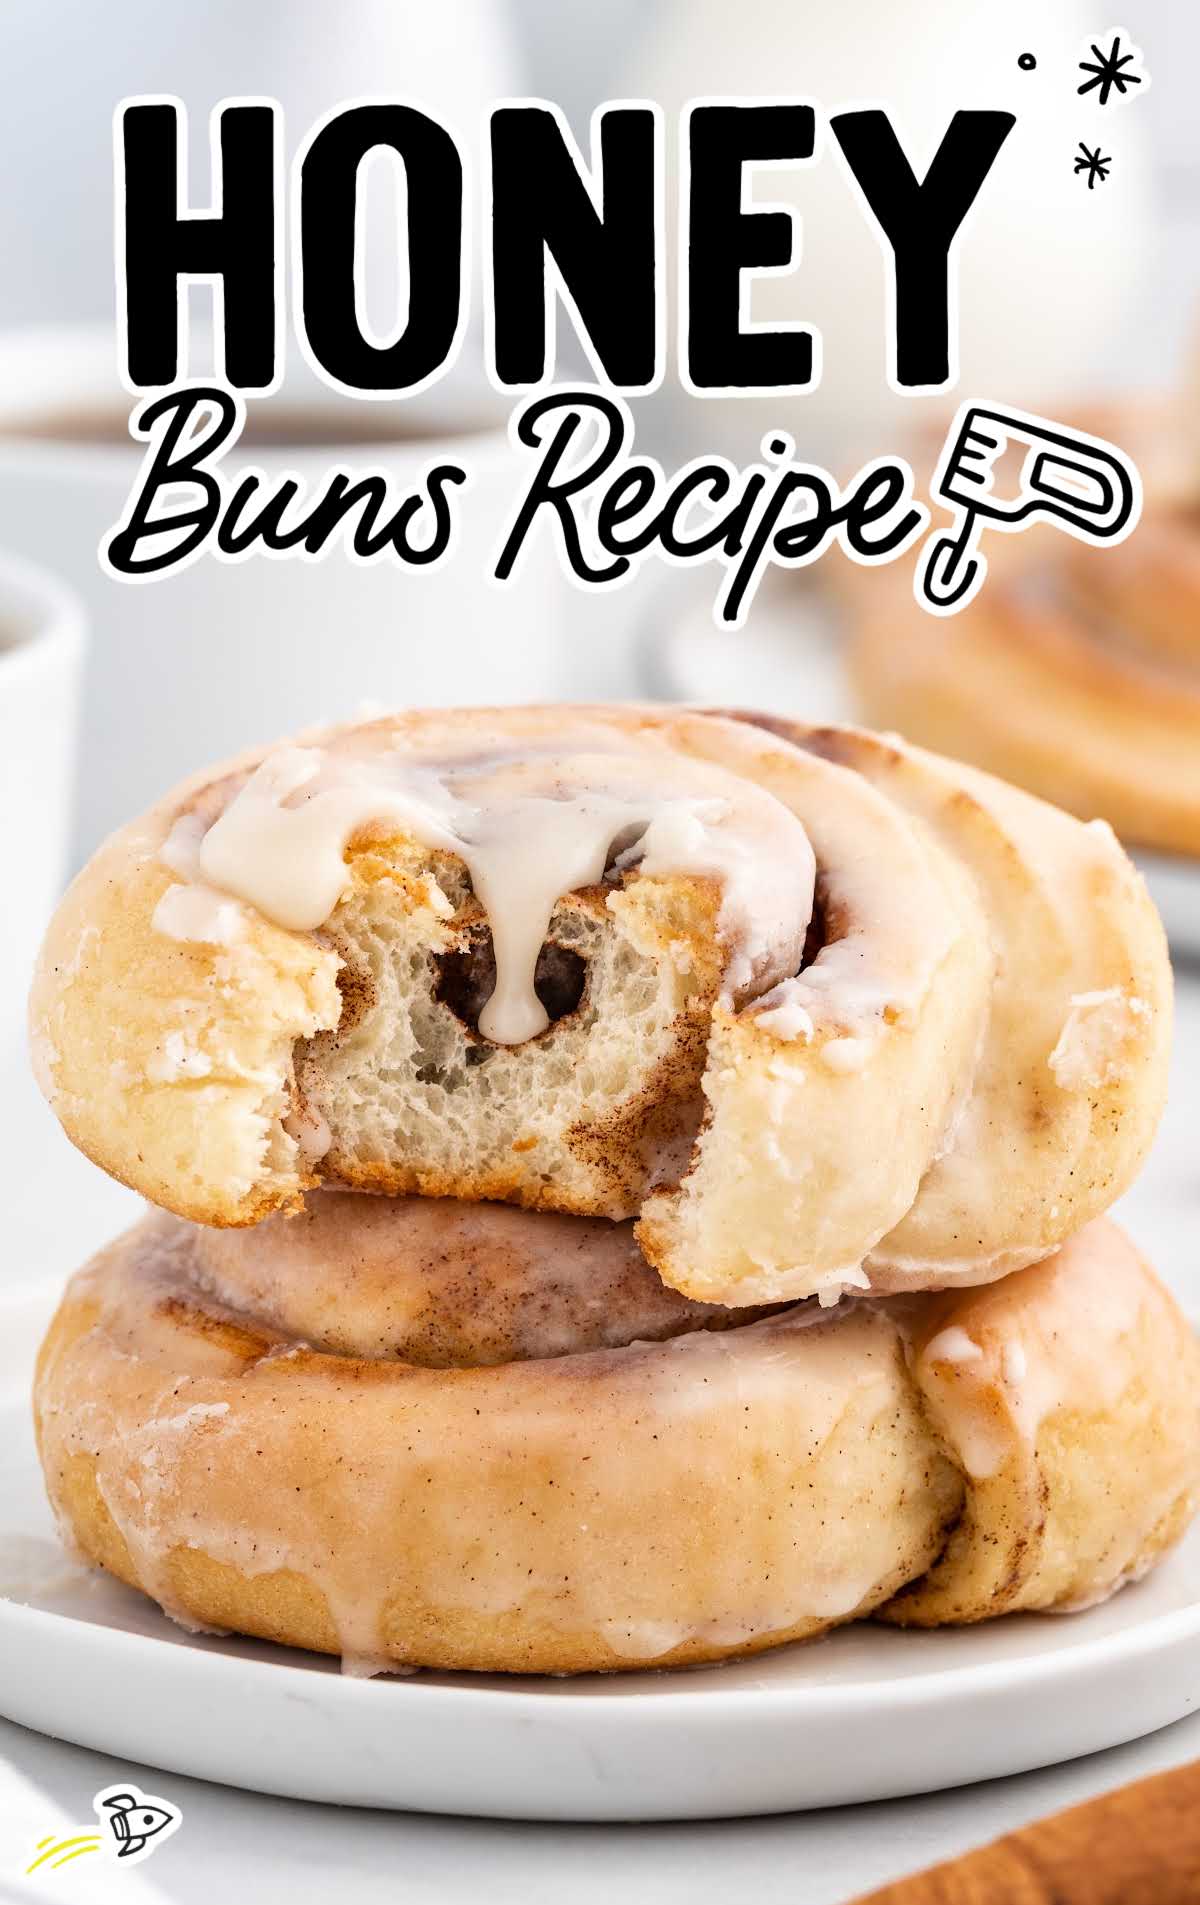
Is there anything better than freshly baked warm honey buns? These delicious pastries have a bread-like dough that is soft and fluffy, with a sweet cinnamon sugar filling that just melts in your mouth.
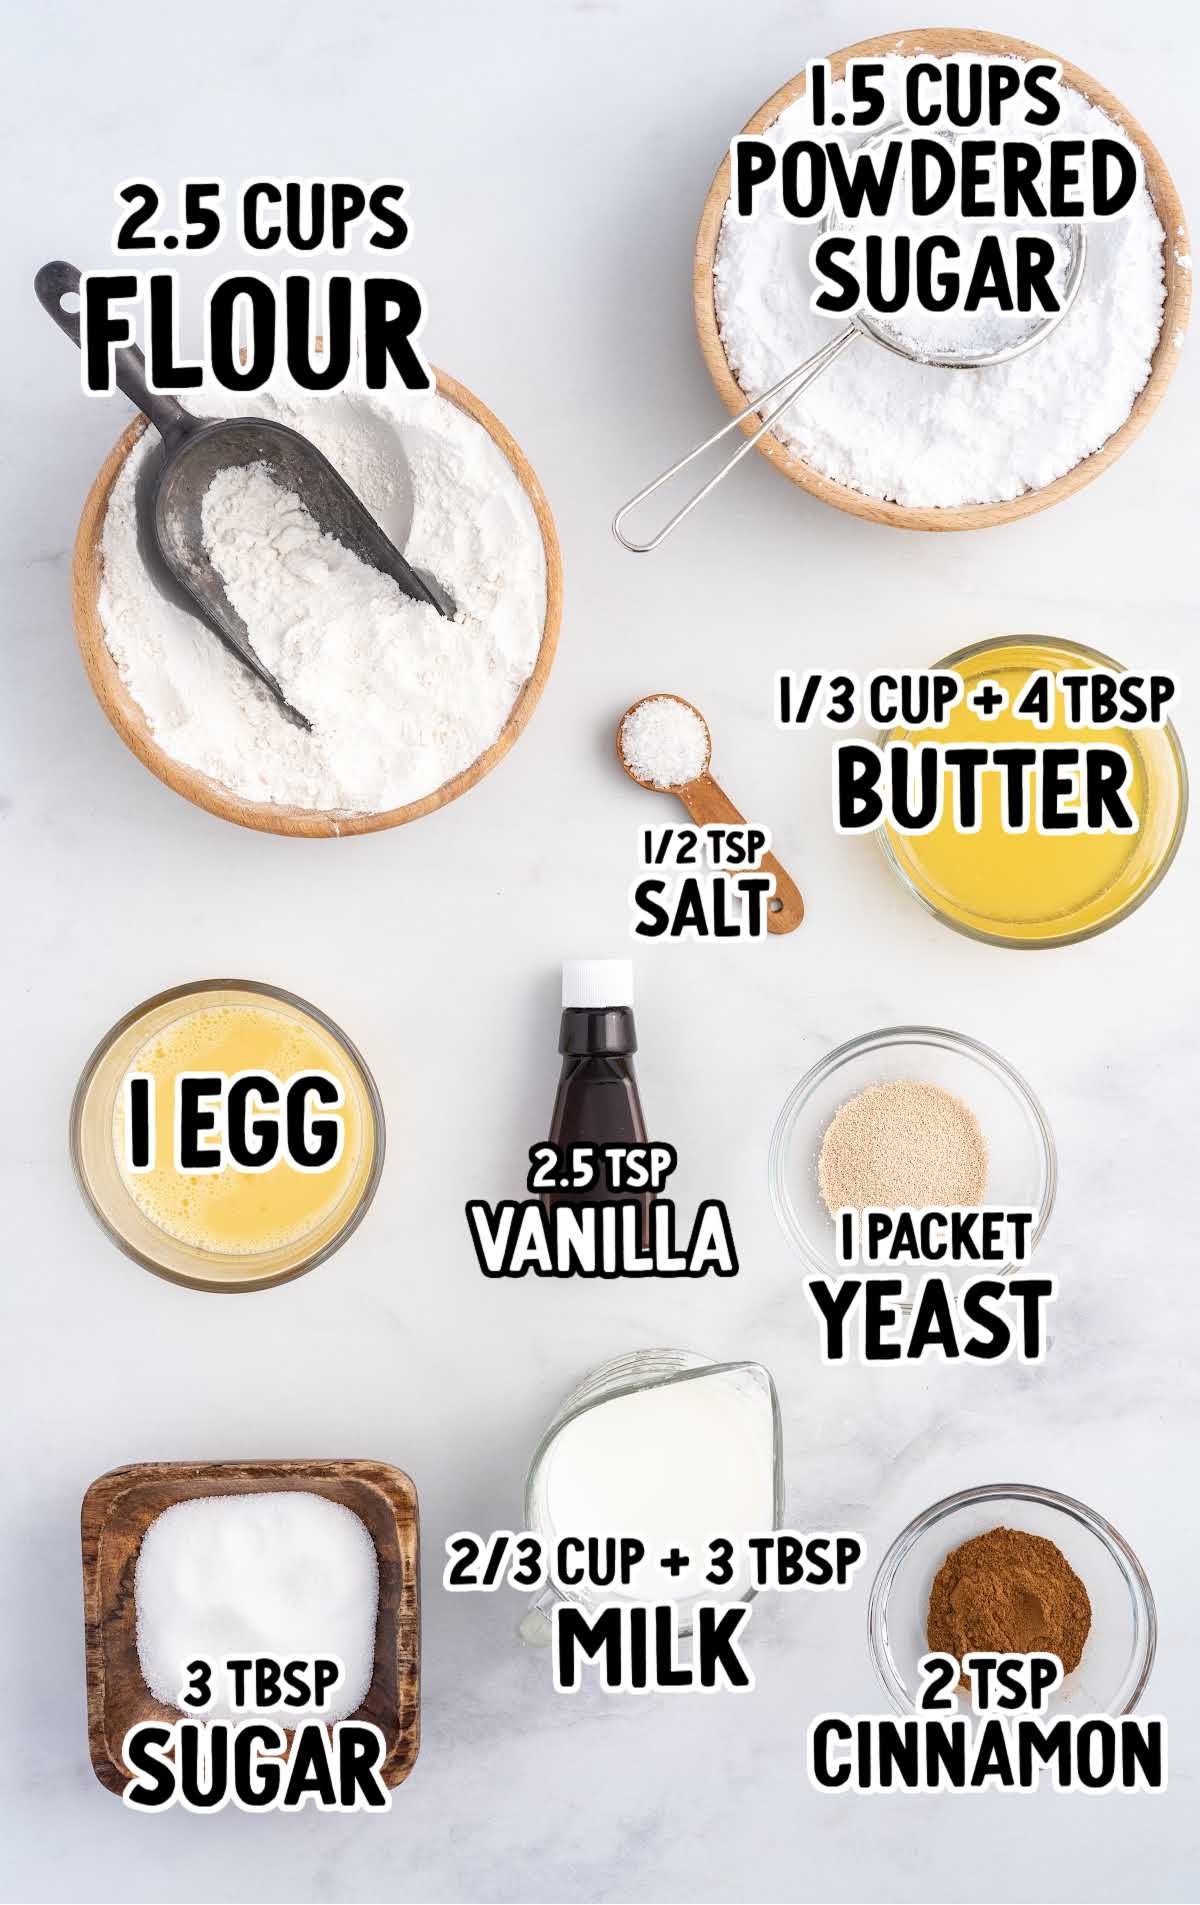
Honey Buns Ingredients
As you sink your teeth into this fluffy, golden pastry, you’re greeted by the sweet taste of a delightful blend of honey, butter, and warm spices.
The irresistible, gooey glaze on top dissolves into a warm, sugary finish.
To make these delectable pastries, you’ll need:
For The Honey Bun Dough:
- ⅔ cup of whole milk
- ⅓ cup plus 1 tablespoon of salted sweet cream butter, melted and cooled
- 3 tablespoons of granulated sugar
- ½ teaspoon of kosher salt
- 1 (0.25-ounce) packet of rapid-rise instant yeast
- 2 teaspoons of pure vanilla extract
- 2½ cups of all-purpose flour
- 1 large egg, room temperature and beaten
- 1 to 1½ tablespoons of vegetable oil
- 2 teaspoons of ground cinnamon
PRO TIP:
Always make sure that the instant yeast has not expired, or your dough may not rise.
For The Glaze:
- 1½ cups of powdered sugar, sifted
- 3 tablespoons of salted sweet cream butter, melted and cooled
- 3 tablespoons of whole milk
- ½ teaspoon of pure vanilla extract
Substitutions And Additions
CINNAMON: To change things up a bit, try substituting apple pie spice in place of plain cinnamon.
This will introduce hints of nutmeg and allspice, adding a unique twist to your honey buns.
RAISINS: Customize your buns by adding chopped nuts, such as pecans or walnuts, for a delightful crunch.
Alternatively, use dried cranberries or chopped dried apricots for a fruity variation.
ICING: Get creative with the icing by incorporating different flavors. Add a touch of maple extract for a maple glaze or a hint of citrus zest for a refreshing twist.
You can even tint the icing with food coloring for a playful presentation.
How To Make This Honey Buns Recipe
You’ll need to give yourself a little bit of time to make these buns, as they will need to rise before baking. It will be well worth it once you sink your teeth into the resulting pastry.
Our step-by-step instructions below will walk you through the process.
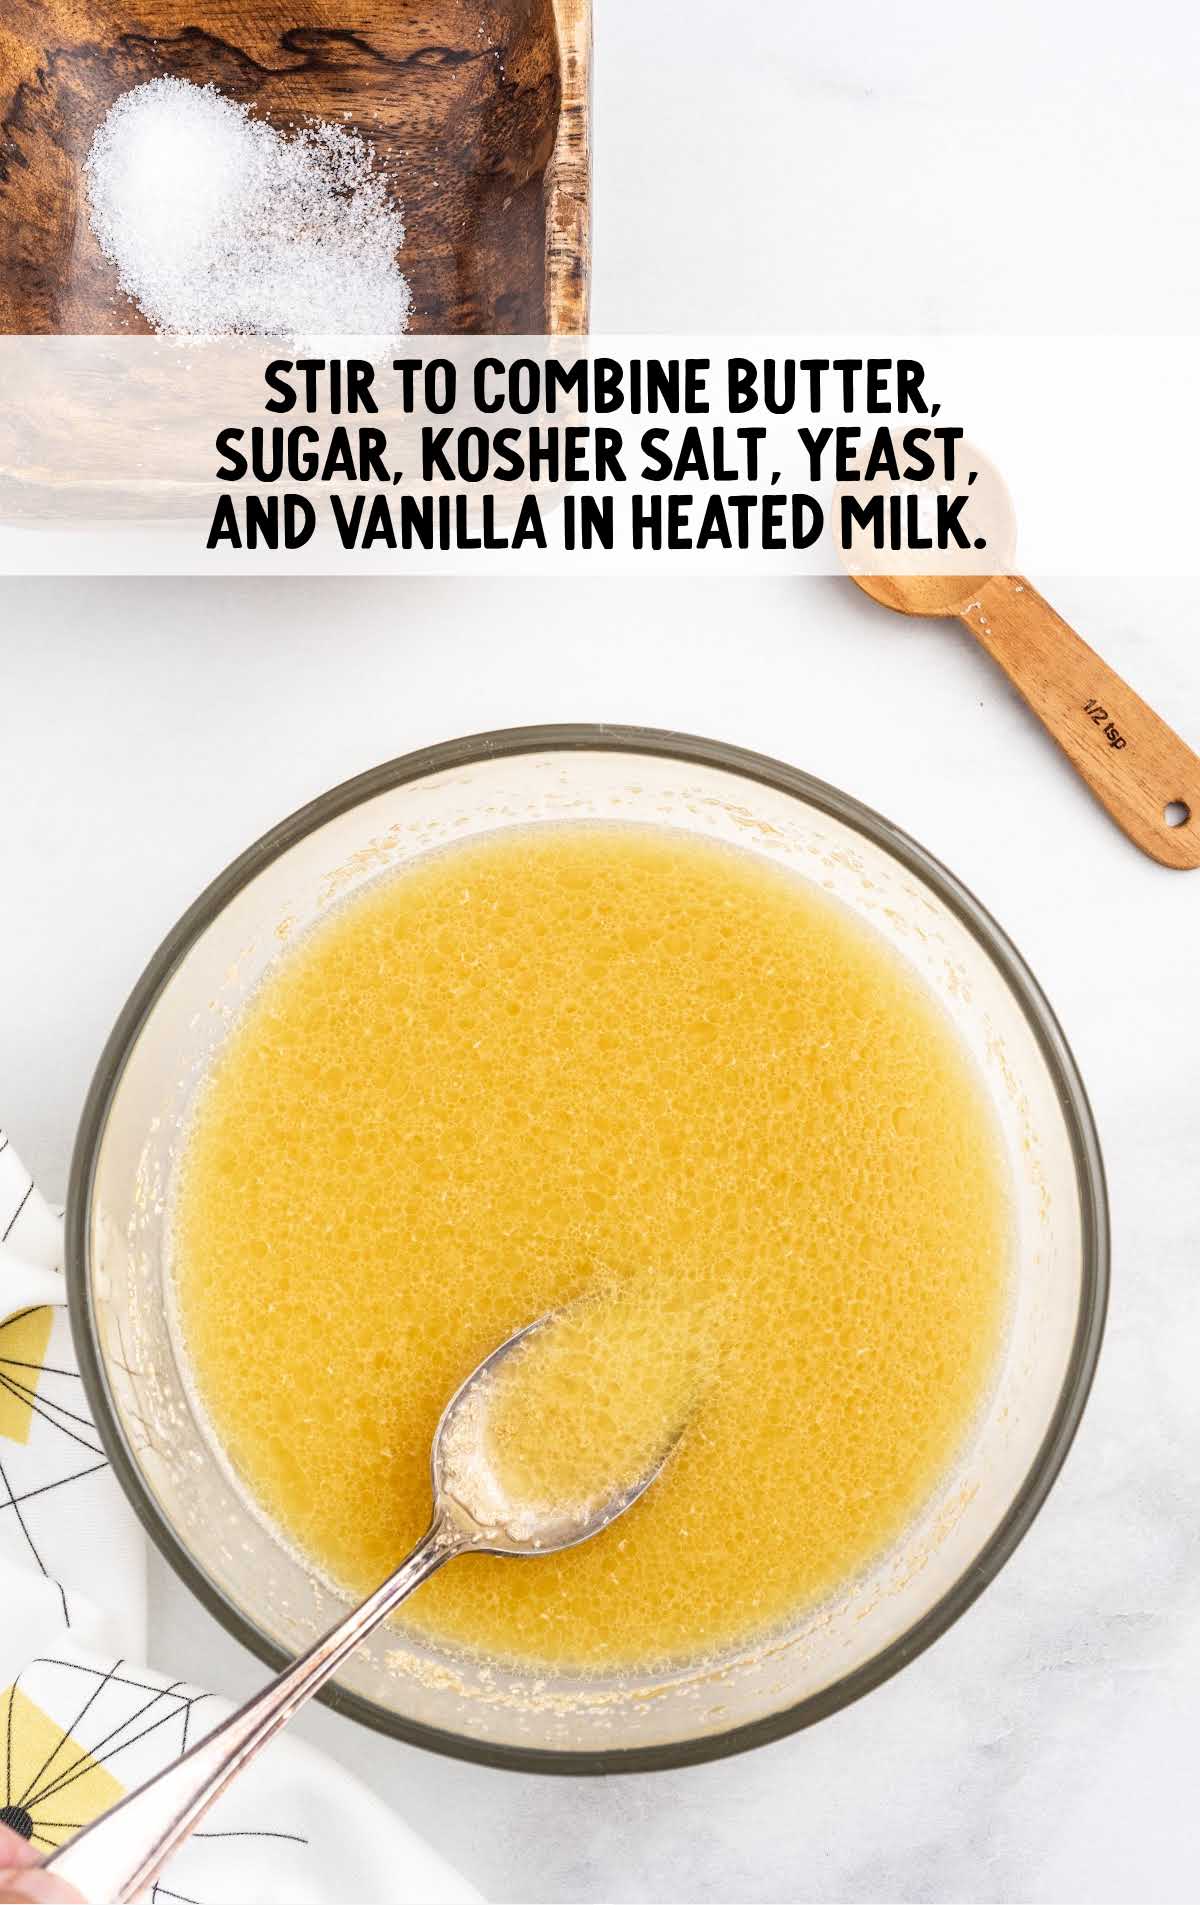
STEP ONE: Add the milk to a heat-safe small bowl and heat in the microwave for 30 seconds.
Check the temperature of the milk as it needs to reach between 105°F-110°F.
Once the milk reaches the appropriate temperature, add the melted butter, sugar, kosher salt, yeast, and vanilla. Stir to combine.
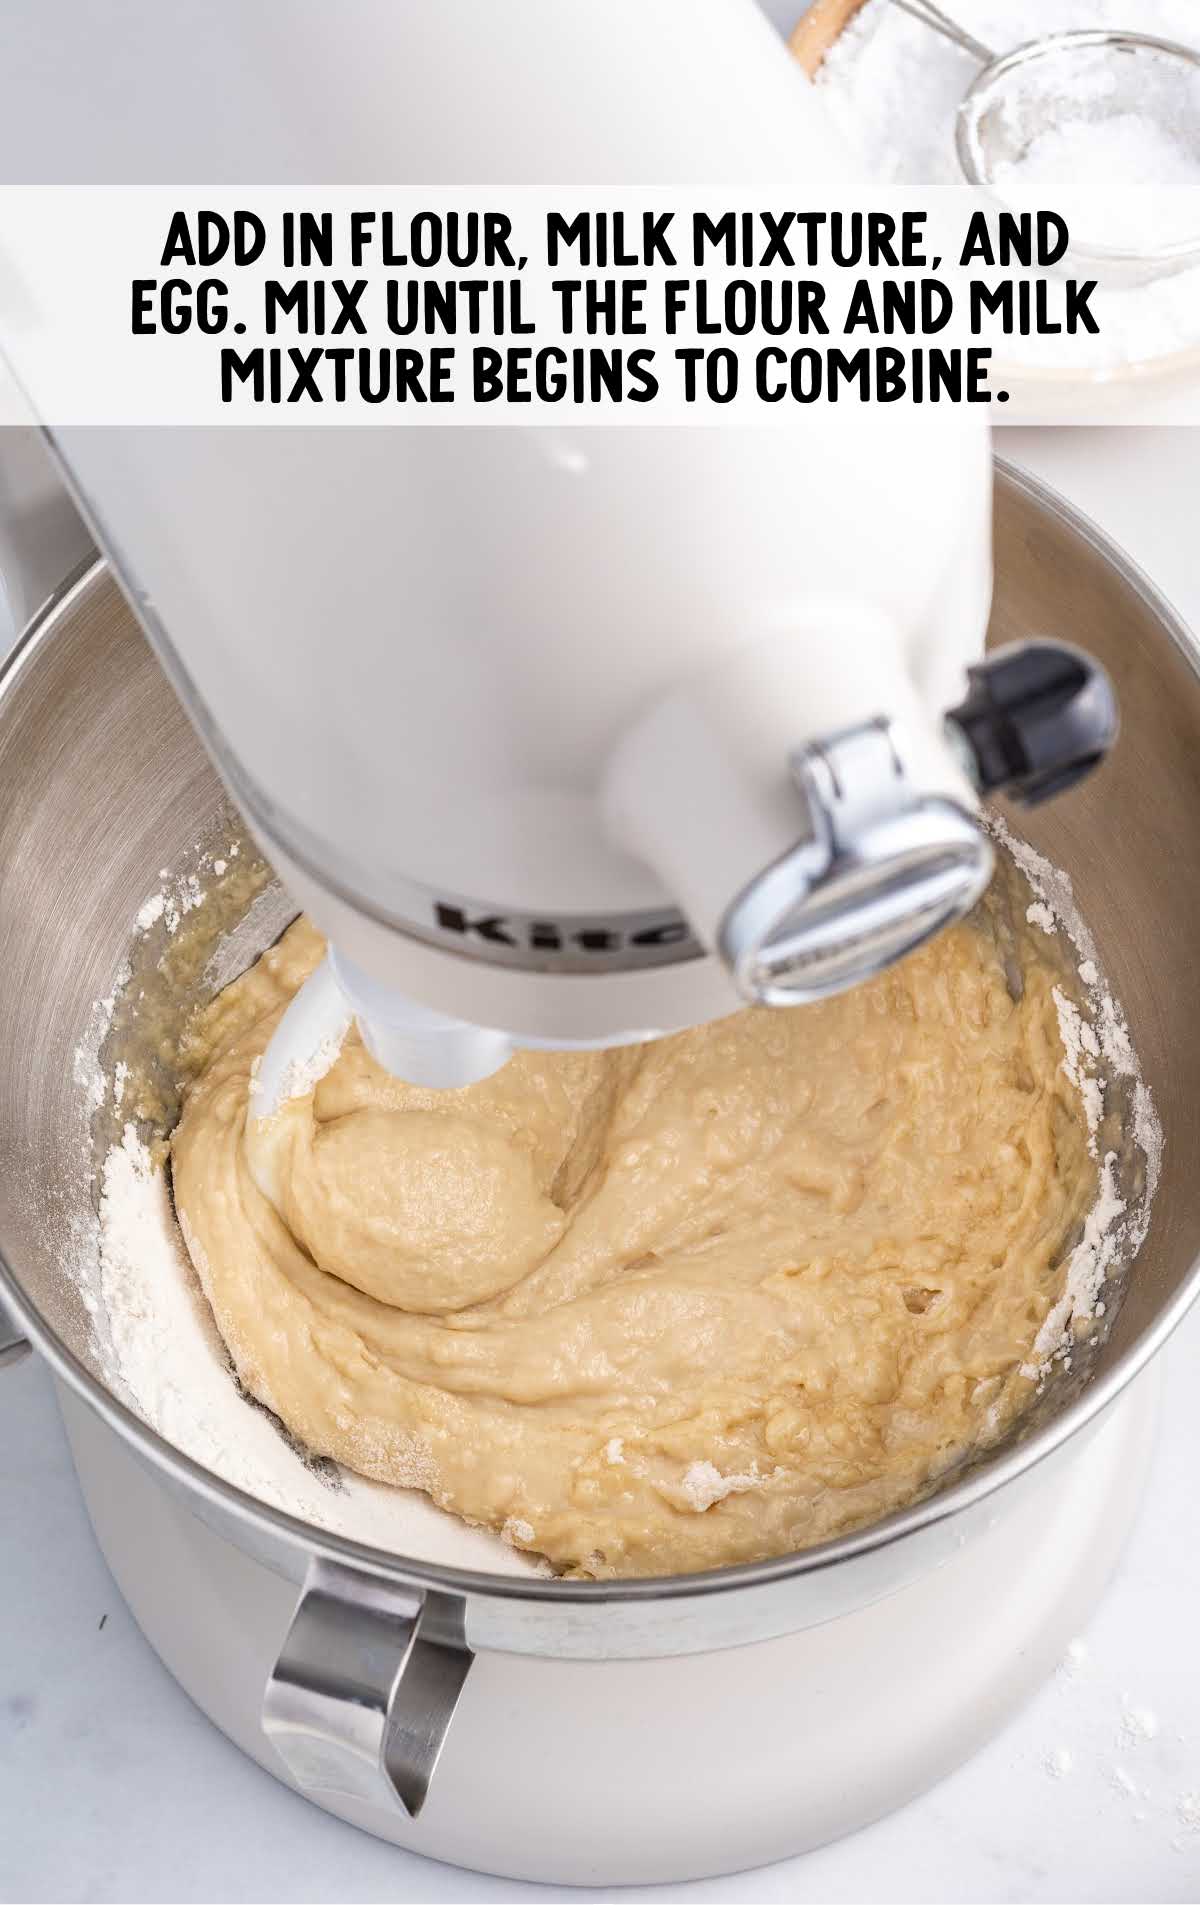
STEP TWO: In the bowl of a stand mixer with a dough hook attachment, add the flour, milk mixture, and the beaten egg.
Mix on low speed just until the flour and milk mixture begins to combine.
Increase the speed to high and beat the dough for nine to ten minutes until the dough completely pulls away from the sides of the mixing bowl.
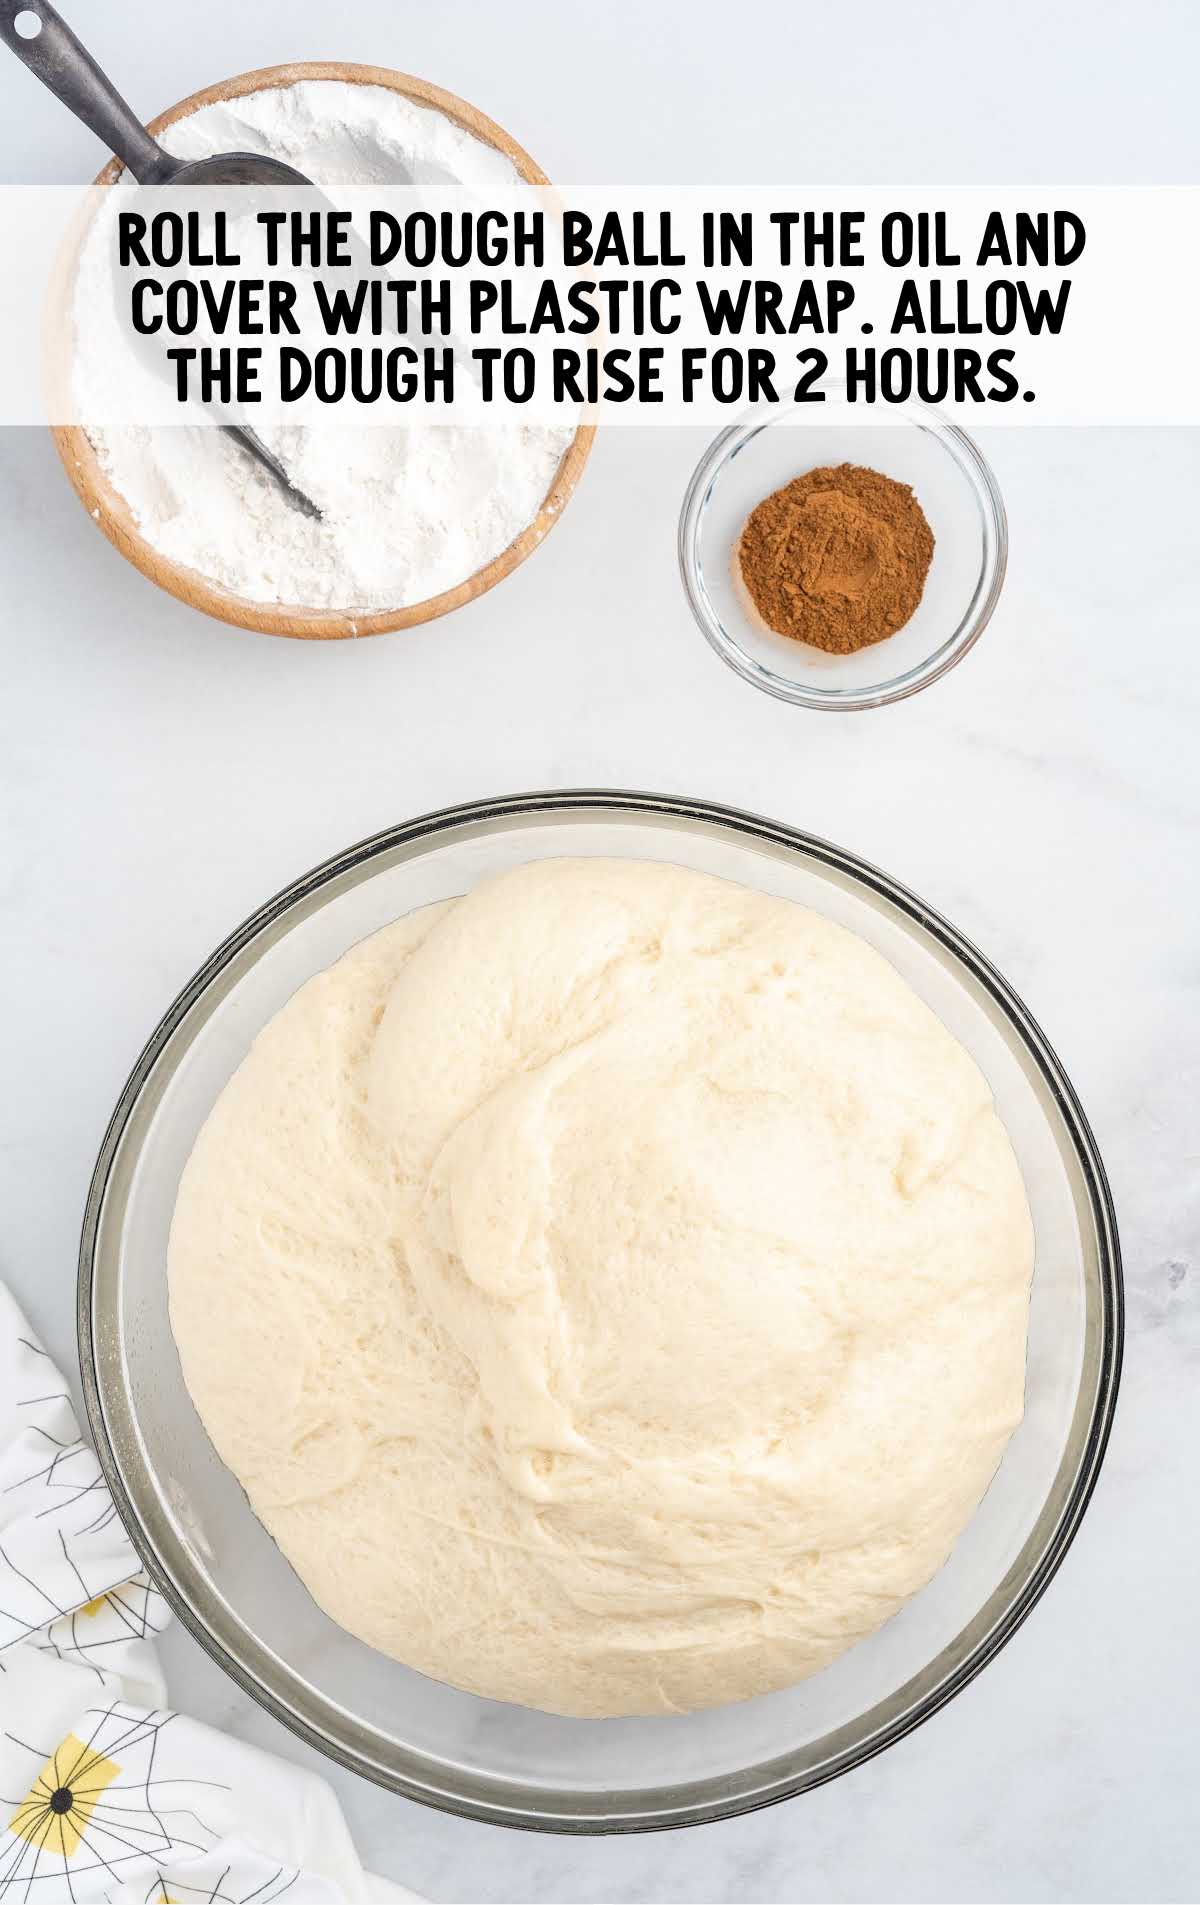
STEP THREE: Add 1 to 1½ tablespoons of vegetable oil to a large bowl. Remove the dough from the stand mixer and shape it into a ball.
Roll the dough ball in the oil and cover it tightly with plastic wrap. Allow the dough to rise for two hours. The dough needs to double in size.
OUR RECIPE DEVELOPER SAYS
If the ambient temperature in your kitchen is chilly, you can briefly heat your oven to about 100°F. Turn the oven off and allow the dough to proof in the oven. You can keep the oven off and allow the cut dough to proof in the oven for the second round of rising.
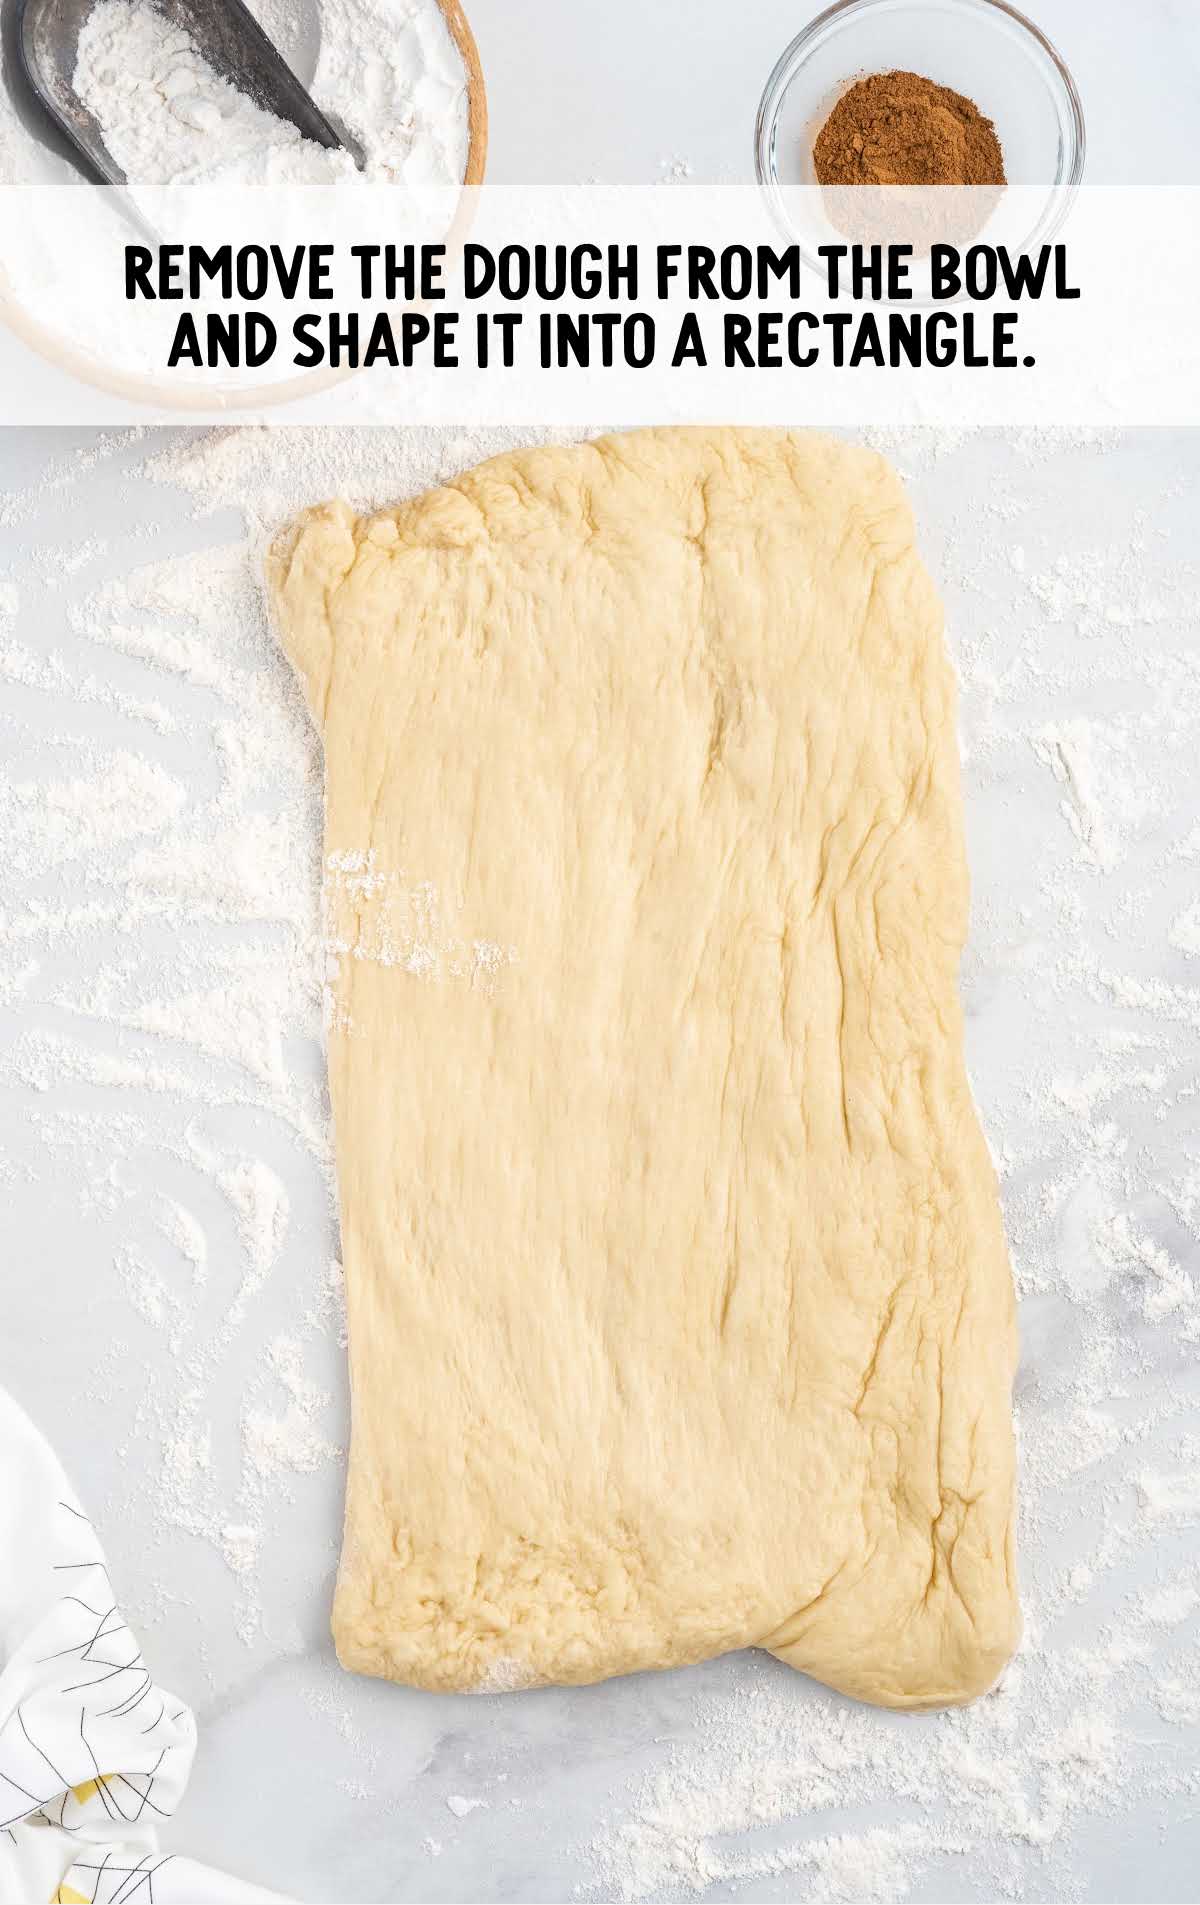
STEP FOUR: Once the dough has risen, generously flour a work surface with flour.
STEP FIVE: Remove the dough from the bowl and shape it into a rectangle about 6 to 7 inches wide and 13 to 14 inches long on the lightly floured surface.
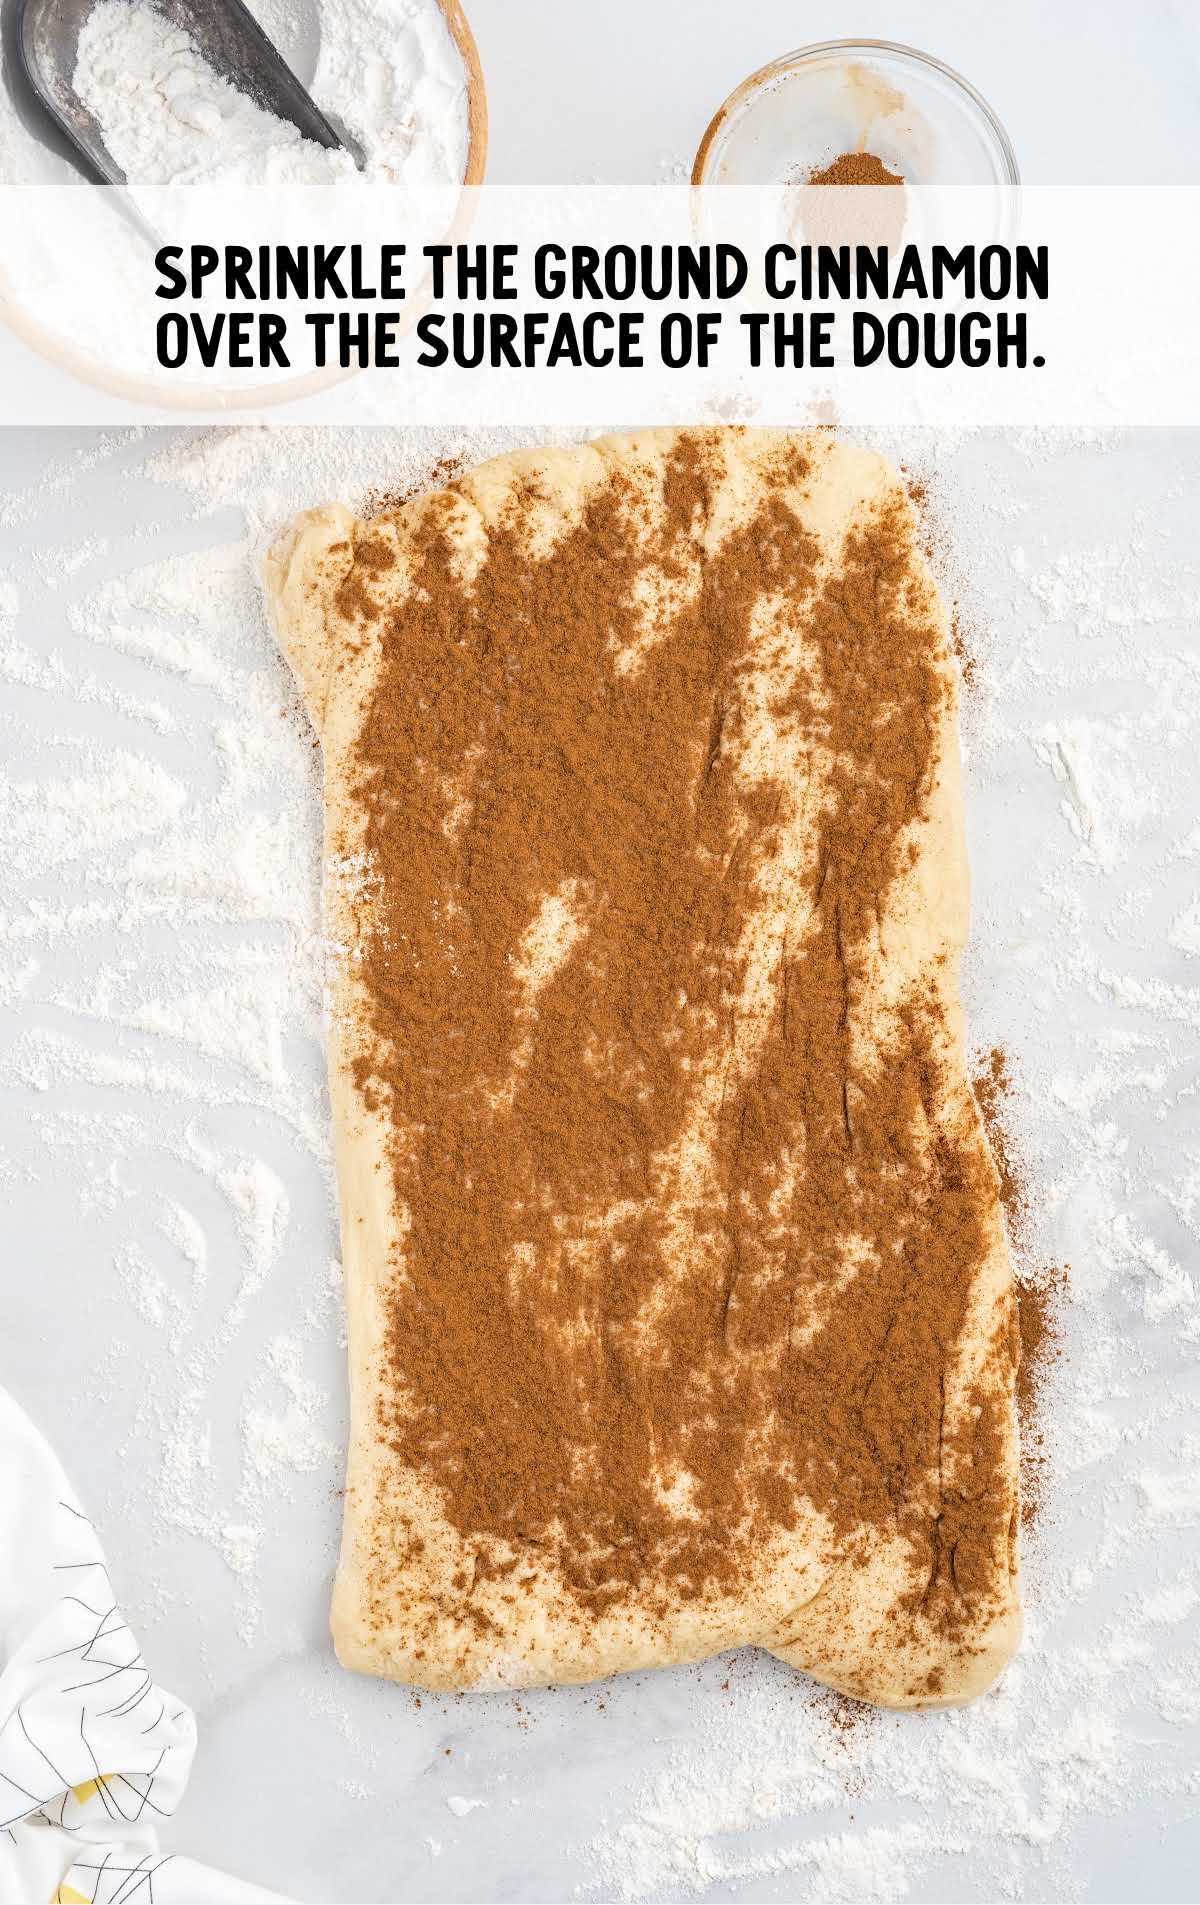
STEP SIX: Sprinkle the ground cinnamon over the surface of the dough.
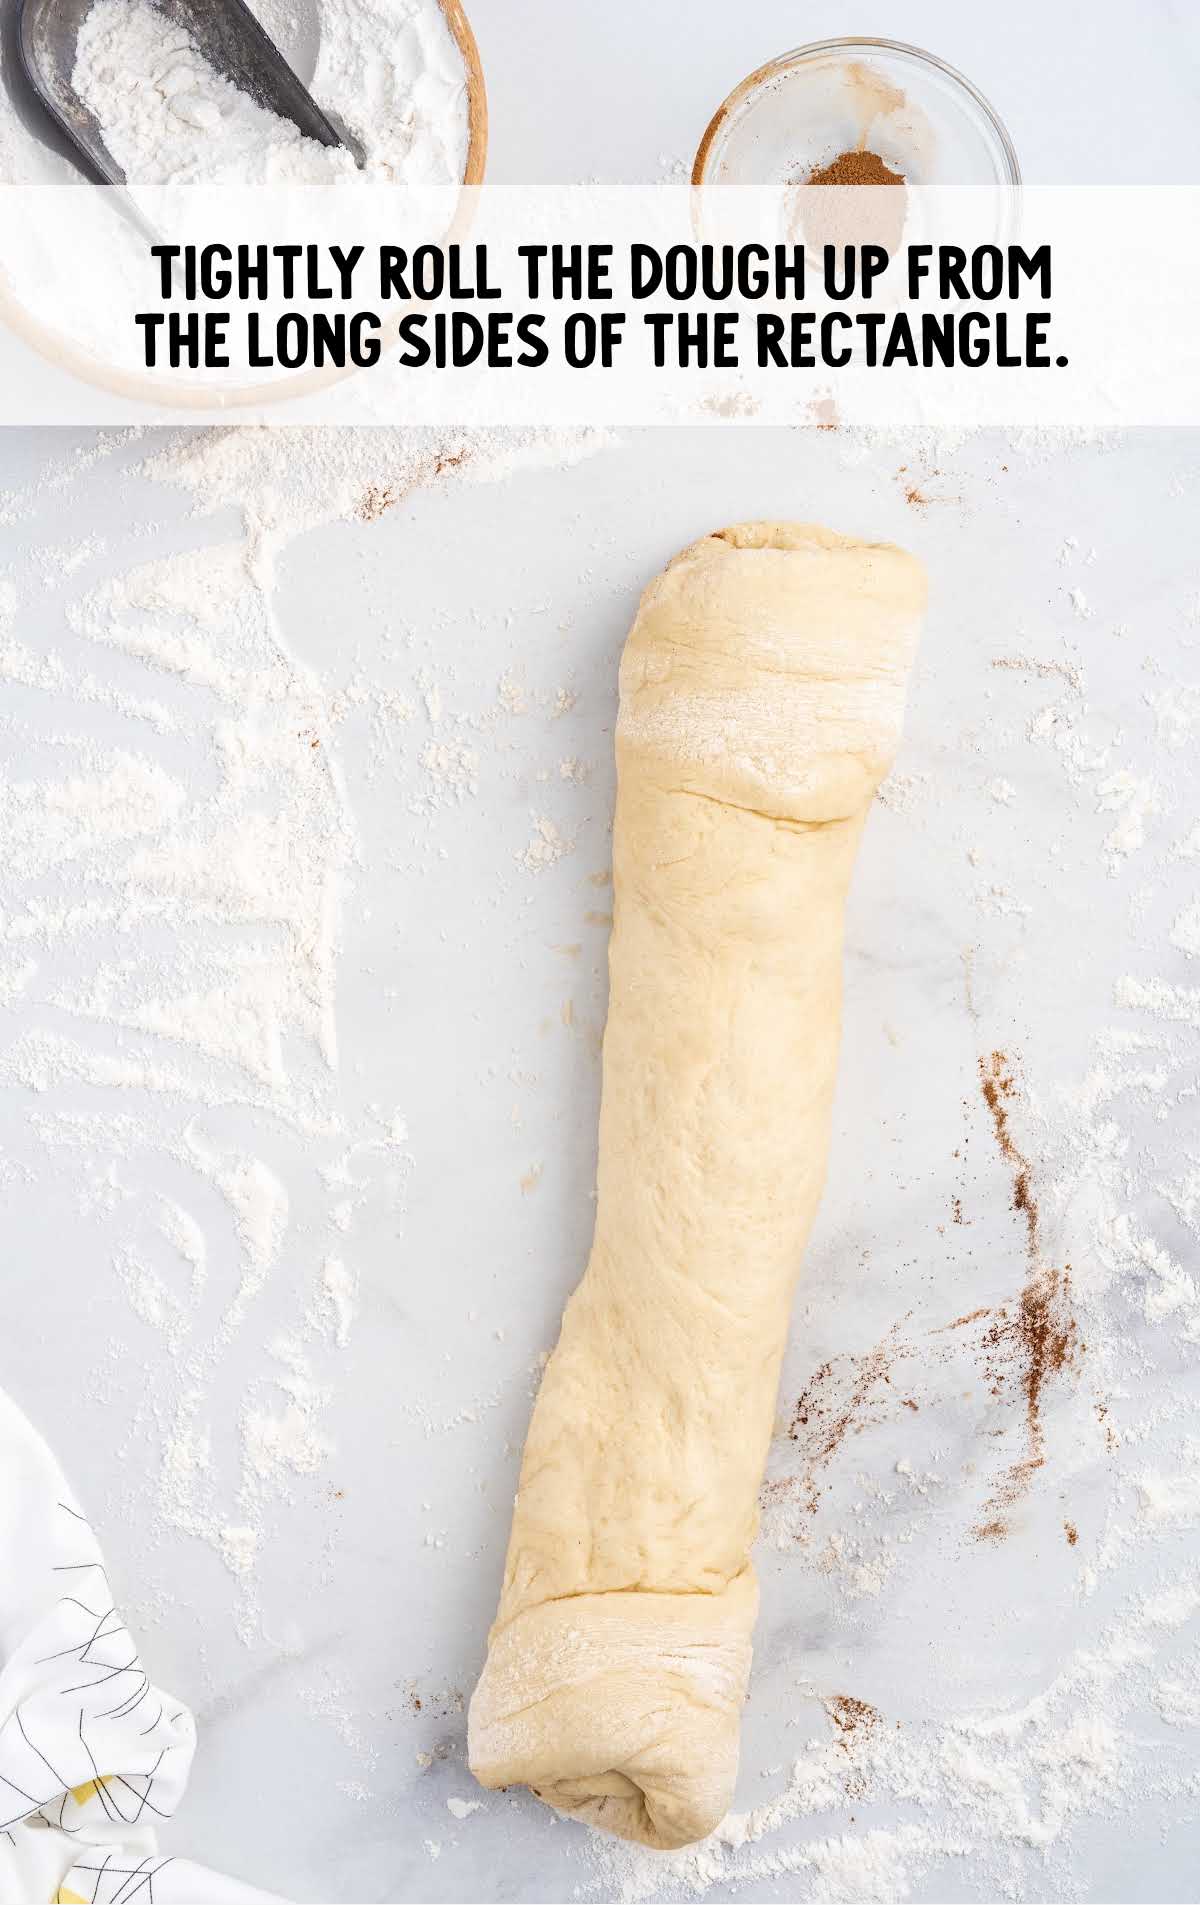
STEP SEVEN: Tightly roll the dough up from the long sides of the rectangle.
STEP EIGHT: Line a baking sheet with parchment paper.
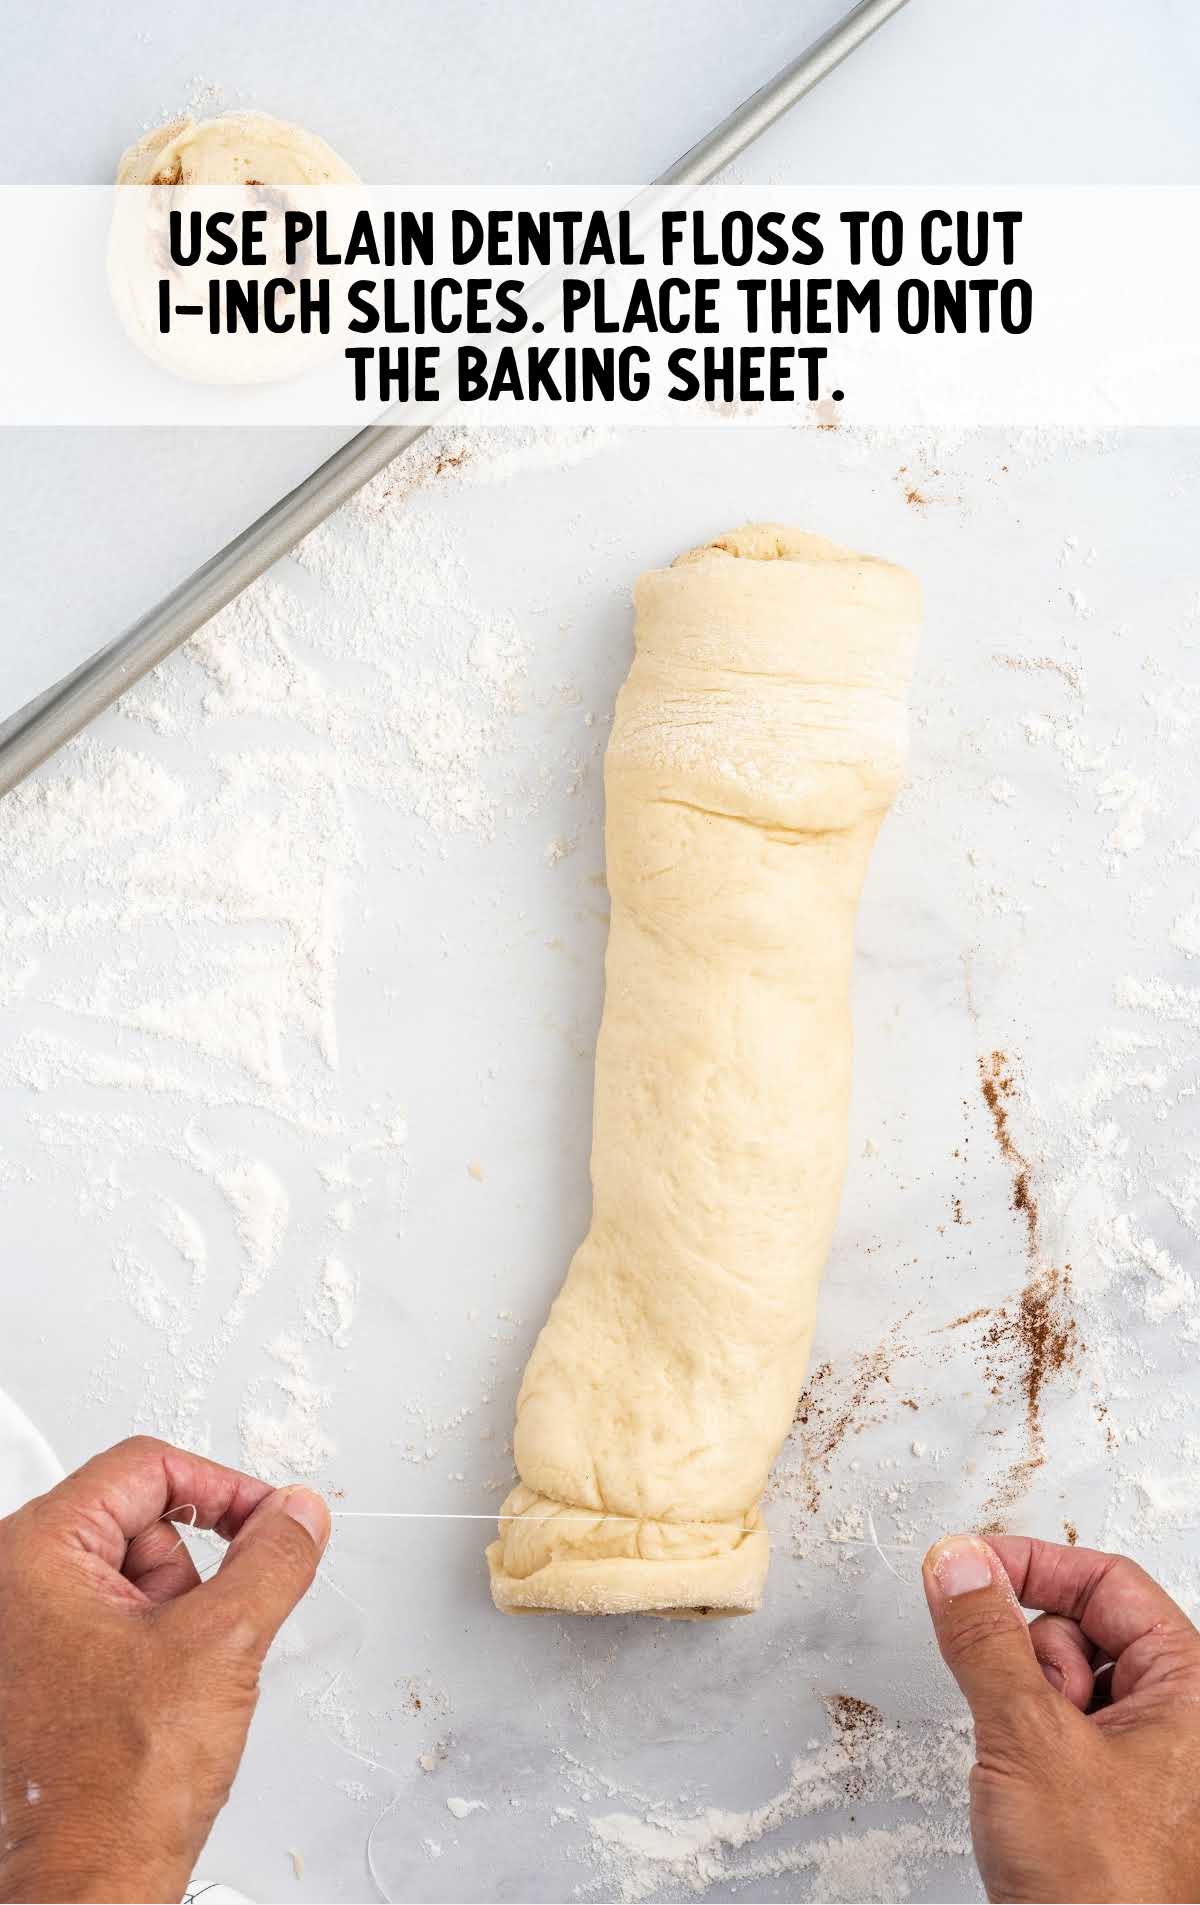
STEP NINE: Use plain dental floss to cut 1-inch slices from the dough. Place the sliced dough onto the prepared baking sheet, spacing two inches apart.
PRO TIP:
It is important that the dental floss is not mint-coated. It will transfer to the dough. Unless you like minty fresh honey buns!
STEP TEN: Gently depress the dough, making it an oval shape. Lightly spray the tops of the dough with nonstick cooking spray and cover loosely with a piece of parchment.
Allow the dough to rise for another 30 minutes.
STEP ELEVEN: Preheat the oven to 350°F.
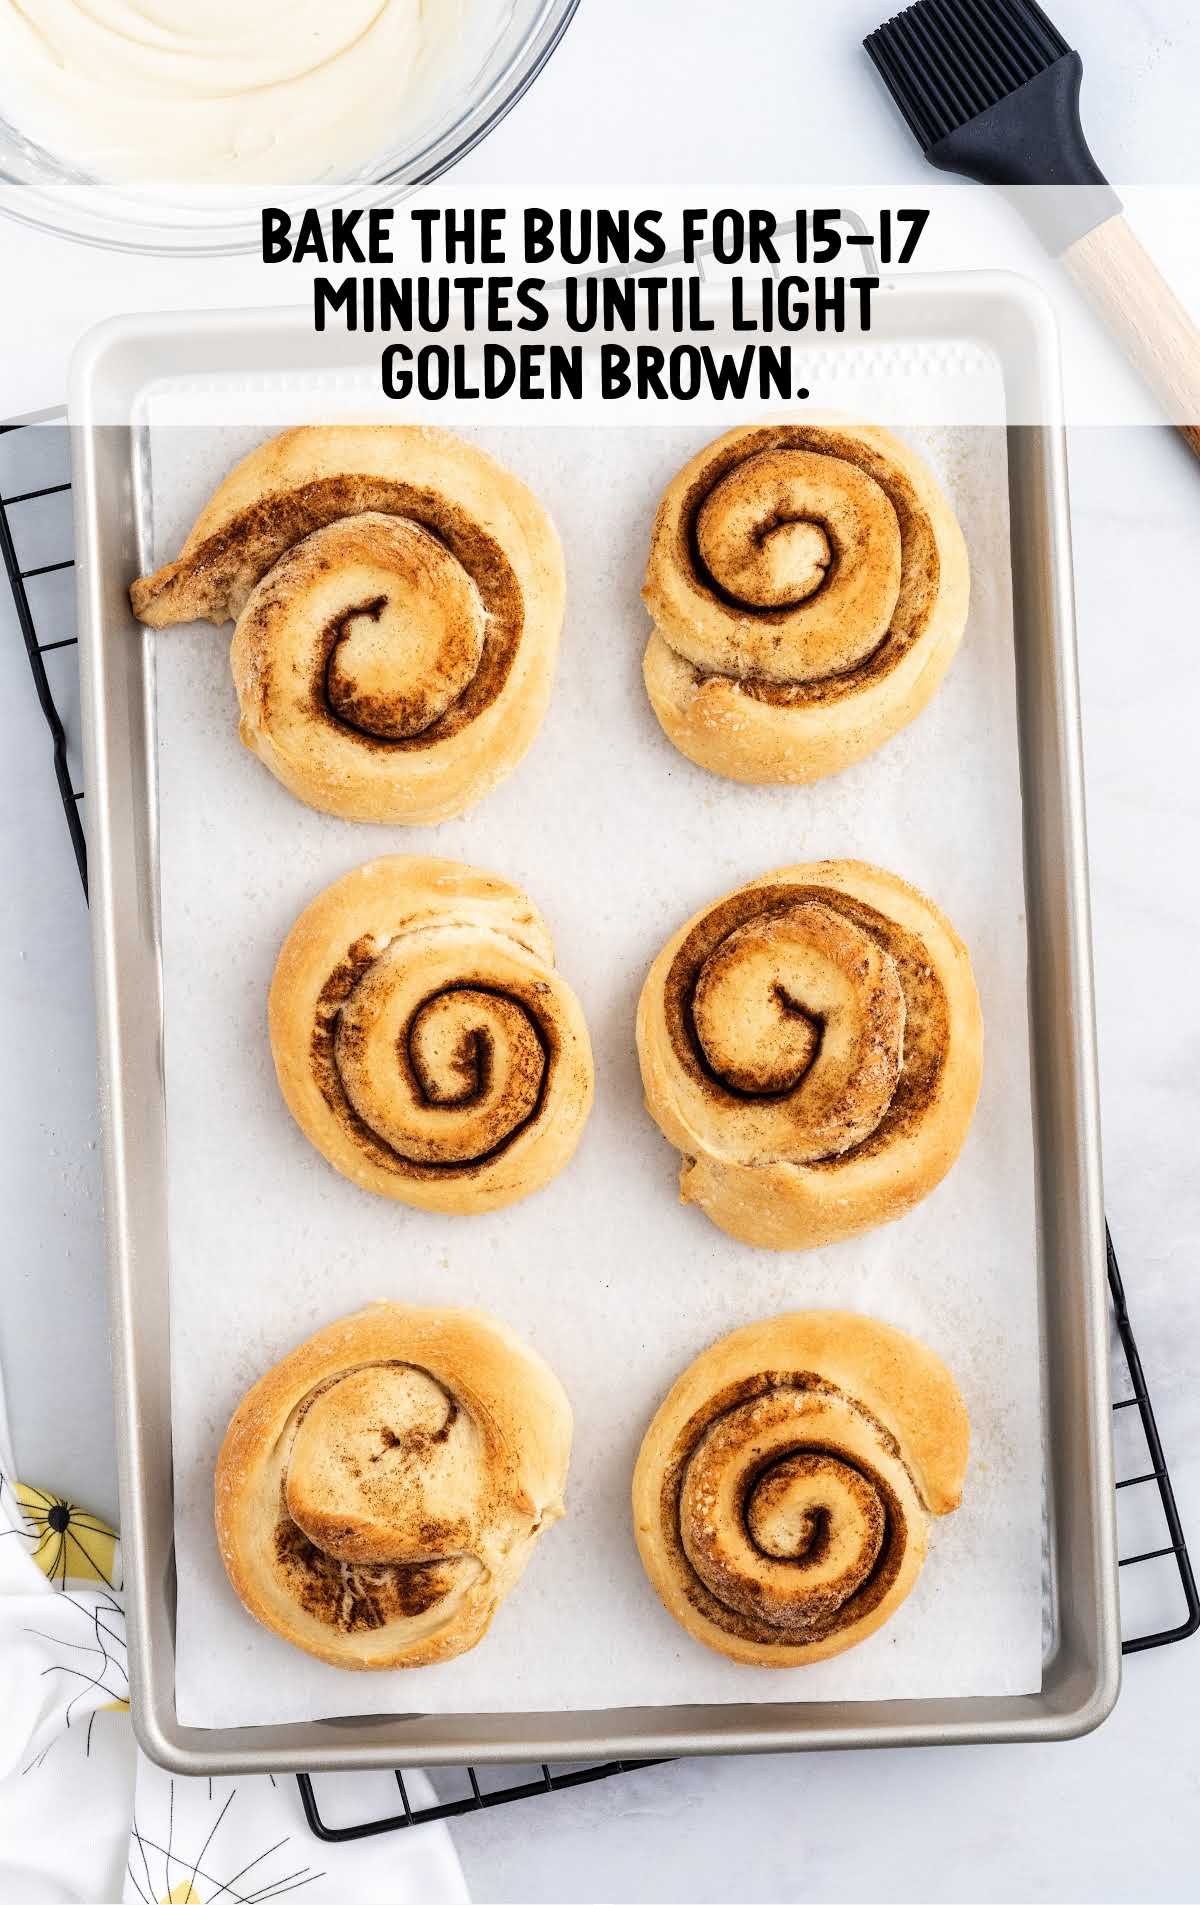
STEP TWELVE: Bake the buns for 15 to 17 minutes until light golden brown.
PRO TIP:
Oven temperatures vary and may need to be recalibrated periodically to ensure they are accurate. Make sure to check your honey buns at the lower end of the recommended baking time.
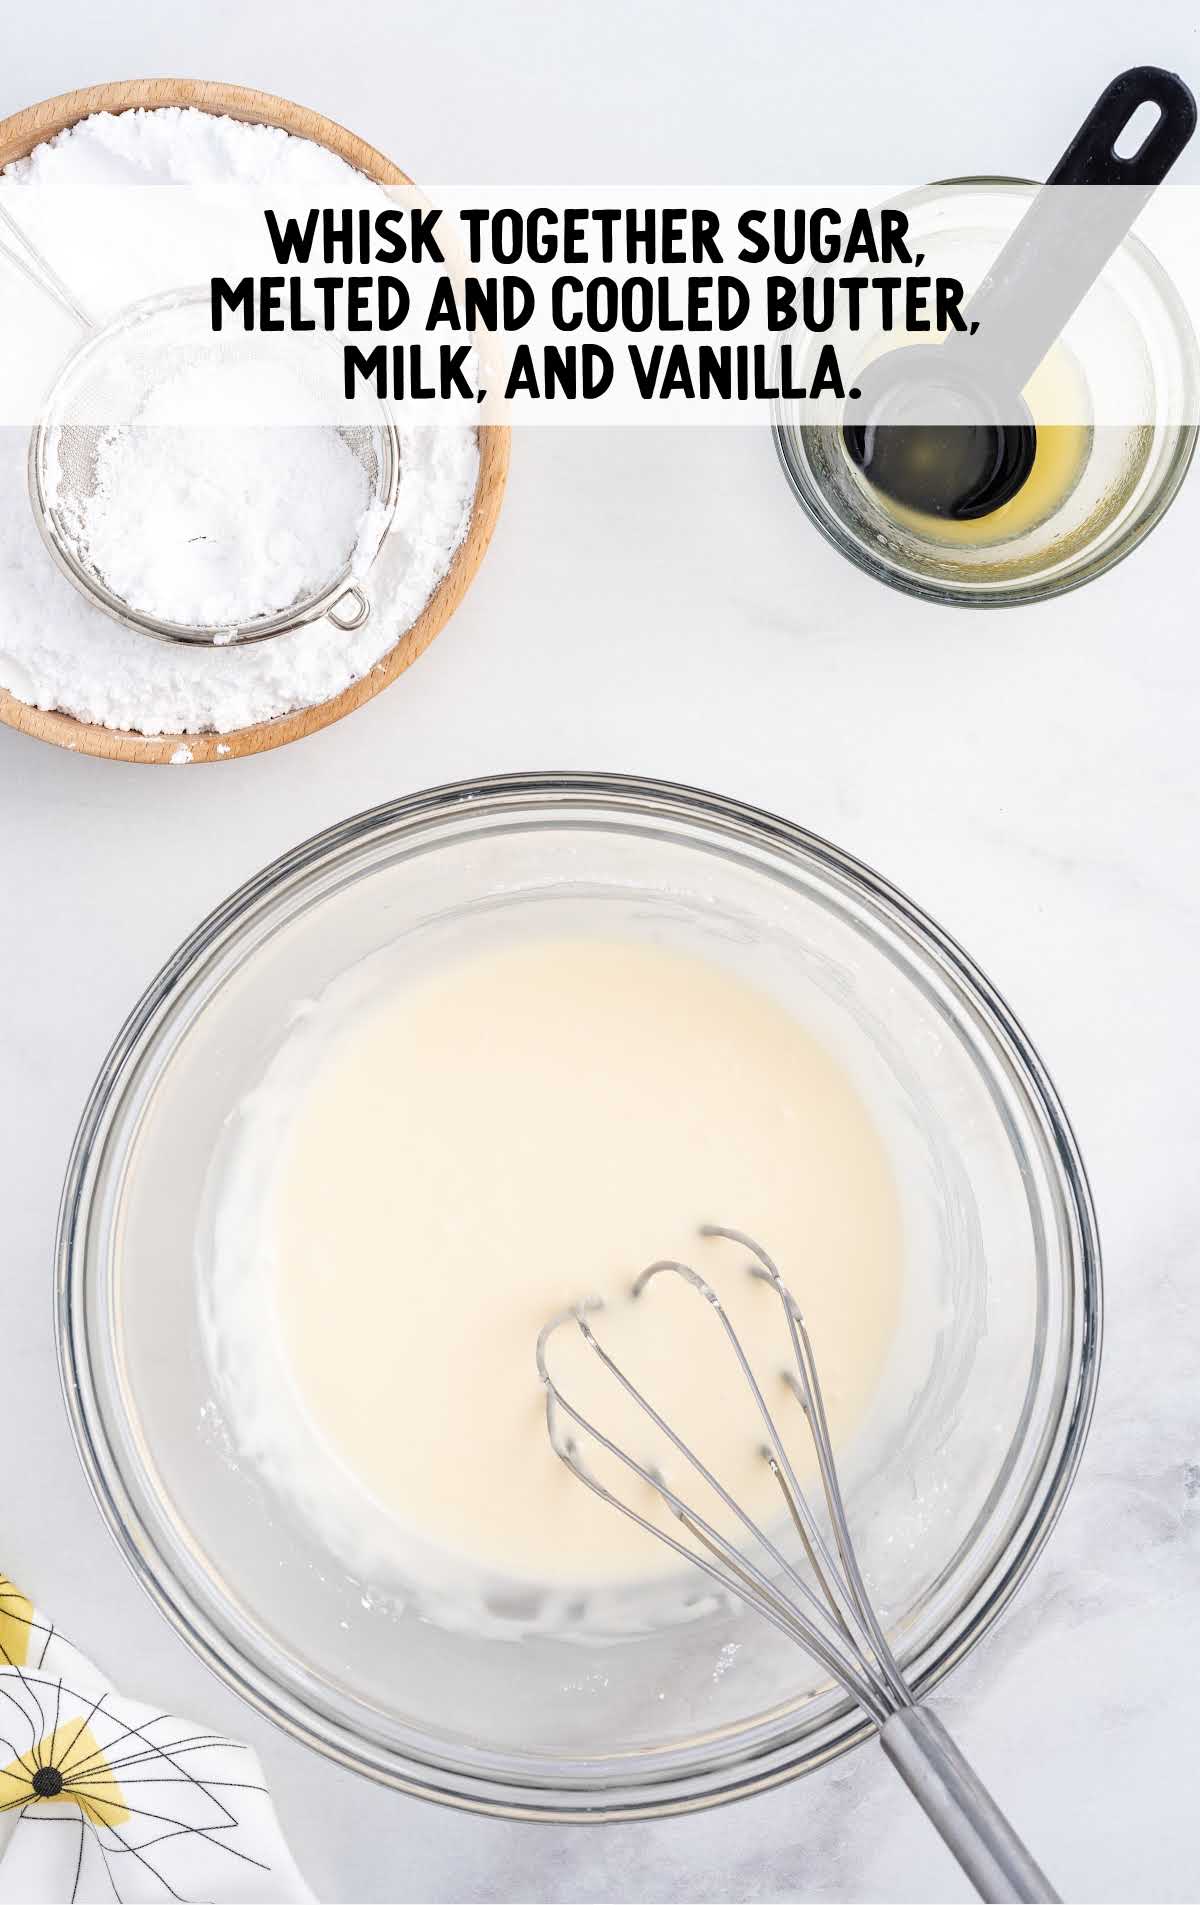
STEP THIRTEEN: While the buns are baking, make the glaze. Add the powdered sugar, melted and cooled butter, milk, and vanilla to a small mixing bowl.
Whisk until smooth and completely combined.
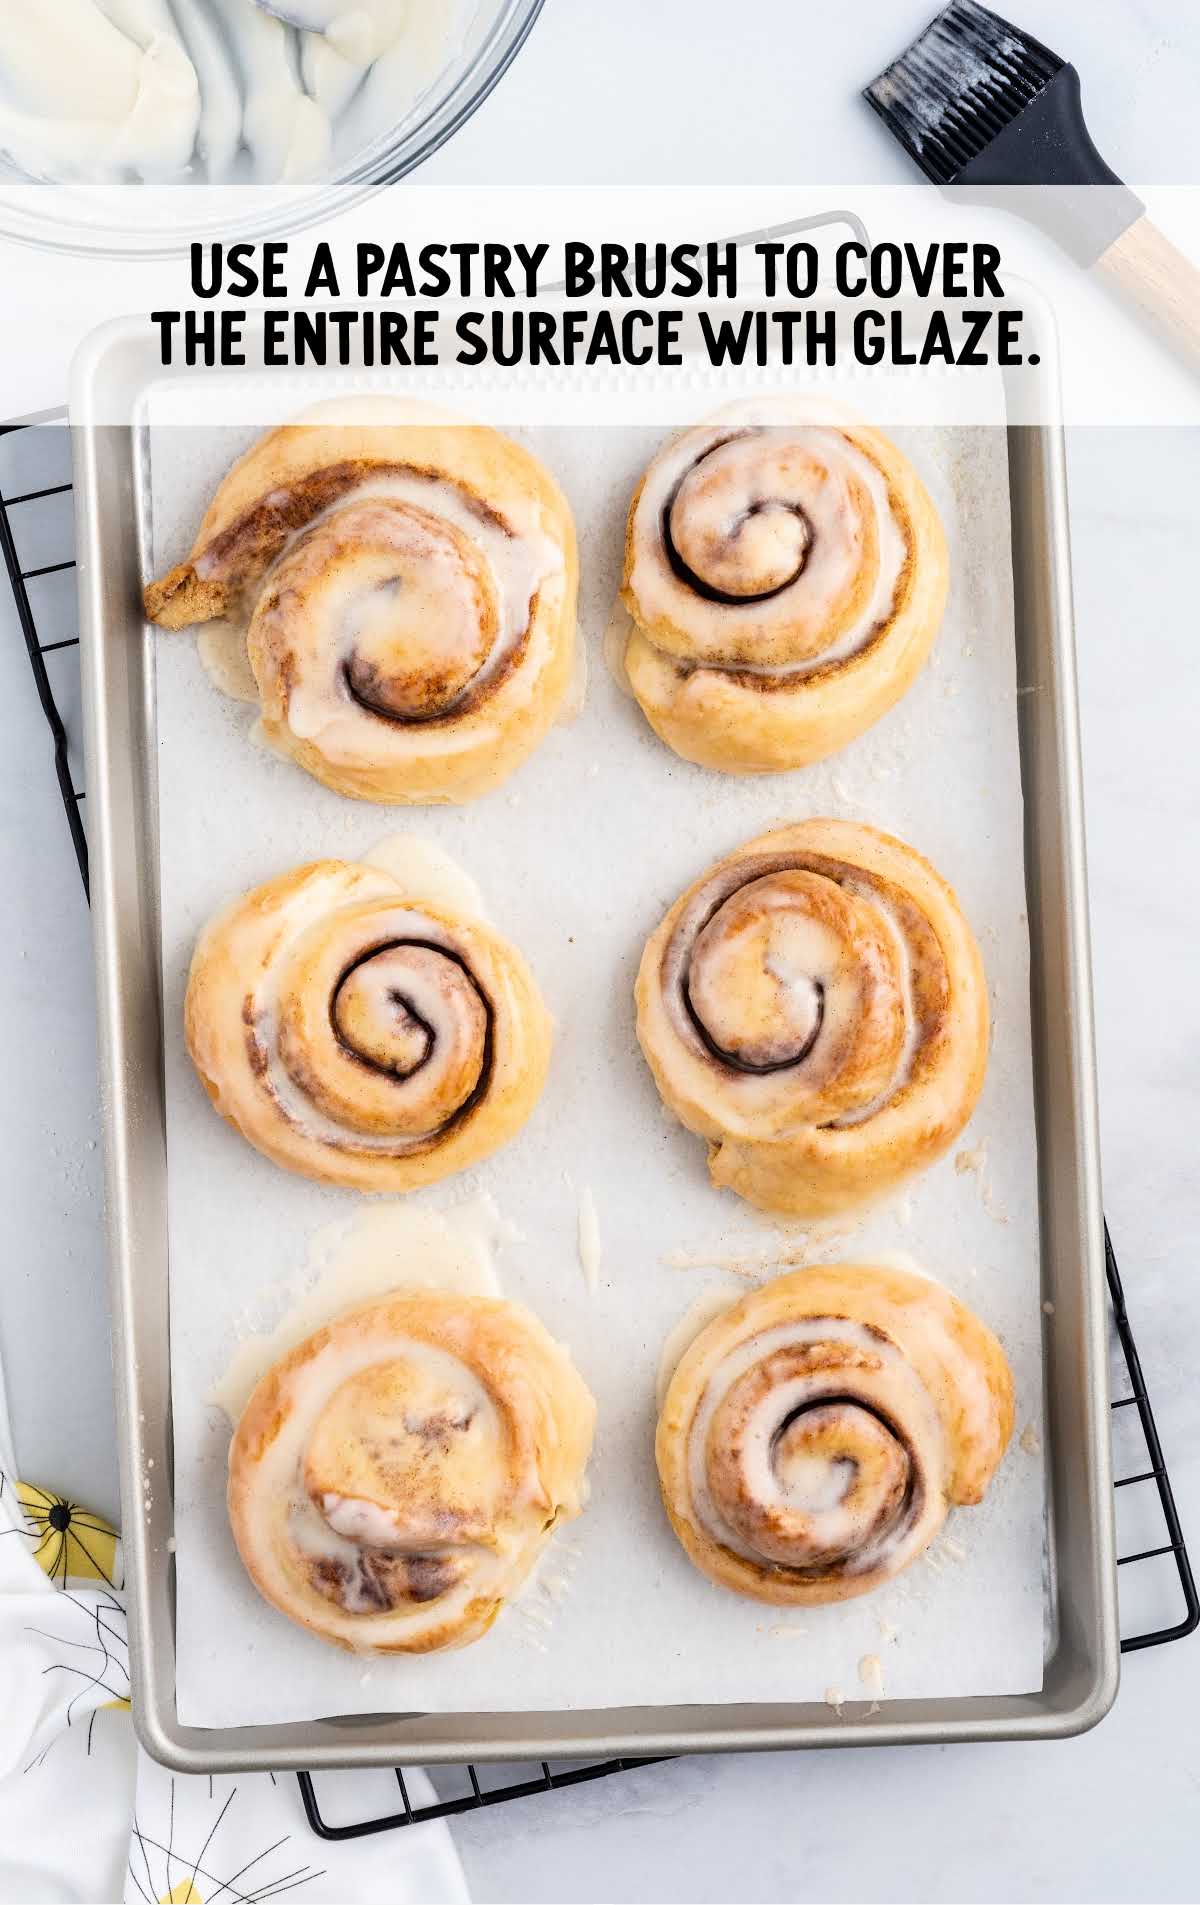
STEP FOURTEEN: Once the buns are baked, spoon 1 to 1½ teaspoons of the glaze over the buns.
Use a pastry brush to cover the entire surface. Allow the glaze to dry and serve.
How To Serve
This sweet treat will be a welcome addition to your breakfast table, whether for a special weekend morning or a busy weekday.
Don’t forget to add a warm mug of homemade hot chocolate or pumpkin spice latte.
You could also create a divine indulgence for a snack or dessert by adding a scoop of silky, cool vanilla ice cream on the side and a spoonful of whipped cream on top.
Our Cinnabon cinnamon rolls and cherry Danish are two more sweet baked goods to add to your breakfast table.
MORE SWEET RECIPES
Storage
Now that you’ve baked up a batch of these delectable honey buns, it’s essential to know how to store them to keep that irresistible freshness intact.
MAKE AHEAD: Follow the recipe as usual, bake your honey buns, and once they cool completely, store them in an airtight container.
They can stay at room temperature for up to two days or in the fridge for up to a week.
ON THE COUNTER: Store any leftovers in an airtight container for up to three days at room temperature.
IN THE FREEZER: You can freeze the homemade honey buns for up to one month. Label your container to make sure you enjoy these by their best-by date.
Allow the buns to thaw at room temperature before serving.
REHEATING: Reheating your honey buns is a breeze. You can use the microwave for a quick warm-up or the oven for a crisper texture.
If you’re in a hurry, simply microwave them in 10 to 15-second intervals until they’re warmed through.
For a more oven-fresh experience, preheat your oven to 350°F (175°C), place the buns on a baking sheet, and heat them for about five minutes.

Why We Love This Recipe
HOMEMADE COMFORT: These honey buns offer the comforting taste of homemade baked goods, filling your kitchen with the warm aroma of cinnamon and sugar.
QUICK AND EASY: With simple ingredients and easy-to-follow instructions, these buns are perfect for both novice and experienced bakers. You can whip up a batch in no time.
MAKE AHEAD CONVENIENCE: The ability to make these buns ahead of time and store them for later means you can enjoy fresh, homemade goodness without the early morning effort.
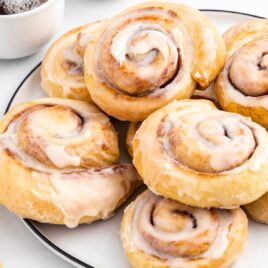
Imagine a plateful of fresh warm rolls on your breakfast table. These soft honey buns are so easy to make, and you will be rewarded with a fluffy pastry loaded with gooey cinnamon filling straight from the oven.
FREQUENTLY ASKED QUESTIONS
This classic pastry can be reheated in the microwave for 10 to 15 seconds.
This honey bun recipe can be kept in the freezer for up to one month in an airtight container.
There are a couple of reasons why your dough didn’t rise. First, make sure that your yeast has not expired. Second, make sure the temperature where you have placed the dough to rise is not too cool. Honey buns need a somewhat warm place for the dough to rise.
More Recipes You’ll Love


Honey Buns
Ingredients
Honey Bun Dough
- ⅔ cup whole milk
- ⅓ cup salted sweet cream butter, melted and cooled
- 1 tablespoon salted sweet cream butter
- 3 tablespoons granulated sugar
- ½ teaspoon kosher salt
- 0.25 ounce rapid rise instant yeast
- 2 teaspoons pure vanilla extract
- 2½ cups all-purpose flour
- 1 large egg, room temperature and beaten
- 1-1½ tablespoons vegetable oil
- 2 teaspoons ground cinnamon
Glaze
- 1½ cups powdered sugar, sifted
- 3 tablespoons salted sweet cream butter, melted and cooled
- 3 tablespoons whole milk
- ½ teaspoon pure vanilla extract
Instructions
- Add the milk to a heat-safe small bowl and heat in the microwave for 30 seconds. Check the temperature of the milk (It needs to reach between 105°F to 110°F). Once the milk reaches the appropriate temperature, add the melted butter, sugar, kosher salt, yeast, and vanilla. Stir to combine.
- Using a stand mixer with a dough hook attachment, add the flour, milk mixture, and the beaten egg. Mix on low speed just until the flour and milk mixture begins to combine. Increase the speed to high and beat the dough for 9 to 10 minutes until the dough completely pulls away from the sides of the mixing bowl.
- Add 1 to 1½ tablespoons of vegetable oil to a large mixing bowl. Remove the dough from the stand mixer and shape it into a ball. Roll the dough ball in the oil and cover tightly with plastic wrap. Allow the dough to rise for 2 hours. (The dough needs to double in size)
- Once the dough has risen, generously flour a work surface with flour.
- Remove the dough from the bowl and shape it into a rectangle about 6 to 7 inches wide and 13 to 14 inches long.
- Sprinkle the ground cinnamon over the surface of the dough.
- Tightly roll the dough up from the long sides of the rectangle.
- Line a baking sheet with parchment paper.
- Use plain dental floss to cut 1-inch slices from the dough. Place the sliced dough onto the prepared baking sheet, spacing 2 inches apart.
- Gently depress the dough, making it an oval shape. Lightly spray the tops of the dough with nonstick cooking spray and cover loosely with a piece of parchment. Allow the dough to rise for another 30 minutes.
- Preheat the oven to 350°F.
- Bake the buns for 15 to 17 minutes until light golden brown.
- While the buns are baking, make the glaze. Add the powdered sugar, melted and cooled butter, milk, and vanilla to a small mixing bowl. Whisk until smooth and completely combined.
- Once the buns are baked, spoon 1 to 1½ teaspoons of the glaze over the buns. Use a pastry brush to cover the entire surface. Allow the glaze to dry and serve.
Notes
- Always make sure that the instant yeast has not expired, or your dough may not rise.
- If the ambient temperature in your kitchen is chilly, you can briefly heat your oven to about 100°F. Turn the oven off and allow the dough to proof in the oven. You can keep the oven off and allow the cut dough to proof in the oven for the second round of rising.
- It is important that the dental floss is not mint-coated. It will transfer to the dough. Unless you like minty fresh honey buns!
- Oven temperatures vary and may need to be recalibrated periodically to ensure they are accurate. Make sure to check your honey buns at the lower end of the recommended baking time.
Nutrition


Leave a Comment