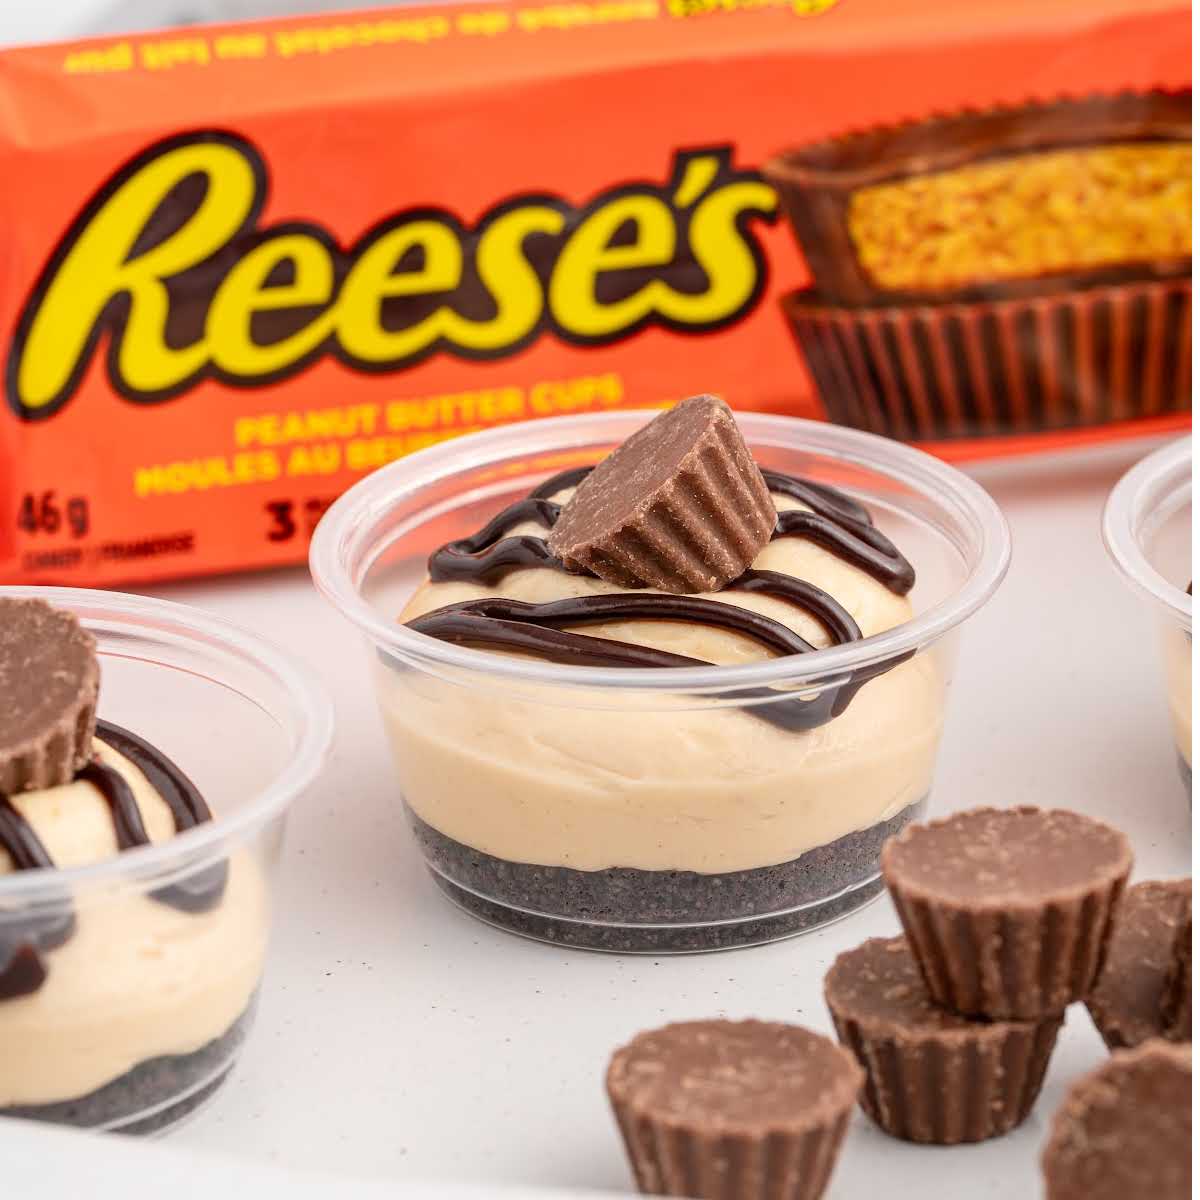
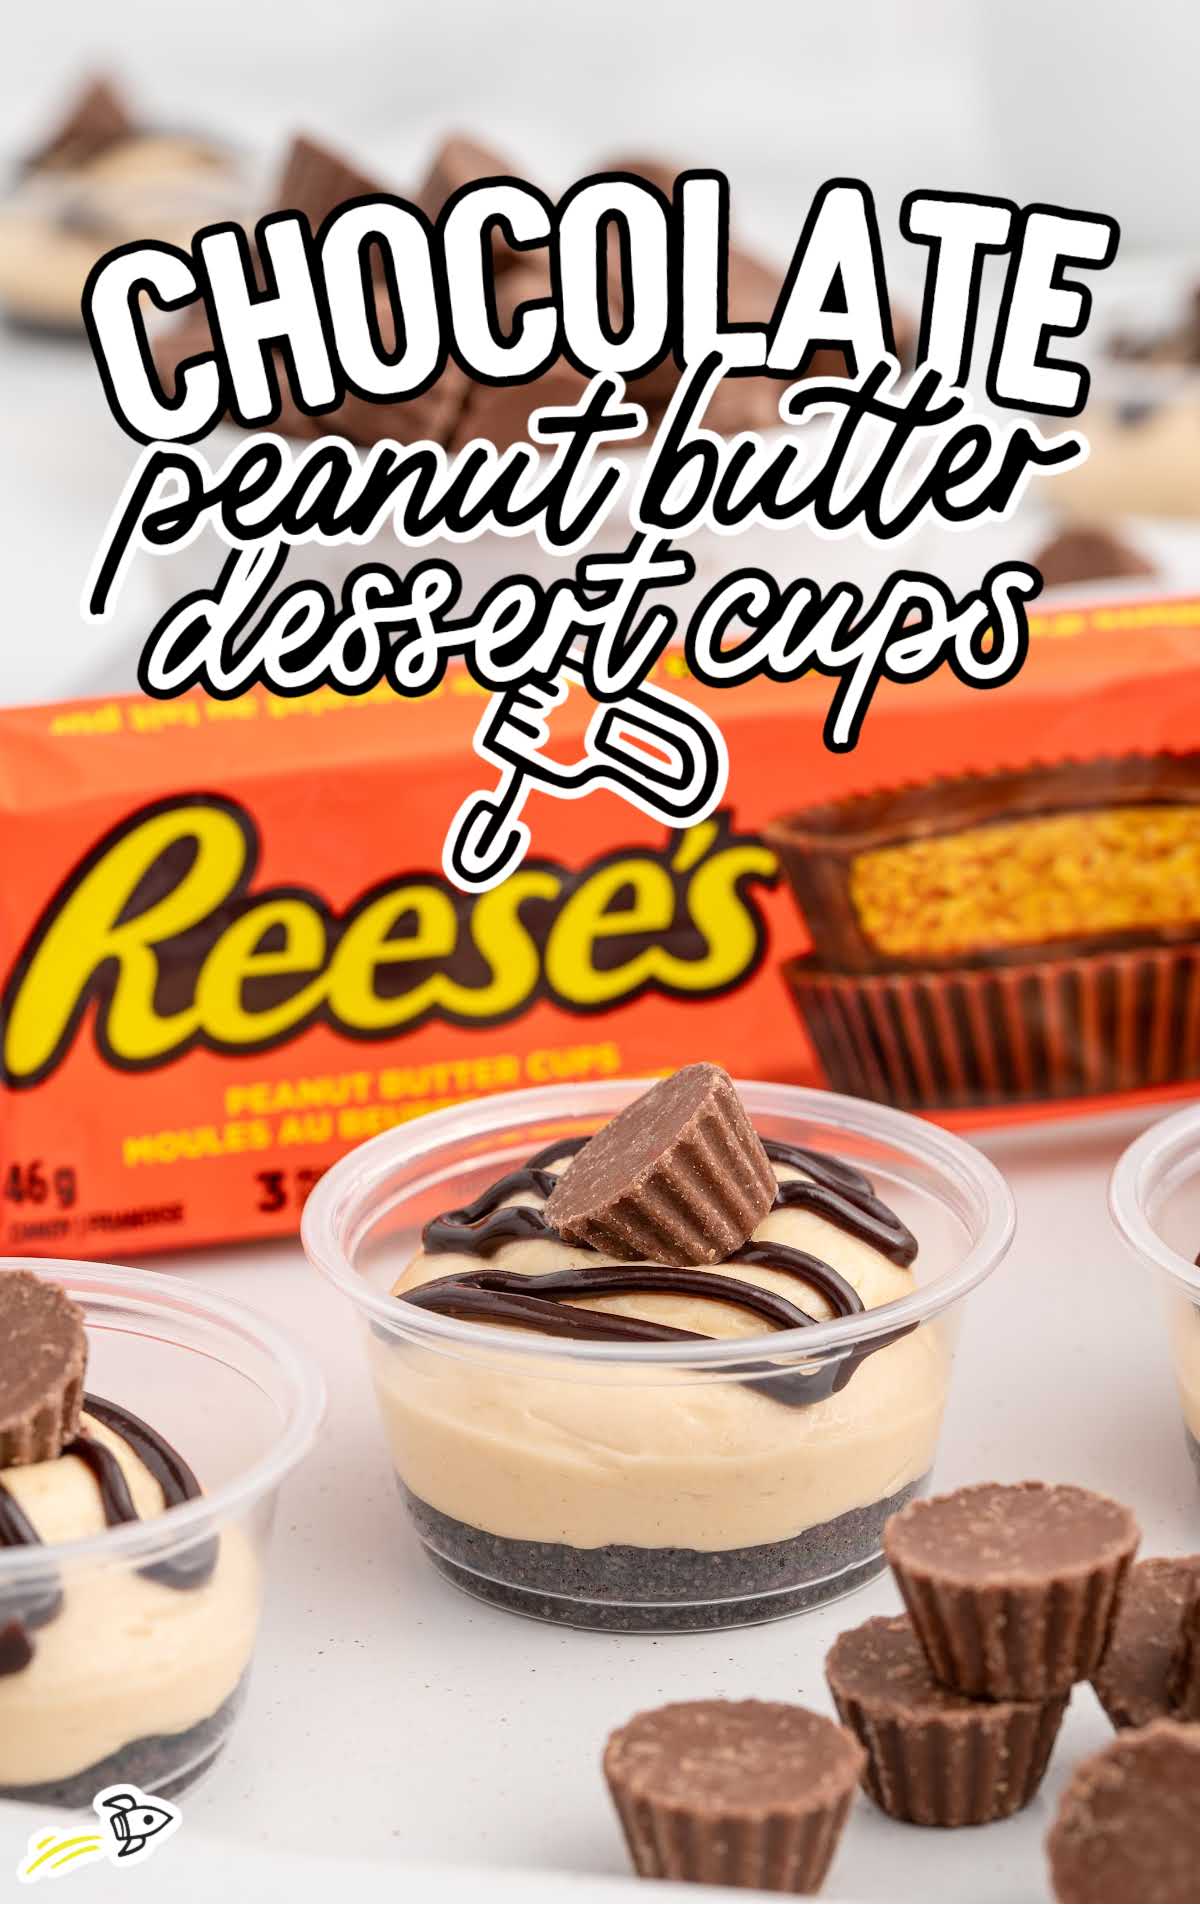
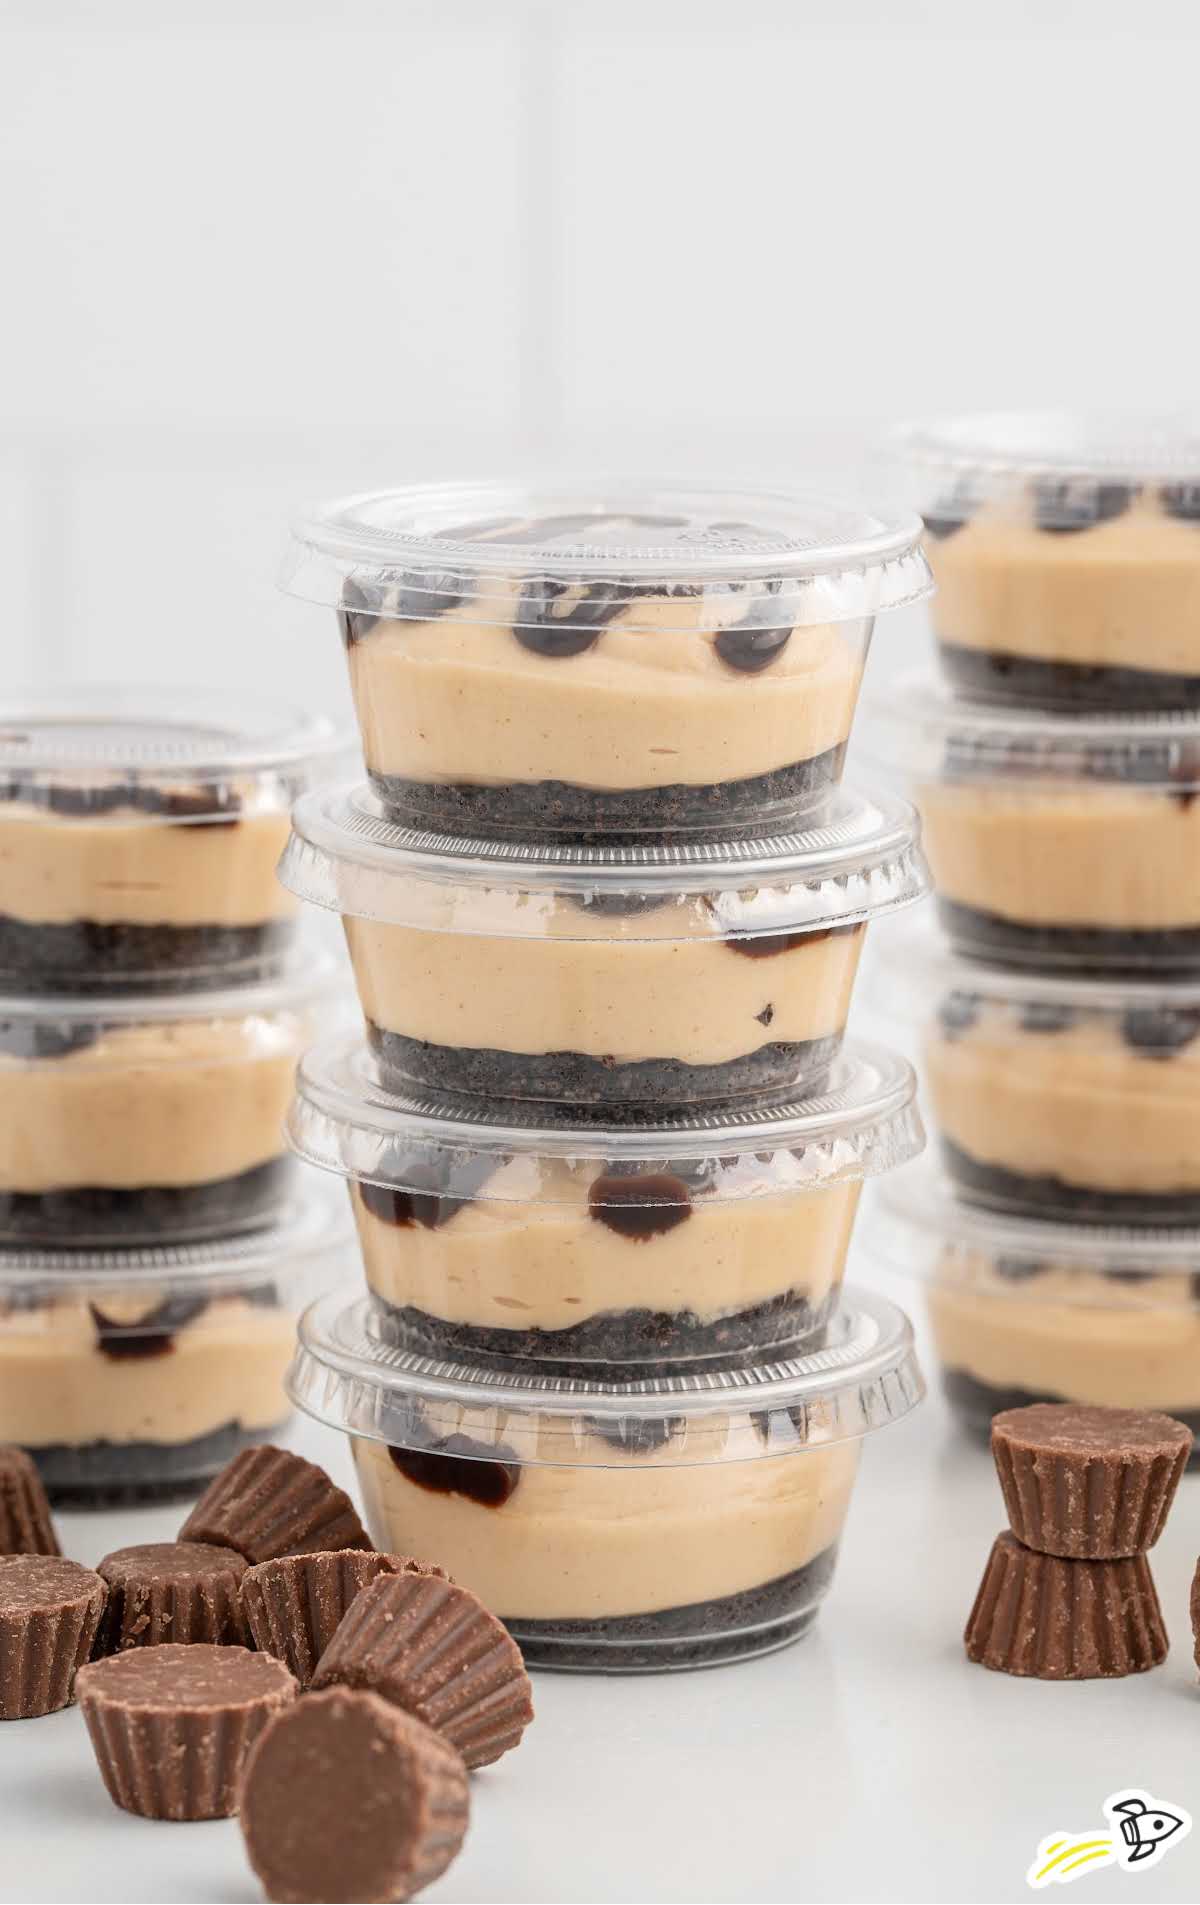
Chocolate Peanut Butter Dessert Cups are sweet, two-bite treats layered in a single-serve cup for easy serving and eating! It’s an irresistible combination of creamy peanut butter cheesecake filling atop a buttery chocolate cookie crust finished with a drizzle of rich chocolate sauce.
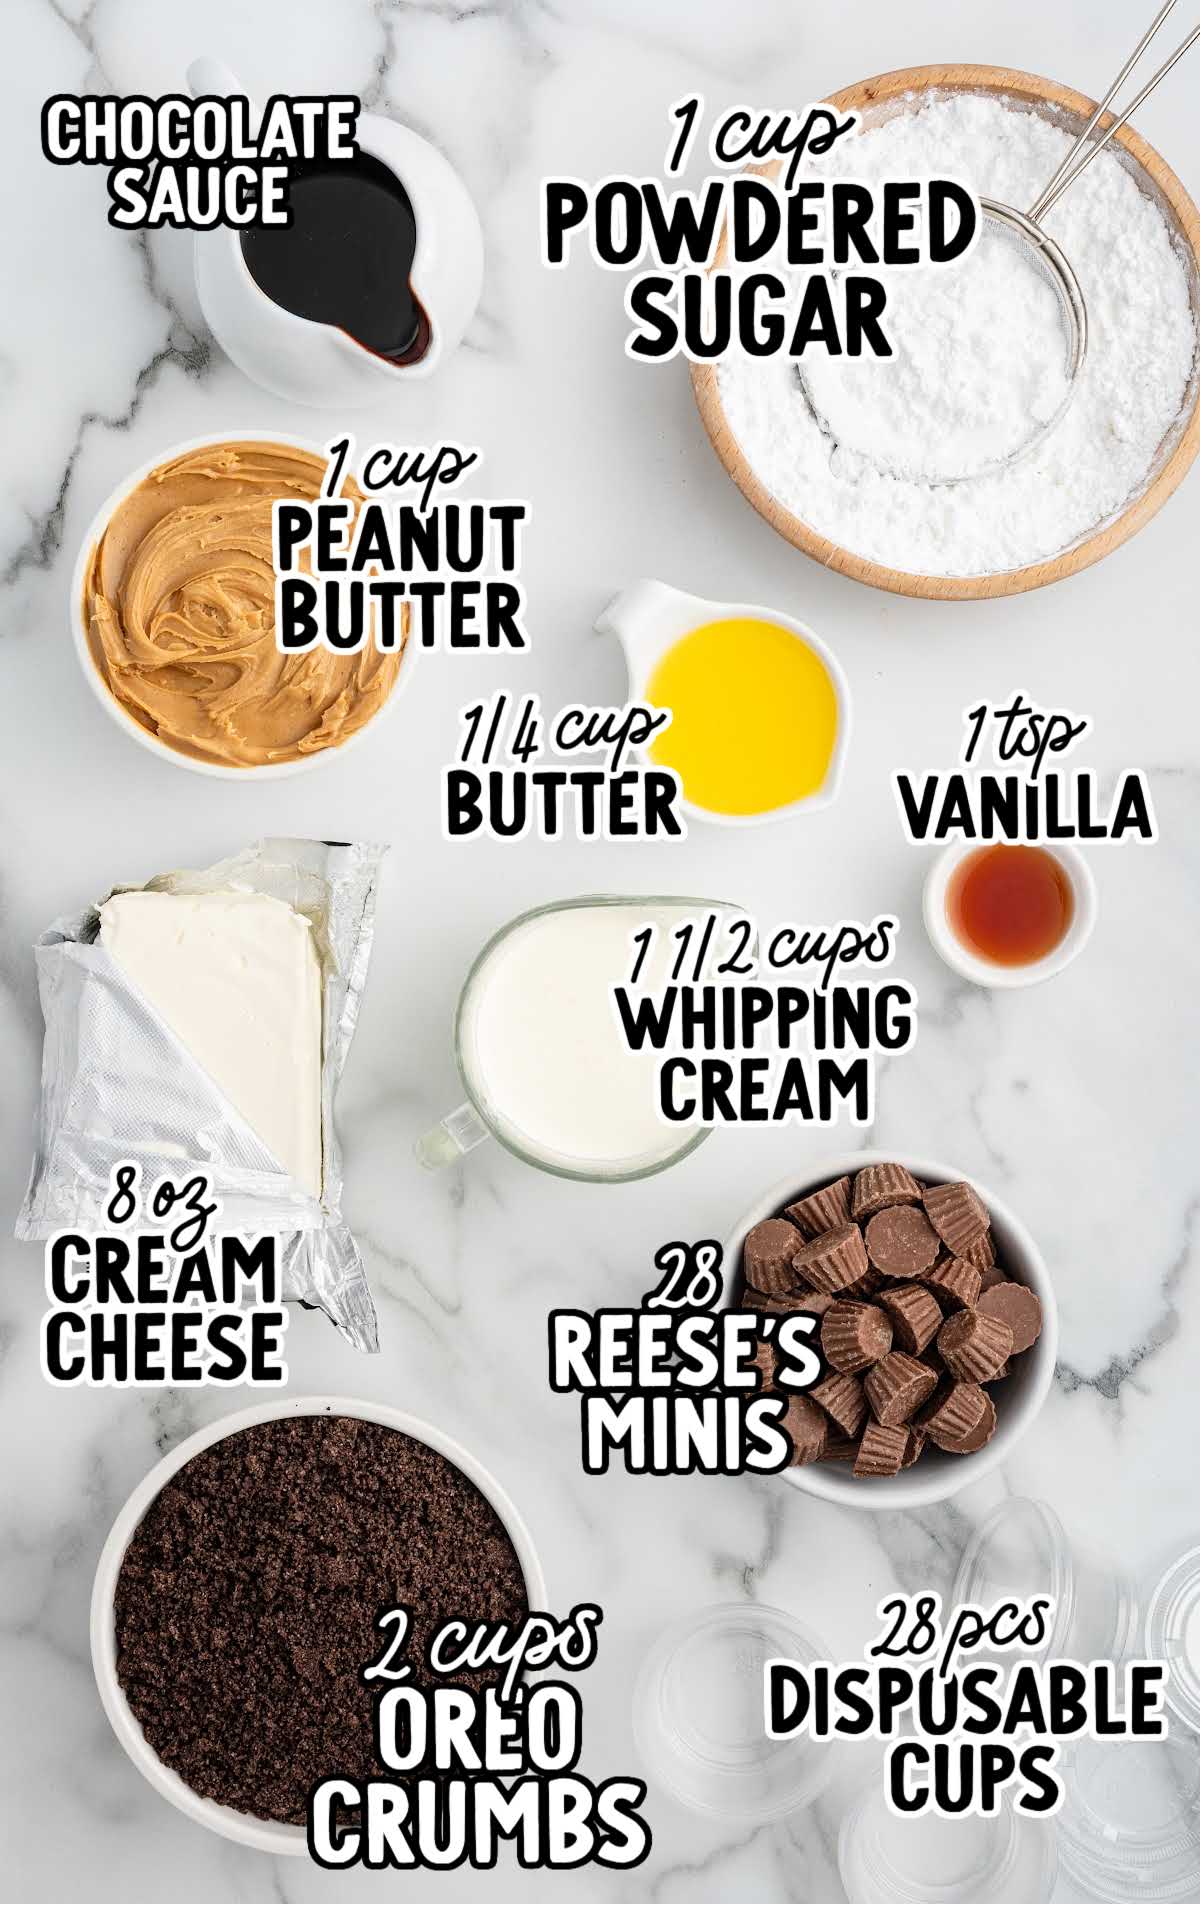
Chocolate Peanut Butter Dessert Cups Recipe Ingredients
Whip up a batch of these delightful chocolate peanut butter dessert cups. Made with love from simple ingredients, they’re easy, no-bake peanut butter cup desserts that are perfectly portable and addictively yummy!
You’ll Need:
- 2 cups crushed Oreo cookie crumbs, with the cream filling
- ¼ cup salted butter, melted and cooled
- 1 8-ounce package cream cheese, softened
- 1 cup powdered sugar
- 1 cup creamy peanut butter
- 1 ½ cup cold heavy whipping cream
- 1 teaspoon pure vanilla extract
- Chocolate sauce for drizzling
- 28 Reese’s peanut butter minis
- 28 – 2-ounce disposable condiment or portion cups with lids
Peanut Butter Chocolate Cup Dessert Substitutions and Additions
There are plenty of ways to customize these chocolate peanut butter dessert cups to suit your needs, whether you need to consider dietary restrictions or if you just want to use what you have on hand.
OREO COOKIE CRUMBS: Try using graham cracker crumbs or chocolate graham cracker crumbs instead. For an over-the-top peanut butter flavor, add an extra peanut butter layer and use crushed Nutter Butter cookies!
If you’re looking for a gluten-free option, you can use gluten-free Oreos or another favorite brand of your choice.
SALTED BUTTER: To make these dessert cups dairy-free, you can substitute melted coconut oil or dairy-free margarine for the salted butter. For a richer flavor, try browned butter.
POWDERED SUGAR: If you prefer a less sweet filling, you can reduce the amount of powdered sugar or use a sugar substitute like erythritol or stevia.
CREAMY PEANUT BUTTER: Try different nut or seed butters like almond, cashew butter, or sunflower seed butter. Keep in mind, the flavor and texture will be different. For a crunchy texture, use chunky peanut butter instead of creamy.
HEAVY WHIPPING CREAM: To make these dessert cups lighter, you can substitute half-and-half or whole milk for the heavy cream.
PURE VANILLA EXTRACT: You can adjust the flavor slightly by adding in almond extract or hazelnut extract.
For a different twist, try adding a dash of cinnamon or espresso powder. You can also omit the vanilla altogether, but your cups will likely taste quite sweet without it.
CHOCOLATE SAUCE: Customize the chocolate drizzle by using dark chocolate, milk chocolate, or white chocolate. Turn your dessert cups into PB&J cups by adding a bit of strawberry jam or syrup to the top instead.
REESE’S PEANUT BUTTER CUPS MINIS: Swap out the peanut butter minis for other chocolate candies. Try mini chocolate chips or M&Ms. You can also try adding chopped nuts like peanuts, almonds, or pecans.
Remember, substitutions may alter the taste and texture of the dessert cups, so feel free to experiment and adjust according to your preferences.
How To Make This Chocolate Peanut Butter Dessert Cups Recipe
This easy no-bake recipe for Reese cup desserts is a peanut butter lover’s dream! A simple Oreo crumb base is topped with a sweetened, creamy peanut butter filling. A drizzle of chocolate sauce and a mini Reese’s peanut butter cup add an extra indulgent garnish.
STEP ONE: Take time to gather and pre-measure your ingredients. If needed, pulse Oreo cookies in a food processor to crush.
Remove the cream cheese from the fridge so it comes to room temperature, and melt the butter so it has time to cool.
PRO TIP: Look for pre-made Oreo crumbs in the baking aisle of your grocery store to save time.
STEP TWO: In a small mixing bowl, add the crushed Oreo crumbs and melted and cooled butter. Stir together until fully combined, and all the crumbs are coated in the butter.
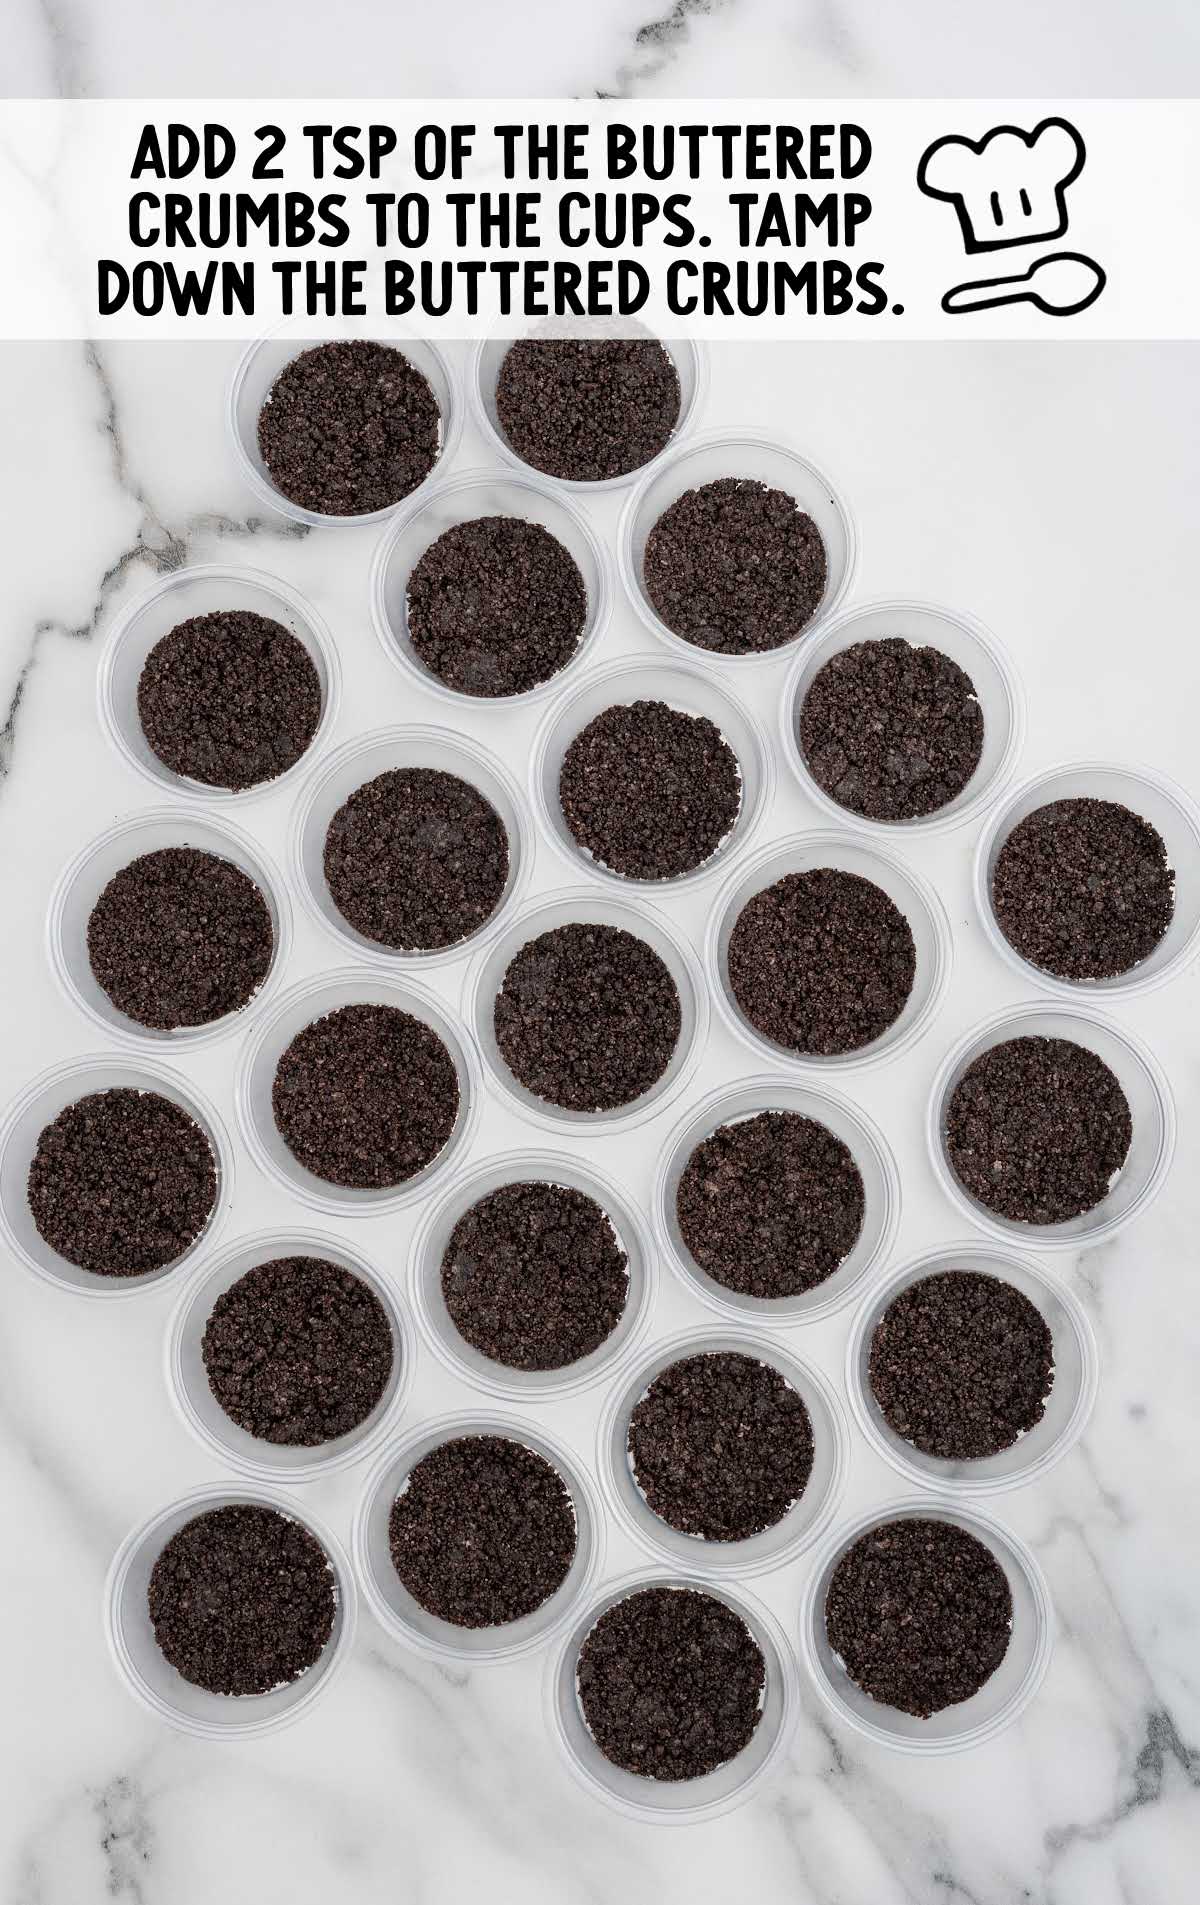
STEP THREE: Spread 28 portion cups on a clean countertop or on a large baking tray. Add two teaspoons of the Oreo crumb mixture to each cup.
Using a spoon or an extra portion cup, press down on the mixture to tamp it down into the bottom of the cups.
STEP FOUR: In the bowl of a stand mixer with the whisk attachment or in a large mixing bowl with a hand mixer, beat together the softened cream cheese and powdered sugar until it’s completely smooth.
Use a spatula to scrape down the bottom and sides of the bowl throughout the process.
PRO TIP: Make sure your cream cheese is softened completely. Otherwise, your mixture won’t become fluffy and will have small lumps of cream cheese throughout.
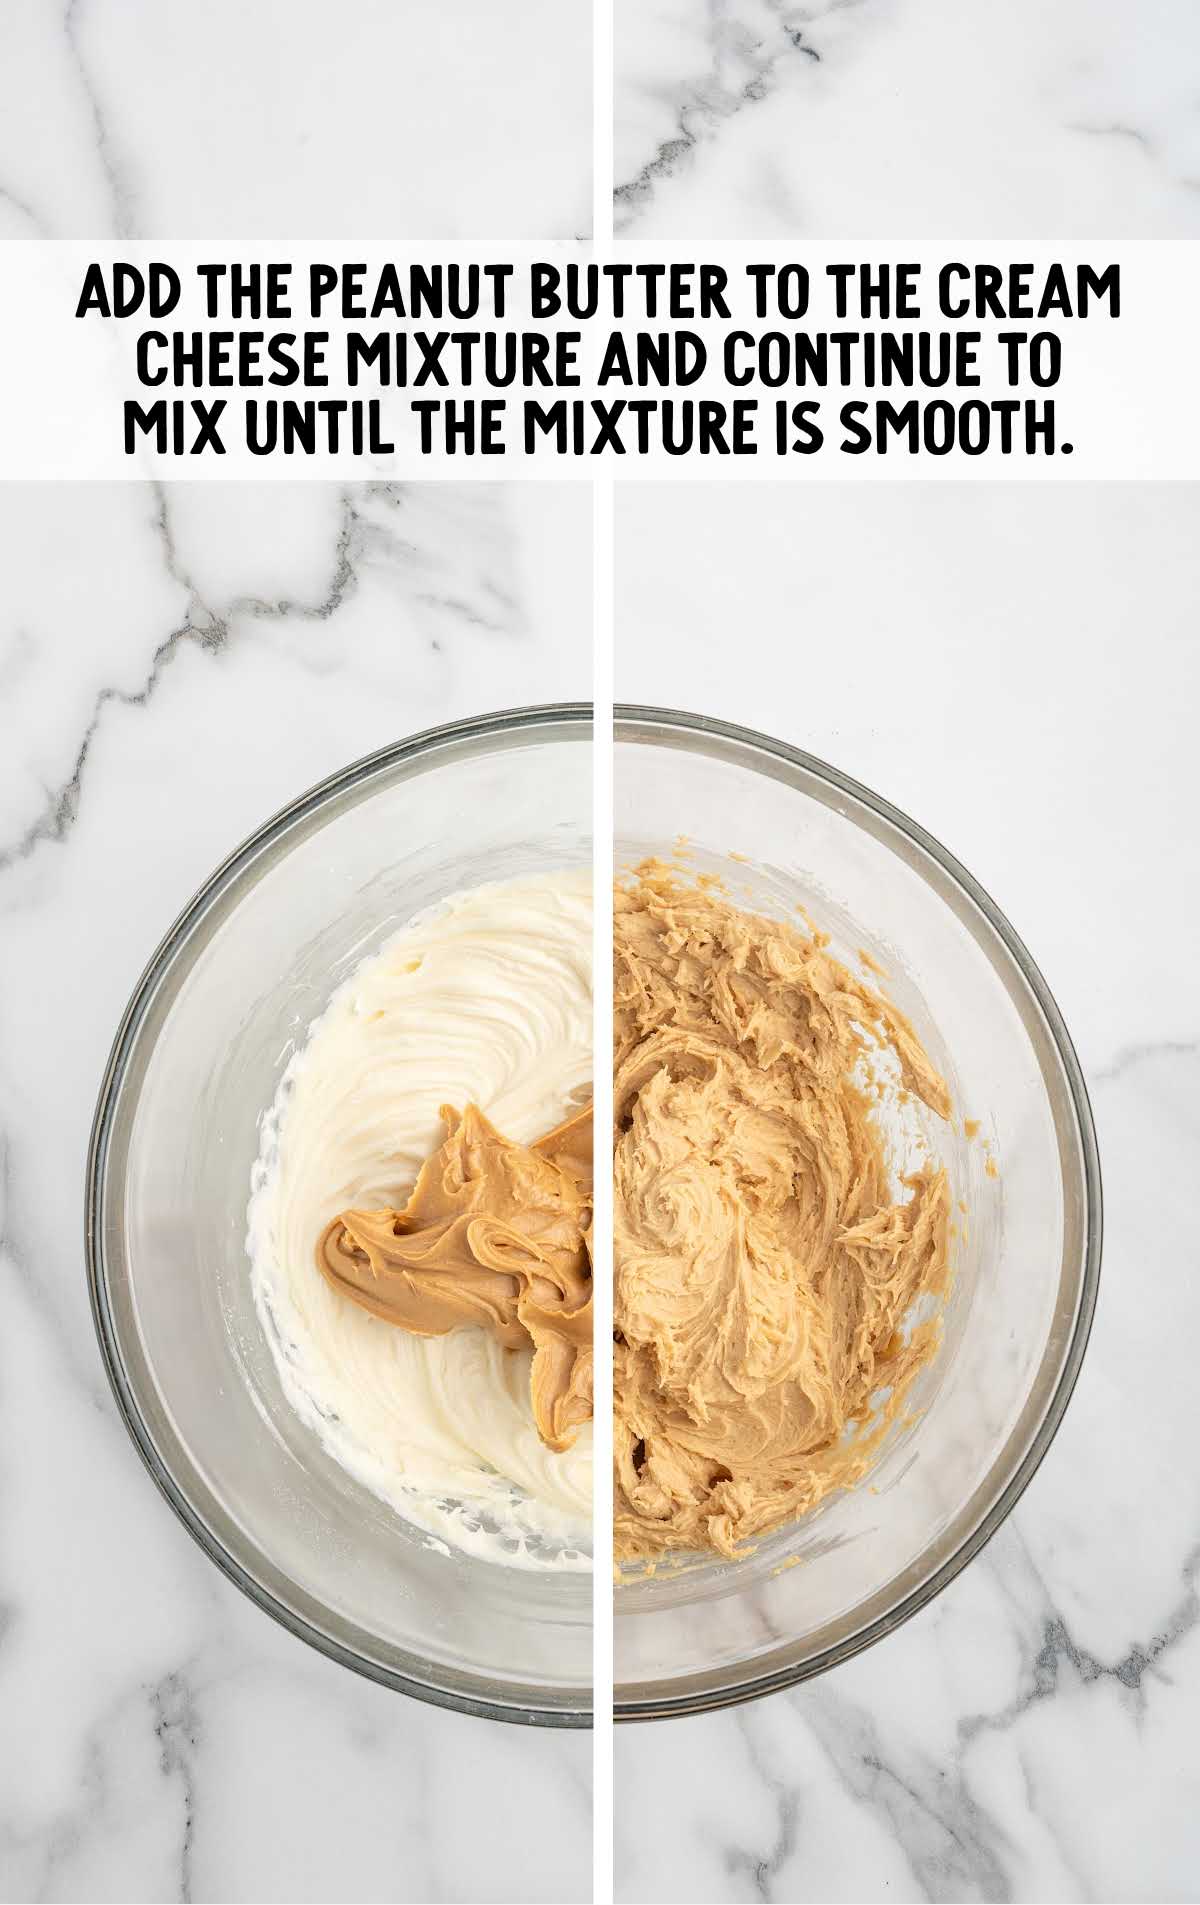
STEP FIVE: Add the creamy peanut butter to the mixture and mix again until smooth.
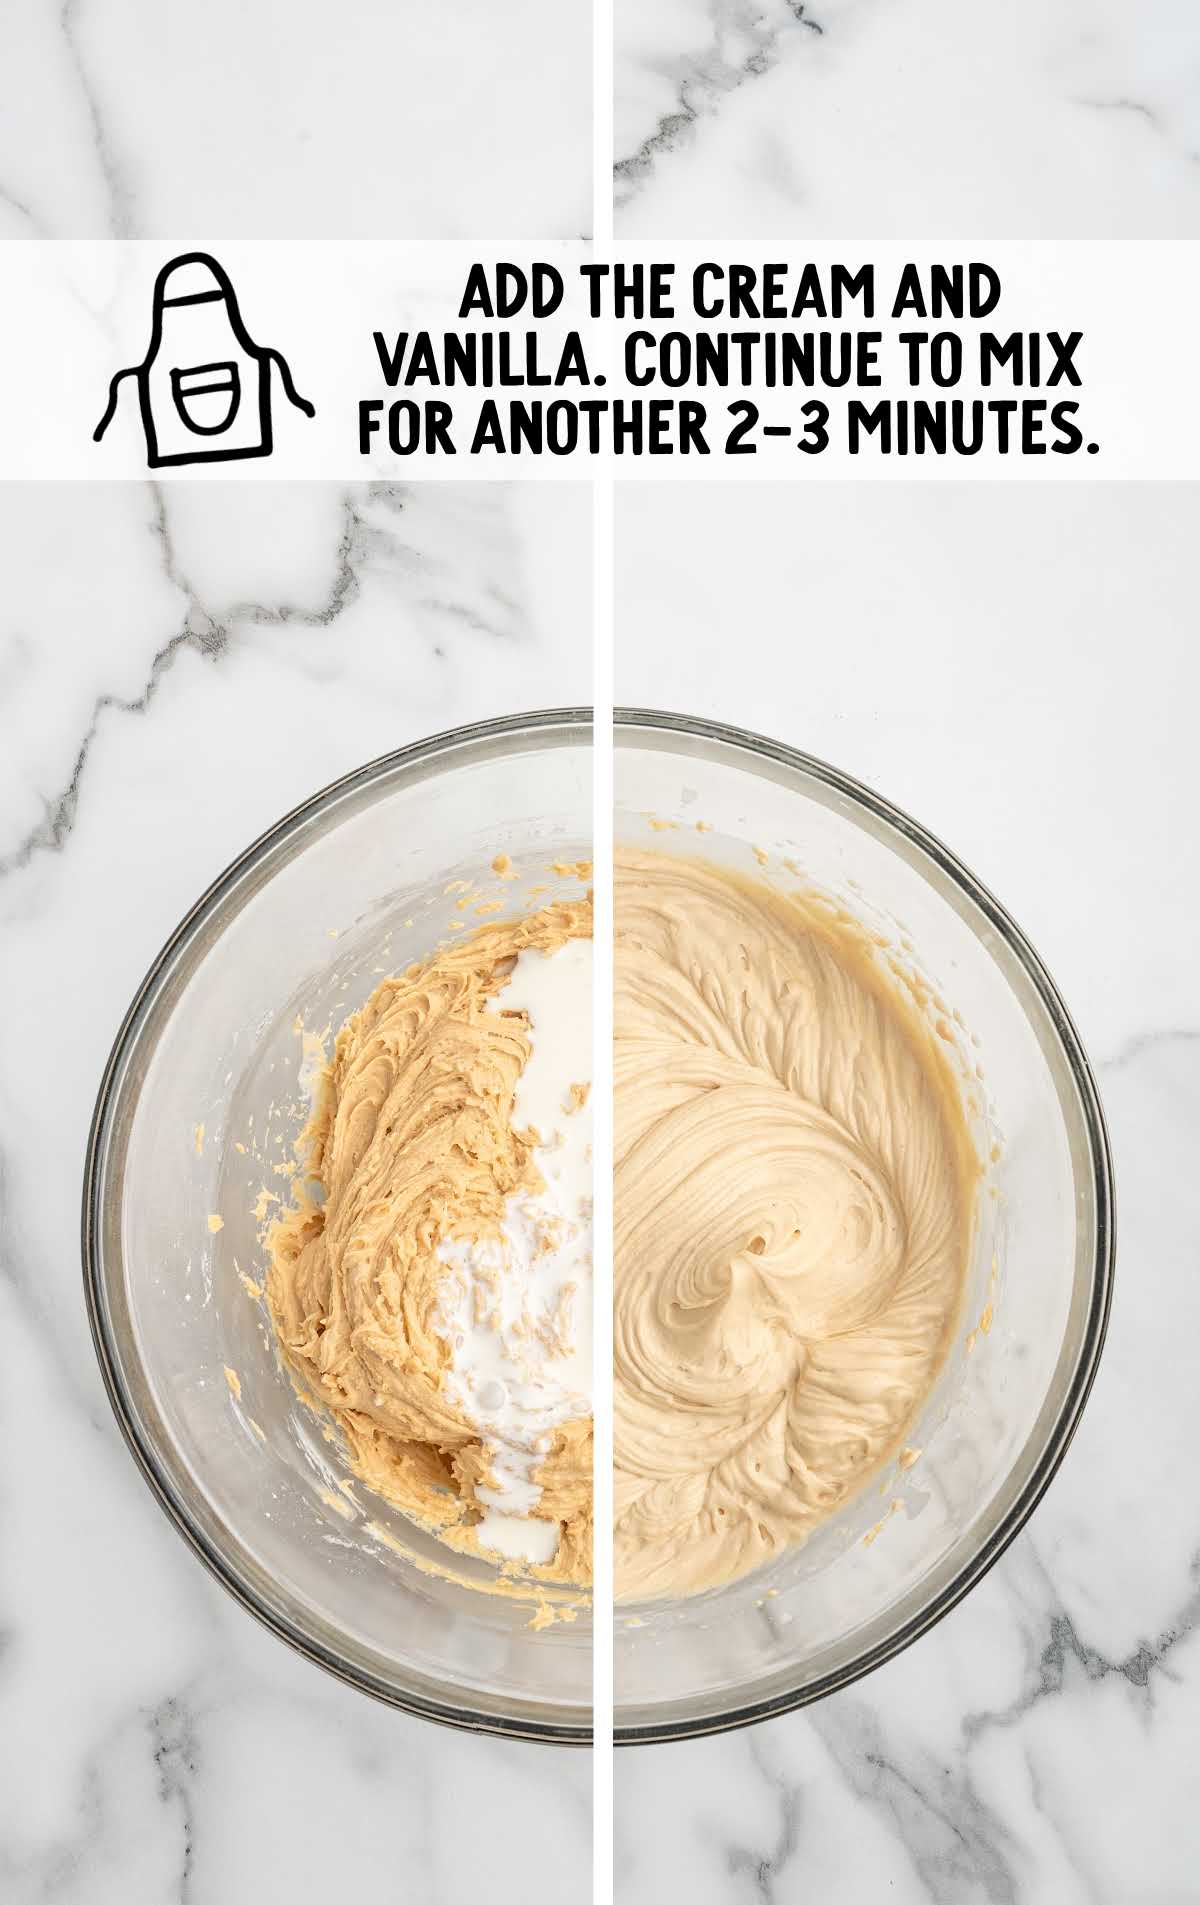
STEP SIX: Add the cold heavy cream and vanilla extract. Mix again until the filling has thickened. The mixture should be thick enough to hold its shape when it’s piped into the cups.
PRO TIP: Don’t overmix the peanut butter mixture. If you mix too long, it will become thin and won’t hold its shape well. Mix just until fluffy.
STEP SEVEN: Add the peanut butter filling to a disposable piping bag.
PRO TIP: For this recipe, a gallon-size Ziploc bag will work just as well. You don’t need a piping tip, but if you want the tops to look fancier, you can use a star tip to make swirls.
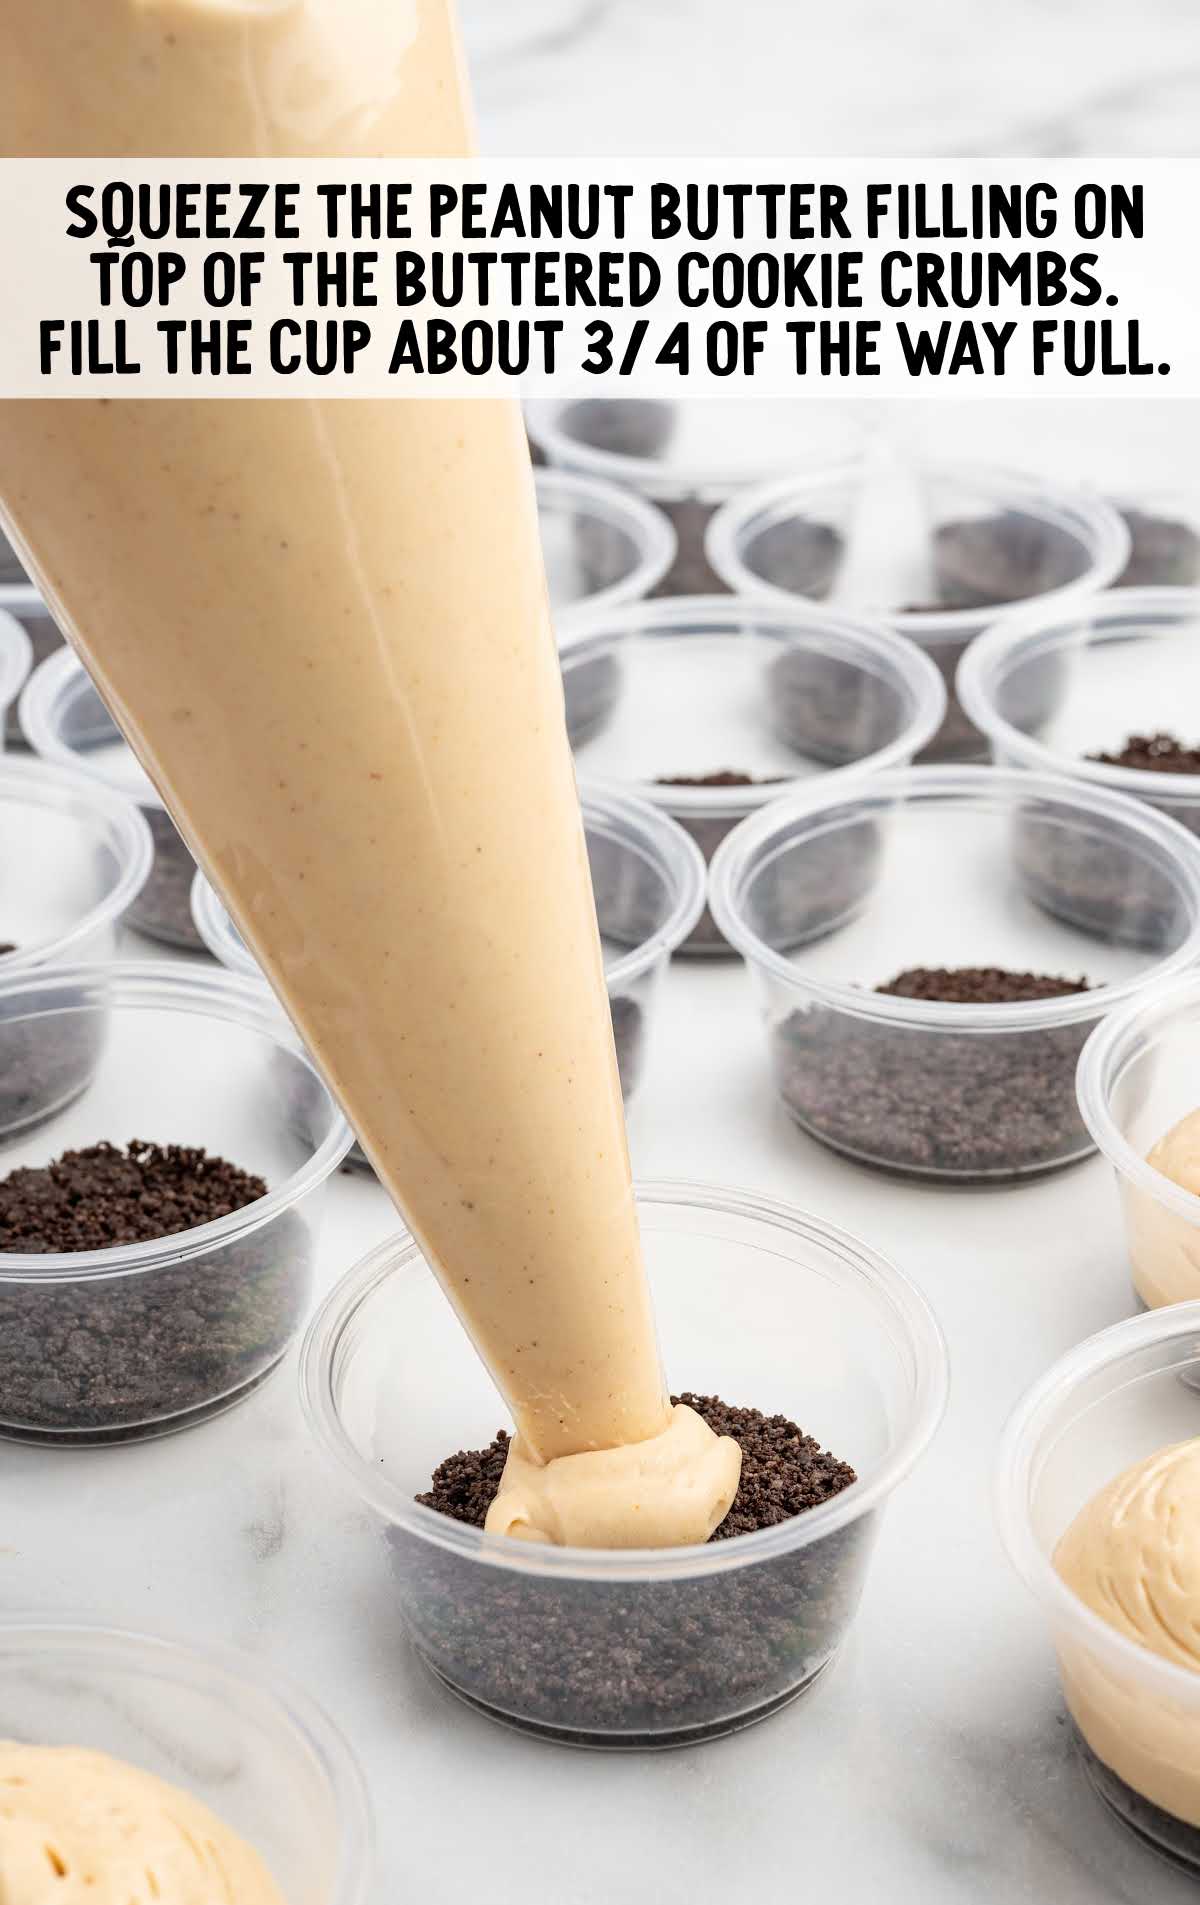
STEP EIGHT: Snip the end of the piping bag off. Squeeze the fluffy peanut butter mousse on top of the cookie crumb crusts. Fill the cups about three quarters of the way full.
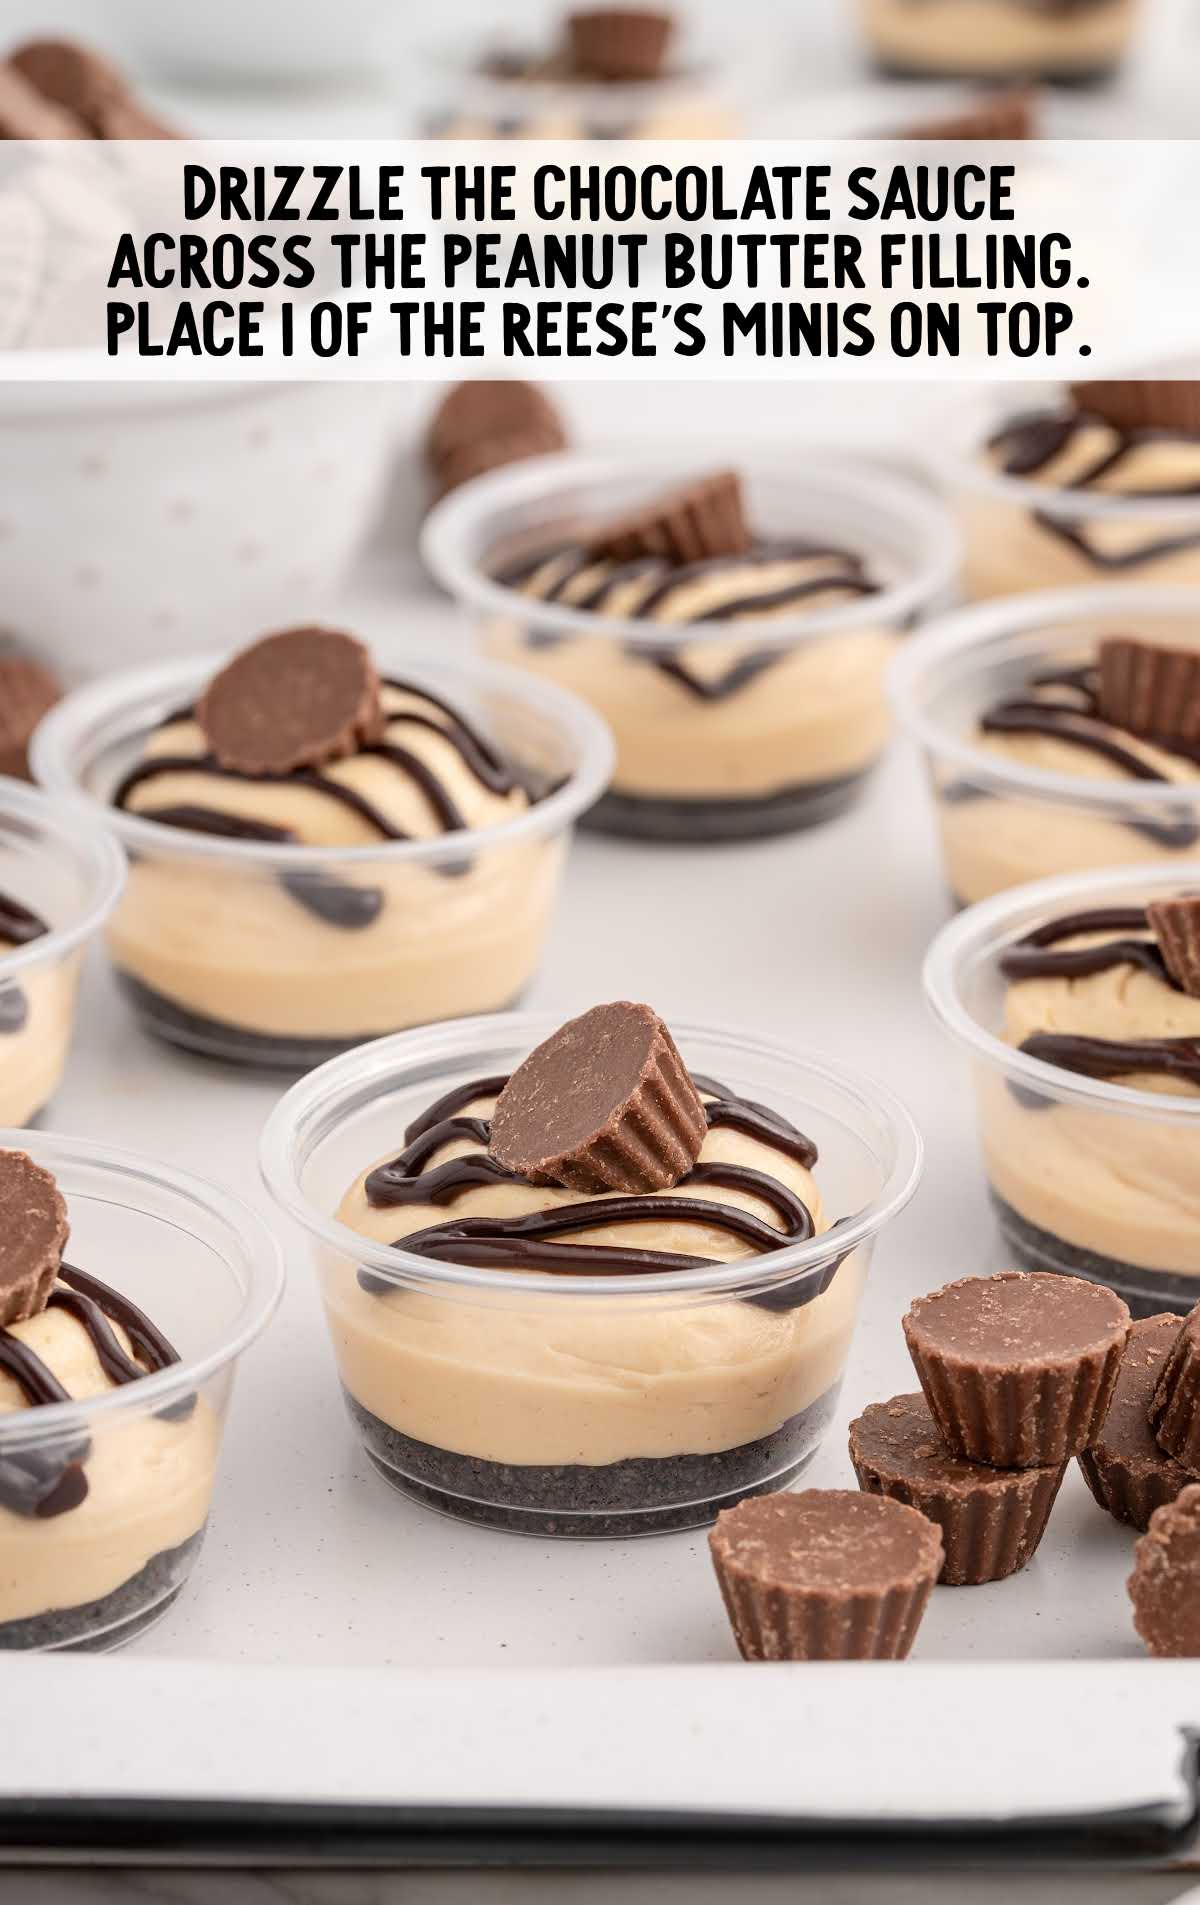
STEP NINE: Drizzle the chocolate sauce in a zigzag pattern across the top of the peanut butter filling.
Place one of the peanut butter cup minis on top of the chocolate sauce layer.
Place a lid on each of the portion cups and store in the refrigerator until you’re ready to serve.
How To Serve Chocolate Peanut Butter Dessert Recipes
This mini chocolate dessert cups recipe is the perfect sweet treat to take to any party. Here are just a few of the many places these chocolate peanut butter cups will fit in perfectly.
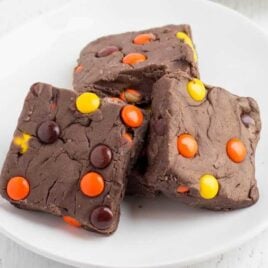
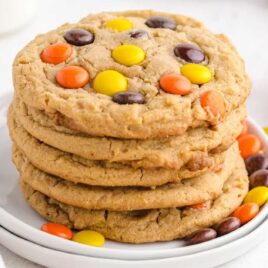
Serve alongside other Reese’s peanut butter cup dessert recipes, like Reese’s Pieces fudge, Reese’s peanut butter cup pie, and homemade peanut butter cups.
At a grown-up party, serve with a complementary peanut butter cup shot to take this simple dessert recipe to a whole new level.
MORE REESE’S RECIPES
Chocolate Peanut Butter Pie Variation
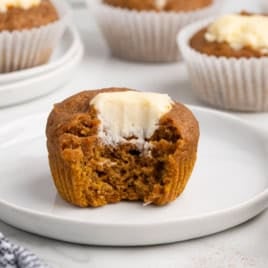
This recipe makes individual, portable desserts in condiment cups, but you can easily make this recipe in a mini muffin tin instead. Line the muffin cups with mini cupcake liners, then assemble the desserts as directed. You can also use a regular-size cupcake pan and assemble them in the same way. Full-sized cupcake tins may yield fewer desserts, however.
You can also turn this recipe into a chocolate peanut butter pie by laying the crust and peanut butter filling in a pie dish. Drizzle chocolate syrup or hot sauce on top, and garnish with chopped peanut butter cups for a peanut butter and chocolate lovers dream pie! Chill well before slicing and serving.
How To Store These Chocolate Peanut Butter Desserts
These desserts with chocolate and peanut butter are the perfect make-ahead treat. You can also store your leftovers and enjoy them for days to come.
MAKE AHEAD: You can easily prepare these chocolate and peanut butter dessert cups ahead of time to save yourself time and stress when entertaining, or just to keep on hand when you’re craving a sweet treat.
Follow the recipe as instructed, then cover the dessert cups tightly with their lids and store them in the refrigerator until ready to serve. For the best taste and texture, serve within two to three days.
IN THE FRIDGE: Leftovers can be stored in the fridge for up to three days from the date they were made. Make sure they are covered tightly with a lid or plastic wrap. If they need to be stored longer, put them in the freezer instead.
IN THE FREEZER: To extend the shelf life of your peanut butter and chocolate desserts, you can store them in the freezer for up to one month. Place the dessert cups in a freezer-safe container and make sure they’re tightly sealed so they don’t become freezer burnt.
When you’re ready to enjoy them again, transfer the dessert cups to the refrigerator to thaw overnight or thaw them at room temperature for about 30 minutes before serving.
Why These Chocolate Dessert Cups Are The Best
From their irresistible flavor to their convenient individual servings, there are countless reasons why we love this easy recipe.
The Famous Flavor Combination: The marriage of chocolate and peanut butter creates a flavor combo that’s simply irresistible. With each bite, you’ll savor the sweet taste of chocolate and the creamy goodness of peanut butter – a duo the whole world loves!
Easy Preparation: These dessert cups are surprisingly easy to make. With just a handful of simple ingredients and minimal prep, you can whip up a batch in no time. This is an approachable recipe that’s so easy, even the kids can help.
Make-Ahead Convenience: Planning ahead has never been easier with this recipe. You can prepare the dessert cups in advance and store them in the fridge or freezer until ready to serve. This make-ahead convenience is perfect for busy schedules or impromptu entertaining! You’ll always have a homemade treat on hand.
Kid-Friendly Appeal: Kids and adults alike will love indulging in these chocolate peanut butter dessert cups. The miniature size and irresistible flavors make them a hit with little ones, while adults appreciate their nostalgic charm and taste.
Chocolate Peanut Butter Dessert Cups Frequently Asked Questions
While creamy peanut butter is recommended for its smooth texture, you can experiment with natural peanut butter. Just keep in mind that it may alter the consistency of the filling slightly. Stir it well. Excessive oil will likely result in a less fluffy filling.
While the chocolate sauce adds a delicious finishing touch, you can certainly omit it if you prefer. Or, you can use hot fudge instead (cooled down, of course).
Absolutely! Homemade whipped cream would be a tasty addition to these dessert cups. For even more chocolate flavor, try adding chocolate whipped cream on top.
Yes, these dessert cups can be served at room temperature for a softer, creamier texture. Just be sure to remove them from the refrigerator about ten to 15 minutes before serving for best results.
Chocolate Peanut Butter Dessert Cups offer an irresistible fusion of rich chocolate and creamy peanut butter in cute and convenient single-serve cups. Whether you’re hosting a weekend brunch with friends, planning a kid-friendly birthday party, or simply indulging in a sweet treat, these dessert cups are sure to be a hit!
Layered dessert cups with a chocolate base and smooth peanut butter filling set neatly for serving—find more portioned treats in our desserts made with Reese’s recipes.
More Dessert Recipes You’ll Love
Little layered dessert cups somehow make dessert tables look fuller and empty faster. I keep more favorites in the best peanut butter dessert recipes.


Chocolate Peanut Butter Dessert Cups
Equipment
- 28 2-ounce disposable condiment, or portion cups with lids
Ingredients
- 2 cups crushed Oreo cookie crumbs, with cream (you can substitute generic chocolate sandwich cookies for the Oreo brand)
- ¼ cup salted butter, melted and cooled
- 8 ounces cream cheese, softened
- 1 cup powdered sugar
- 1 cup creamy peanut butter, I used Reese’s brand
- 1 ½ cup cold heavy whipping cream
- 1 teaspoon pure vanilla extract
- Chocolate sauce, for drizzling
- 28 Reese’s peanut butter minis, You can add 2 peanut butter minis per cup (56 peanut butter minis)
Instructions
- Add the crushed Oreo cookie crumbs to a small mixing bowl (3-4 cups) Pour the melted and cooled butter over the crushed cookies. Stir to completely coat the crumbs.
- Add 2 teaspoons of the buttered crumbs to the cups. Use either a spoon or an extra cup to tamp down the buttered crumbs.
- Using either a stand mixer with a wire whisk attachment, or a large mixing bowl with a handheld mixer on medium speed, beat together the softened cream cheese and the powdered sugar for 1 – 1 ½ minutes until smooth. (It’s important that the cream cheese is softened to room temperature for smoother blending and no clumps are visible) Be sure to use a silicone spatula to scrape down the sides of the mixer as you go.
- Add the peanut butter to the cream cheese mixture and continue to mix until the mixture is smooth.
- Add the cold heavy cream and vanilla. Continue to mix for another 2-3 minutes until the mixture has thickened. (The mixture should be thick enough to hold its shape when piped)
- Add the peanut butter filling to a disposable piping bag. (You can also use a gallon-size Ziploc bag with a corner snipped off)
- Snip the end of the piping bag off. Squeeze the peanut butter filling on top of the buttered cookie crumbs. Fill the cup about ¾ of the way full.
- Drizzle the chocolate sauce in a zigzag pattern across the top of the peanut butter filling. Place 1 of the peanut butter minis on top of the chocolate sauce layer. Top the cups with the lids and chill in the refrigerator until ready to serve.
Notes
- Instead of crushing your own Oreo cookies, look for pre-made Oreo crumbs in the baking aisle of your grocery store. This will save time if you’re in a hurry.
- Make sure your cream cheese is softened completely. Otherwise, your peanut butter filling mixture won’t become fluffy and will have small lumps of cream cheese throughout.
- Don’t overmix the peanut butter filling mixture. If you mix too long, it will become thin and won’t hold its shape well. Mix just until fluffy.
- For this recipe, a gallon-size Ziploc bag will work just as well as a piping bag. You don’t need a piping tip, but if you want the top of the peanut butter layer to look fancier, you can use a piping bag and a star tip to make swirls.
Nutrition


Leave a Comment