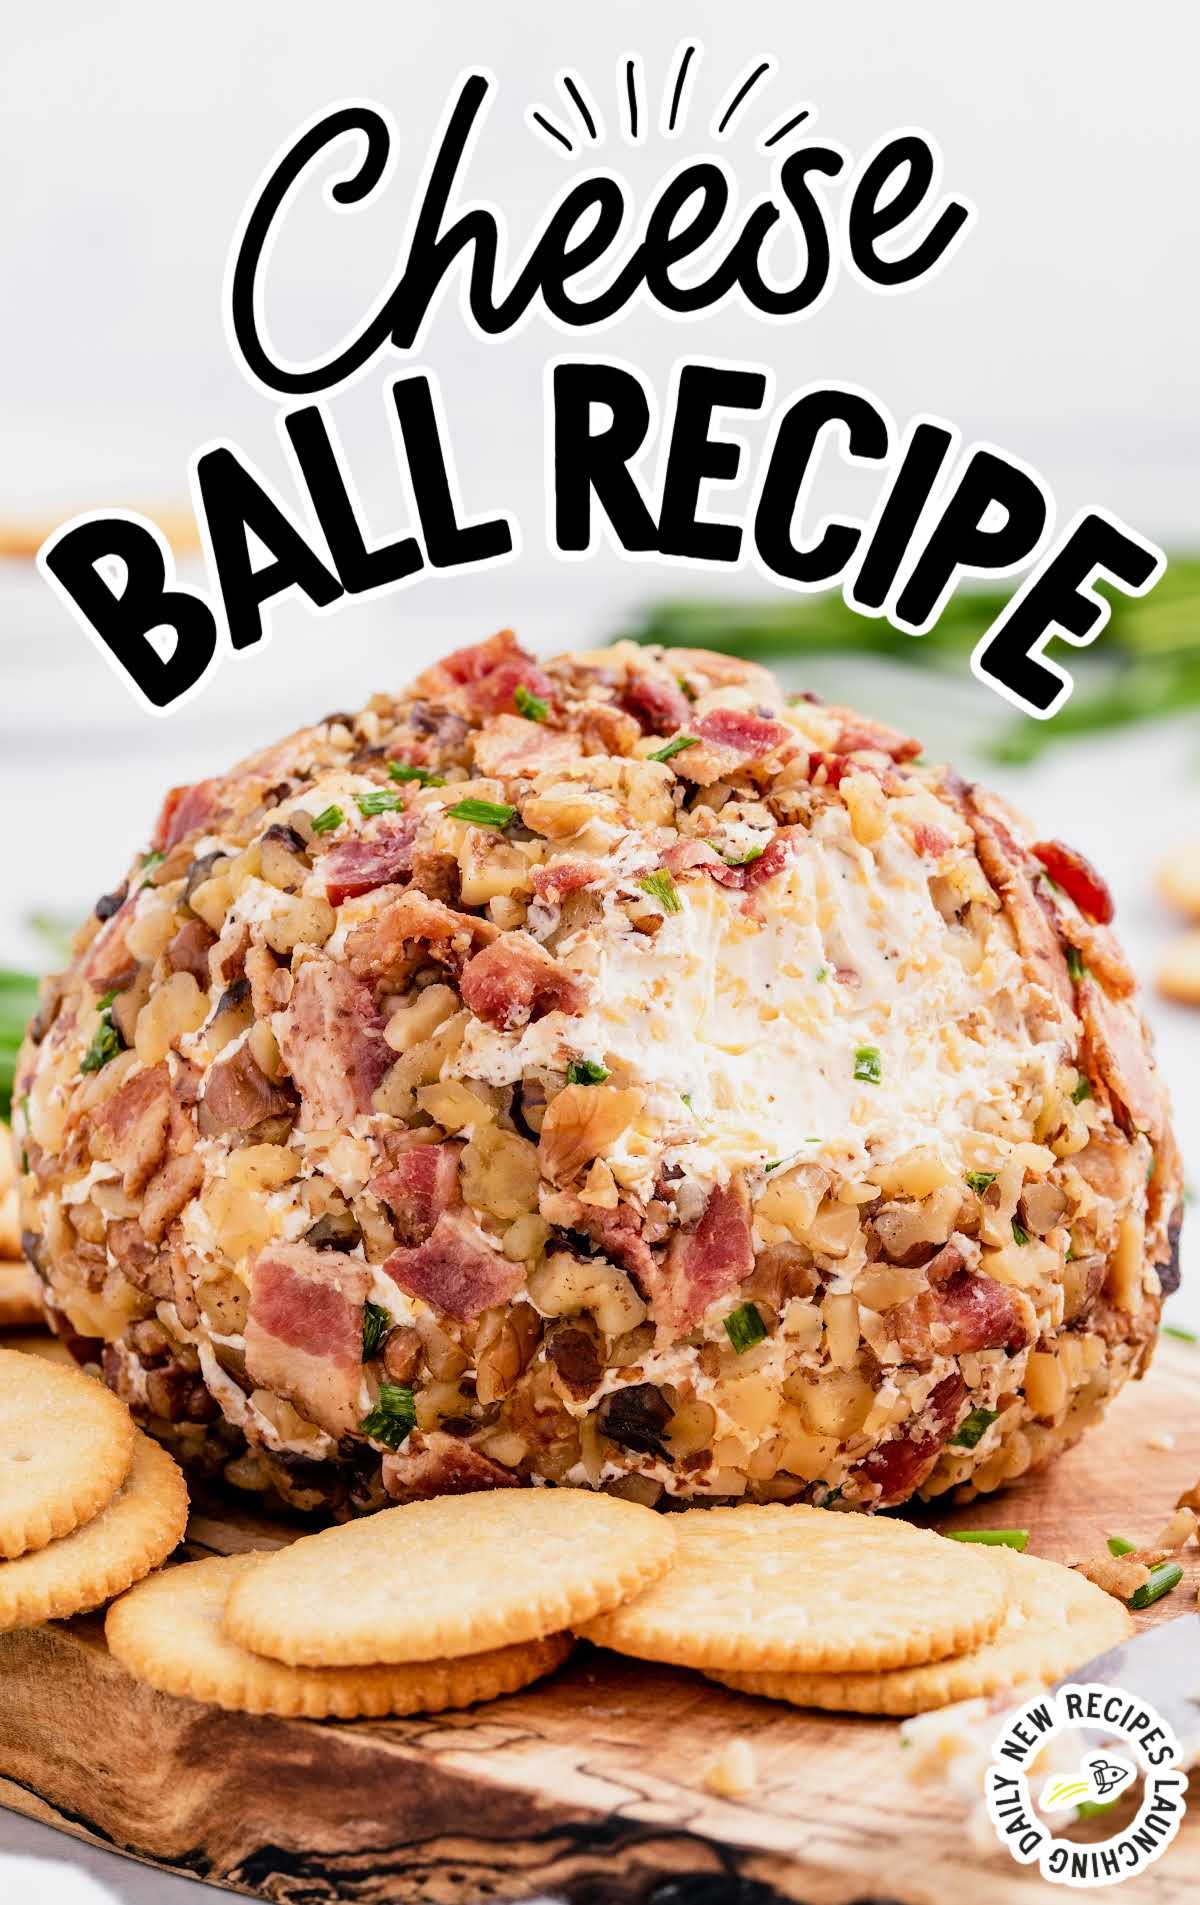
This homemade cheese ball recipe is always a hit! It’s the ultimate classic party appetizer with bacon and cheese and plenty of creamy flavor; I guarantee you will be hooked.
Cheese Ball Recipe Ingredients
This cheese ball recipe is a delightful blend of creamy, smoky, and tangy flavors with a satisfying crunch.
Crumbled bacon provides a rich, savory essence, while cream cheese, ranch dressing, and chives add creaminess, tanginess, and a hint of herbal freshness.
Sharp cheddar cheese balances the flavors, and finely chopped walnuts contribute a pleasing crunch.
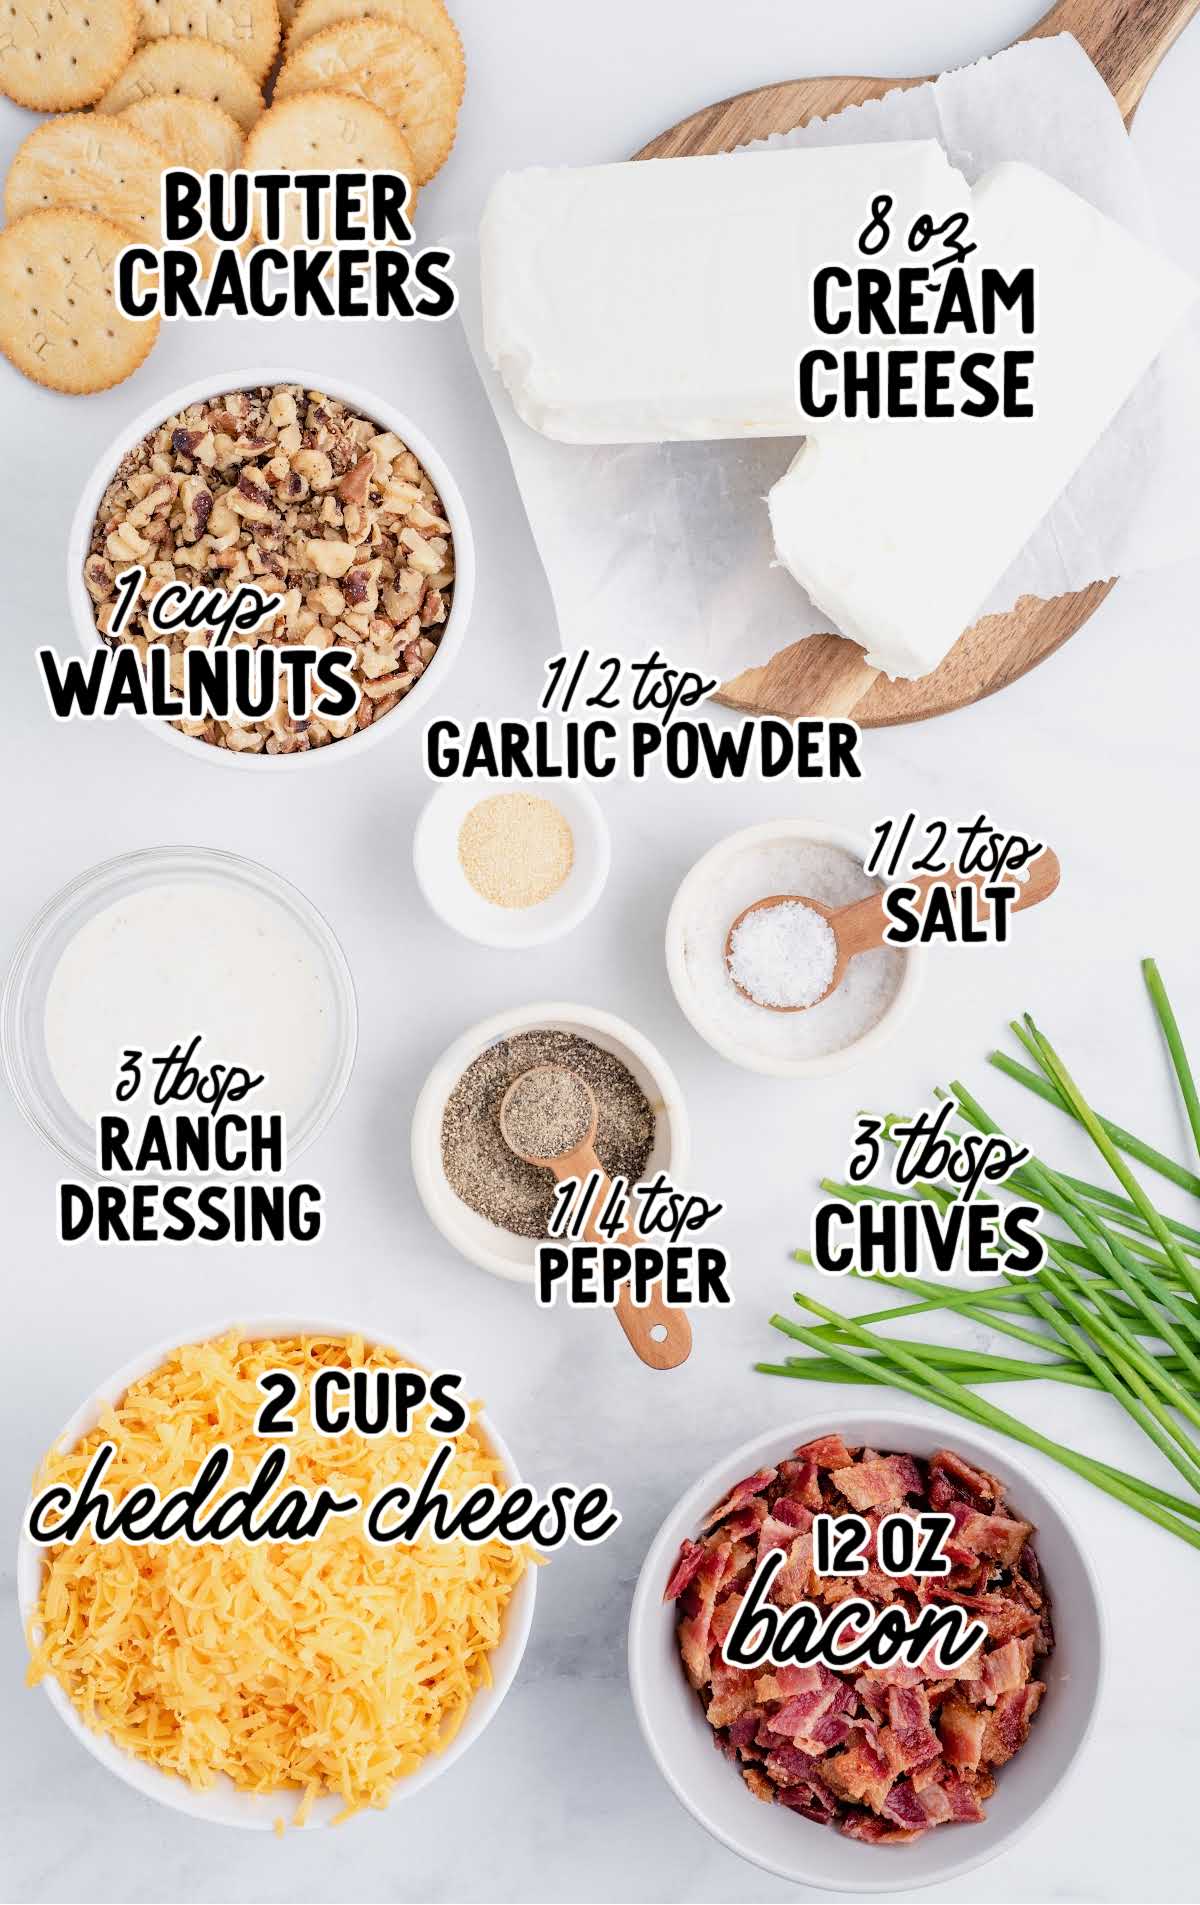
You’ll need:
- 12-ounce package of center-cut bacon, cooked & crumbled, divided into ½ cup and ¼ cup (this will yield about ¾ cup of bacon crumbles)
- 2 (8-ounce) cream cheese blocks, room temperature
- 3 tablespoons of bottled ranch dressing
- ½ teaspoon of garlic powder
- ½ teaspoon of kosher salt
- ¼ teaspoon of black pepper
- 3 tablespoons of chopped chives, divided into 2 tablespoons and 1 tablespoon
- 2 cups of sharp cheddar cheese, finely shredded
- 1 cup of walnuts, finely chopped
- Serve with butter crackers like Ritz brand
PRO TIP:
Do not use thick-sliced bacon for this recipe. Center cut works best because it is less fatty and not too thick to mix with the cream cheese. I like to pre-chop my raw bacon into thin slices before cooking it. I find it cooks a little faster and also yields more evenly sized bacon crumbles.
Substitutions And Additions
BACON: Another great option is the Ready-Cook bacon. Just cook it in the microwave according to package directions, and make sure that you have three-quarters of a cup total of bacon bits.
This is a great option if you do not like to make a mess in the kitchen cooking your bacon on the stovetop.
CHEESE: I like using the bagged, pre-shredded cheese for this good cheese ball recipe because you can buy the very finely shredded kinds, and it tends to mix into the cream cheese better and not clump up.
However, if you prefer to shred your own cheese, I suggest you place your block of cheese into the freezer about 20 minutes prior to shredding it.
It helps the cheese shred better on the fine side of your box grater.
RANCH: For the bottle of ranch dressing, feel free to use your favorite brand. My suggestion is to use a thicker and creamier one.
Another option is to mix three tablespoons of sour cream with two tablespoons of dry ranch dressing mix.
You will add that to your cream cheese in lieu of the bottled ranch dressing.
WALNUTS: You can also use chopped pecans for the outer coating instead of chopped walnuts if you prefer for this easy party appetizer.
SPICE: Add a bit of spice to this easy cheese ball with a dash of cayenne pepper.
How To Make This Cheese Ball Recipe
It’s a straightforward process to make this tasty cheese ball. All you need to do is mix up the ingredients and form the mixture into the cheese ball before coating it with cheese and walnuts.
STEP ONE: In a large skillet, on medium-low heat, cook your bacon until crisp. This can take anywhere between 10 to 15 minutes.
Once cooked, drain your bacon on a paper towel-lined plate. Once cooled, chop your bacon, then set it aside.
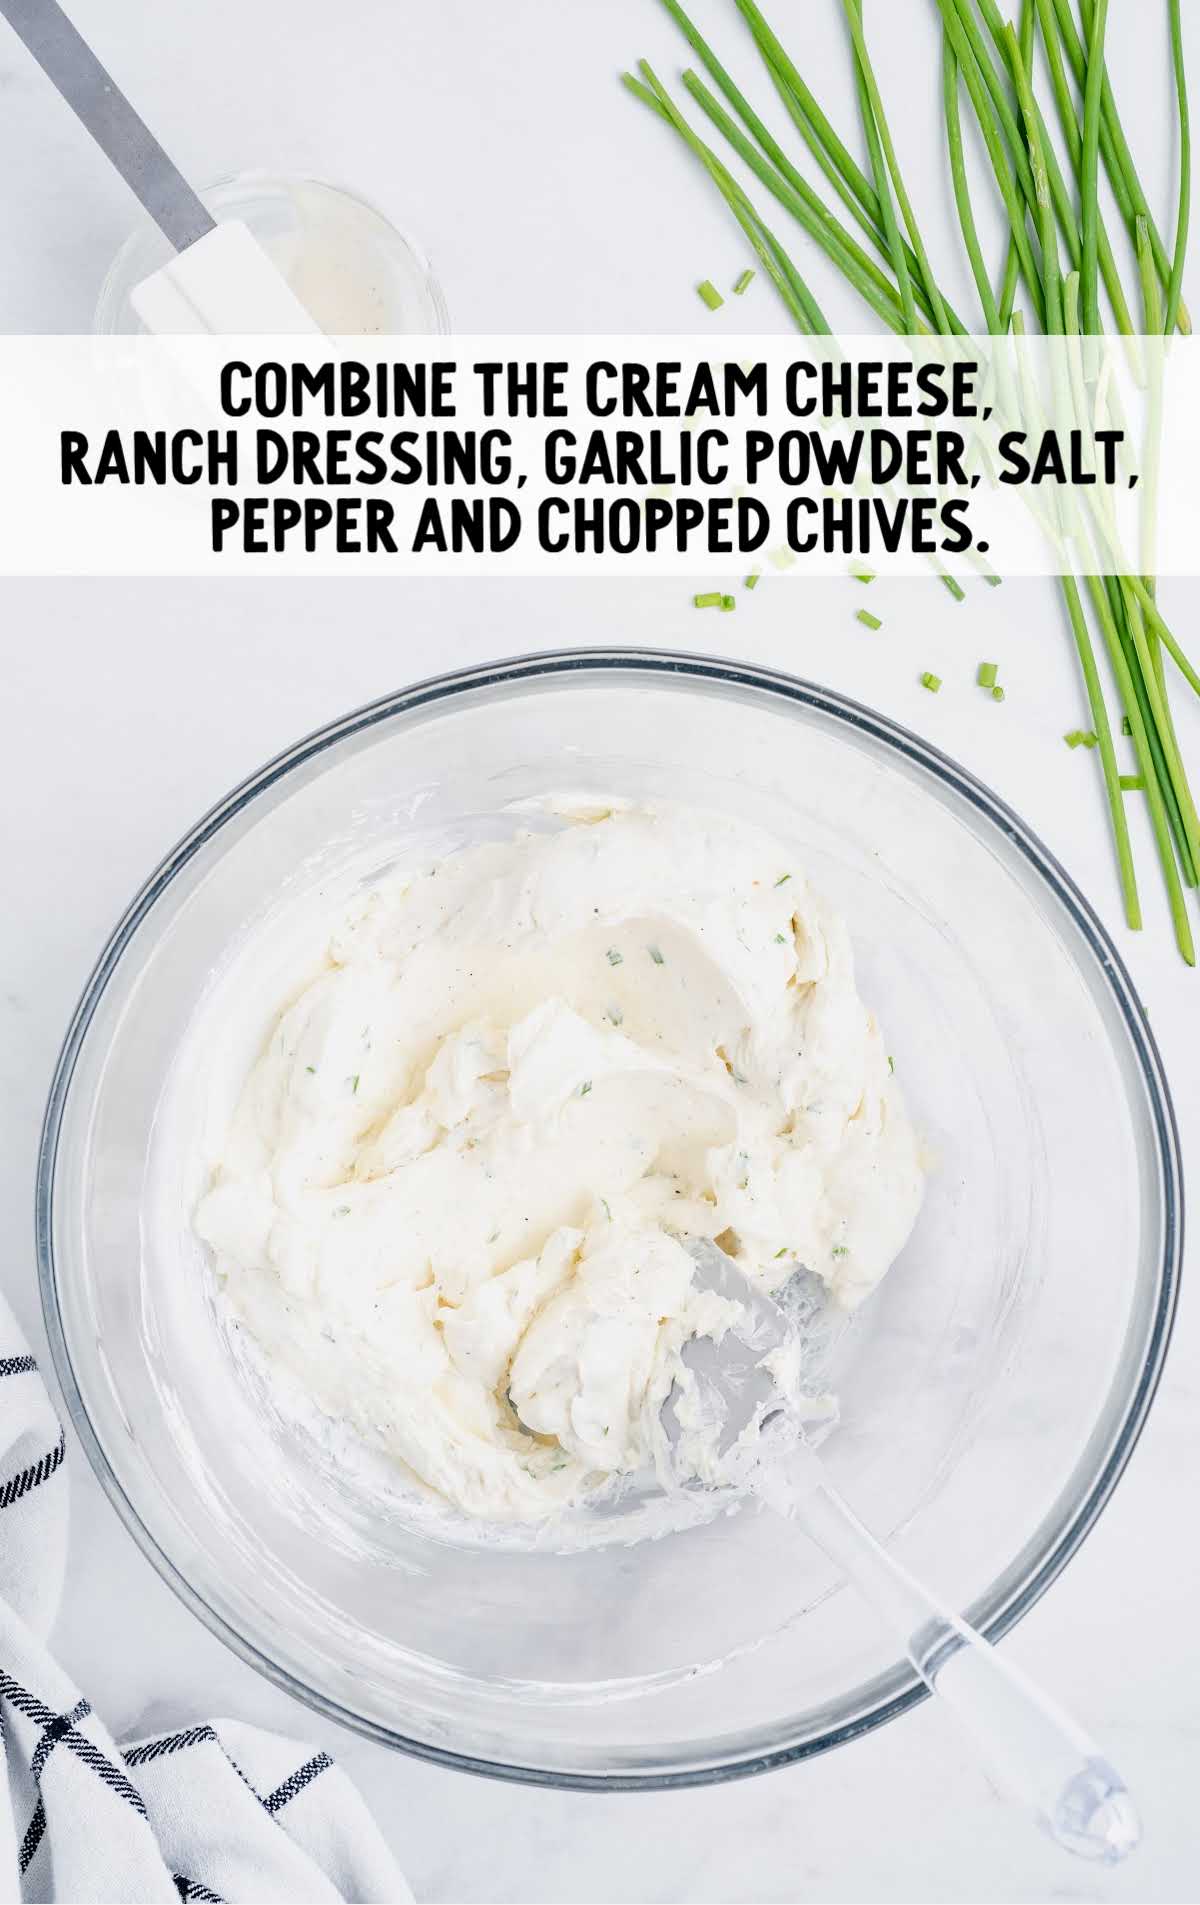
STEP TWO: In a large bowl with a rubber spatula, combine the softened cream cheese, ranch dressing, garlic powder, kosher salt, black pepper, and two tablespoons of chopped chives.
Cream together until smooth and all the ingredients are evenly incorporated.
OUR RECIPE DEVELOPER SAYS
Make sure your cream cheese is at room temperature so that you don’t have any lumps in your cheese ball mixture.
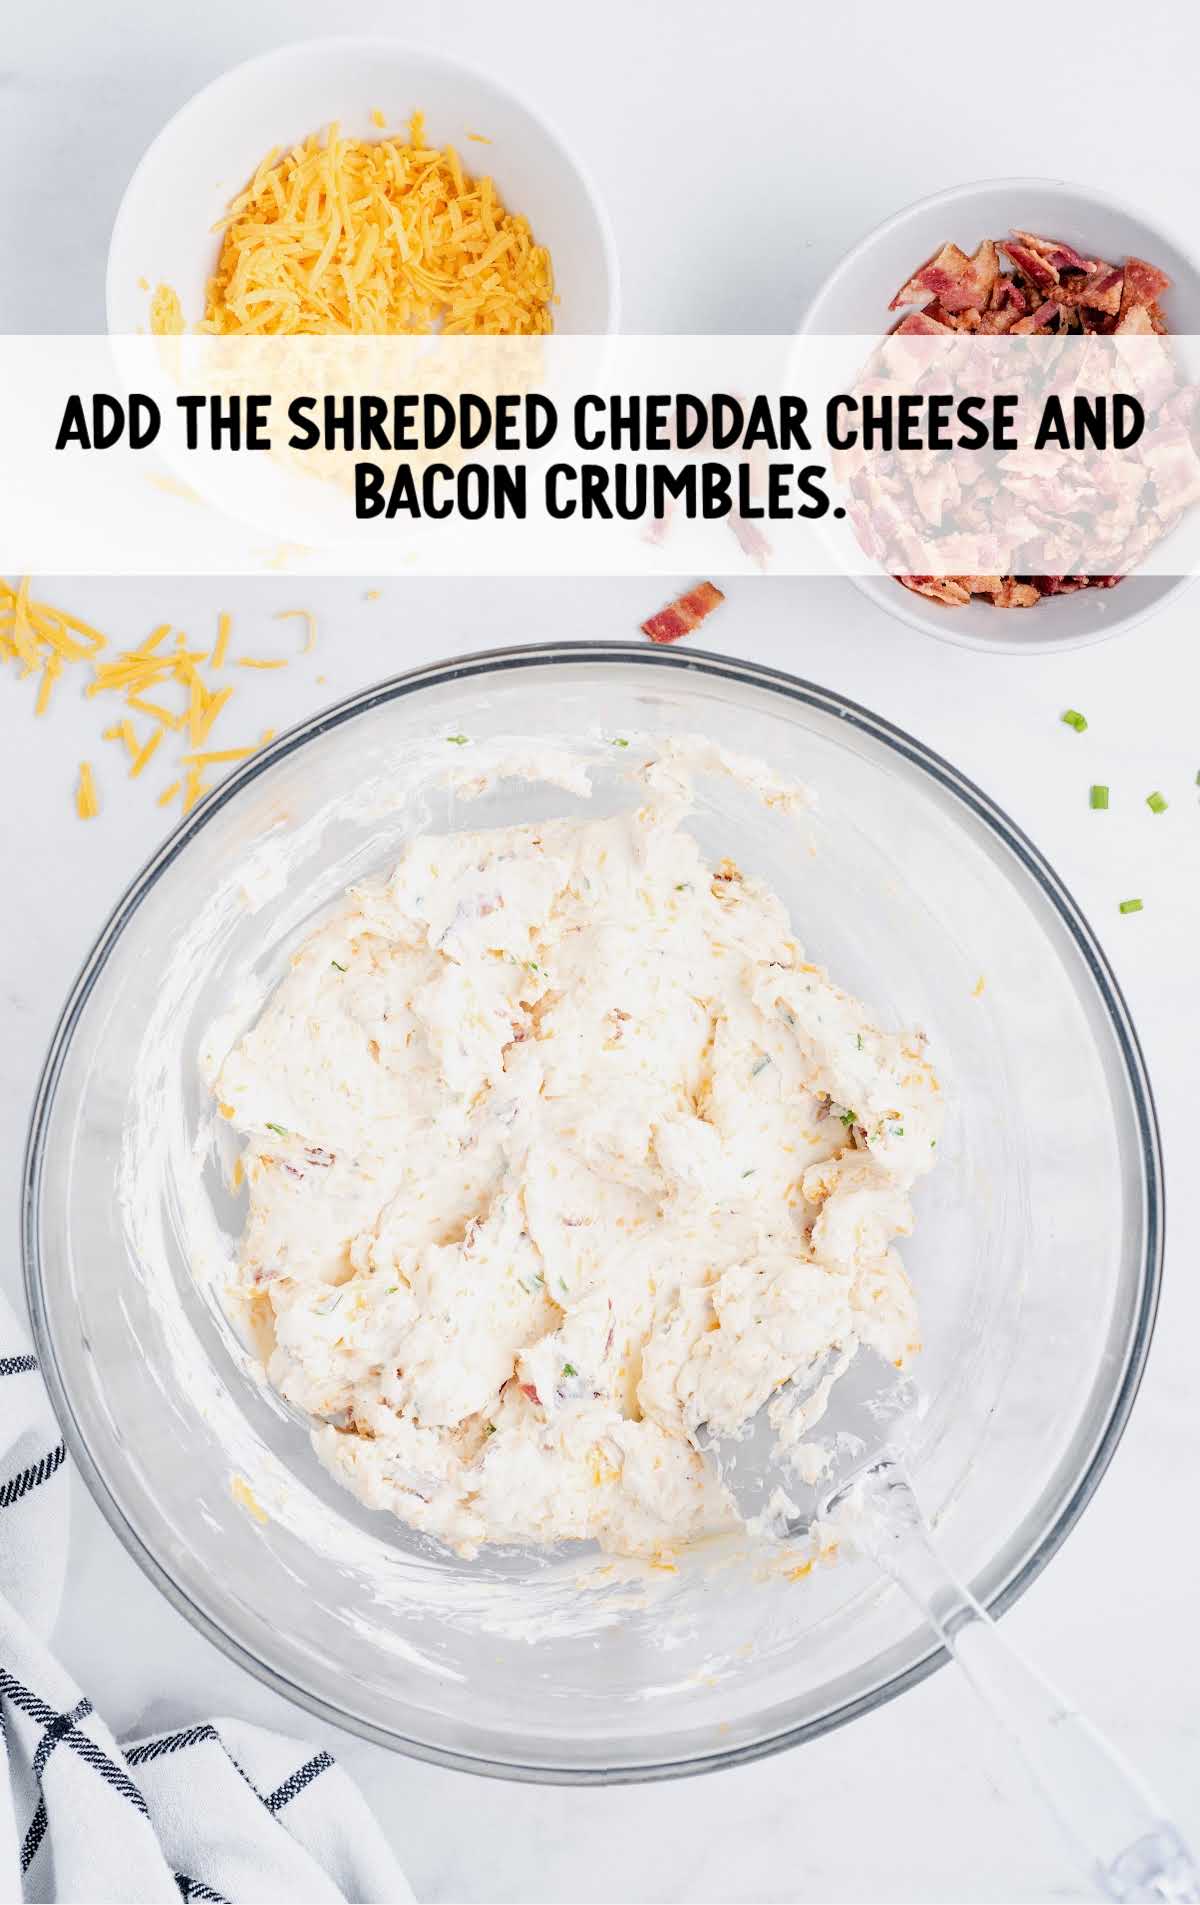
STEP THREE: Add the finely shredded cheddar cheese and a half cup of the bacon crumbles.
Gently fold them into the cream cheese mixture until all the ingredients are completely combined.
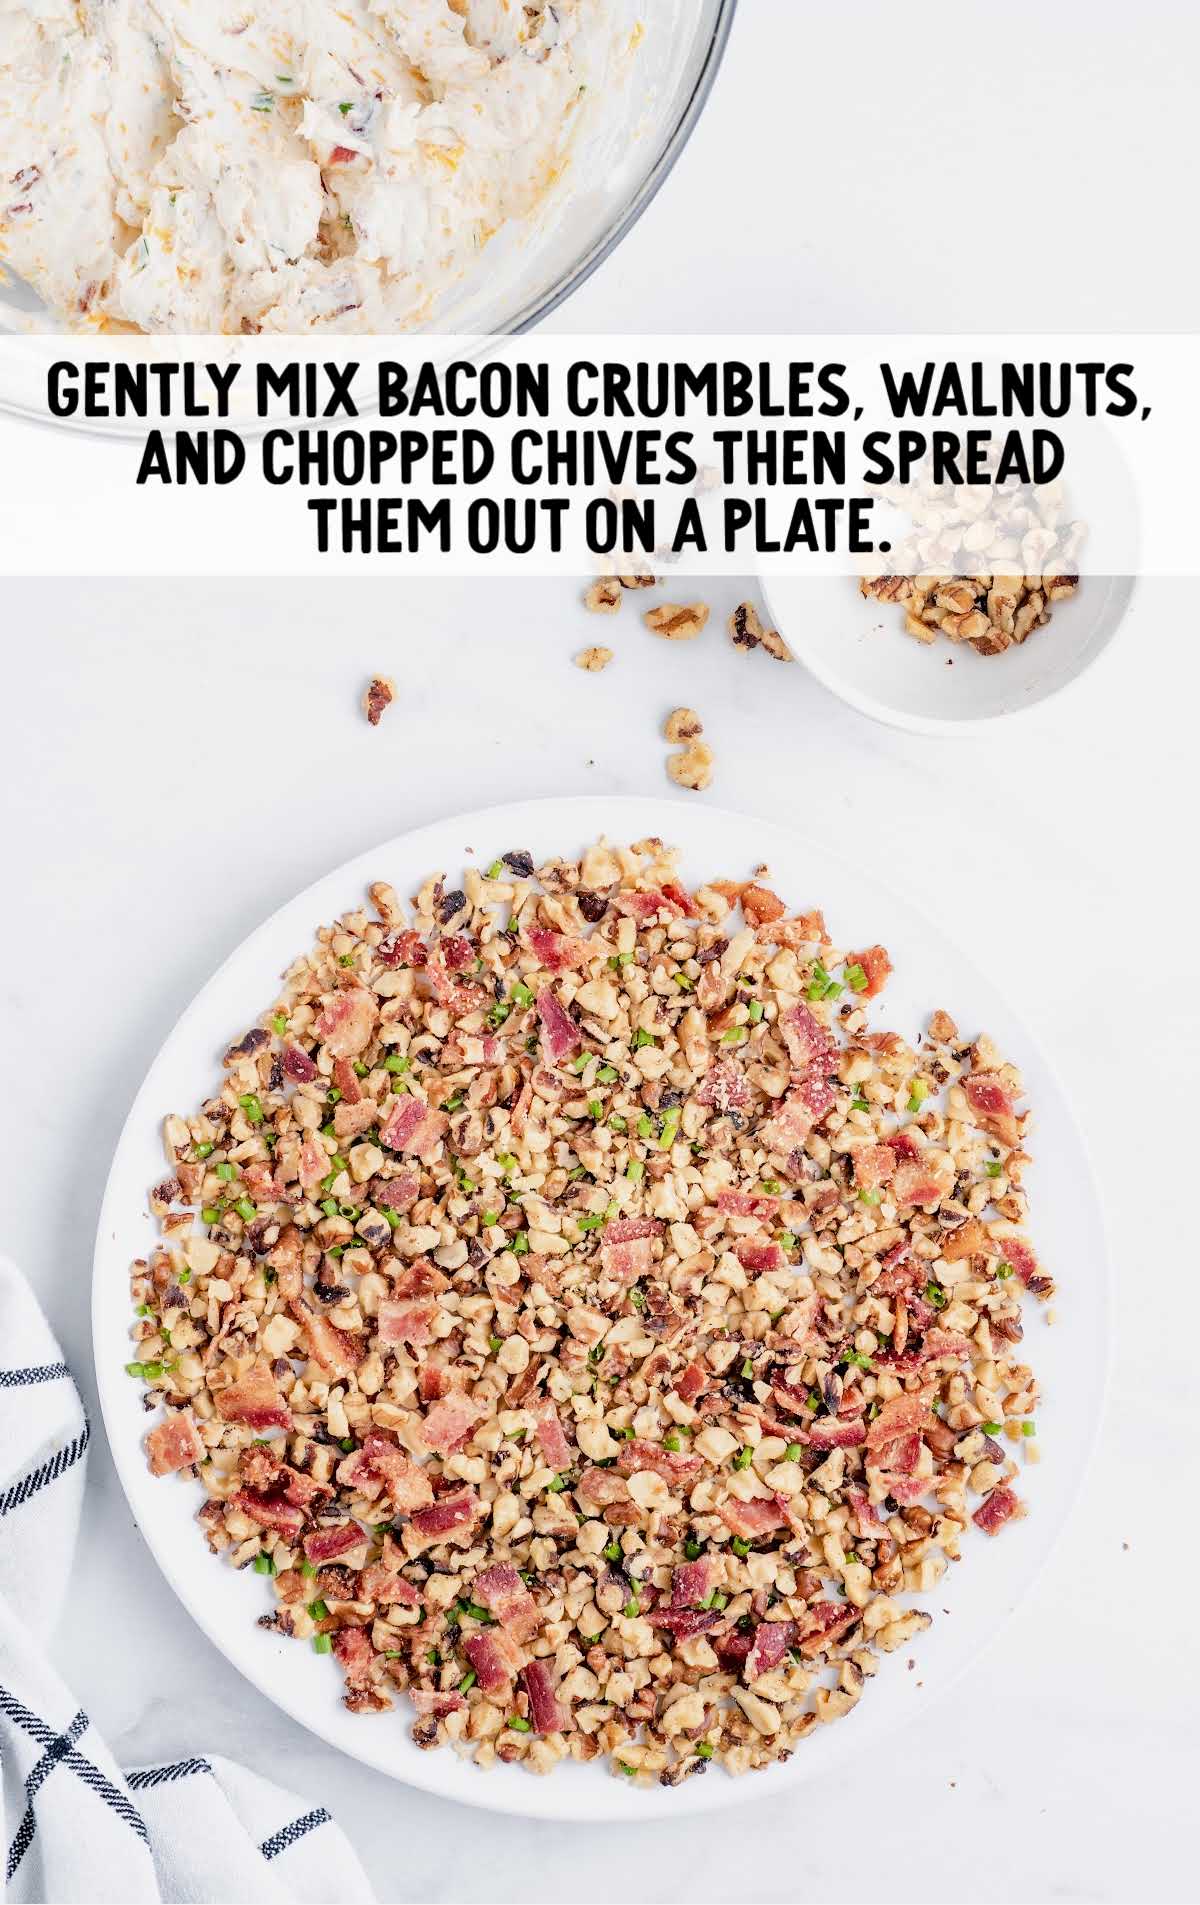
STEP FOUR: On a large plate, add the remaining quarter cup of bacon crumbles, one tablespoon of chopped chives, and the finely chopped walnuts.
Gently mix them all together, then spread them out in an even layer on your plate. This will make it easier to roll and coat your cheese ball.
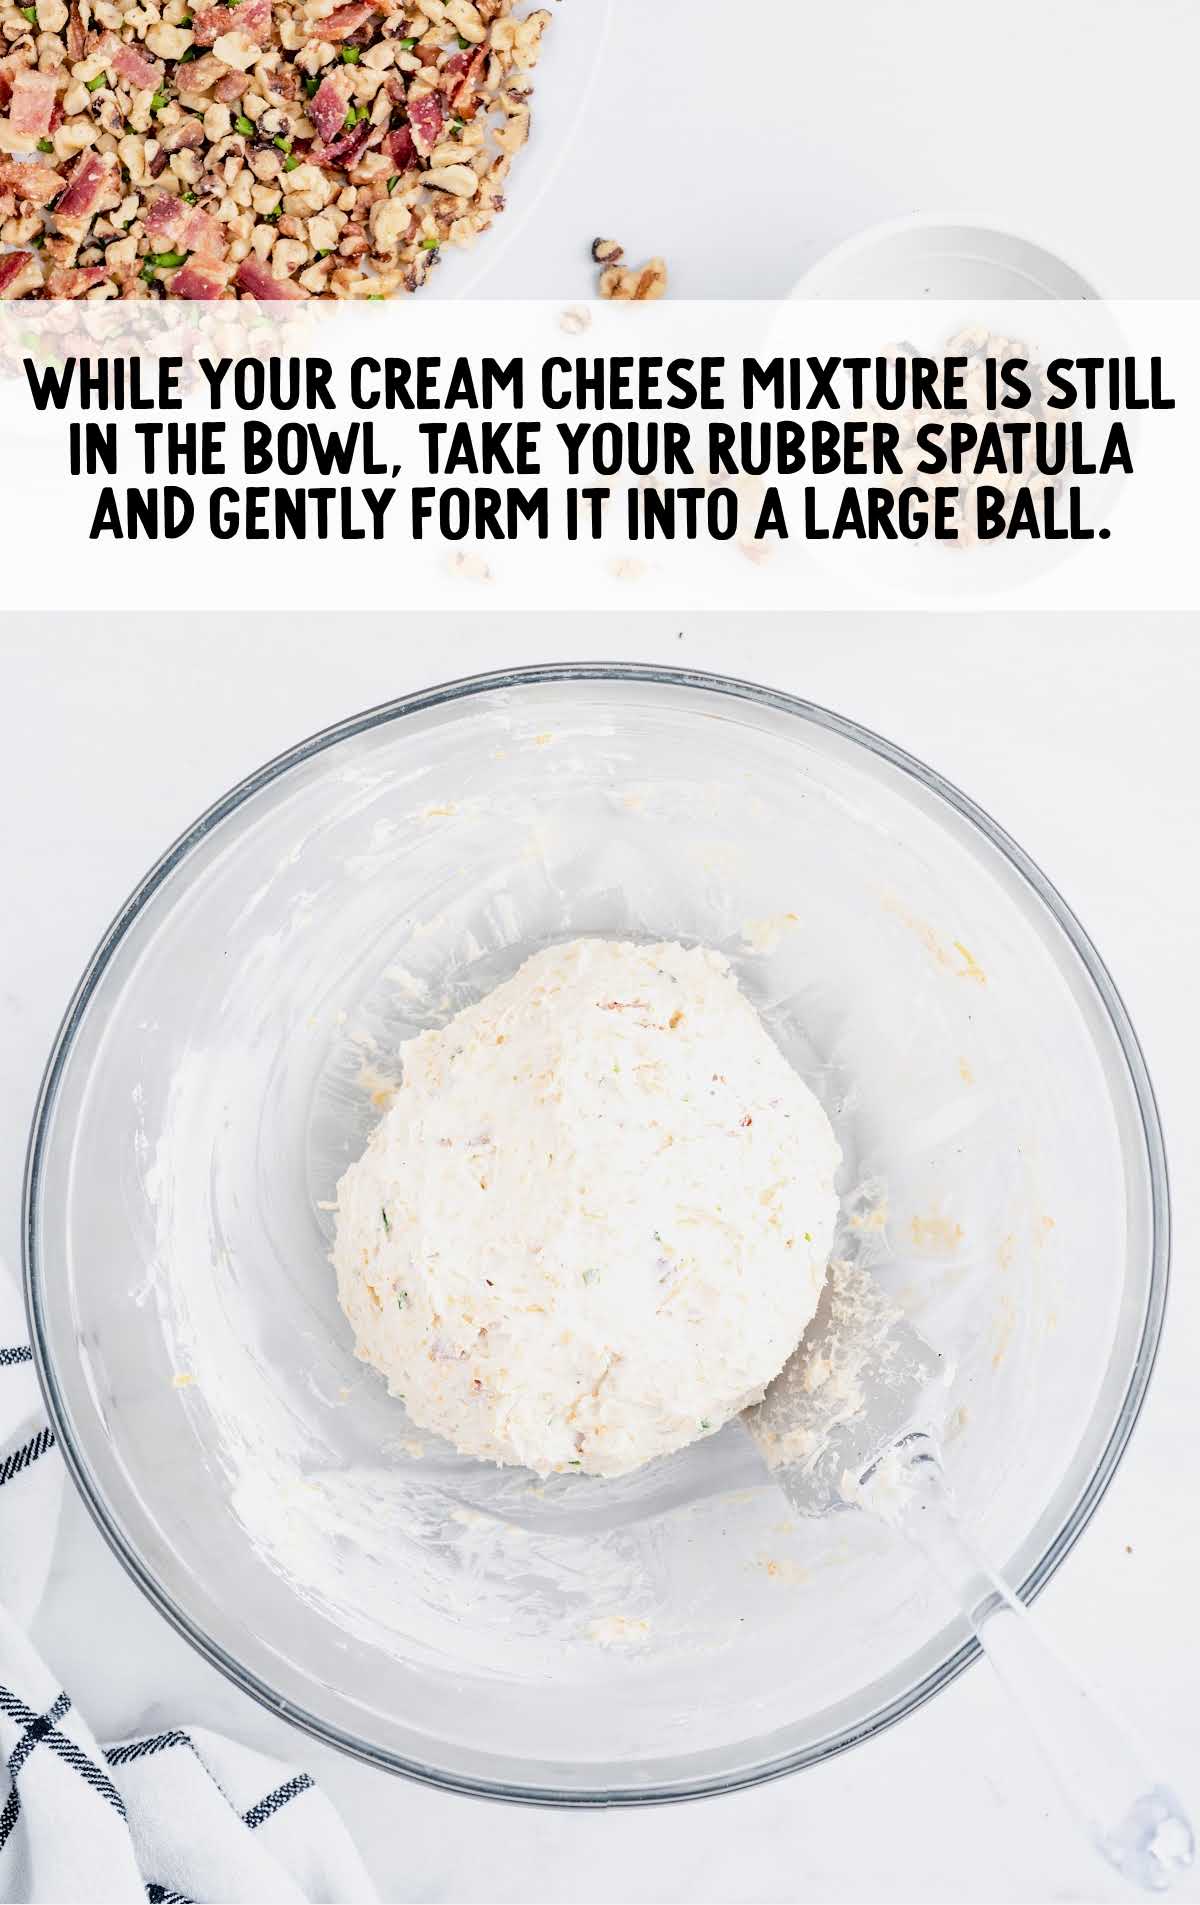
STEP FIVE: While your cream cheese mixture is still in the mixing bowl, take your rubber spatula and gently form it into a large ball shape.
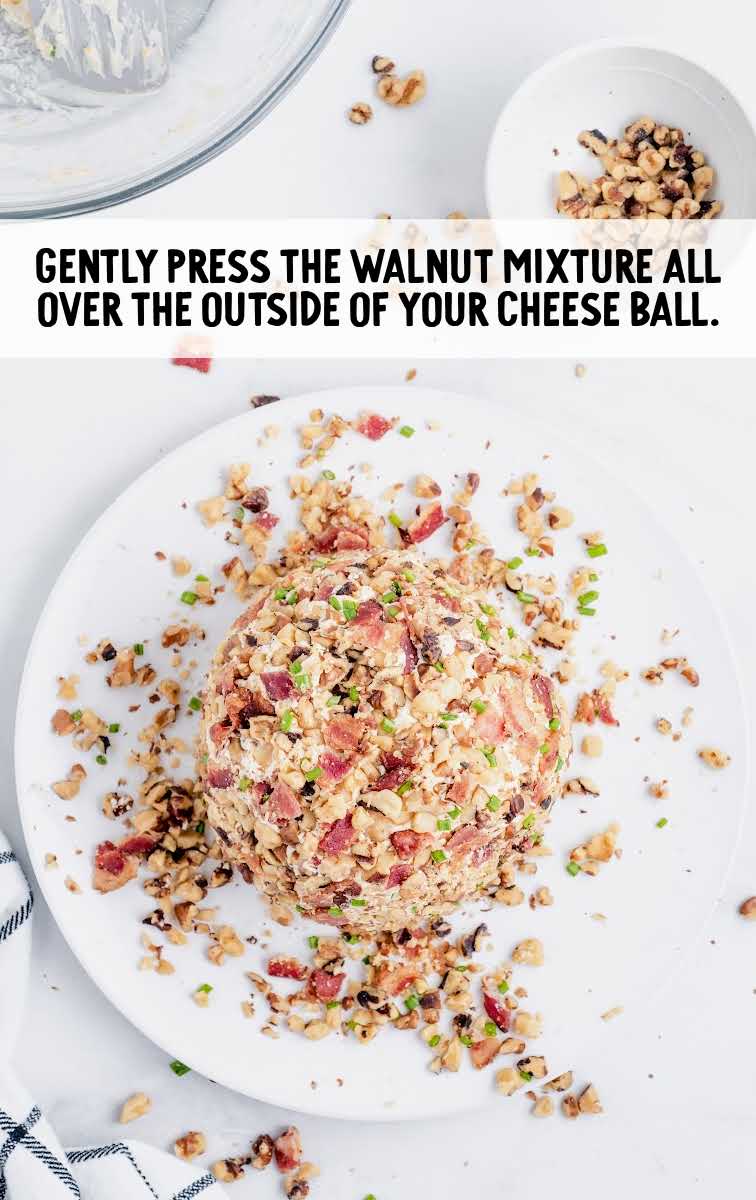
STEP SIX: Very carefully place your cheese ball onto your plate with your walnut mixture.
Using your hands, gently press the walnut coating all over the outside of your cheese ball.
You can roll your cheese ball around on your plate to make sure that all sides are evenly coated.
PRO TIP:
If you prefer, you can lightly toast your walnuts prior to chopping them. This adds a great elevated flavor but is not necessary. Also, if you prefer the taste of pecans more than walnuts, then they make a great alternative for this cheese ball.
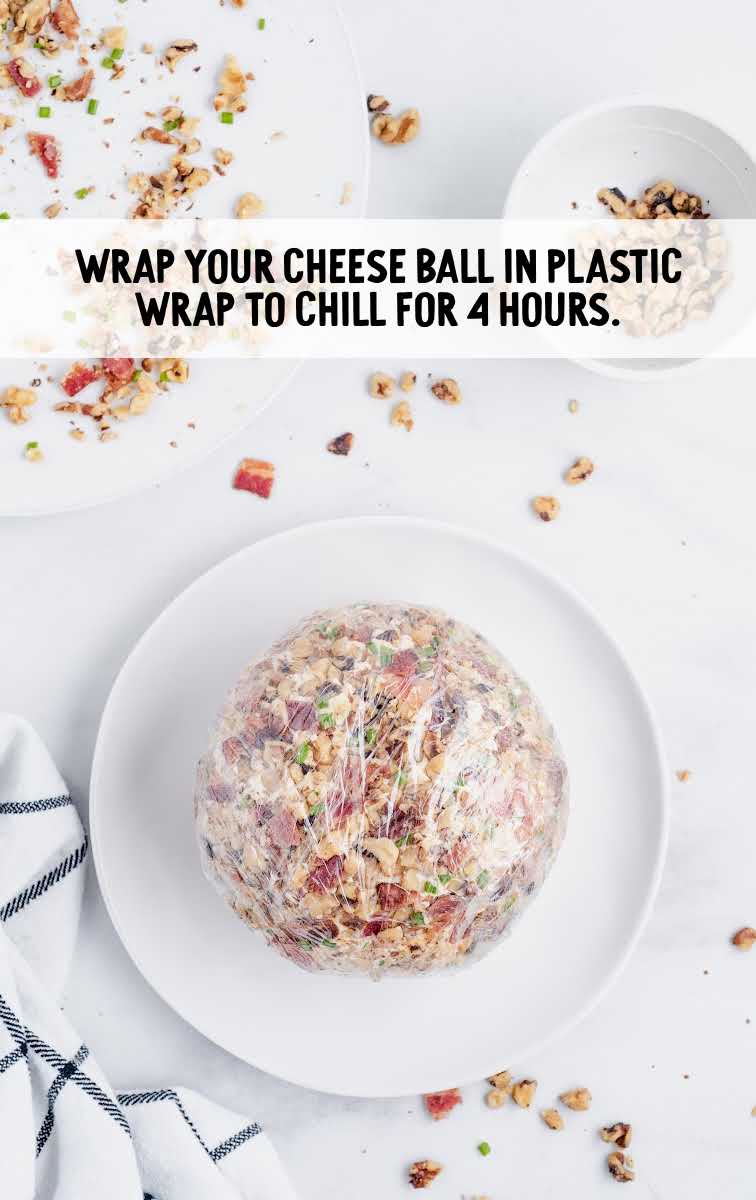
STEP SEVEN: Wrap your cheese ball in plastic wrap and place it on a plate in the refrigerator to chill for four hours prior to serving.
How To Serve
Serve this bacon ranch cheese ball with all of your favorite crackers or pita chips for easy snacking this holiday season.
A Thanksgiving, Christmas, New Year, or any other holiday party are all fantastic occasions to whip up this party spread recipe.
For a fun alternative, try our mini cheeseball bites if you’re looking for more individual appetizer ideas.
Want more ideas for easy appetizers for your holiday parties? Try these traditional hanky panky appetizers or cucumber bites for more yummy options.
MORE APPETIZER RECIPES
Storage
Now that you’ve whipped up this delicious cheese ball, you might be wondering how to keep it fresh and ready for your next snacking session.
MAKE AHEAD: If you’re planning ahead for a gathering or simply want to save time, you can prepare this cheese ball in advance.
After shaping it into a ball and rolling it in bacon and chives, tightly wrap it in plastic wrap.
Store it in the refrigerator for up to 24 hours before serving. This not only saves you time but also allows the flavors to meld together even more.
IN THE FRIDGE: This delicious cheese ball recipe can be made up to 24 hours ahead of time and can be stored, tightly wrapped in plastic wrap, for up to three days in total.
IN THE FREEZER: We do not recommend freezing this cheese ball as the cream cheese would become watery when thawed.
Why We Love This Recipe
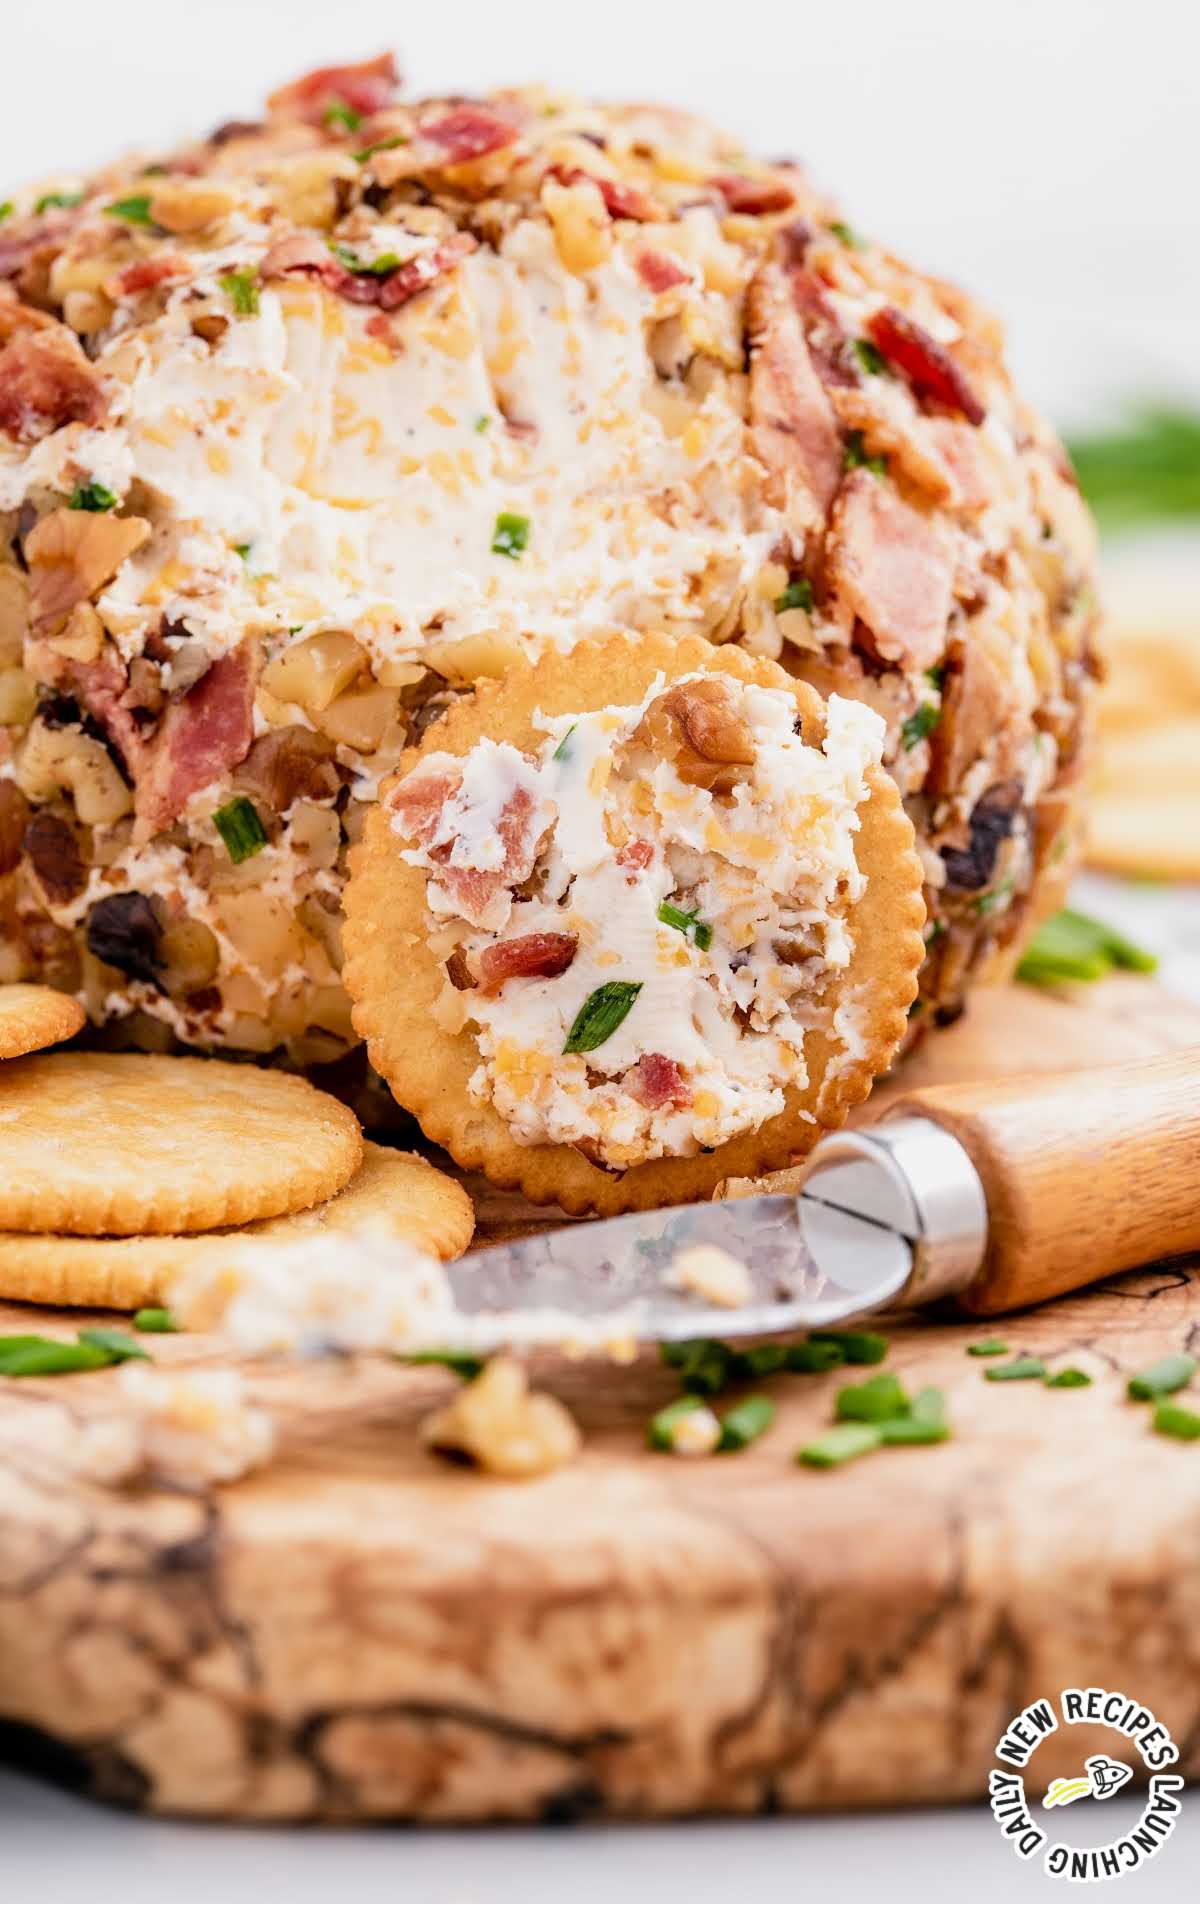
IRRESISTIBLE FLAVOR: This cheese ball combines the rich, smoky goodness of bacon with the creaminess of cream cheese, tangy ranch dressing, and sharp cheddar cheese.
TEXTURE HARMONY: The contrast of the smooth, creamy cheese mixture with the crunchy bacon, chives, and walnuts creates a delightful texture harmony that keeps every bite interesting and satisfying.
PARTY PERFECT: Whether you’re hosting a gathering or attending a potluck, this cheese ball is a crowd-pleaser. It’s not only delicious but also visually appealing, making it the perfect appetizer to share.
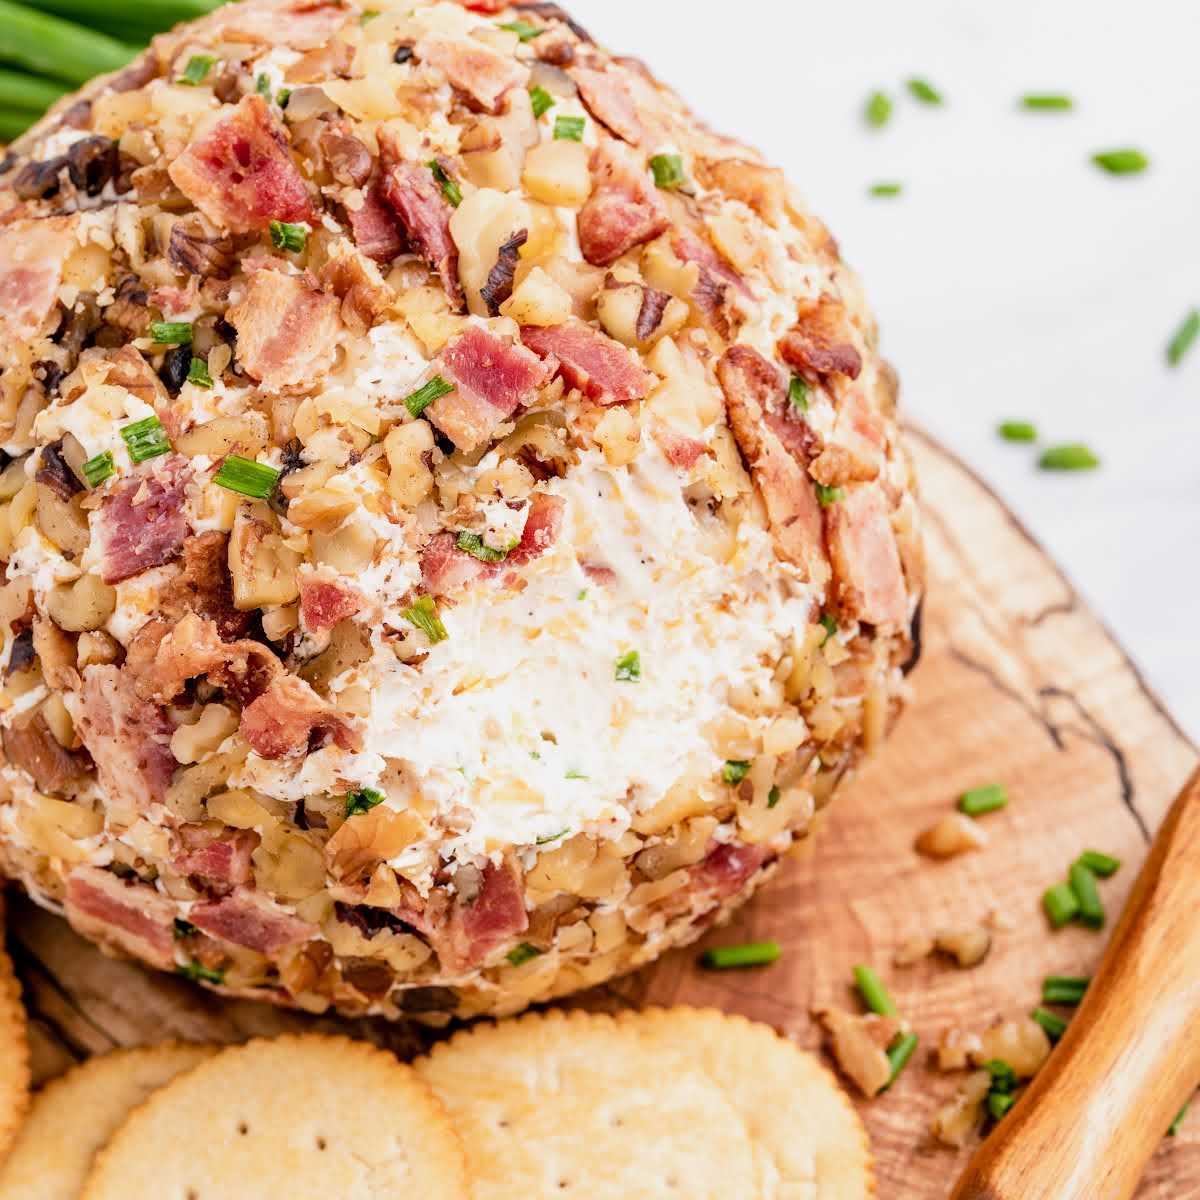
This classic cheese ball recipe has tons of flavor and a creamy texture. Bacon, cheese, and ranch are always a winning combination, making this the perfect party appetizer.
Frequently Asked Questions
This is the perfect appetizer to make the day before. Wrap it in plastic wrap and store it in the fridge for up to 24 hours before serving.
The cheese ball ingredients are entirely customizable. If you would like to add other ingredients, such as other spices, herbs, or cheese, you should give it a try.
Any cheese blend or type of shredded cheese can be used in this recipe.
More Recipes You’ll Love
- Keto Chocolate Peanut Butter Balls
- Ranch Seasoning
- Dill Pickle Dip
- Chili Cheese Fries
- Cream Cheese Dip
- Mini Cheeseball Bites
- Pretzel Bites with Cheese Dip
- Cheese Sticks
- Baked Brie with Jam
- Ranch Chex Mix

Cheese Ball Recipe
Ingredients
- 12 ounces center-cut bacon, cooked and crumbled, divided into ½ cup and ¼ cup
- 16 ounces cream cheese, room temperature
- 3 tablespoons bottled Ranch dressing (I used Hidden Valley Ranch original)
- ½ teaspoon garlic powder
- ½ teaspoon kosher salt
- ¼ teaspoon black pepper
- 3 tablespoons chopped chives, divided into 2 tablespoons and 1 tablespoon
- 2 cups sharp cheddar cheese, finely shredded
- 1 cup walnuts, finely chopped
Instructions
- In a large skillet on medium-low heat, cook your bacon until crisp (this can take anywhere between 10 to 15 minutes). Once cooked, drain your bacon on a paper towel-lined plate. Once cooled, chop your bacon, then set aside.
- In a large bowl with a rubber spatula, combine the cream cheese, ranch dressing, garlic powder, kosher salt, black pepper, and 2 tablespoons of chopped chives. Cream together until smooth and all the ingredients are evenly incorporated.
- Add the finely shredded cheddar cheese and ½ cup of the bacon crumbles. Gently fold them into the cream cheese mixture until all the ingredients are completely combined.
- On a large plate, add the remaining ¼ cup of bacon crumbles, 1 tablespoon of chopped chives, and the finely chopped walnuts. Gently mix them all together, then spread them out in an even layer on your plate. This will make it easier to roll and coat your cheese ball.
- While your cream cheese mixture is still in the bowl, take your rubber spatula and gently form it into a large ball.
- Very carefully place your cheese ball onto your plate with your walnut mixture. Using your hands gently press the walnut coating all over the outside of your cheese ball. You can roll your cheese ball around on your plate to make sure that all sides are evenly coated.
- Wrap your cheese ball in plastic wrap and place on a plate, in the refrigerator, to chill for 4 hours prior to serving.
Video
Notes
- Do not use thick-sliced bacon for this recipe. Center cut works best because it is less fatty and not too thick to mix with the cream cheese. I like to pre-chop my raw bacon into thin slices before cooking it. I find it cooks a little faster and also yields more evenly-sized bacon crumbles.
- Make sure your cream cheese is at room temperature so that you don’t have any lumps in your cheese ball mixture.
- If you prefer, you can lightly toast your walnuts prior to chopping them. This adds a great elevated flavor but is not necessary. Also, if you prefer the taste of pecans more than walnuts, then they make a great alternative for this cheese ball.








Comments
Toni Thomason says
How delicious! What a great appetizer for gatherings.
Kim says
I’m looking forward to making the cheese ball for thanksgiving!
Sandy says
My granddaughter and I made this for Thanksgiving! So we have to wait if we can, but what we tasted was GOOD!! Easy to make
Gloria says
Such a classic appetizer!