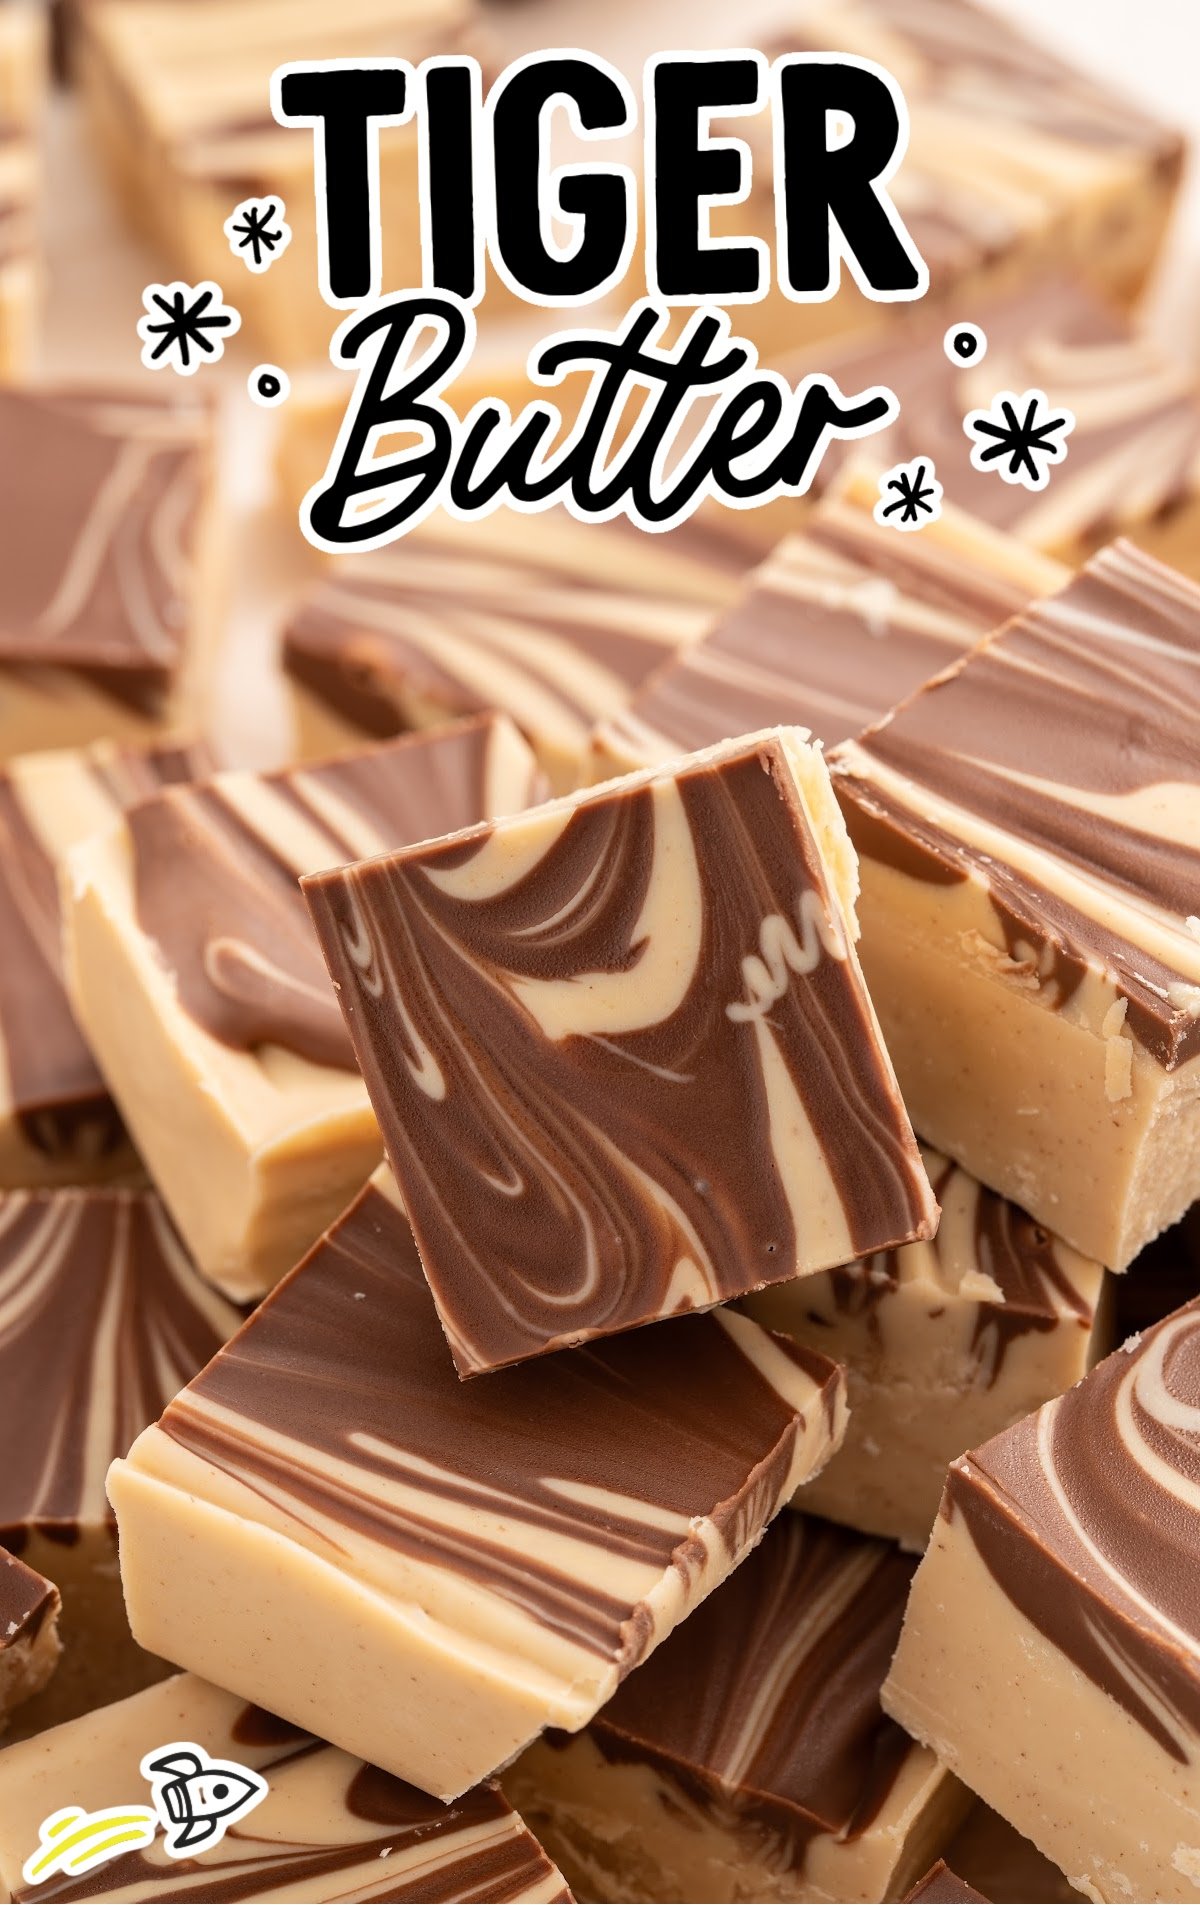
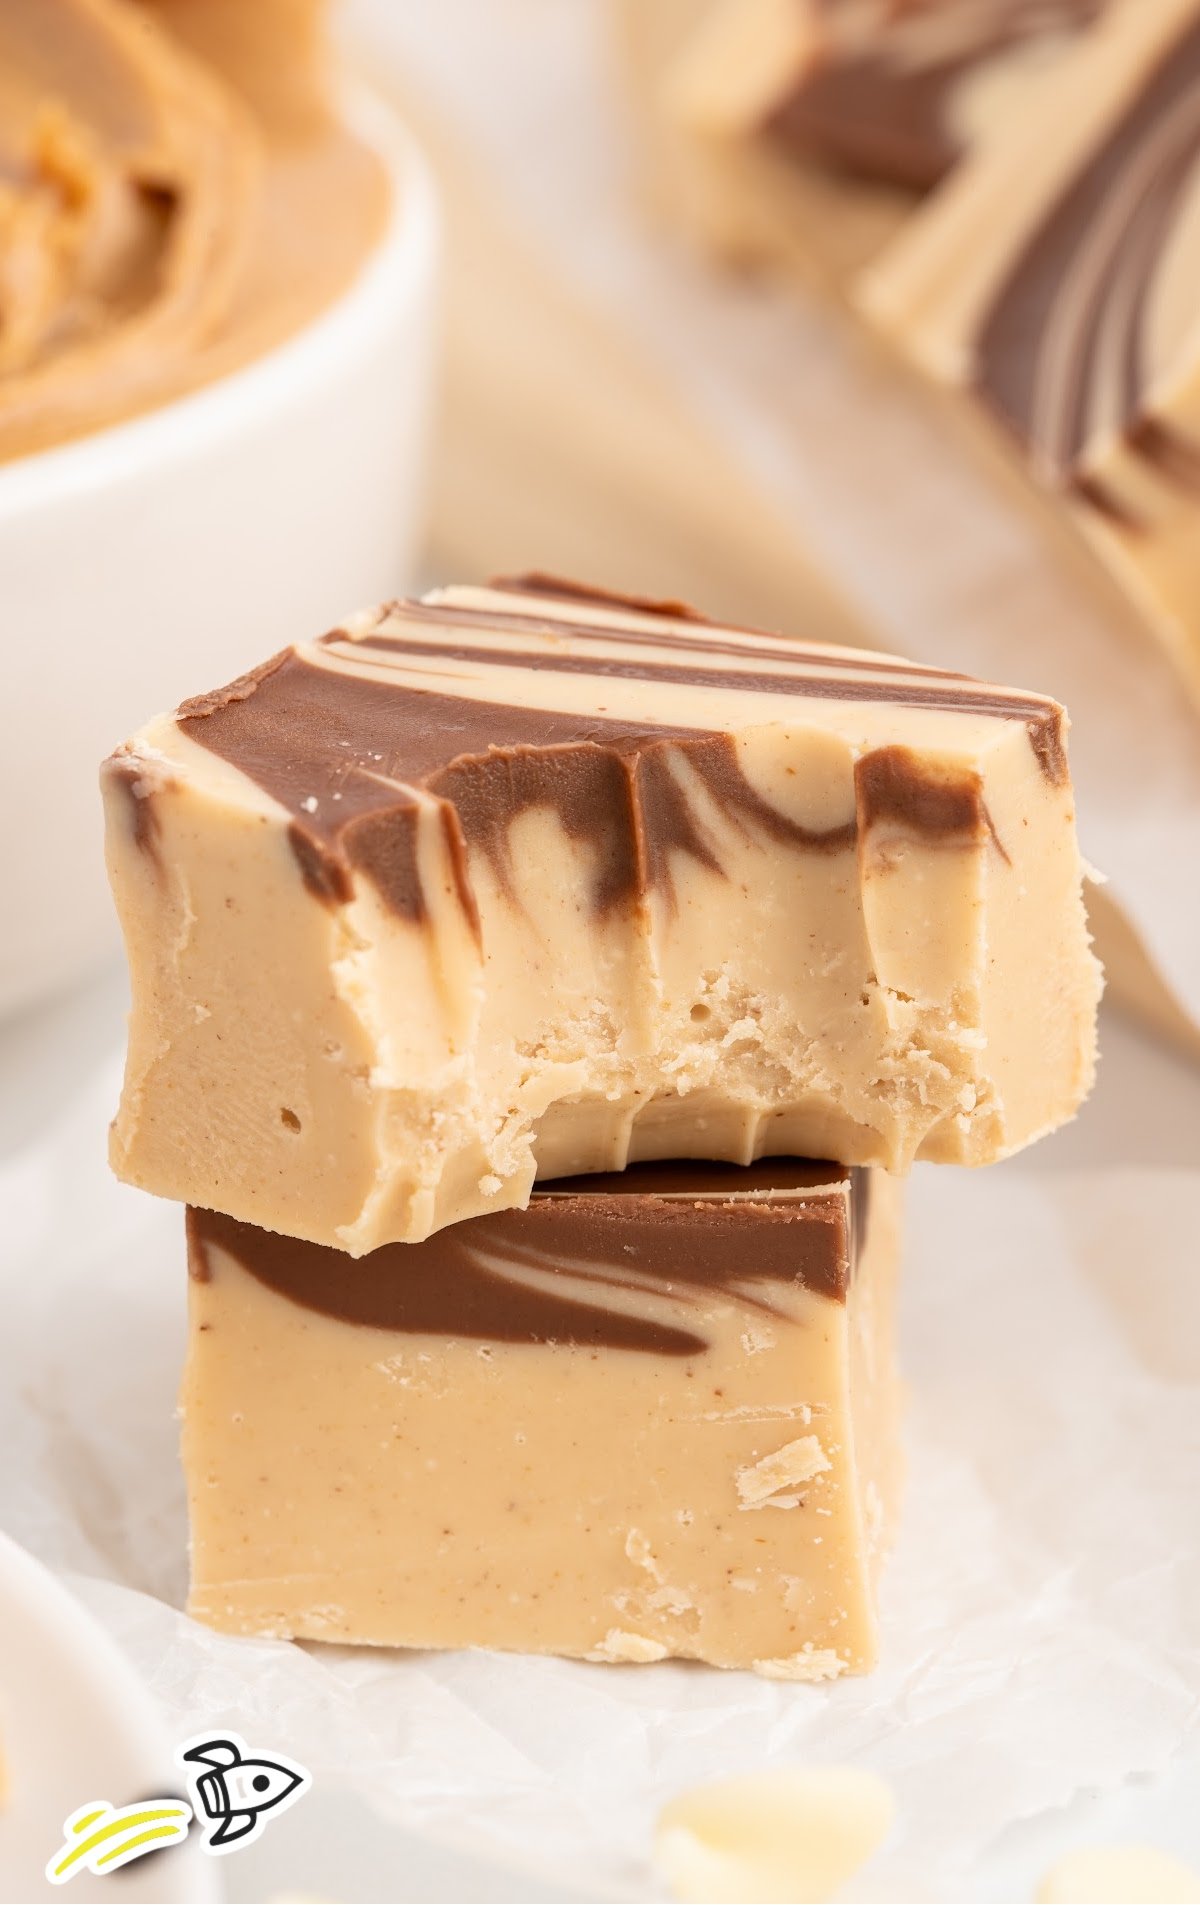
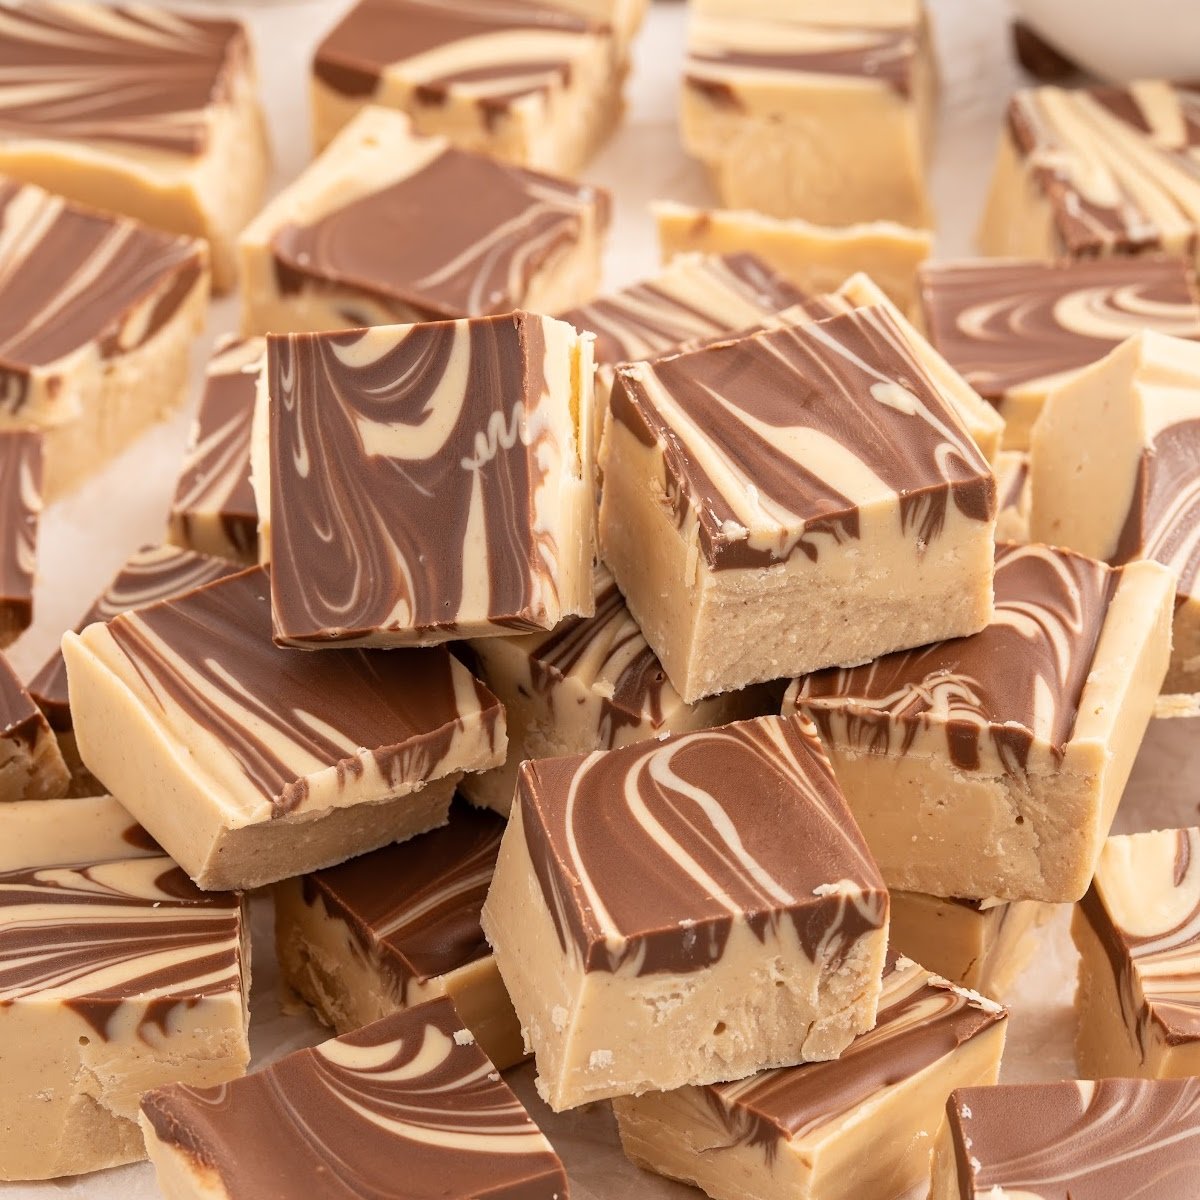
If you’re looking for a rich, homemade treat that’s guaranteed to impress, this tiger butter recipe delivers. This fudge blends creamy peanut butter with white chocolate morsels and just the right amount of milk chocolate chips to create a smooth, layered confection that’s as visually appealing as it is indulgent. With a combination of familiar flavors that pack a punch, this is the kind of recipe that peanut butter and chocolate lovers alike will want to make time and again.
What You Need To Know
- MAIN INGREDIENTS: white baking chips, creamy peanut butter, milk chocolate chips, vegetable oil
- QUICK STEPS: Line an 8×8 baking dish with parchment paper; melt white baking chips and mix with peanut butter; pour mixture into dish; melt milk chocolate chips with oil; drizzle over peanut butter mixture; swirl with a knife; chill until set
- TOTAL TIME AND YIELD: 1 hour 10 minutes, 36 slices
Why This Recipe
- The signature tiger stripe swirl in this recipe is both visually striking and easy to achieve, thanks to specific steps our team developed for a clean, even swirl. This marbled look sets it apart from traditional fudge recipes, adding a decorative touch without any complicated technique.
- All you need is a parchment-lined baking dish, a microwave-safe glass bowl, and a butter knife to create this visually appealing, professional-looking treat. This recipe proves that you don’t need fancy equipment or advanced skills to make a dessert that looks as impressive as it tastes.
Tiger Fudge Ingredients
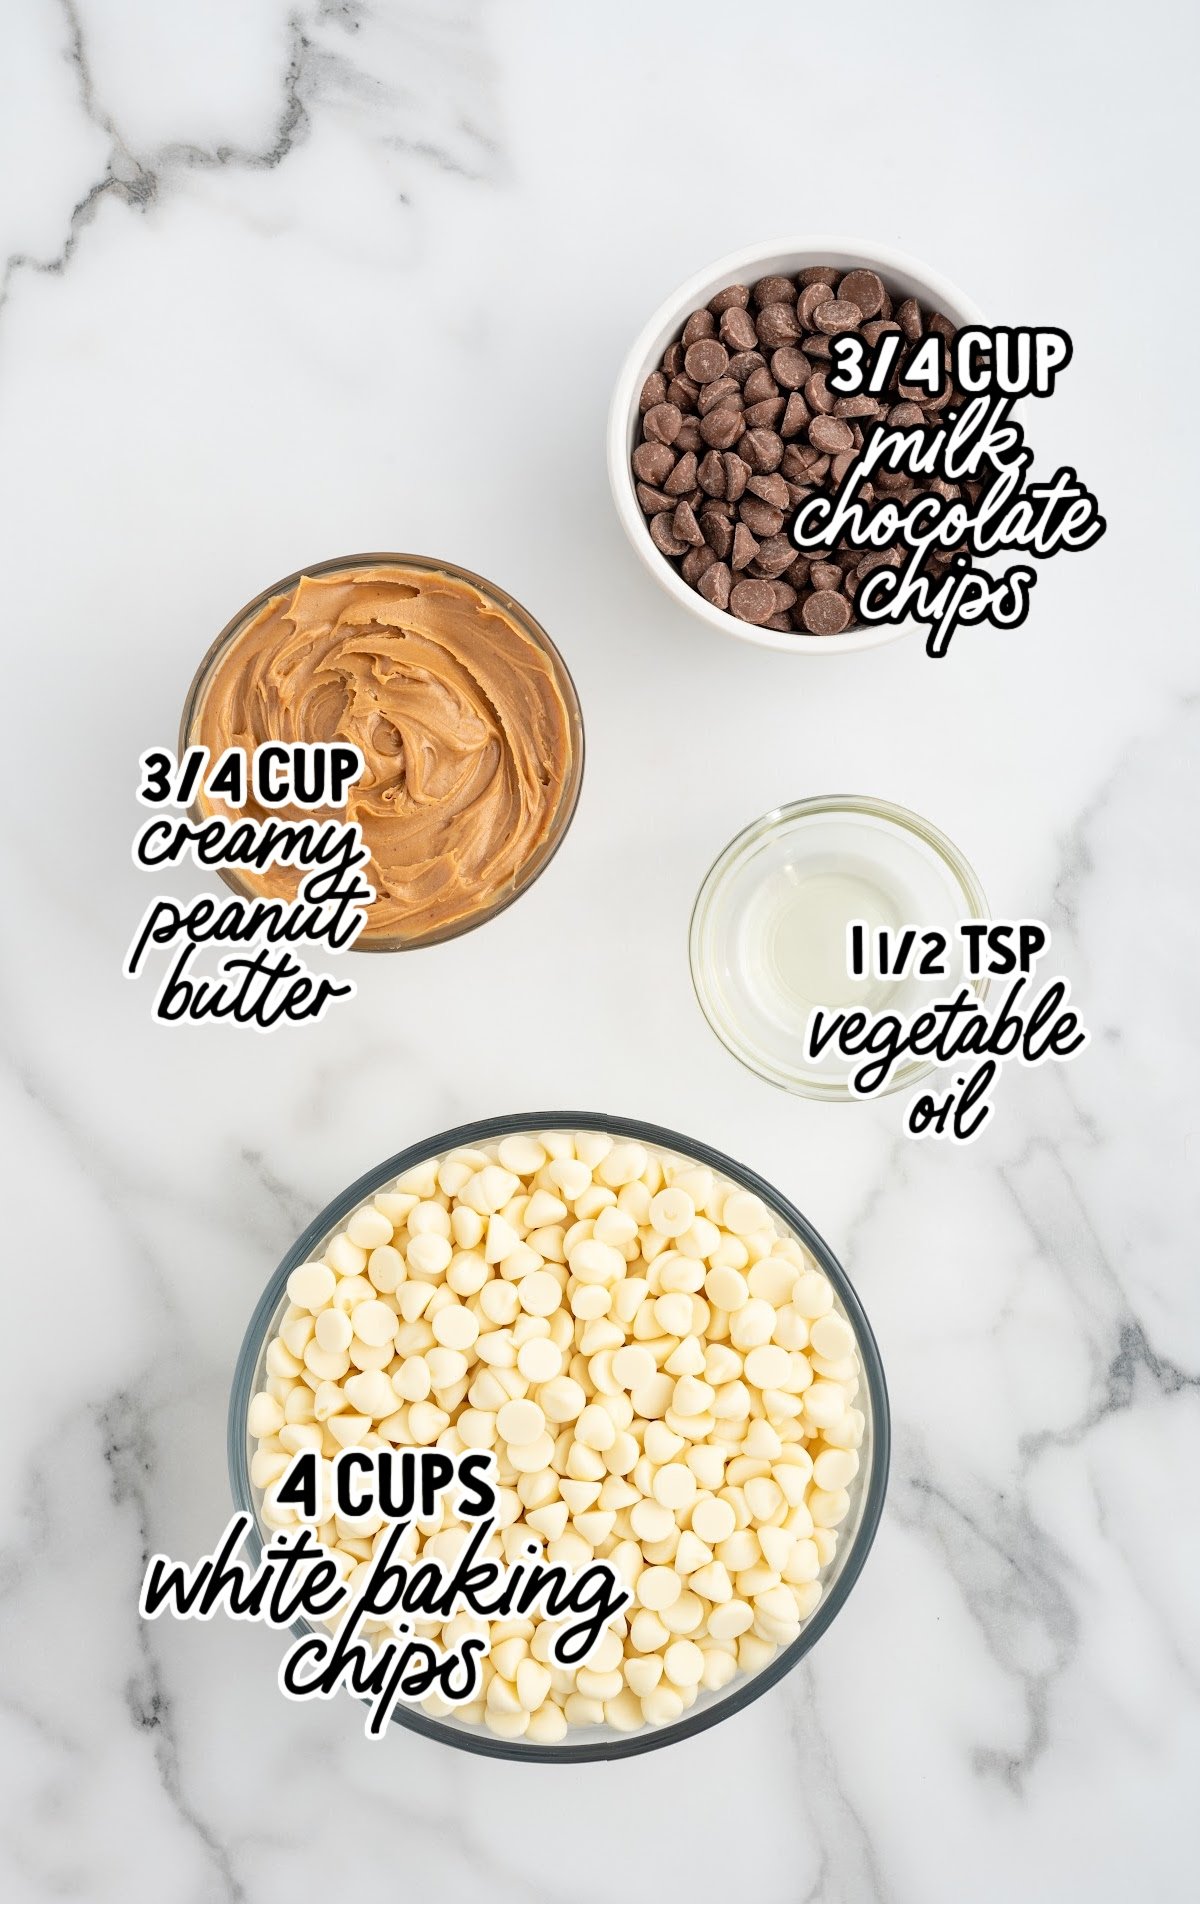
To make this recipe, you’ll need the following ingredients:
- 4 cups white baking chips
- ¾ cup creamy peanut butter
- ¾ cup milk chocolate chips
- 1 ½ teaspoon vegetable oil
Tiger Butter Substitutions And Additions
WHITE BAKING CHIP: You can swap white baking chips with white chocolate morsels.
MILK CHOCOLATE CHIPS: If you like a richer chocolate flavor, try using semi-sweet chocolate chips. These will make the chocolate layer more intense, which pairs well with the sweetness of the white chocolate.
MARBLING DESIGN: If you’re feeling creative, try using a butter knife to make a more intricate swirl pattern or even left or right arrows in the chocolate for a custom look. Keep your strokes light to avoid over-mixing, which can muddy the tiger stripes effect.
How To Make This Tiger Fudge Recipe
STEP ONE: Line an eight by eight inch baking dish with parchment paper, leaving a bit of overhang on the edges to make it easier to lift out the fudge once it’s set. If you want to keep the parchment paper in place while you work, you can use small binder clips to secure it to the dish. Just make sure to remove these clips before refrigerating.
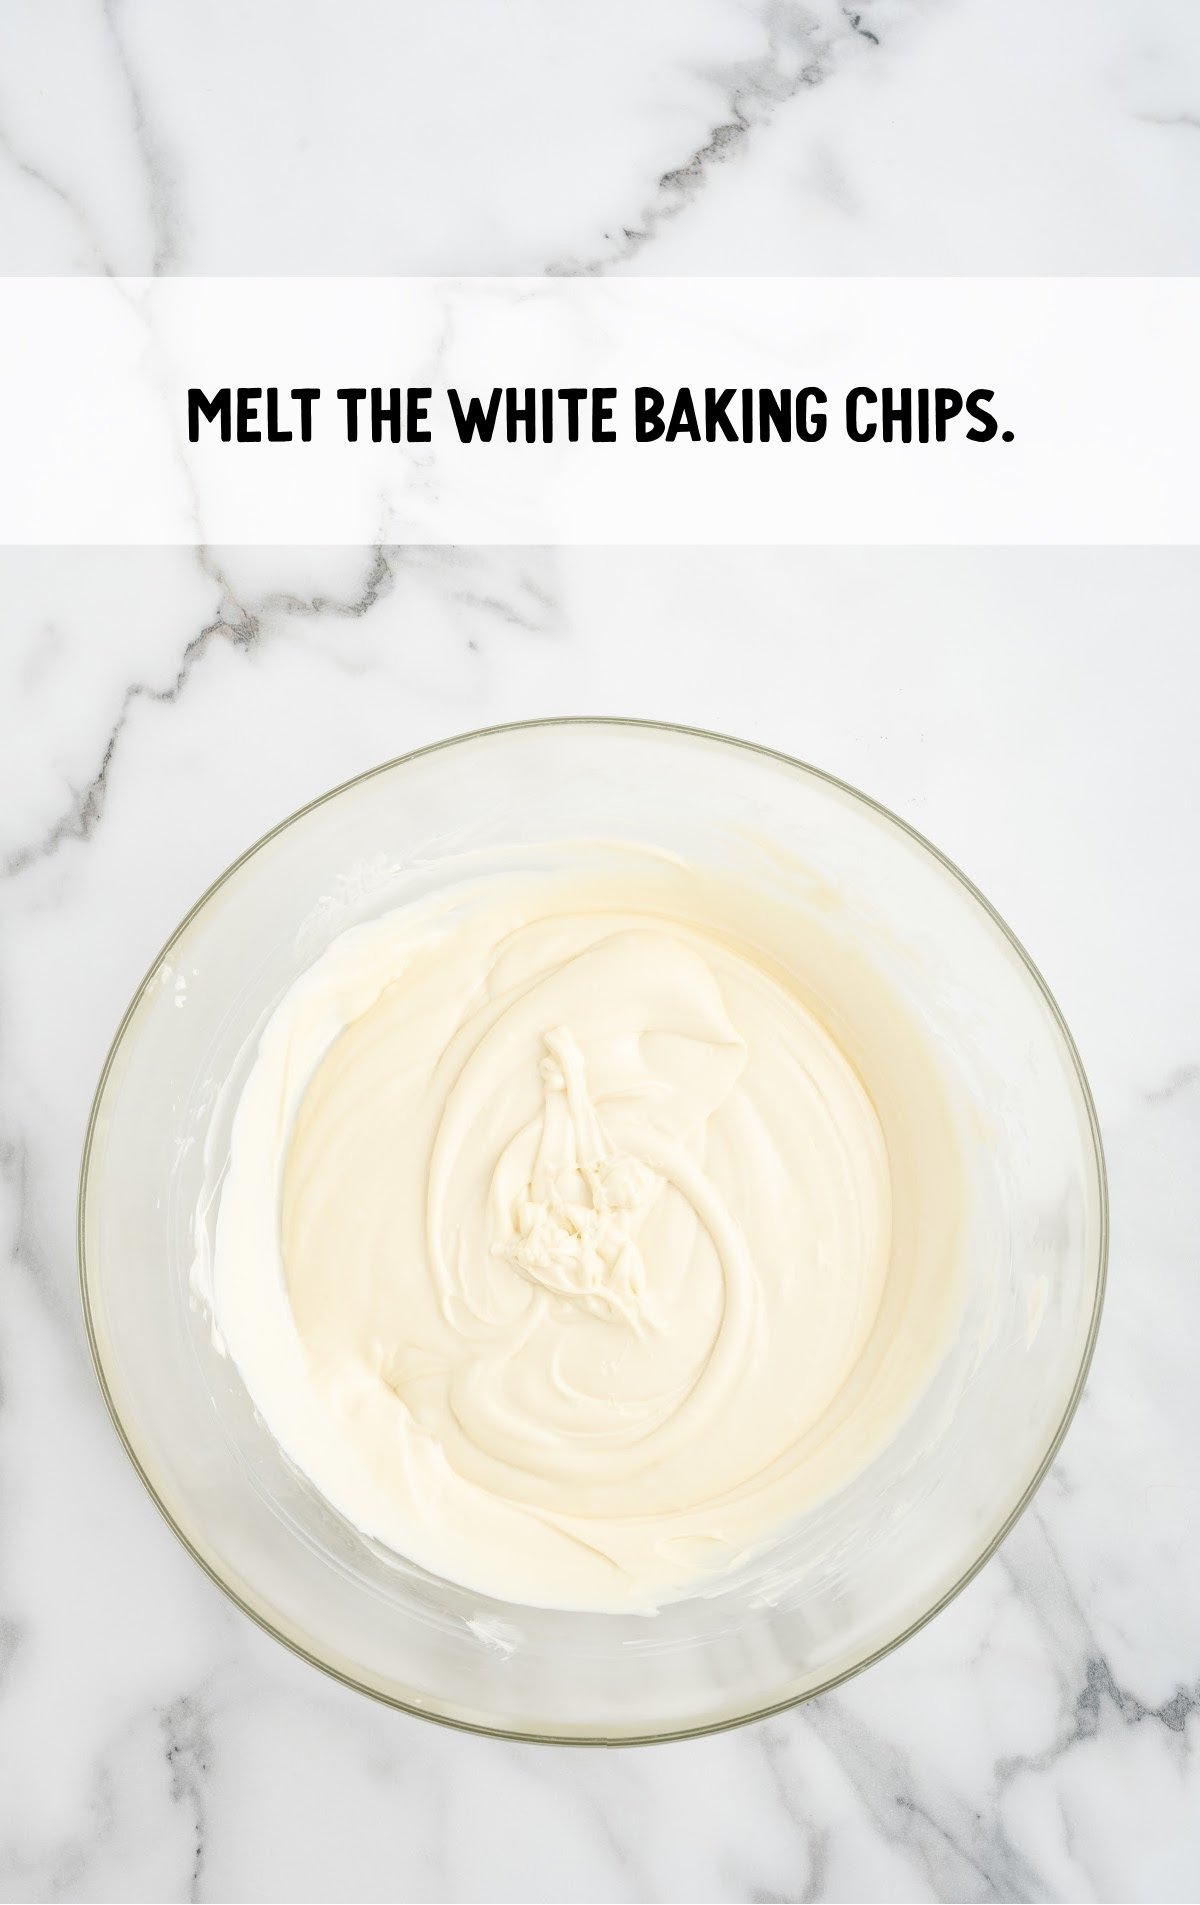
STEP TWO: In a medium (two to three quart) microwave-safe bowl, add the white baking chips. Heat the chips in the microwave on full power for one minute.
Remove the bowl and stir thoroughly to promote even melting. Continue microwaving in 30-second intervals, stirring each time, until the chips are fully melted and smooth. Be careful not to overheat, as this can cause the chocolate to seize.
PRO TIP: A rubber spatula is ideal for stirring since it scrapes down the sides of the bowl well.
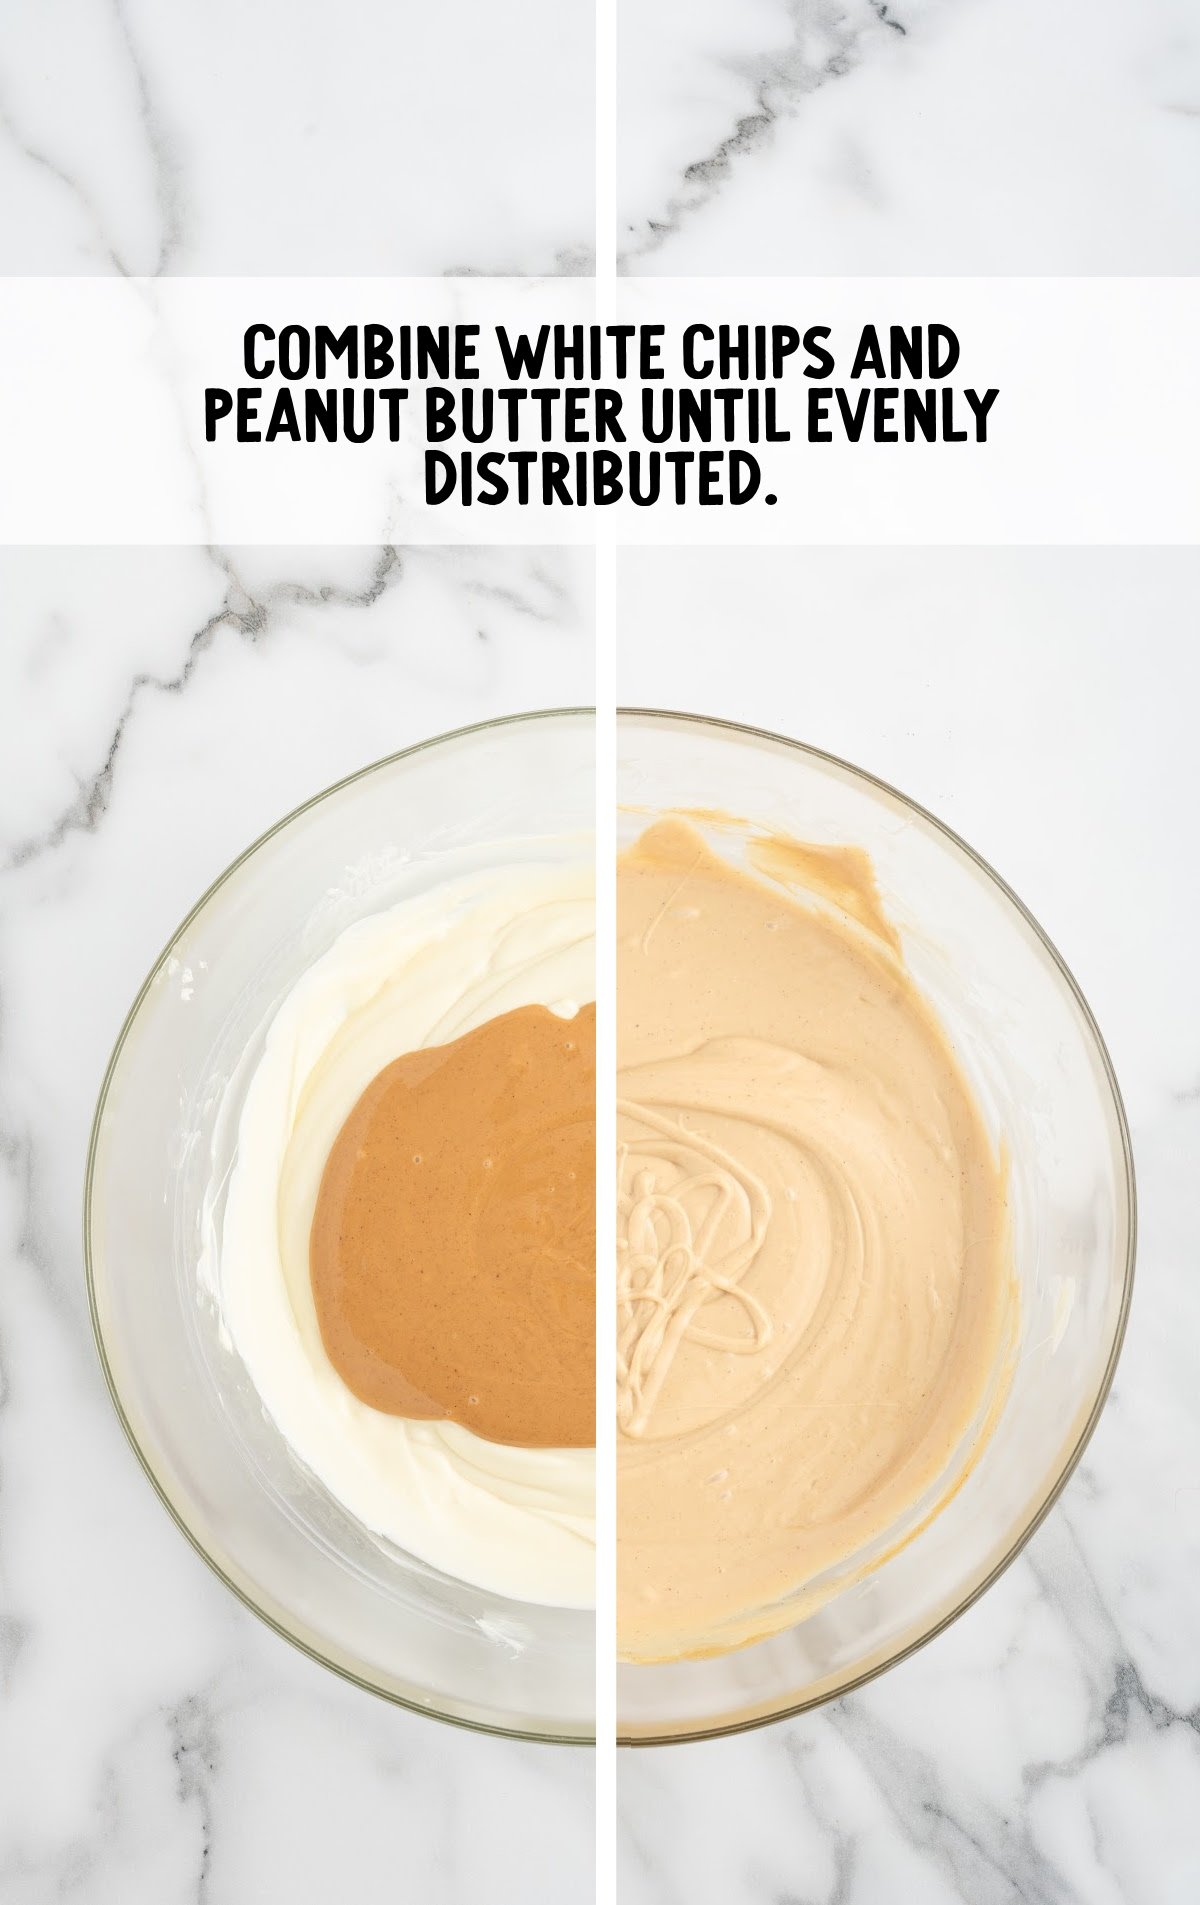
STEP THREE: Place the creamy peanut butter in a small microwave-safe bowl and heat it on full power for 30 seconds. This will help it blend more smoothly with the melted chocolate. Stir the warmed peanut butter and pour it into the bowl with the melted white baking chips.
Mix well until the two are fully combined, creating a white chocolate-peanut butter mixture.
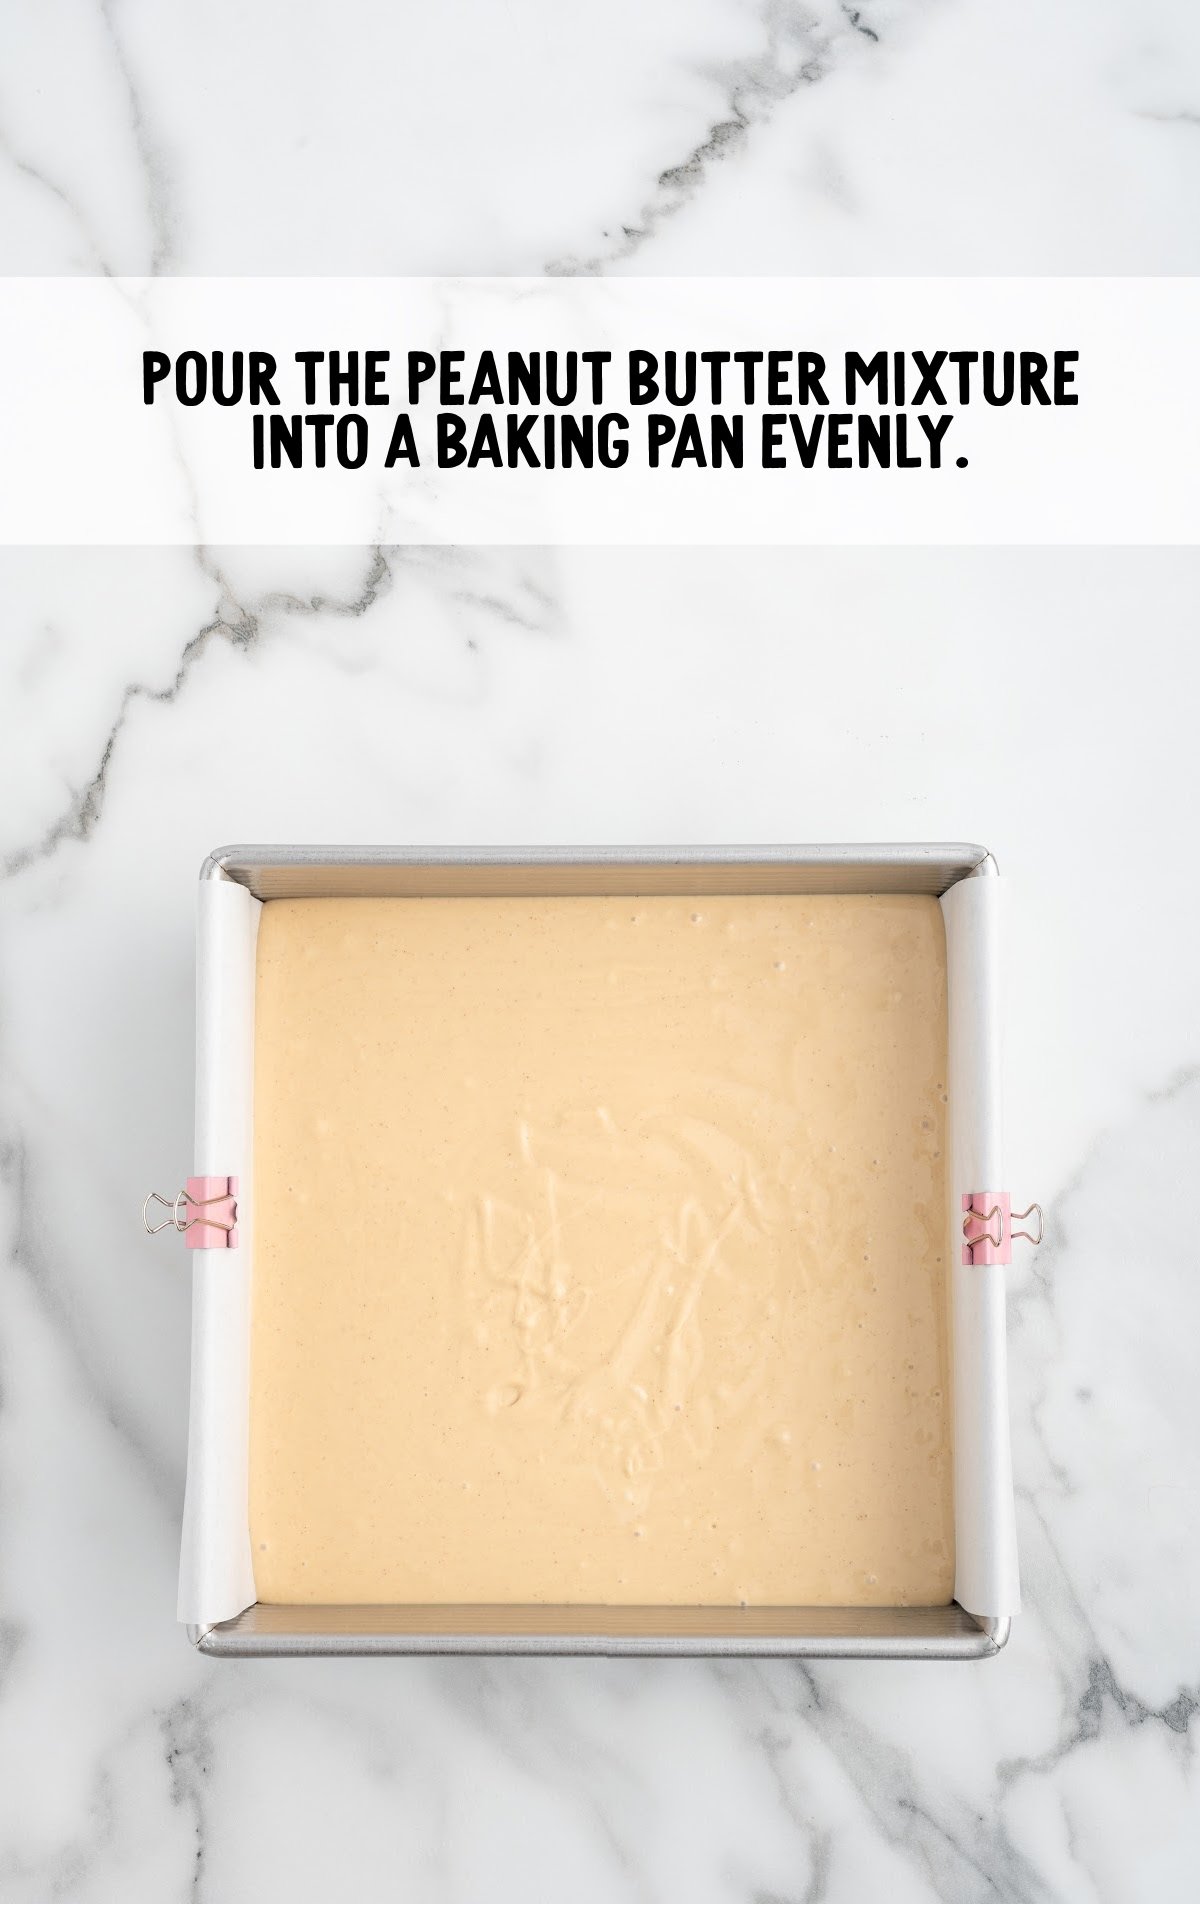
STEP FOUR: Pour the combined white chocolate and peanut butter mixture into the lined baking dish. To get an even layer, gently tilt the pan as needed, allowing the mixture to spread evenly across the dish.
Smooth the surface with a rubber spatula if necessary to make sure it fills the corners. At this stage, you’ll have a creamy base ready for the chocolate topping.
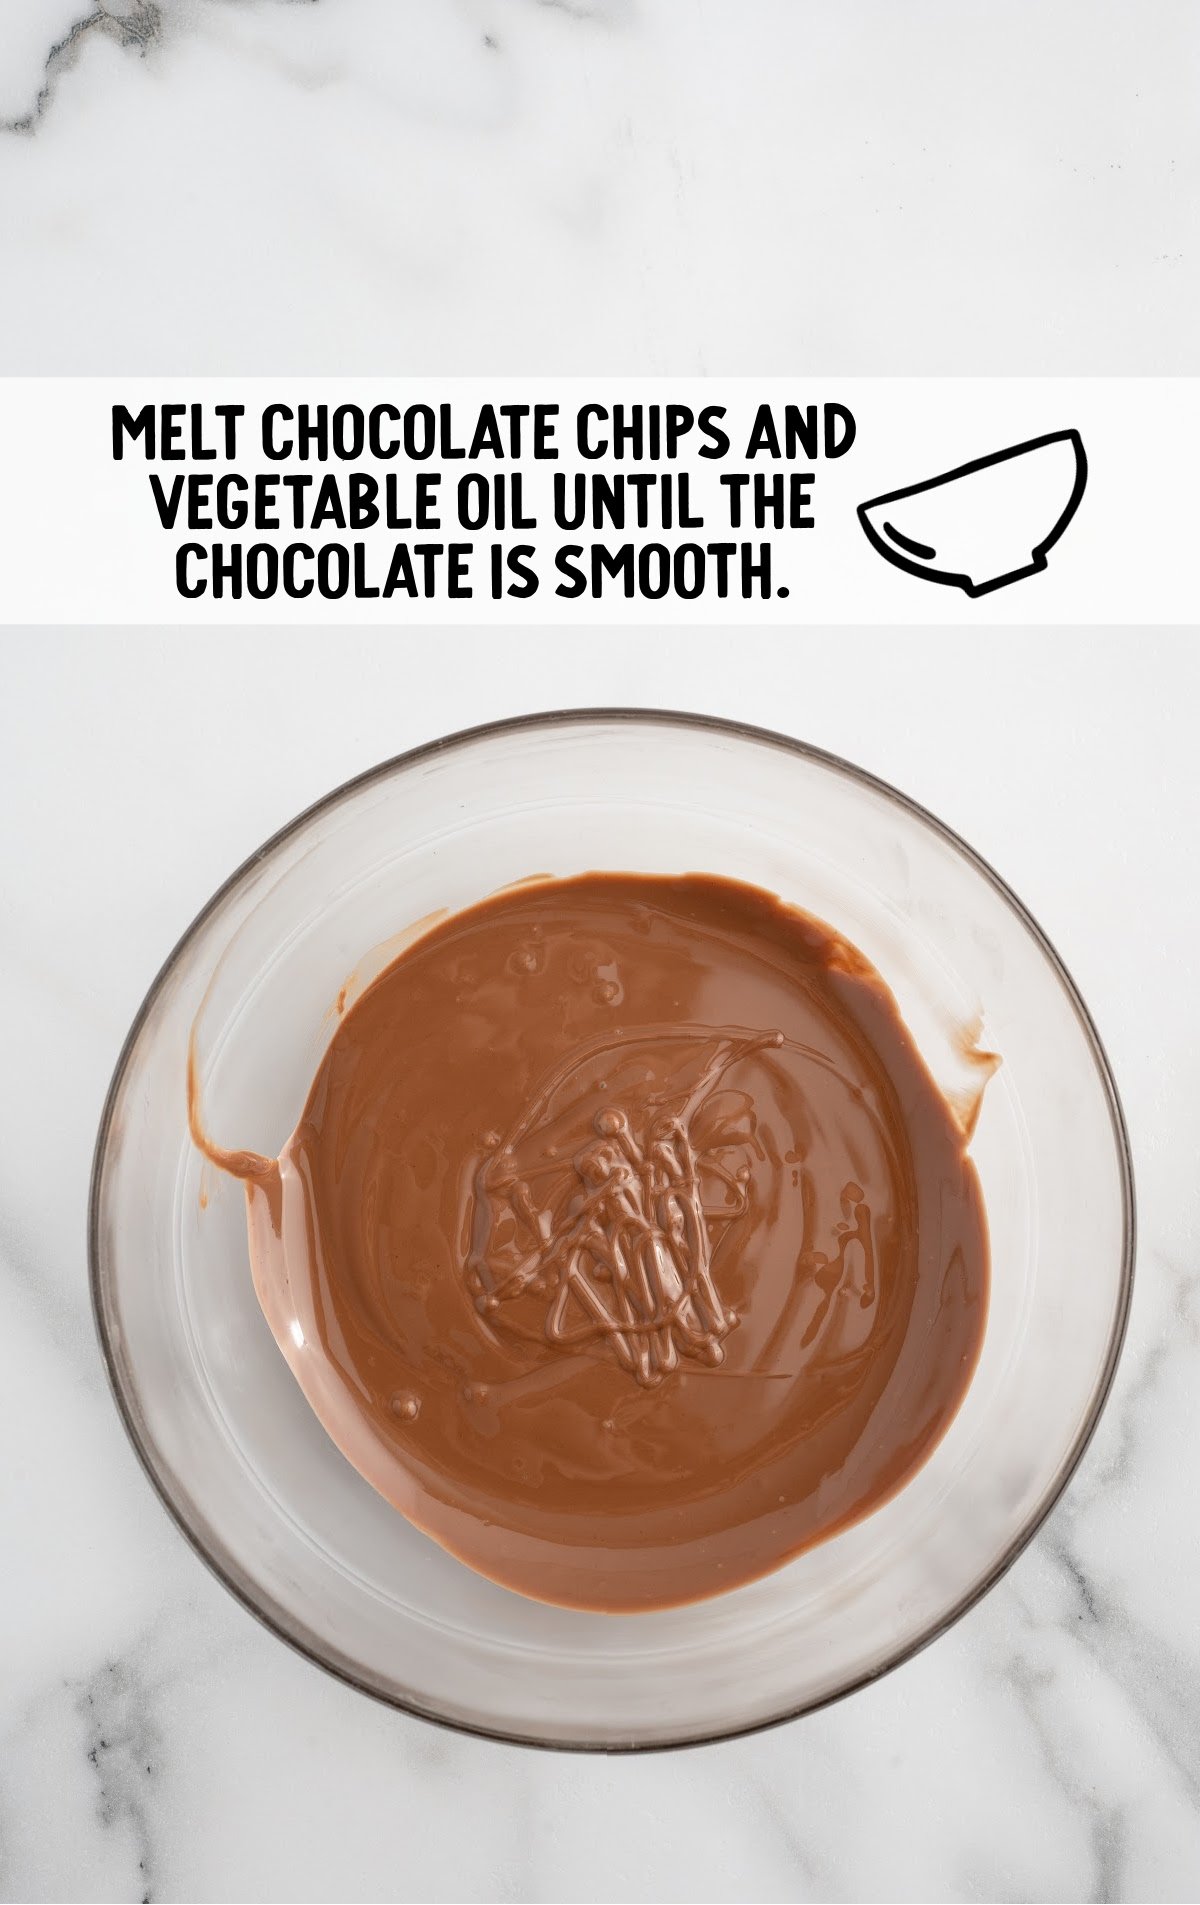
STEP FIVE: In another small microwave-safe bowl, combine the milk chocolate chips and vegetable oil. Microwave on full power for 30 seconds, then stir. If the chocolate is still a bit thick or not fully melted, microwave in additional 15-second increments until smooth and pourable.
Adding the oil helps achieve a silky consistency that’s perfect for drizzling.
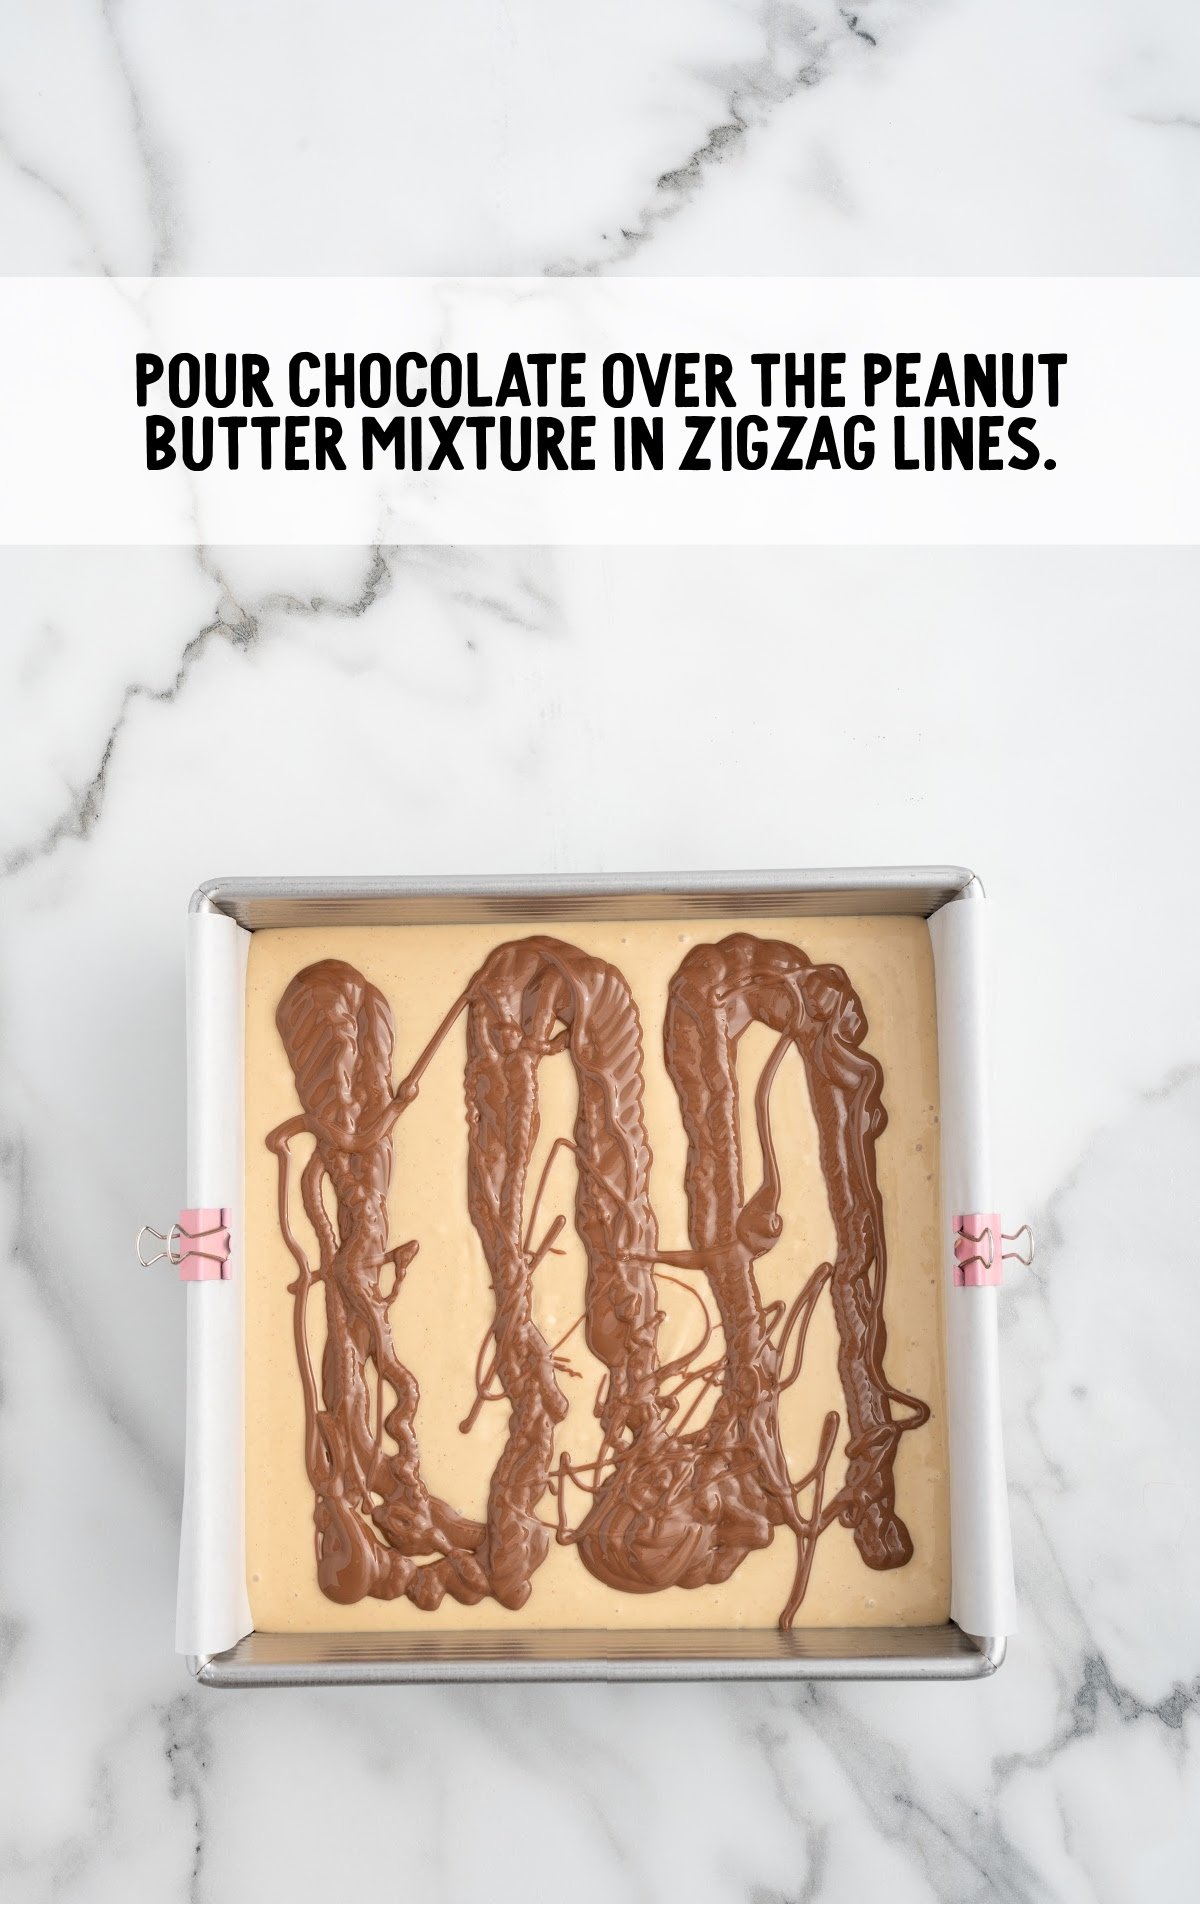
STEP SIX: Once the milk chocolate chips are melted and smooth, use a spoon to drizzle the chocolate over the white chocolate-peanut butter mixture in zigzag lines. Try to distribute the drizzle evenly, as this will make it easier to create an attractive swirl pattern.
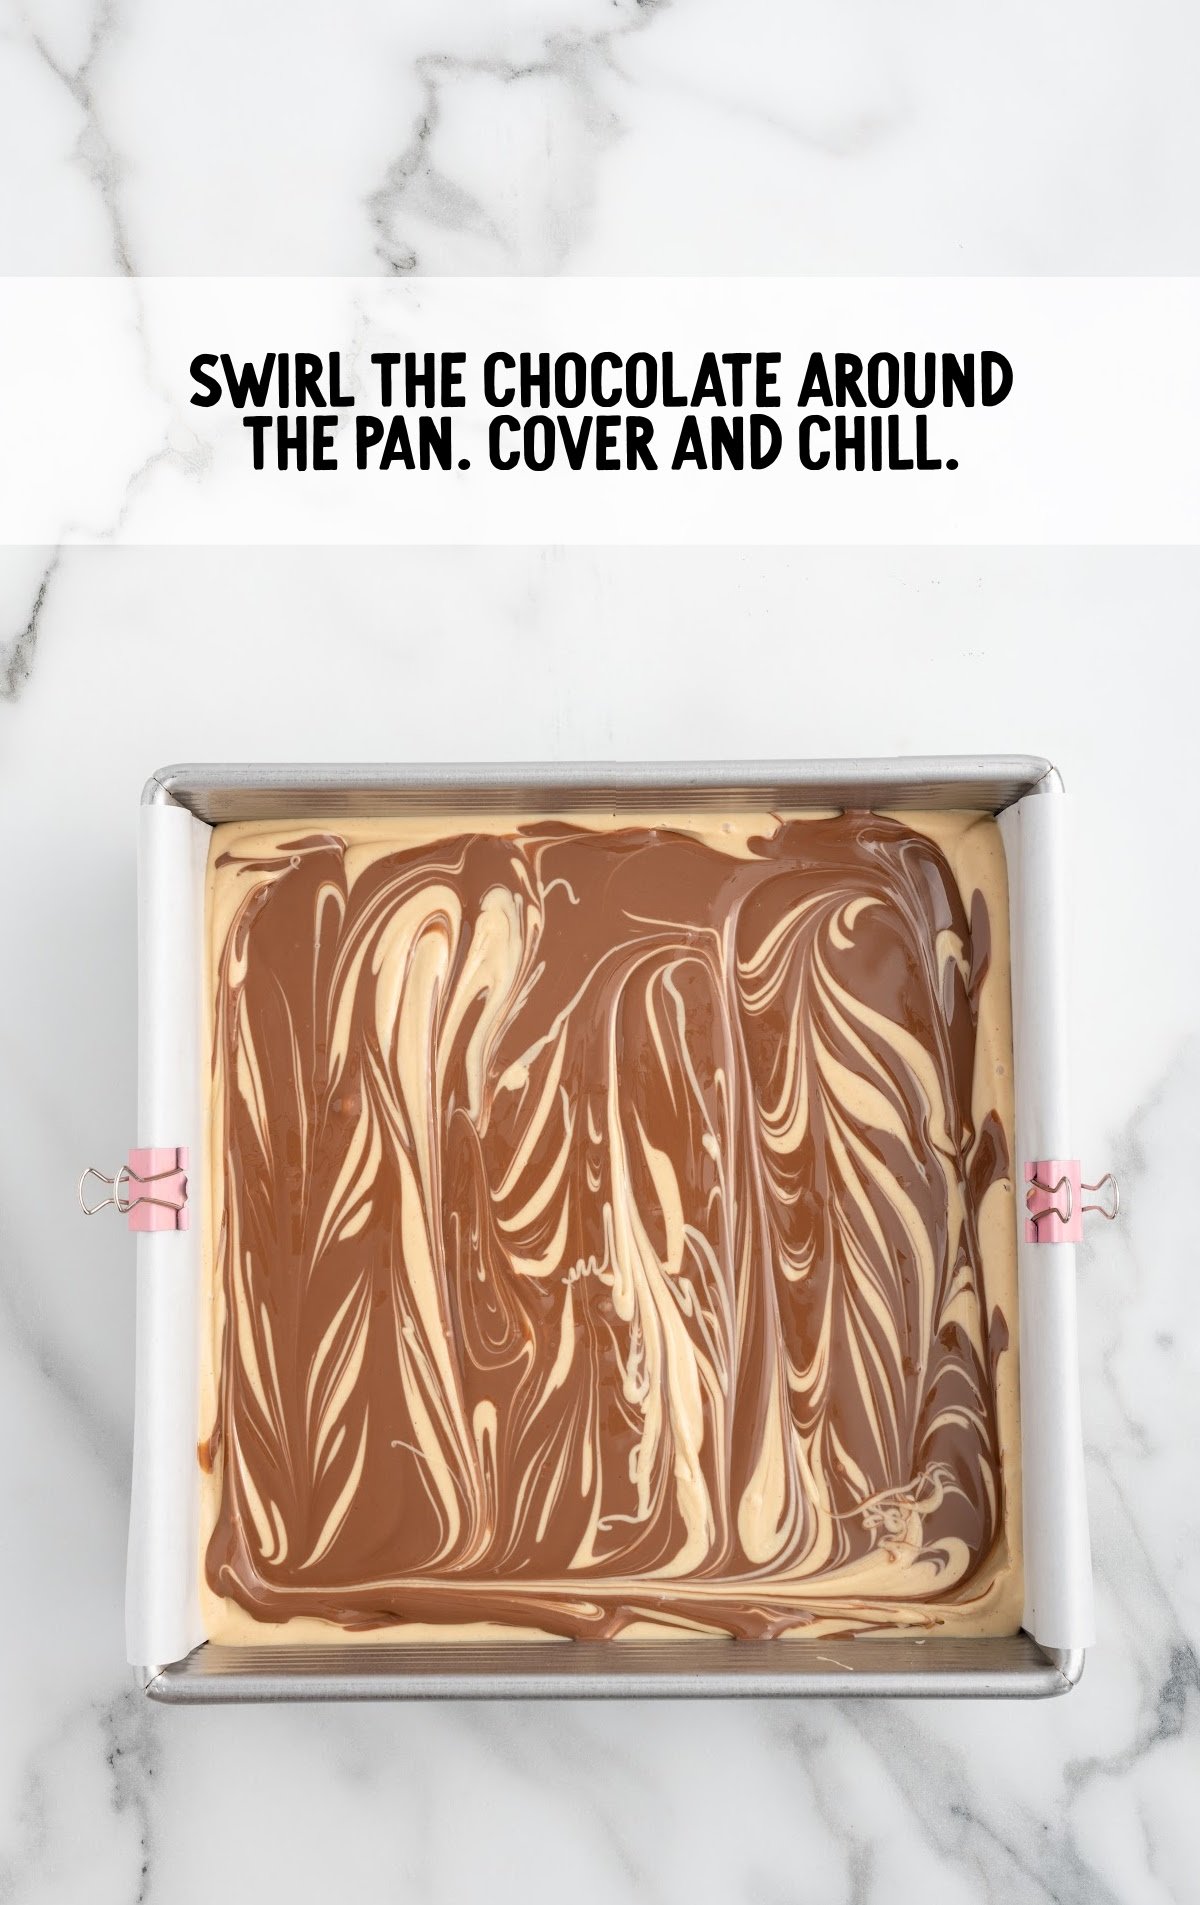
STEP SEVEN: To make the classic tiger butter look, drag the tip of a butter knife through the chocolate in gentle, smooth strokes. Start at one side and work across the pan, creating a marbled effect.
Avoid over-swirling, as this can blur the lines between the layers. For best results, keep your strokes light and controlled.
STEP EIGHT: Cover the baking dish tightly with aluminum foil and place it in the refrigerator to chill for at least 45 minutes. This will allow the fudge to set firmly, making it easier to slice.
If you prefer a slightly softer texture, you can chill it for a shorter time, but 45 minutes will give you a more traditional fudge consistency.
STEP NINE: When you’re ready to serve, lift the fudge out of the pan using the parchment paper overhang and place it on a cutting board. Use a sharp knife to slice the fudge into 6×6 rows, creating 36 squares.
PRO TIP: For clean cuts, wipe the knife between slices.

How To Serve Tiger Fudge
This homemade fudge is especially perfect for serving at holiday parties on a sweets tray or to give as a tasty DIY gift to all your friends and family who are peanut butter lovers.
Serve this tiger fudge with a classic homemade hot chocolate, which offers a rich, velvety complement to the fudge’s sweetness.
For a playful twist, the peanut butter frozen hot chocolate blends creamy peanut butter and chocolate, mirroring the fudge’s flavors in a delicious drink.
Don’t limit yourself to only enjoying this treat during the holidays, though. Make this easy fudge any time of year for a simple and tasty treat.
Craving even more peanut butter goodness? Old-fashioned peanut butter fudge, rocky road, and peanut butter balls are more delicious and easy recipes to try.
MORE FUDGE RECIPES
How To Store Tiger Fudge
MAKE AHEAD: Tiger butter is a great make-ahead treat. Prepare the recipe as directed, allowing it to chill completely in the refrigerator for at least 45 minutes before slicing. Once sliced, it can be stored in an airtight container in the fridge until you’re ready to serve.
IN THE FRIDGE: To keep tiger butter fresh in the fridge, transfer the sliced pieces into an airtight container. This will help prevent any moisture or odors from affecting the fudge. Stored this way, tiger butter will last for up to one week without losing its creamy texture.
IN THE FREEZER: For longer storage, place the cut pieces of tiger butter in a freezer-safe, airtight container, separating layers with parchment paper to avoid sticking. This fudge can be stored in the freezer for up to three months. To thaw, transfer it to the refrigerator for several hours or overnight until it softens.
REHEATING: Tiger butter does not require reheating, as it is best served chilled or at room temperature. However, if you prefer a softer texture, let it sit at room temperature for 10-15 minutes before serving.
Why Tiger Butter Is The Best
QUICK AND EASY: With just a few steps, this recipe comes together in minutes, making it perfect for last-minute treats or busy days.
PERFECTLY BALANCED FLAVORS: The creamy peanut butter and sweet white chocolate chips pair perfectly with the rich milk chocolate, offering just the right mix of flavors.
GREAT FOR GIFTING: With its beautiful marbled look and easy slicing, tiger butter makes an impressive gift that looks as good as it tastes.
Tiger Butter Frequently Asked Questions
You could replace the milk chocolate chips with either semisweet chocolate chips.
You don’t want to use peanut butter that has tiny little peanut pieces as it will take away from the smooth texture of the fudge. Use smooth peanut butter only.
This tiger fudge is the perfect mix of creamy peanut butter and rich chocolate, with elegant swirls that make it as eye-catching as it is delicious. Whether you’re sharing it during the holidays or enjoying a quick treat, this recipe is sure to impress with its bold flavors, smooth texture, and beautiful presentation.
More Fudge Recipes You’ll Love
- Microwave Peanut Butter Fudge
- Strawberry Shortcake Fudge
- Creamsicle Fudge
- Key Lime Fudge
- Cookie Dough Fudge
Tiger Butter
Ingredients
- 4 cups white baking chips
- ¾ cup creamy peanut butter
- ¾ cup milk chocolate chips
- 1 ½ teaspoons vegetable oil
Instructions
- Line an 8×8 baking dish with parchment paper, be sure to leave a slight overhang to remove the fudge from the pan. (You can use small binder clips to fasten the top edge of the parchment paper to the baking dish. That will help ensure the parchment paper does not fold over on top of the fudge and stick to the top)
- Add the white baking chips to a medium size (2-3 quarts) microwave safe bowl. Microwave on full power for 1 minute, stir well and continue to microwave in 30 second intervals until the baking chips are completely melted and smooth.
- Add the peanut butter to a small (3-4 cups) microwave safe bowl. Heat at full power for 30 seconds. Stir well and pour into the melted white baking chips. Stir well until combined. (You can heat the white baking chips and peanut butter together, but I prefer to heat them separately)
- Pour the melted white baking chips and peanut butter into the lined baking pan. You can tilt the pan, if needed, to evenly distribute the melted white baking chips and peanut butter in the pan.
- Next add the milk chocolate chips and vegetable oil to a small (3-4 cups) microwave safe bowl. Microwave on full power for 30 seconds and stir well. If needed, you can microwave for another 15 seconds until the milk chocolate chips are completely melted and smooth. (If the melted milk chocolate is a bit too thick to pour easily, you can stir in 1 teaspoon of vegetable oil)
- Pour the melted milk chocolate over the top of the white chocolate and peanut butter in zigzag lines.
- Using a knife make a swirl design dragging the tip of the knife around the pan. Cover tightly with aluminum foil and chill in the refrigerator for 45 minutes.
- Just before you are ready to serve, remove the pan from the refrigerator. Use the parchment paper overhang to remove the fudge from the pan.
- Place the fudge on a cutting board. Use a sharp kitchen knife to cut 6 slices x 6 slices. Keep refrigerated until ready to serve.
Notes
- Store any leftovers in an airtight container in the refrigerator for up to 2 weeks. If your kitchen is on the cooler side, you can store the fudge covered on the counter for 1 week.
- You can substitute semi sweet or dark chocolate chips for the milk chocolate chips. If your kitchen is on the cooler side, you can allow the fudge to rest on the counter to solidify before slicing and serving.





Comments
Treena says
Pretty much one of the easiest and most tastiest things I’ve ever made!
Toni Thomason says
Simple, yet delicious candy dessert idea.
Katherines Corner says
this looks delish! I invite you to share your lovely blog at my TFT party ( Thursday -Sat)Pinned and Hugs!
patty says
best fudge ever
Bev says
So quick and easy! I’ll never make fudge using a candy thermometer again. The last batch I made like that never hardened. This recipe is great. My husband approves 😊. This will be going into my holiday rotation. 🙏