
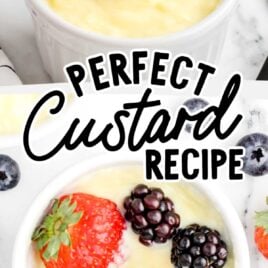
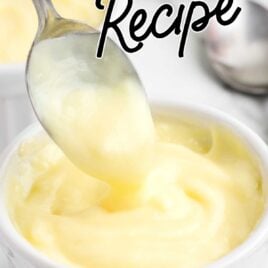
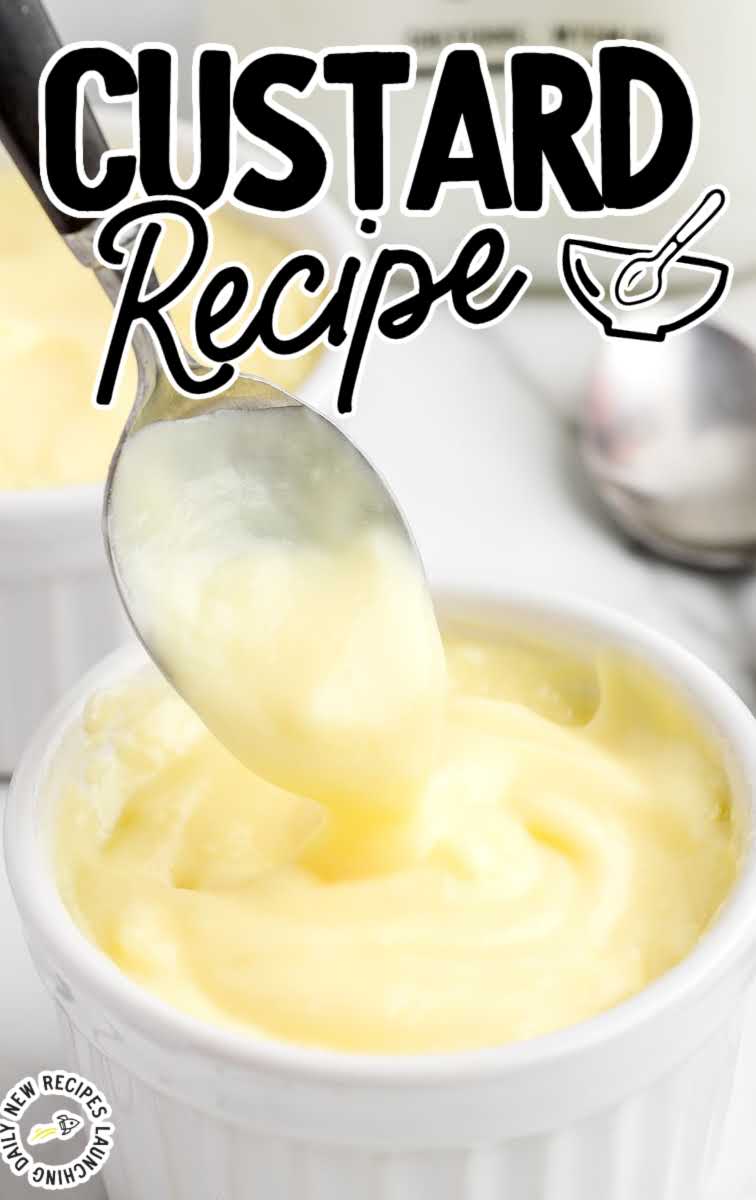
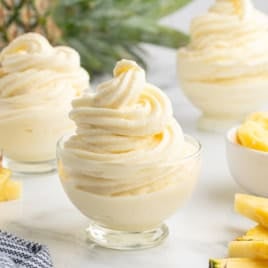
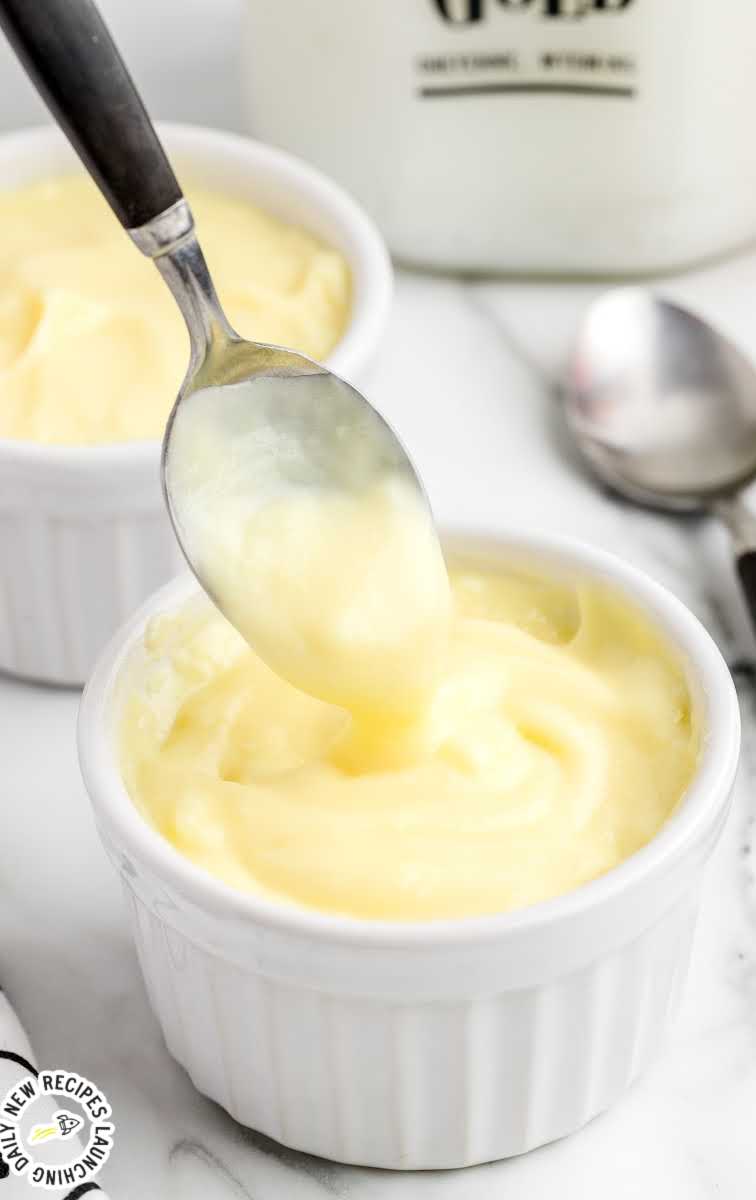
You will love the rich, creamy texture and sweet vanilla flavor of this vintage custard recipe. Whether you want to add it to a pie or trifle, top it with fruit, or just grab a spoon (no judgment!), this silky and smooth dessert will be a sure winner.
We have plenty of old-fashioned recipes for you to try out. Our old-fashioned oatmeal cake and ambrosia salad are two classic recipes you’ll love.
CUSTARD INGREDIENTS
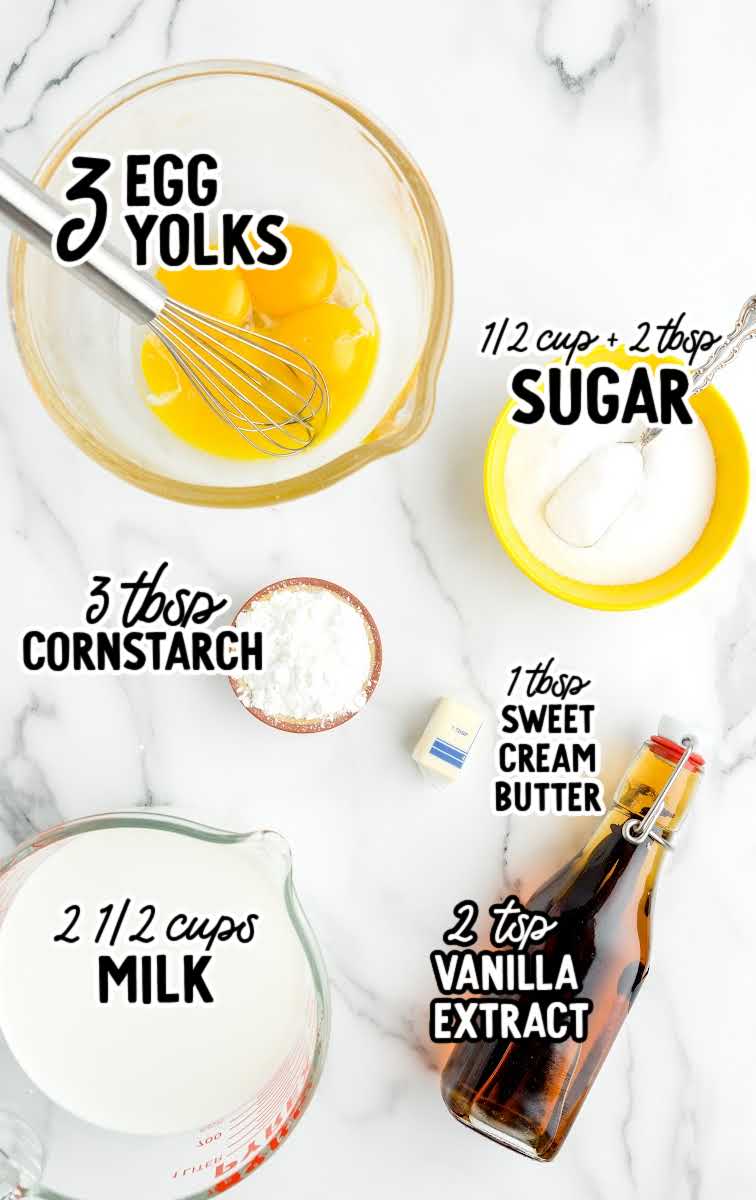
You’ll need:
- ½ cup + 2 tablespoons granulated sugar
- 3 tablespoons cornstarch
- 2½ cups whole milk
- 2 teaspoons pure vanilla extract
- 4 extra-large egg yolks (or 3 jumbo egg yolks), room temperature, slightly beaten
- 1 tablespoon salted sweet cream butter
SUBSTITUTIONS AND ADDITIONS
MILK: You can substitute low-fat milk for the whole milk, but the whole milk really adds that richness.
HOW TO MAKE THIS CUSTARD RECIPE
PRO TIP:
You need to take extra caution with this recipe. When the custard gets heated and starts popping, you can suffer serious burns so please pay attention!
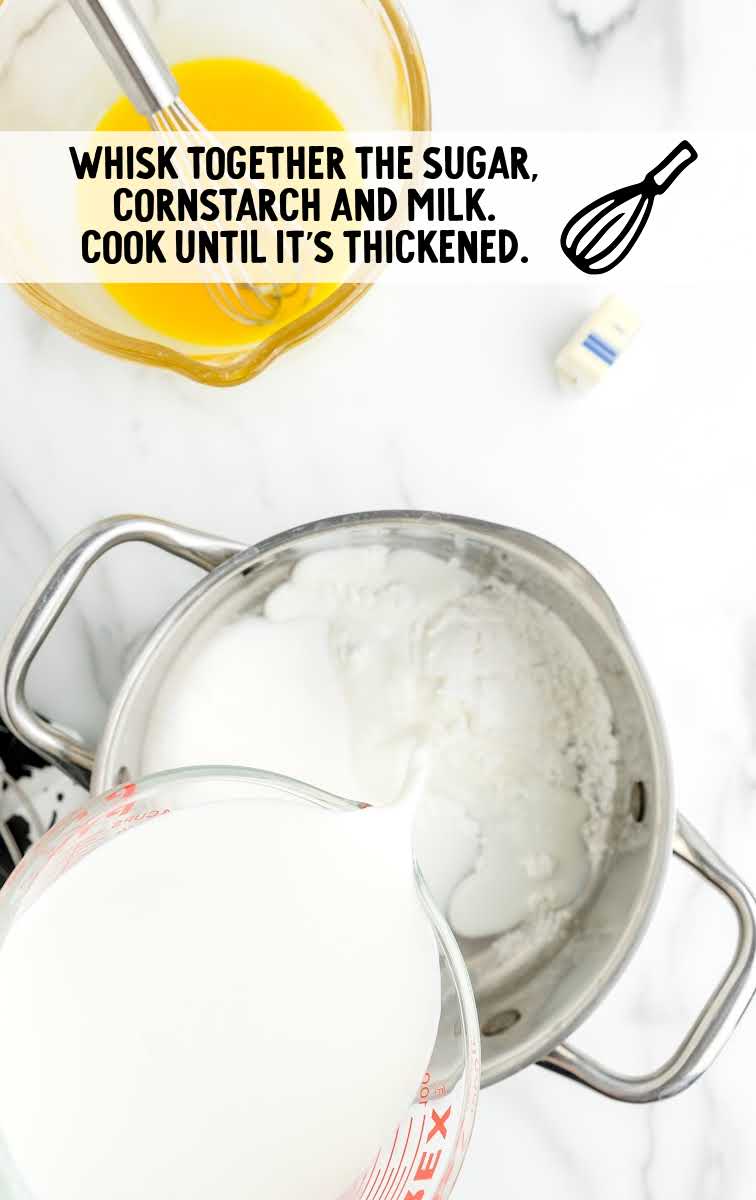
STEP ONE: Using a 3 to 4 quart heavy-bottom saucepan over medium heat, add the granulated sugar, cornstarch and milk, and whisk. Whisk continually until the milk mixture reaches a low bubble and begins to thicken, about 6 to 8 minutes.
PRO TIP:
It is really important to keep whisking as you don’t want to burn the custard.
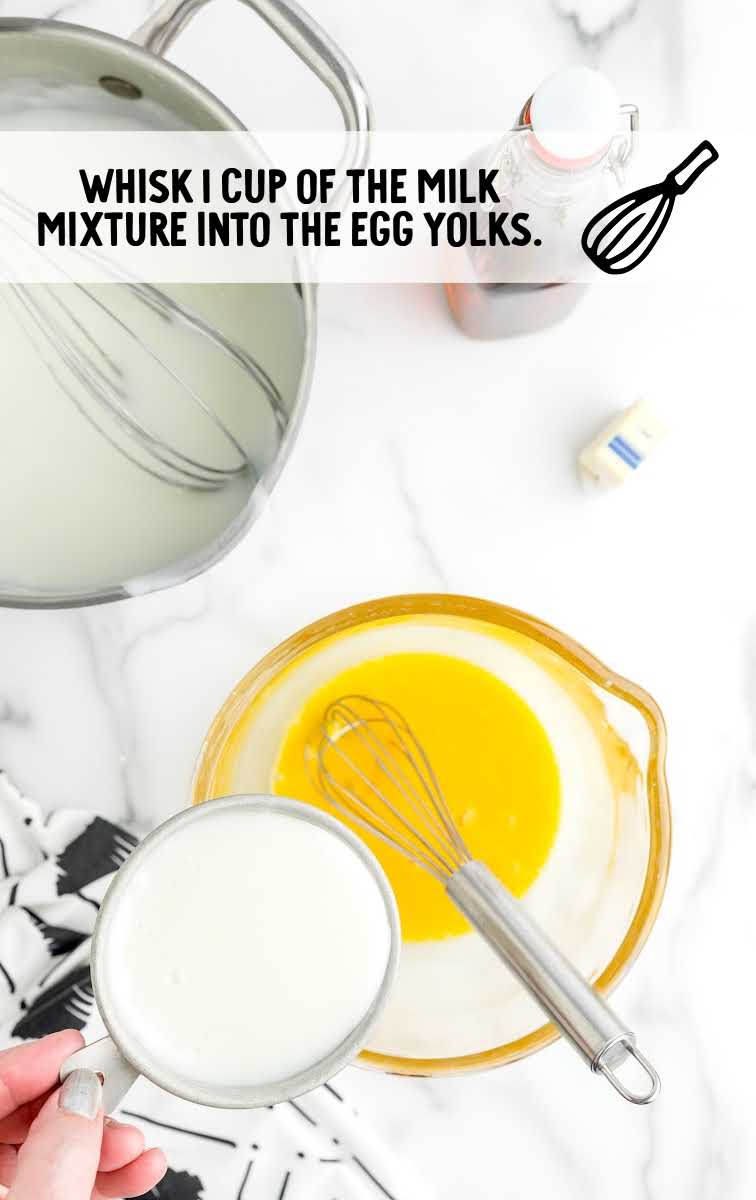
STEP TWO: Remove the saucepan from the heat, and whisk 1 cup of the hot milk mixture into the egg yolks.
PRO TIP:
It is very important to quickly whisk the hot mixture into the yolks (temper) so you do not end up with scrambled eggs in your custard.
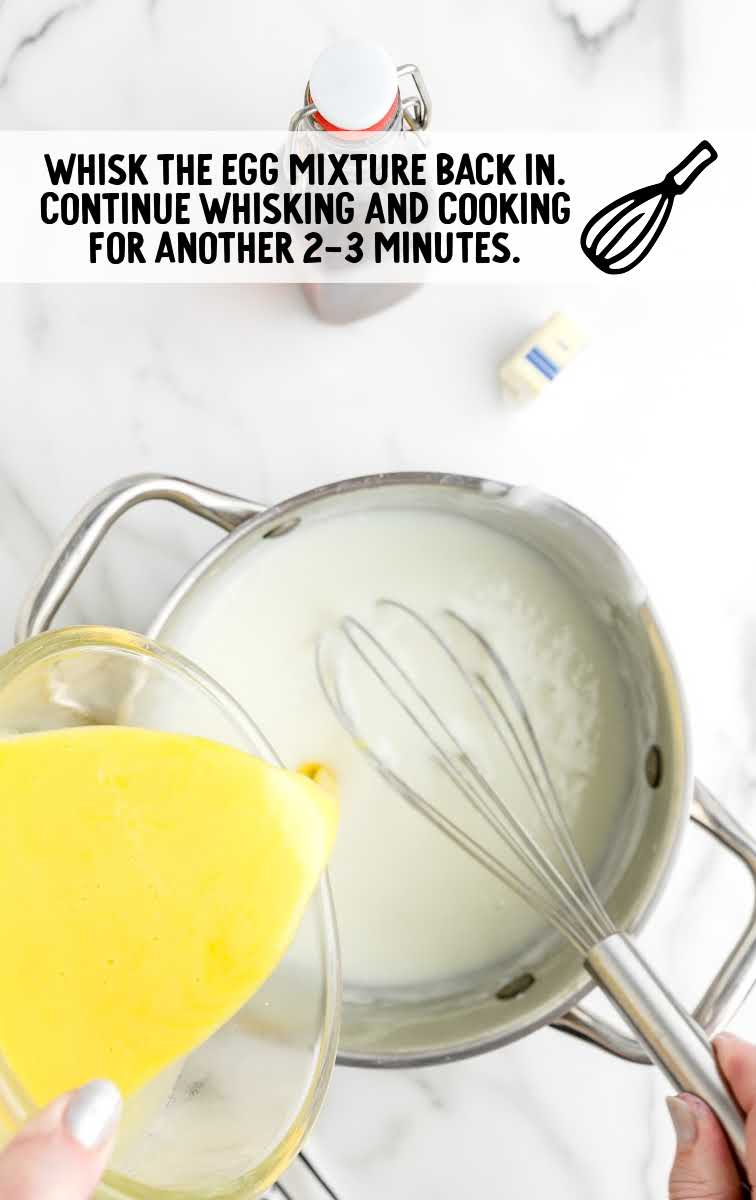
STEP THREE: Whisk the egg mixture back into the custard, and return the saucepan to the heat. Continue whisking for another 2 to 3 minutes.
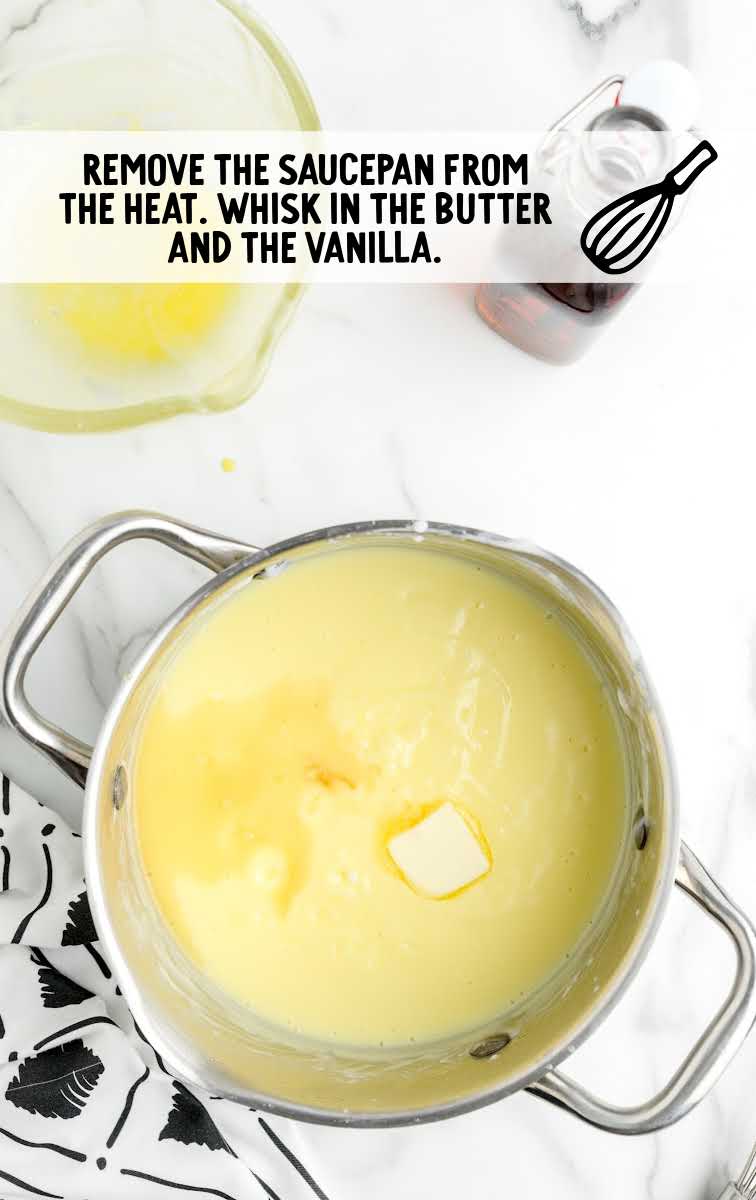
STEP FOUR: Remove the saucepan from the heat. Whisk in the butter and the vanilla.
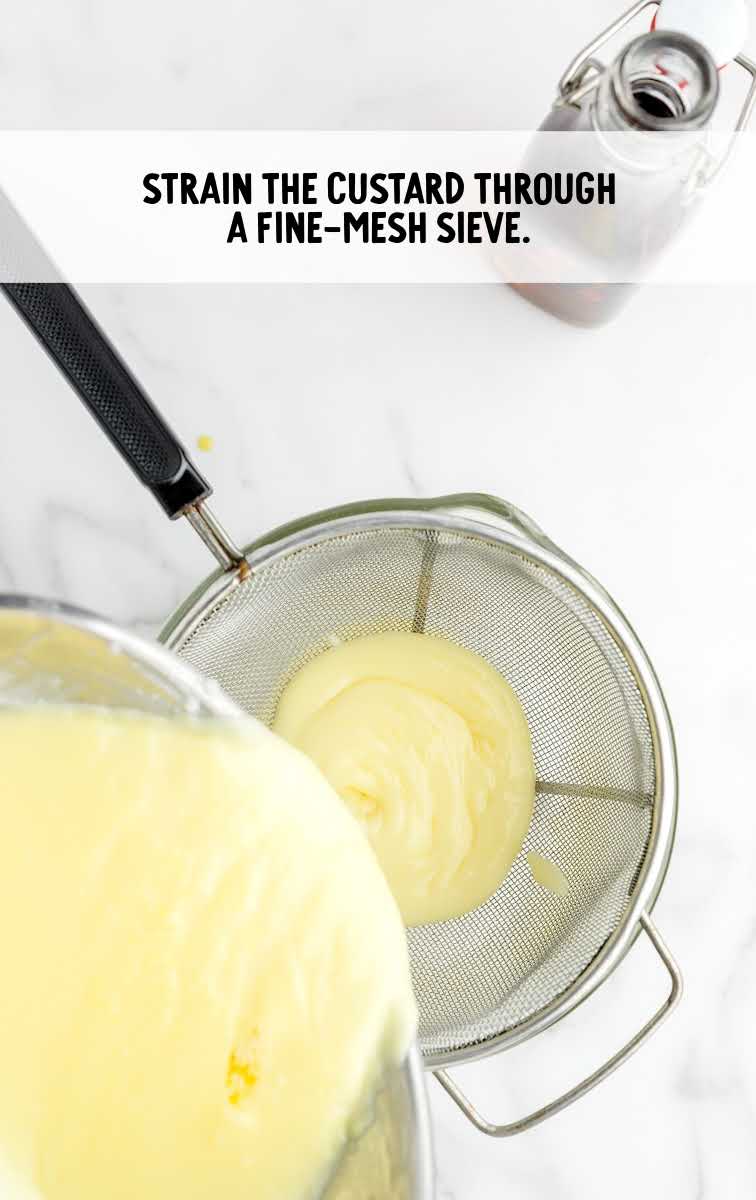
STEP FIVE: Strain the custard through a fine-mesh sieve.
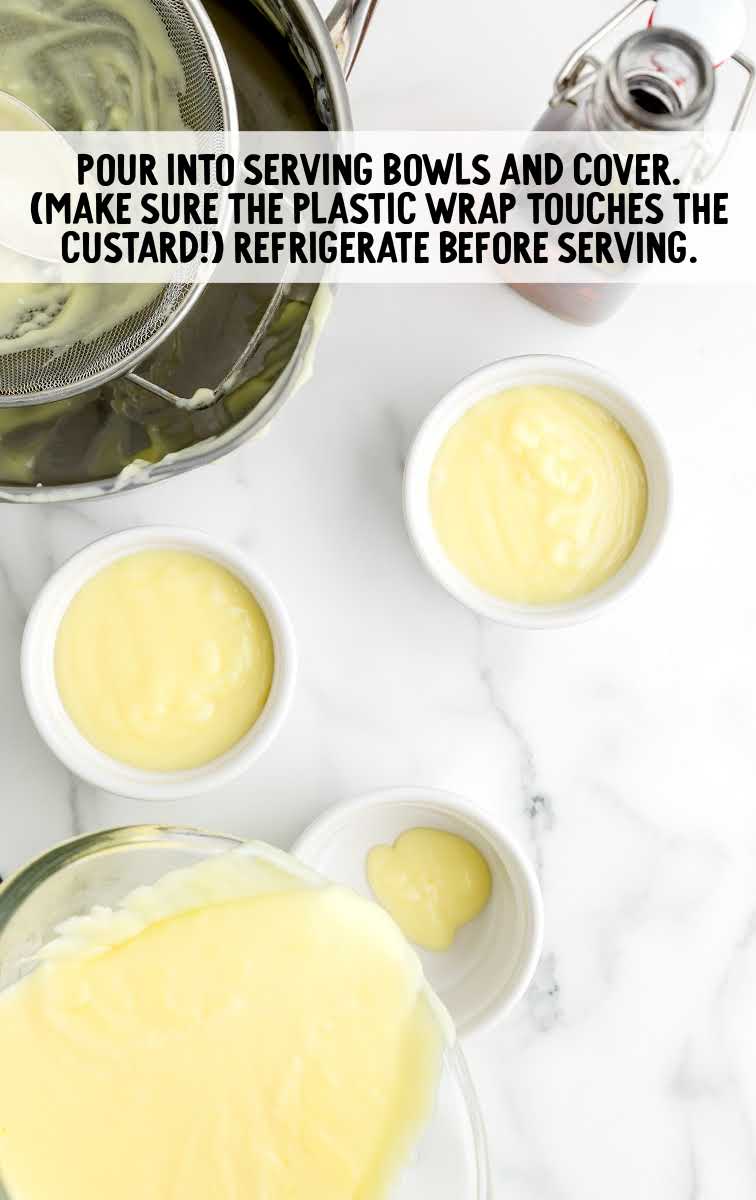
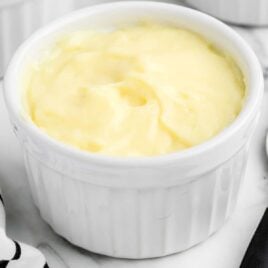
STEP SIX: Pour the egg custard into a heat-safe medium bowl or your individual serving bowls. Cover the bowl or individual dishes with plastic wrap, making sure to allow the plastic wrap to cover the surface of the custard to keep a “skin” from forming. Refrigerate for 2 hours before you serve custard.
How To Serve
There are so many ways to serve homemade custard. It can be used as a pastry cream filling for cream puffs, eclairs or our custard pie. This vanilla custard is also really yummy with fresh berries and granola. Or, I love just eating it with a bowl and a spoon – it’s one of my guilty pleasures as I love the subtle sweetness and creaminess of this treat.
MORE DESSERT RECIPES
Storage
IN THE FRIDGE: Store any leftovers of this sweet custard in an airtight container for up to 3 days.
IN THE FREEZER: You can freeze custard for up to 2 months but have to take caution when preparing it to freeze. The custard needs to have plastic or freezer paper right on the surface. You have to thaw it in the fridge and will have to whisk it to deal with the excess liquid from the thawing process.
This creamy custard comes out silky and smooth and there are so many different ways you can use this sweet treat. It’s such a quick and easy recipe to whip up and tastes so divine that I don’t think anything compares to a sweet bowl of this homemade treat.
FREQUENTLY ASKED QUESTIONS
Egg whites can be kept in the fridge in an airtight container for a few days. You can also freeze them for longer. Pour each egg white into one cube of an ice tray and freeze. Transfer to a bag and all you need to do is defrost them at room temperature when they’re called for.
This simple recipe will last for up to three days in the fridge.
You can freeze custard for up to 2 months but have to take caution when preparing it to freeze. The custard needs to have plastic or freezer paper right on the surface. You have to thaw it in the fridge and will have to whisk it to deal with the excess liquid from the thawing process.
MORE RECIPES YOU’LL LOVE


Custard
Ingredients
- ½ cup granulated sugar
- 2 tablespoons granulated sugar
- 3 tablespoons cornstarch
- 2½ cups whole milk
- 2 teaspoons pure vanilla extract
- 4 extra-large egg yolks or 3 jumbo egg yolks, room temperature, slightly beaten
- 1 tablespoon salted sweet cream butter
Instructions
- Using a 3 to 4 quart heavy-bottom saucepan over medium heat, add the granulated sugar, cornstarch and milk, and whisk. Whisk continually until the mixture reaches a low bubble and begins to thicken, about 6 to 8 minutes.
- Remove the saucepan from the heat, and whisk 1 cup of the mixture into the egg yolks.
- Whisk the egg yolk mixture back into the custard, and return the saucepan to the heat. Continue whisking for another 2 to 3 minutes.
- Remove the saucepan from the heat. Whisk in the butter and the vanilla.
- Strain the custard through a fine-mesh sieve.
- Pour the custard into a heat-safe medium-size bowl or your individual serving bowls. Cover the bowl or bowls with plastic wrap, making sure to allow the plastic wrap to cover the surface of the custard to keep a “skin” from forming. Refrigerate for 2 hours before serving.
Notes
- You need to take extra caution with this recipe. When the custard gets heated and starts popping, you can suffer serious burns so please pay attention!
- It is really important to keep whisking as you don’t want to burn the custard.
- It is very important to quickly whisk the hot mixture into the yolks (temper) so you do not end up with scrambled eggs in your custard.
Nutrition


Comments
Gloria says
A smooth and creamy classic.
Ormand says
Excellent flavor! Easy to make!
Yvonne slack says
I always enjoy your easy recipes. Thank you .
Sherri S says
This would be great with sliced strawberries or blueberries.
M Lynn Doane says
Great recipe. I have used to fill horns. Yummy
Debbie says
I need to make this. Brings back chil hood memories
MMKAZ says
So since today is PI day 3.14 I decide to make this pie and I’m so happy I did, actually my husband is over the moon about it. In fact as soon as dinner was done he said it’s time for pie !!!! His inner child along with his sweet tooth were very happily pleased! So this recipe is definitely a keeper !!
Meredith Jones says
Excellent recipe. Tastes delicious.