October 23, 2023
Review RecipeButterfinger Cake
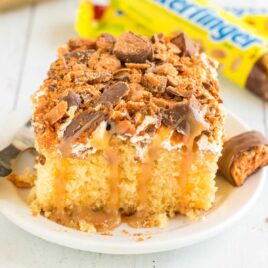
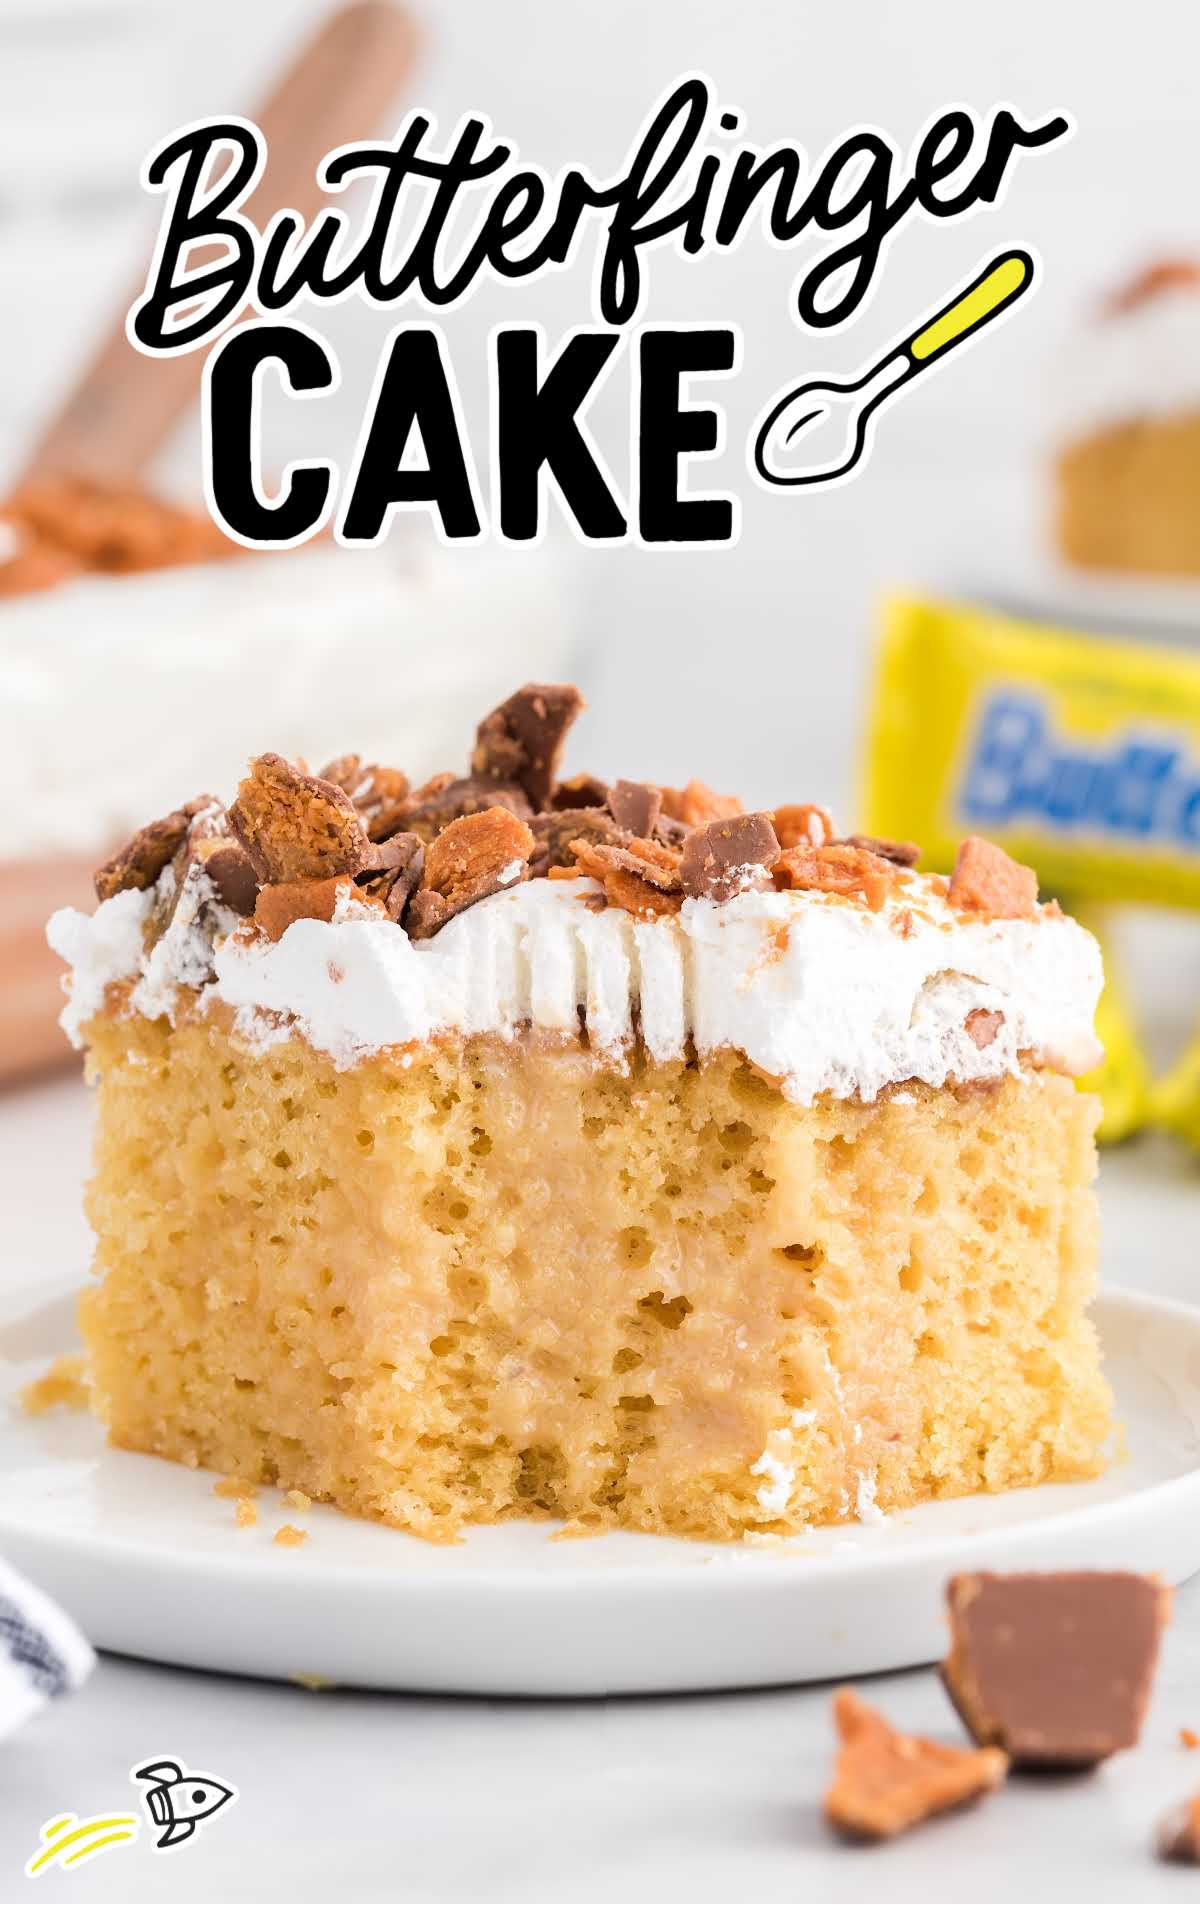
This Butterfinger cake features a moist cake is topped with caramel sauce, Cool Whip, and crushed Butterfinger candy bars.
Jump to Recipe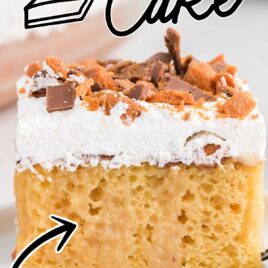

Table of Contents
This Butterfinger cake tastes just like the candy bar but in cake form. Moist cake is poked with holes to let a luscious caramel sauce soak in before being topped with Cool Whip and crushed Butterfinger candy.
Butterfinger Cake Ingredients
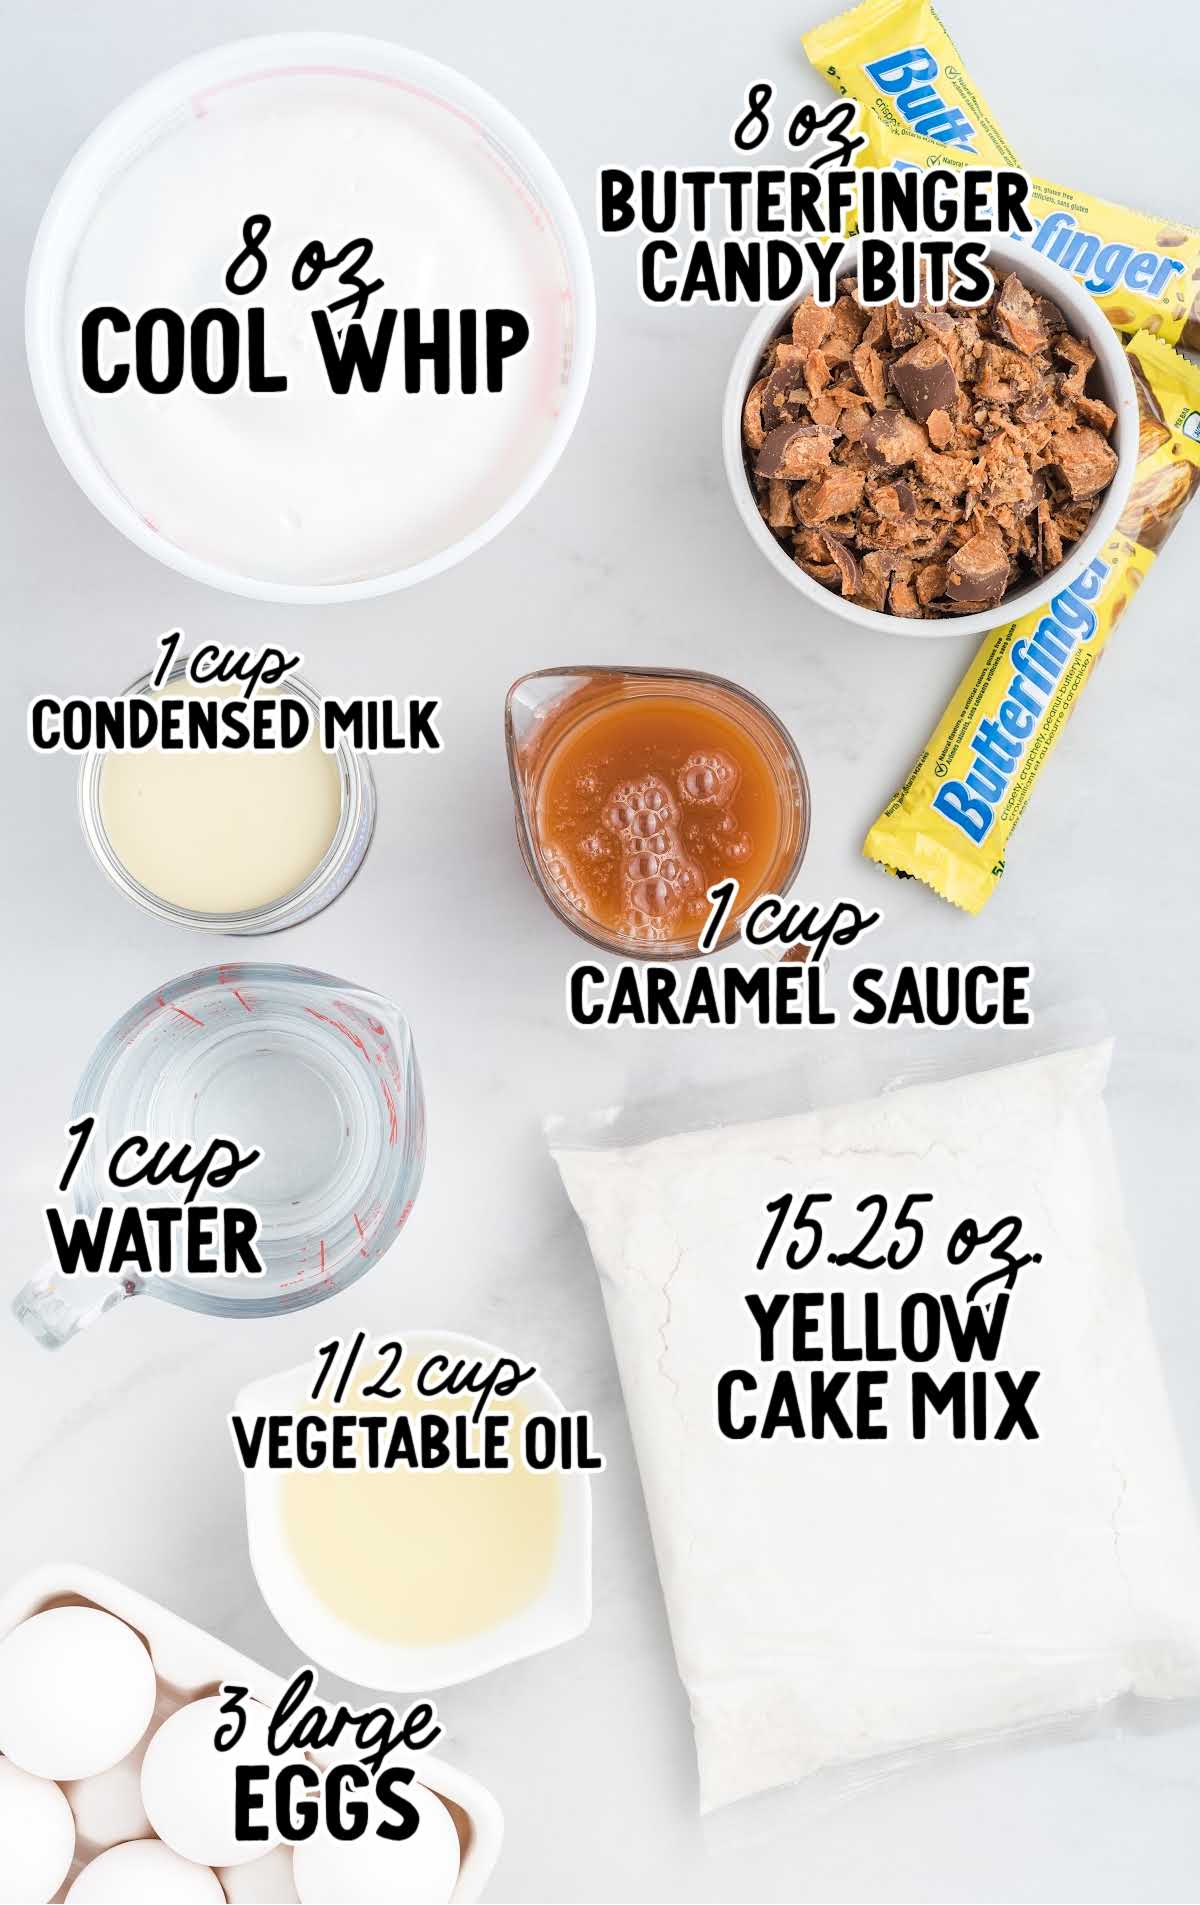
You’ll need:
- 1 cup of sweetened condensed milk
- 1 cup of jarred caramel sauce
- 1 (15.25-ounce box) of supermoist yellow cake mix
- Ingredients listed on the box mix ~ 1 cup room-temperature water, ½ cup vegetable oil & 3 large eggs (adjust the ingredients according to your brand)
- 1½ cups (8-ounce bag) of Butterfinger candy bits, divided into ½ cup and 1 cup
- 8-ounce container of Cool Whip topping, thawed
PRO TIP:
If you can not find the bag of Butterfinger bits in the baking aisle of your grocery store, you can use 4-5 large Butterfinger candy bars and place them into a zip-top bag and crush them yourself.
Substitutions And Additions
CAKE: Instead of a yellow cake mix, you could also make this with chocolate cake for an even richer flavor.
ADD-INS: You could also mix ½ cup of melted creamy peanut butter with the sweetened condensed milk and caramel sauce.
How To Make This Butterfinger Cake Recipe
STEP ONE: Preheat the oven to 350°F. Lightly spray a 9×13-inch glass baking dish with baker’s spray (like Baker’s Joy brand). Set aside.
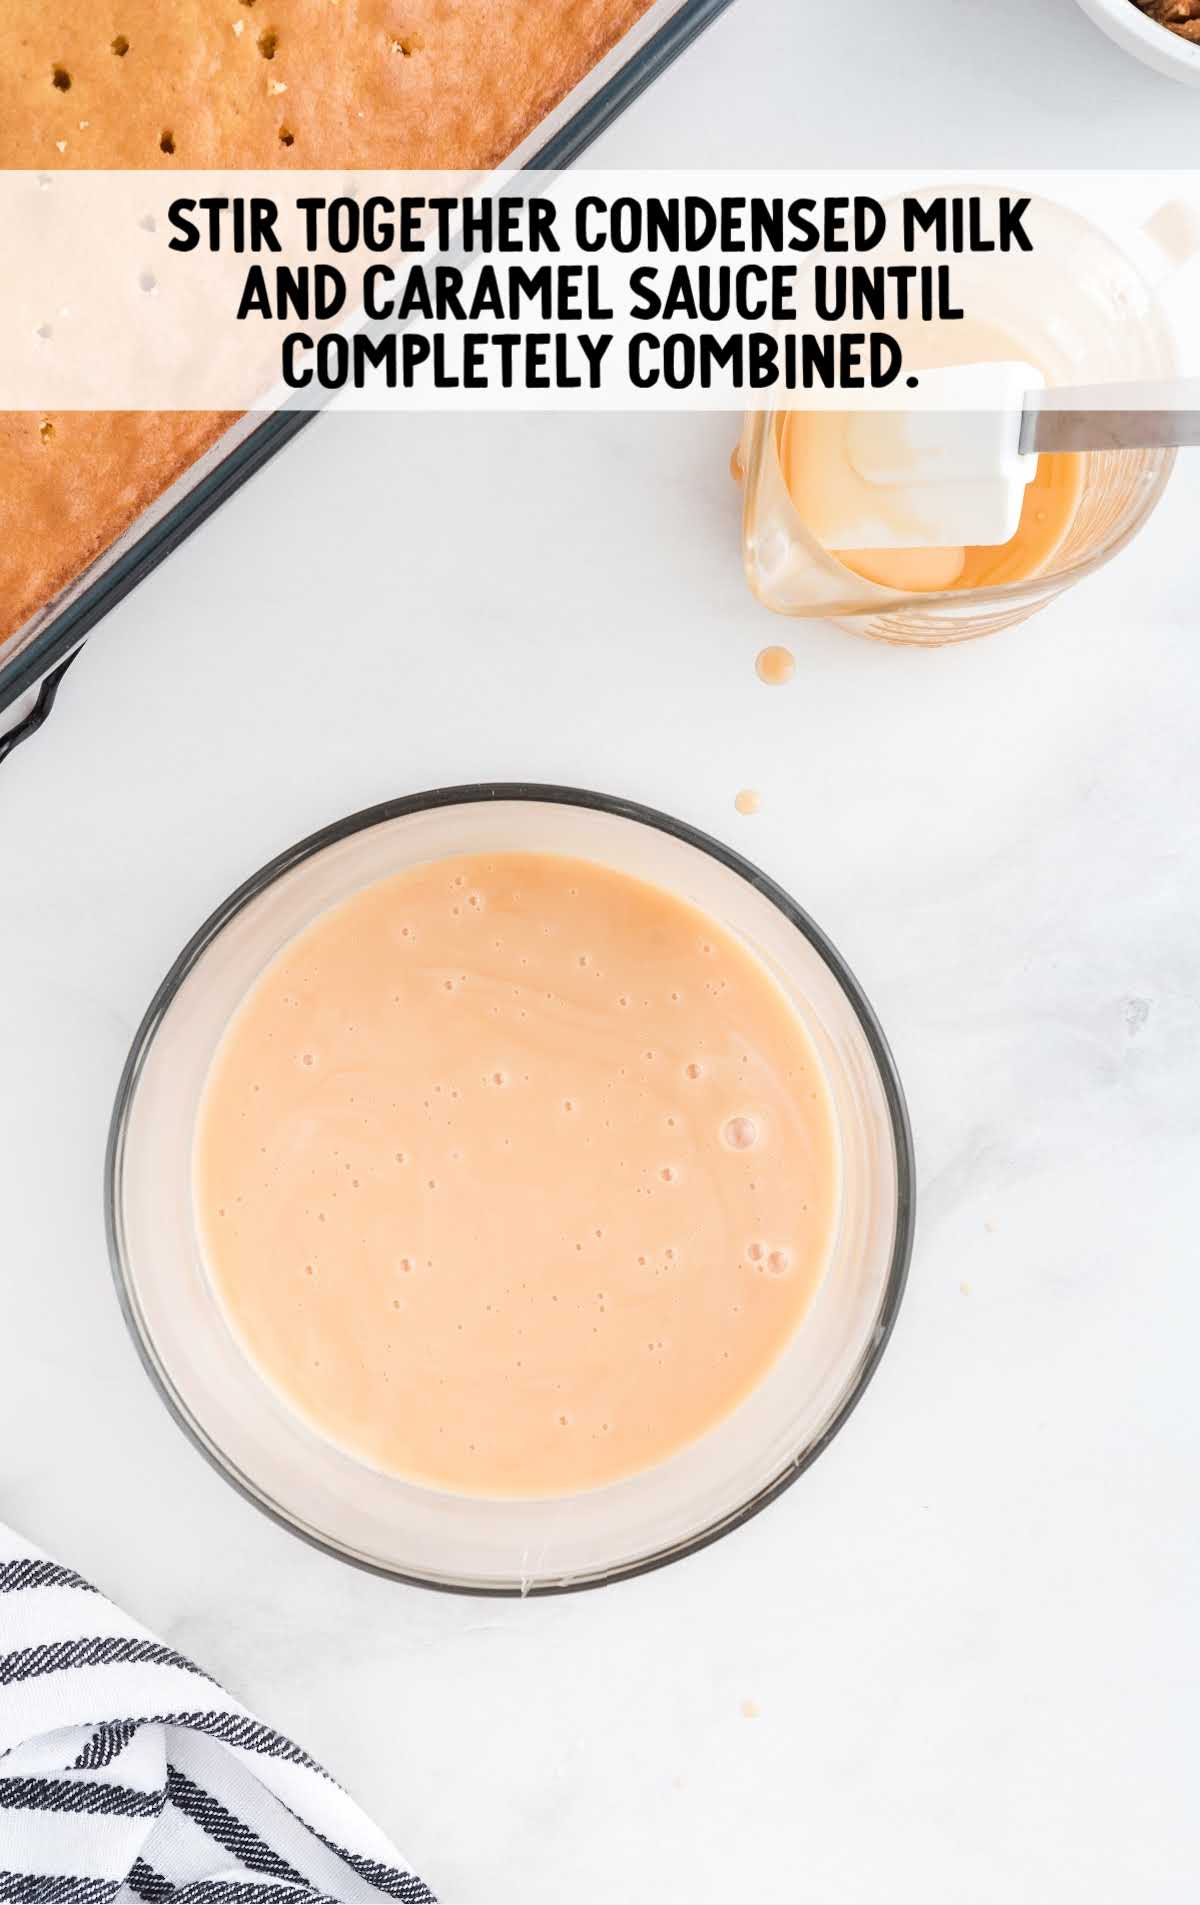
STEP TWO: In a medium-sized bowl with a pour spout (a large glass measuring cup works great), stir together the sweetened condensed milk and jarred caramel sauce until completely combined. Set caramel mixture aside.
STEP THREE: In a large mixing bowl, whisk together the ingredients for the box cake mix for 1 to 2 minutes or just until completely combined and no lumps remain.
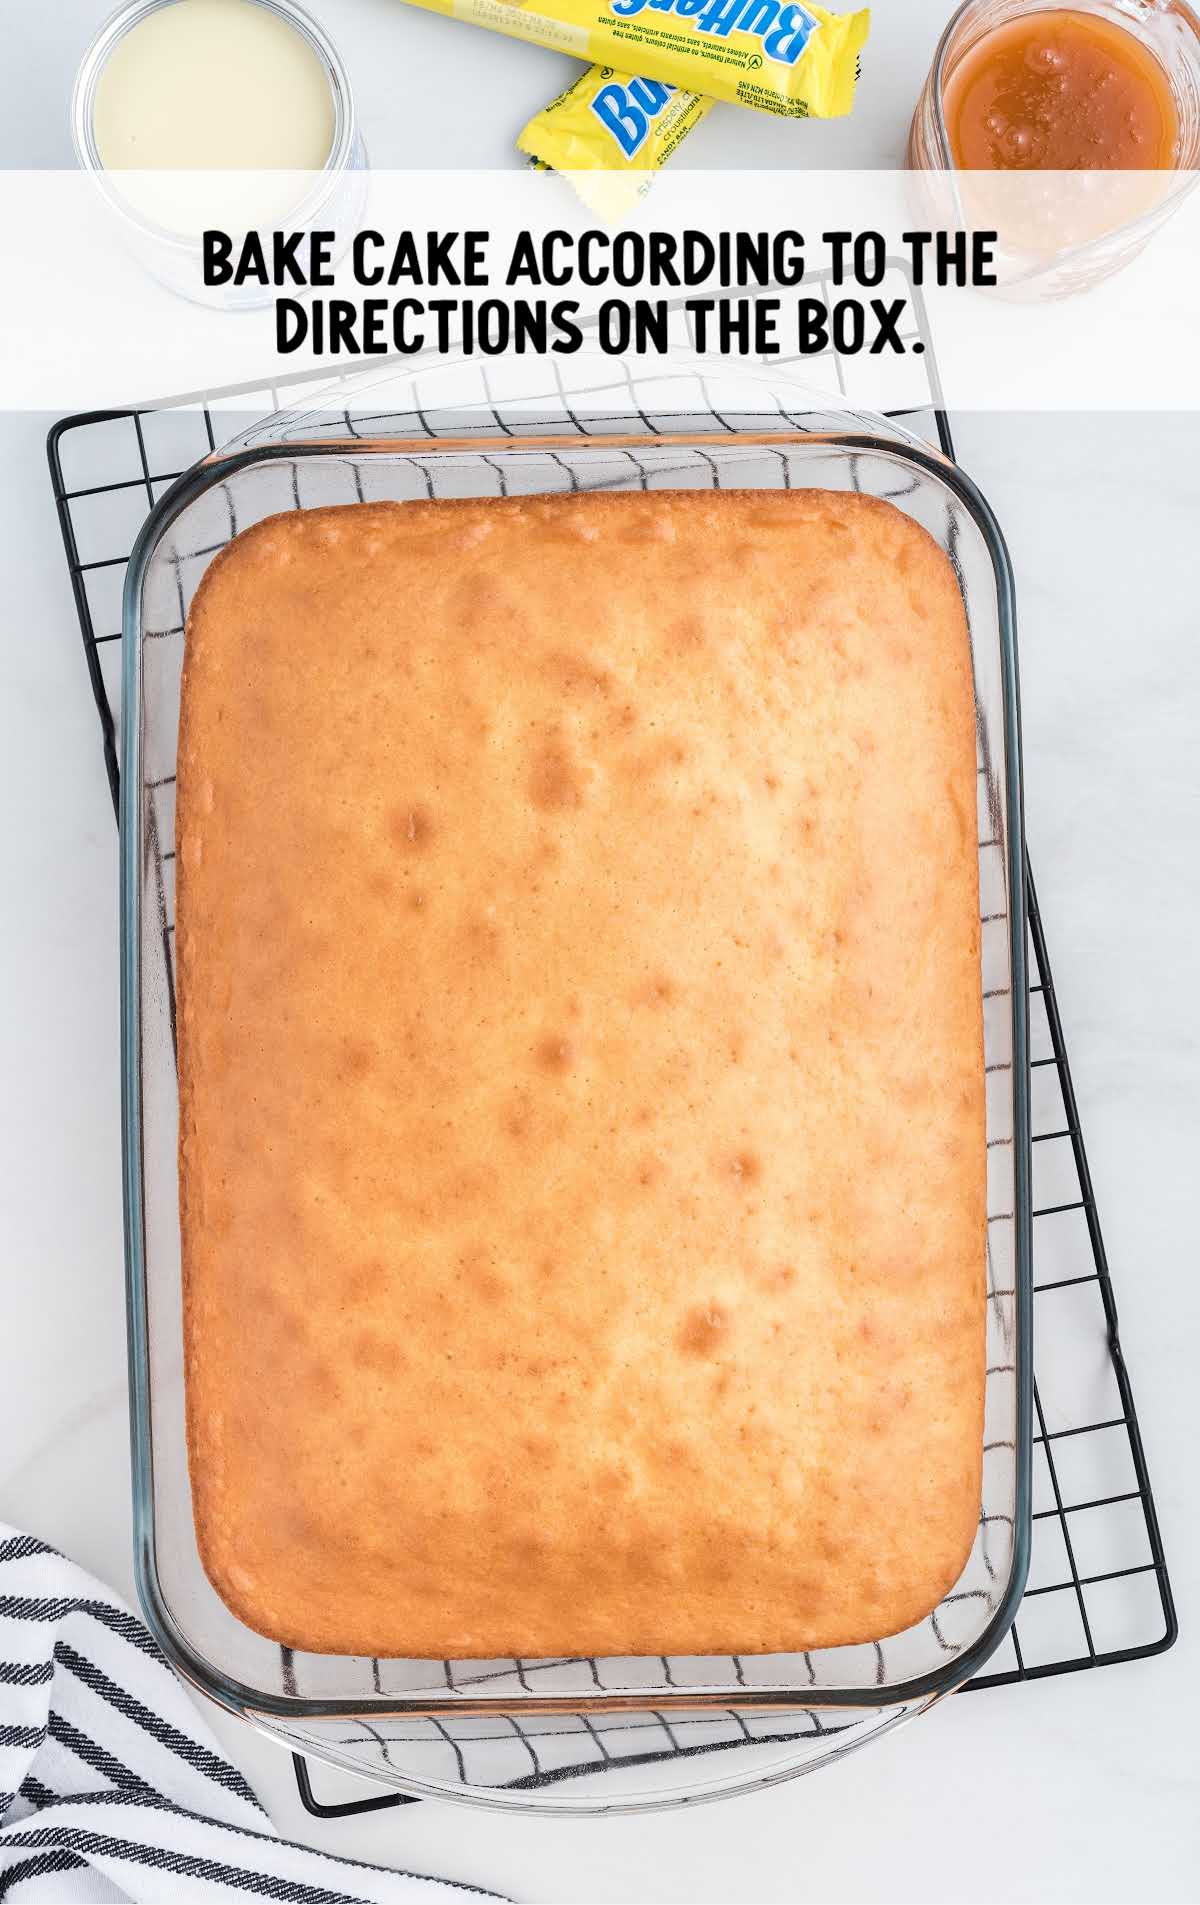
STEP FOUR: Bake cake for 28 to 30 minutes or until lightly golden and a toothpick, inserted into the center of the cake, comes out clean.
PRO TIP:
Oven temperatures vary and may need to be recalibrated periodically to ensure they are accurate. Make sure to check your cake at the lower end of the recommended baking time.
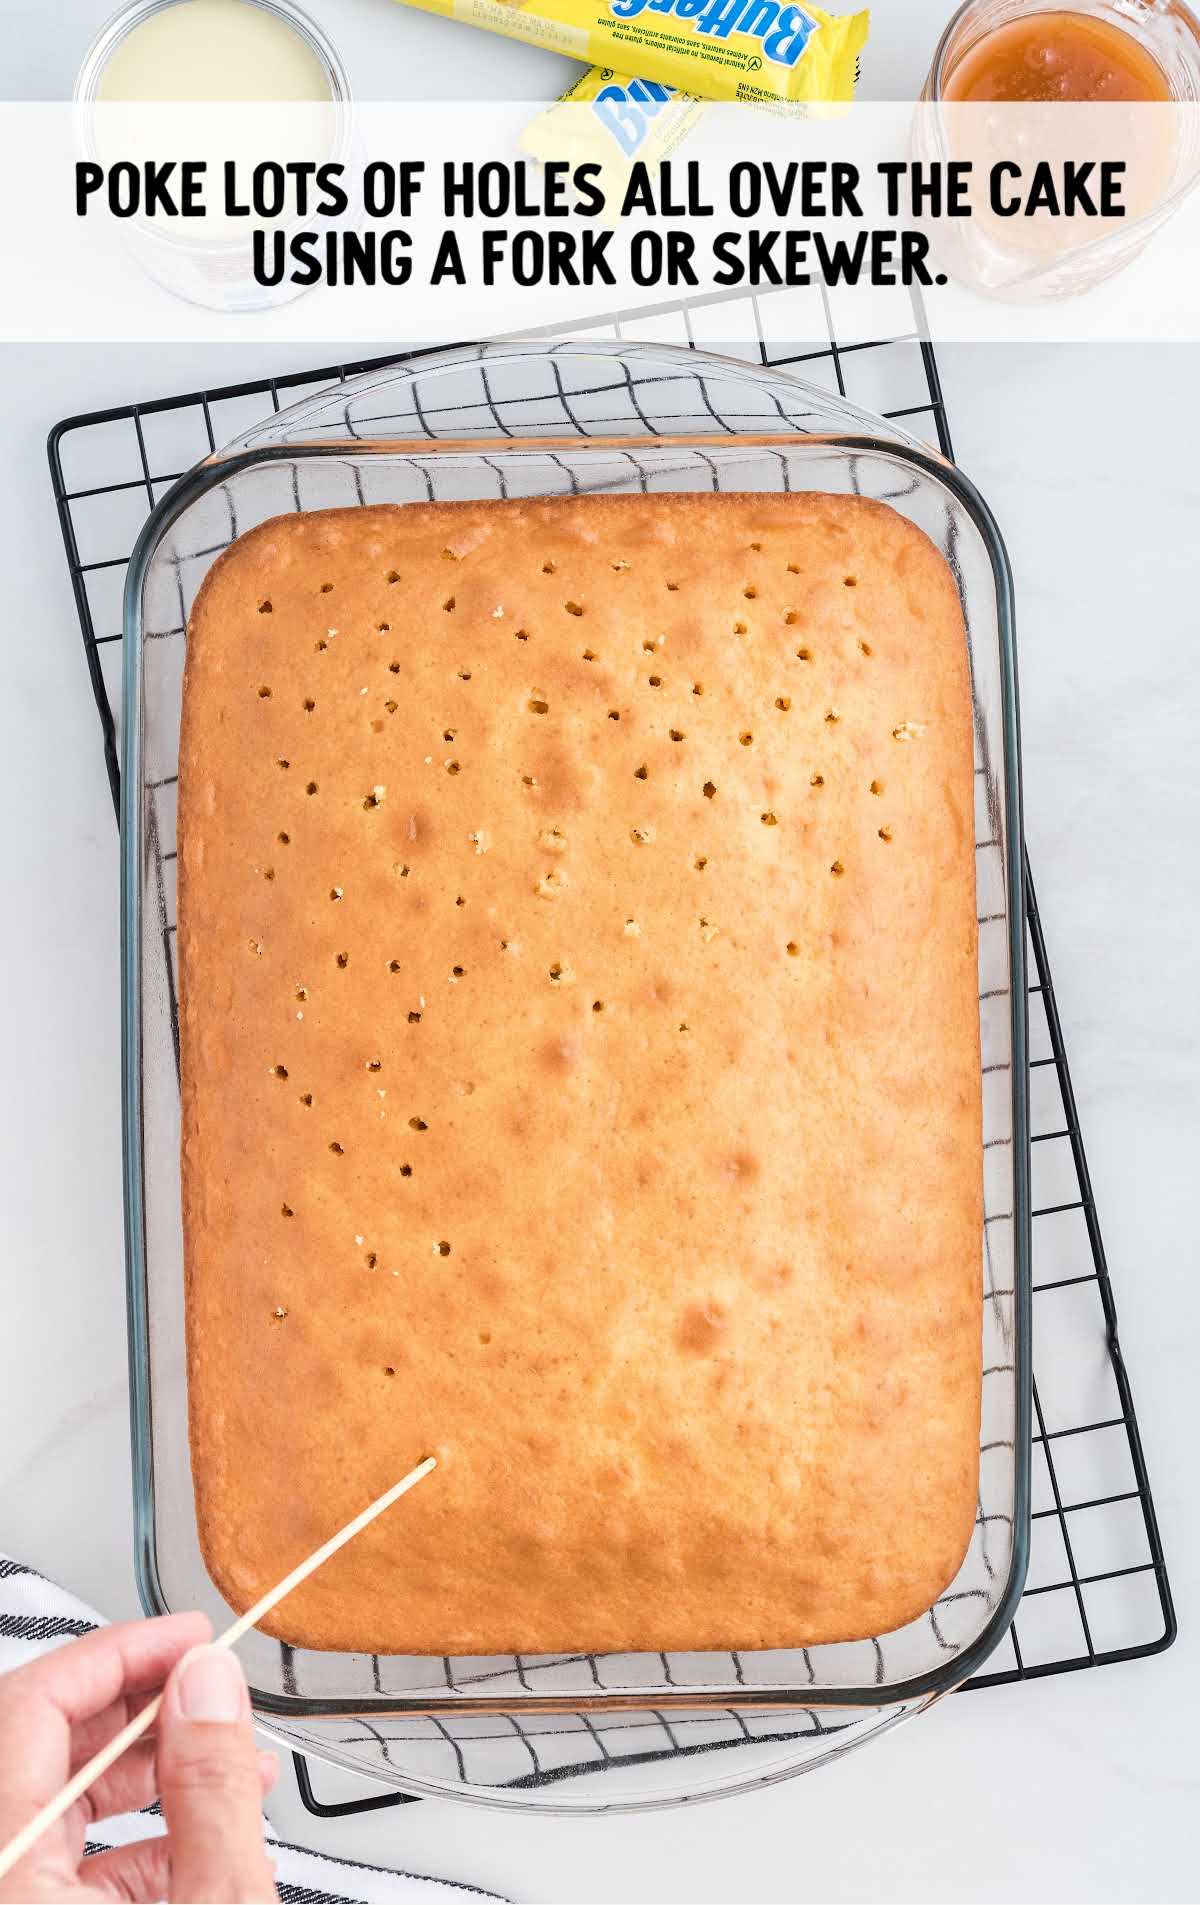
STEP FIVE: When the cake comes out of the oven, using a fork or wooden skewer, poke lots of holes all over the entire cake.
PRO TIP:
It’s best to make the holes in the cake while it is still slightly warm because as it cools, the crust on top of the cake will crumble more easily.
STEP SIX: Slowly pour the caramel filling mixture evenly over the top of the warm cake.
Make sure to do this slowly so that your sauce gets evenly distributed into the warm cake and does not pool up in one area of your cake.
PRO TIP:
I used a fork to poke the holes instead of a skewer, and I poked more of them. When I poured the caramel mixture over the cake I made sure to pour it directly into the holes, waited for it to soak in, and then poured in more.

STEP SEVEN: Sprinkle ½ cup of the crushed Butterfinger candies evenly over the top of the cake. Allow your cake to cool on the counter for 1 hour.
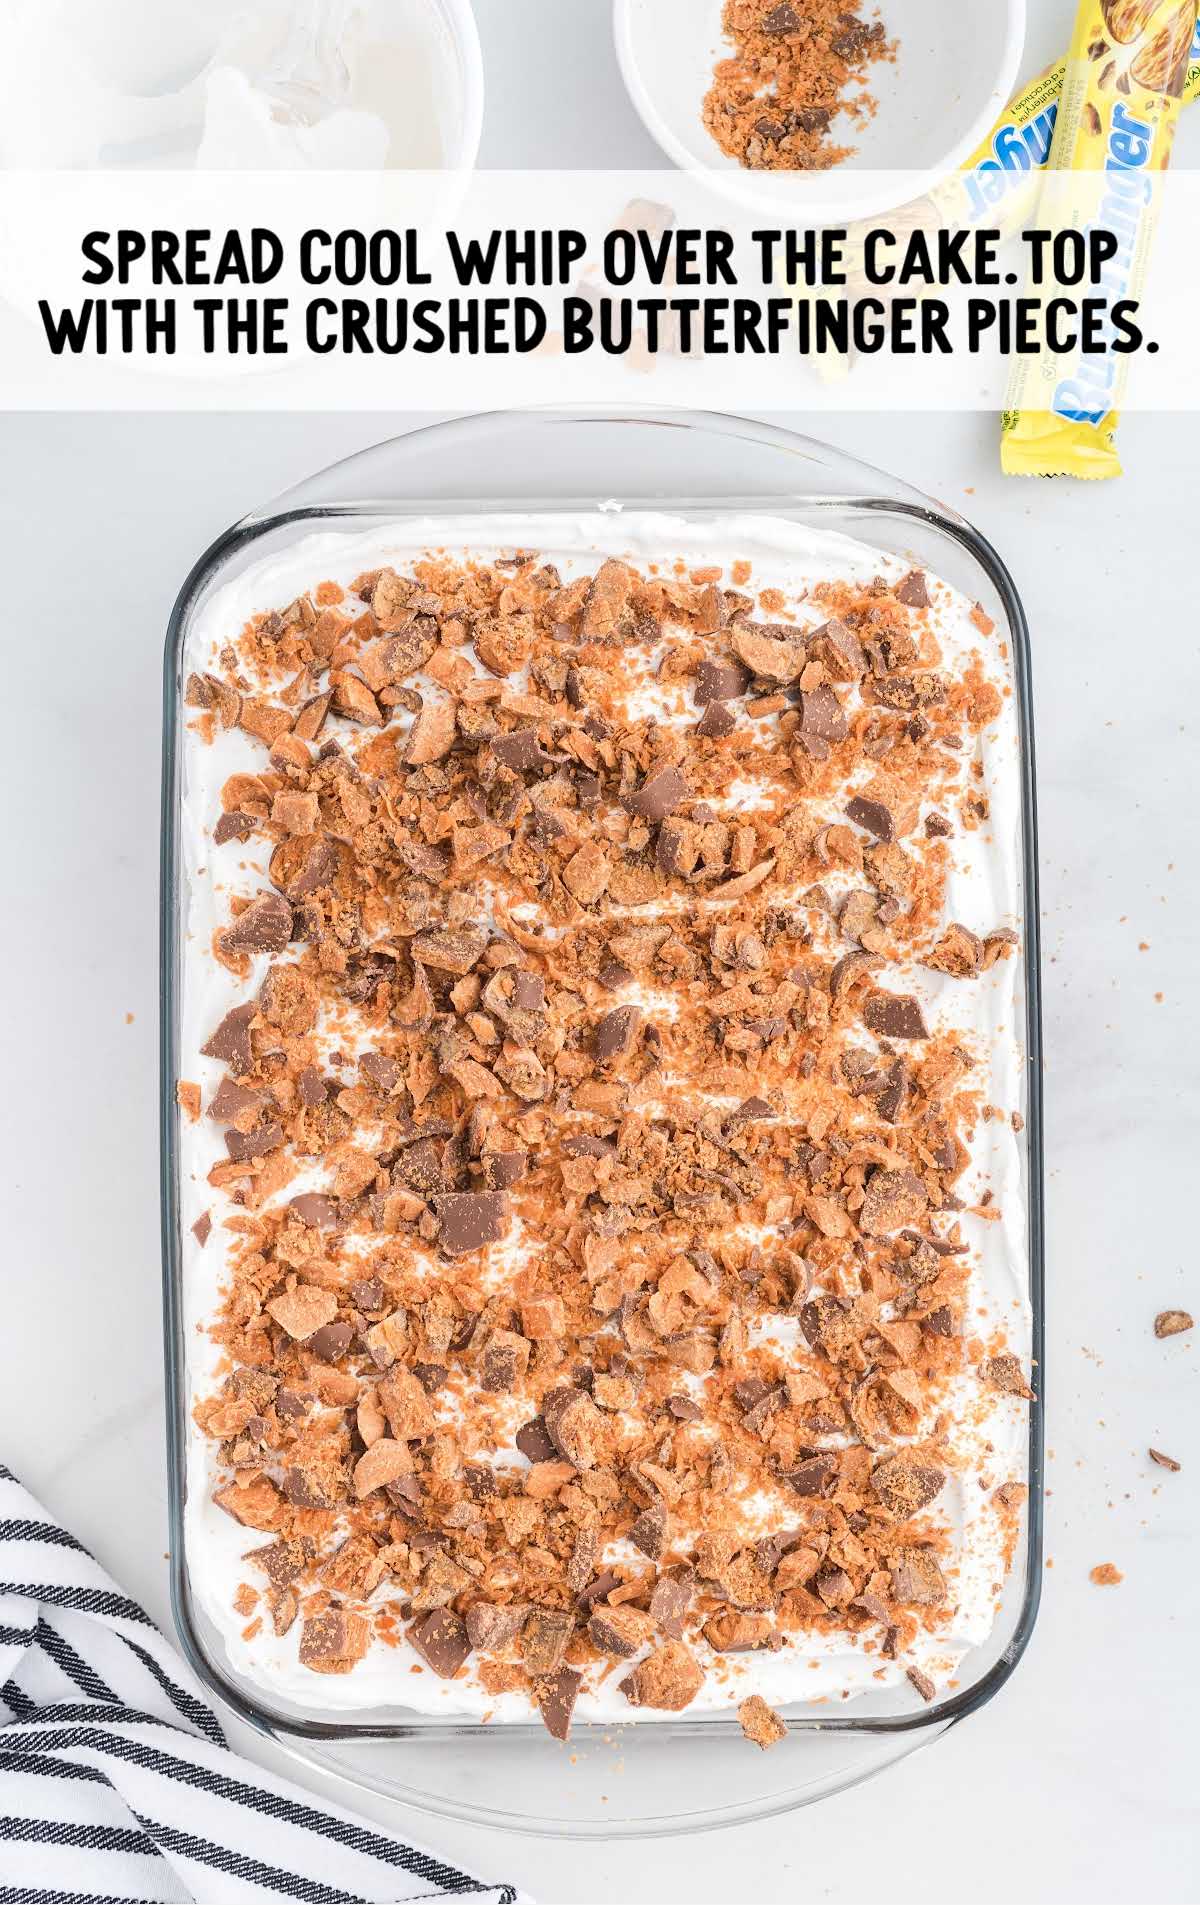
STEP EIGHT: Evenly spread the Cool Whip onto the cooled cake and top with the additional 1 cup crushed Butterfinger candy pieces.
STEP NINE: Refrigerate the Butterfinger cake for 1 to 2 hours, or up to overnight, before slicing and serving.
How To Serve
Serve your delicious dessert with a scoop of vanilla ice cream on the side and an extra scoop of whipped cream on top.
This decadent cake would also be delicious with a whipped hot chocolate on the side.
Be sure to try our better than sex cake and coconut poke cake for more easy poke cake recipes.
MORE POKE CAKE RECIPES
Storage
IN THE FRIDGE: This easy dessert can be stored covered with plastic wrap or in an airtight container in the refrigerator for up to 3 days.
IN THE FREEZER: This easy recipe freezes well and will keep in the freezer for up to 3 months. Wrap the cake tightly with plastic wrap before freezing.

This Butterfinger poke cake recipe is perfect for after a weeknight dinner, a holiday party, family reunions, or to share at a potluck (try this recipe for Turtle poke cake, too!). You’ll love the moist cake, sweet caramel, and creamy Cool Whip topped with crushed Butterfingers.
Frequently Asked Questions
What is a poke cake?
It’s an easy cake that you poke holes into while it’s still hot after baking. The holes are then filled with a liquid or filling — like condensed milk, pureed fruit, chocolate cream, or pudding. It makes a moist and delicious cake.
What do you use to poke holes in poke cake?
A fork, skewer, or the handle of a wooden spoon is the best size to poke large holes in the cake.
Could I use different types of cakes?
In place of the yellow cake mix, you could use white or chocolate cake. Just follow the directions on the box for baking time and additional ingredients.
More Recipes You’ll Love
- Hawaiian Wedding Cake
- Chocolate Pudding Cake
- Lemon Poke Cake
- Texas Sheet Cake
- Banana Pudding Cake
- Butter Cake
- Turtle Cookies
- Watermelon Cake
- Chocolate Poke Cake
- Strawberry Poke Cake
- Cinnamon Roll Poke Cake
- Peanut Butter Fluff
- Eggnog Poke Cake
- Pineapple Poke Cake
- Strawberry Crunch Poke Cake
- Old Fashioned Peanut Butter Fudge
- Banana Upside Down Cake
- Strawberry Cheesecake Poke Cake
- Lemon Blueberry Pound Cake
- 7Up Cake
- Fireball Poke Cake


Butterfinger Cake
This Butterfinger cake features a moist cake is topped with caramel sauce, Cool Whip, and crushed Butterfinger candy bars.
Prep Time 10 minutes
Cook Time 30 minutes
Total Time 1 hour 40 minutes
Servings 12
Ingredients
- 1 cup sweetened condensed milk
- 1 cup jarred caramel sauce
- 15.25 ounces yellow cake mix (and ingredients listed on the box to make the cake)
- 1½ cups Butterfinger candy bits, divided into ½ cup and 1 cup
- 8 ounces container Cool Whip
Instructions
- Preheat the oven to 350°F. Lightly spray a 9×13-inch glass baking dish with baker's spray (like Baker’s Joy brand). Set aside.
- In a medium-sized bowl with a pour spout (a large glass measuring cup works great), stir together the sweetened condensed milk and jarred caramel sauce until completely combined. Set the caramel mixture aside.
- In a large mixing bowl, whisk together the ingredients for the box cake mix for 1 to 2 minutes or just until completely combined and no lumps remain.
- Bake the cake for 28 to 30 minutes or until lightly golden and a toothpick, inserted into the center of the cake, comes out clean.
- When the cake comes out of the oven, using a fork or wooden skewer, poke lots of holes all over the entire cake. Slowly pour the caramel filling mixture evenly over the top of the warm cake. Make sure to do this slowly so that your sauce gets evenly distributed into the warm cake and does not pool up in one area of your cake.
- Sprinkle ½ cup of the crushed Butterfinger candies evenly over the top of the cake. Allow your cake to cool on the counter for 1 hour.
- Evenly spread the Cool Whip onto the cooled cake and top with the additional 1 cup of crushed Butterfinger candy pieces.
- Refrigerate the Butterfinger cake for 1 to 2 hours, up to overnight, before slicing and serving.
Notes
- If you can not find the bag of Butterfinger bits in the baking aisle of your grocery store, you can use 4 to 5 large Butterfinger candy bars and place them into a zip-top bag and crush them yourself.
- Oven temperatures vary and may need to be recalibrated periodically to ensure they are accurate. Make sure to check your cake at the lower end of the recommended baking time.
- It’s best to make the holes in the cake while it is still slightly warm because as it cools, the crust on top of the cake will crumble more easily.
- I used a fork to poke the holes instead of a skewer, and I poked more of them. When I poured the caramel mixture over the cake, I made sure to pour it directly into the holes, waited for it to soak in, and then poured in more.
Nutrition
Calories: 258kcal | Carbohydrates: 47g | Protein: 4g | Fat: 7g | Saturated Fat: 4g | Polyunsaturated Fat: 1g | Monounsaturated Fat: 2g | Trans Fat: 1g | Cholesterol: 12mg | Sodium: 162mg | Potassium: 179mg | Fiber: 1g | Sugar: 27g | Vitamin A: 118IU | Vitamin C: 1mg | Calcium: 111mg | Iron: 1mg
Have You Tried This Recipe?Follow me on Pinterest @spaceshipslb


Comments
Gloria says
I’m obsessed with this cake, it’s delicious and easy to make!
Rebecca Huston says
Filled the recipe exactly and it was so moist and tasted fantastic! Everyone loved it!!
Laura says
Best cake Ever.
Family favorite!