
I’ve made enough Mexican casseroles to know what goes wrong. You cut into it and the layers slide sideways. The filling has lost its sauce somewhere in the bake, and you’re standing there with a spatula, wondering what went wrong.
This one fixes that.
I stopped treating the salsa like a topping and started using it as part of the structure. It goes in two places.
Half into the meat mixture. Half under the first tortilla layer.
That’s what changes everything.
The tortillas absorb from below and above at the same time. The casserole stays saucy all the way through instead of drying out in the middle.
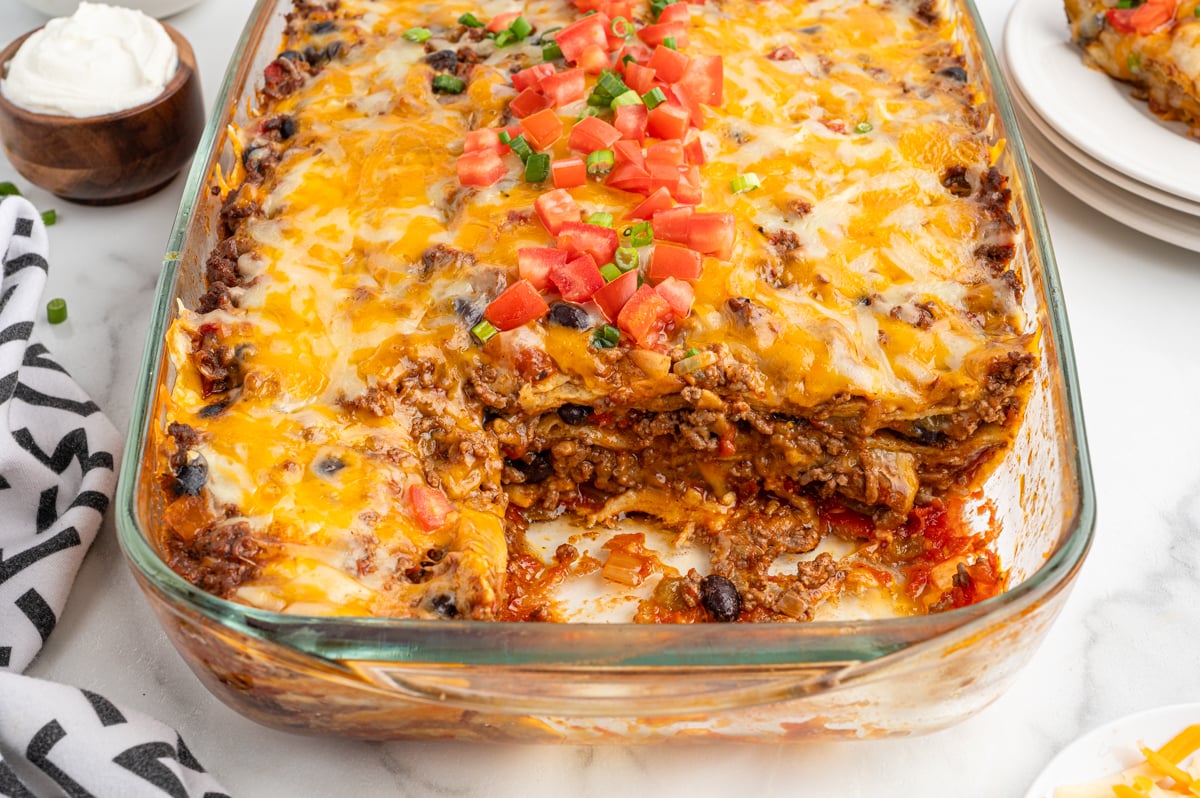
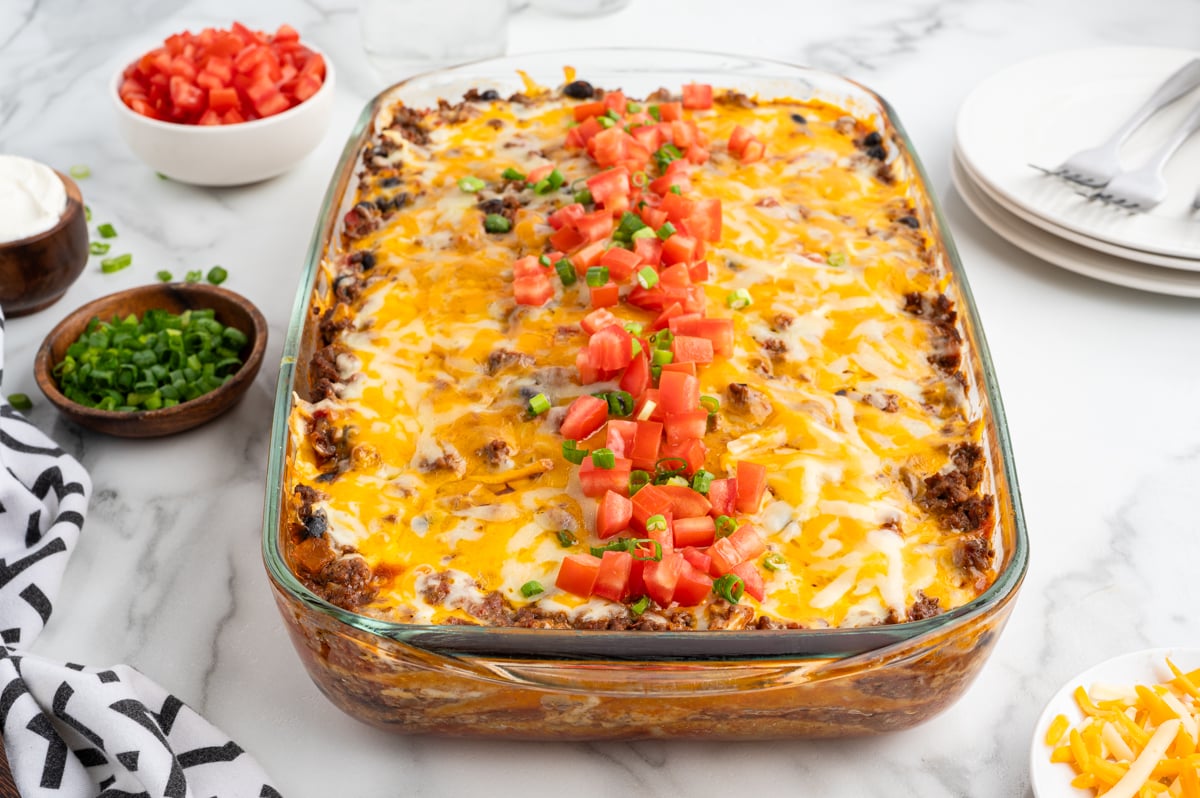
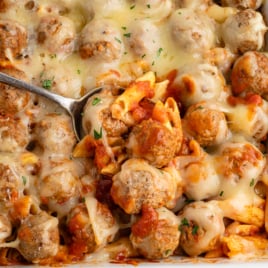
This is a baked, layered casserole. Two pounds of ground beef seasoned with taco spices, black beans, Rotel, and salsa, stacked three layers deep between yellow corn tortillas and freshly shredded colby jack, then baked covered in a 9×13. It serves 12.
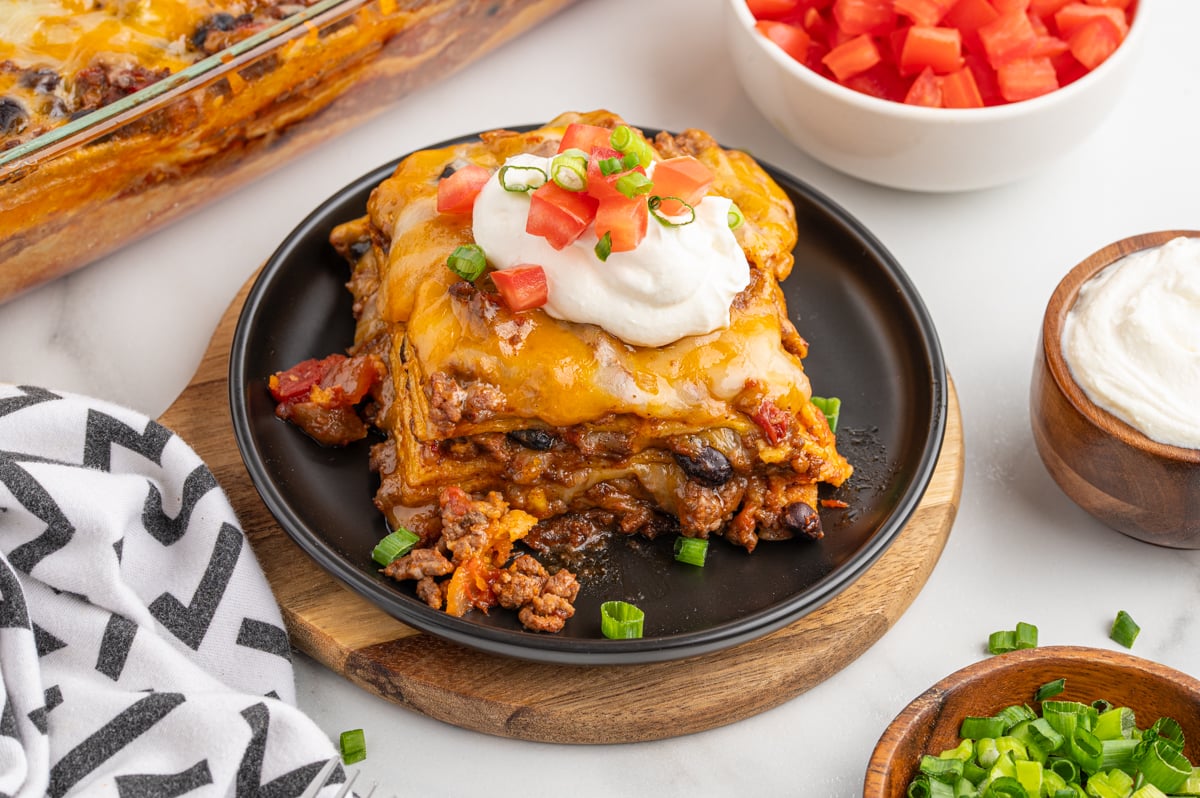
You can lift a piece out and it holds.
This is not a rice casserole, a chip-based bake, or rolled enchiladas. If that’s what you came for, I have those. My Mexican beef and rice casserole builds the same flavors differently. My ground beef enchiladas are the right choice if that’s what you’re after.
What Goes Into This
A few parts of this recipe make or break the result. Here’s what matters.
- Yellow corn tortillas only. I’ve tried this with flour and the layers dissolved before the casserole even finished resting. Flour absorbs too fast, goes soft in the bake, and by the time you cut you’re scooping not slicing. Corn tortillas hold their shape, absorb at the right pace, and give you a clean cut.
- Lean ground beef, and drain it after browning. I don’t skip the drain. If I do, the fat pools at the base and the bottom layer sits in grease instead of salsa.
- Rotel, not plain diced tomatoes. I’ve made this with plain tomatoes, and the middle layers taste flat no matter how well the meat is seasoned.
- Shred your own cheese. Six cups sounds like a lot. I had my recipe tester Karen make this. That was her first reaction too. She made it anyway and said it was exactly right. She could see and taste the cheese in every layer.
If you use pre-shredded cheese, you get a slightly greasy layer that sits on top of the filling rather than melting into it. When I shred colby jack fresh off the block, it disappears into the layers the way cheese should. Don’t reduce it.
One more thing before you cut into it. This is where most casseroles fall apart.
The Rest Step
Fifteen minutes. Don’t skip it.
The first time I made this I cut into it at five minutes because it smelled too good to wait. Everything shifted when I cut it. The liquid that hadn’t finished absorbing pooled on the plate. What should have been clean squares became a pile that tasted fine and looked like nothing.
The rest is when the tortillas finish absorbing. After 15 minutes you get clean squares, visible layers, and a casserole that holds together when you serve it.
Karen confirmed it. Hers sliced cleanly and held up on the plate. Set a timer. Walk out of the kitchen. Come back when it goes off.
It’s a step I think makes almost every one of my casserole dinners even better.

Frequently Asked Questions
Two options. I assemble the full casserole up to 24 hours in advance, cover it tightly, and refrigerate it unbaked. Add about 10 minutes to the covered bake time to account for it going in cold.
The other option: make the filling a day ahead, refrigerate it, then layer and bake when ready. That’s the better weeknight move if you want to break it into two steps.
Yes. Wrap the unbaked casserole in plastic wrap and then heavy duty foil and freeze for up to 3 months. Thaw overnight in the refrigerator before baking as directed. Add an extra 5 minutes to the covered bake to offset any excess water from thawing.
Individual portions reheat in the microwave in 1 to 1½ minutes. For a larger portion, cover with foil and put it in a 350 degree oven for 15 to 20 minutes.
As written this casserole has just a hint of heat. Use medium or hot Rotel or swap the mild salsa for something with more heat. Either one will make it noticeably spicier.
This casserole is a complete meal on its own — protein, starch, and cheese all in one pan. If you’re feeding a crowd and want something alongside it, Spanish rice is the natural choice. Chips and salsa on the table never hurts either.
Mexican Casserole
Ingredients
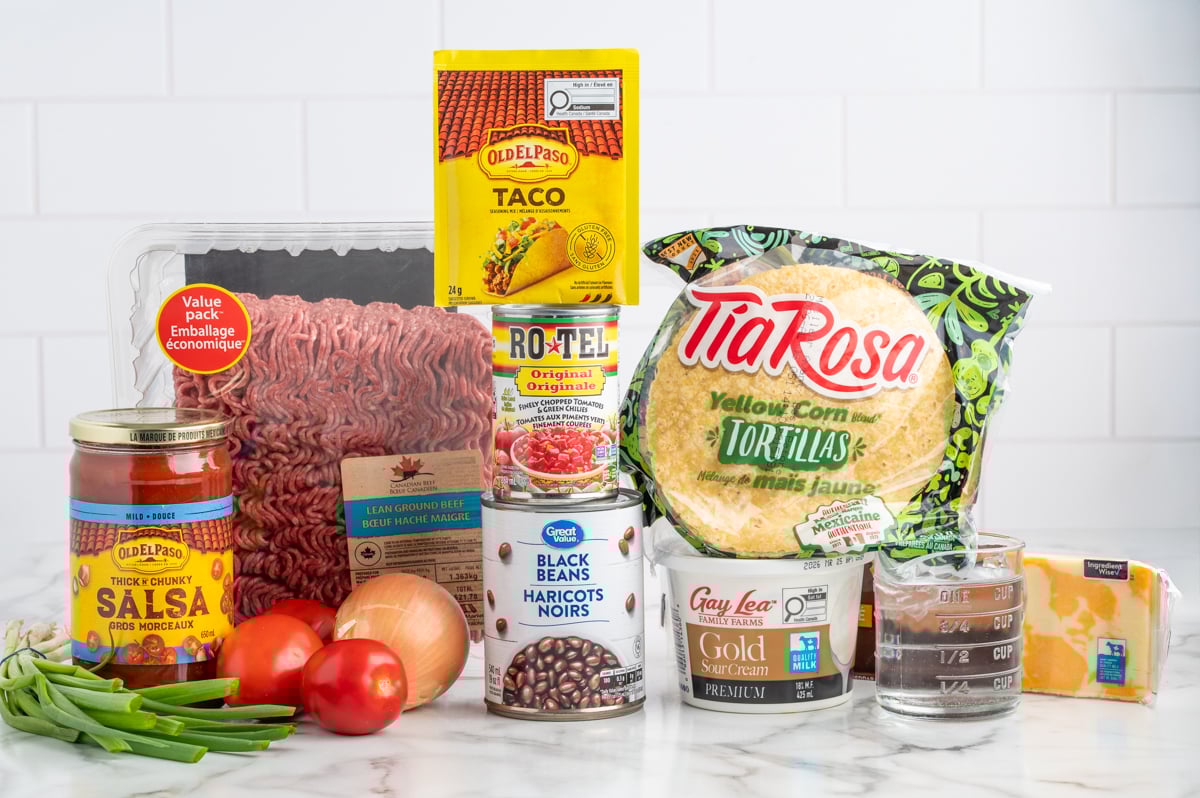
- 2 pounds lean ground beef
- 1 cup finely chopped yellow onion
- 1 cup water
- 2 ounces taco seasoning
- 20 ounces Rotel drained
- 15 ounces canned black beans drained and rinsed
- 16 ounces jar salsa I used mild
- 18 soft yellow corn tortillas
- 6 cups colby jack cheddar cheese freshly shredded
Optional Garnish
- 1 cup diced roma tomatoes,
- ½ cup thinly sliced green onions,
- Sour cream
Instructions
- Preheat the oven to 350°F.
- In a 5 to 6 quart saucepan over medium high heat, brown the ground beef and chopped onion, stirring often until no pink remains, about 5 to 6 minutes.
- Drain any excess oil.
- Add 1 cup water and both taco seasoning packets. Stir often and cook until the water is absorbed, about 3 to 4 minutes.
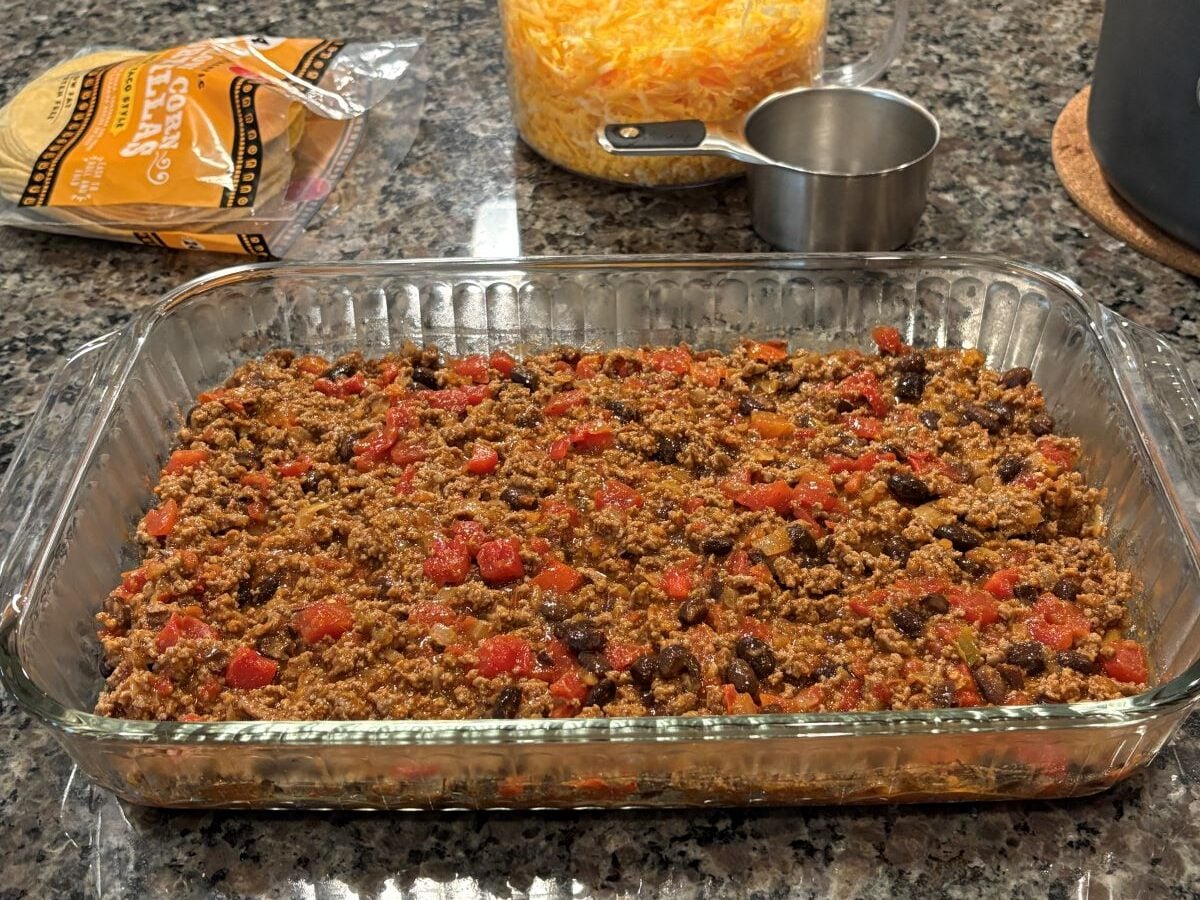
- Stir in the drained Rotel and black beans.
- Add half the jarred salsa. Heat until the mixture just begins to simmer then remove from heat.
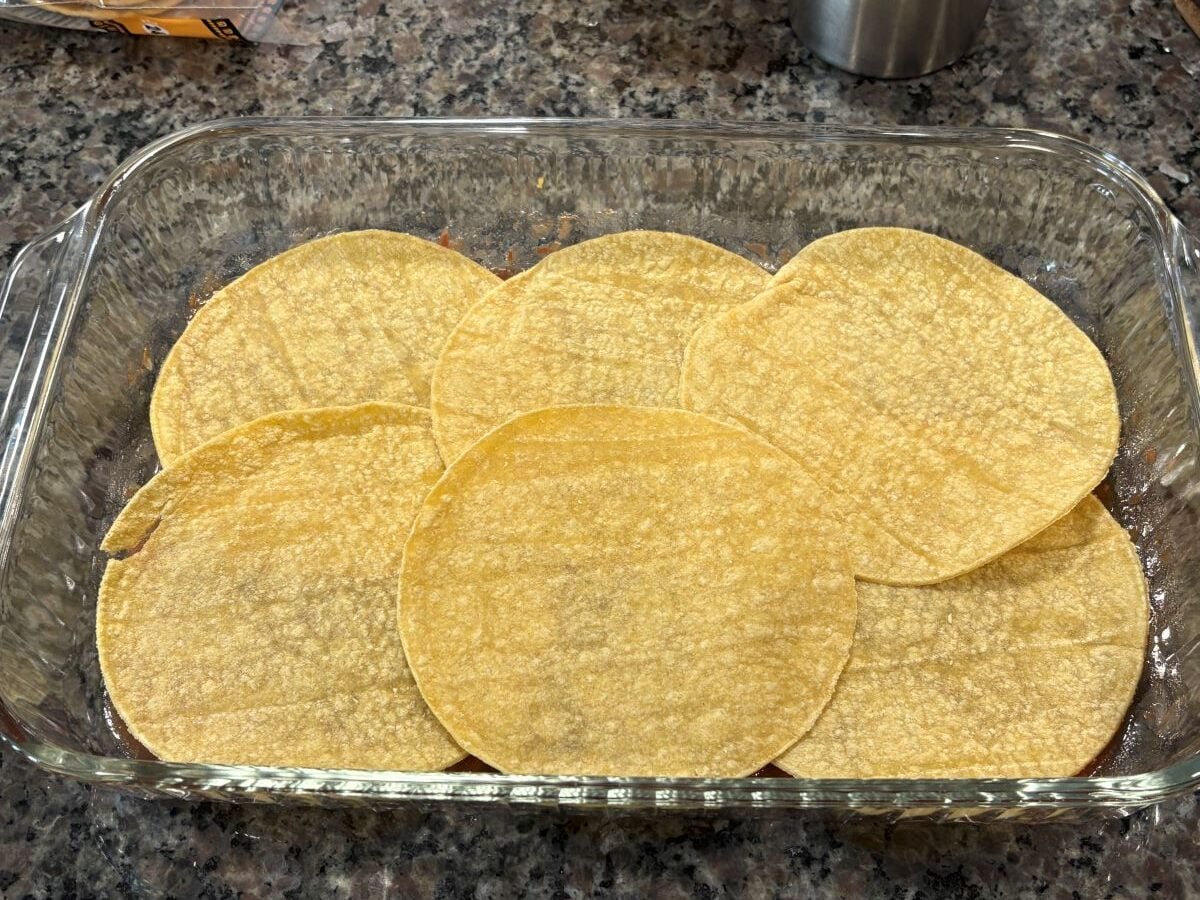
- Spread the remaining half of the salsa across the bottom of a 9×13 baking dish.
- Layer 6 corn tortillas over the salsa, overlapping slightly to cover the dish.
- Spread one third of the meat mixture evenly over the tortillas.
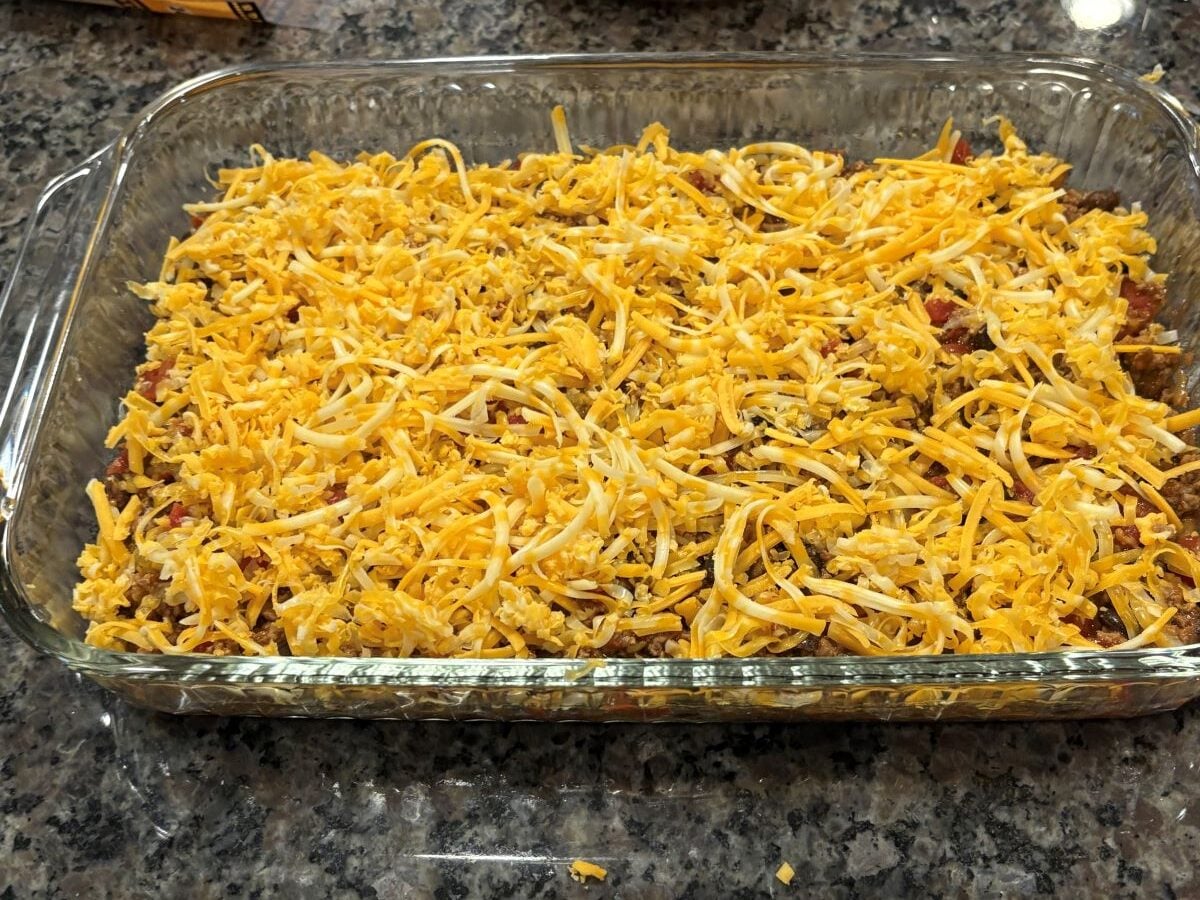
- Sprinkle 2 cups of freshly shredded colby jack cheese over the meat.
- Repeat the tortilla, meat, and cheese layers twice more for three layers total.
- Cover loosely with aluminum foil.
- Bake covered for 35 minutes.
- Uncover and bake for an additional 5 minutes if you want the cheese to brown.
- Remove from the oven and rest for 15 minutes before cutting. The tortillas need this time to absorb the sauce — cut early and the casserole will not hold together.
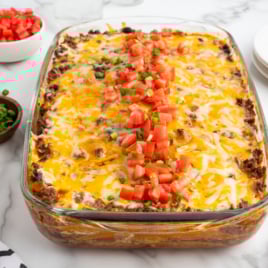
- Cut into 12 equal pieces.
- Serve hot. Garnish with diced tomatoes and sliced green onions. Dollop sour cream if desired.
Notes
- Pre-shredded cheese contains anti-caking agents that prevent a smooth melt. Shred from the block.
- Drain the beef after browning. Excess fat pools at the base and changes the texture of the bottom layer.
- The filling can be made a day ahead and refrigerated. Layer and bake when ready. Add a few extra minutes to the covered bake time.
Nutrition


Comments
Toni Thomason says
I love this!!! Perfect for busy weeknight dinners.