Bright and colorful, this Kool-Aid ice cream is a dreamy and refreshing treat when the weather heats up. You can make this fun recipe in a rainbow of colors using your favorite flavors of the tasty drink mix combined with rich and creamy milk.
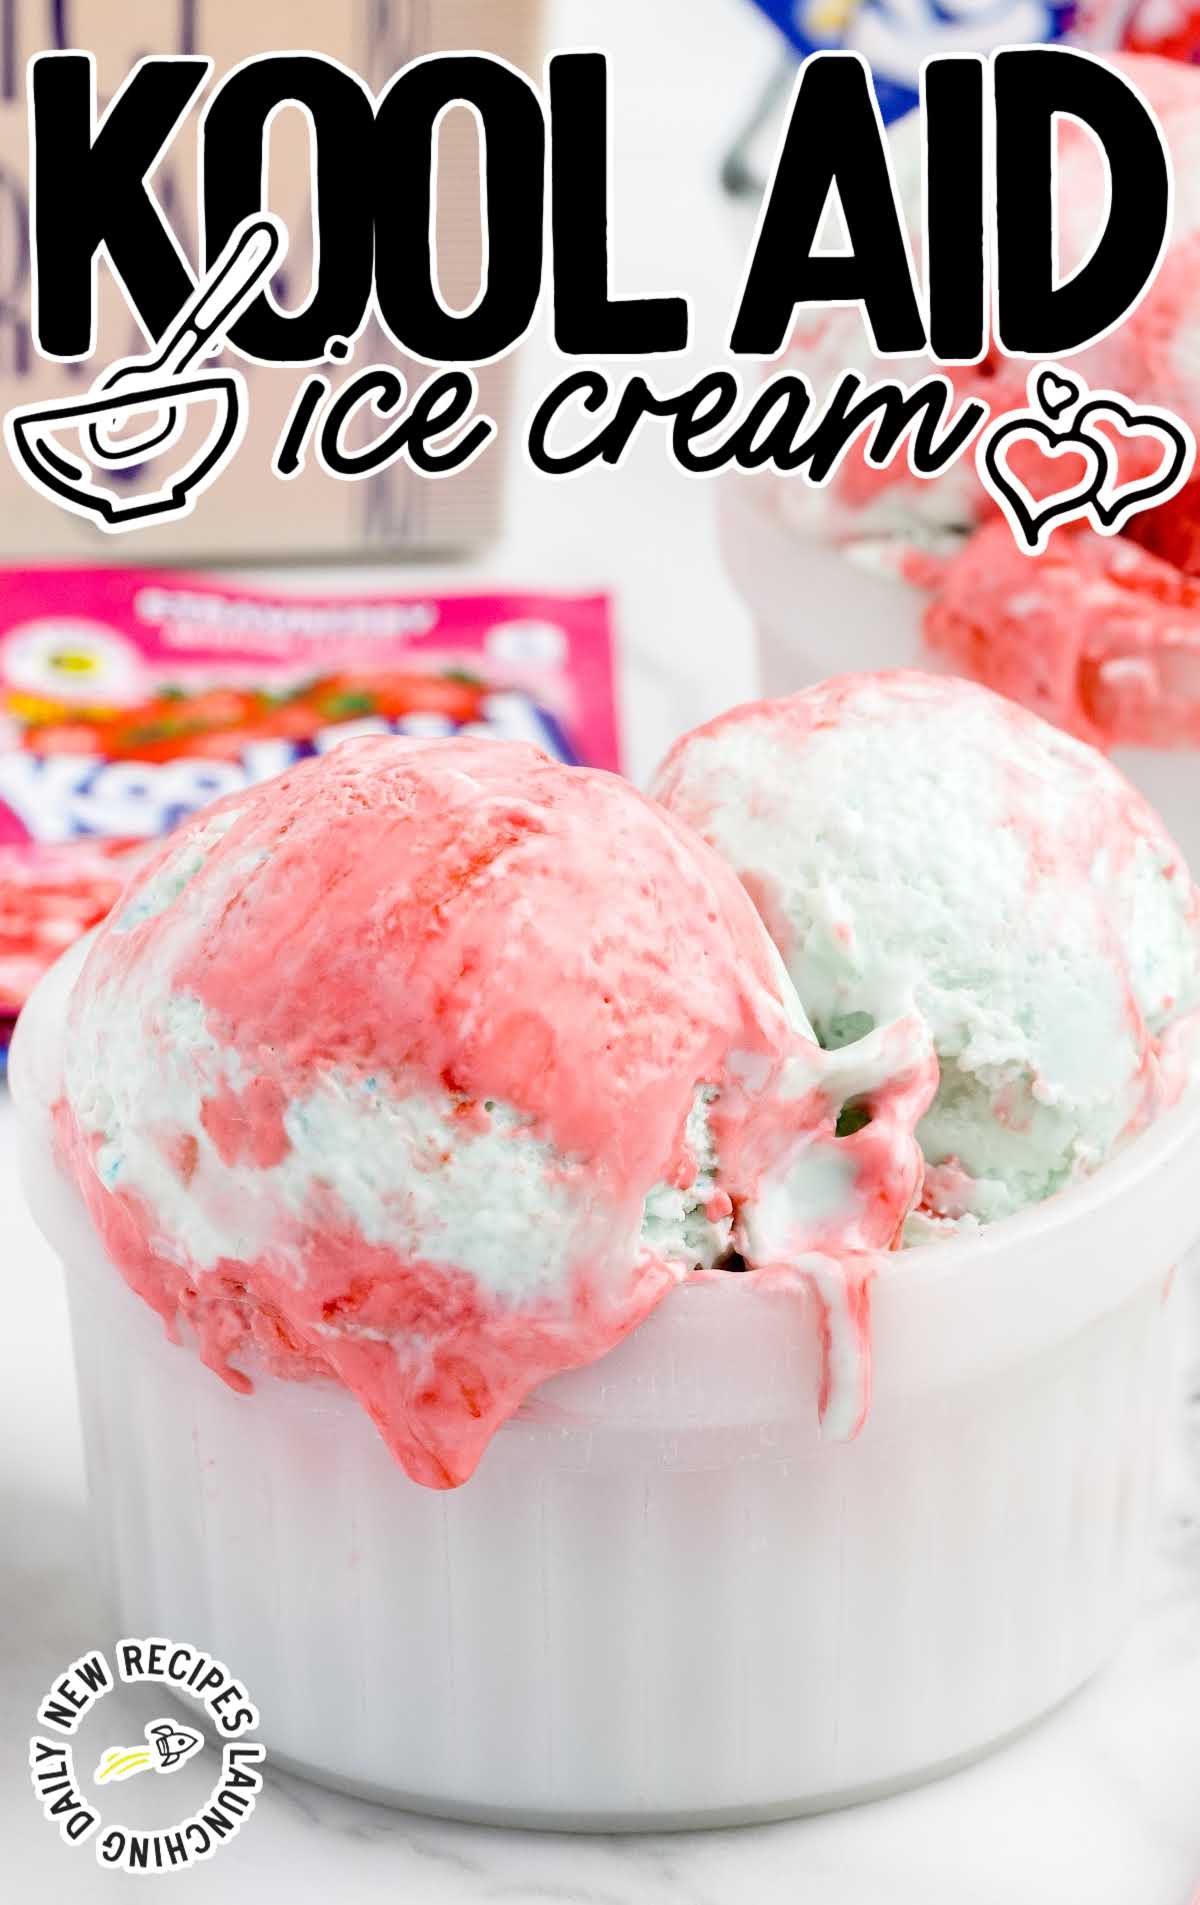
Kool-Aid Ice Cream Ingredients
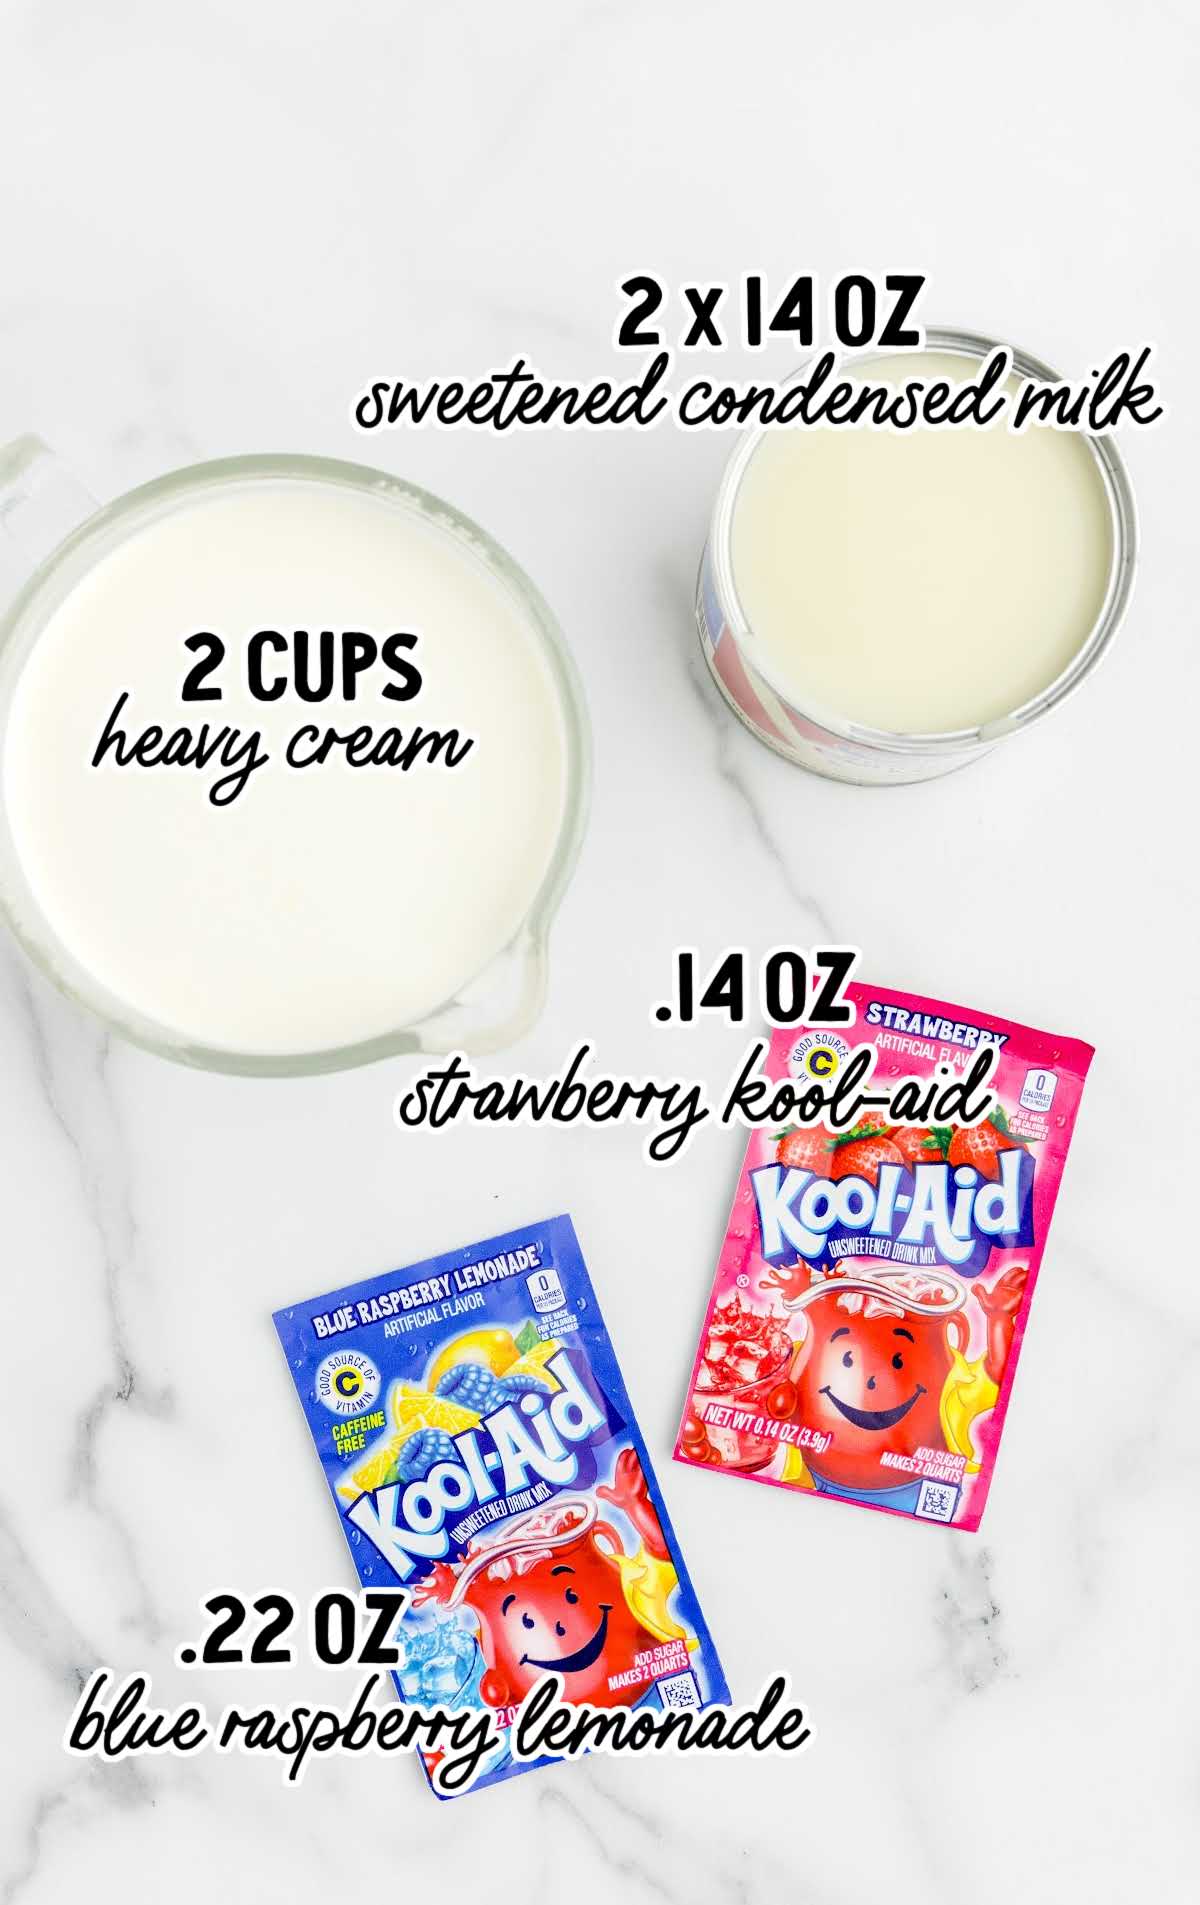
Indulge in this unique ice cream, which features a velvety base of cold heavy cream and sweetened condensed milk.
Tangy blue raspberry lemonade mix adds a lively contrast, while unsweetened strawberry Kool-Aid mix infuses a nostalgic fruity essence.
This ice cream offers a symphony of creamy, sweet, tangy, and fruity flavors in every delightful scoop.
You’ll need:
- 2 cups of cold heavy cream
- 2 (14-ounce) cans of sweetened condensed milk
- 1 (0.22-ounce) packet of unsweetened blue raspberry lemonade drink mix
- 1 (0.14-ounce) packet of unsweetened strawberry Kool-Aid drink mix
PRO TIP:
I was not able to find any plain blue raspberry Kool-Aid nor could I find mixed berry Kool-Aid for the blue layer. Because of this, I made the decision to add 2 cans of sweetened condensed milk instead of just 1 can due to the blue raspberry lemonade being tart.
Substitutions And Additions
KOOL-AID: You can substitute any Kool-Aid flavor for the blue raspberry lemonade and strawberry in this easy ice cream.
Lemon-lime, tropical punch, or cherry Kool-Aid are just a few of the variety of options for this fun treat.
SWEETENED CONDENSED MILK: For a dairy-free alternative in this easy recipe, you could also use coconut milk for your ice cream.
How To Make This Kool-Aid Ice Cream Recipe
It only takes four ingredients and a little bit of time in the freezer before you have this fun ice cream to enjoy.
OUR RECIPE DEVELOPER SAYS
If you are using a stand mixer with a metal bowl, you can place the bowl and wire whip attachment in the freezer for 30 minutes to 1 hour before making the ice cream.
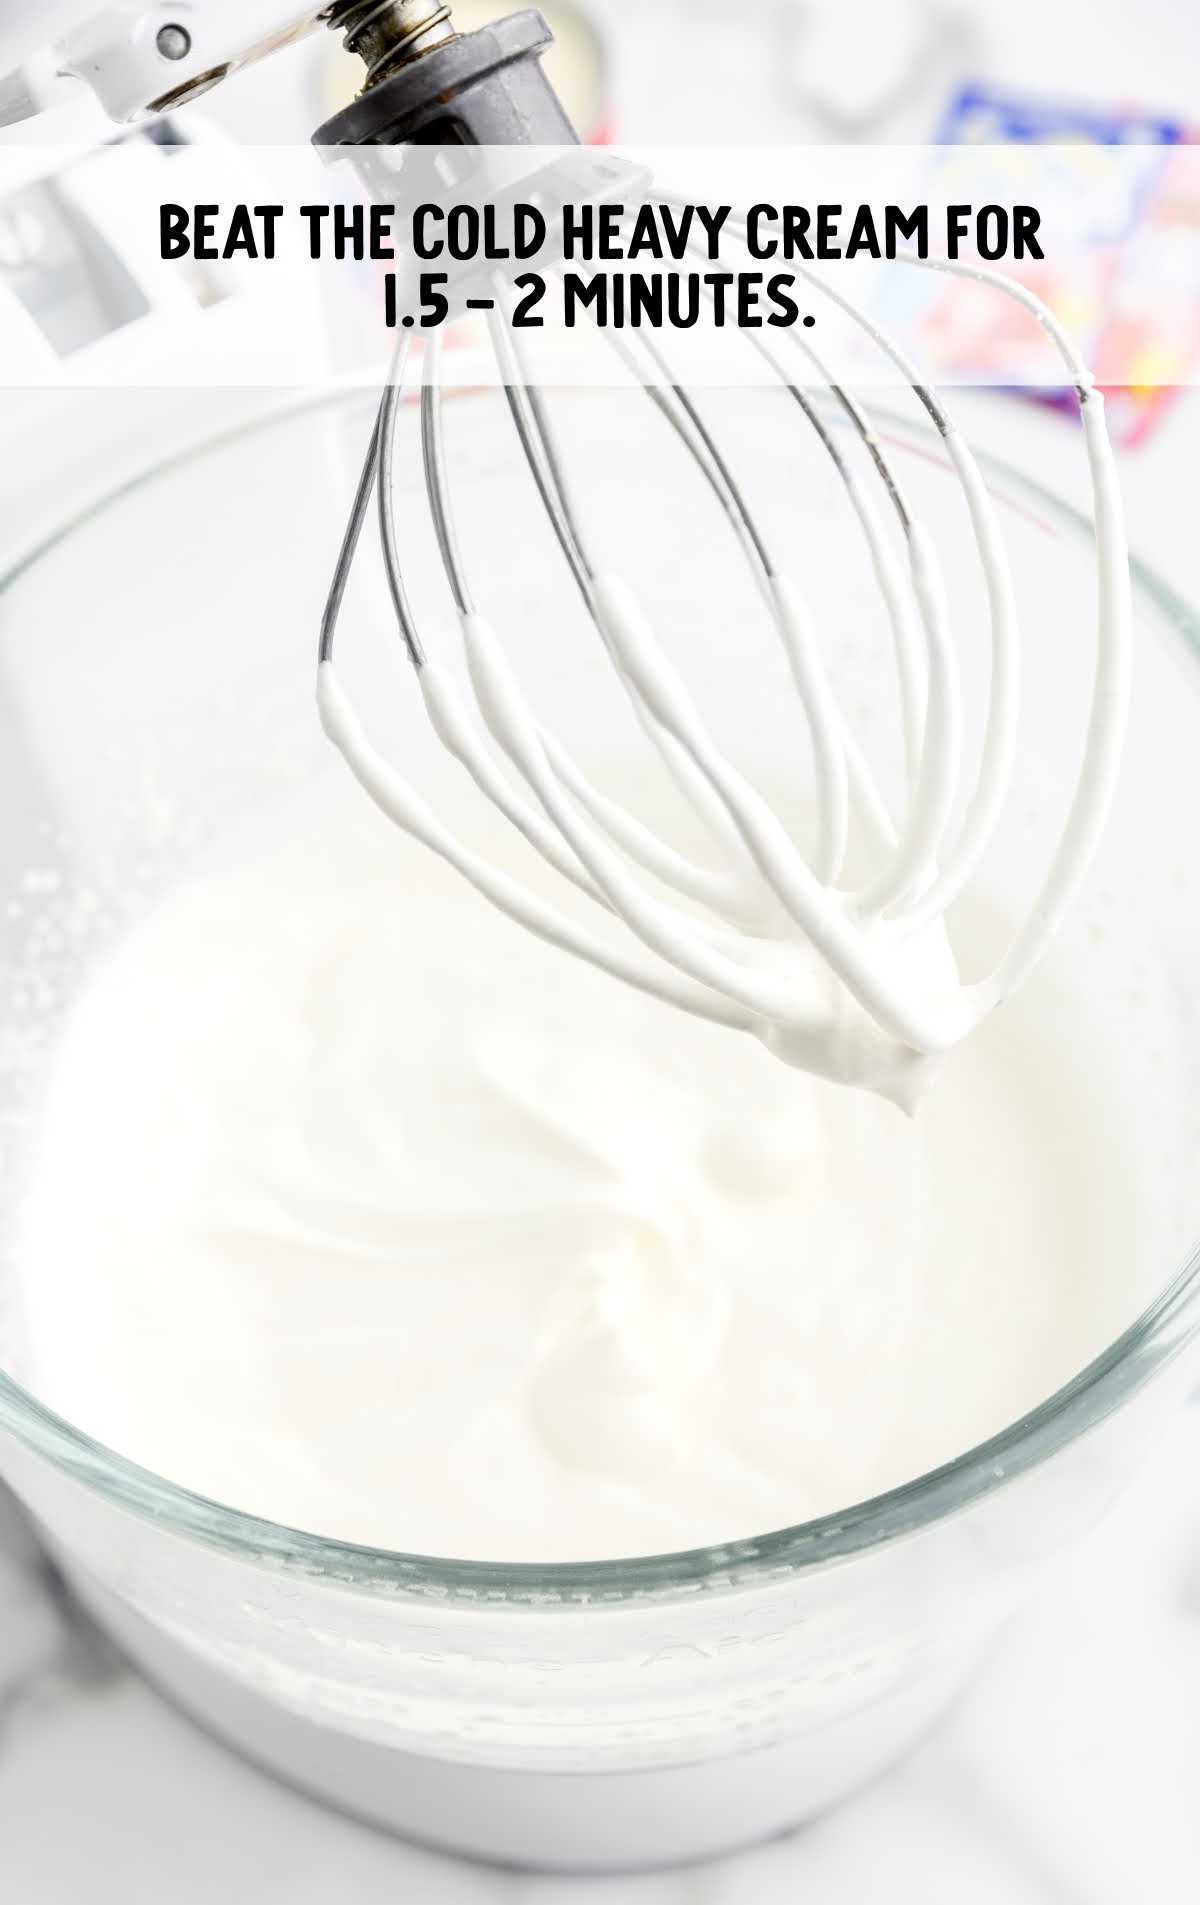
STEP ONE: Using either a stand mixer fitted with a wire whip attachment or a handheld electric mixer on high speed, beat the cold heavy cream for 1½ to 2 minutes to the soft peaks stage.
PRO TIP:
Chilling your condensed milk, heavy whipping cream, and loaf tin in the fridge before you start will make everything freeze more easily.
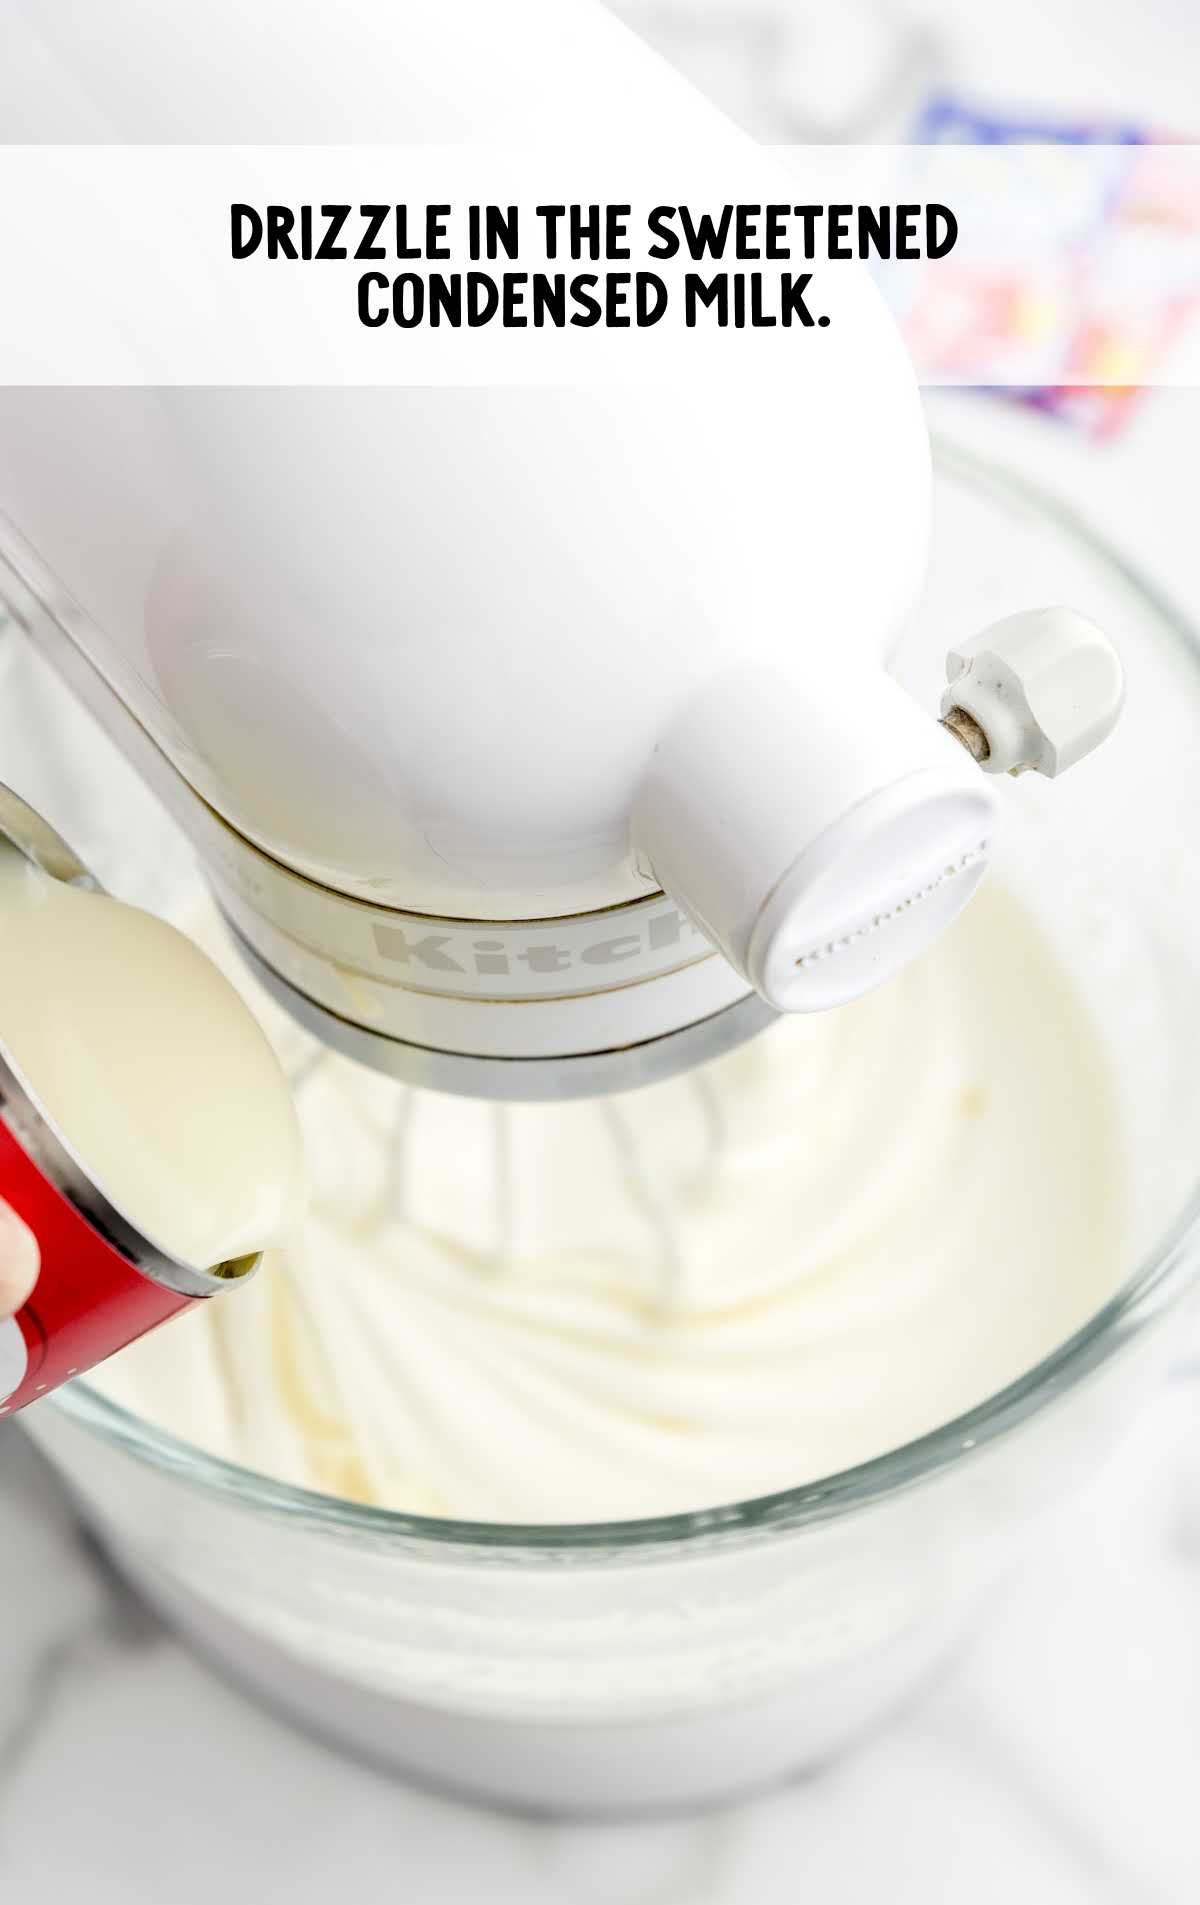
STEP TWO: Lower the mixer speed to medium-low and slowly drizzle in the sweetened condensed milk.
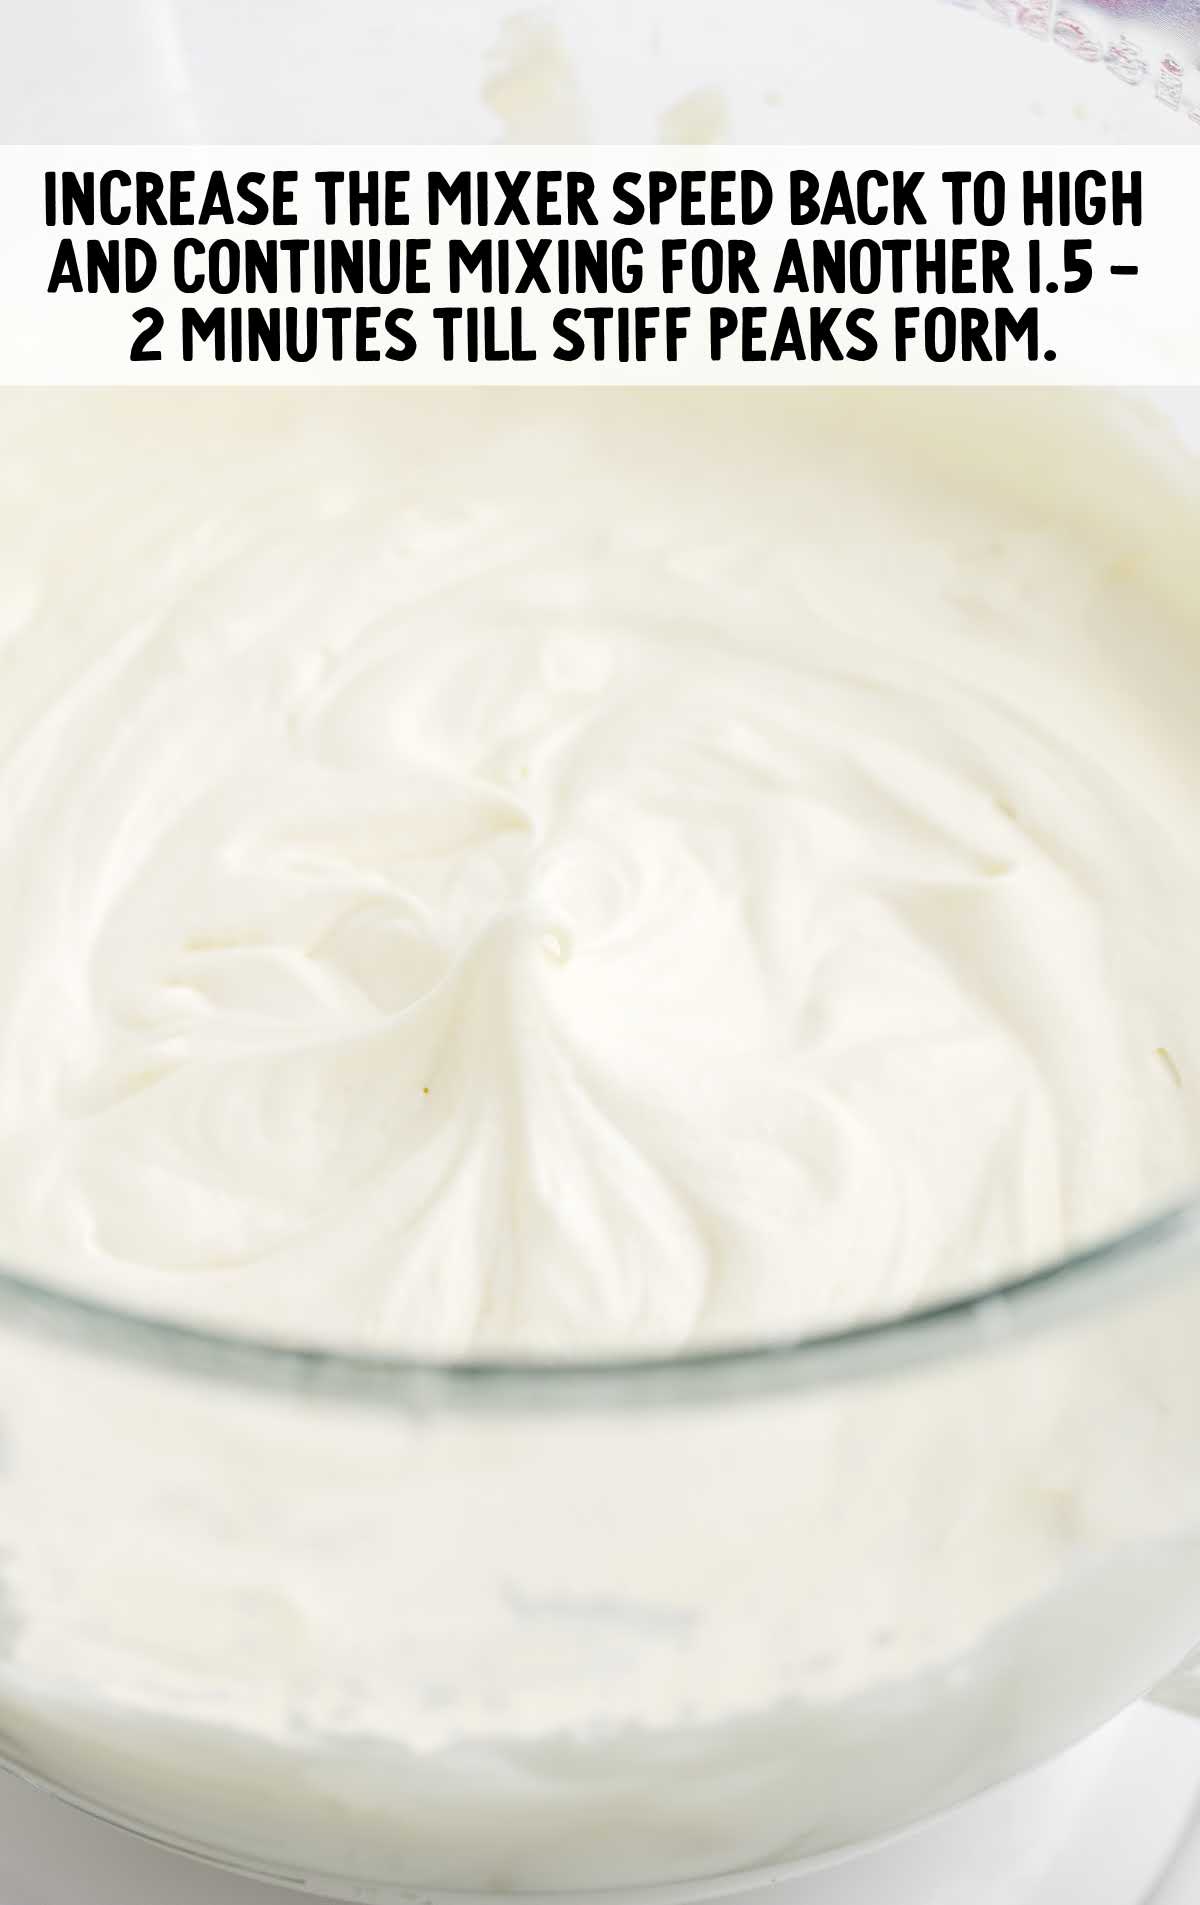
STEP THREE: Increase the mixer speed back to high and continue mixing for another 1½ to 2 minutes until stiff peaks form.
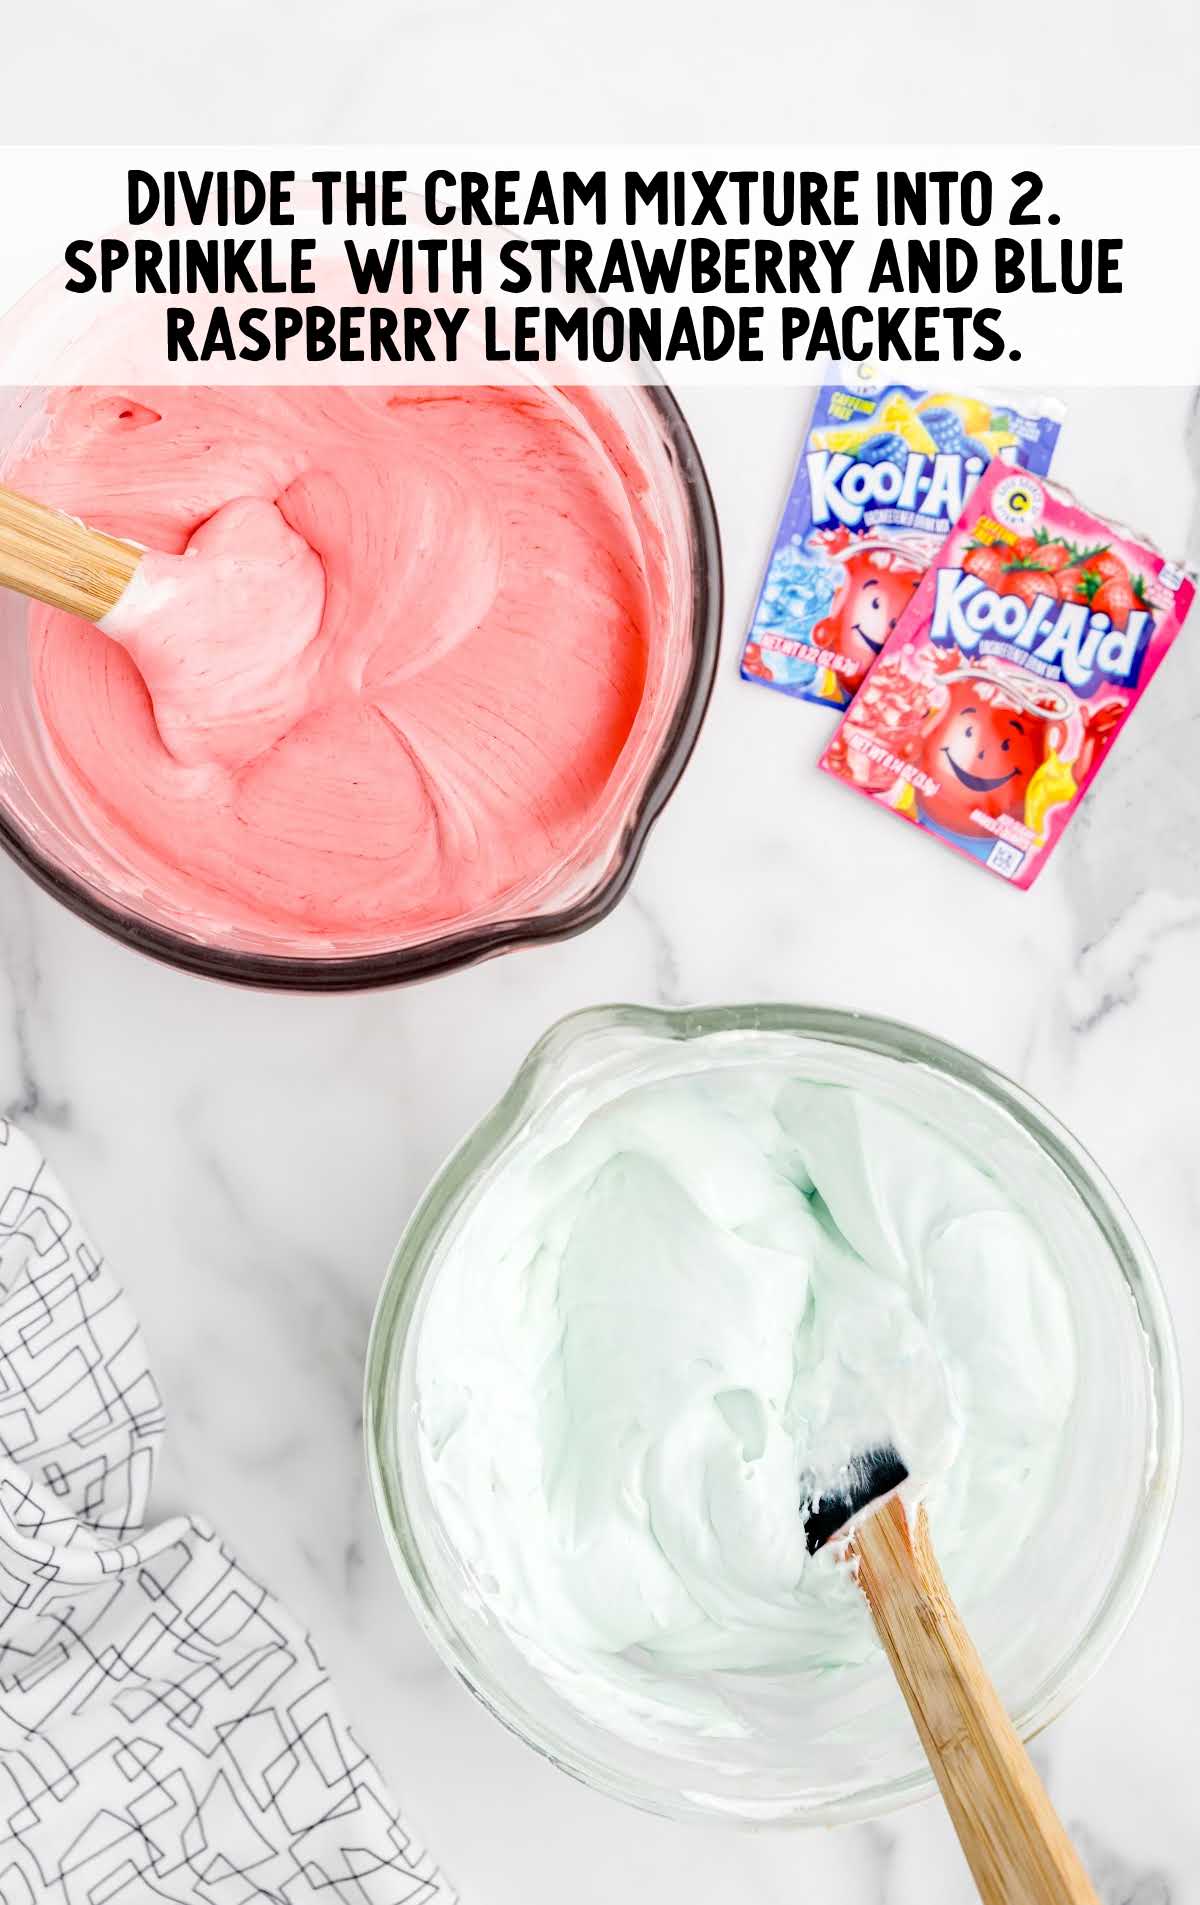
STEP FOUR: Divide the cream mixture into two small mixing bowls.
Sprinkle one bowl with the blue raspberry lemonade packet, and sprinkle the strawberry packet over the second bowl. Mix well to combine completely.
PRO TIP:
You can add a second blue raspberry Kool-Aid packet if you want a darker blue color.
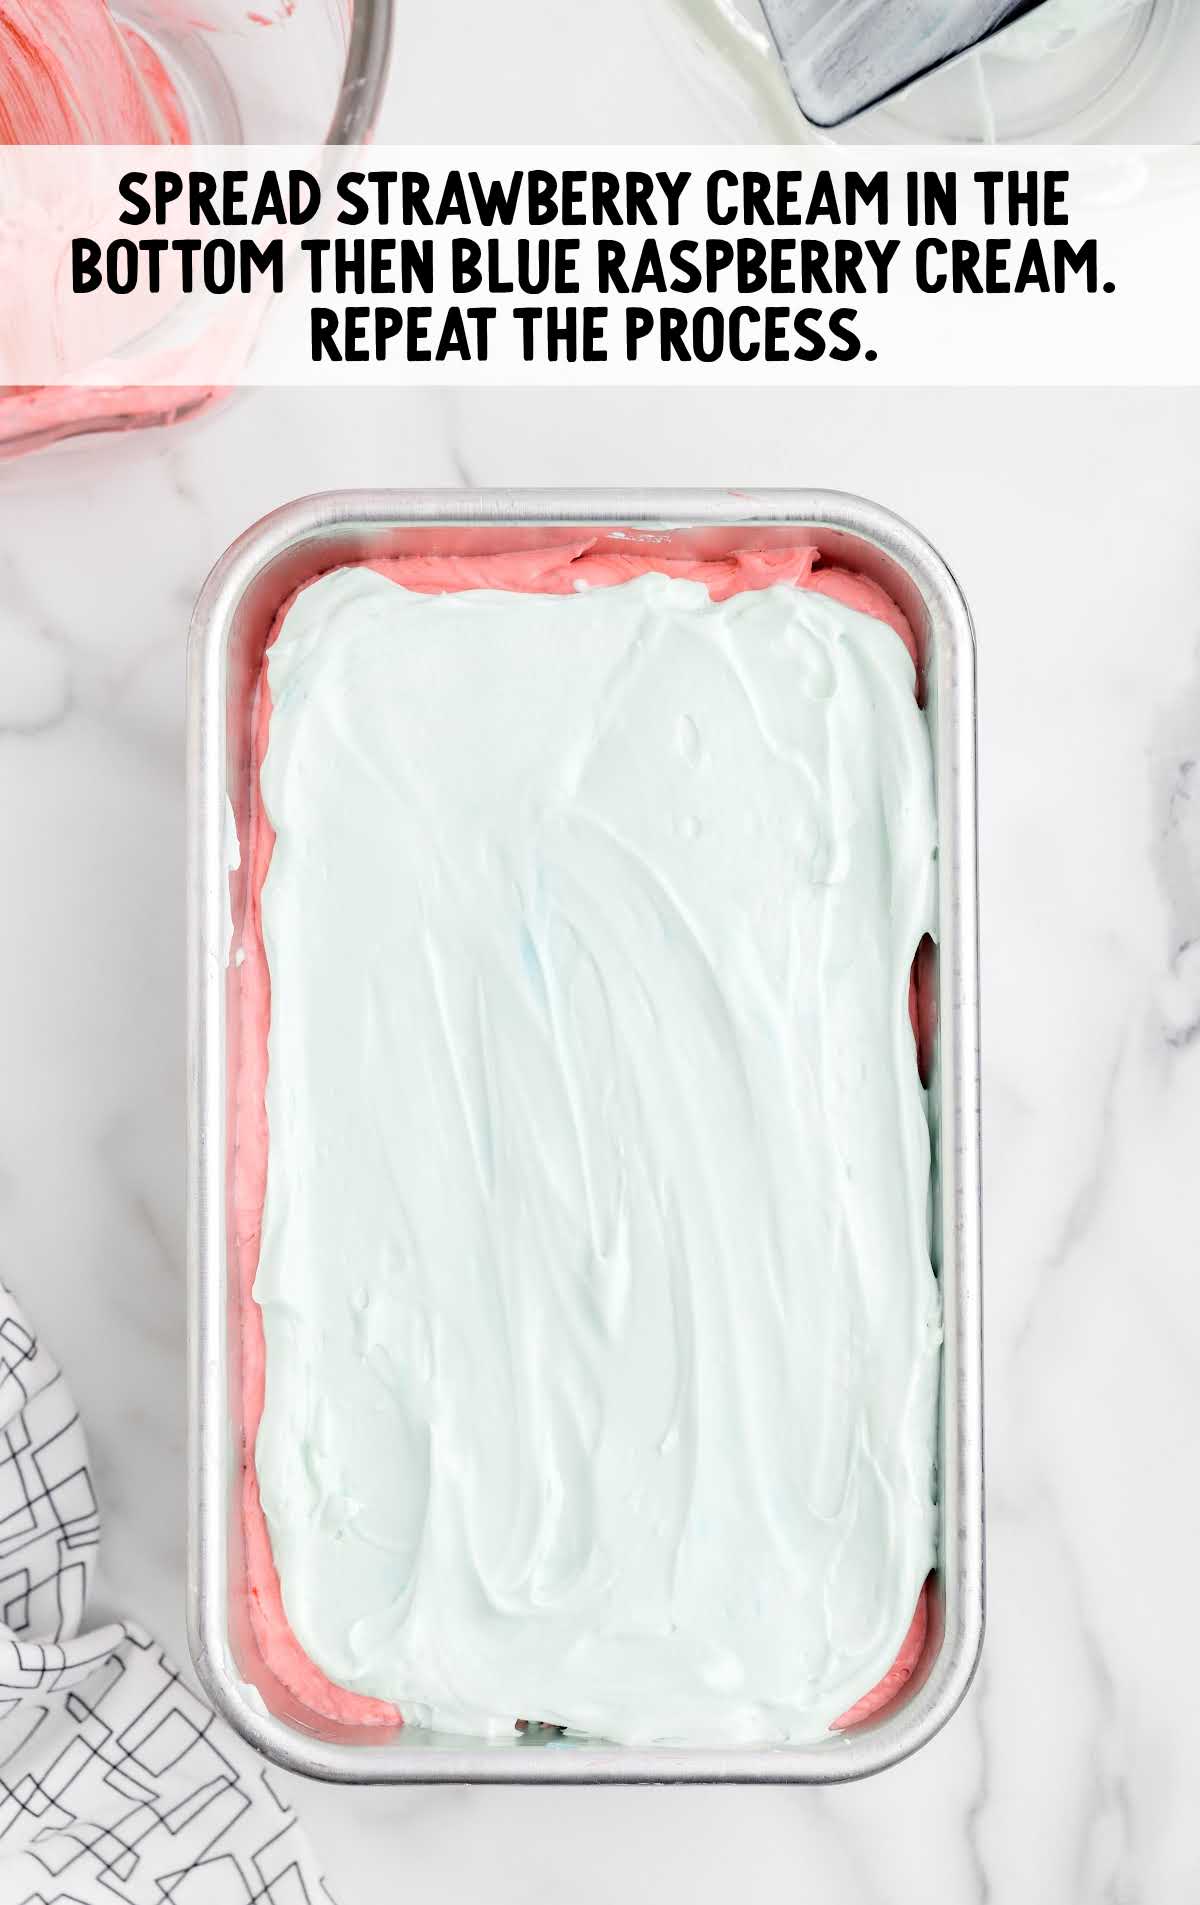
STEP FIVE: Spread half of the strawberry ice cream mixture in the bottom of a freezer-safe container (you can use an 8×8-inch baking dish, a 9×5-inch loaf pan, or a 4-quart freezer-safe container with a lid).
Spread half of the blue raspberry cream over the strawberry layer. Repeat the steps.
You can use a knife to swirl the layers, but it is not a necessity. The colors will appear more distinct when scooped.
PRO TIP:
You can add colorful sprinkles in between the flavor layers to make this delicious summer treat extra fun.
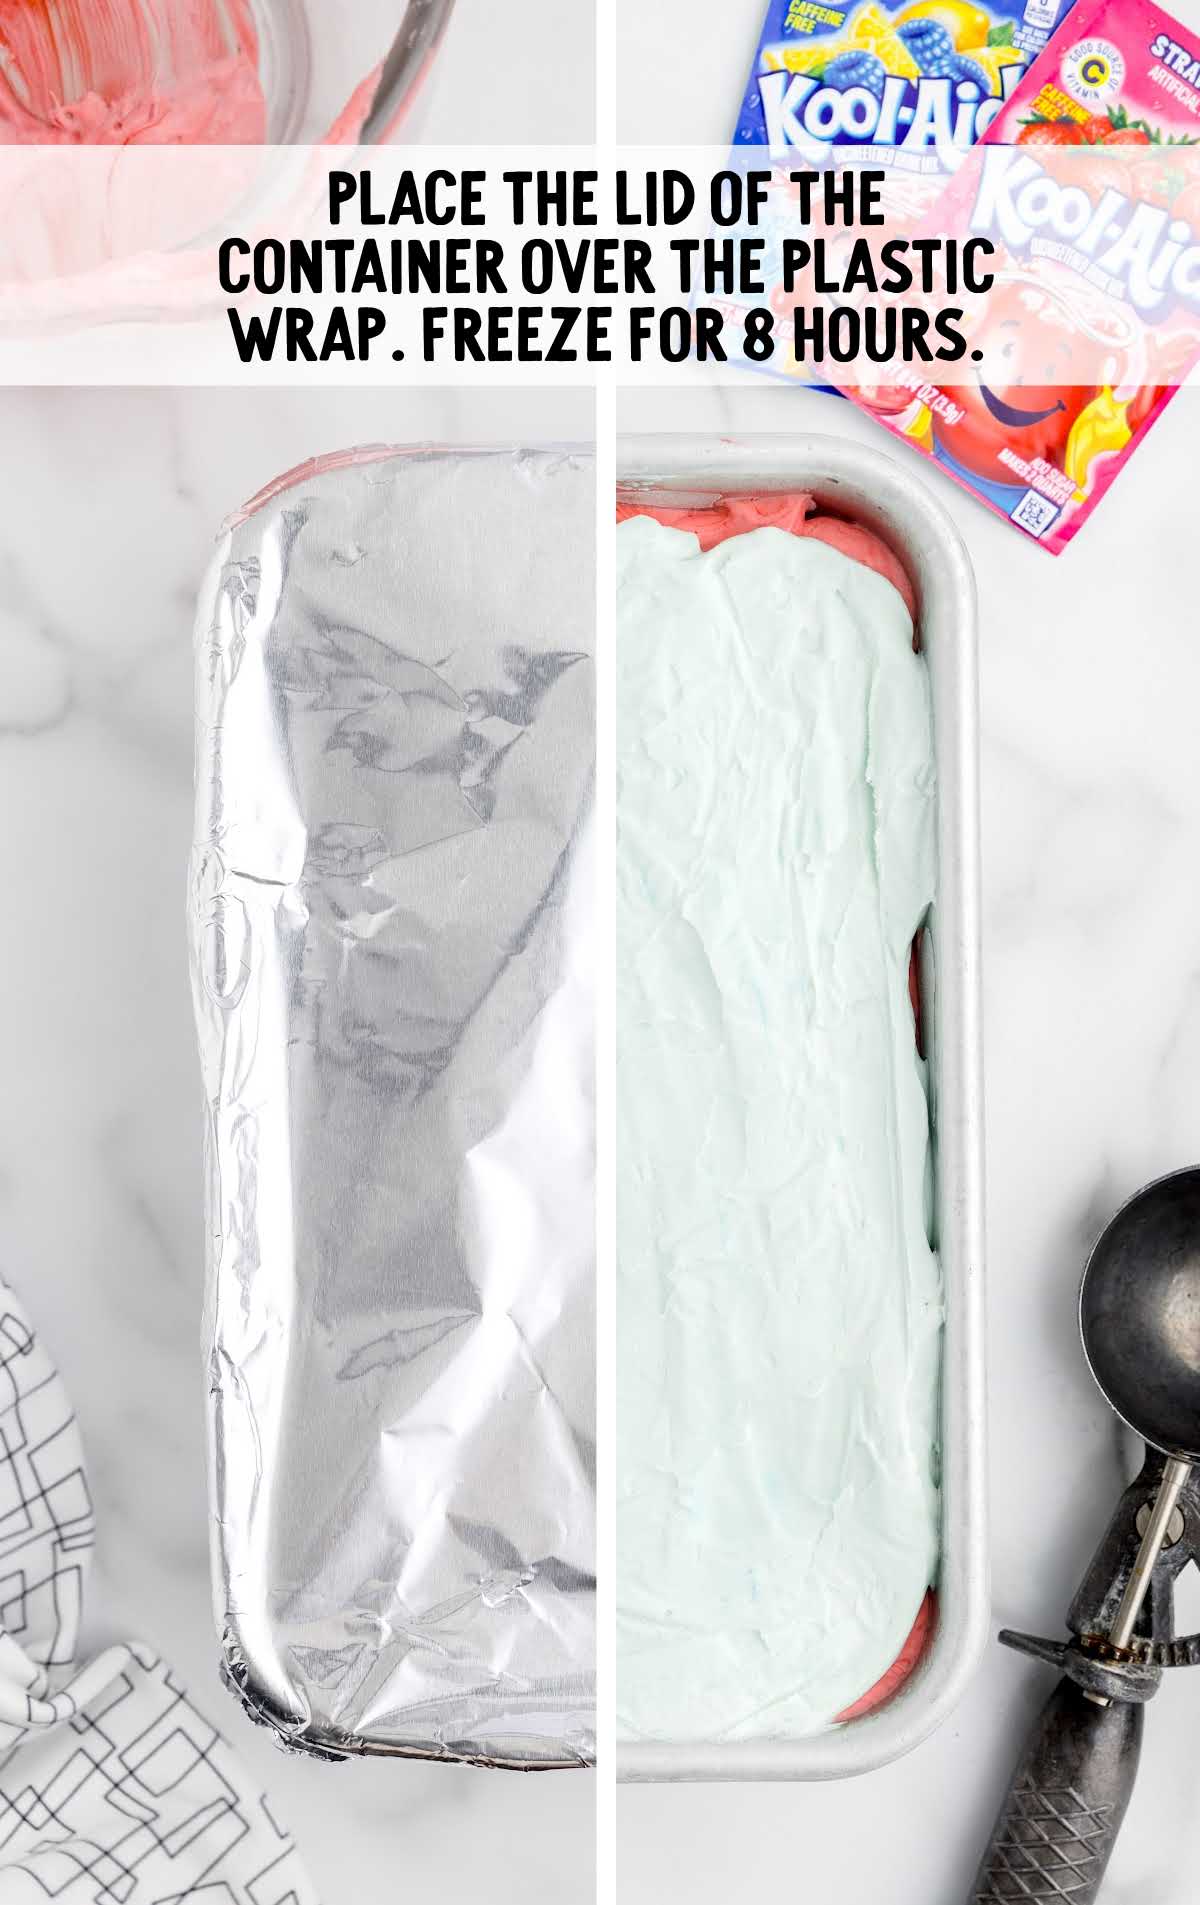
STEP SIX: Tear a piece of plastic wrap to fit over the top of the container.
Place the lid of the container over the plastic wrap (if you are using an 8×8 or 9×5 loaf pan, wrap with the plastic wrap and then a layer of aluminum foil over the plastic wrap).
Freeze for eight hours. Allow the ice cream to sit at room temperature for five minutes before scooping.
How To Serve
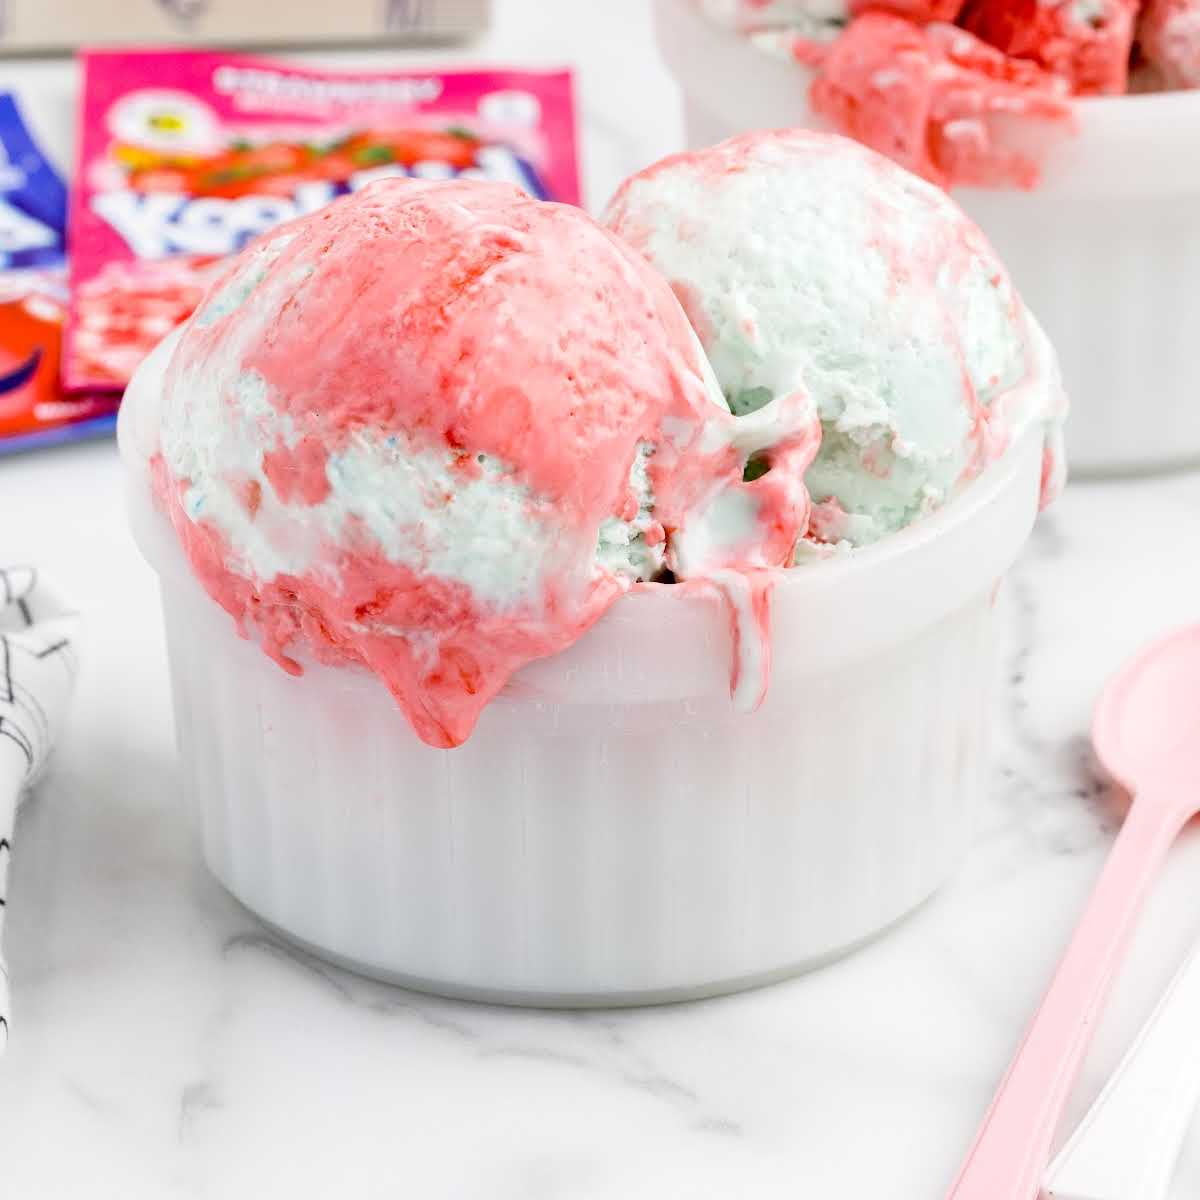
It’s so easy to make this homemade ice cream recipe to enjoy on a hot summer day. The frosty treat is so much fun with its vibrant colors, and everyone will be eager to dig in.
Serve in a bowl with hot fudge or caramel sauce drizzled over the top and a dollop of whipped cream.
Or you can scoop your ice cream into one of our chocolate chip cookie cups instead.
Enjoy a delicious frozen treat any time the craving strikes. Our no-churn red velvet ice cream and no-churn cotton candy ice cream are two more sweet confections.
MORE ICE CREAM RECIPES
Storing This Homemade Ice Cream Recipe
Here are a few tips for keeping your ice cream nice and frozen until the next time you want a scoop.
IN THE FREEZER: Store any leftovers of this delicious ice cream in the freezer for up to one month.
When ready to serve, take it out about five minutes before you plan to scoop it to give it a bit of time to thaw.
This will make it much easier to scoop out. Place back in the freezer immediately after serving.
The texture may change if the ice cream is taken out and put back in the freezer too many times.
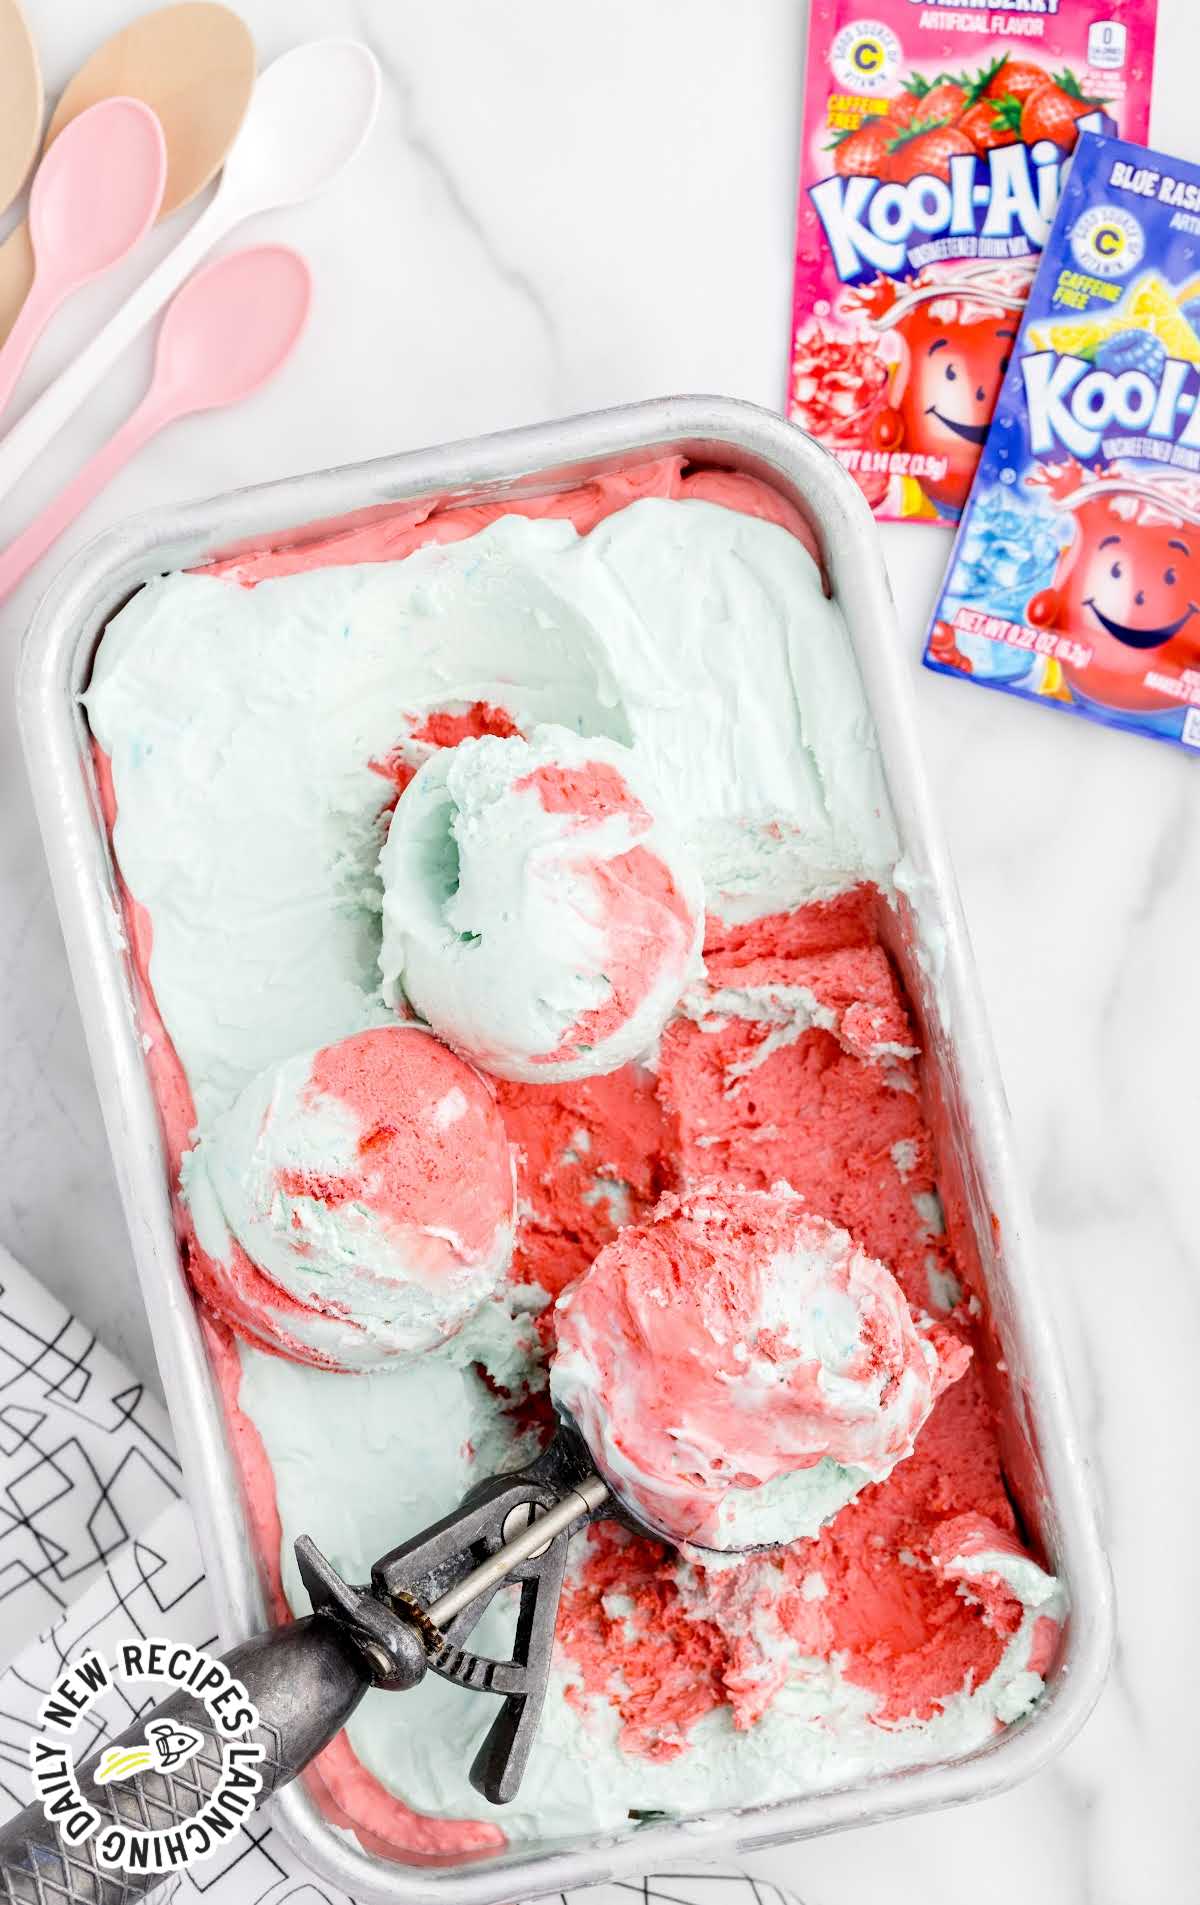
There are so many different flavors of ice cream you can make with this delightful Kool-Aid ice cream recipe, and only needing four simple ingredients makes this no-churn ice cream an easy and fun summer treat. Making your own ice cream couldn’t be easier, and your entire family will adore the results.
Frequently Asked Questions
Typically, when making ice cream from scratch, you will need to use an ice cream maker, and that usually entails the step of “churning” the ice cream.
A no-churn recipe means no ice cream machine and, as you could guess, no churning. It saves many steps and makes it super easy to make homemade ice cream that is just as tasty as regular ice cream but doesn’t need special equipment.
You can use any type of milk in this homemade Kool-Aid ice cream recipe, but a lower fat milk such as skim milk will result in less creamy ice cream than if you make it with whole milk or cream.
You can keep this homemade ice cream in the freezer for up to a month.
More Recipes You’ll Love
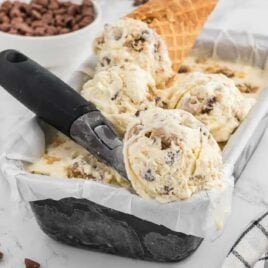
- No-Churn Chips Ahoy! Ice Cream
- No-Churn Vanilla Ice Cream
- No-Churn Birthday Cake Ice Cream
- Banana Ice Cream
- Cheese Ice Cream
Kool-Aid Ice Cream
Ingredients
- 2 cups cold heavy cream
- 28 ounces sweetened condensed milk (two 14-ounce cans)
- 0.22 ounce unsweetened blue raspberry lemonade drink mix
- 0.14 ounce unsweetened strawberry Kool-Aid drink mix
Instructions
- Using either a stand mixer fitted with a wire whip attachment or a handheld mixer on high speed, beat the cold heavy cream for 1½ to 2 minutes to the soft peak stage.
- Lower the mixer speed to medium-low and slowly drizzle in the sweetened condensed milk.
- Increase the mixer speed back to high and continue mixing for another 1½ to 2 minutes to the stiff peak stage.
- Divide the cream mixture into two small mixing bowls. Sprinkle one bowl with the blue raspberry lemonade packets, and sprinkle the strawberry packet over the second bowl. Mix well to combine completely.
- Spread half of the strawberry cream in the bottom of a freezer-safe container (you can use an 8×8 baking dish, a 9×5 loaf pan or a 4 quart freezer safe container with a lid). Spread half of the blue raspberry cream over the strawberry layer. Repeat the steps. You can use a knife to swirl the layers, but it is not a necessity. The colors will appear more distinct when scooped.
- Tear a piece of plastic wrap to fit over the top of the container. Place the lid of the container over the plastic wrap (if you are using an 8×8 or 9×5 loaf pan, wrap with the plastic wrap and then a layer of aluminum foil over the plastic wrap. Freeze for 8 hours. Allow the ice cream to sit at room temperature for 5 minutes before scooping.
Notes
- If you are using a stand mixer with a metal bowl, you can place the bowl and wire whip attachment in the freezer for 30 minutes to 1 hour before making the ice cream.
- Chilling your condensed milk, heavy whipping cream, and loaf tin in the fridge before you start will make everything freeze more easily.
- You can add a second blue raspberry Kool-Aid packet if you want a darker blue color.
- You can add colorful sprinkles in between the flavor layers to make this delicious summer treat extra fun.




Comments
Sarah says
Fun to make and eat with the kiddos!
Atta says
I’d probably do lemon or cherry instead of strawberry, but I have to try this.