


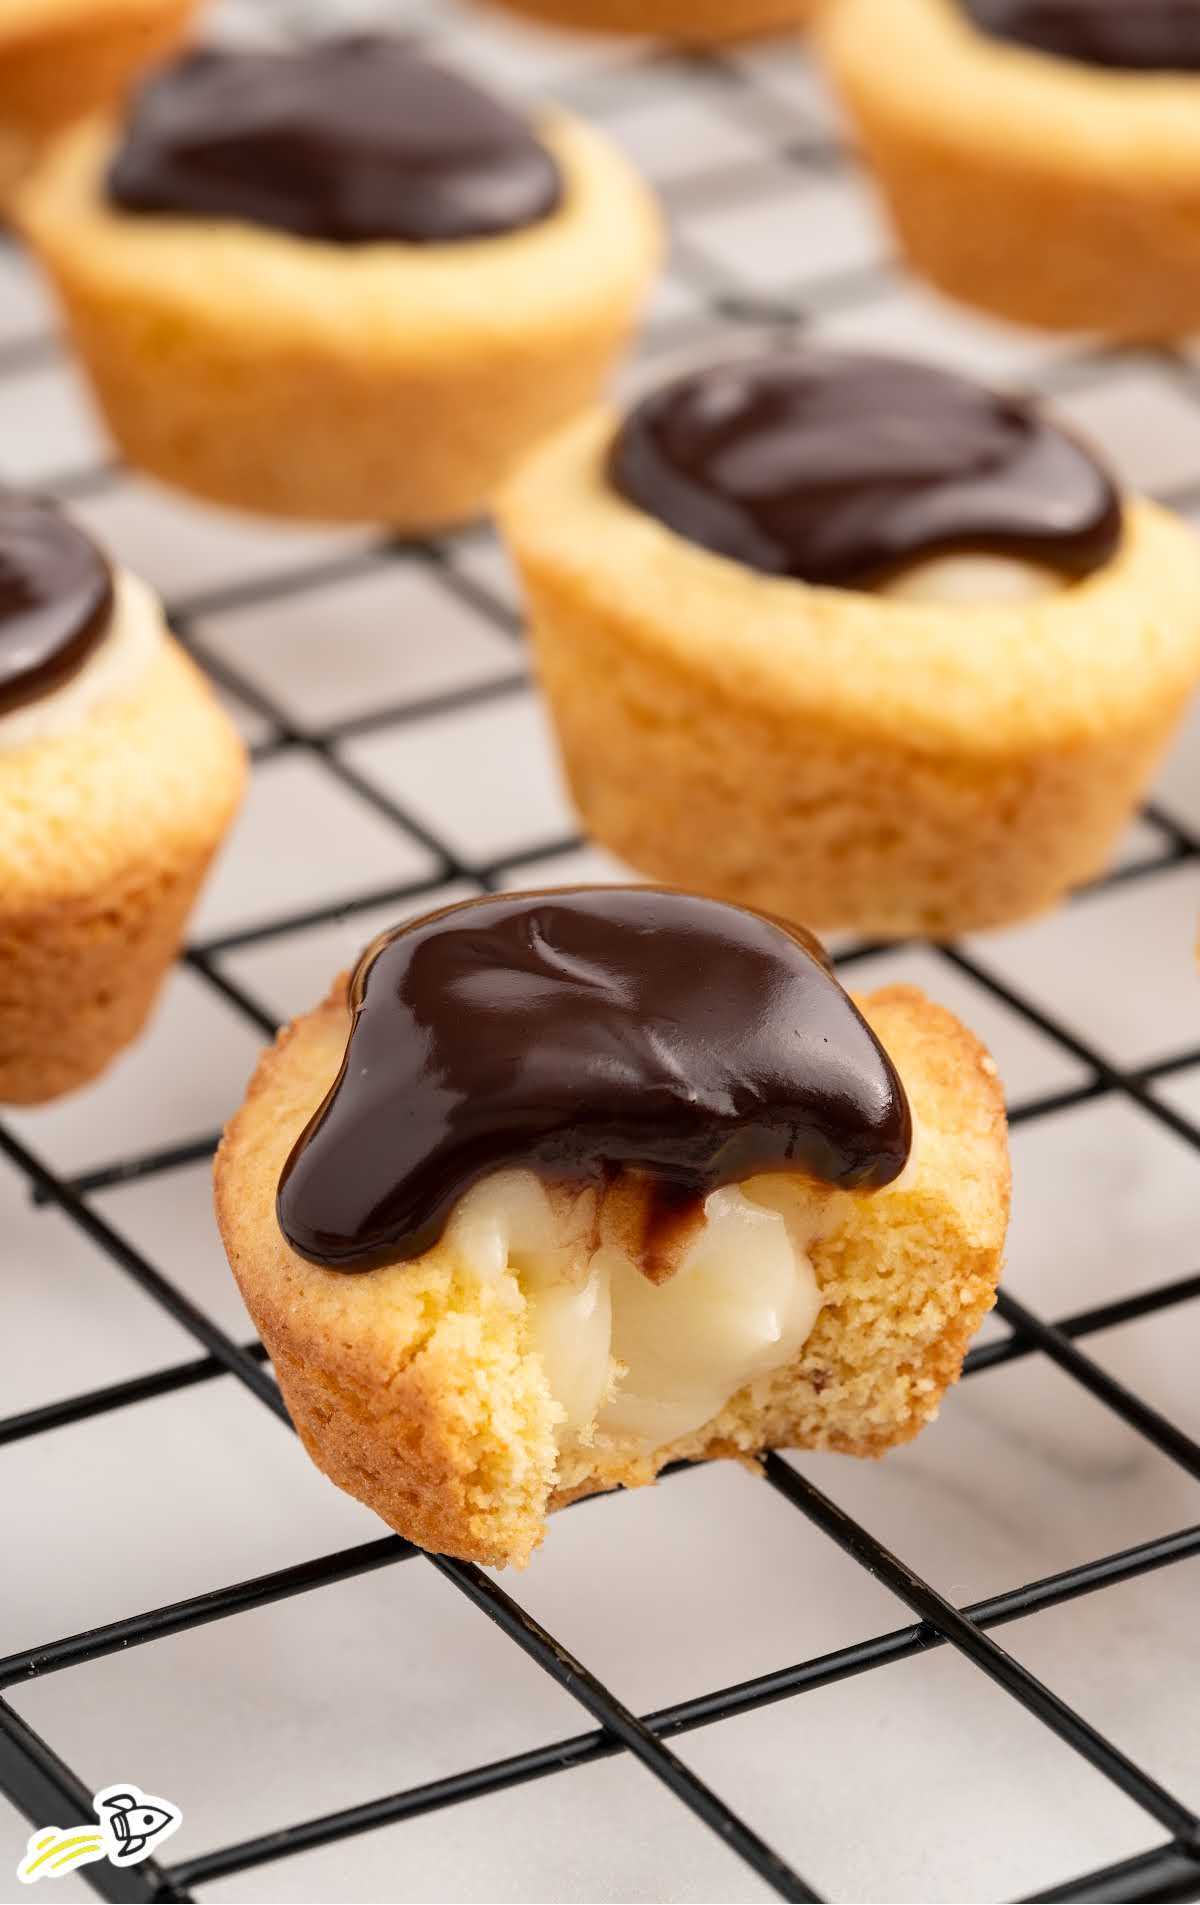
These Boston Cream Pie Cookie Cups capture the beloved flavors of a classic Boston cream pie, all in a convenient, bite-sized form. With a soft cookie base, creamy vanilla pudding filling, and rich chocolate ganache topping, this recipe delivers everything you love about the traditional dessert without the hassle.
WHAT YOU NEED TO KNOW
MAIN INGREDIENTS: yellow cake mix, salted butter, eggs, whole milk, instant French vanilla pudding mix, semi-sweet chocolate chips, heavy cream
QUICK STEPS: Mix cake batter and bake in mini muffin tins, form cups and cool, prepare pudding and fill cups, make ganache and top cups
TOTAL TIME AND YIELD: 1 hour, 48 mini cookie cups
WHY THIS RECIPE: This Boston cream pie cookie cups recipe stands out by using instant French vanilla pudding mix, simplifying the traditional custard preparation. The use of instant mix guarantees a silky, rich filling every time, making it easy yet impressive. This smart shortcut saves time and ensures consistent quality, setting it apart from more labor-intensive versions.
PRO TIP: Let the chocolate ganache cool slightly before spooning it onto the pudding. This prevents the pudding from melting and ensures a smooth finish.
Boston Cream Pie Cookie Cups Ingredients
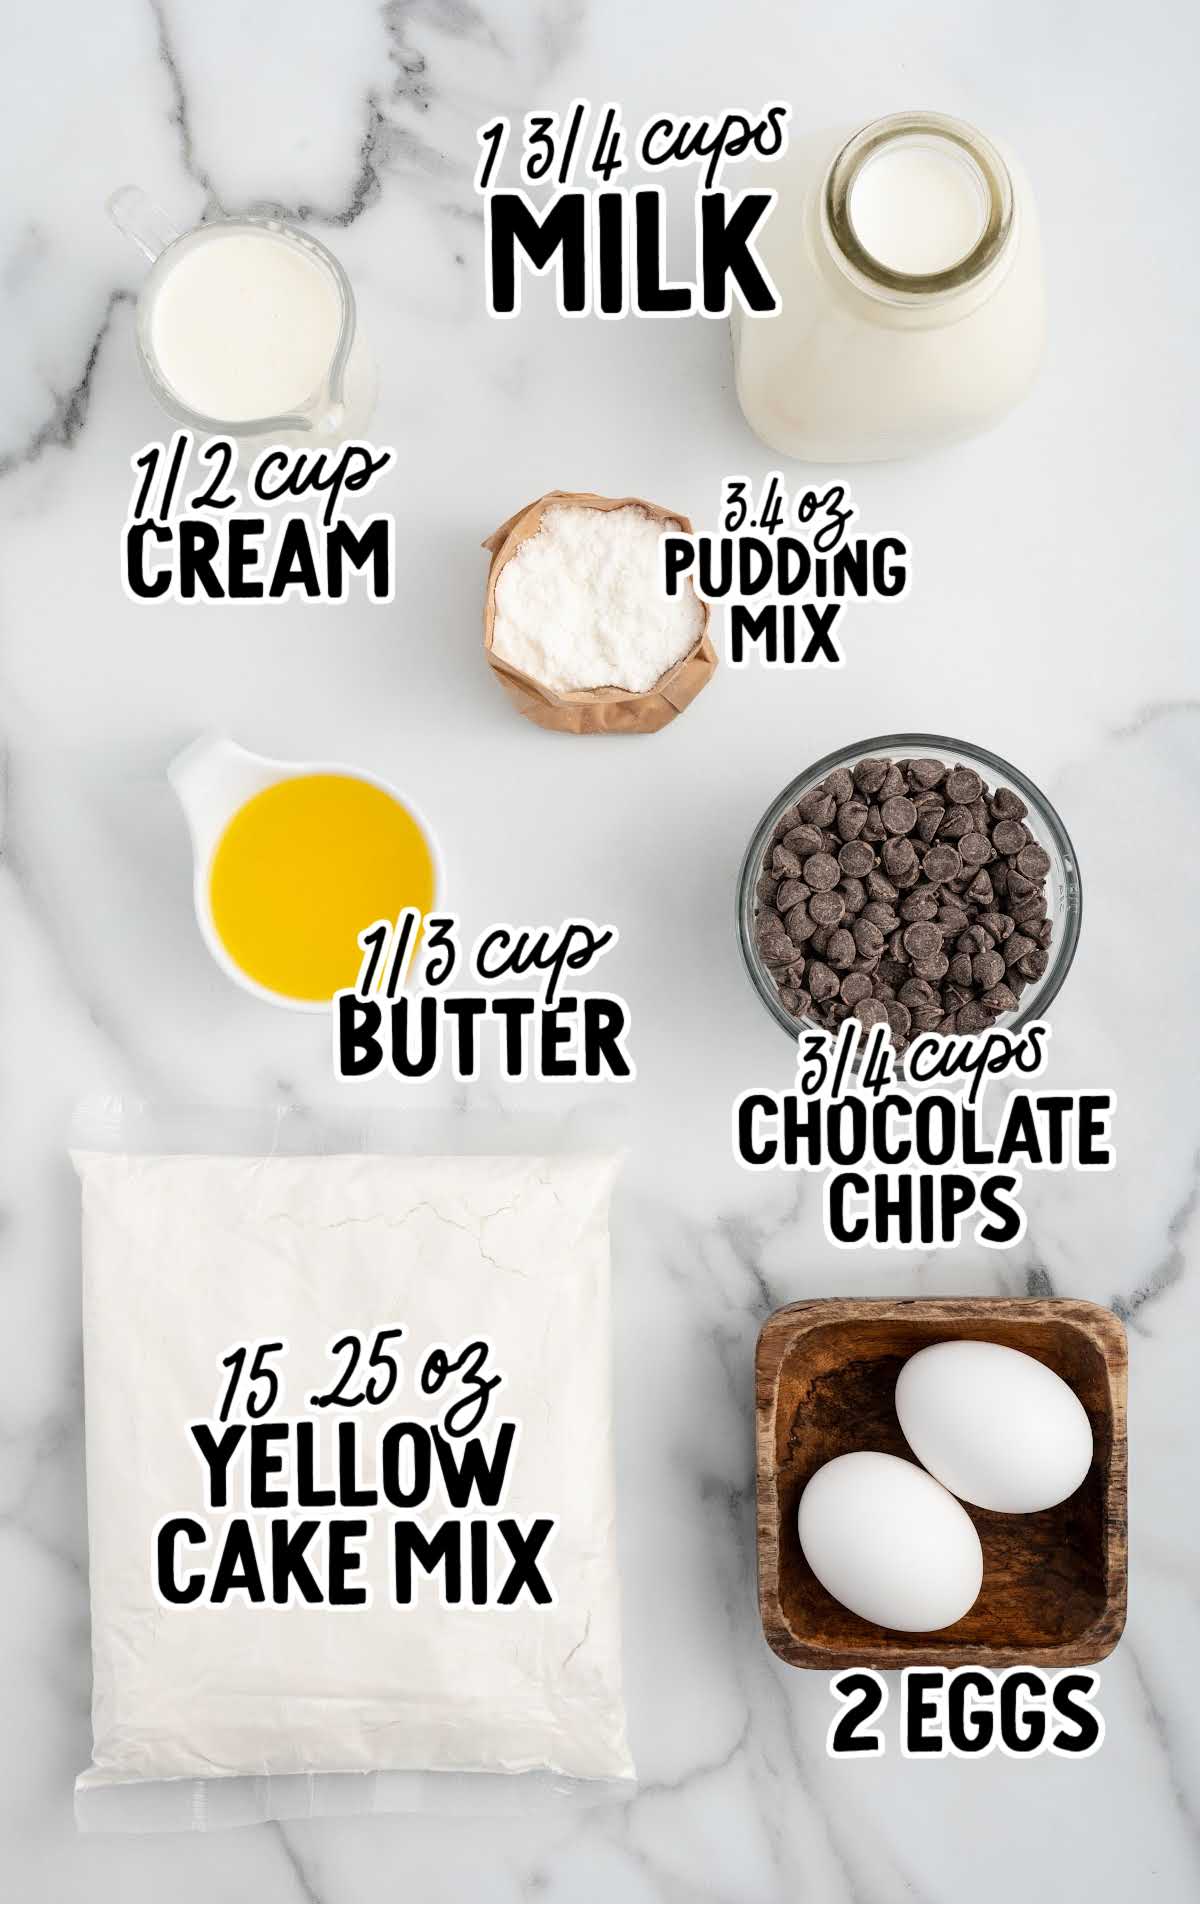
You’ll love how easy and fun it is to make these mini Boston cream pies. With a few simple ingredients, you can create a delicious treat that captures the spirit of a classic Boston cream pie in a convenient, bite-sized form.
You’ll Need:
For the Cookie Cups
- 1 (15.25 ounce) yellow cake mix
- ⅓ cup salted butter, melted and cooled
- 2 large eggs, room temperature
For the Vanilla Cream Filling
- 1 ¾ cups cold whole milk
- 1 (3.4 ounce) instant French vanilla pudding mix
For the Ganache
- ¾ cup semi-sweet chocolate chips
- ½ cup heavy cream
Substitutions and Additions
Here are some helpful ingredient substitutions and additions. Keep in mind that changes might alter the taste and texture, so use them at your discretion.
Yellow Cake Mix: If you prefer a different flavor, you can use a chocolate or vanilla cake mix instead.
Salted Butter: Unsalted butter can be used if that’s what you have on hand. Just add a pinch of salt to the dough to balance the flavors.
Instant French Vanilla Pudding Mix: Regular vanilla pudding mix can be used as a substitute. You can experiment with cheesecake pudding, too. For a chocolate twist, try using chocolate pudding mix.
Semi-Sweet Chocolate Chips: You can use milk chocolate or dark chocolate chips if you prefer a different chocolate flavor.
Heavy Cream: Heavy Whipping Cream or a mix of cream and half and half make good substitutes.
How To Make This Boston Cream Pie Cookie Cups Recipe
These mini Boston cream pie cookies are a fun and delicious treat that combines the flavors of a classic Boston cream pie in a bite-sized form.
STEP ONE: Preheat your oven, gather your ingredients, and prepare your workspace. Spray two mini muffin pans with nonstick cooking spray.
PRO TIP: If you only have one mini muffin pan, you can bake in batches.
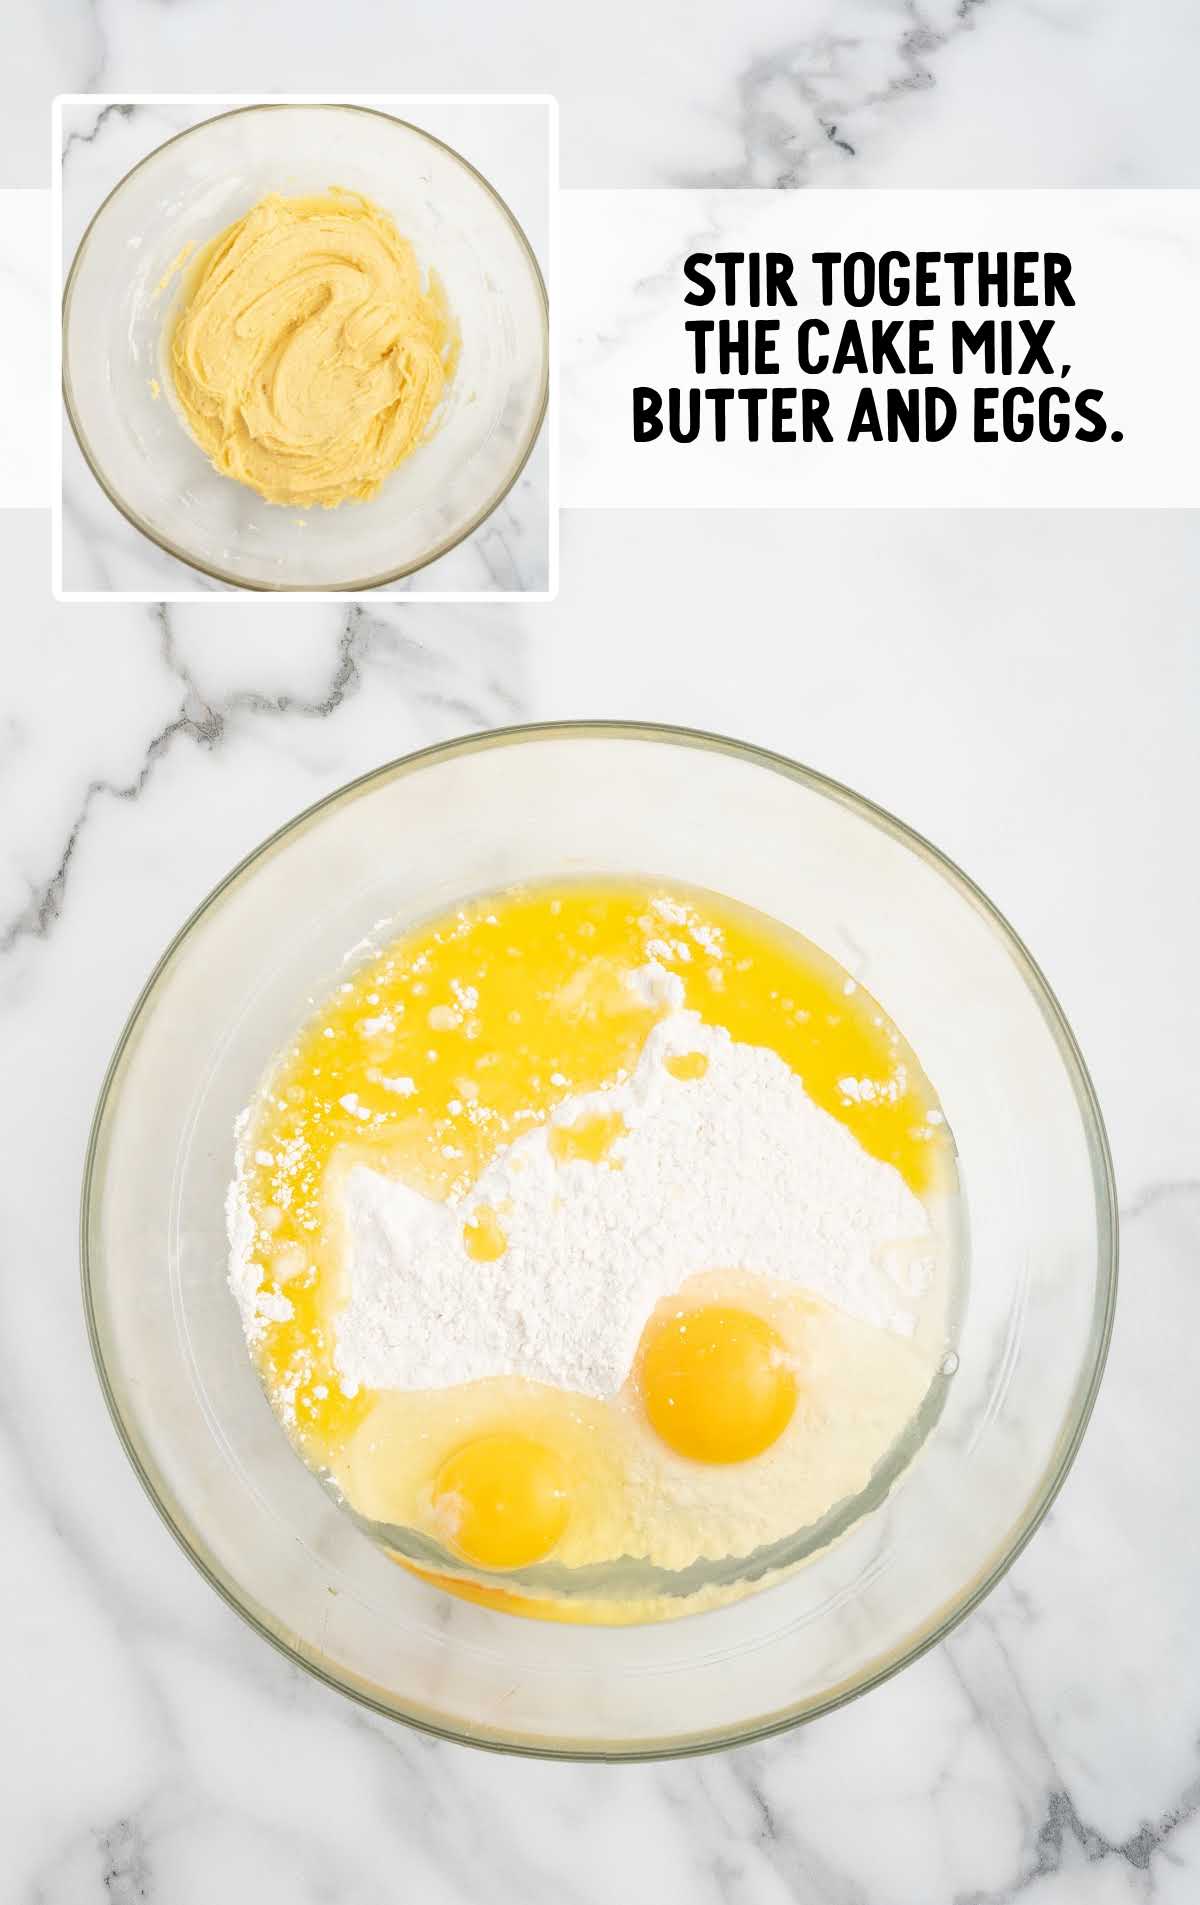
STEP TWO: In a medium bowl, combine the yellow cake mix, melted and cooled butter, and room-temperature eggs. Stir until the vanilla cookie base is fully incorporated and no dry cake mix lumps remain.
The dough should be smooth and slightly thick, like a cookie dough (not a cake batter).
STEP THREE: Measure two to two and a half teaspoons of the dough and press it into a flat plate shape in the bottom of each mini muffin cup. This will form the base of your cookie cups.
PRO TIP: Make sure the dough is flat and evenly distributed in the muffin cup depressions to help your cookie bases bake evenly.
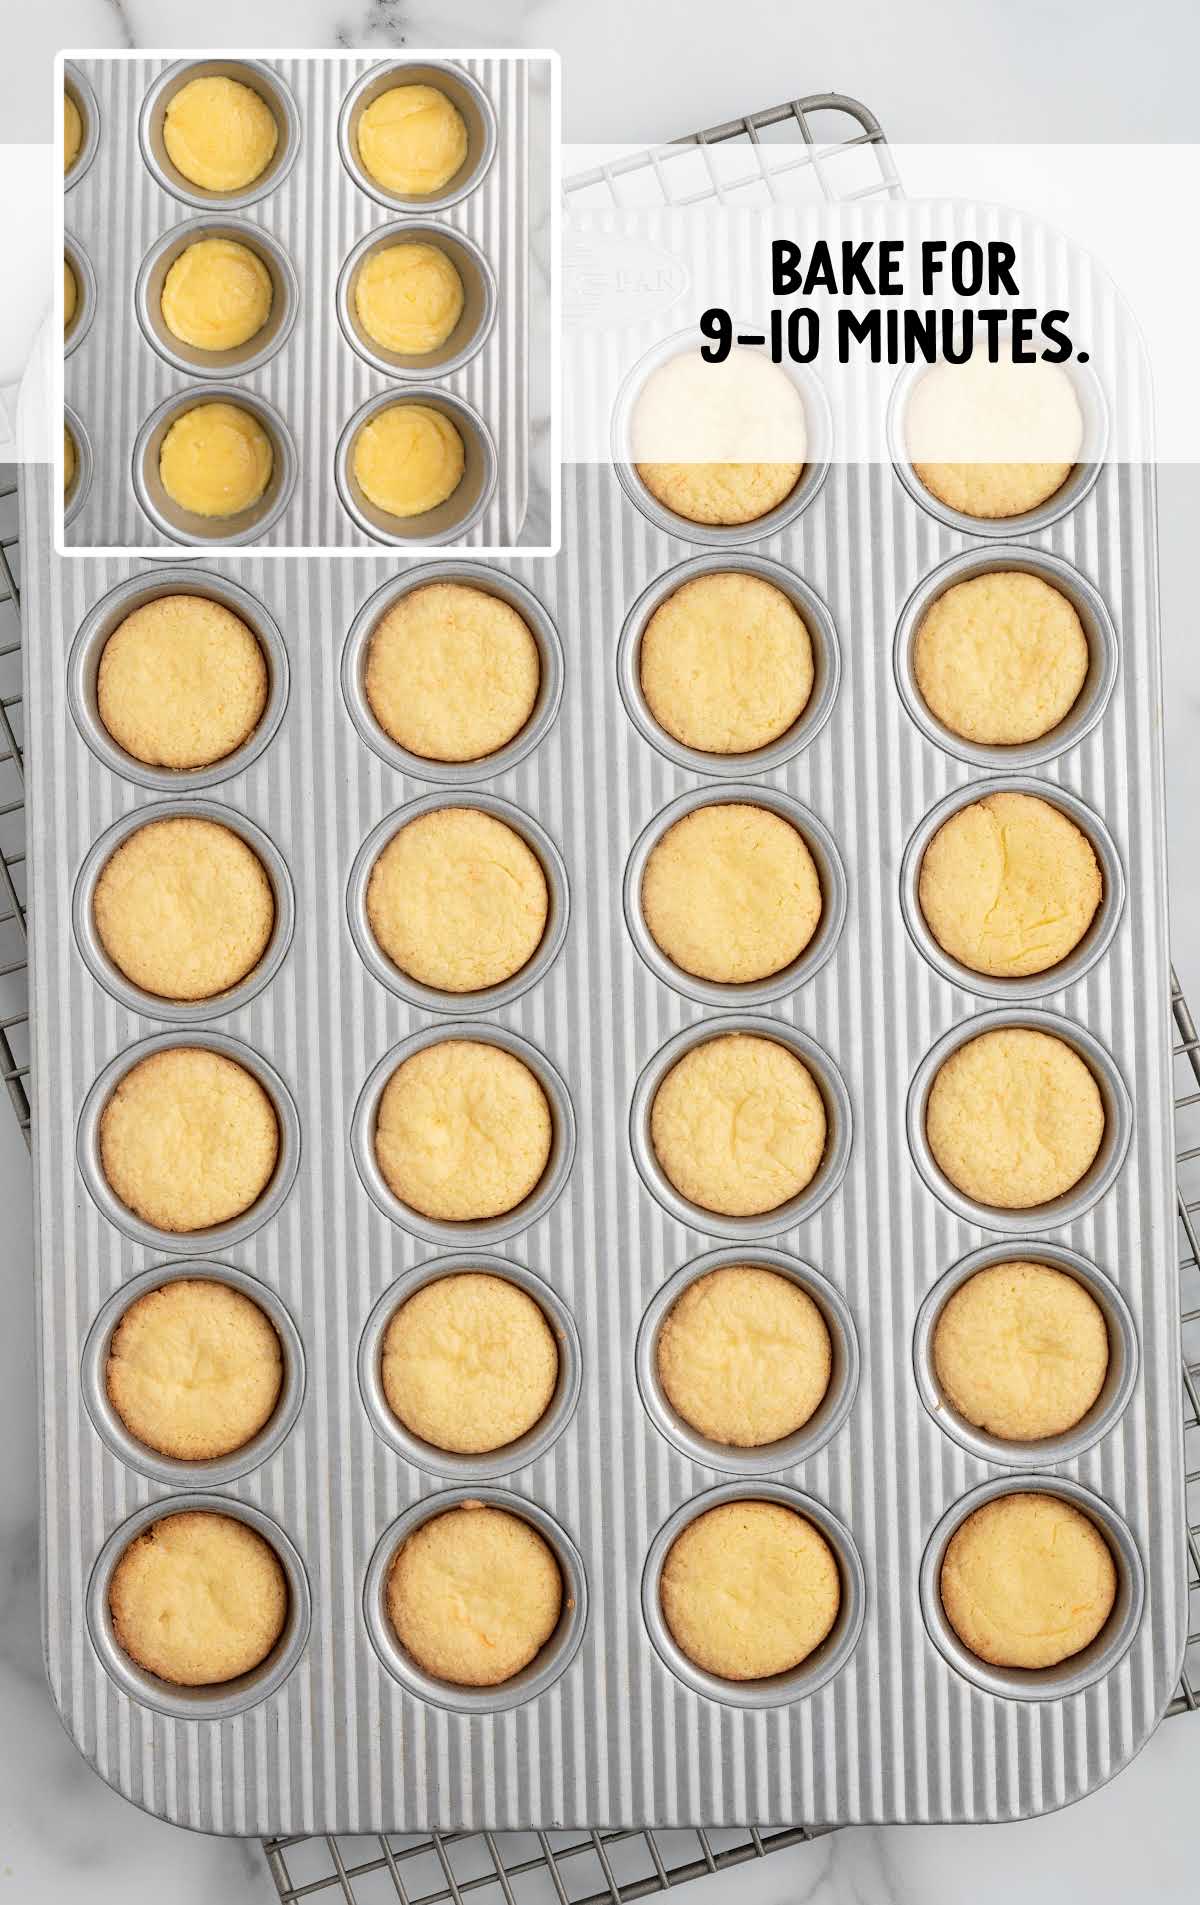
STEP FOUR: Place the muffin tins in the preheated oven and bake until the cookie cups have puffed up and turned golden brown. Keep an eye on them to avoid overbaking.
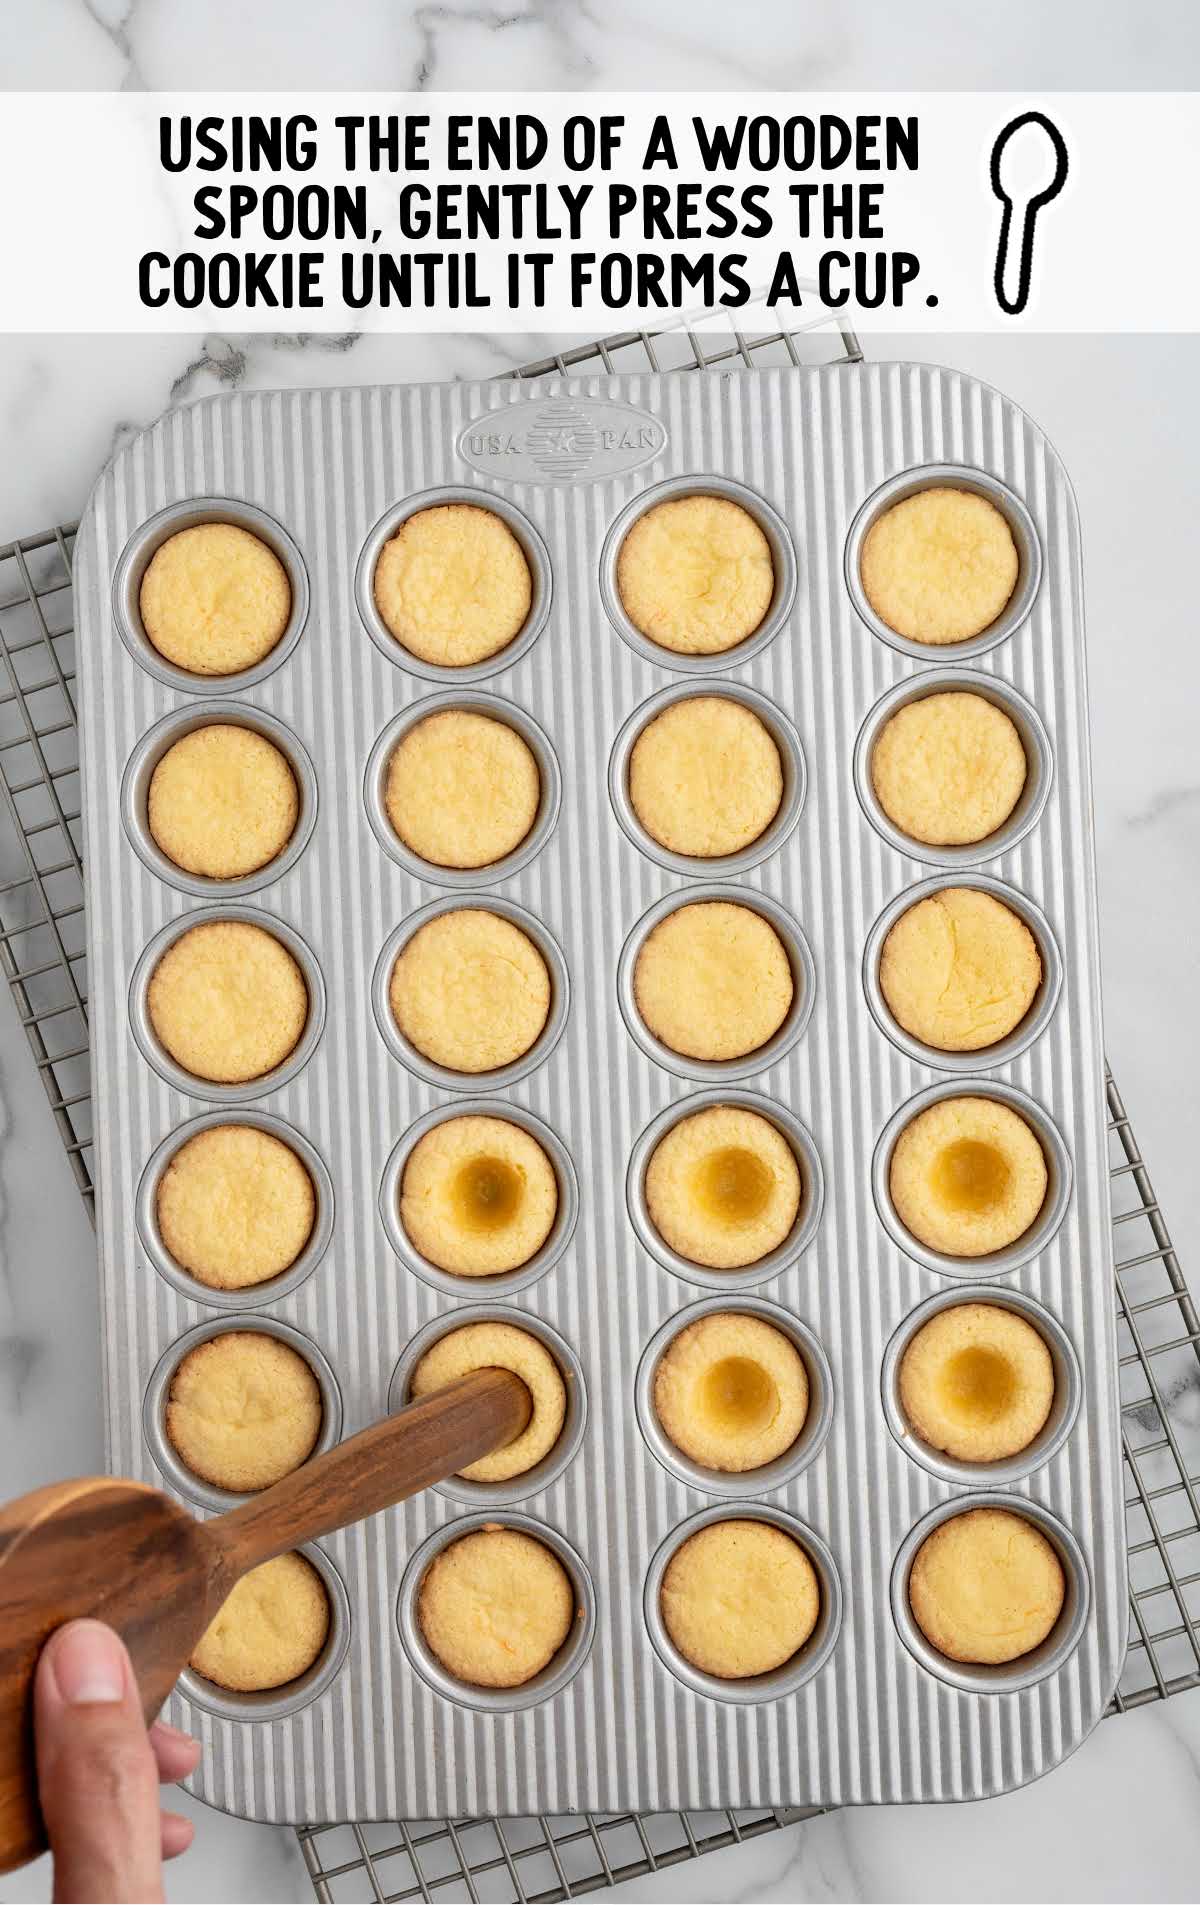
STEP FIVE: Allow the cookies to cool in the pan for a few minutes. Then, using the end of a small rolling pin or the end of a round wooden spoon, gently press the center of each cookie to form a cup shape.
Be careful not to press too hard to avoid making holes in the bottom of the cups. Allow the cookie cups to cool completely before removing to a cooling wrack.
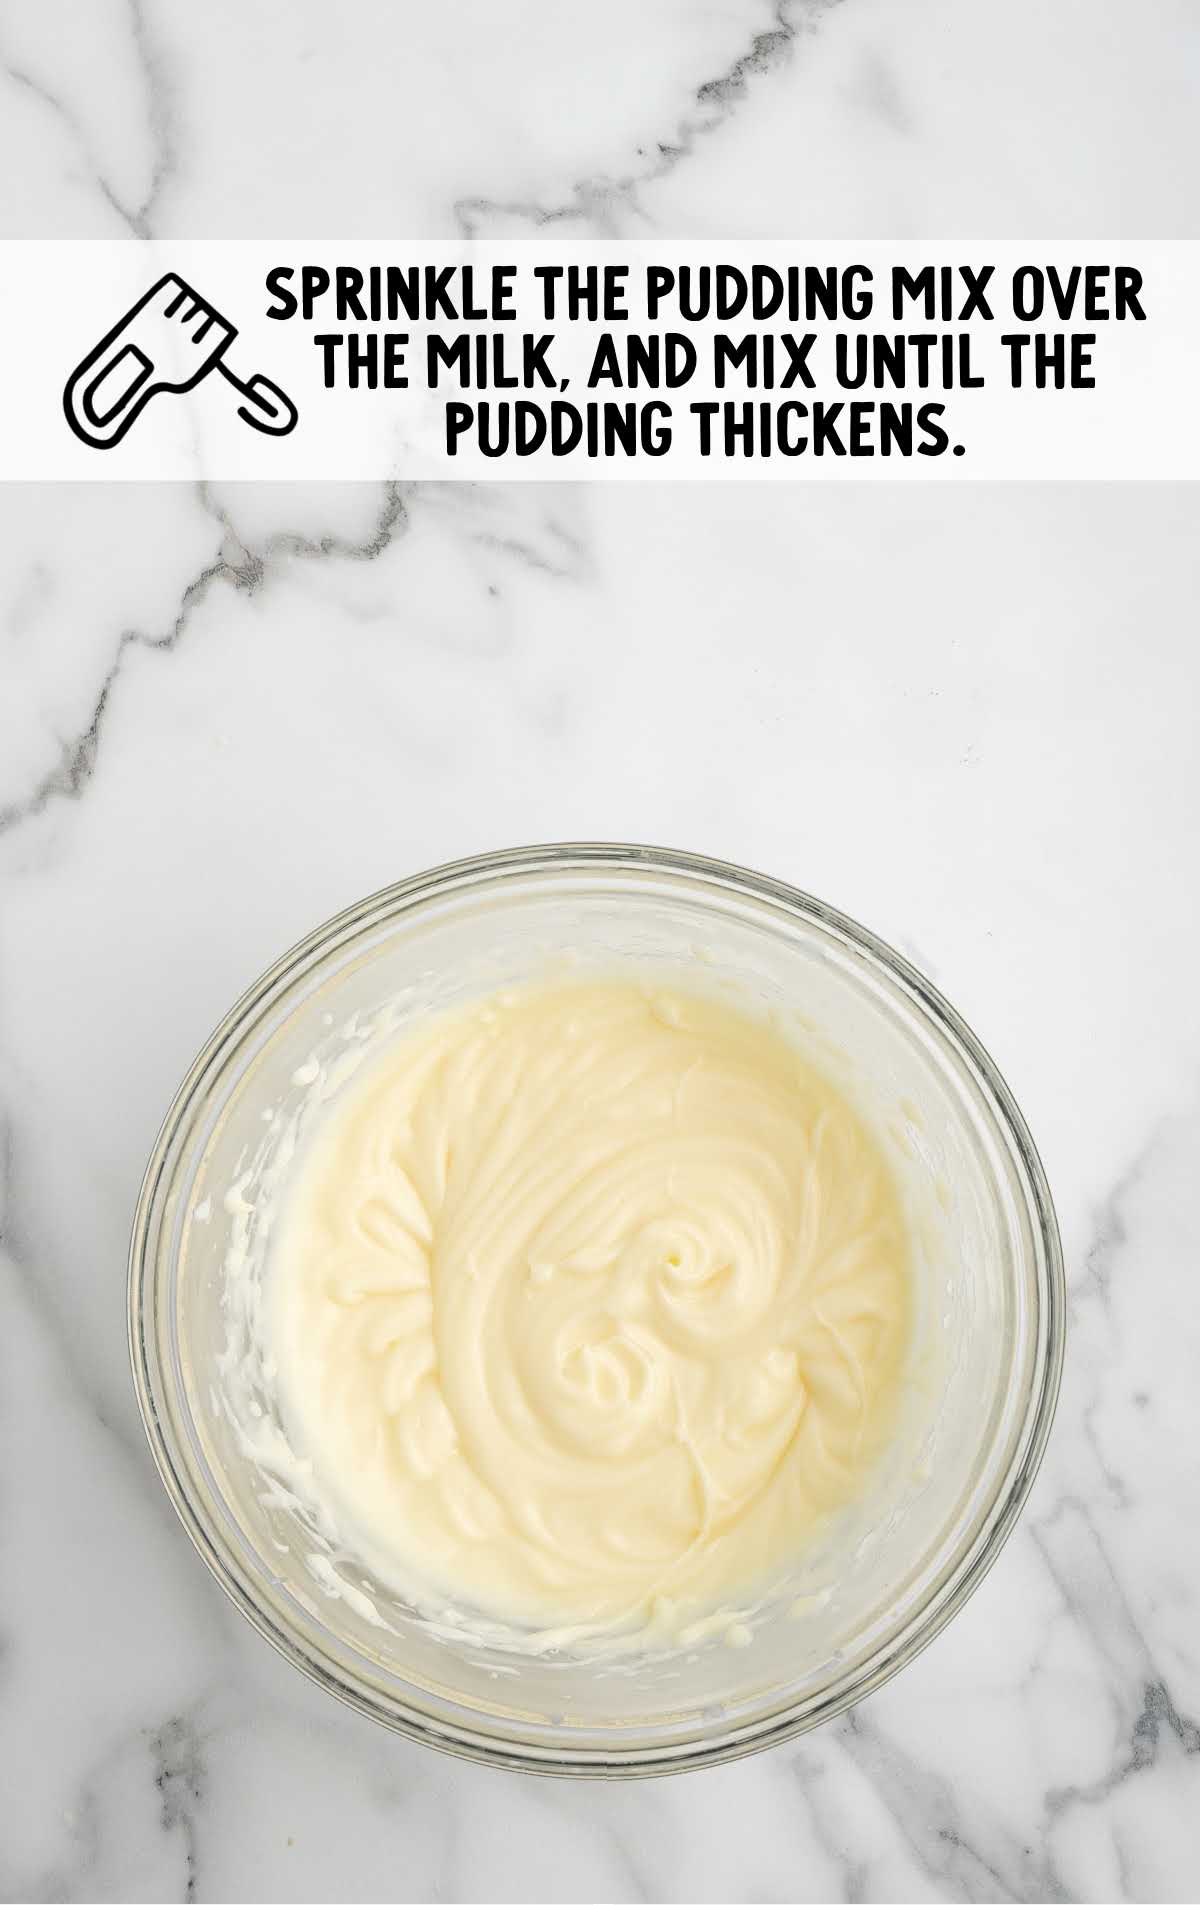
STEP SIX: In a medium-sized mixing bowl, add the cold whole milk. Sprinkle the French vanilla instant pudding mix over the milk. Use an electric mixer on low speed to mix until the pudding thickens, which should take about one and a half to two minutes.
STEP SEVEN: Transfer the prepared pudding to a disposable piping bag, pastry bag, or a gallon-size ziplock bag with a corner snipped off.
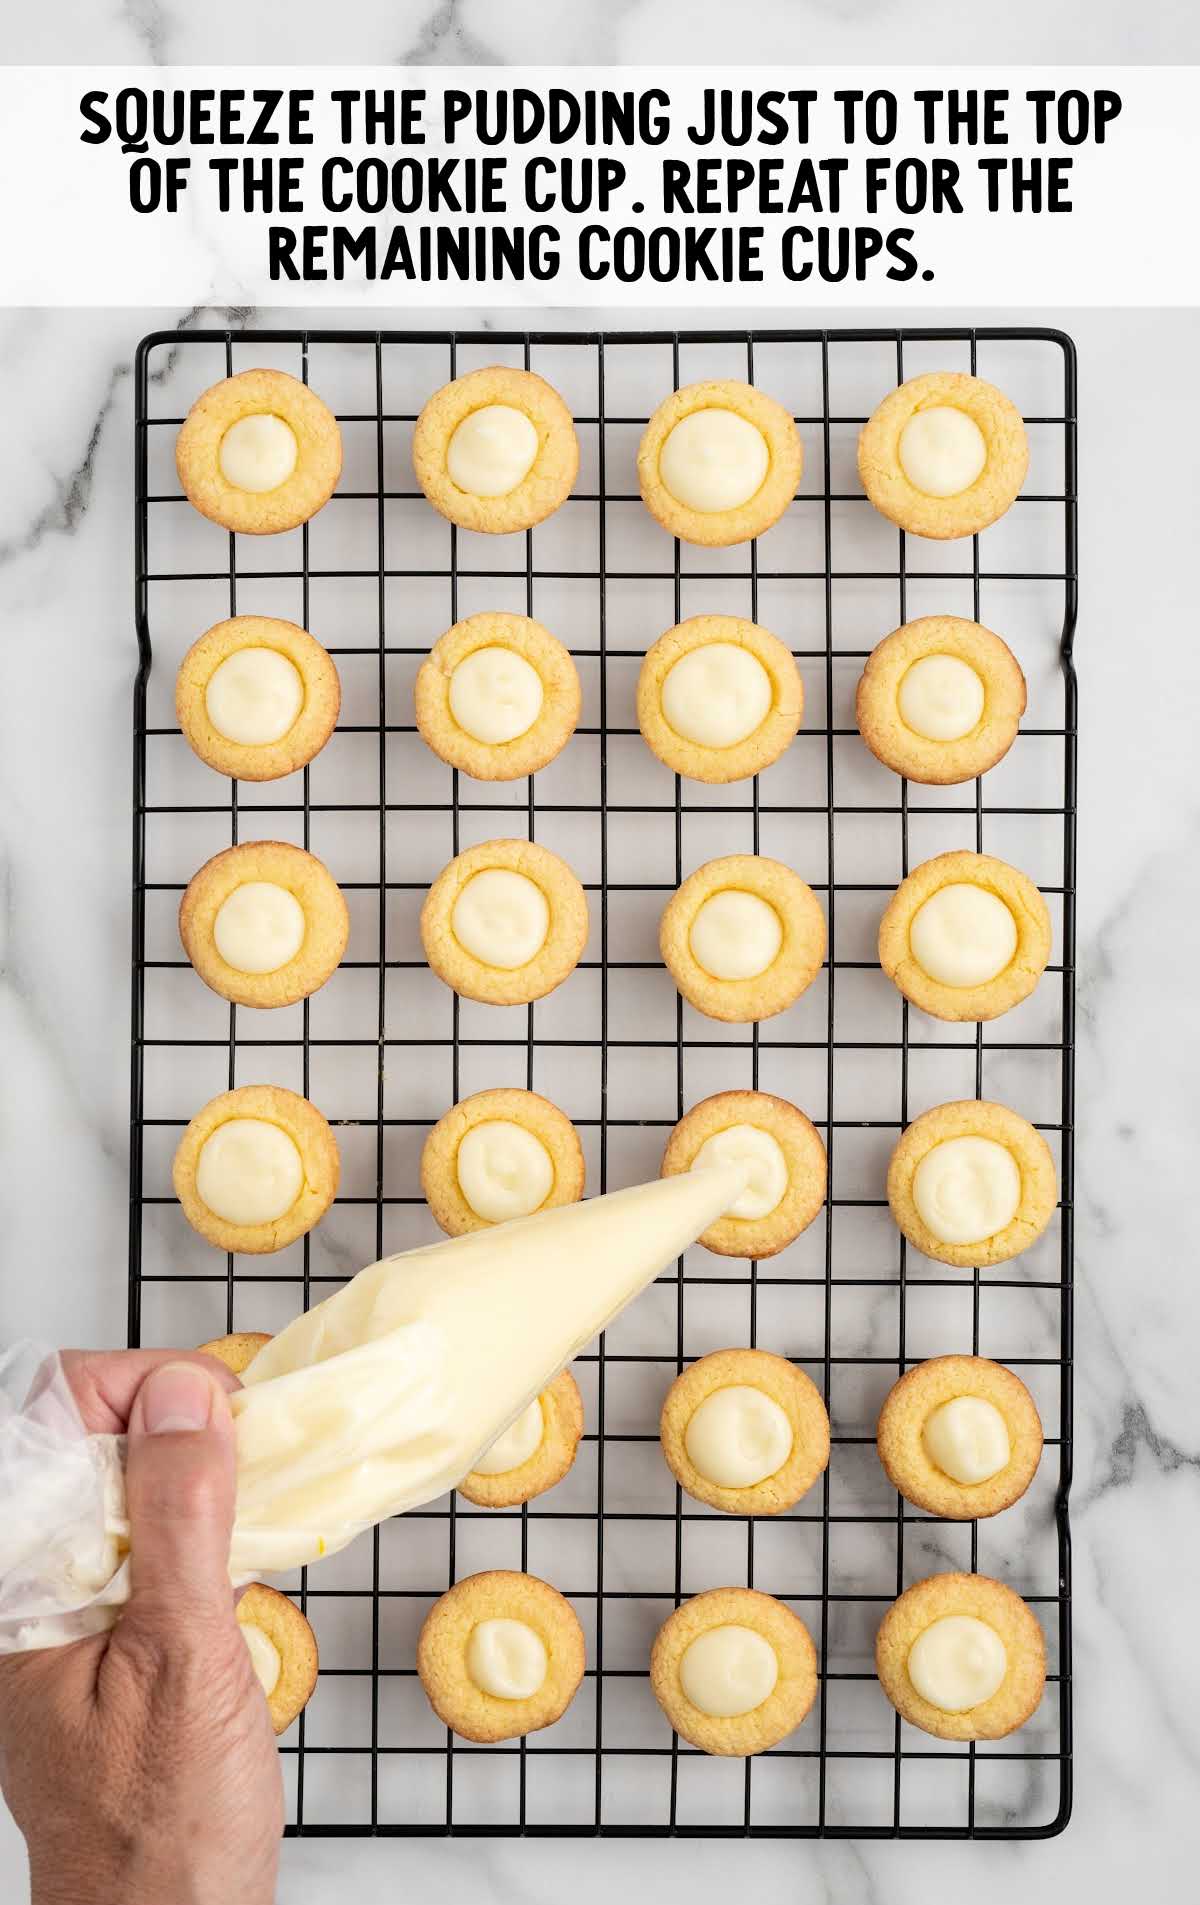
STEP EIGHT: Place the tip of the piping bag into the cookie cup cavity and gently squeeze the pudding to the top of the cup. Repeat this for all the cookie cups.
STEP NINE: Add the semi-sweet chocolate chips to a small heat-safe bowl. In a separate microwave-safe bowl, heat the heavy cream for one minute at full power or until it just begins to form small bubbles.
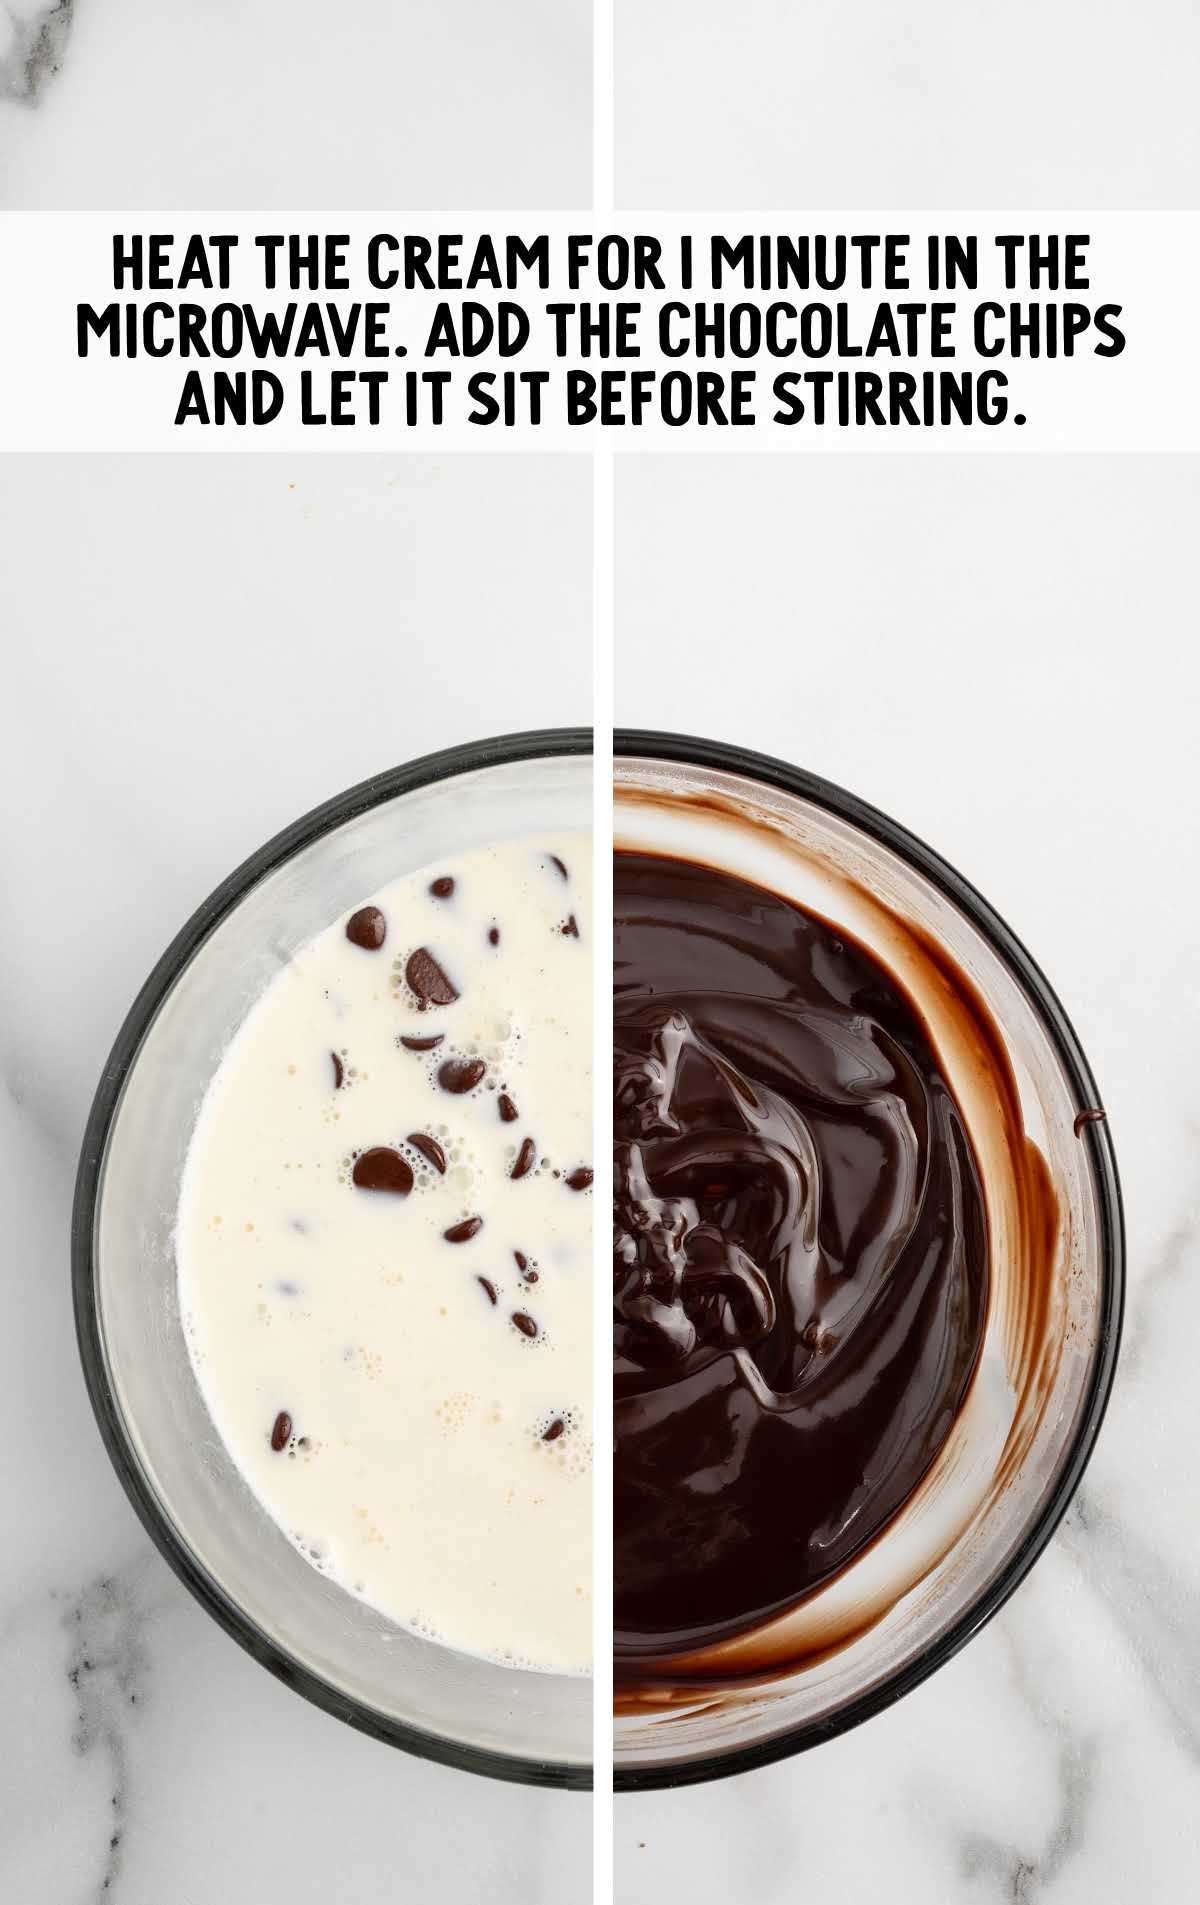
STEP TEN: Carefully pour the heated cream over the chocolate chips and let it sit for about one minute. Stir the mixture until smooth and fully combined, ensuring no chocolate bits remain.
PRO TIP: It’s okay if your chocolate chips aren’t fully melted after they’ve been microwaved. Stir with a small spoon, and the remaining chocolate chips should easily melt into the mixture.
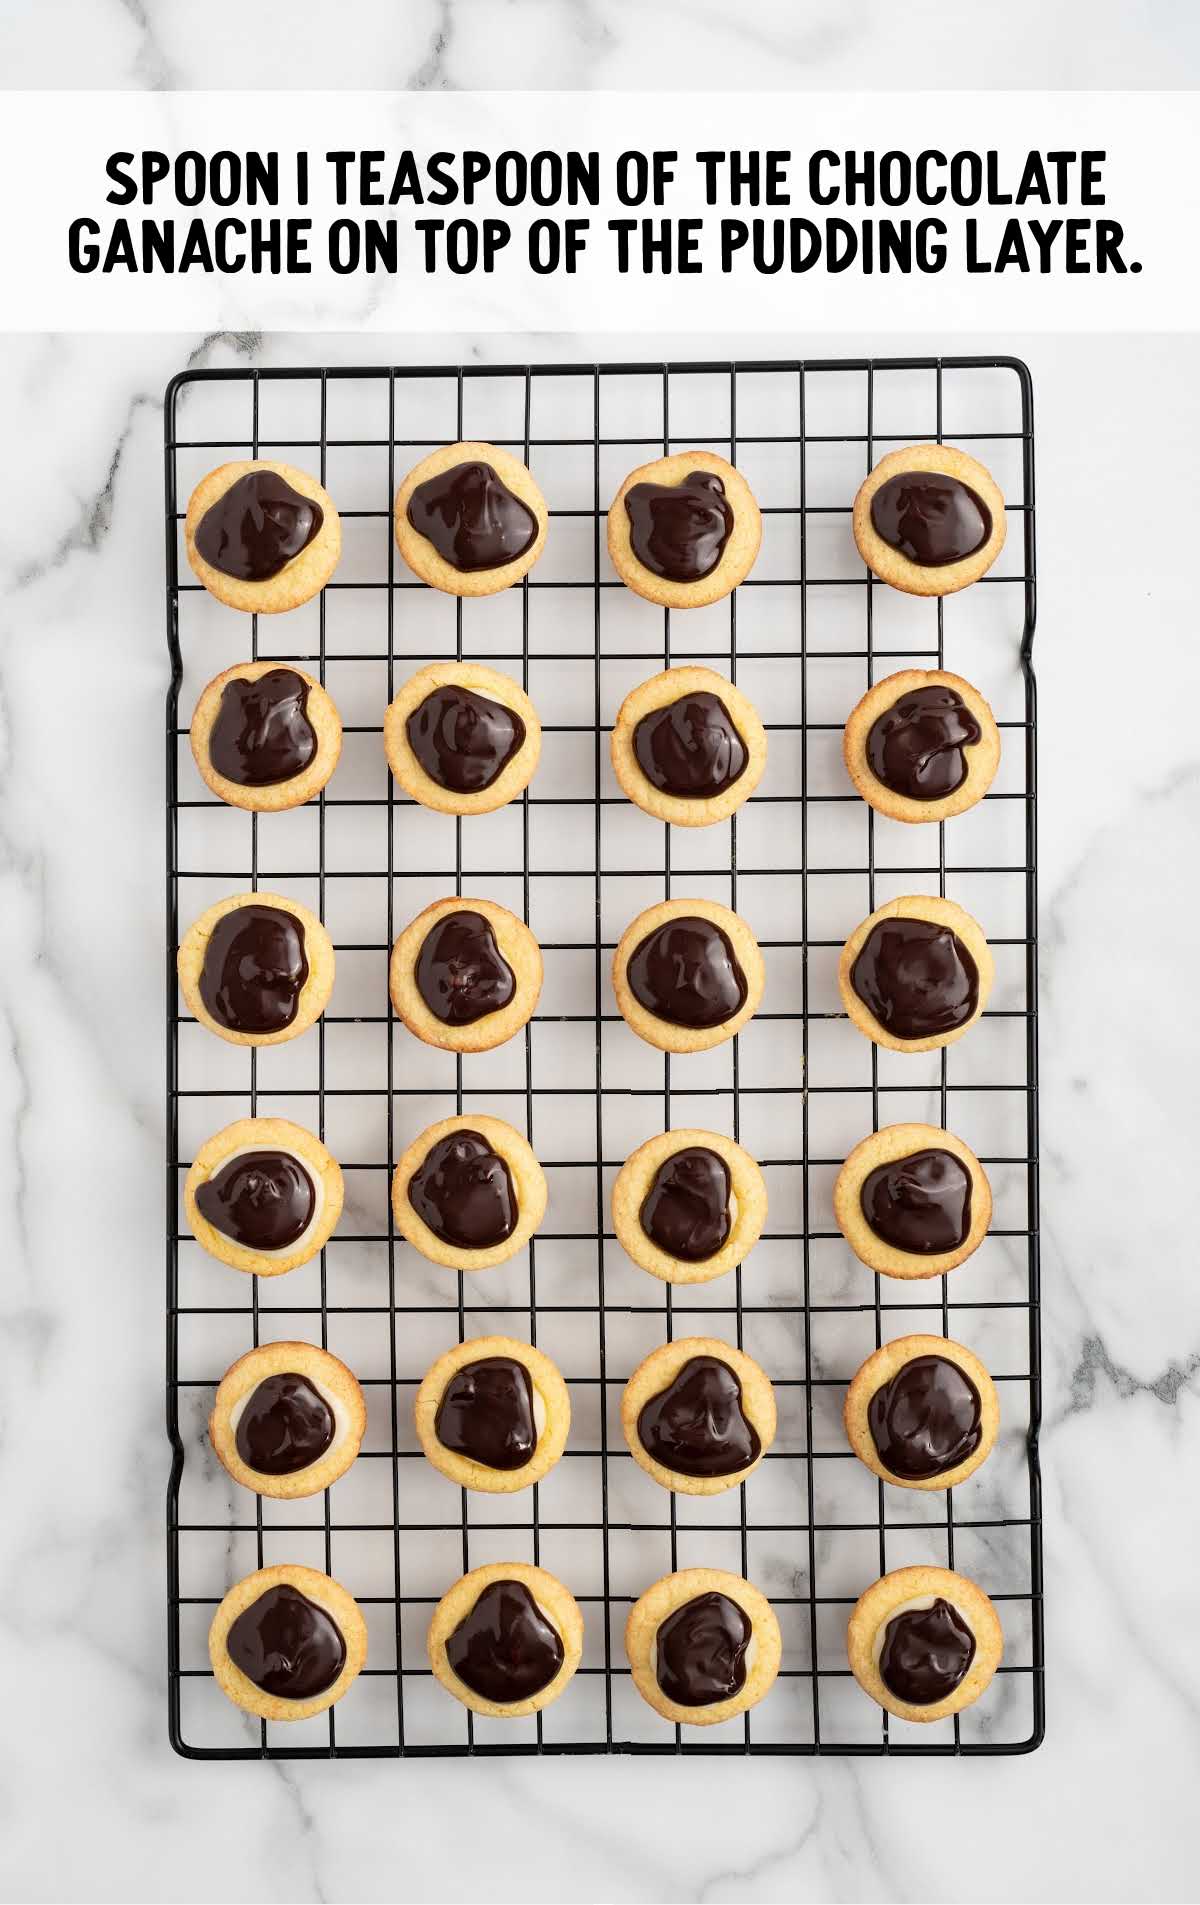
STEP ELEVEN: Spoon one teaspoon of the chocolate ganache onto the top of each pudding-filled cookie cup. Spread it gently to cover the pudding layer.
STEP TWELVE: Allow the chocolate ganache to solidify in the refrigerator before serving.
Troubleshooting This Boston Cream Pie Cookie Cups Recipe
We’ve designed this fun version of the classic dessert recipe to work in your home kitchen and tested it multiple times to be sure it should work for you. However, since appliances and ingredients can vary, our recipe testers created this list of troubleshooting tips:
- Room Temperature Ingredients: Bring your eggs and butter are at room temperature before mixing. This helps create a smoother dough that will bake up fluffier.
- Even Dough Distribution: Use a small cookie scoop or measuring spoon to measure out the dough evenly. This helps all the cookie cups bake at the same rate.
- Chill the Dough: If the dough is too sticky to handle, chill it in the refrigerator for about 15 minutes. This makes it easier to press into the muffin tins.
- Pressing the Cups: When forming the cups, if the dough sticks to the tool, dip it in a little flour or powdered sugar. This will prevent sticking and help you form perfect cups.
- Pudding Consistency: If the pudding seems too runny, let it sit for a few extra minutes or set it in the fridge to thicken up before filling the cookie cups.
- Cooling the Cookie Cups: Allow the cookie cups to cool completely in the pan before transferring them to a wire rack. This helps them firm up and maintain their shape.
How To Serve Boston Cream Pie Cookie Bites
Serving these Boston Cream Pie Cookie Cups is just as fun as making them. Here are some ideas:
Individual Servings: Arrange the cookie cups on a pretty platter and garnish with a light dusting of powdered sugar or a few fresh berries to add a pop of color and a touch of freshness.
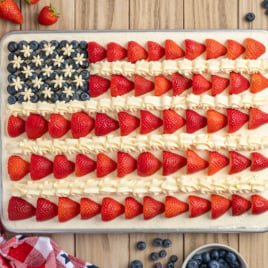
With Fresh Fruit: Pair these cookie cups with a side of freshly sliced strawberries, raspberries, or blueberries for a sweet and colorful touch.
For a Party Spread: These cookie cups are perfect for a dessert table at any gathering. Serve them alongside other small treats like mini cheesecakes, fruit tarts, or chocolate truffles for a delicious assortment of bite-sized desserts.
Boston Cream Dessert Party: If you just can’t get enough Boston cream custard filling, make a Boston cream-inspired dessert platter with a Boston Cream Pie at the center. Serve with Boston Cream Cupcakes, and your mini cookie cups.
Creative Dessert Ideas: Transform these cookie cups into an ice cream sundae base. Place a few cookie cups in a bowl, add a scoop of your favorite ice cream, drizzle with hot fudge or caramel sauce, and top with whipped cream and a cherry.
Incorporate these cookie cups into your holiday celebrations, whether it’s Christmas, Thanksgiving, or even a birthday. They make easy finger food for potlucks and office parties, and will disappear at your next bake sale.
MORE DESSERT CUPS RECIPES


How To Store Boston Cream Cookie Cups
Proper storage of your 2-bite cookie cups will help maintain their deliciousness and keep them fresh for whenever you’re ready to enjoy them.
MAKE AHEAD: Prepare the cookie cups and the pudding filling separately. Store the baked cookie cups in an airtight container at room temperature and the pudding filling in the refrigerator.
Assemble the cookie cups with the pudding and ganache on the day you plan to serve them. They should stay fresh for a day or two.
IN THE FRIDGE: Once assembled, store the cookie cups in an airtight container in the refrigerator. They will stay fresh for up to four days. The cool environment helps maintain the texture of the pudding and the ganache.
IN THE FREEZER: While it’s not recommended to freeze the fully assembled cookie cups (the pudding will make the cookies soggy as it thaws), you can freeze the cookie cups before filling them.
Place the baked cookie cups in an airtight container or a freezer bag, and they can be frozen for up to three months. Thaw the cookie cups at room temperature before filling and topping them with freshly made pudding and ganache.
Why These Boston Cream Pie Cookie Cups Are The Best
Our recipe developers attest that their families adored these little bite-sized treats! What’s not to love?
Easy to Make: Simple steps that even inexperienced bakers can follow.
Classic Flavors: Combines the beloved taste of Boston cream pie in a convenient, bite-sized form.
Kid-Friendly: It’s an easy recipe kids can help with (and they’ll help eat them, too!).
Crowd-Pleaser: Always a hit at parties and family gatherings.
Boston Cream Pie Cookie Cups Frequently Asked Questions
If the ganache thickens too much, gently reheat it in the microwave for a few seconds until it reaches the desired consistency.
Yes, you can prepare the pudding filling in advance and store it in the refrigerator until you are ready to assemble the cookie cups.
You can decorate the cookie cups with seasonal sprinkles or edible glitter to match holiday themes.
Yes, it’s still a good idea to spray the muffin tin with nonstick cooking spray to prevent sticking.
Semi-sweet chocolate chips are recommended, but you can also use milk or dark chocolate based on your preference.
Yes, you can add toppings like sprinkles, chopped nuts, or a drizzle of caramel for extra flavor and decoration.
You can use a gallon-size ziplock bag with the corner snipped off as an alternative to a piping bag.
The cookie cups are done when they have puffed up and are golden brown on the edges, which should take about 9-10 minutes.
Yes, a stand mixer works perfectly for mixing the pudding until it thickens.
This fun cookie cup recipe gives you the classic taste of Boston cream pie in an easy-to-make, and easy-to-eat bite-size format. You’ll adore this delightful twist that’s perfect for any occasion!
Bite-Sized Treats You’ll Love
- Mini Muffins
- Mini Key Lime Pies
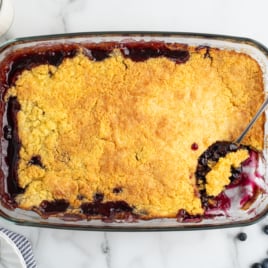
- Mini Blueberry Pies
- Mini Mint Cheesecakes
- Pineapple Upside Down Mini Cakes


Boston Cream Pie Cookie Cups
Ingredients
Cookie Cups
- 15.25 ounces yellow cake mix, we used Pillsbury brand (432g)
- ⅓ cup salted butter, melted and cooled
- 2 large eggs, room temperature
Filling
- 1 ¾ cups cold whole milk
- 3.4 ounces instant French vanilla pudding mix, we used Jell-O brand (96g)
Ganache
- ¾ cup semi-sweet chocolate chips, we used Toll House brand
- ½ cup heavy cream
Instructions
- Preheat the oven to 350°F. Spray 2 mini muffin tins with nonstick cooking spray.
- Add the cake mix, melted butter and room temperature eggs to a medium size (2-3 quart) mixing bowl. Stir until completely incorporated and no dry cake mix lumps are visible.
- Measure 2 – 2 ½ teaspoons per mini muffin cup. Press the dough into a flat plate shape in the bottom of the muffin pan.
- Bake for 9-10 minutes, or until the cookie has puffed up and is golden brown.
- Allow the cookies to cool in the pan for about 3-5 minutes before using either the end of a small rolling pin, the end of a round wooden spoon, or a tart shaper to gently press the cookie until it forms a cup. (Be careful to not press so hard as to make a hole in the bottom of the cookie cup. The cookie will still be a bit doughy). To help ensure that the cookie does not stick whatever you choose to press, you can spray a paper towel with nonstick cooking spray to wipe the end with. Allow the cookie cups to cool completely. Transfer the cooled cookie cups to a wire cooling rack.
- Next add the cold milk to a medium size mixing bowl. Sprinkle the instant vanilla pudding mix over the milk, and use a handheld mixer on low speed to mix until the pudding thickens. This should take about 1 ½ – 2 minutes.
- Add the pudding to either a disposable piping bag or a gallon size ziplock bag with a corner snipped off.
- Place the tip of the piping bag into the cookie cup cavity. Use gentle pressure to squeeze the pudding just to the top of the cookie cup. Repeat for the remaining cookie cups.
- Add the chocolate chips to a small heat-safe bowl.
- Add the heavy cream to a small microwave safe bowl. Heat for 1 minute at full power, or until the cream just begins to make small bubbles. Carefully remove the cream from the microwave and pour over the chocolate chips. Allow the cream and chocolate to sit for about 1 minute before stirring until the chocolate and cream mixture is completely combined, smooth and not little bits of chocolate chips remain.
- Spoon 1 teaspoon of the chocolate ganache on top of the pudding layer. Allow the chocolate to solidify in the refrigerator before serving. Store any leftovers in an airtight container in the refrigerator for up to 4 days. I don’t recommend freezing the filled cookie cups, as the pudding can “weep” when defrosted and cause the cookie cups to become soggy.
Notes
- Bring your eggs and butter to room temperature before mixing. This helps create a smoother dough that will bake up fluffier.
- Use a small cookie scoop or measuring spoon to measure out the dough evenly. This helps all the cookie cups bake at the same rate.
- If the dough is too sticky to handle, chill it in the refrigerator for about 15 minutes. This makes it easier to press into the muffin tins.
- When forming the cups, if the dough sticks to the tool, dip it in a little flour or powdered sugar. This will prevent sticking and help you form perfect cups.
- If the pudding seems too runny, let it sit for a few extra minutes or set it in the fridge to thicken up before filling the cookie cups.
- Allow the cookie cups to cool completely in the pan before transferring them to a wire rack. This helps them firm up and maintain their shape.
- Let the chocolate ganache cool slightly before spooning it onto the pudding. This prevents the pudding from melting and ensures a smooth finish.
Nutrition


Leave a Comment