May 17, 2023
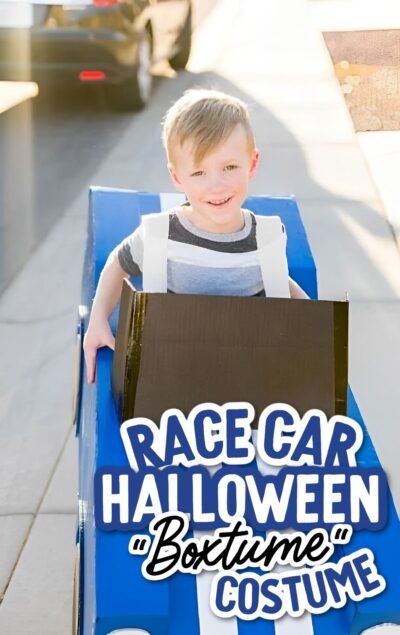
Review PostRace Car Halloween “Boxtume” Costume
Table of Contents
Here’s how to DIY a cool Halloween costume…from boxes! This mom is a part of the Mom It Forward Influencer Network and made fun family memories this weekend by building the car with her husband Ryan. We are sharing the how-to directions so you can build one too. Thanks for the cardboard boxes Amazon Prime and thanks for sponsoring this post!
See Also:
- Kids will love these 21 Dinosaur Party Craft Ideas
- Check out these cool construction-themed party ideas
- Get inspired with this boy-girl sibling’s beautiful beach party
- This Nautical Baby Shower idea is absolutely lovely
- You do not want to miss out on these 50 Best Party Games for Kids
The crazy thing is, how easy this is to do and kids get it!
So when this “boxtume” Halloween costume challenge came up, making a car was a no-brainer. We think Ryan was just as excited as the boys. Maybe more!

Ryan did most of the work—he cut up all the cardboard panels and the kids helped with some of the taping. Their enthusiasm was contagious.
We cheered them on and took pictures.

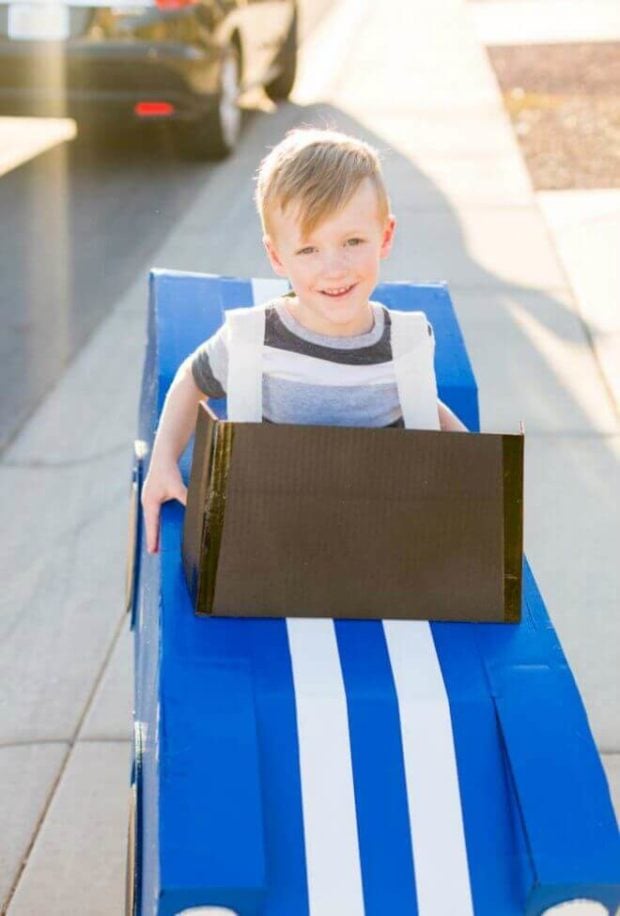
Rowen and Dax could hardly wait to “drive” their car. Rowen says it’s perfect for cruising the neighborhood.

He is positive it only runs on candy. That boy is always thinking.
They are always getting things from Amazon, both from personal orders and with sponsored posts, and saved the boxes to use for this project.
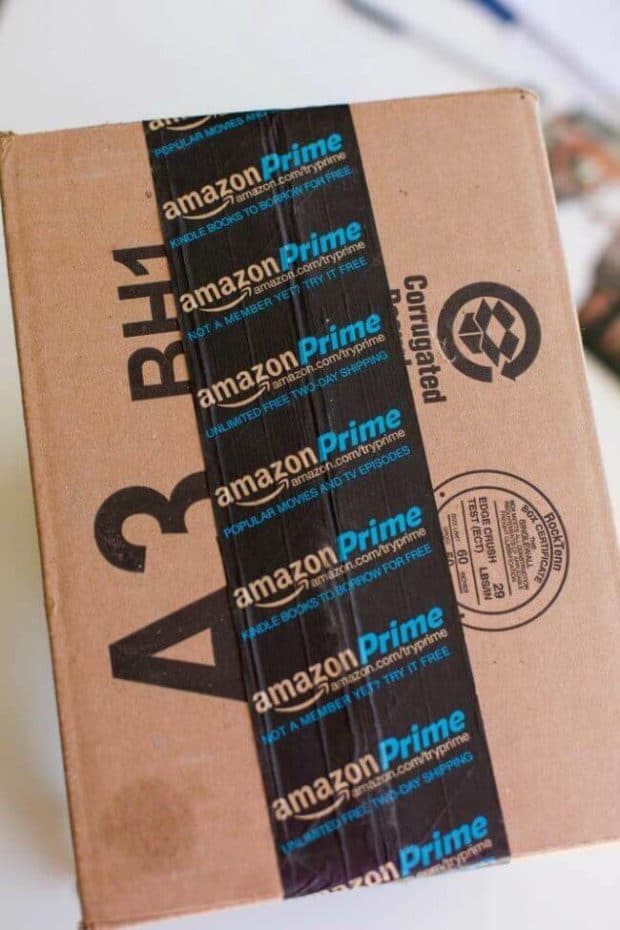
They love Amazon Prime! It’s convenient and quick, and free shipping is a great benefit. Besides, you can find just about anything you want.
And then you have the empty cardboard boxes, just waiting to be transformed. Everyone knows kids love to play with empty cardboard boxes.
Turns out, dads do too!
SUPPLIES
- (Shelby Cobra-Inspired) Racecar Boxtume
- 2 extra-large 6 cubic foot Amazon Prime boxes
- masking tape
- painter’s tap
- serrated utility knife
- spray paint (we chose white, blue, and black)
DIRECTIONS
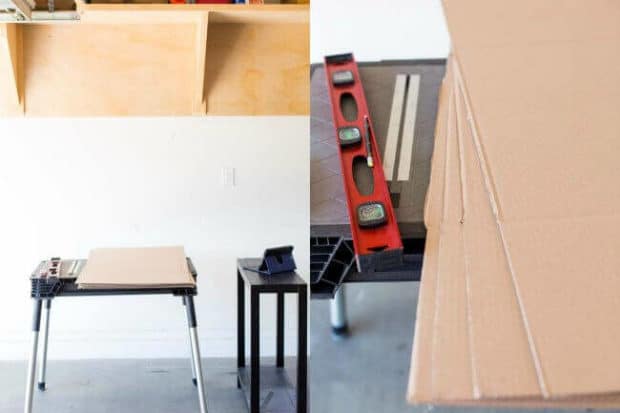
1. Cut boxes so they will lay open and flat.
2. Cut the flat box along the folds, into four equal sections.
3. Next, on two of the pieces, trim off 6 inches from the top. Set the 6-inch strips aside. You’ll use them later.
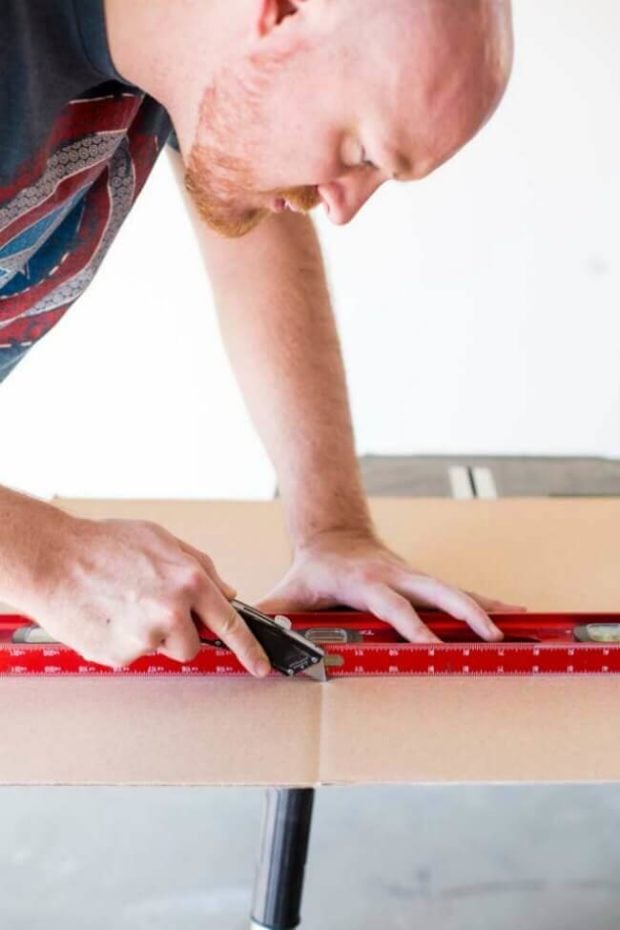
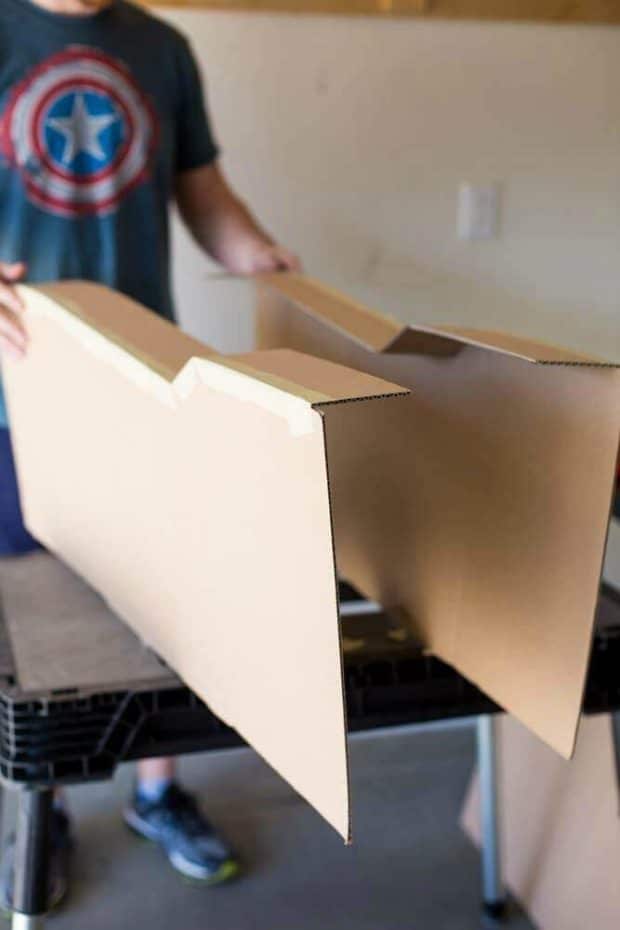
4. Draw lines to create the car profile.
5. Line up two pieces and cut them together.
6. Trim the two 6-inch strips down to 4 inches wide.
7. Tape the 4-inch strips along the top edge of the car, towards the inside.
8. Cut a piece measuring 10.5×22 for the car hood.
9. Make a crease down the middle so it lines up with the curve of the car. Place on the car, making sure the hood piece sticks out an additional 2 inches. Use masking tape to tape onto the car.
10. Cut a 10.5-inch piece of cardboard to connect and make the rear trunk lid.
11. To create the back of the car, cut a piece 2 inches wider than the car; fold to make creases. Tape onto the back of the car.
12. Cut two 4-inch wide strips; tape them to the front of the car.
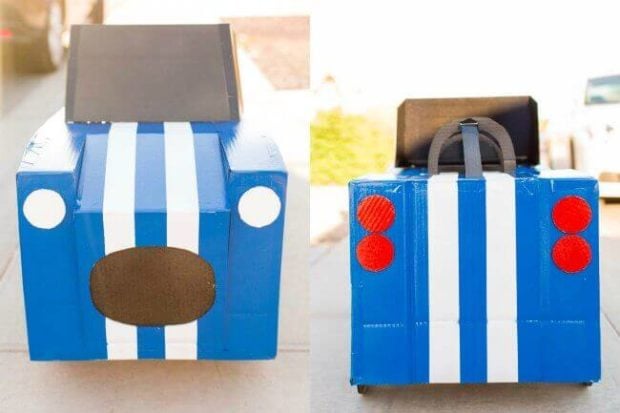
13. Cut a piece to fit between the two strips on the front. Cut an oval shape in the middle for the grill. Tape onto the car.
14. Cut four triangle pieces to fill in gaps on the hood and then tape.
15. Cut a half circle, about 2 inches wide, and one 2-inch strip about 8 inches long. Tape them together to form the roll bar.
16. Cut three 2-inch slits for the roll bar and insert the roll bar into the slits. Make sure it is a tight fit.
17. Cut a piece for the windshield, making the top slightly more narrow than the bottom, to the desired height.
18. Cut two equal pieces to form side windows; tape. The side windows also give support to the windshield.
19. Cut out the steering wheel, four fenders, and four circles for the wheels.
20. Cut out six small circles of equal size (approximately 3 inches in diameter) for headlights and taillights.
21. To make shoulder straps for wearing the car, measure your driver standing inside the car. Cut two strips of 2.5-inch wide sturdy fabric to the correct length. Hot glue the ends securely, inside the car.
To paint:
1. Paint wheels, steering wheel, roll bar, and windshield black.
2. Paint two of the 3-inch circles white, for headlights.
3. Paint the remaining four 3-inch circles red, for taillights.
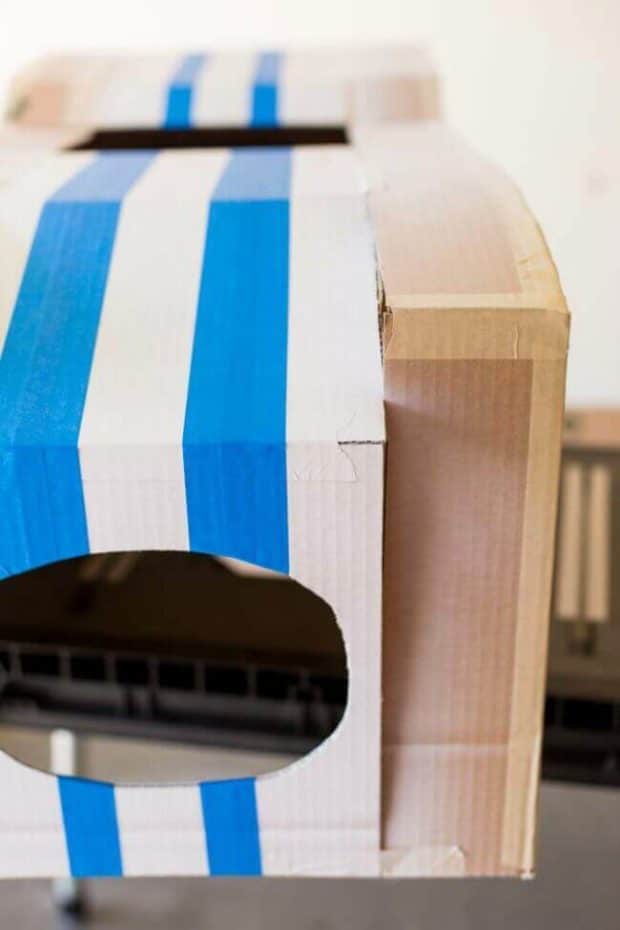
4. To paint the car, start by painting the entire center white. Allow it to dry.
5. Tape two 2-inch wide strips down the middle of the car (this is for the racing stripes).
6. Now paint the rest of the car blue; allow it to dry. We used two full cans of spray paint.
7. Once all the pieces have dried, remove the painter’s tape; use a hot glue gun to secure the pieces in place.
Don’t miss these fabulous ideas for a summer birthday party:
- Beach Bash First Birthday
- Minecraft Party Ideas
- A Super Mario Party
- A Well-Built Minecraft Birthday Party
- 21 Top Pokemon Go Party Ideas
- Shark Themed Beach Bash
- Luau Party Ideas
Plus, you don’t want to miss 50 Best Party Games For Kids