November 3, 2023
Review RecipeCaramels Recipe
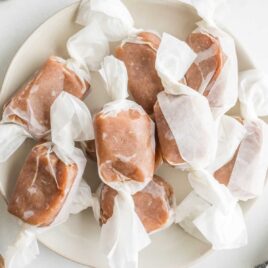
Table of Contents
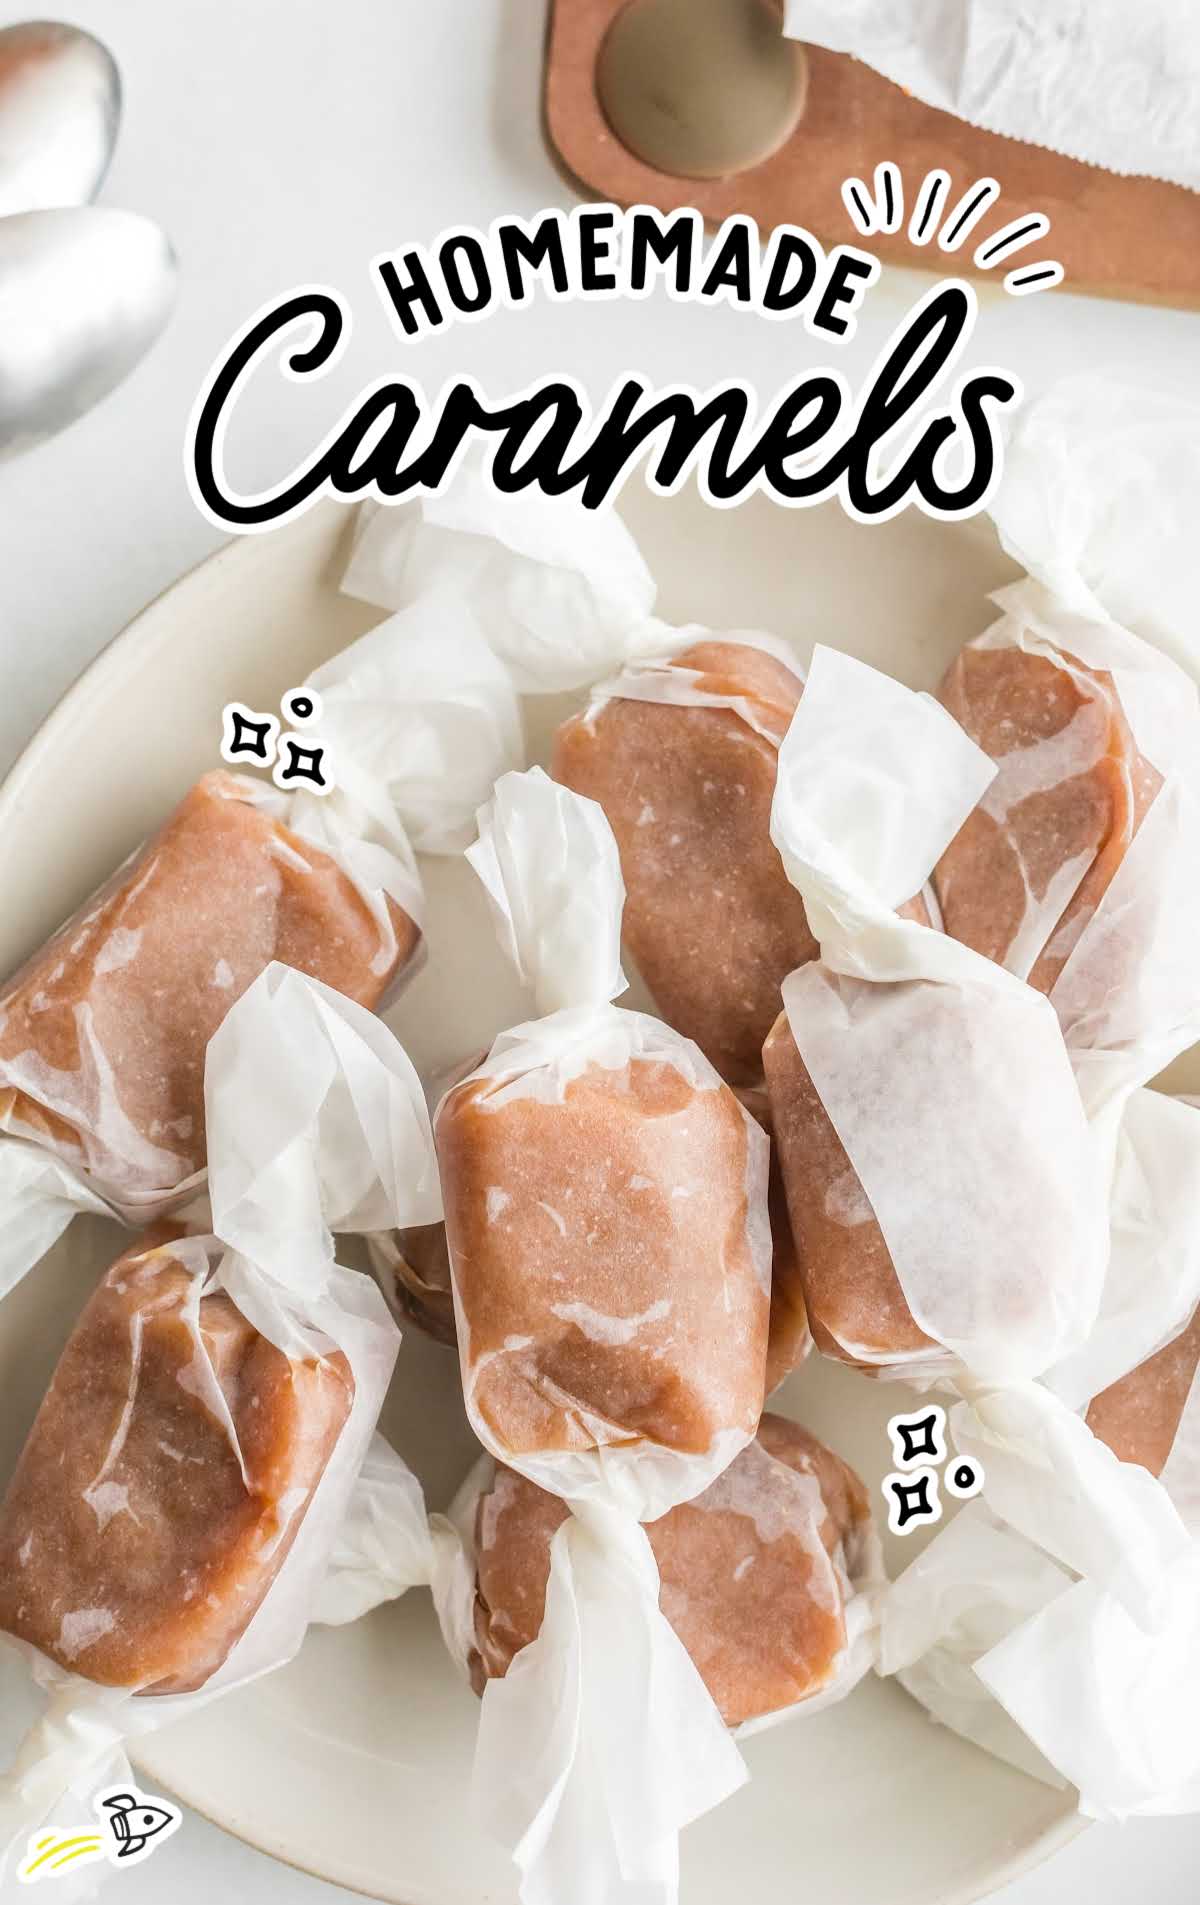
There’s something special about soft, chewy caramels. Maybe it’s the way this classic candy melts in your mouth or the sweet and salty flavor, but no matter what it is, one thing is for sure: caramels are irresistible.
Caramels Recipe Ingredients
Caramels quite simply must be tasted to be believed!
Rich and buttery, with a hint of salt, these velvety morsels instantly melt away in your mouth, leaving you dreaming of more.
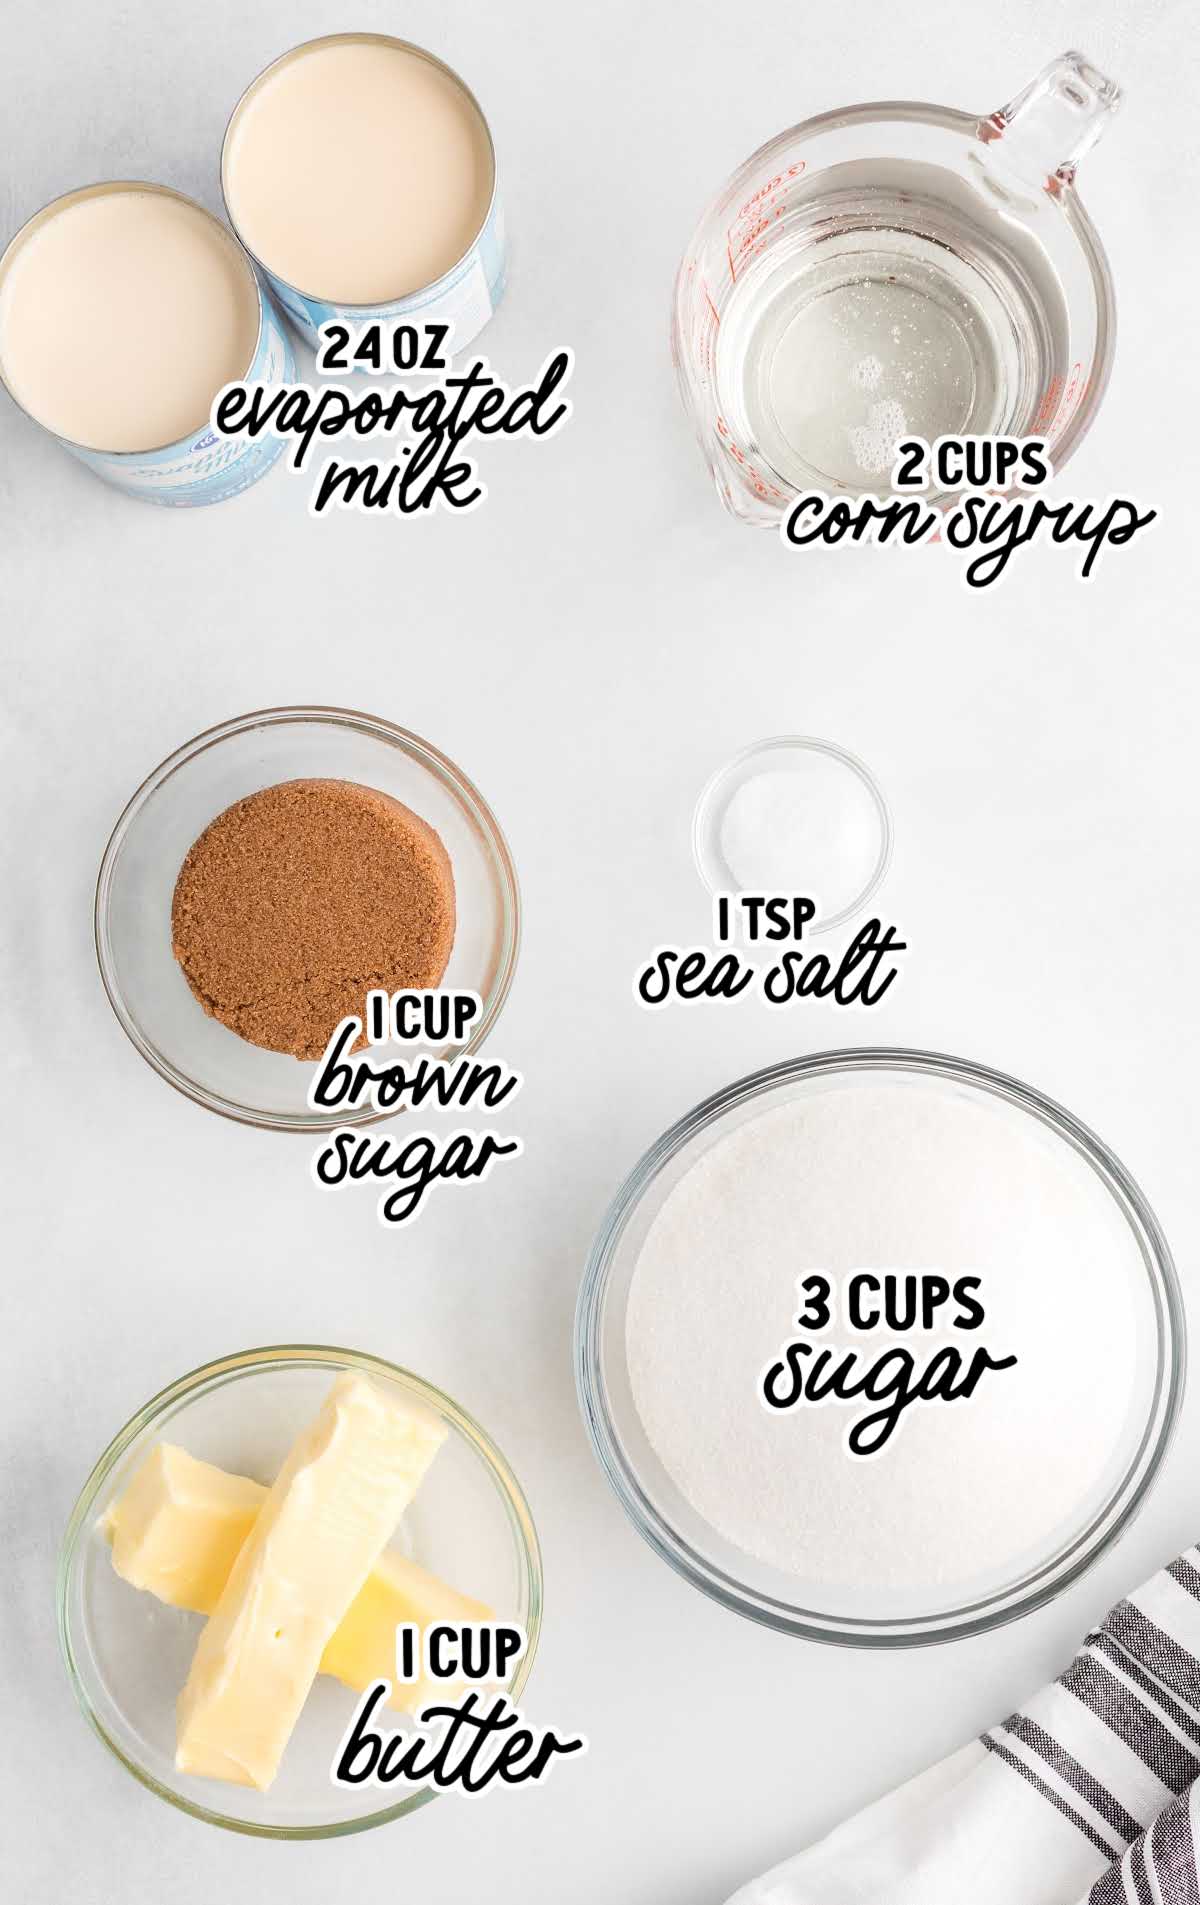
You’ll need:
- 3 cups of granulated sugar
- 1 cup of brown sugar
- 1 cup of unsalted butter, softened
- 2 cups of light corn syrup
- 1 teaspoon of sea salt
- 2 (12-ounce) cans of evaporated milk
Substitutions And Additions
SEA SALT: Add a little bit of sea salt to the top of this classic caramel candy for a delicious variation of the flavor.
NUTS: To add a delightful crunch and flavor variation, mix finely chopped nuts into your caramel mixture.
Pecans, almonds, or hazelnuts work exceptionally well. Toast the nuts beforehand to enhance their flavor.
About ½ cup of chopped nuts should suffice, but feel free to adjust to your preference.
FLAVORED EXTRACTS: Experiment with flavored extracts like orange, mint, or coffee to infuse your caramels with intriguing tastes.
Just a few drops can transform your caramels into unique and aromatic treats.
How To Make This Caramels Recipe
Our step-by-step instructions below will walk you through making this caramel recipe.
Make sure you keep a very close eye on the mixture while it is on the stovetop and whisk it continuously. It can very quickly burn to the bottom of the pan and you definitely don’t want this treat to burn!
STEP ONE: Prepare a 9×13-inch pan with parchment paper.
STEP TWO: Add the sugars, butter, corn syrup, and salt to a heavy-bottomed saucepan or 5-quart stockpot, then bring to a boil over medium heat.
OUR RECIPE DEVELOPER SAYS
Make sure you are using a heavy-bottomed pan. Thin pots tend to heat unevenly and may not give you the desired results.
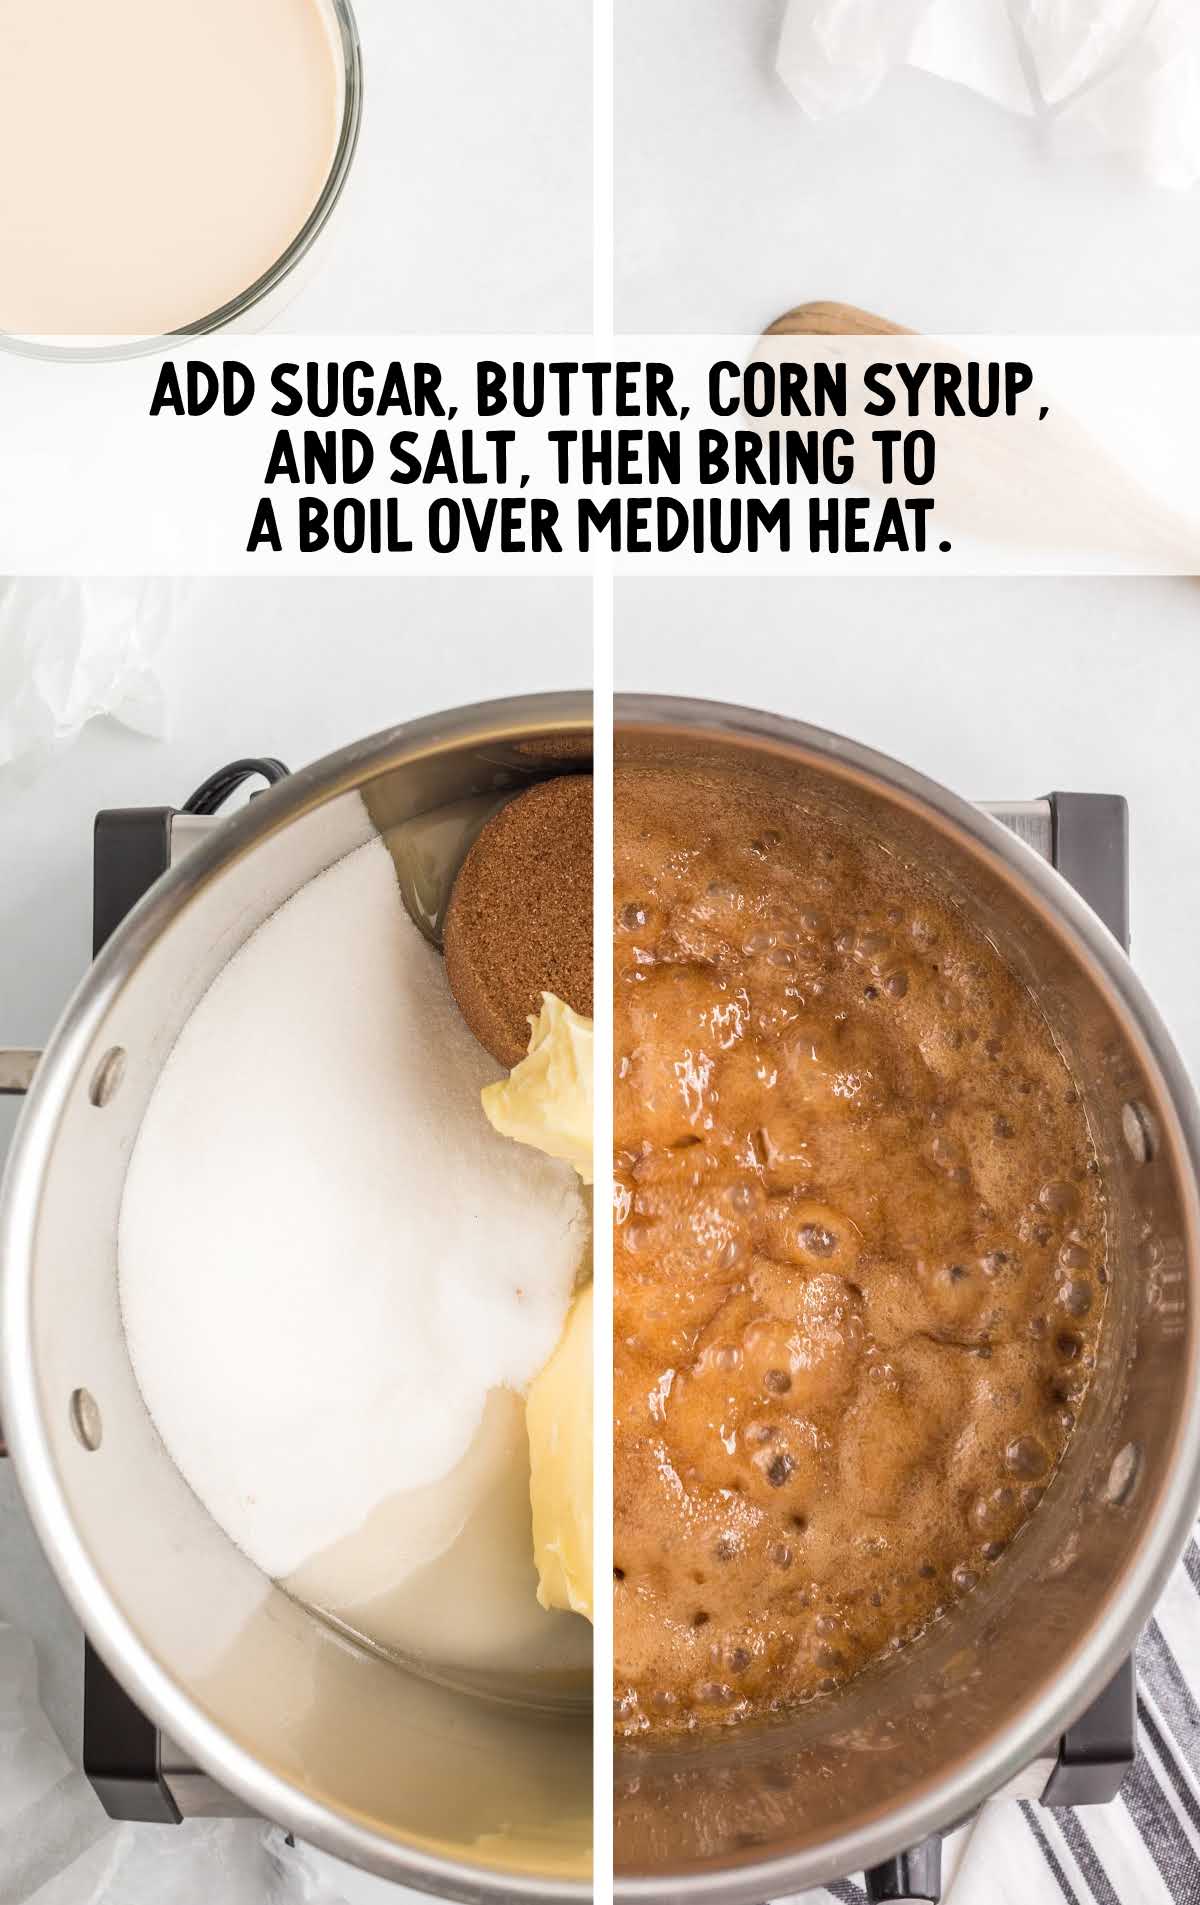
STEP THREE: Add in the milk very, very slowly, whisking/stirring constantly while boiling. Make sure the addition of the milk isn’t slowing the boil.
This should take about 20 minutes.
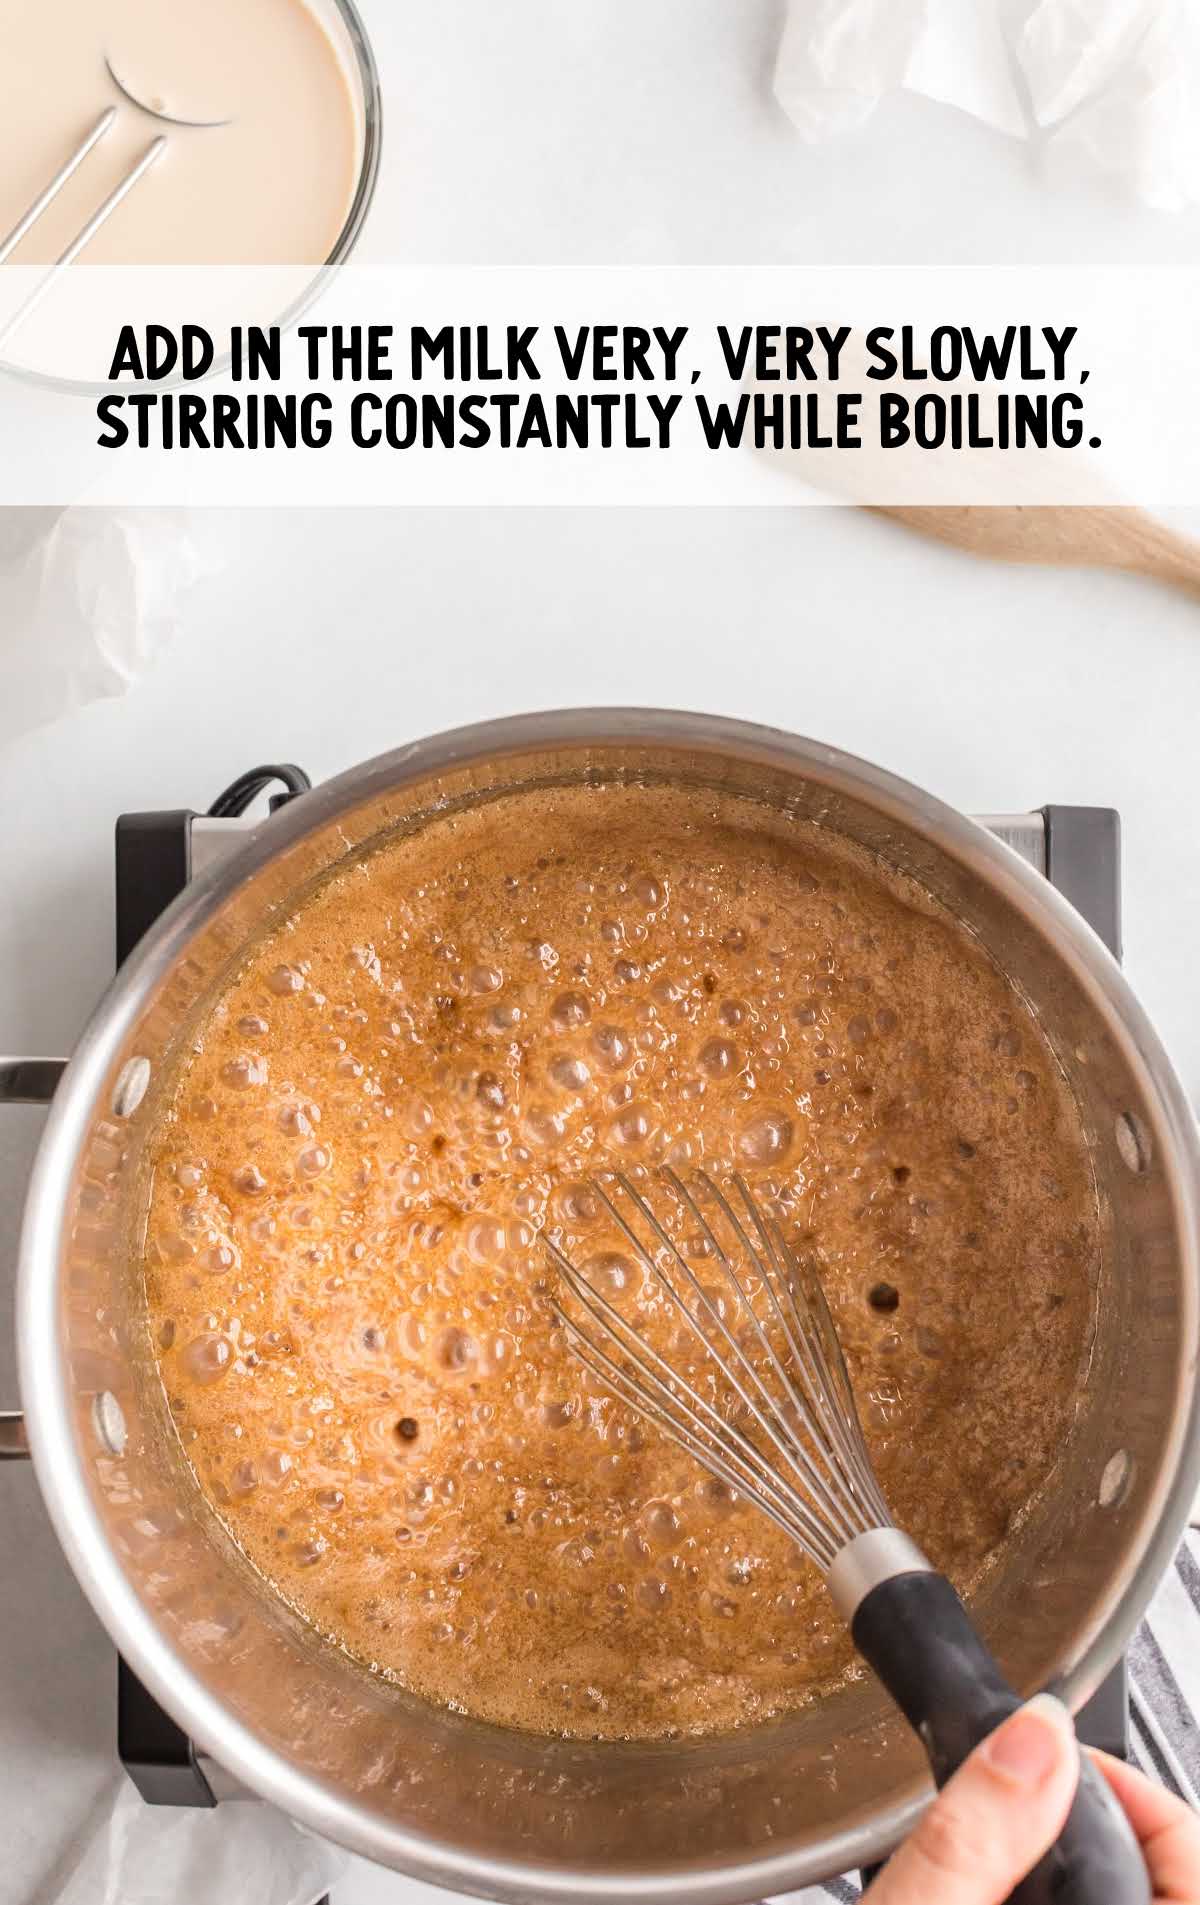
STEP FOUR: Lower to medium-low heat and attach a candy thermometer to the pan.
Heat, stirring often until the mixture reaches 238°F. Remove from the heat immediately and pour into the prepared pan.
PRO TIP:
The temperature is key when making caramels. Make sure you are using a candy thermometer so that you can be precise.
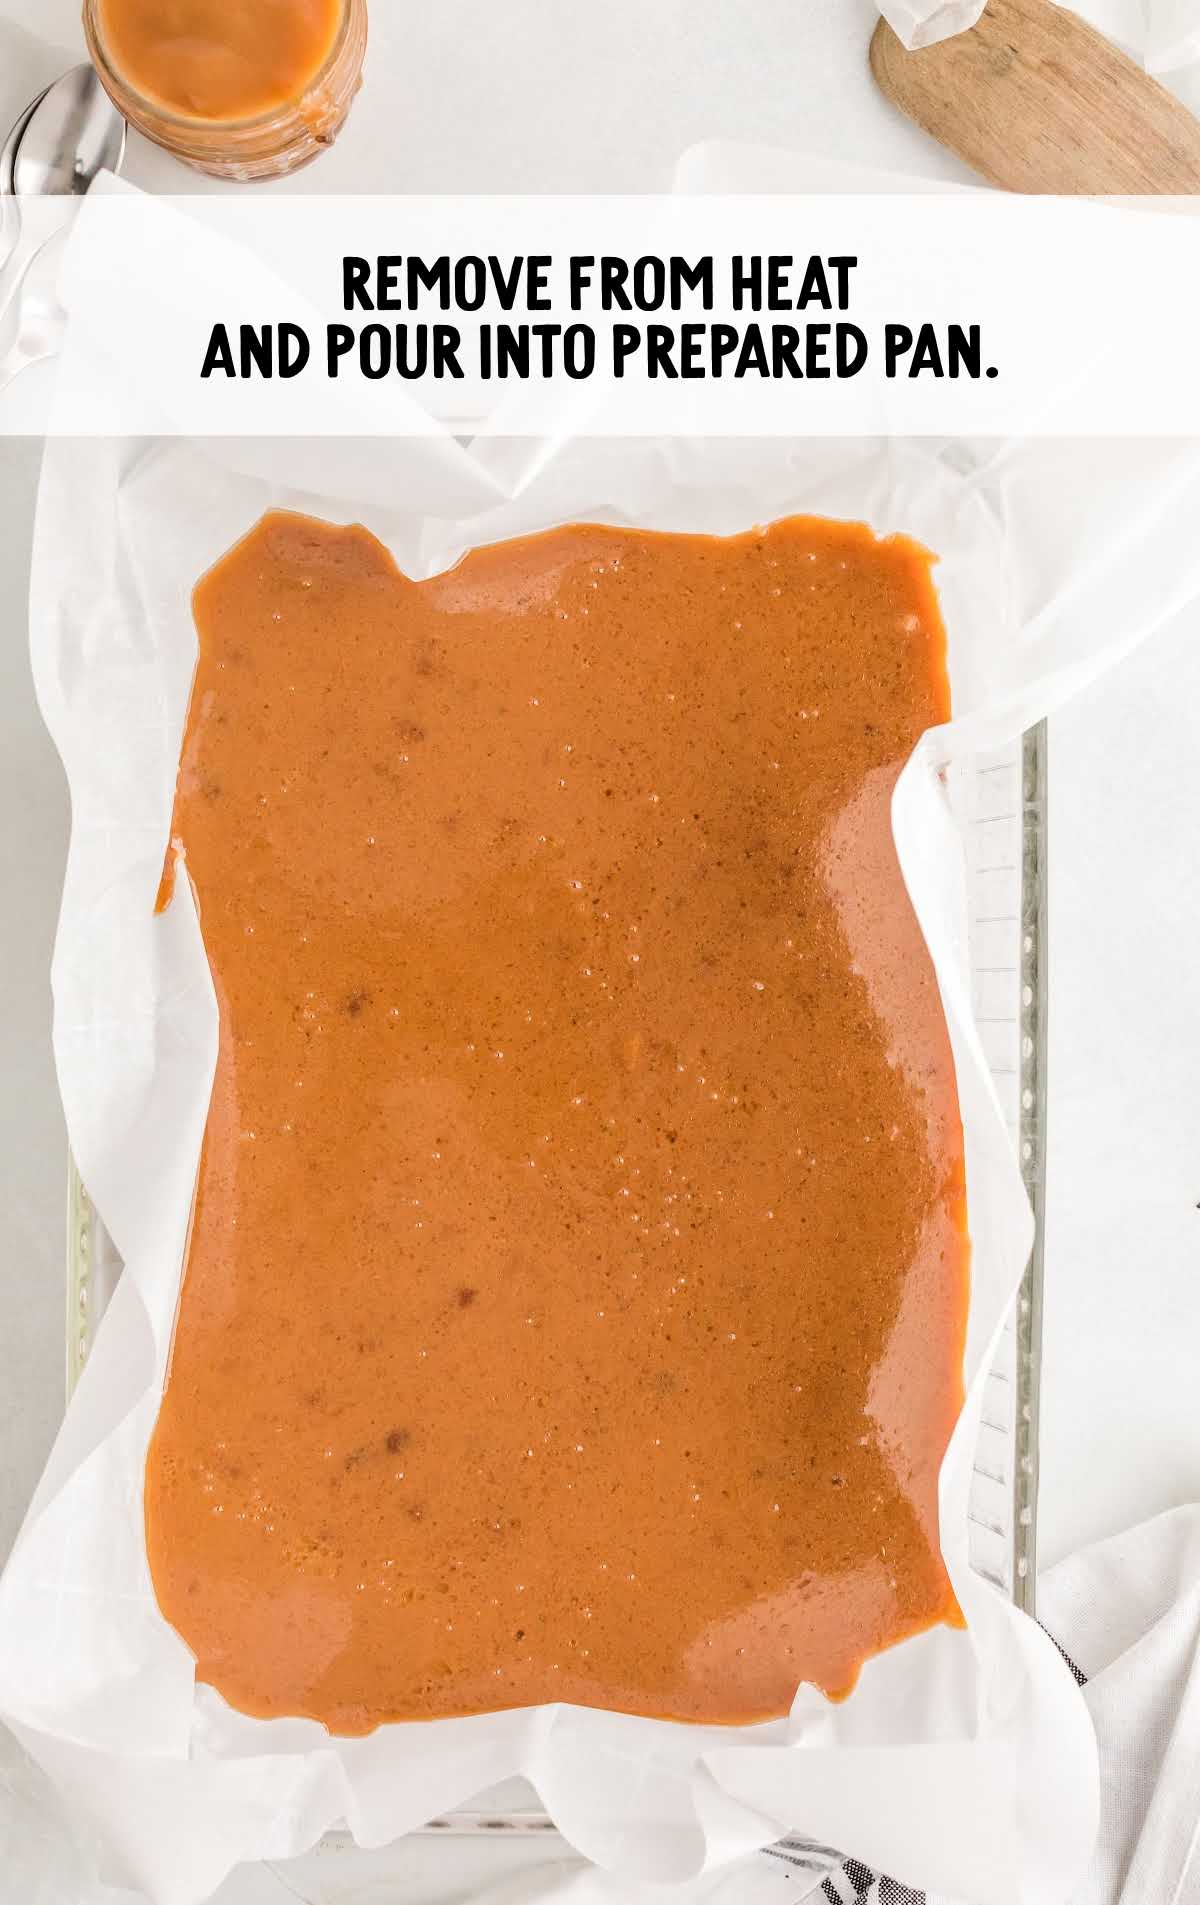
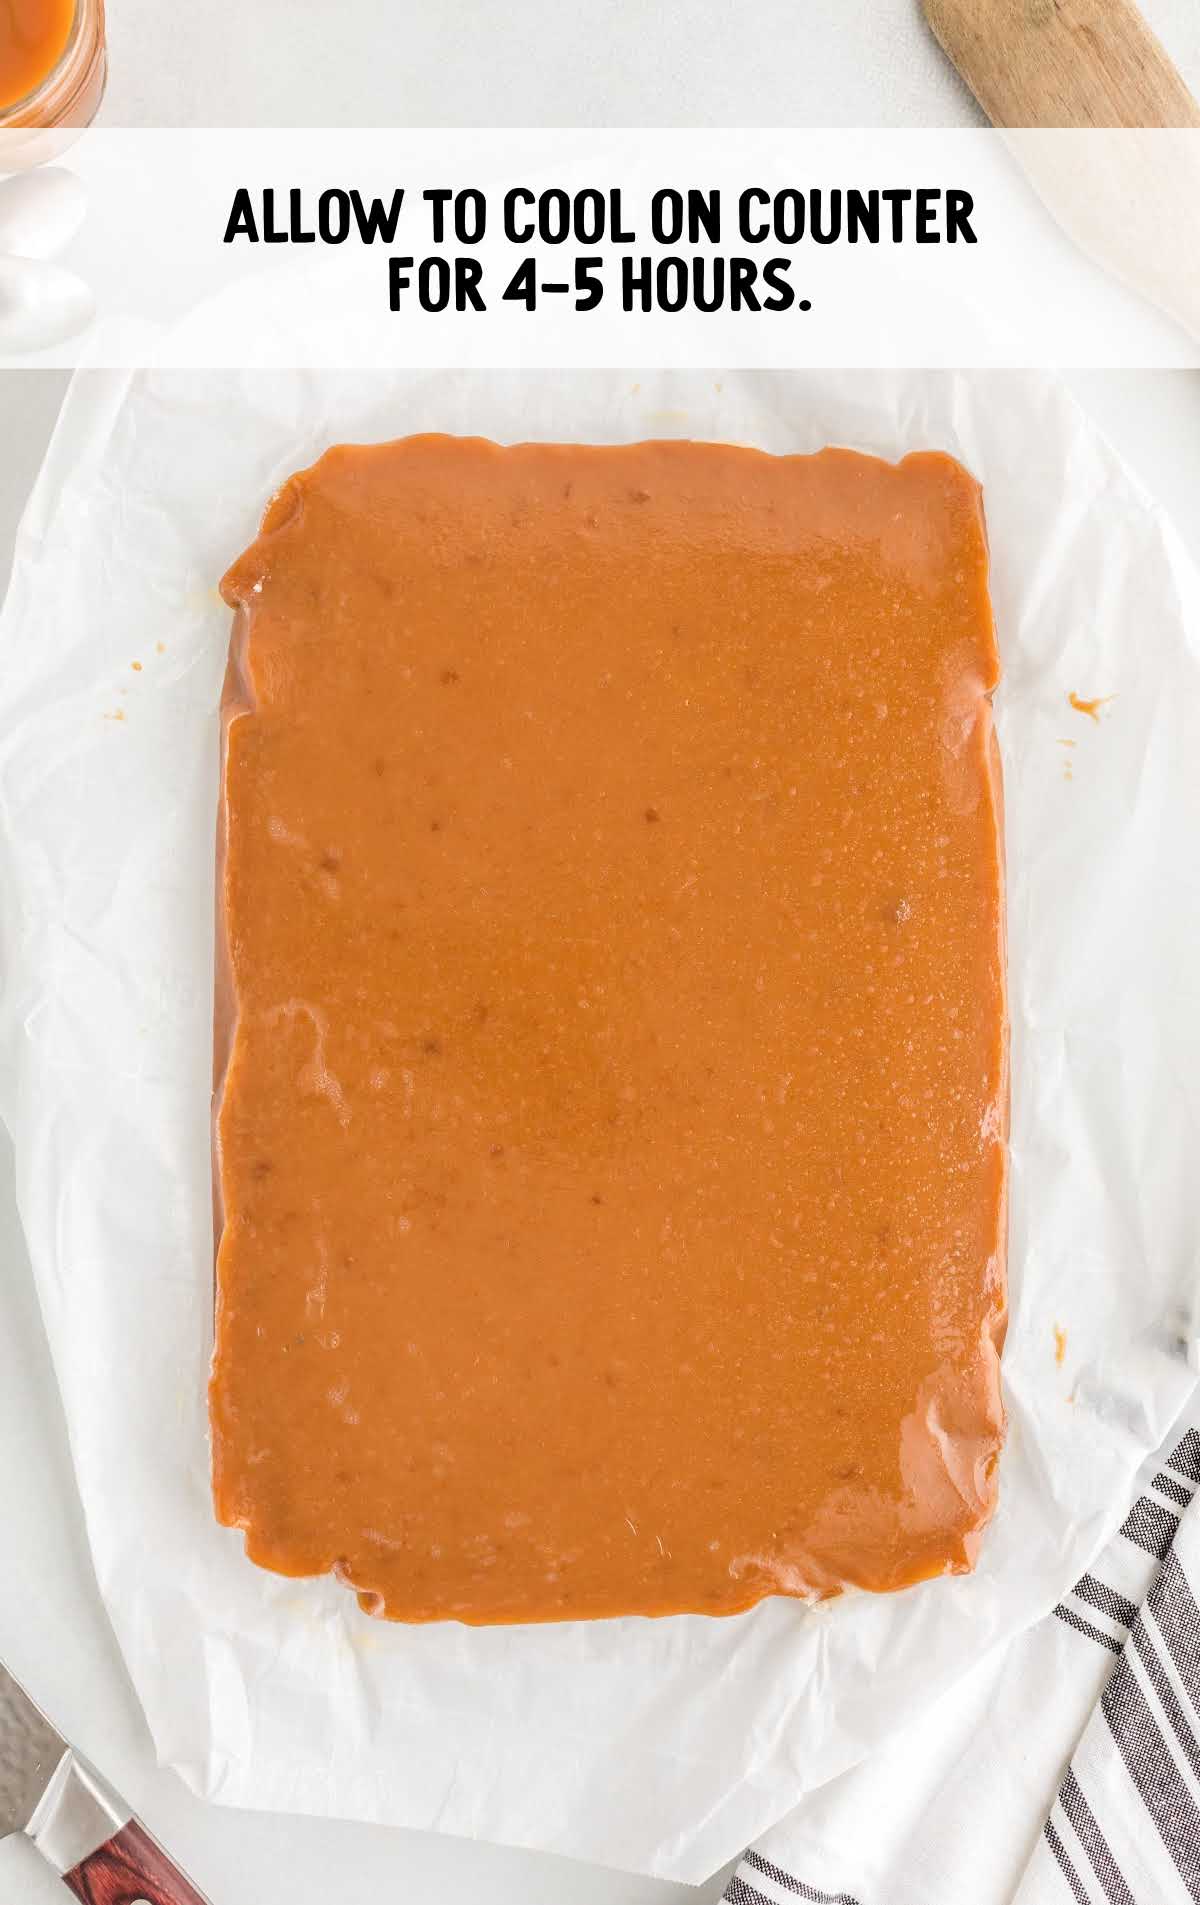
STEP FIVE: Allow caramel to cool on the counter for four to five hours.
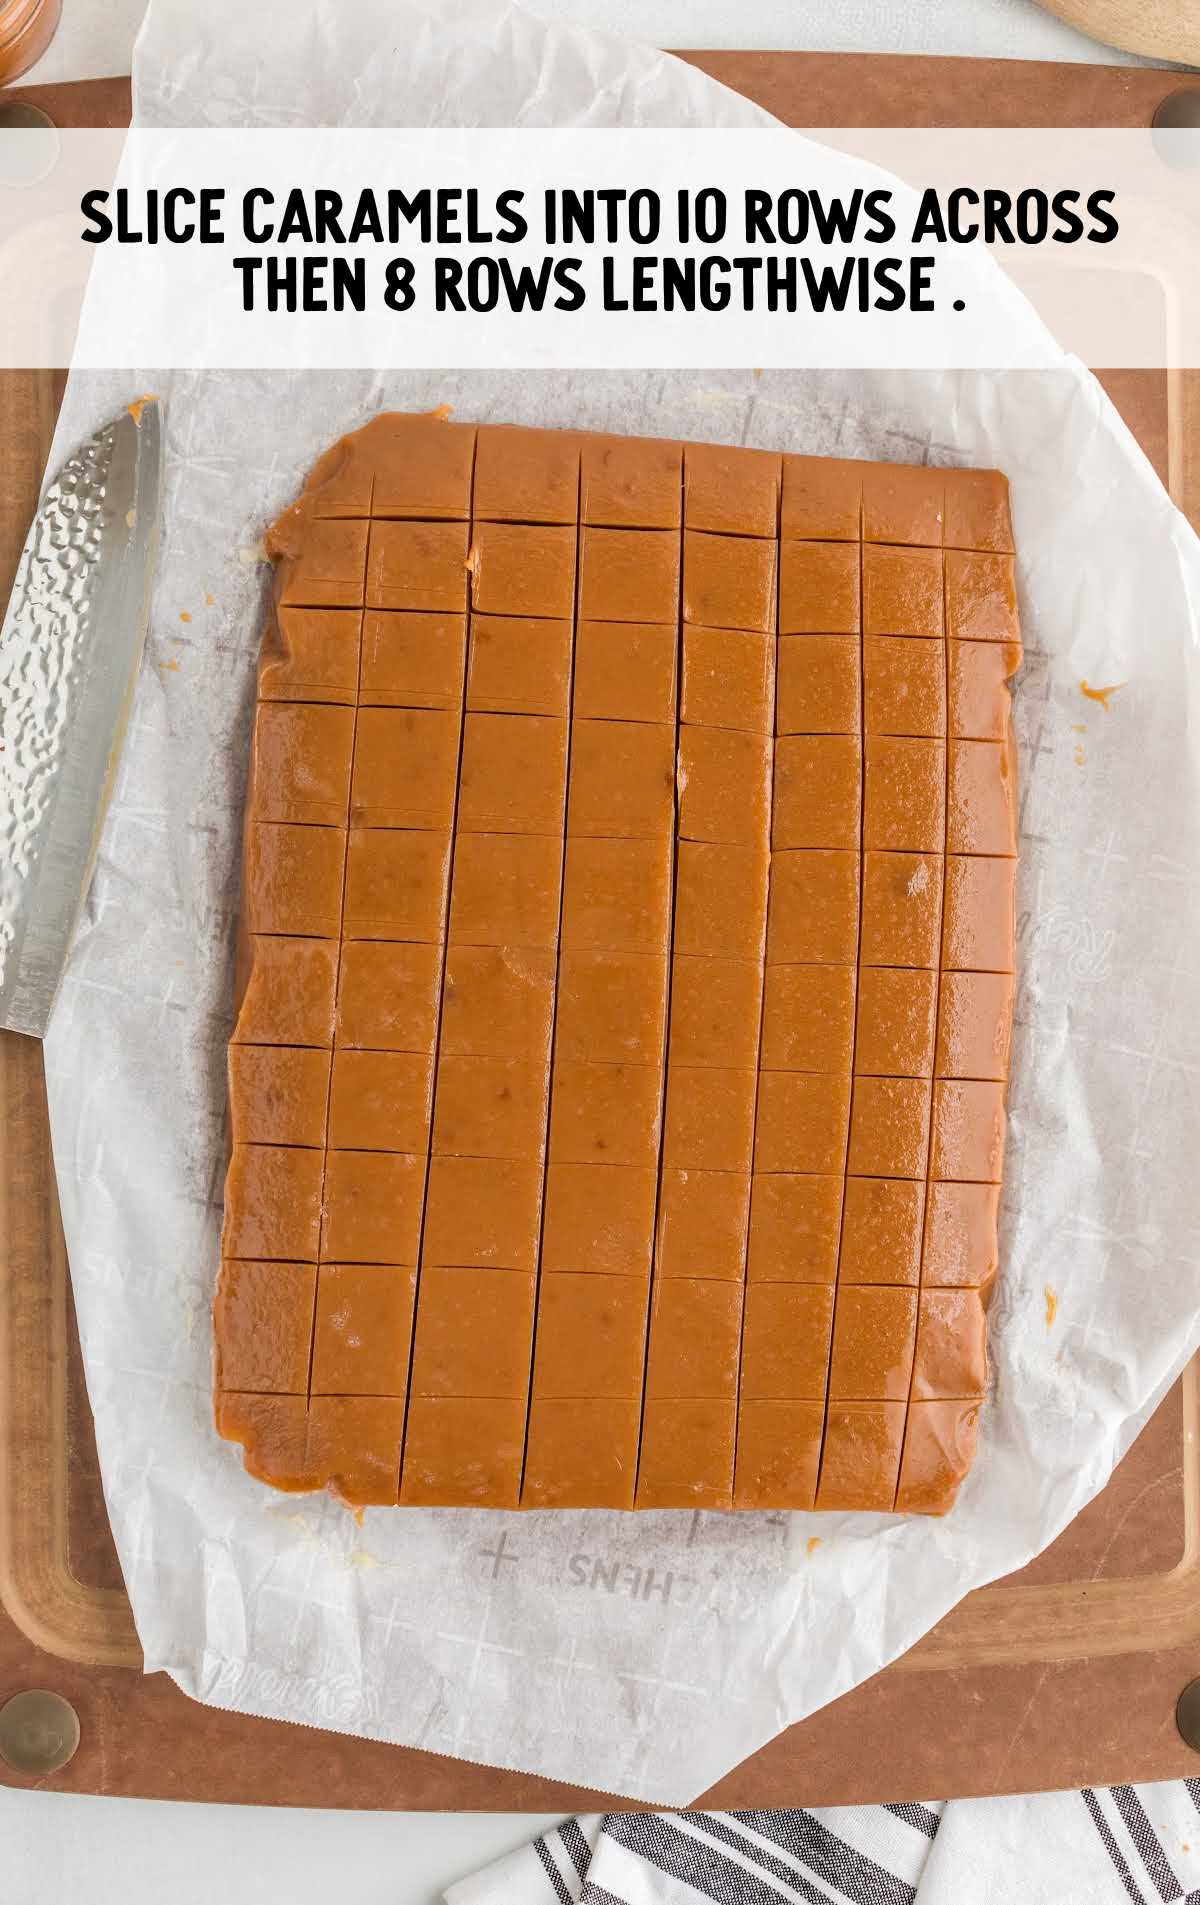
STEP SIX: Wet a sharp knife with cold water, and slice caramels into ten rows across, then eight rows lengthwise (or desired size/shape).
PRO TIP:
If you’re having difficulty cutting the caramels, you can throw them in the freezer for about 15 minutes to harden them up and make them easier to work with.
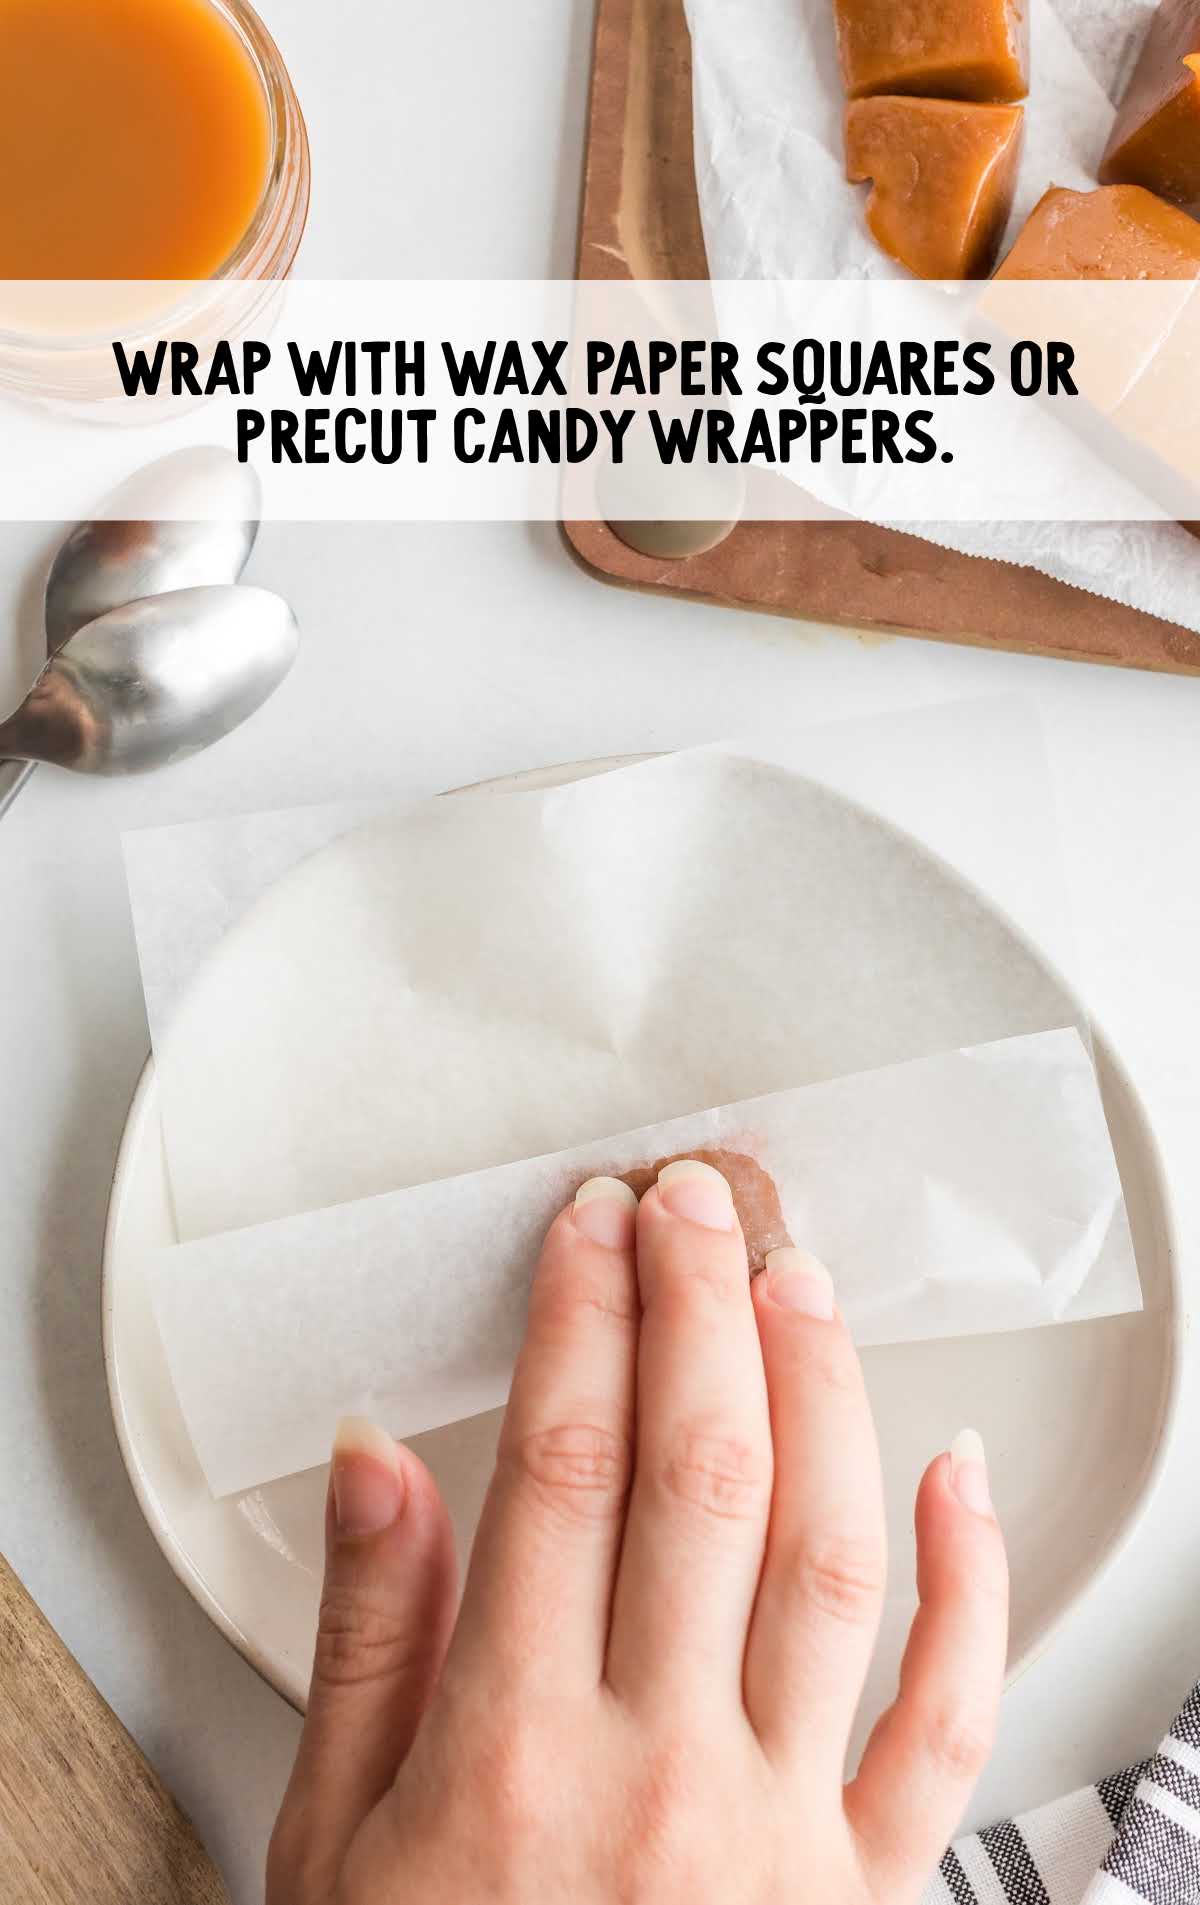
STEP SEVEN: Wrap with wax paper squares or pre-cut candy wrappers.
How To Serve
Try serving your caramel treats alongside glasses of creamy hot chocolate or cold, refreshing glasses of iced tea – both pair perfectly with something as luxurious as homemade caramels!
These delicious caramels would make a great treat to give as a homemade gift to friends and family over the holidays.
Wrap them up in a pretty box or cookie tin with our gingerbread truffles and cashew brittle.
For more delightful candy recipes, our Martha Washington candy and cream cheese mints are both favorites.
MORE TREAT RECIPES
Storage
Whether you plan to make them ahead of time, have leftovers, or simply want to indulge over several days, these storage tips will ensure your caramels stay fresh.
MAKE AHEAD: If you’d like to prepare your caramels in advance for a special occasion or to save time during busy days, you can certainly do so.
Once your caramels have set and cooled completely, cut them into individual pieces or leave them in a block.
Wrap them tightly in wax paper or parchment paper, ensuring each piece is separated to prevent sticking.
Place the wrapped caramels in an airtight container or sealable plastic bag and store them at room temperature for up to two weeks.
ON THE COUNTER: These creamy caramels can be stored for up to a week in an airtight container at room temperature.
IN THE FREEZER: Caramels can be kept in the freezer, as long as they are well-wrapped, for up to a year.
Make sure to label the container so that you enjoy them before their best-by date.
Why We Love This Recipe
HOMEMADE DELIGHT: There’s something incredibly satisfying about making your own caramels from scratch. This recipe guides you through the process with ease, allowing you to create a batch of delicious, homemade caramels.
SOFT AND CHEWY TEXTURE: These caramels boast the perfect balance of softness and chewiness. They melt in your mouth, providing a delightful, long-lasting caramel experience that keeps you coming back for more.
PERFECT FOR GIFTING: Homemade caramels make fantastic gifts for special occasions or holidays. Wrap them individually in wax paper or package them in a charming tin, and you have a thoughtful and delicious present.
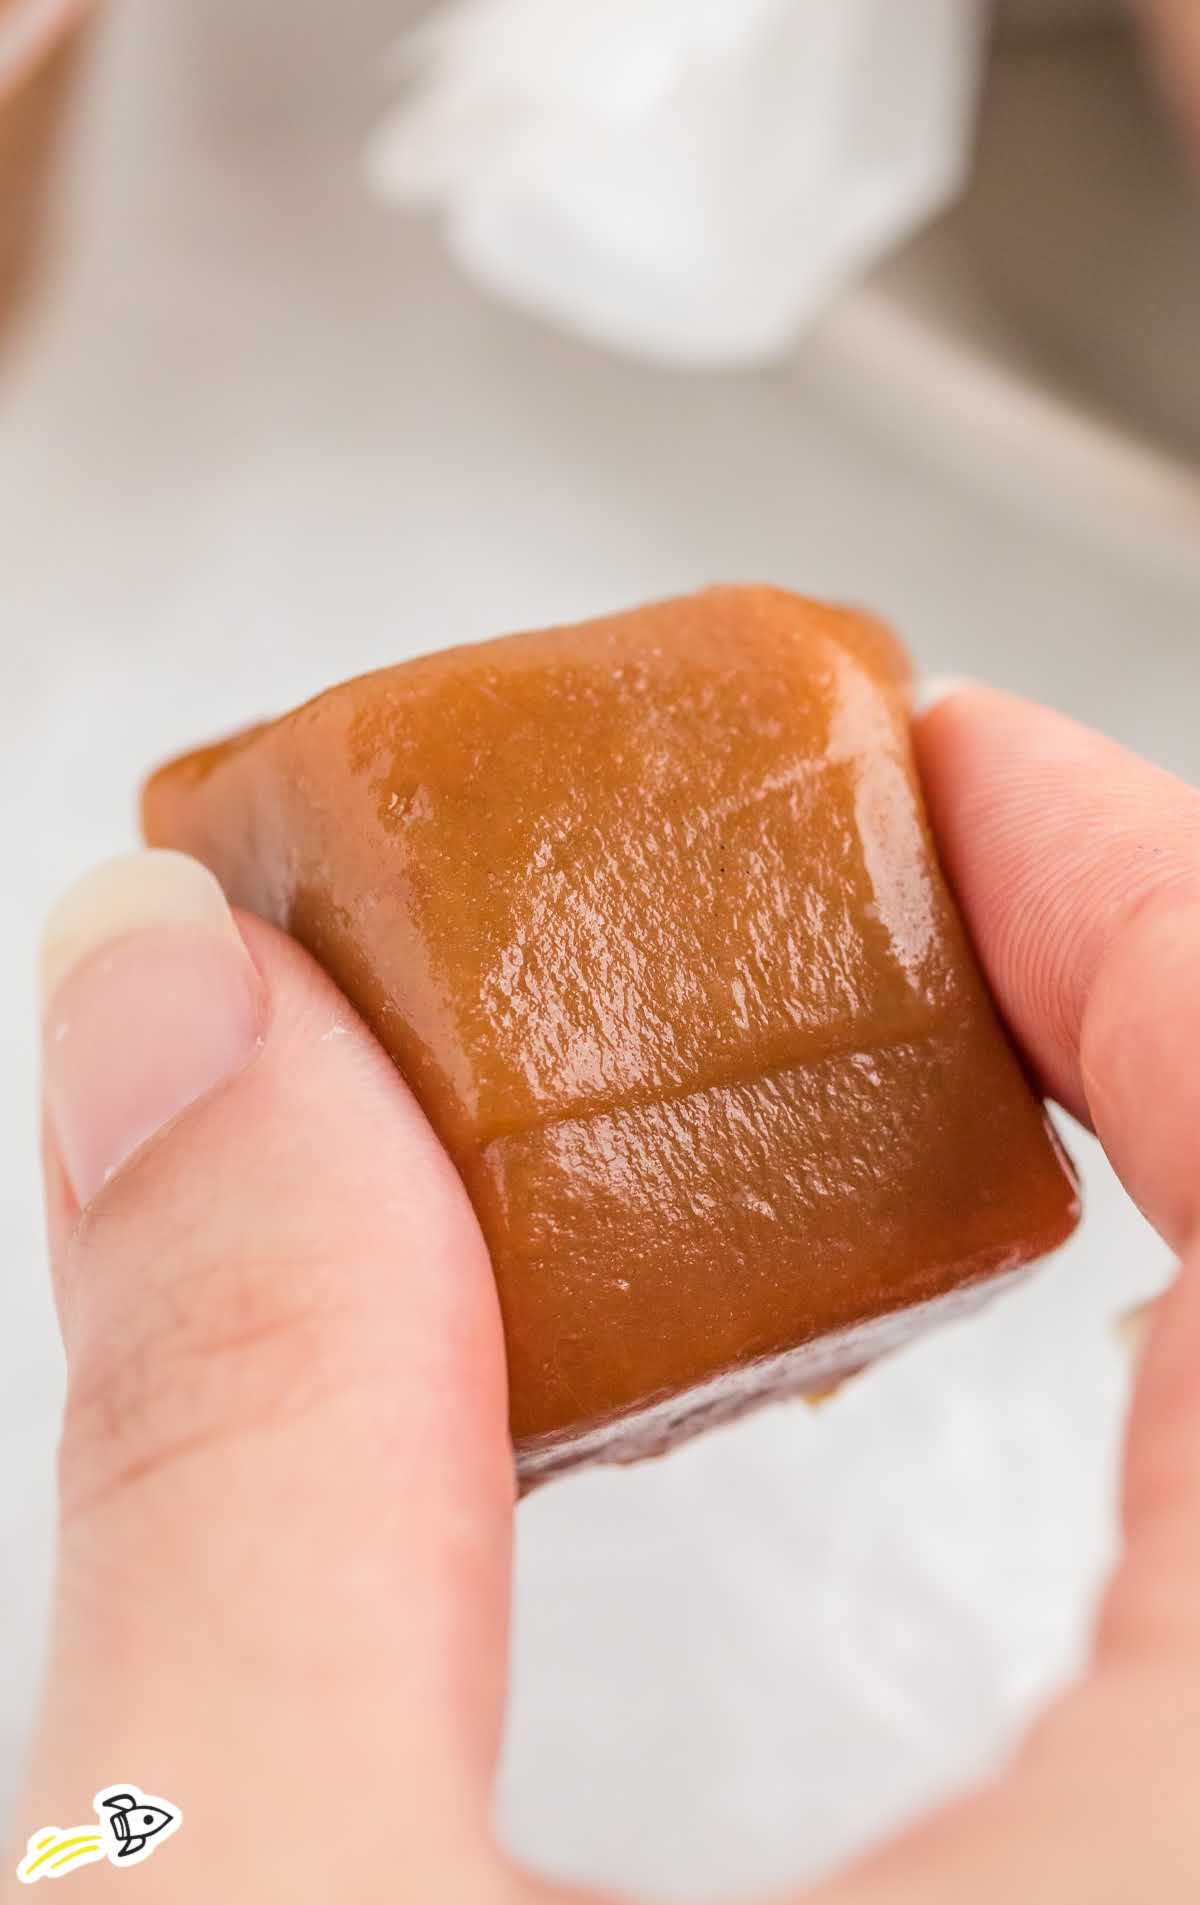
These caramels are impossible to resist and always seem to hit the spot when you’re craving something sweet. This classic candy gets a lot of love during the winter holidays, but it’s a delicious treat all year round.
FREQUENTLY ASKED QUESTIONS
If the temperature gets too hot, your caramel may harden as it cools. Keep a close eye on the temperature to ensure the mixture doesn’t get too hot.
If the caramel doesn’t reach a high enough temperature, you may end up with soft caramel that won’t set. Keep an eye on the temperature on the candy thermometer to ensure the caramel gets hot enough.
These delicious candies can be stored in the freezer for up to a year. Make sure they are well-wrapped and stored in an airtight container.
More Recipes You’ll Love
- Blondies
- Disneyland Peanut Butter Squares
- Texas Sheet Cake
- S’mores Bites
- Banana Split Cake
- Caramel Sauce
- Salted Caramel Sauce

Caramels Recipe
Ingredients
- 3 cups granulated sugar
- 1 cup brown sugar
- 1 cup unsalted butter, softened
- 2 cups light corn syrup
- 1 teaspoon sea salt
- 24 ounces evaporated milk
Instructions
- Prepare a 9×13 pan with parchment paper.
- Add the sugars, butter, corn syrup, and salt to a heavy-bottomed saucepan, then bring to a boil over medium heat.
- Add in the milk very, very slowly, whisking/stirring constantly while boiling. Make sure the addition of the milk isn’t slowing the boil. This should take about 20 minutes.
- Lower to medium-low heat and attach a candy thermometer, heat stirring often until mixture reaches 238°F. Remove from heat immediately and pour into the prepared pan.
- Allow to cool on the counter for 4 to 5 hours.
- Wet a sharp knife with cold water, and slice caramels into 10 rows across, then 8 rows lengthwise (or desired size/shape).
- Wrap with wax paper squares or pre-cut candy wrappers.
Notes
- Make sure you are using a heavy-bottomed pan. Thin pots tend to heat unevenly and may not give you the desired results.
- The temperature is key when making caramels. Make sure you are using a candy thermometer so that you can be precise.
- If you’re having difficulty cutting the caramels, you can throw them in the freezer for about 15 minutes to harden them up and make them easier to work with.





Comments
Karen says
This recipe is great. It never fails me and grandkids love them!