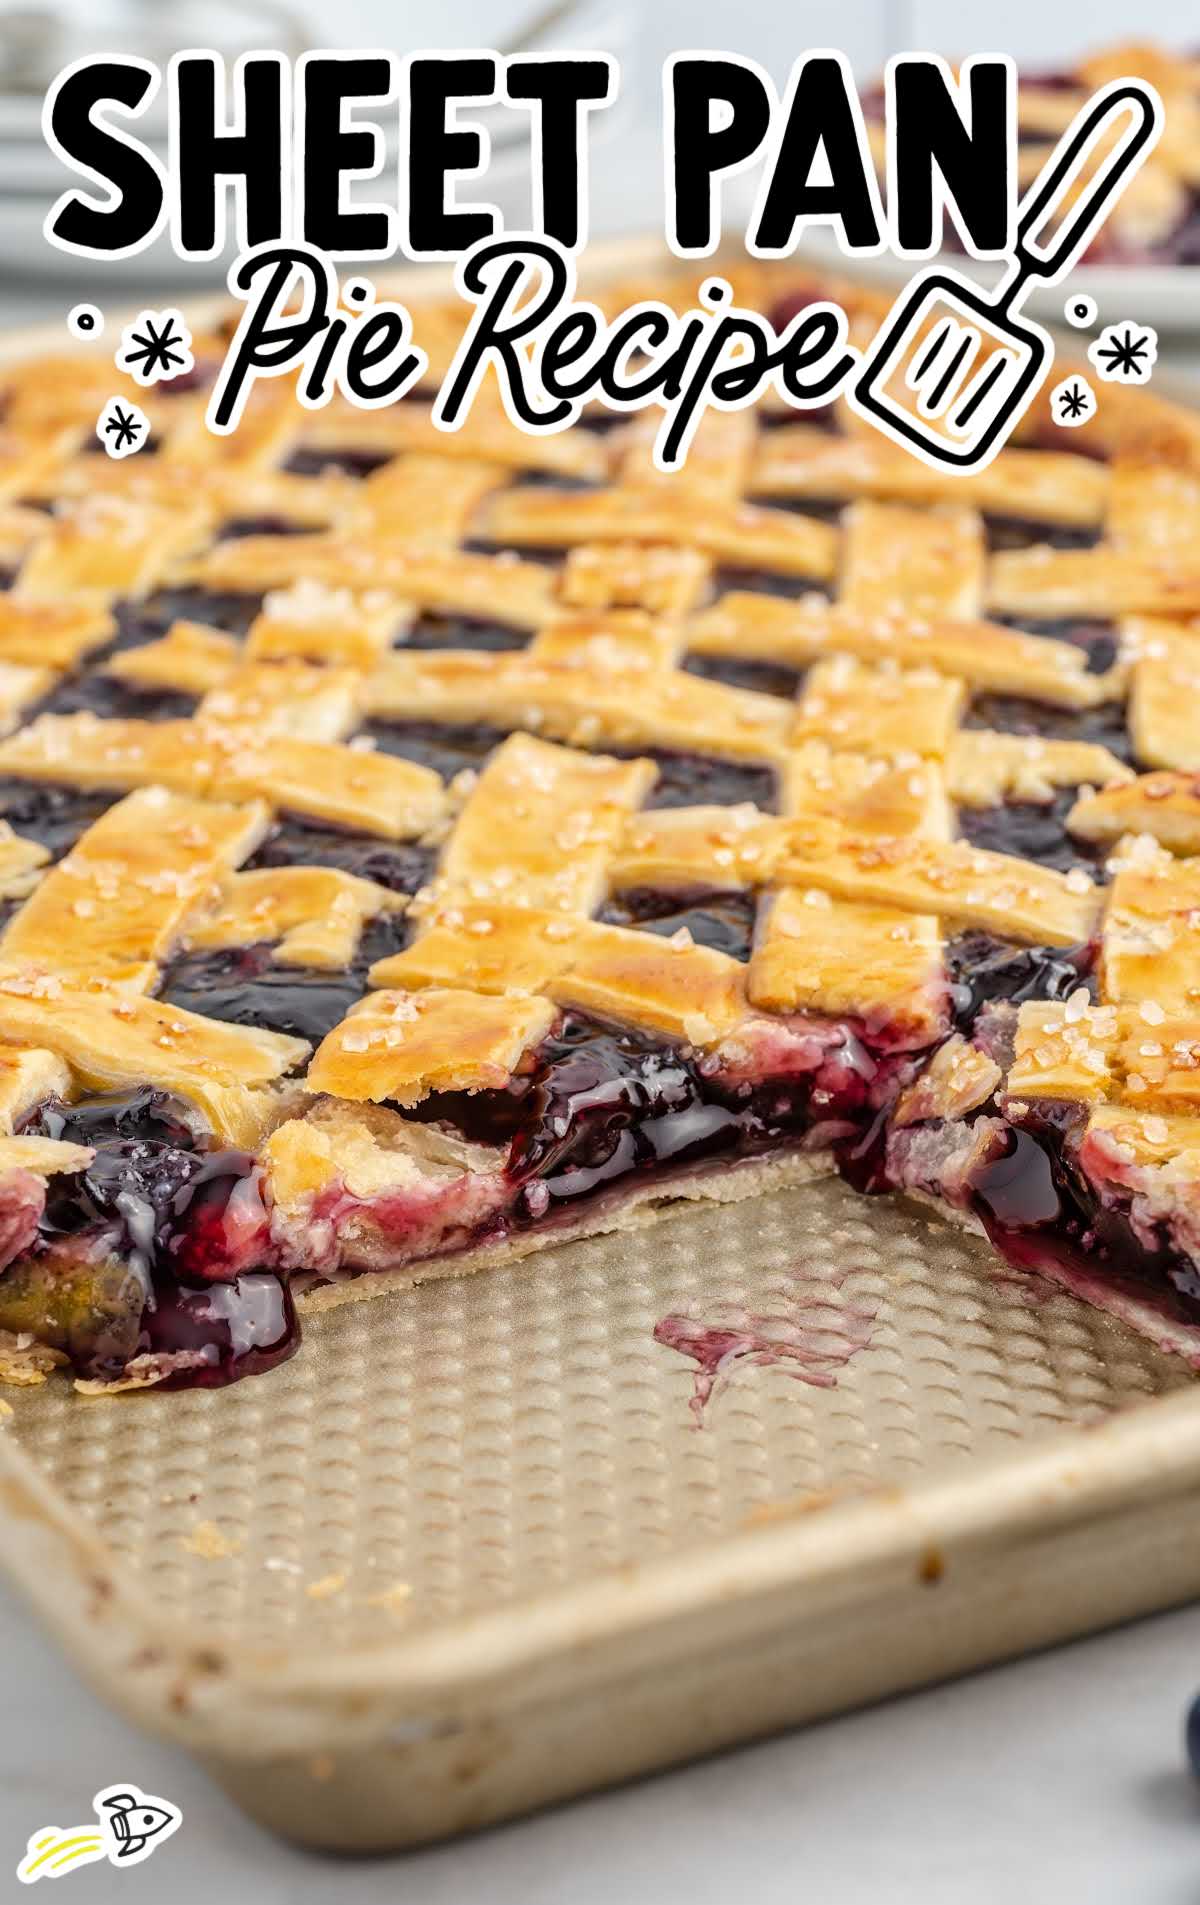
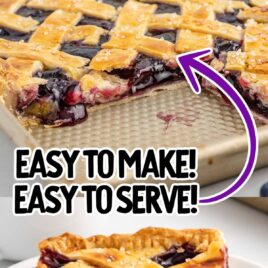
I don’t know anyone who doesn’t love a slice of delicious pie bubbling and warm from the oven, and this slab pie makes it extra easy to enjoy this classic dessert without all the hard work. The flaky pie crust wraps around a sweet blueberry pie filling for a treat that will feed a crowd.
Sheet Pan Pie Ingredients
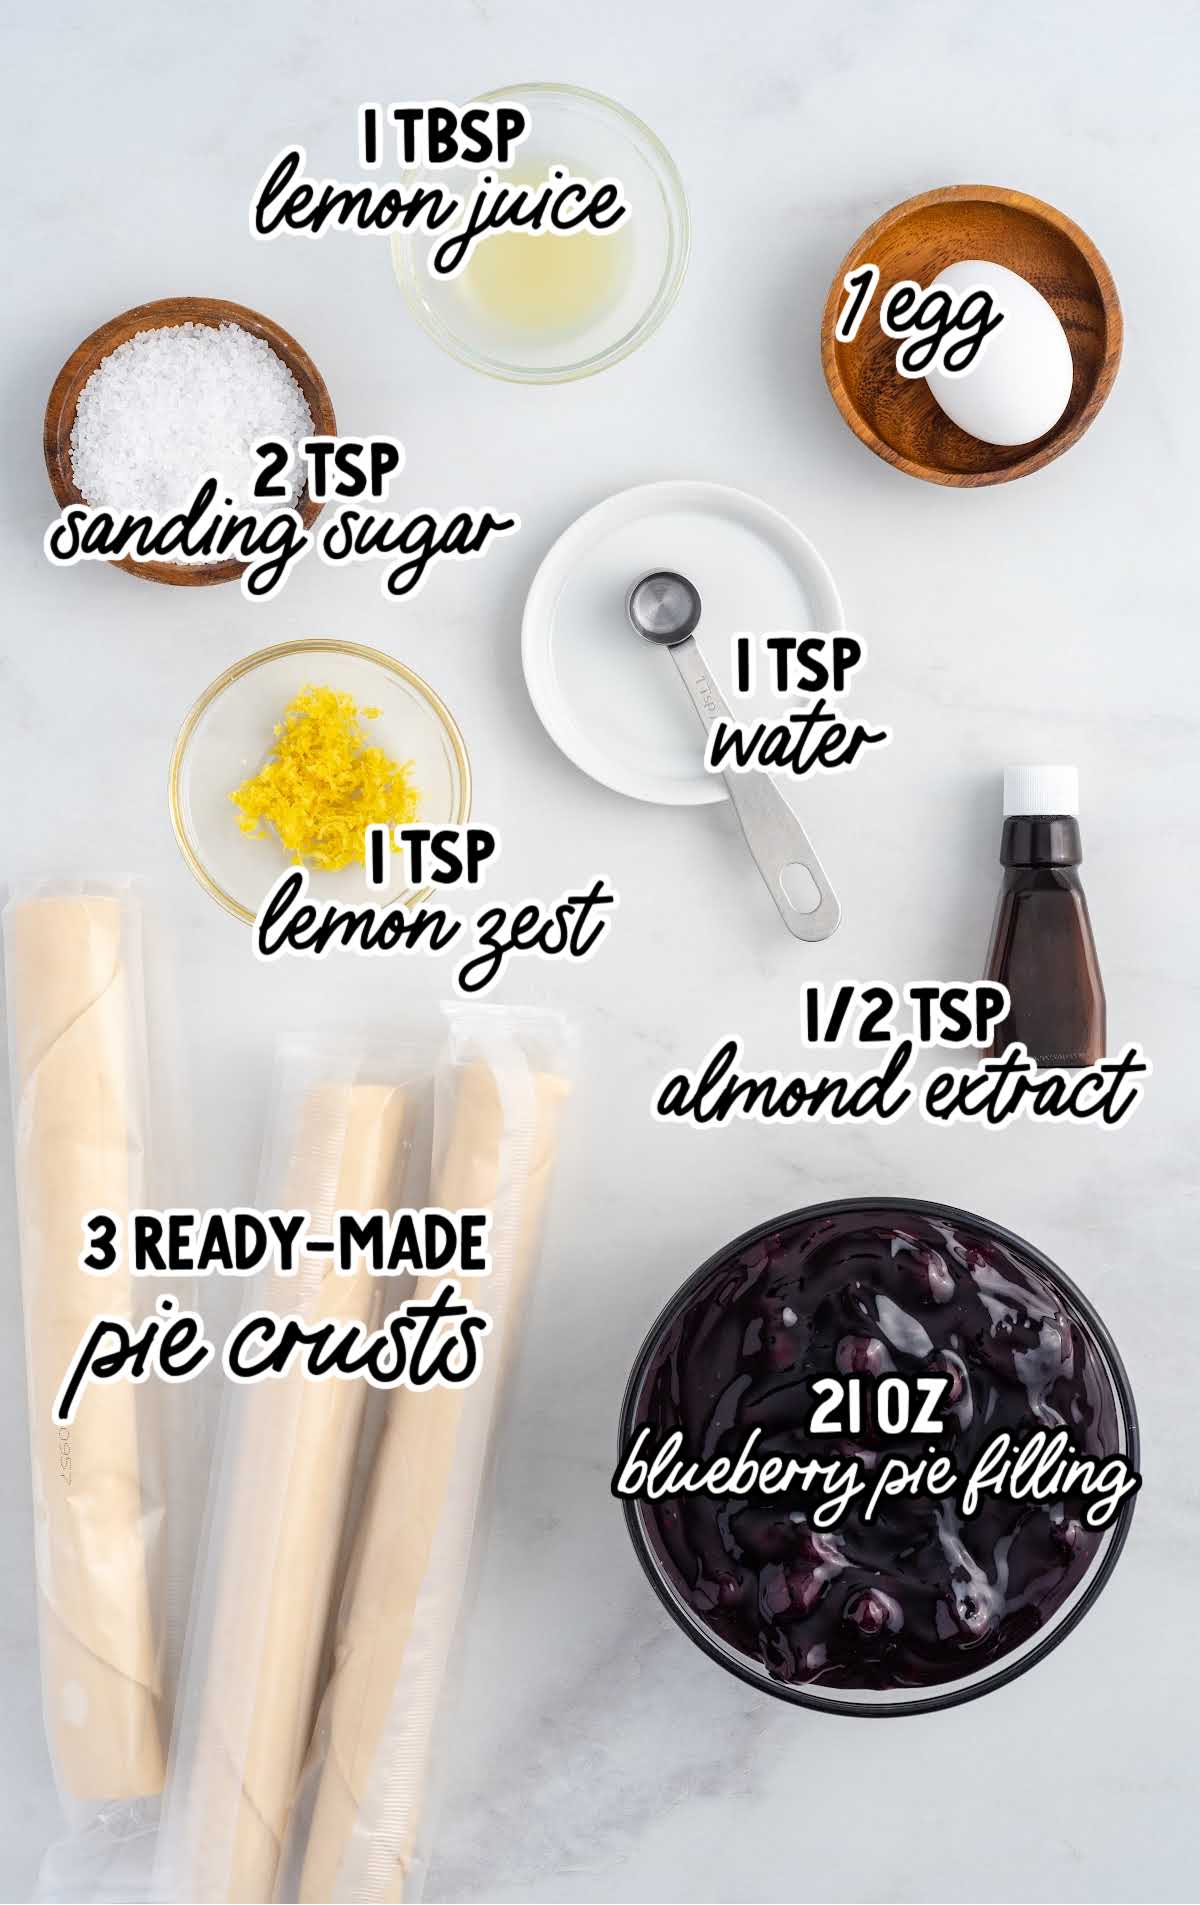
You’ll need:
- 3 ready-made rolled pie crusts, from 2 (14.1-ounce) boxes
- 2 (21-ounce) cans of blueberry pie filling
- 1 tablespoon fresh lemon juice
- 1 teaspoon lemon zest
- ½ teaspoon almond extract
- 1 egg, room temperature
- 1 teaspoon water
- 2 teaspoons clear/white sanding sugar, large crystals
Substitutions And Additions
FRUIT FILLING: You can use other canned pie filling flavors instead of the blueberry. If you change the type of fruit, you will want to adjust the spices/add-in flavors accordingly.
For example, if you use apple filling, you will want to use vanilla extract, lemon juice, lemon zest, and add one teaspoon of apple pie spice blend to the canned apple pie filling.
PIE CRUST: If you have a favorite homemade pie crust recipe, you can certainly use that for this sheet pan blueberry pie.
I find crusts made with part butter and part shortening best replicate the pre-made crust options.
SUGAR: I like to use the large crystal sanding sugar to create a nice little crunch to the crust for this easy recipe.
You can substitute turbinado sugar or standard granulated sugar if desired. You can also omit the sugar altogether if you prefer.
How To Make This Slab Pie Recipe
STEP ONE: Preheat the oven to 425°F. You will need a 10×15-inch sized standard jelly roll pan.
OUR RECIPE DEVELOPER SAYS
You can place a larger, standard-sized sheet pan tray on the bottom rack of your oven to catch any pie filling that may ooze over the edge of the pie pan when baking and bubbling up.
STEP TWO: Remove your pie crusts from the refrigerator and let them come to room temperature, according to the package directions, before unrolling each crust.
Once they can each be unrolled, you will lay two of the crusts, slightly overlapping in the center, onto your jelly roll pan so that you have about two to three inches or so of excess dough hanging off the shorter sides of the pan.
PRO TIP:
You may need to lightly flatten and thin out your rolled pie crust with a lightly floured rolling pin in order for them to fit your pan. I find that sometimes different brands (especially the generic ones) tend to be slightly smaller and thicker than the Pillsbury brand once unrolled.
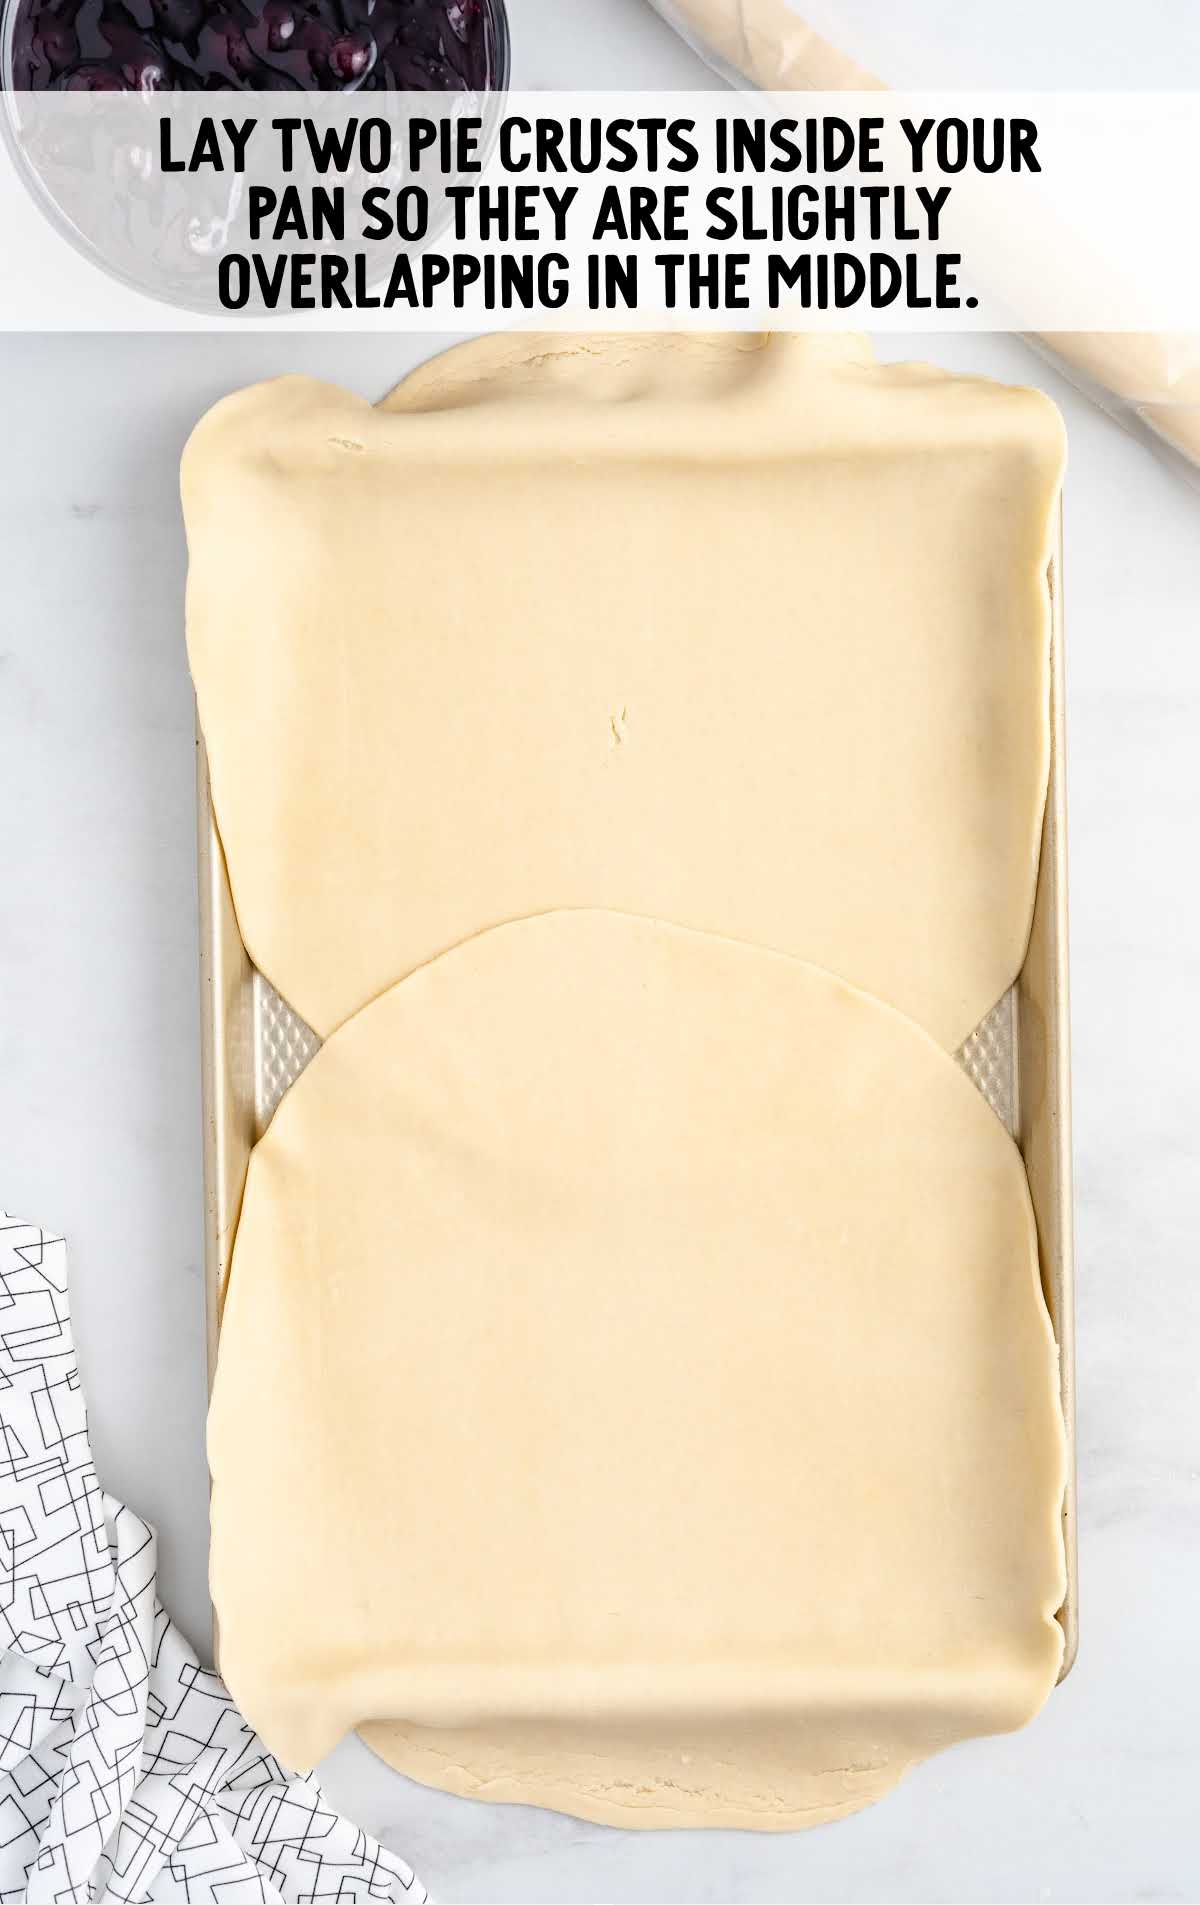
STEP THREE: With a sharp paring knife, you will need to trim off the larger amount of excess dough hanging off the shorter ends of the pan.
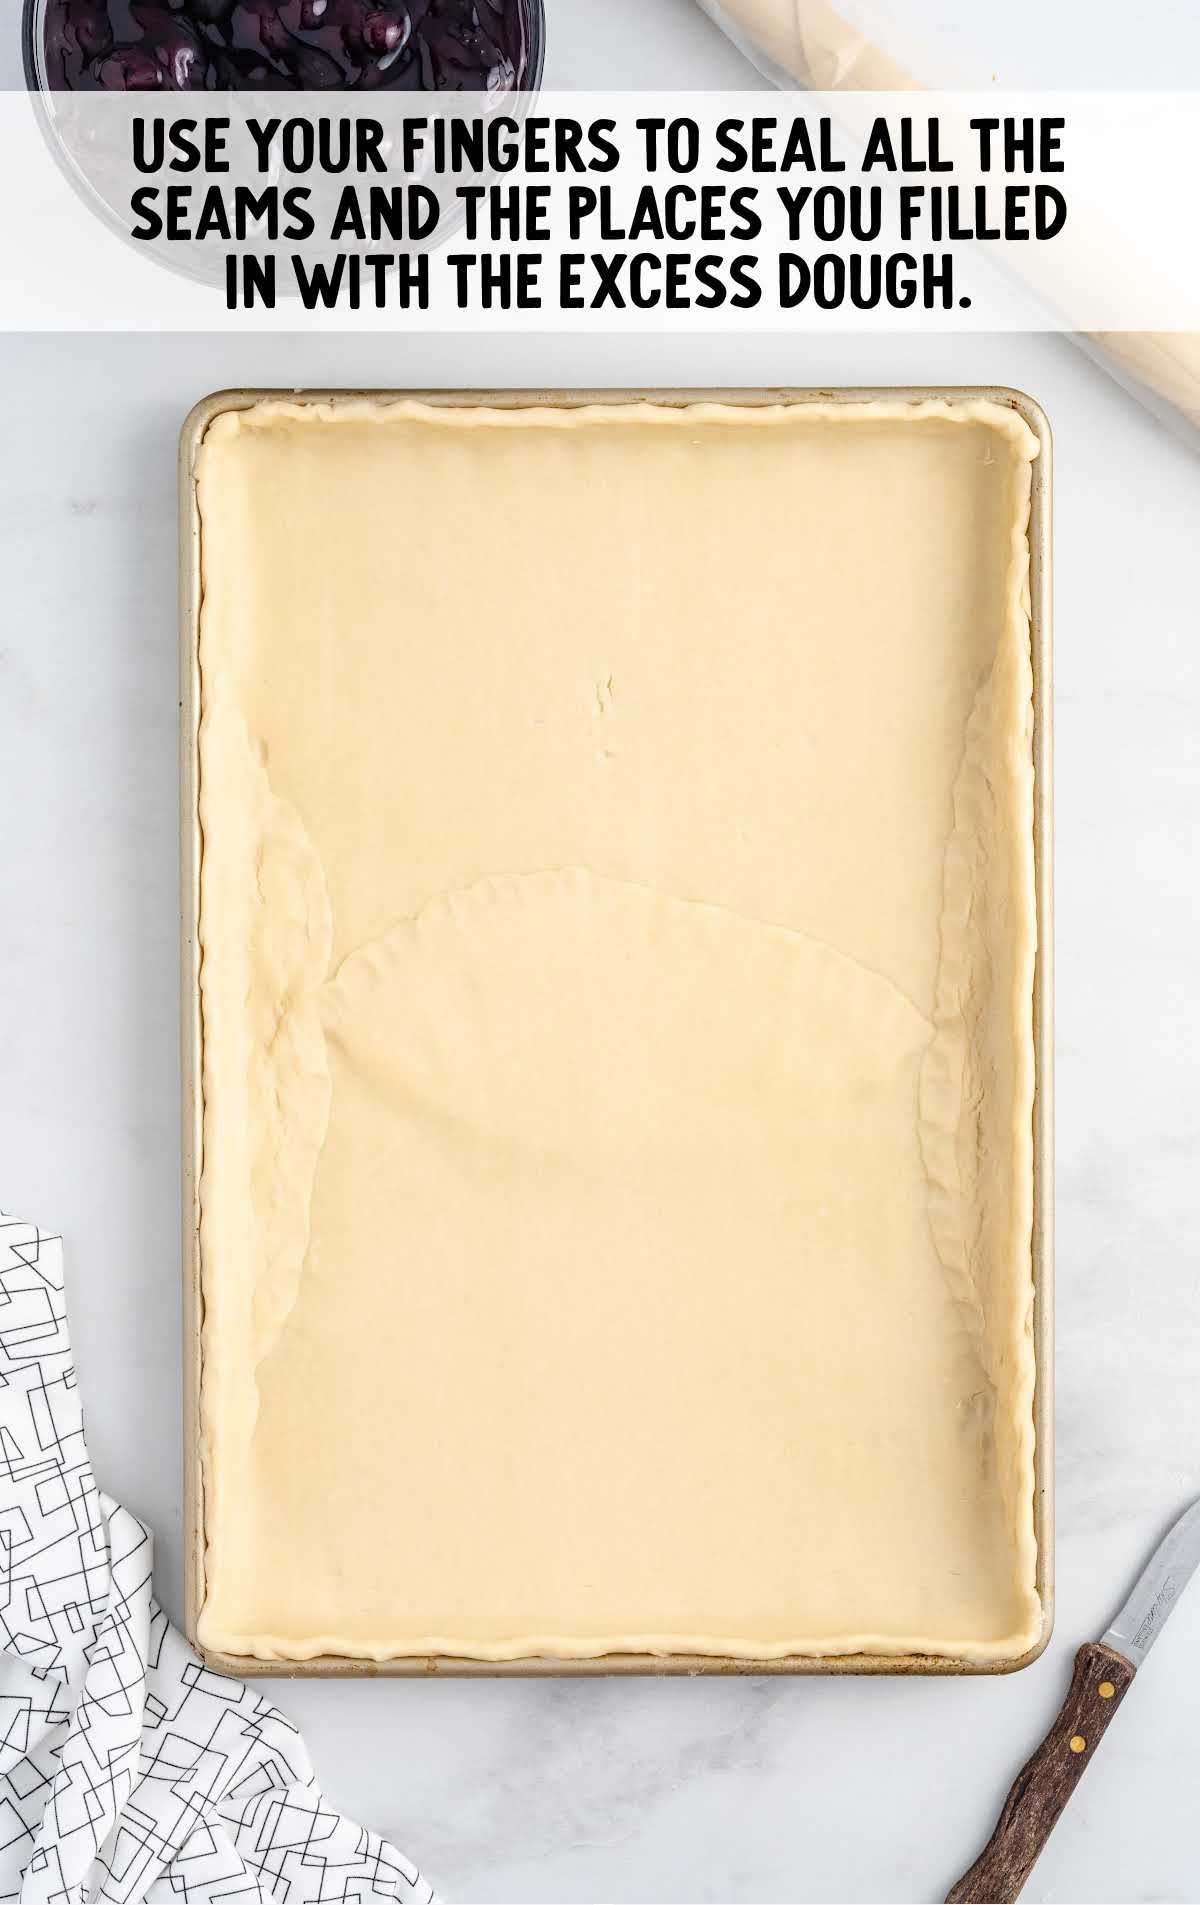
STEP FOUR: You will need to place those two pieces of excess pie dough, one on each of the longer sides of the pan, so that you fill in the gaps on the pan where the dough does not cover.
You will want to face the rounded edge towards the center of the pan, and the straight edges will fill in the edges of the crust.
STEP FIVE: With your fingers, gently press the dough to seal all the seams together, and tuck the border edges of the dough slightly under so that you have an even edge all around your pan.
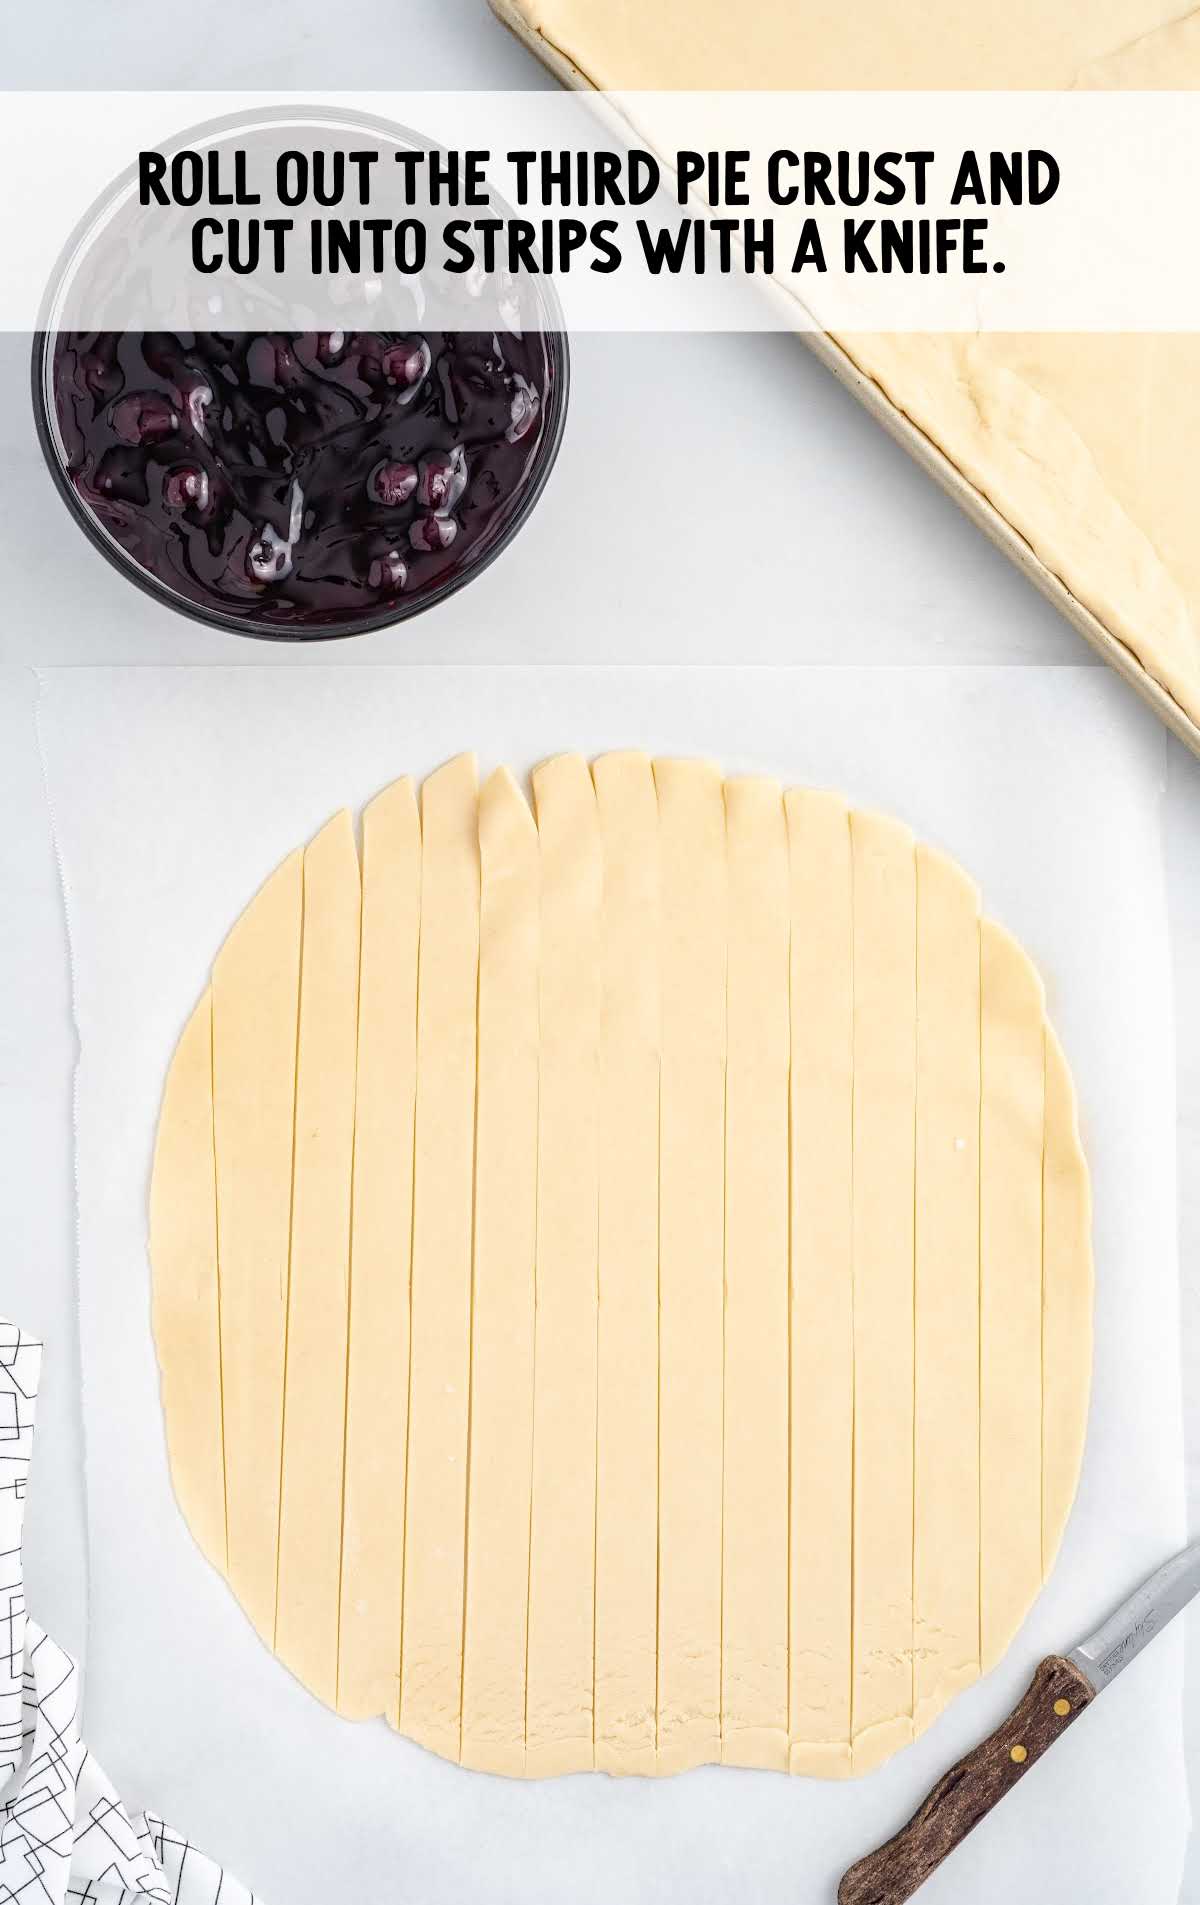
STEP SIX: On a large piece of parchment paper, you will need to roll out your third crust, with a lightly floured rolling pin, to a rough rectangle (about 11×13 inches).
Cut strips approximately ½ to ¾ inches thick with a sharp paring knife. Set aside.
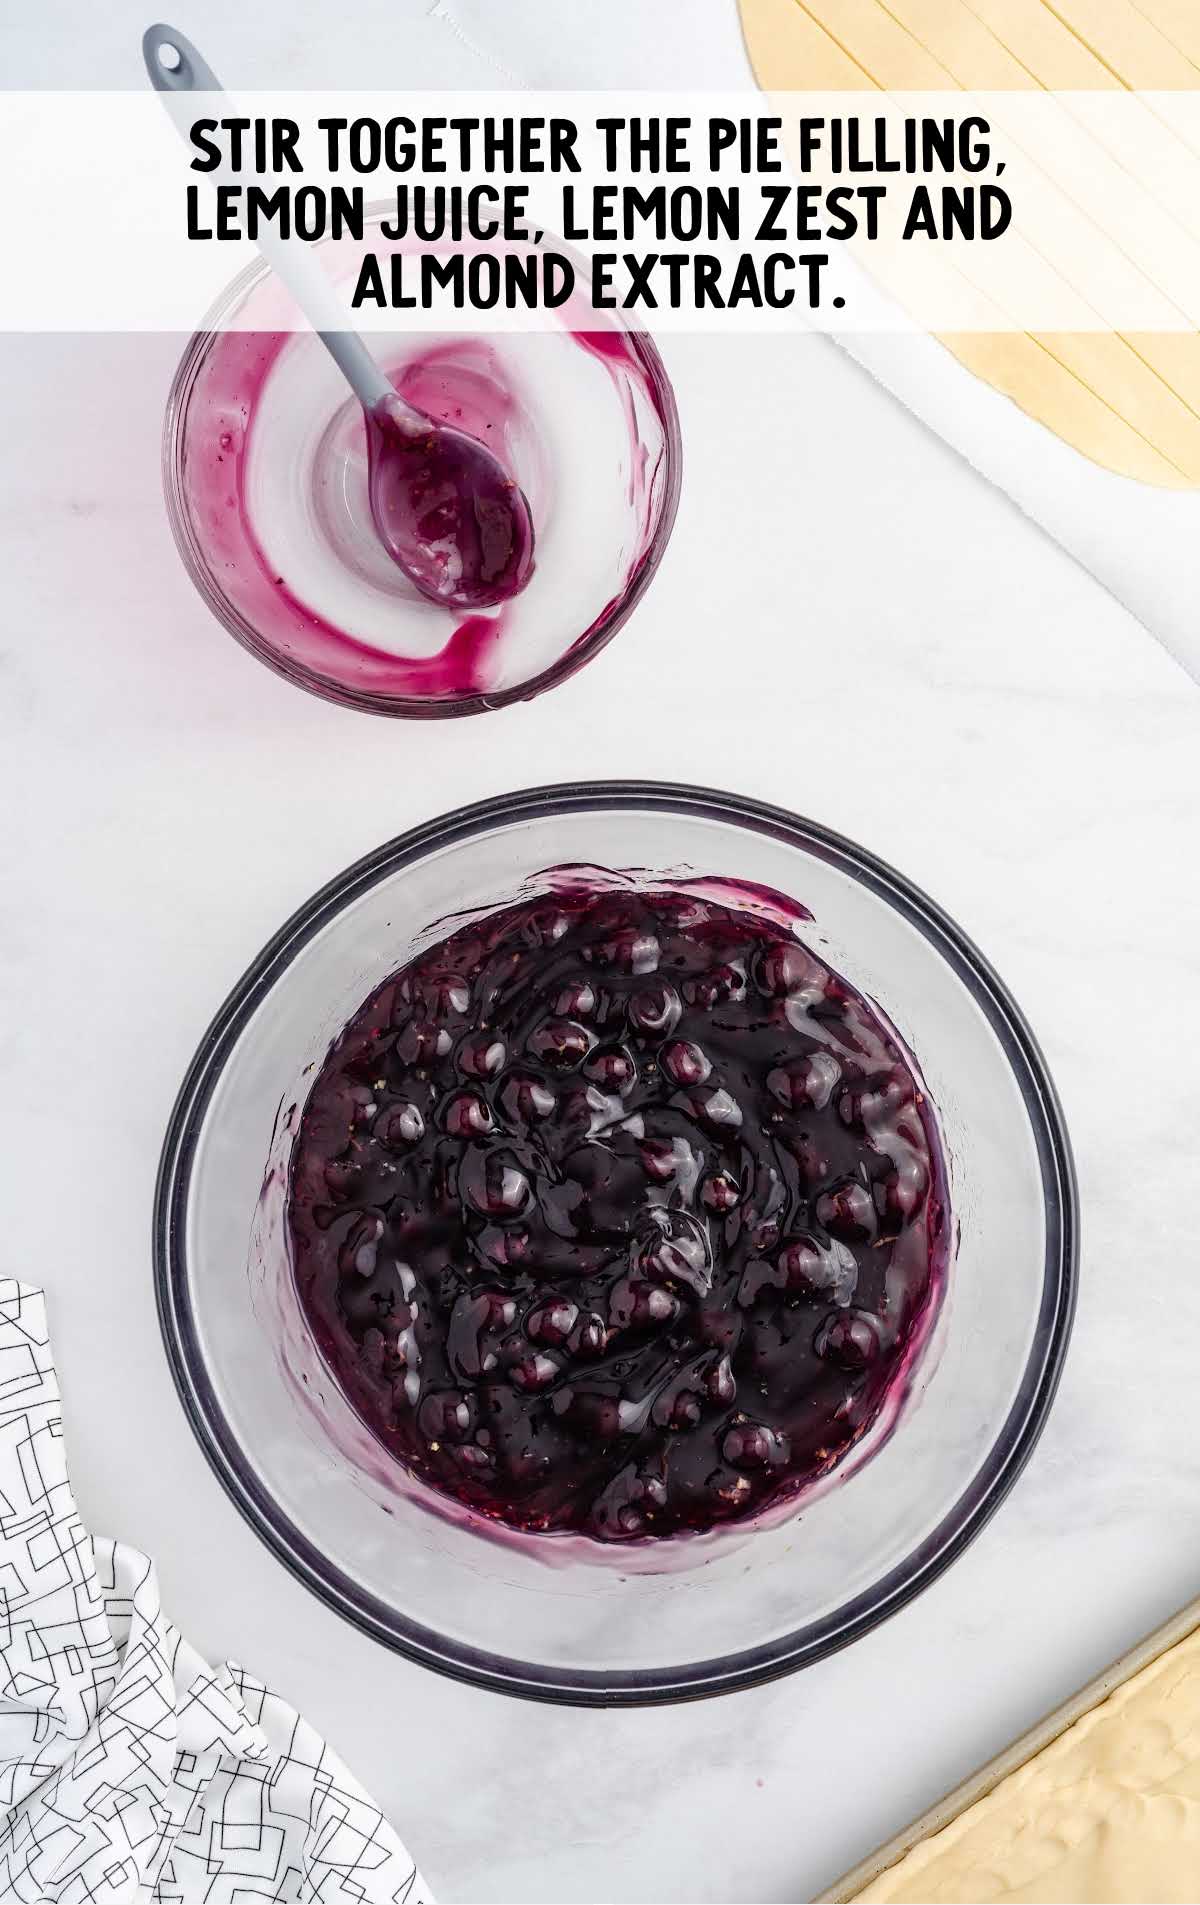
STEP SEVEN: In a large bowl, stir together the canned blueberry pie filling, lemon juice, lemon zest, and almond extract.
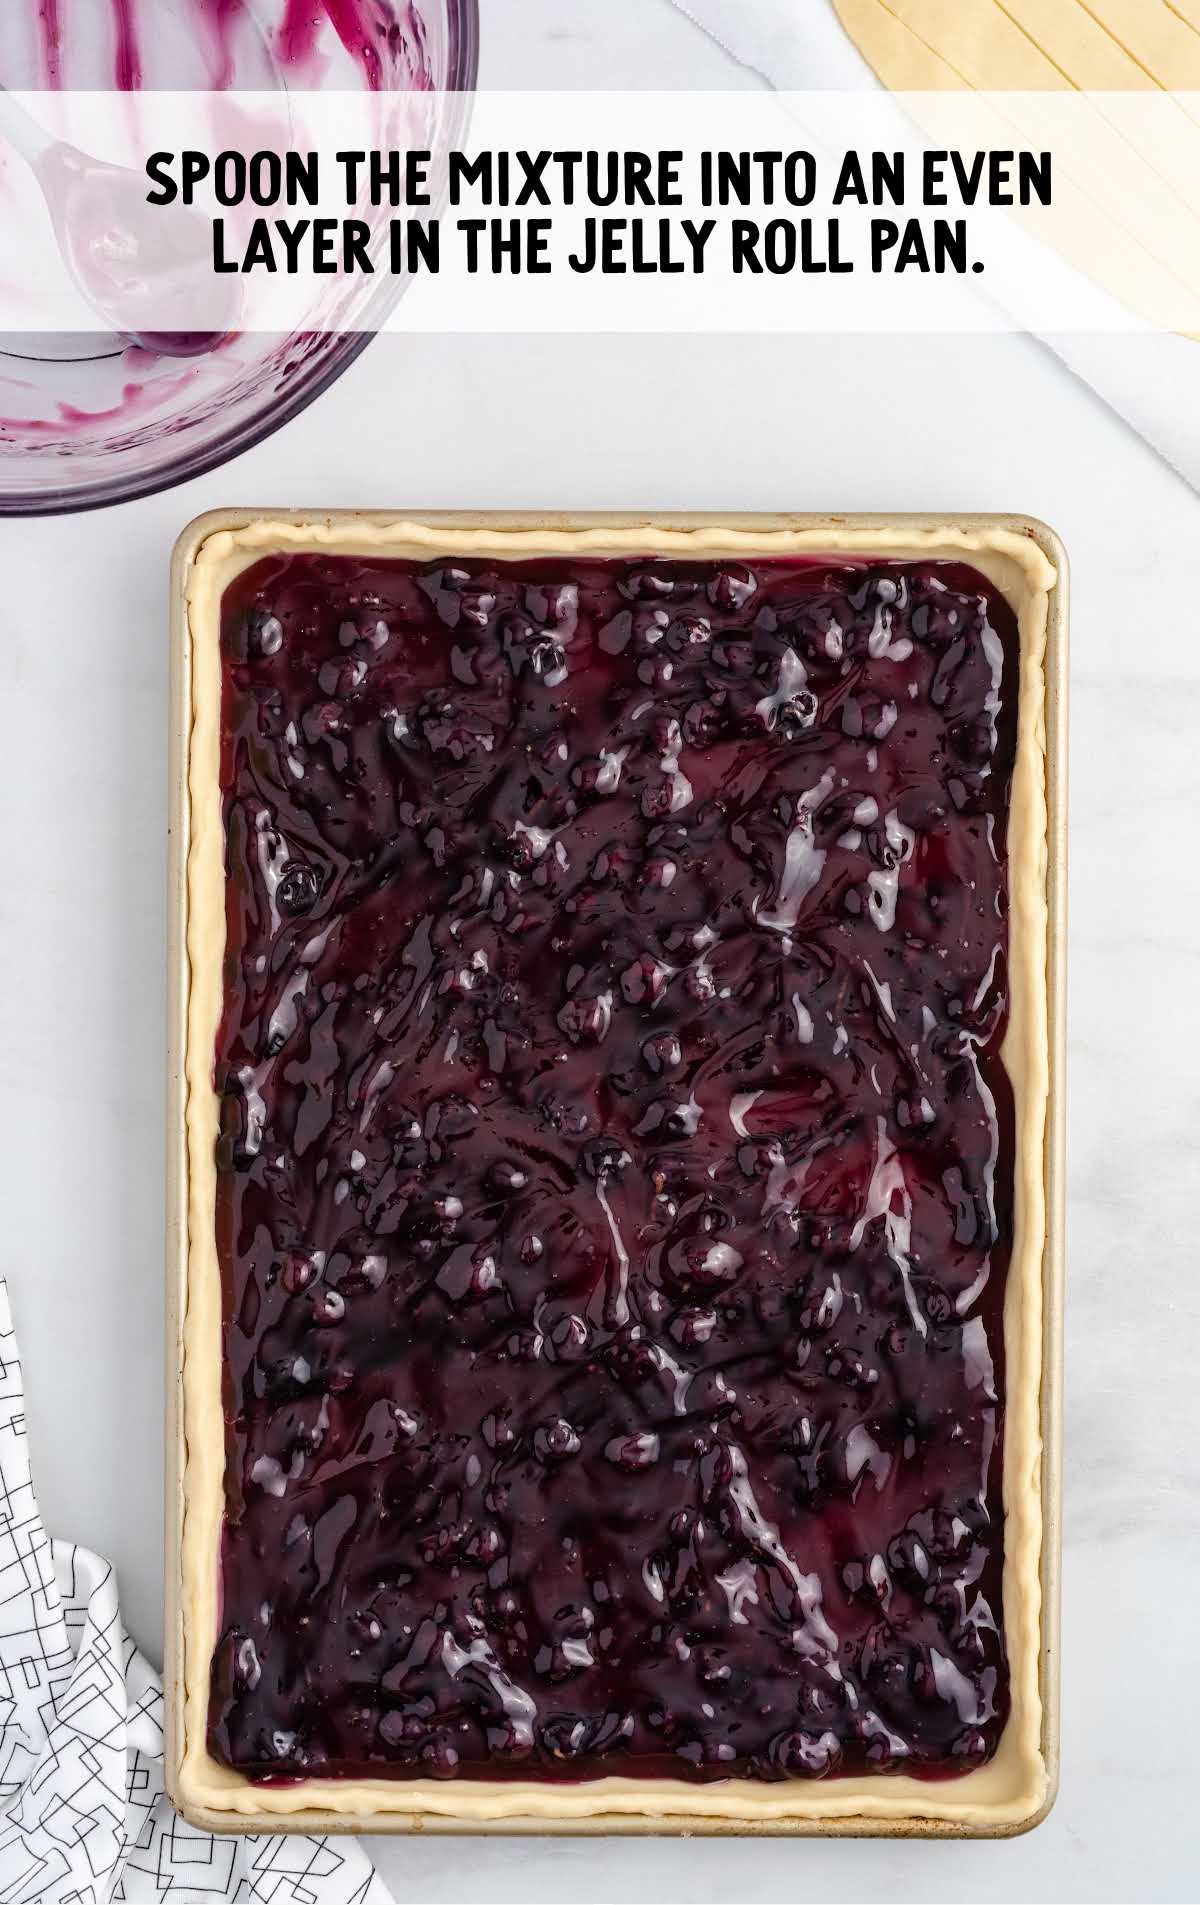
STEP EIGHT: Gently spoon the blueberry pie mixture into an even layer in the jelly roll pan.
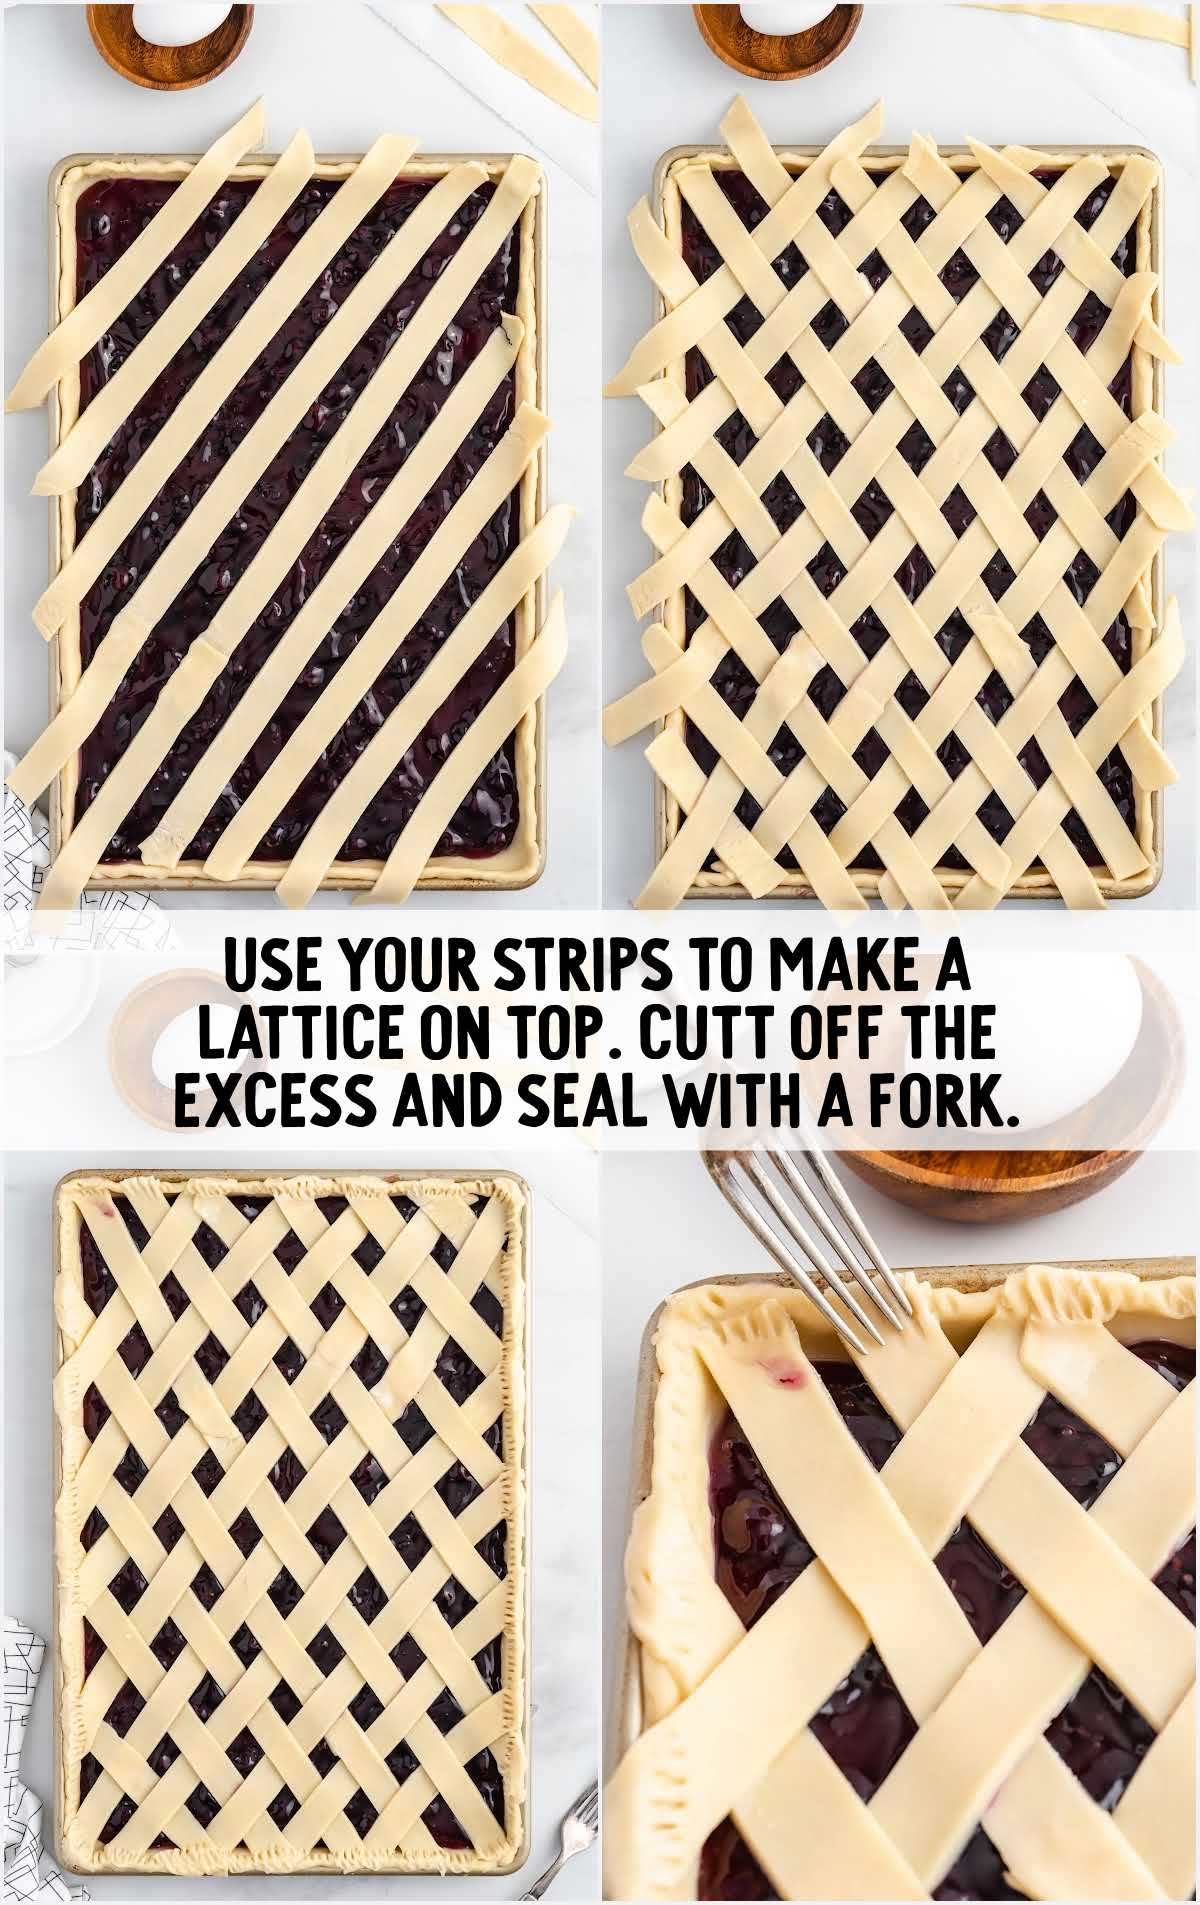
STEP NINE: Using the pie crust strips, you will create a lattice topping. Start with the longer pieces in the center and work your way out with the shorter pieces.
Once you have placed all your lattice pieces onto the top of the sheet pan pie, you will want to press the edges together and crimp them.
I like using the tines of a fork to press the edges down and make the crust pretty.
PRO TIP:
If you are new to creating a lattice pattern for your pies, you can find several tutorials online. If you find that some of your strips of dough are too long or not long enough, you can trim individual pieces to fit your pan. You can also use small cookie cutters to cut out small circles or other shapes to create a fun top for your pie.
STEP TEN: Whisk together the egg and water in a small bowl to create an egg wash. Using a pastry brush, brush the entire top of the crust with the egg wash.
STEP ELEVEN: Sprinkle the sanding sugar crystals over the egg-washed crust on top of the pie.
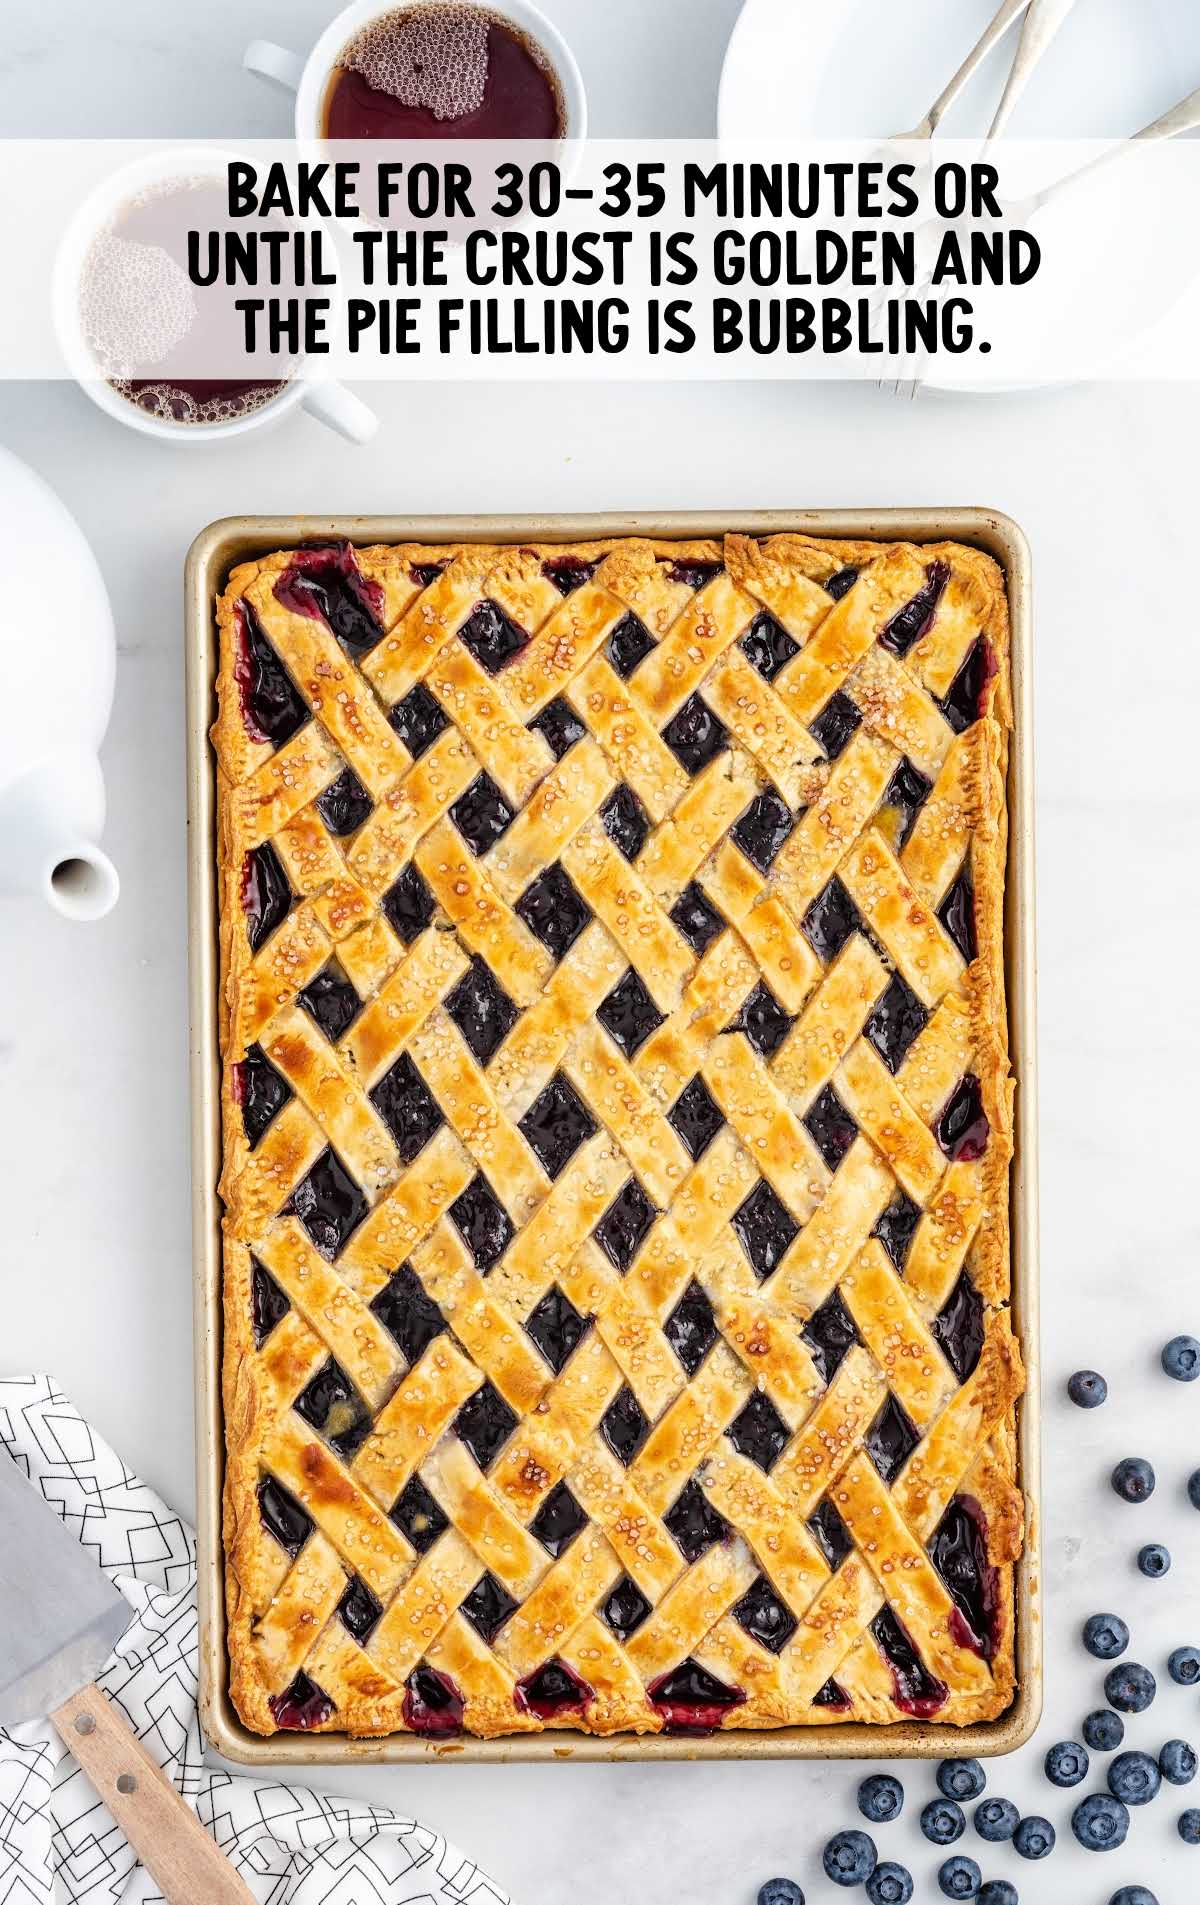
STEP TWELVE: Bake for 30 to 35 minutes or until the crust is golden and the blueberry pie filling is bubbling.
PRO TIP:
Oven temperatures vary and may need to be recalibrated periodically to ensure they are accurate. Make sure to check your pie at the lower end of the recommended baking time.
STEP THIRTEEN: Allow the sheet pan pie to cool completely on the counter at room temperature before slicing and serving.
PRO TIP:
Be sure to allow your sheet pan pie to cool completely before slicing and serving. If it is still warm, the filling will ooze when you remove your slice of pie. It will not give you a pretty slice. If you prefer your pie served warm, then you can reheat individual pieces.
How To Serve
You can serve this delicious dessert at room temperature. You can also heat individual portions for 30 seconds in the microwave and serve them with a scoop of vanilla ice cream or a dollop of whipped topping.
This is a great recipe to make when you are serving a crowd and don’t want to make individual pies.
Our sheet pan cobbler and pumpkin sheet cake are two more ways to create a sweet treat when you are planning to host a large gathering.
MORE PIE RECIPES
Storing This Sheet Pan Pie
ON THE COUNTER: You can store this blueberry slab pie, lightly wrapped with plastic wrap, on the counter at room temperature for up to two days.
IN THE FRIDGE: You can also store it in the refrigerator, but you will need to note that the crust will begin to get soggy as it sets.
IN THE FREEZER: You can also freeze this slab pie for up to three months.
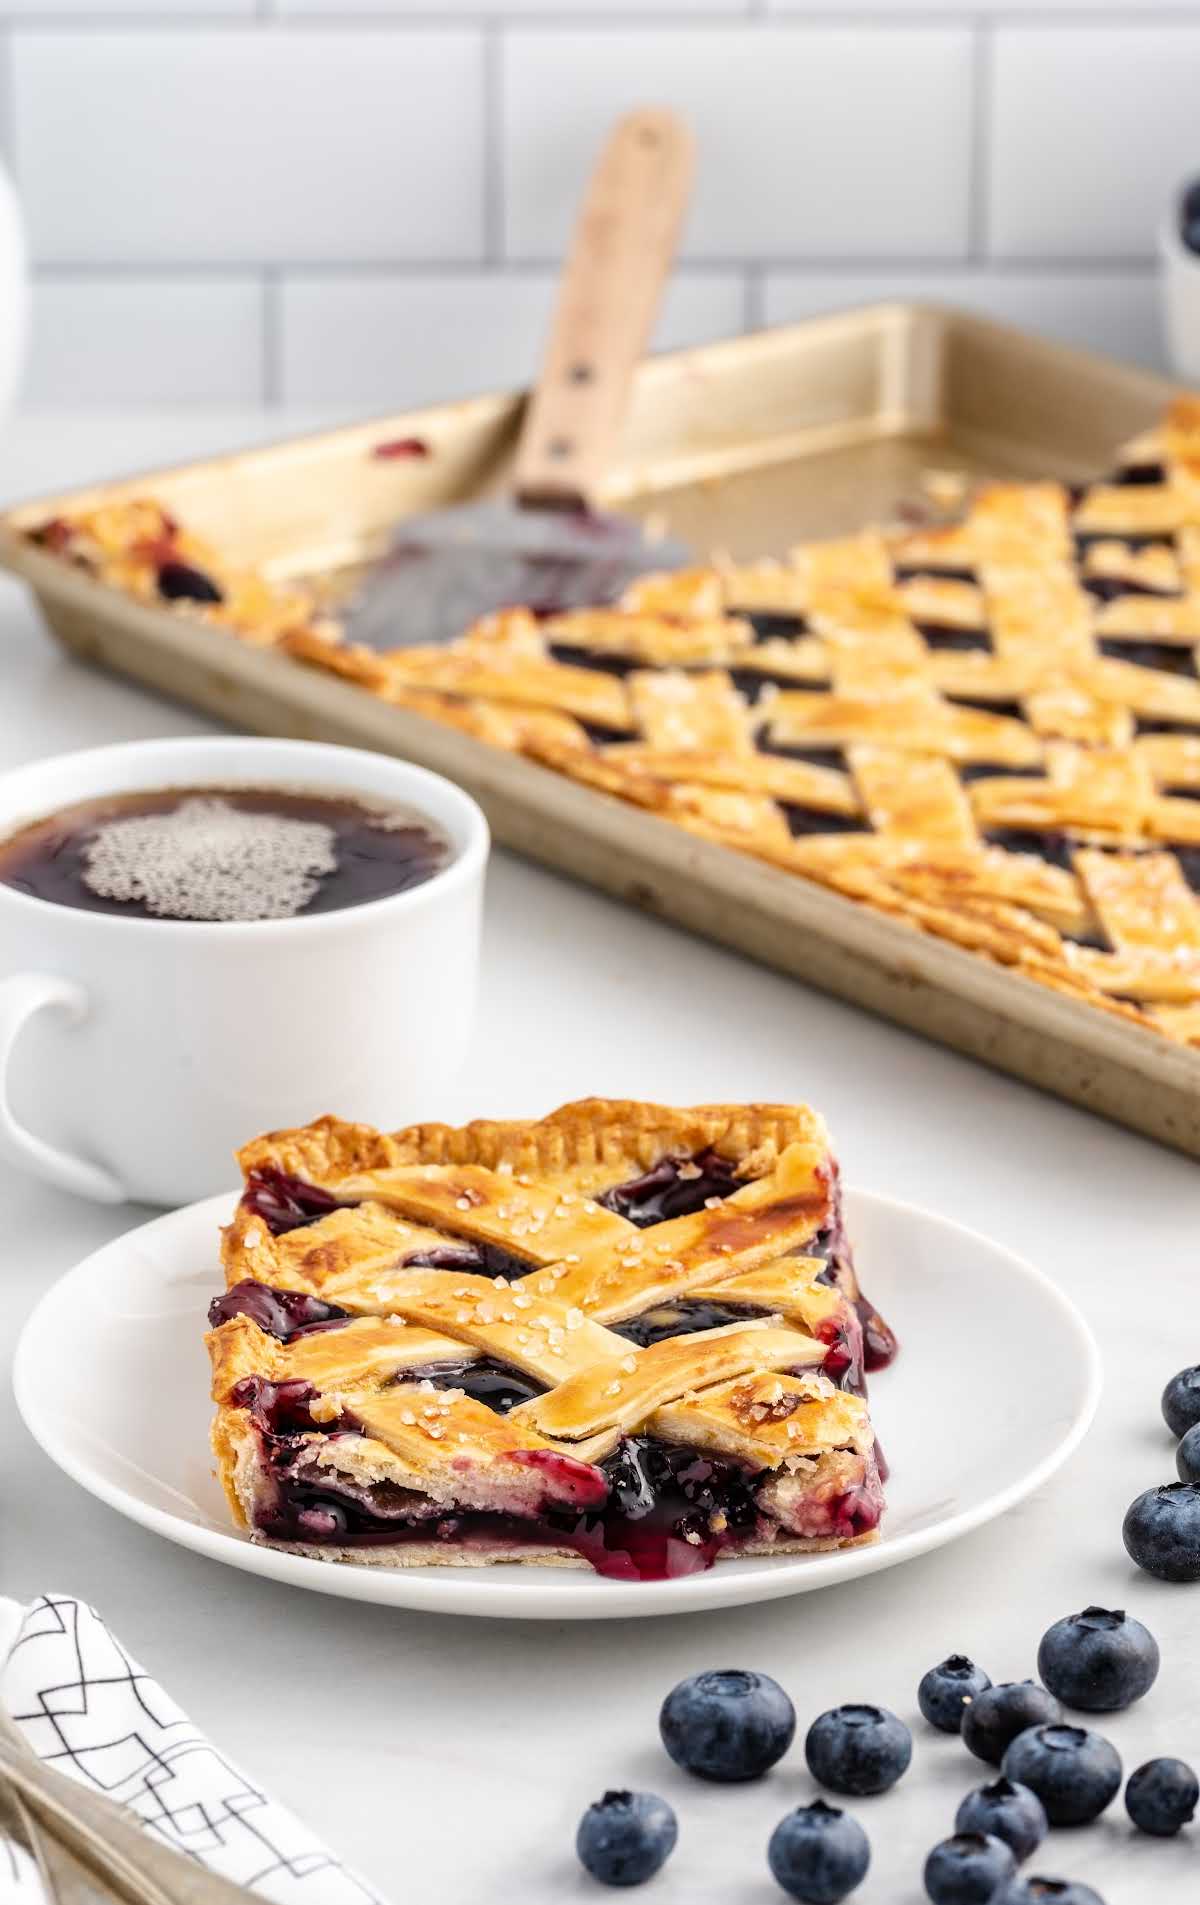
Warm, comforting, and perfect for satisfying any craving, pies are undeniably amazing. But who has time to spend hours in the kitchen baking one from scratch? That’s why this slab pie is my new go-to recipe. It’s easy to make and just as delicious as any traditional pie.
Frequently Asked Questions
This great recipe allows for plenty of flexibility as to what fruit you use. It is best to use canned filling for this recipe.
If you have a preferred pie crust recipe, you can use that instead of store-bought crust.
This tasty pie can be kept in the freezer for up to three months.
More Recipes You’ll Love
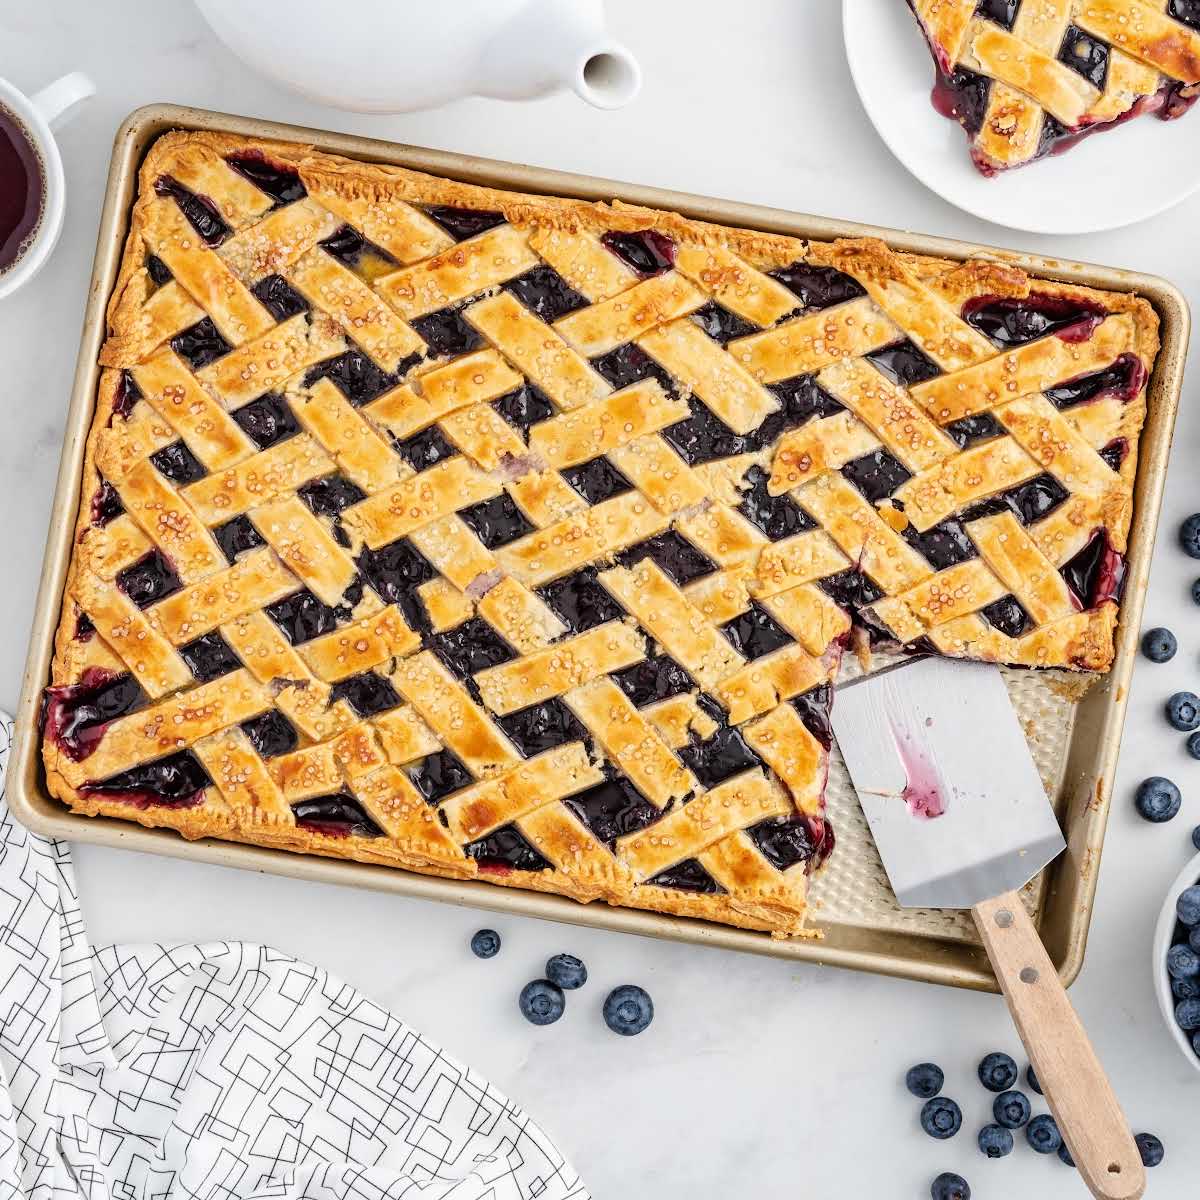
Slab Pie
Ingredients
- 3 ready-made rolled pie crusts, from 2 (14.1-ounce) boxes (I used the Pillsbury brand)
- 42 ounces blueberry pie filling
- 1 tablespoon fresh lemon juice
- 1 teaspoon lemon zest
- ½ teaspoon almond extract
- 1 egg, room temperature
- 1 teaspoon water
- 2 teaspoons clear/white sanding sugar, large crystals
Instructions
- Preheat the oven to 425°F. You will need a 10×15-inch sized standard jelly roll pan.
- Remove your pie crusts from the refrigerator and let them come to room temperature, according to the package directions, before unrolling each crust. Once they can each be unrolled, you will lay two of the crusts, slightly overlapping in the center, onto your jelly roll pan so that you have about 2 to 3 inches or so of excess dough hanging off the shorter sides of the pan. Note: You may need to lightly flatten and thin out your rolled pie crust with a lightly floured rolling pin in order for them to fit your pan. I find that sometimes different brands (especially the generic ones) tend to be slightly smaller and thicker than the Pillsbury brand once unrolled.
- With a sharp paring knife, you will need to trim off the larger amount of excess dough hanging off the shorter ends of the pan.
- You will need to place those two pieces of excess dough, one on each of the longer sides of the pan, so that you fill in the gaps on the pan where the dough does not cover. You will want to face the rounded edge towards the center of the pan, and the straight edges will fill in the edges of the crust.
- With your fingers, gently press the dough to seal all the seams together, and tuck the border edges of the dough slightly under so that you have an even edge all around your pan.
- On a large piece of parchment paper, you will need to roll out your third crust, with a lightly floured rolling pin, to a rough rectangle (about 11×13 inches). With a sharp paring knife, cut strips approximately ½ to ¾ inches thick. Set aside.
- In a large mixing bowl, stir together the canned blueberry pie filling, lemon juice, lemon zest, and almond extract.
- Gently spoon the blueberry pie mixture into an even layer in the jelly roll pan.
- Using the strips of pie crust, you will create a lattice topping. Start with the longer pieces in the center and work your way out with the shorter pieces. Once you have placed all your lattice pieces onto the top of the sheet pan pie, you will want to press the edges together and crimp them. I like using the tines of a fork to press the edges down and make the crust pretty.
- Whisk together the egg and water in a small bowl to create an egg wash. Using a pastry brush, brush the entire crust with the egg wash.
- Sprinkle the sanding sugar crystals over the egg-washed crust.
- Bake for 30 to 35 minutes or until the crust is golden and the blueberry pie filling is bubbling.
- Allow the sheet pan pie to cool completely on the counter, at room temperature, before slicing and serving.
Notes
- You can place a larger, standard-sized sheet pan tray on the bottom rack of your oven to catch any pie filling that may ooze over the edge of the pie pan when baking and bubbling up.
- You may need to lightly flatten and thin out your rolled pie crust with a lightly floured rolling pin in order for them to fit your pan. I find that sometimes different brands (especially the generic ones) tend to be slightly smaller and thicker than the Pillsbury brand once unrolled.
- If you are new to creating a lattice pattern for your pies, you can find several tutorials online. If you find that some of your strips of dough are too long or not long enough, you can trim individual pieces to fit your pan. You can also use small cookie cutters to cut out small circles or other shapes to create a fun top for your pie.
- Oven temperatures vary and may need to be recalibrated periodically to ensure they are accurate. Make sure to check your pie at the lower end of the recommended baking time.
- Be sure to allow your sheet pan pie to cool completely before slicing and serving. If it is still warm, the filling will ooze when you remove your slice of pie. It will not give you a pretty slice. If you prefer your pie served warm, then you can reheat individual pieces.



Leave a Comment