
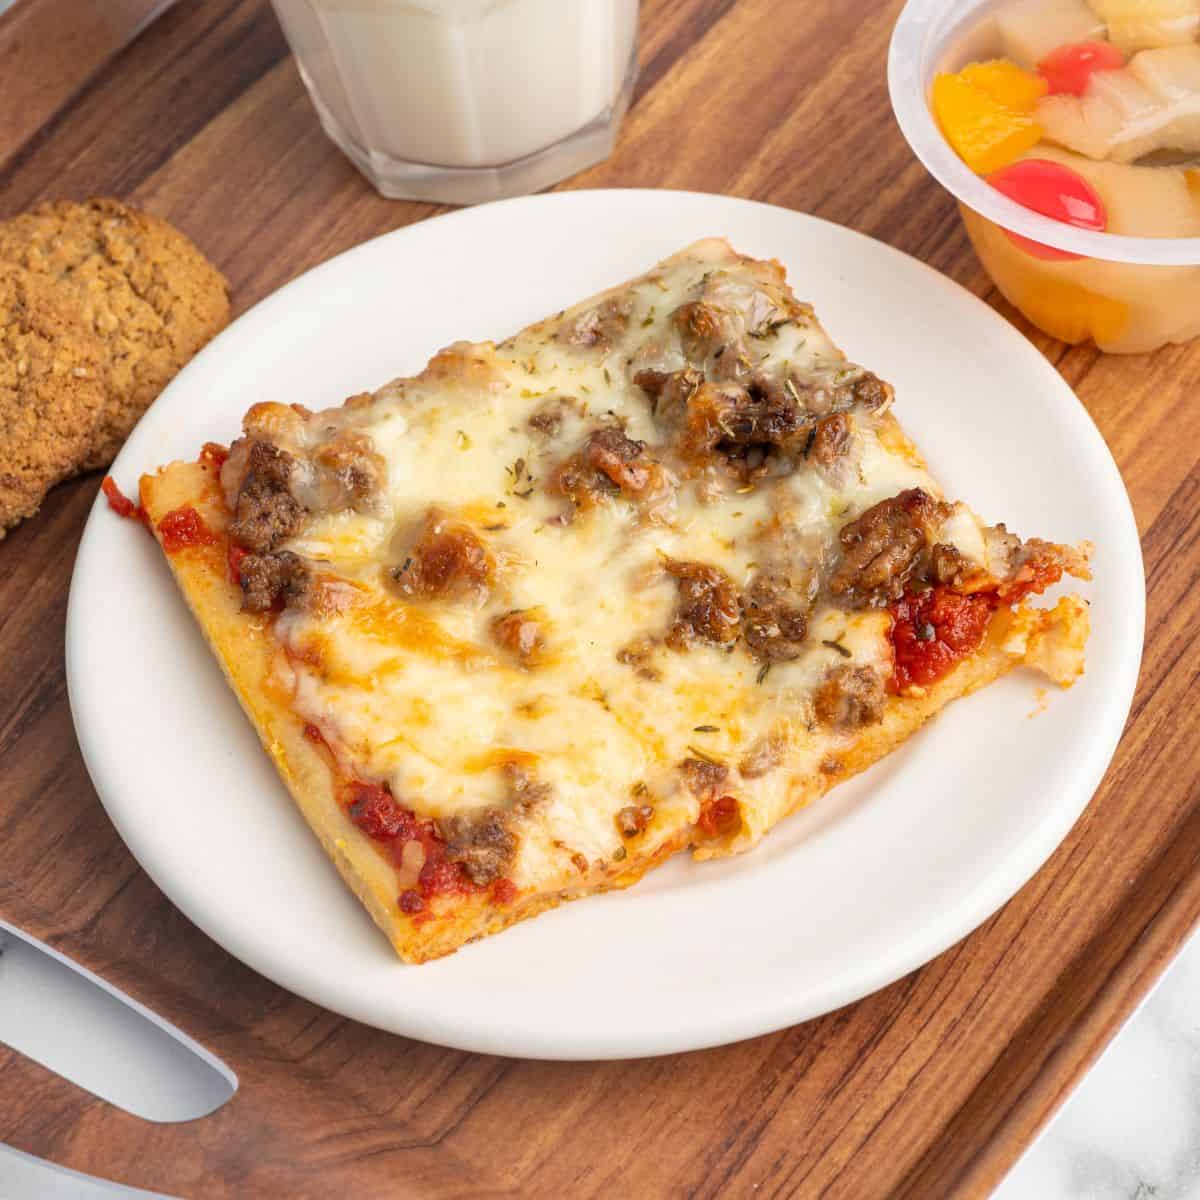
School pizza was never trying to be pizzeria pizza. It was something different: a soft, almost bready crust topped with simple sauce, seasoned meat, and melted cheese, served as a rectangle instead of a round pie. That’s exactly why so many people still want to recreate it.
The problem is that many copycat recipes start with regular pizza dough. Even when the toppings taste right, the crust comes out chewy, and chewy is the one thing school pizza never was.
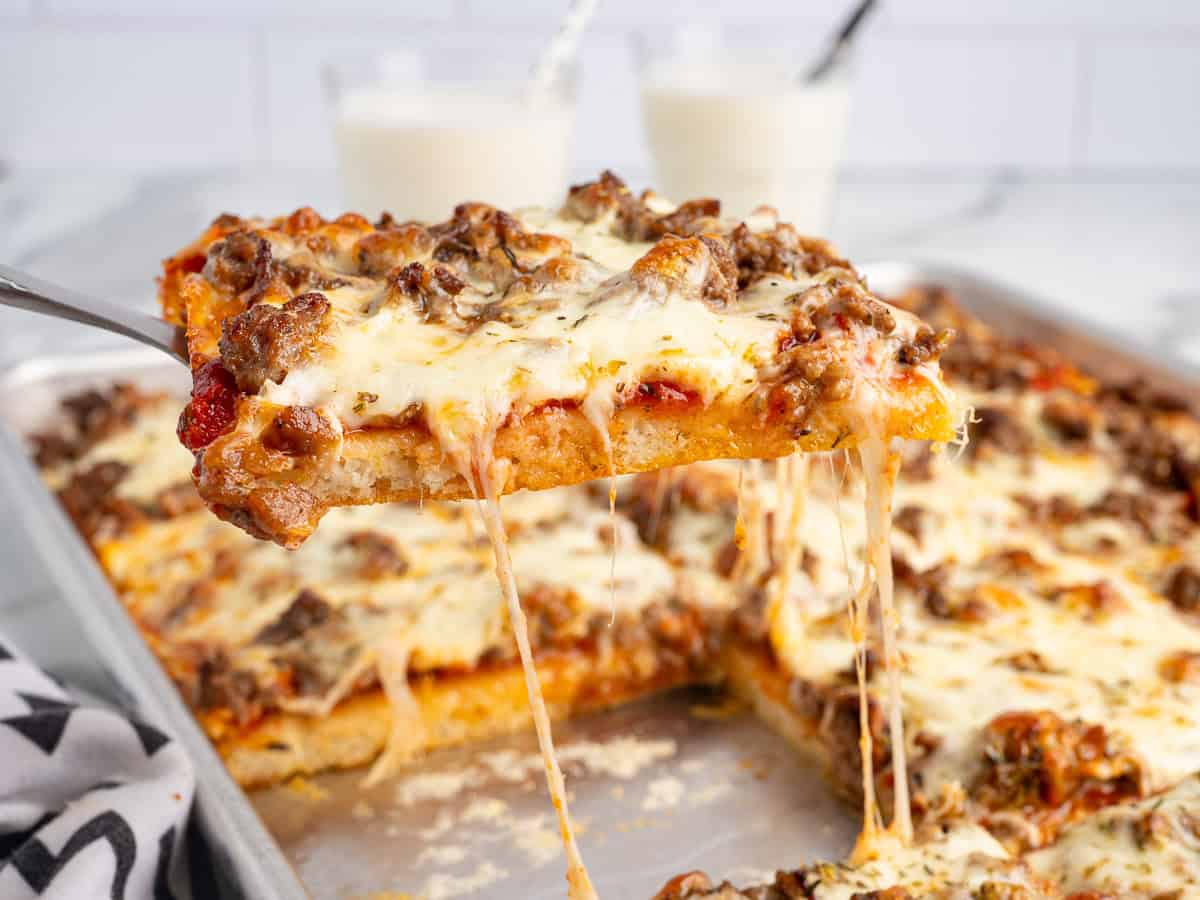
The slice I remember was tender, closer to a dinner roll than a pizzeria crust. After testing several versions, this is the one that finally gave me the texture I was looking for.
Why This Doesn’t Use Regular Pizza Dough
If your last homemade school pizza tasted good but still didn’t taste quite right, the crust was probably the reason. Traditional pizza dough makes a perfectly good sheet pan pizza, but it isn’t what many school cafeterias served.
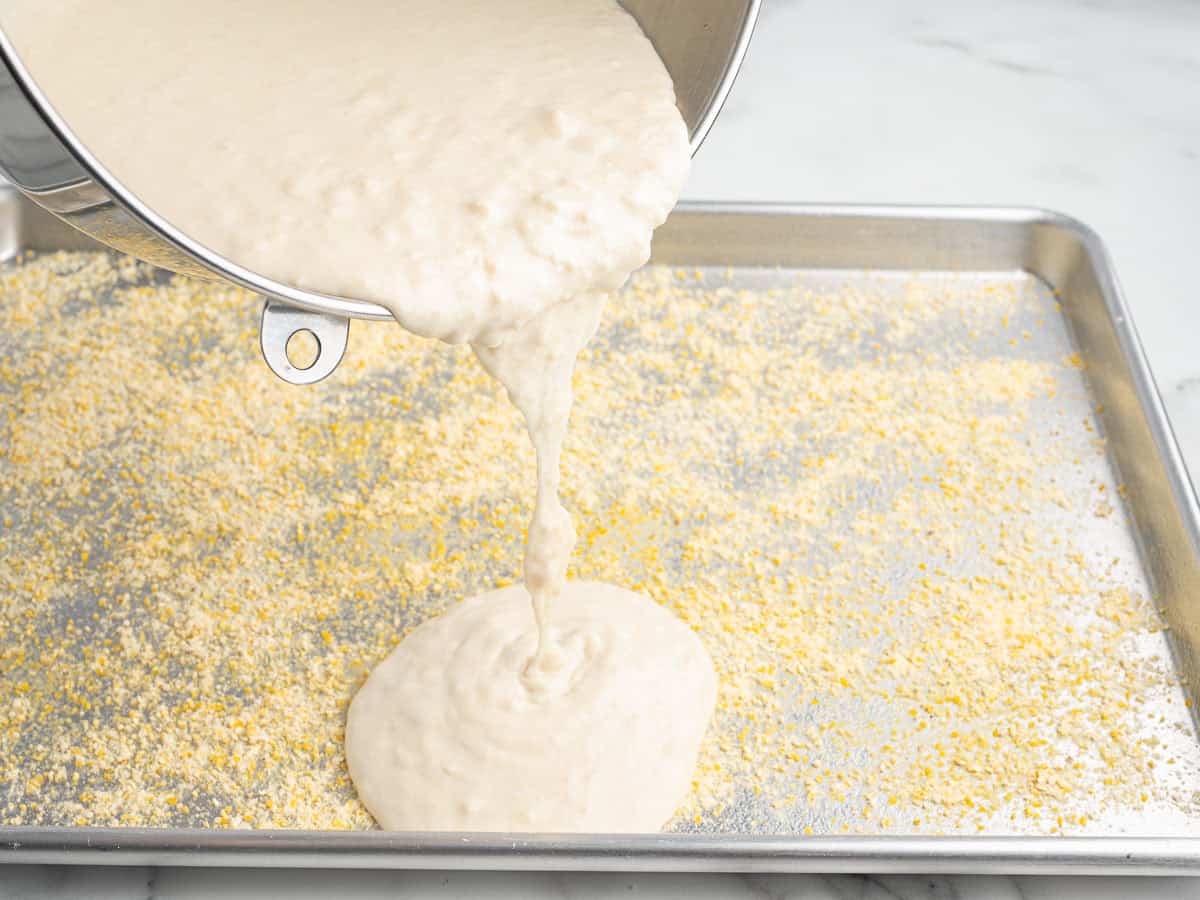
This copycat recipe starts with a loose yeast batter instead. You spread it into the pan rather than kneading and stretching it like pizza dough. As it bakes, it becomes soft and bready instead of chewy.
Because the crust is so tender, the toppings need to stay fairly light. Too much meat, cheese, or sauce can weight the crust down
One More Note
For the person who came here wanting a fast weeknight pizza rather than the full cafeteria project. If that is you, you can stretch a ball of my homemade pizza dough into the pan and top it the same way. Just know you will get a chewier, more pizzeria-style crust, not the soft, poured cafeteria crust this recipe is built around. It is a different pizza. A good one, but a different one.
What Makes School Pizza Taste Like School Pizza
Brown the meat well and drain away the excess grease before adding it to the pizza. Otherwise, the grease can soak into the crust as it finishes baking.
The Mistake That Made Me Redevelop This Recipe
When I redeveloped this recipe, I asked one of my recipe testers, Teresia, to make it exactly as written.
On May 3, 2026, she baked the crust on the lower rack at 475°F. The top of the pizza looked right and it tasted good, but the bottom browned so much that she couldn’t cut through it with a pizza cutter.
Her test showed that the crust needed more time to rise but less direct heat underneath. Here’s what I did:
- Moved the par-bake to the center rack.
- Increased the resting time from 10 minutes to 20 so the batter could rise properly.
- Added a step to pierce the crust with a fork, which helps prevent air pockets.
- Switched pan preparation to baking spray and cornmeal so the crust would release cleanly from the pan.
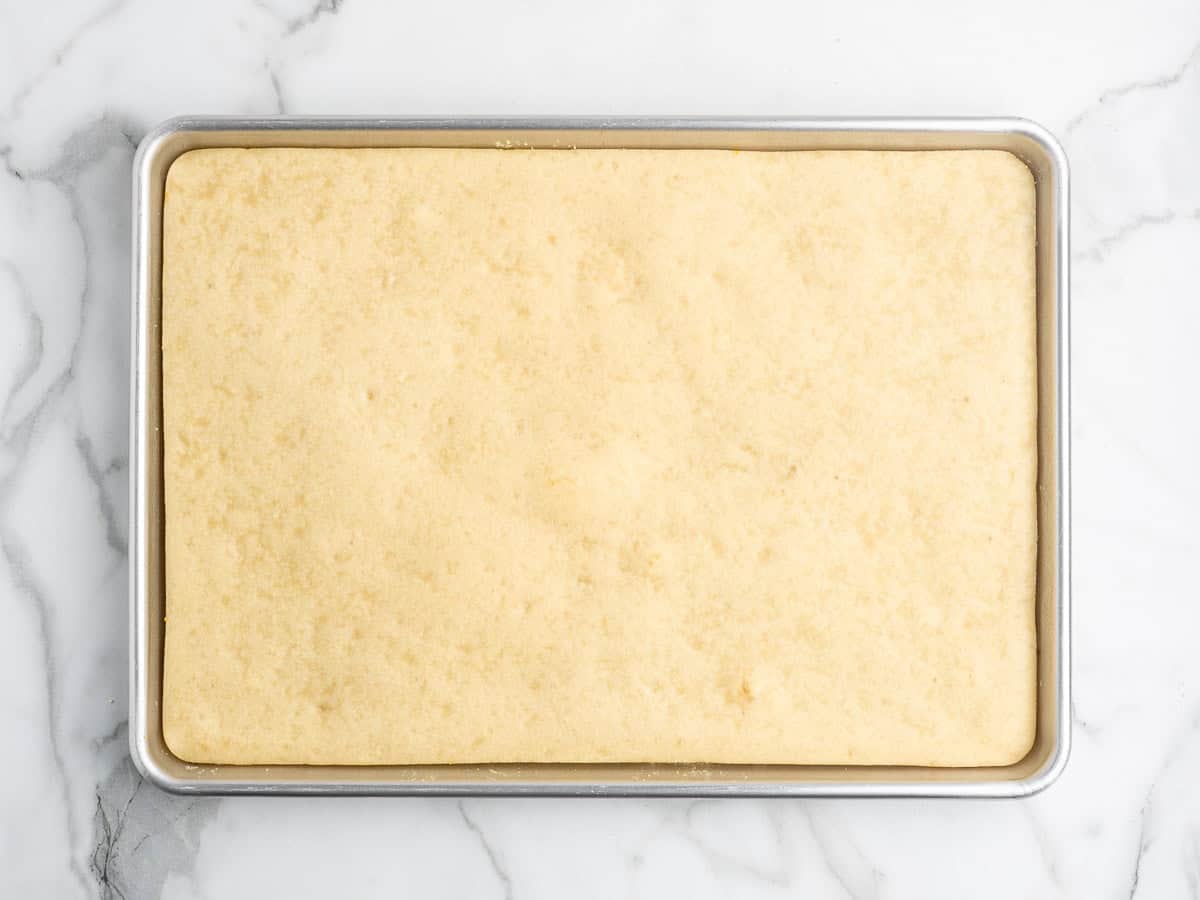
The par-baked crust shouldn’t be deeply browned before you add the toppings. It should look set across the surface, with only a hint of color around the edges. It will finish baking after the sauce, cheese, and toppings go on, so pulling it at the right moment prevents the bottom from becoming too dark and hard.
Why the Dry Milk Matters
Dry milk powder is the ingredient that surprises most people, but it’s one of the reasons this crust stays soft while still browning properly.
It adds milk solids without adding more moisture. I use Carnation nonfat dry milk powder because it’s easy to find in most grocery stores, but any nonfat or skim dry milk powder will work. Whole milk powder also works if that’s what you already have.
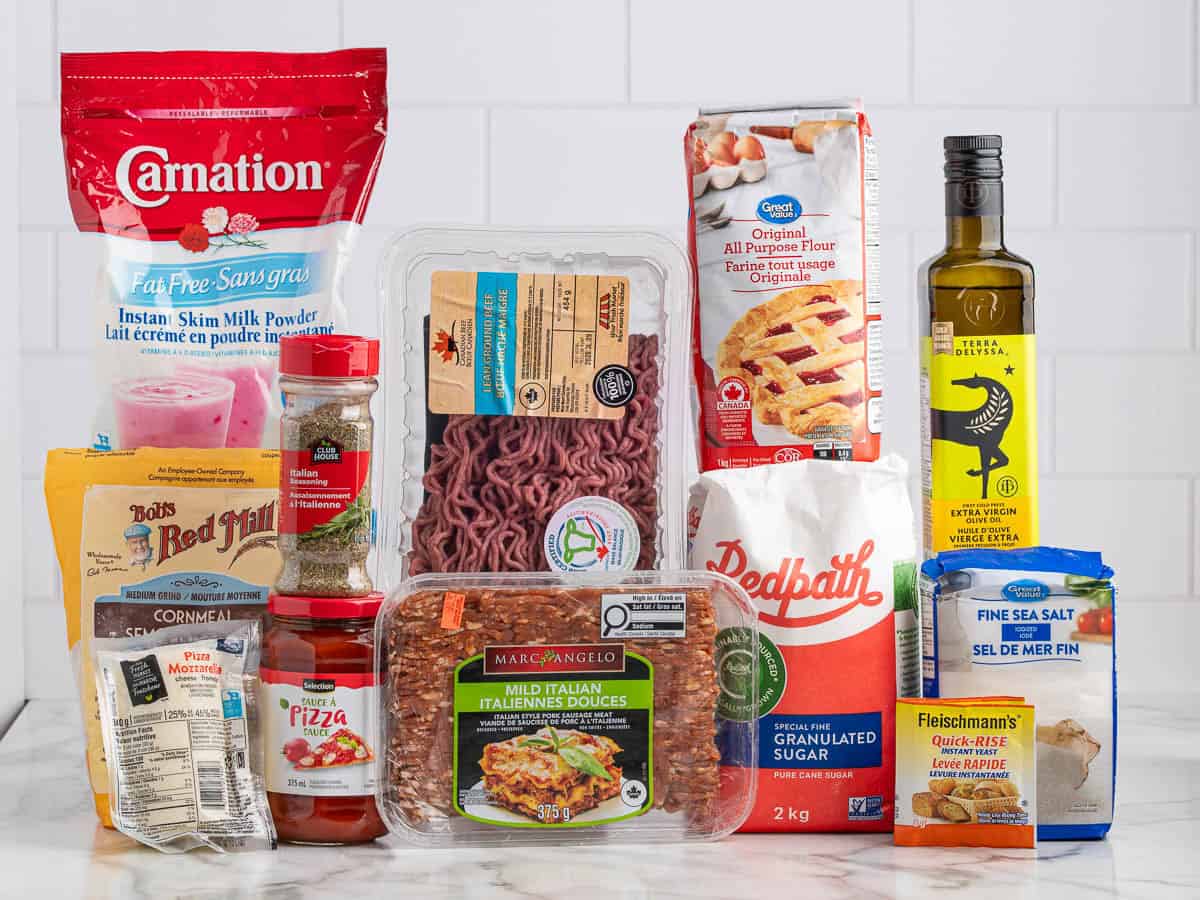
If you don’t have dry milk powder, replace the water with the same amount of warm milk. Don’t use milk in addition to the water. The crust will still work, although it may not brown as evenly or be quite as tender.
Freezing and Making Ahead
This pizza freezes best after the crust has been par-baked. Let the crust cool completely before adding the sauce, cheese, and toppings, then wrap the assembled pizza well and freeze it. Thaw it overnight in the refrigerator before baking.
Leftover slices reheat best in the oven or an air fryer. The microwave works in a pinch, but it softens the crust and takes away some of the texture that makes this pizza worth recreating in the first place.
The Rest of the Tray
The pizza was only ever half of it. The tray came with a square of something chocolate and a cup of something cold, and if you are after the whole memory and not just the main event, I make lunch lady brownies or lunch lady peanut butter bars and pour an Orange Julius to go with it. Same era, same lunch line.
This recipe was first posted in February 2022 and was updated in July 2026.

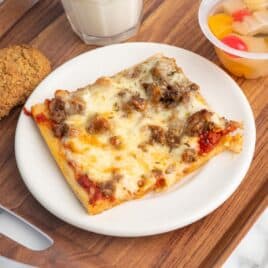
Rectangle School Pizza
Ingredients
Crust
- 2 tablespoons yellow cornmeal
- 2¾ cups unbleached all-purpose flour
- ¾ cup instant nonfat dry milk powder (Nestle Carnation brand used)
- 2½ tablespoons granulated sugar
- 2½ teaspoons instant yeast, from a 0.25-ounce packet (Red Star Platinum brand used)
- 2 teaspoons fine sea salt
- 2 tablespoons olive oil, extra virgin
- 2 cups warm water (105°-110°F)
Toppings
- ½ pound lean ground beef
- ½ pound ground mild Italian sausage
- 14 ounces jar pizza sauce, yields about 1½ cups (MIDS brand used)
- 16 ounces block whole milk mozzarella cheese, shredded (yields about 4 cups)
- 1 teaspoon dried Italian seasoning blend
Instructions
Crust
- Lightly spray an 18×13-inch half-sheet pan with non-stick baker’s spray. Sprinkle the yellow cornmeal evenly over the sprayed surface and set aside. This will prevent the crust from sticking when baked.
- In the bowl of a stand mixer fitted with the paddle attachment, add the all-purpose flour, dry milk powder, granulated sugar, instant yeast, and salt. Whisk to combine.
- With the mixer on low, drizzle in the olive oil and warm water into the dry ingredients until well combined. Mix for an additional 2-3 minutes or until you have a fairly smooth pourable batter. It should be the consistency of a thick pancake batter. A few small lumps in the batter are fine.
- Pour the batter into the prepared pan. Carefully spread the batter to an even layer being sure it covers the entire surface of the baking sheet.
- Allow the dough to rest in the pan for 20 minutes or until small surface bubbles start to appear. This ensures your yeast is active and your crust will bake and rise properly.
- Preheat the oven to 475°F. Once the dough has rested, use the tines of a fork to poke holes in the dough to help prevent large bubbles from rising as the crust bakes.
- Bake on the center rack for 10 minutes. The edges should just barely be turning a pale golden color and the center should be fully set. Remove the par-baked crust from the oven and set aside. While the crust is baking you can prepare the toppings.
Toppings
- In a large (10-inch) skillet over medium-high heat, cook the ground beef and mild Italian sausage for 6-8 minutes or until browned and no pink remains. Transfer the cooked meats to a paper towel lined plate to drain off the excess grease.
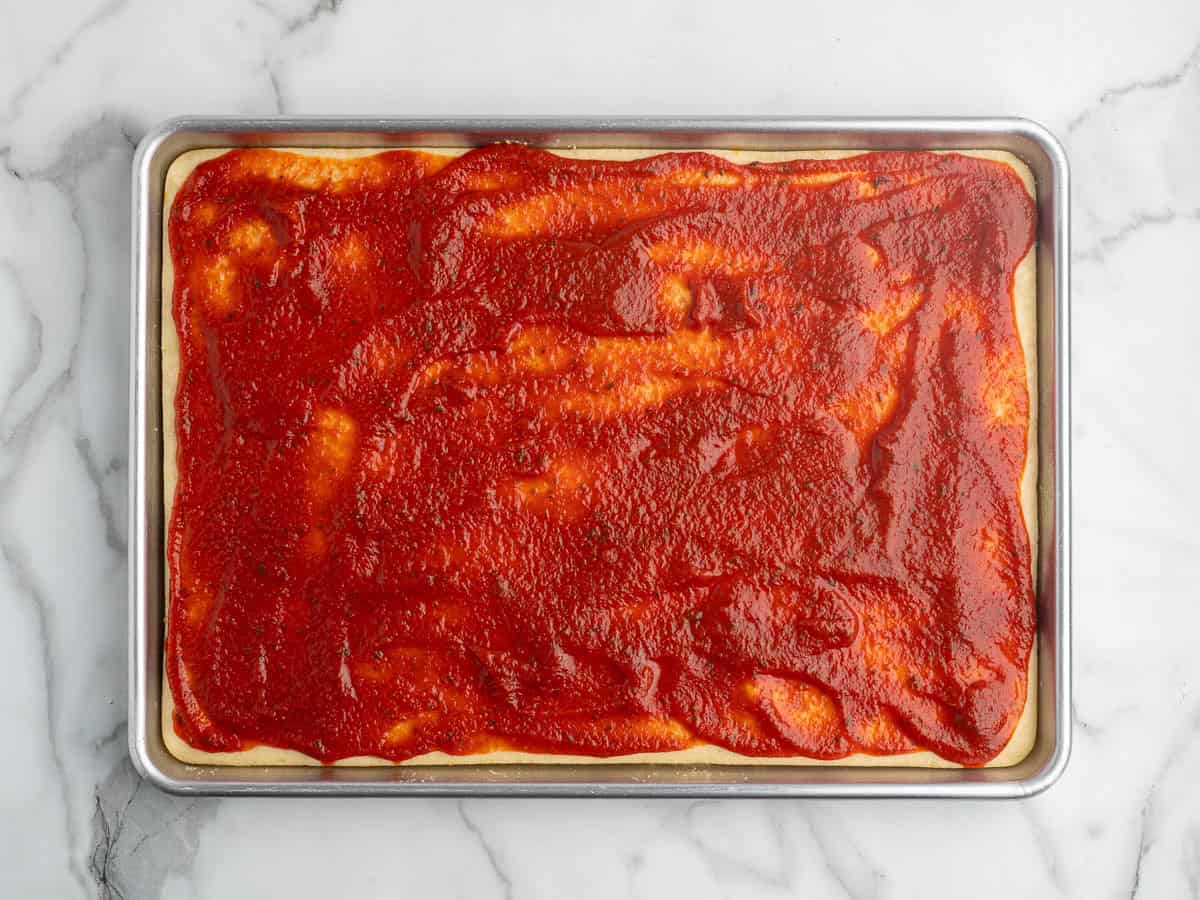
- Once the crust has baked, spread the pizza sauce evenly over the entire surface of the crust.
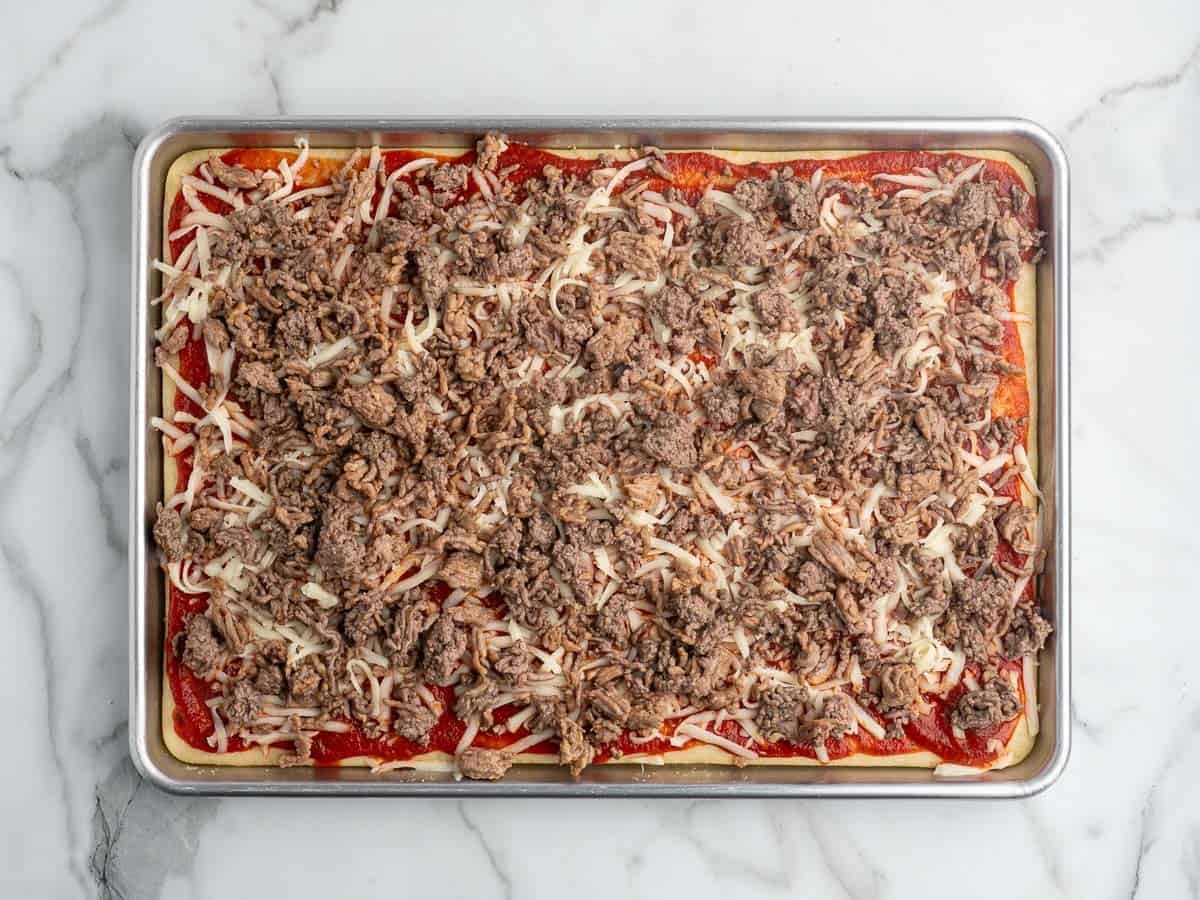
- Sprinkle half (about 2 cups) of the shredded mozzarella cheese evenly over the sauce.
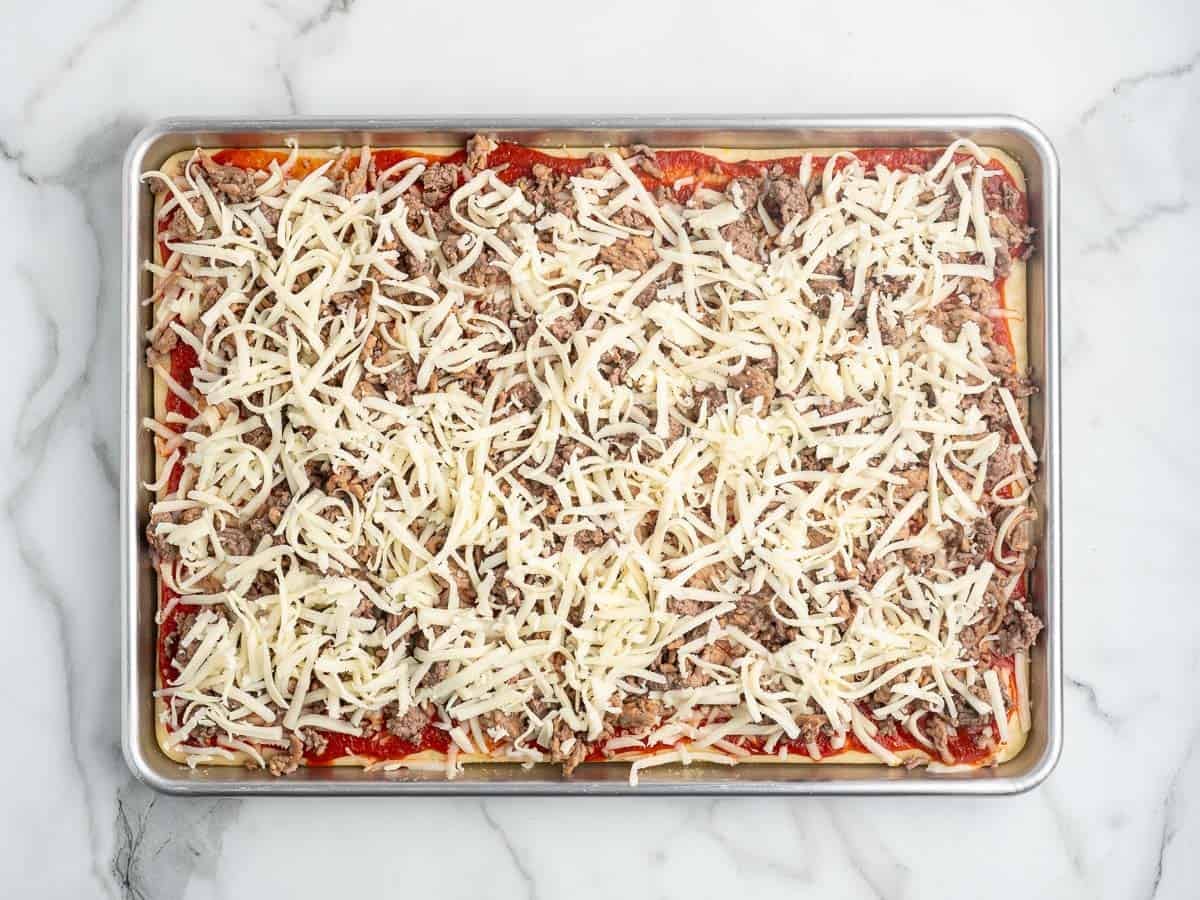
- Add the meat evenly over the first layer of cheese, then top with the remaining (about 2 cups) shredded mozzarella cheese.
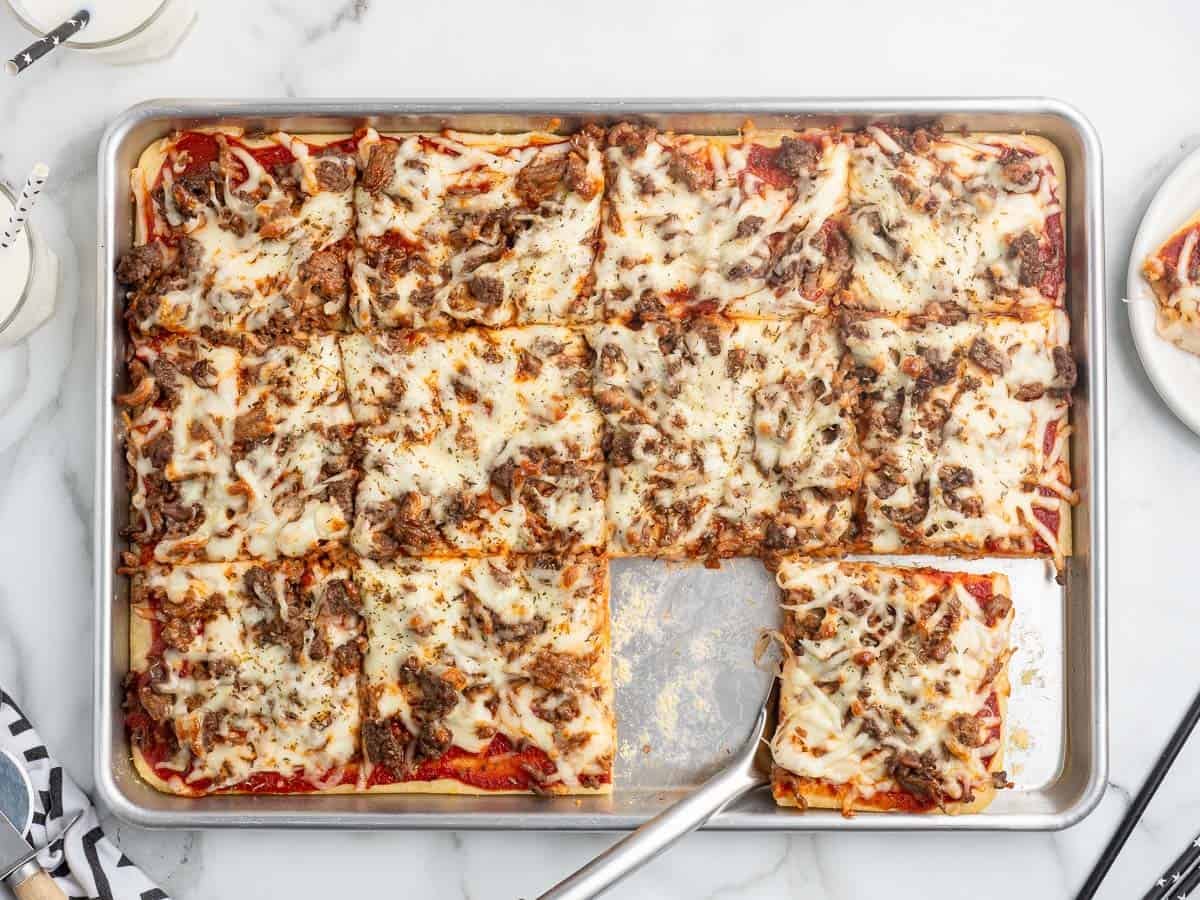
- Sprinkle the dried Italian seasoning evenly over the top layer of cheese, then bake on the middle rack for 12-14 minutes or until the cheese is melted, bubbly, and lightly browned.
- Remove the baked pizza from the oven and let it cool for 3-5 minutes before slicing and serving.
Notes
- You can substitute, or add, diced pepperoni or any other toppings if desired. Do not add more than another ½ cup of additional toppings to ensure you do not overload the crust when baked and sliced.
- The meat topping can be omitted completely if you want to serve a cheese only pizza.
Nutrition









Comments
Gloria says
This brings back fun memories!
Jeannette Shields says
Can this be frozen…and/or halved? I live alone and it would take me many days to eat this. Thank you for the recipe.
Layne Kangas says
Hi, Jeannette – yes, when you hit “print” on the recipe card, you can adjust the number of servings and it will adjust the ingredients. You could also freeze to warm up later! We warm ours up in the air fryer or toaster oven. Enjoy!
Leticia Martinez says
Thank you Great memories ! one more school lunch dish if you have biscuits mashed potatoes with turkey gravy on top so good thank you
Susan says
Can this recipe be made in a bread machine?
Amy Tandiko says
Hi Susan, we haven’t tried it that way! If you give it a try, please let us know.