Published on
Last updated on
Raspberry Squares
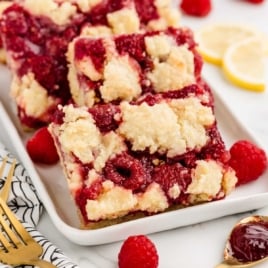
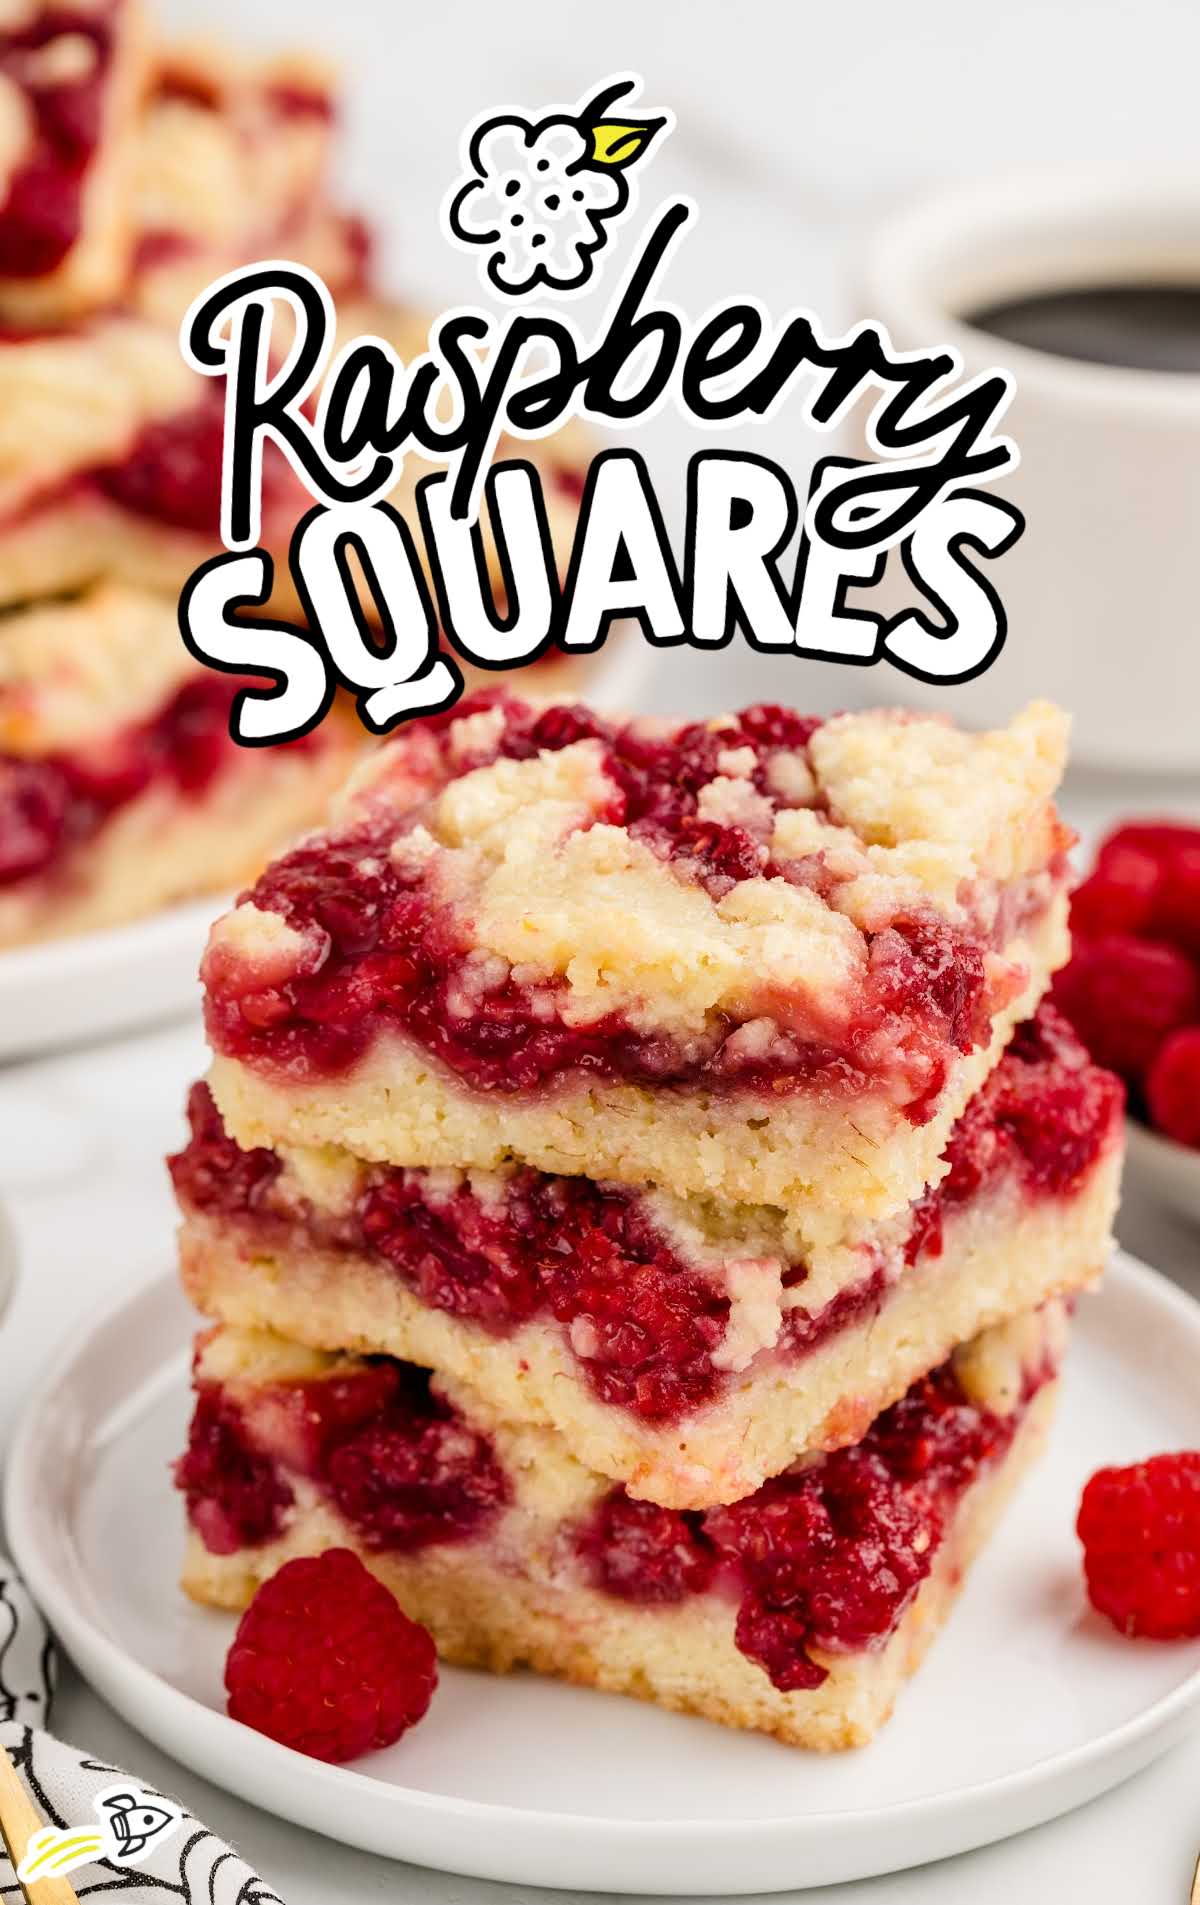
Raspberry Squares are a delicious and easy-to-make dessert. Bursting with the flavors of fresh berries and a hint of tangy lemon, each bite is a treat! With a buttery crust that melts in your mouth and a vibrant raspberry filling bursting with fresh fruit flavor, these squares are a true crowd-pleaser.
Perfect for a casual brunch, lazy afternoon snack, or dessert spread, they are versatile enough to satisfy any sweet tooth. Plus, the recipe is easy to follow and delivers delicious results every time.
Raspberry Squares Ingredients
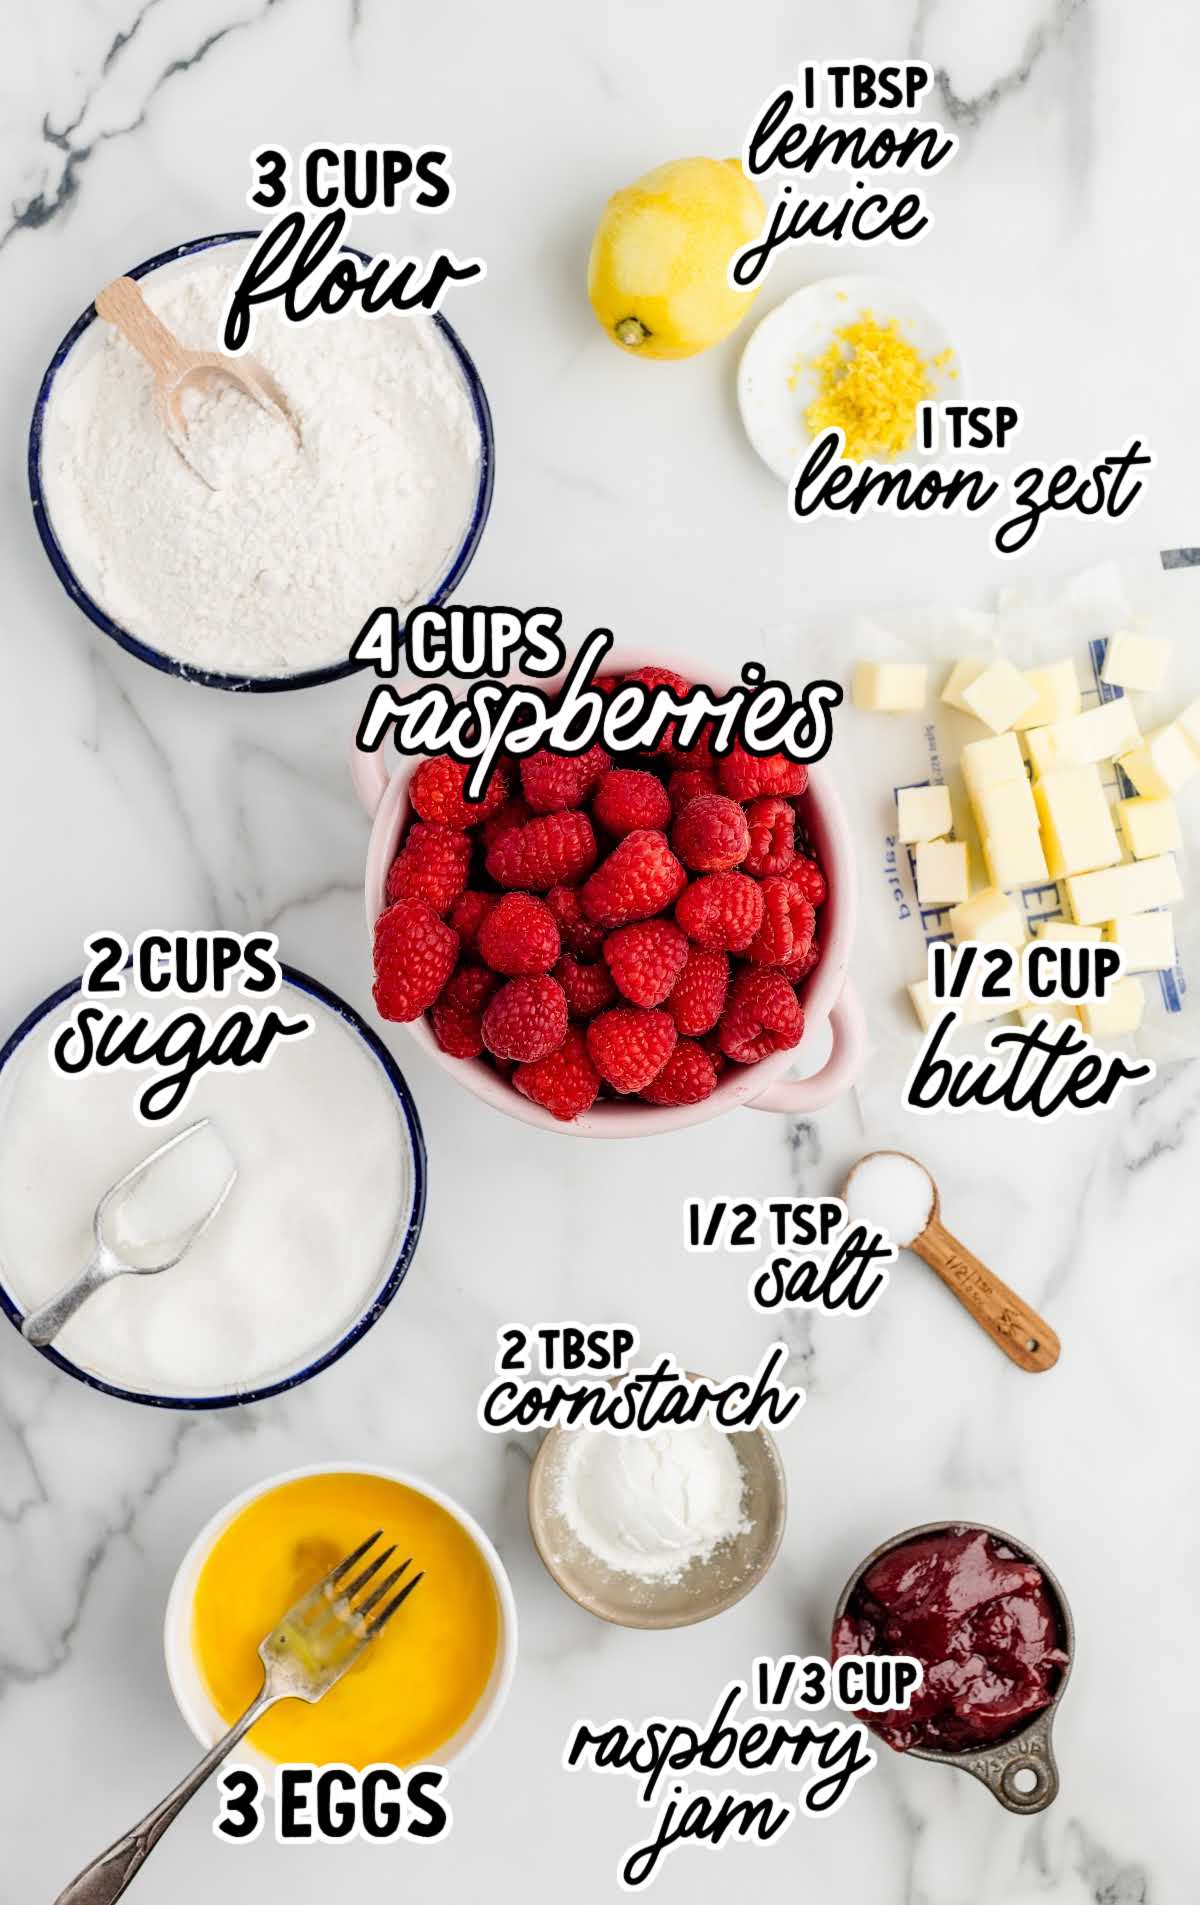
Whip up a batch of these delightfully easy raspberry crumb bars with just a handful of simple ingredients. These from-scratch treat bars use the yummiest baking staples; flour, butter, sugar, and raspberries, of course.
You’ll need:
For the Crust:
- 3 cups all-purpose flour
- 1½ cups granulated sugar
- ½ teaspoon salt
- 1 teaspoon lemon zest
- ½ cup unsalted butter, chilled and cut into cubes
- 3 eggs, lightly beaten
For the Raspberry Filling:
- 4 cups fresh raspberries (approximately 4 x 6oz containers)
- ½ cup granulated sugar
- ⅓ cup seedless raspberry jam
- 2 tablespoons cornstarch
- 1 tablespoon fresh lemon juice
Raspberry Pie Squares Substitutions and Additions
If you’ve discovered you’ve run out of an ingredient you need to make these raspberry crumble bars or if you want to make a substitution, here are some ways you can change up the recipe.
All-purpose Flour: If you prefer a gluten-free option, you can substitute gluten-free all-purpose flour in the same quantity. For a nuttier flavor, you can use almond flour, but note that this may alter the texture of the crust somewhat.
Granulated Sugar: You can use coconut sugar or a sugar substitute like erythritol or stevia instead if you prefer.
Unsalted Butter: Salted butter will work fine, but may result in a saltier flavored crust. For a dairy-free option, you can use vegan butter or coconut oil in place of butter. Just ensure that the coconut oil is solid at room temperature for the best results.
Fresh raspberries: We don’t recommend using frozen berries for this recipe, as they release too much liquid during baking. You can also use black raspberries instead of red raspberries for a richer flavor and dark color.
Seedless raspberry jam: Any flavor of sweet raspberry jam can be used as a substitute, such as strawberry or blackberry, but seedless is preferred. You can also use your own homemade raspberry preserves.
How To Make This Raspberry Squares Recipe
If you love recipes using raspberry pie filling, this recipe is for you! These easy raspberry pie bars are made using simple-to-follow steps, so anyone can make them. A quick shortbread crust is topped with a from-scratch raspberry pie filling and baked to sweet and tangy perfection.
STEP ONE: Measure out your ingredients and juice your lemon. You can also lightly beat your eggs. Preheat your oven and spray a 9×13 inch baking pan with baking spray. Set aside for now.
STEP TWO: In the bowl of a food processor, add the all-purpose flour, granulated sugar, salt, and lemon zest. Combine flour mixture by pulsing 2-3 times until combined.
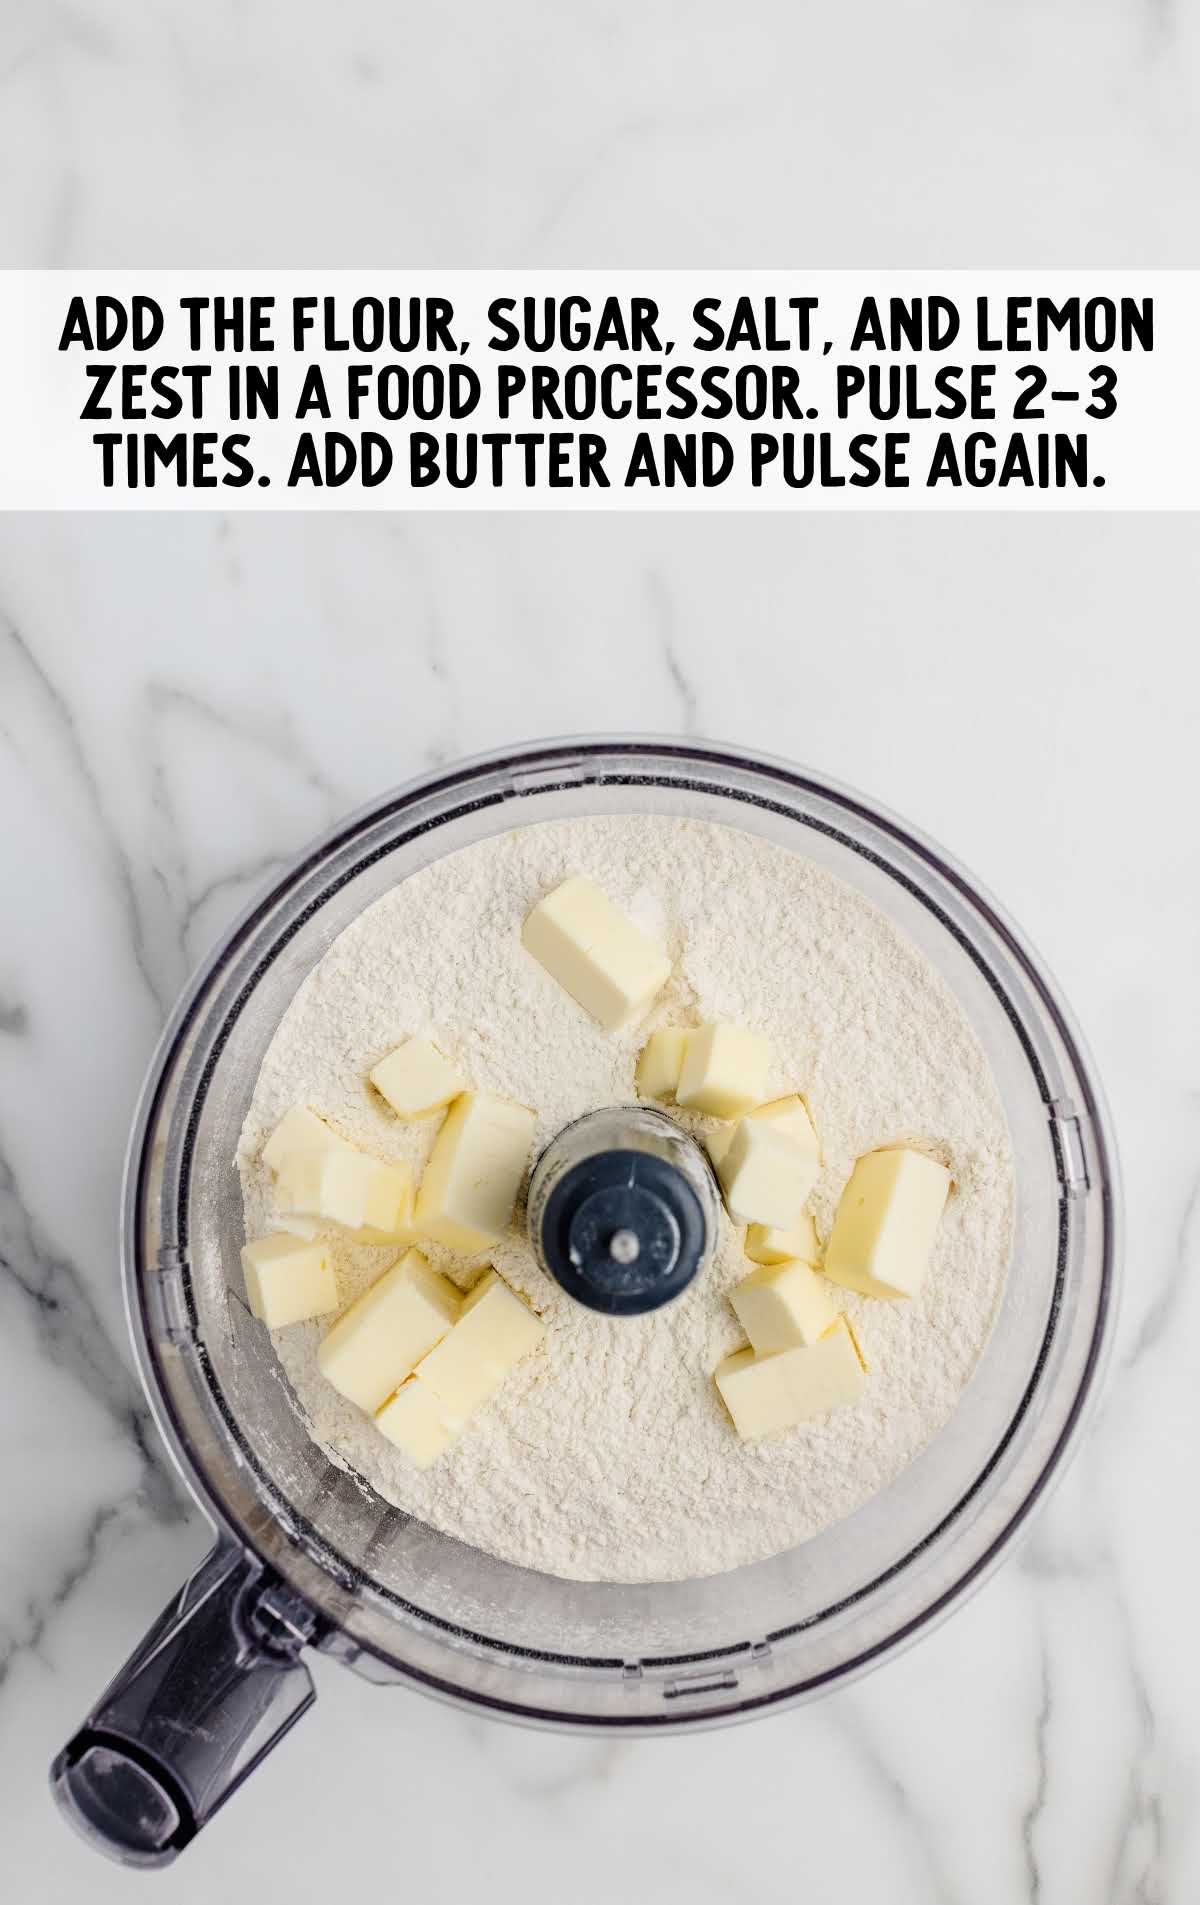
STEP THREE: Add the cubed and chilled butter to the food processor and pulse again for 15-30 seconds or until you get small pea-sized pieces of butter.
PRO TIP: If you don’t have a food processor, you can make this crust by hand using a pastry blender (like you would use to make pie crust by hand) or a stand mixer fitted with a paddle attachment.
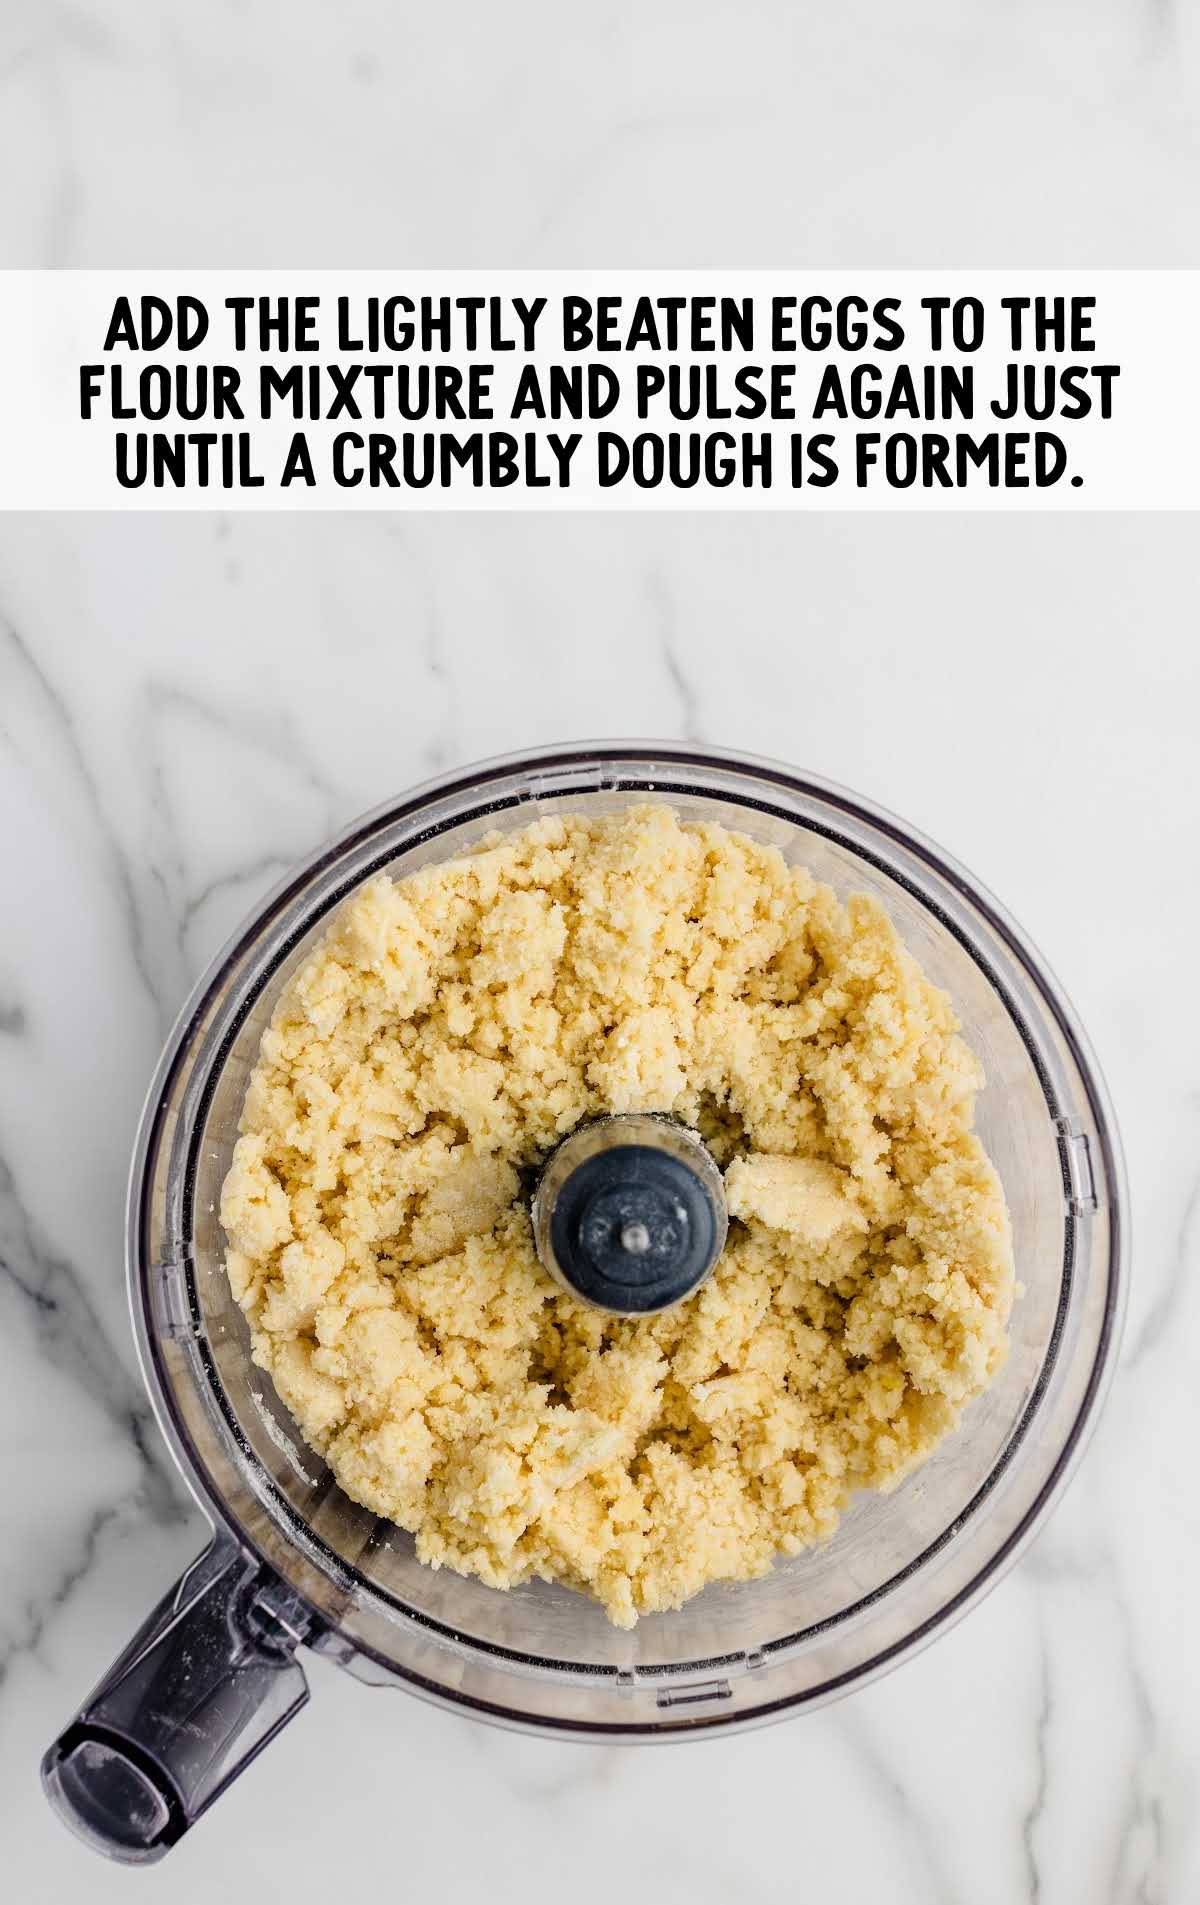
STEP FOUR: Add the lightly beaten eggs to the flour mixture and pulse again, just until a crumbly dough is formed. Use a spatula to scrape the bottom of the food processor to make sure you don’t have any dry pockets of flour in the dough.
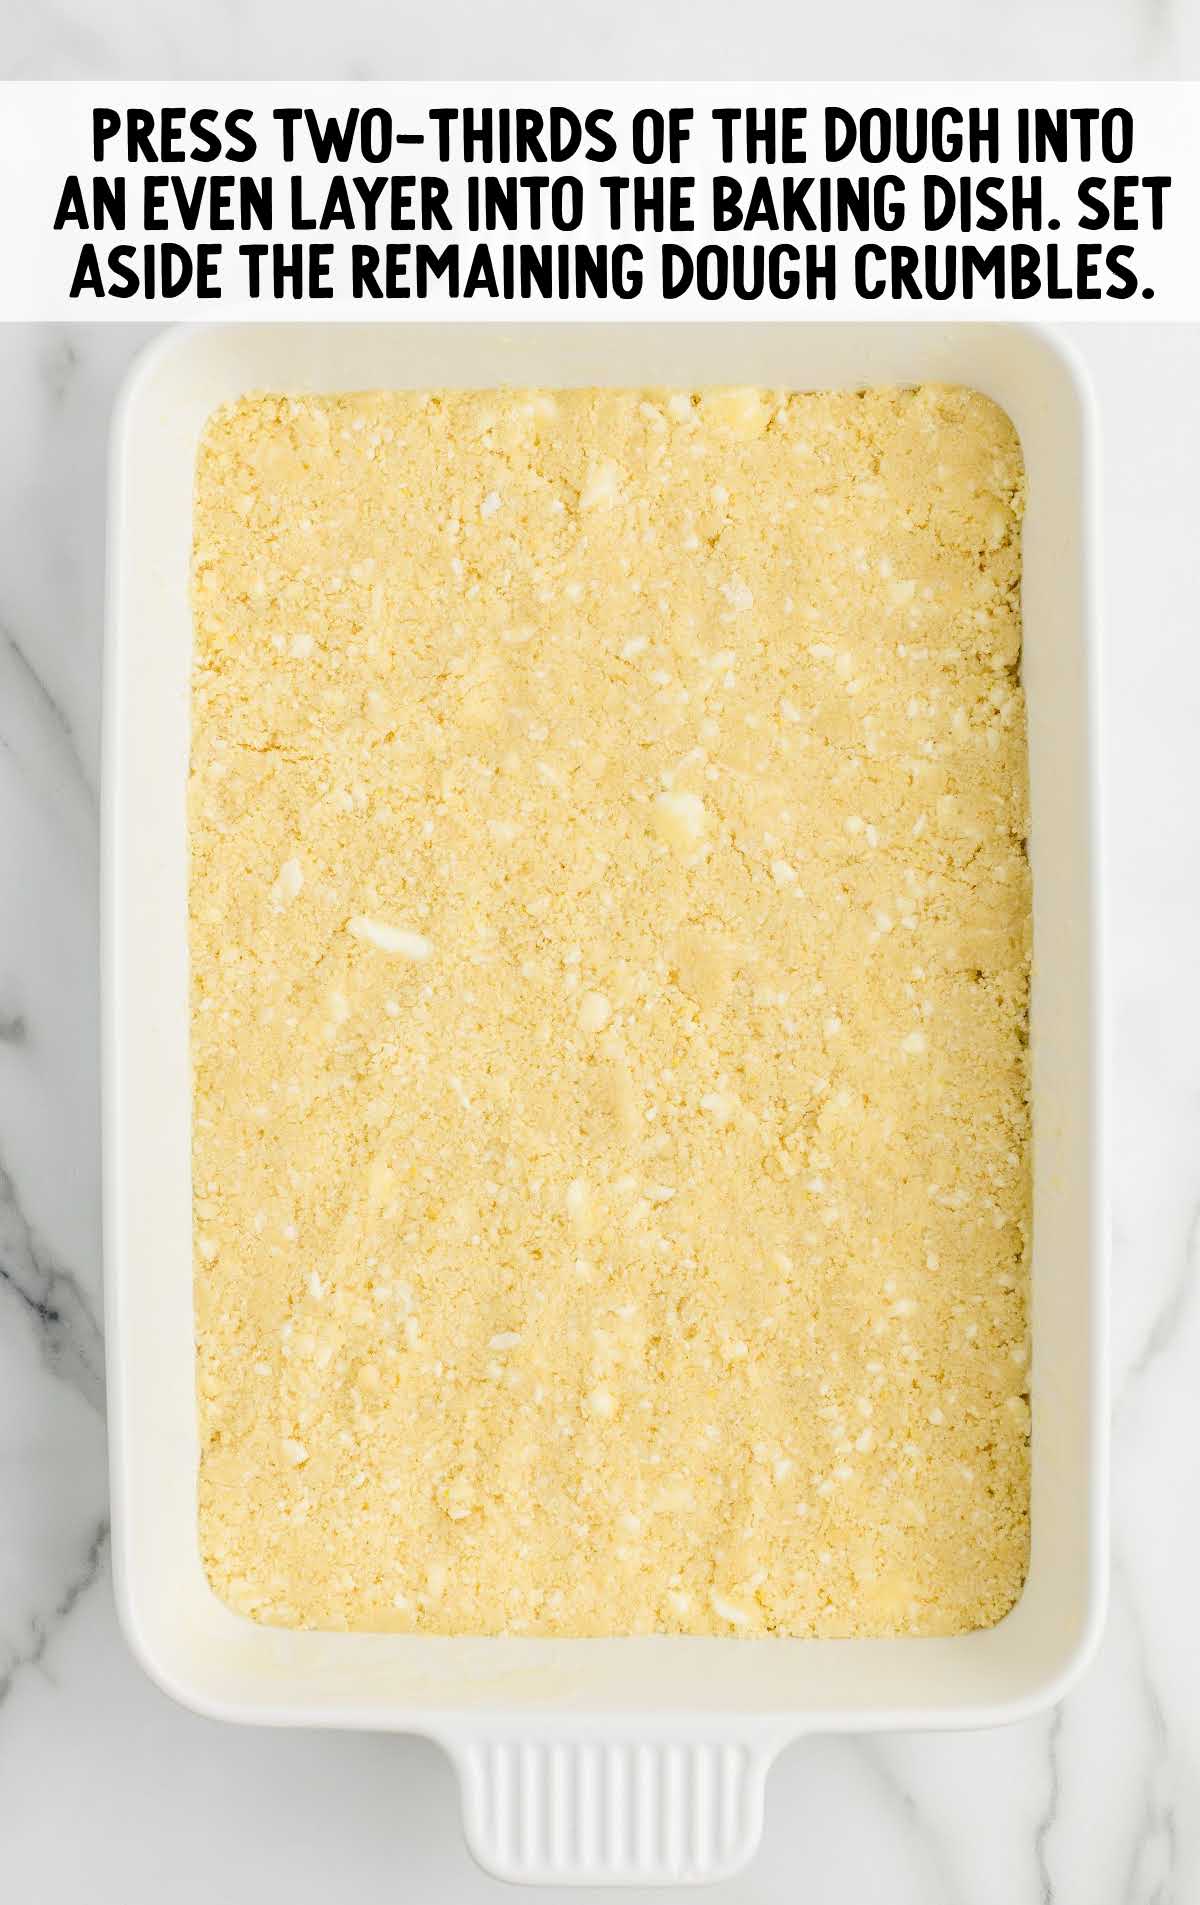
STEP FIVE: Add 2/3 of the dough to the bottom of the prepared pan and press it into an even layer. You’ll have remaining dough, which you can set aside for now.
PRO TIP: You can use the bottom of a flat glass to help you press the mixture down flat into the pan.
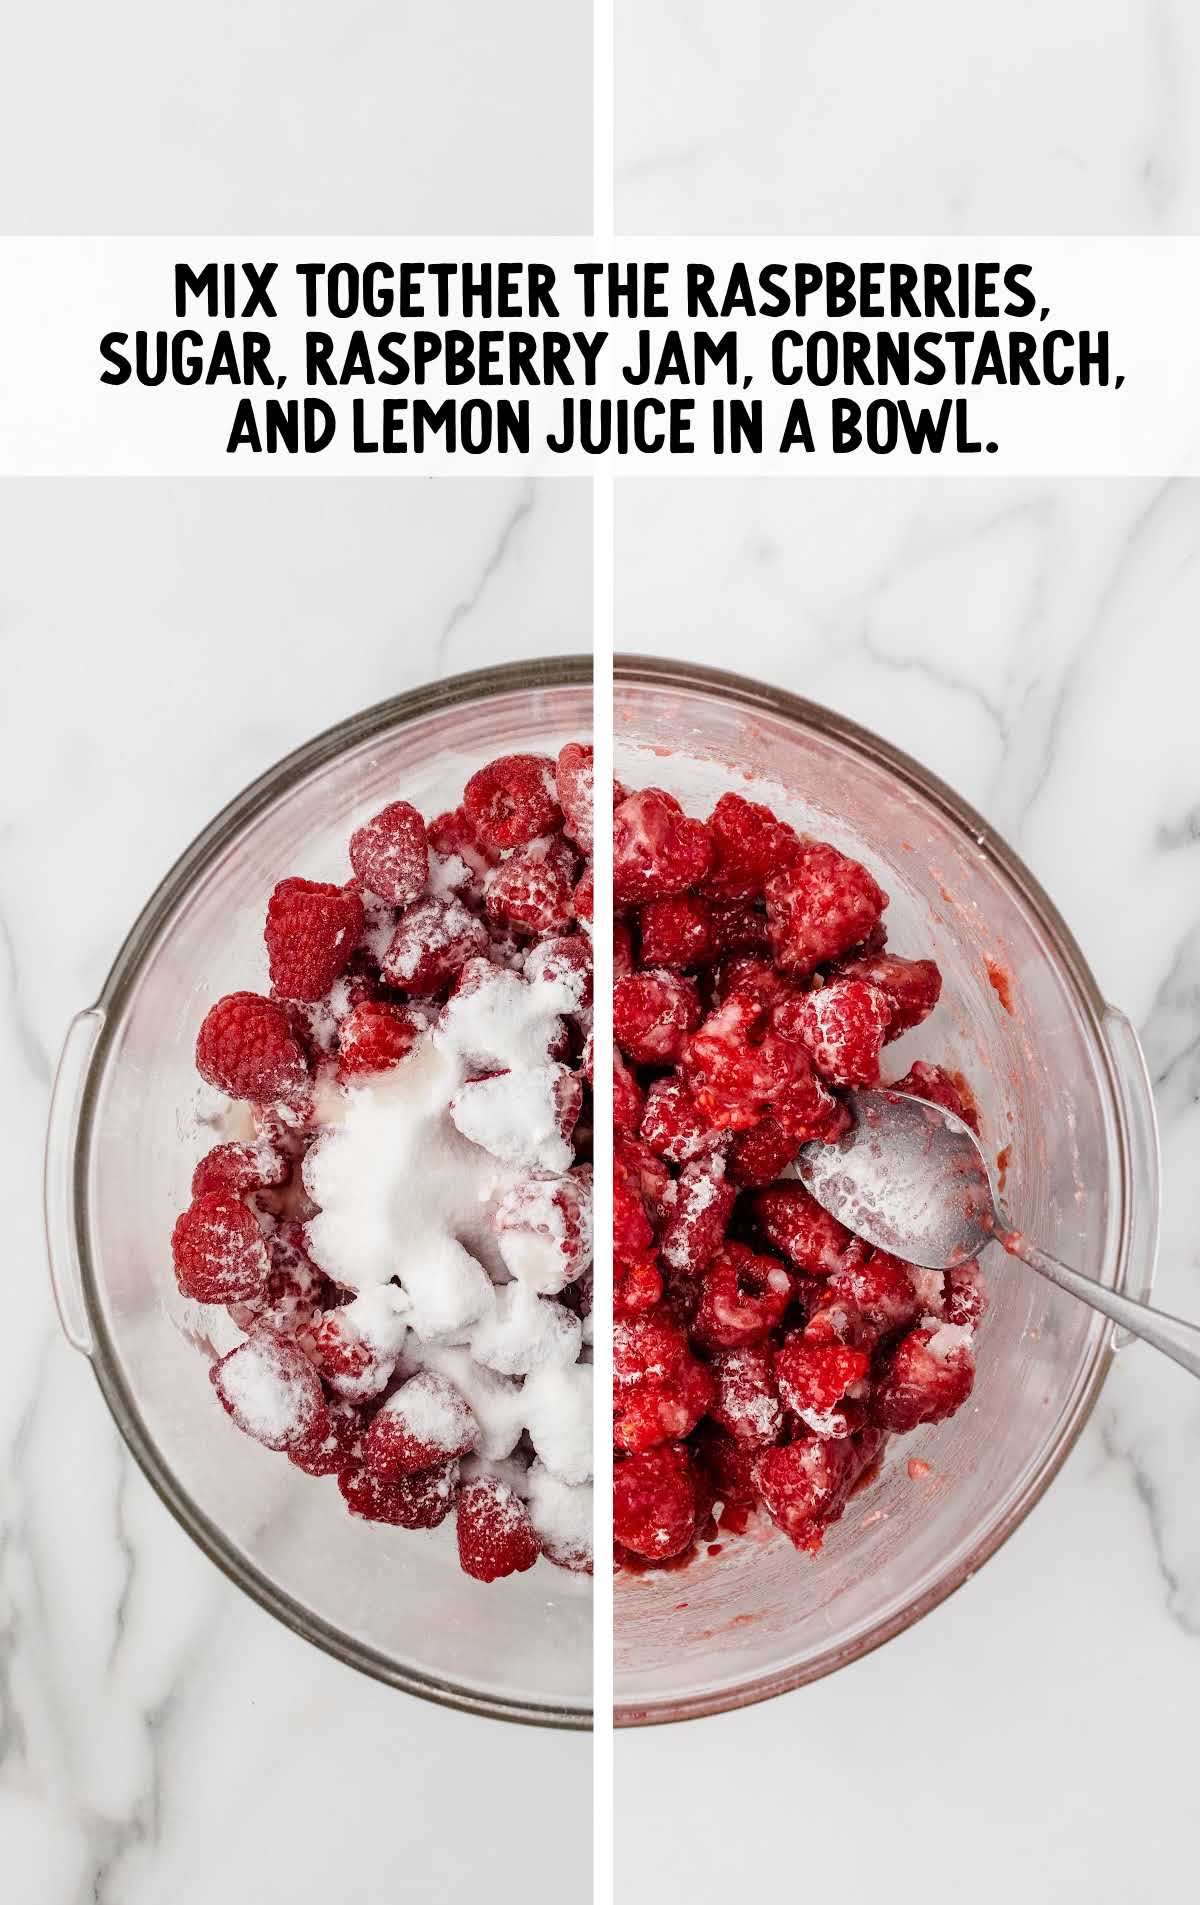
STEP SIX: In a large mixing bowl, add the raspberries, sugar, raspberry jam, cornstarch, and lemon juice. Gently mix the raspberry pie filling ingredients together with a spatula or wooden spoon. Try to go carefully so you don’t break up the raspberries too much.
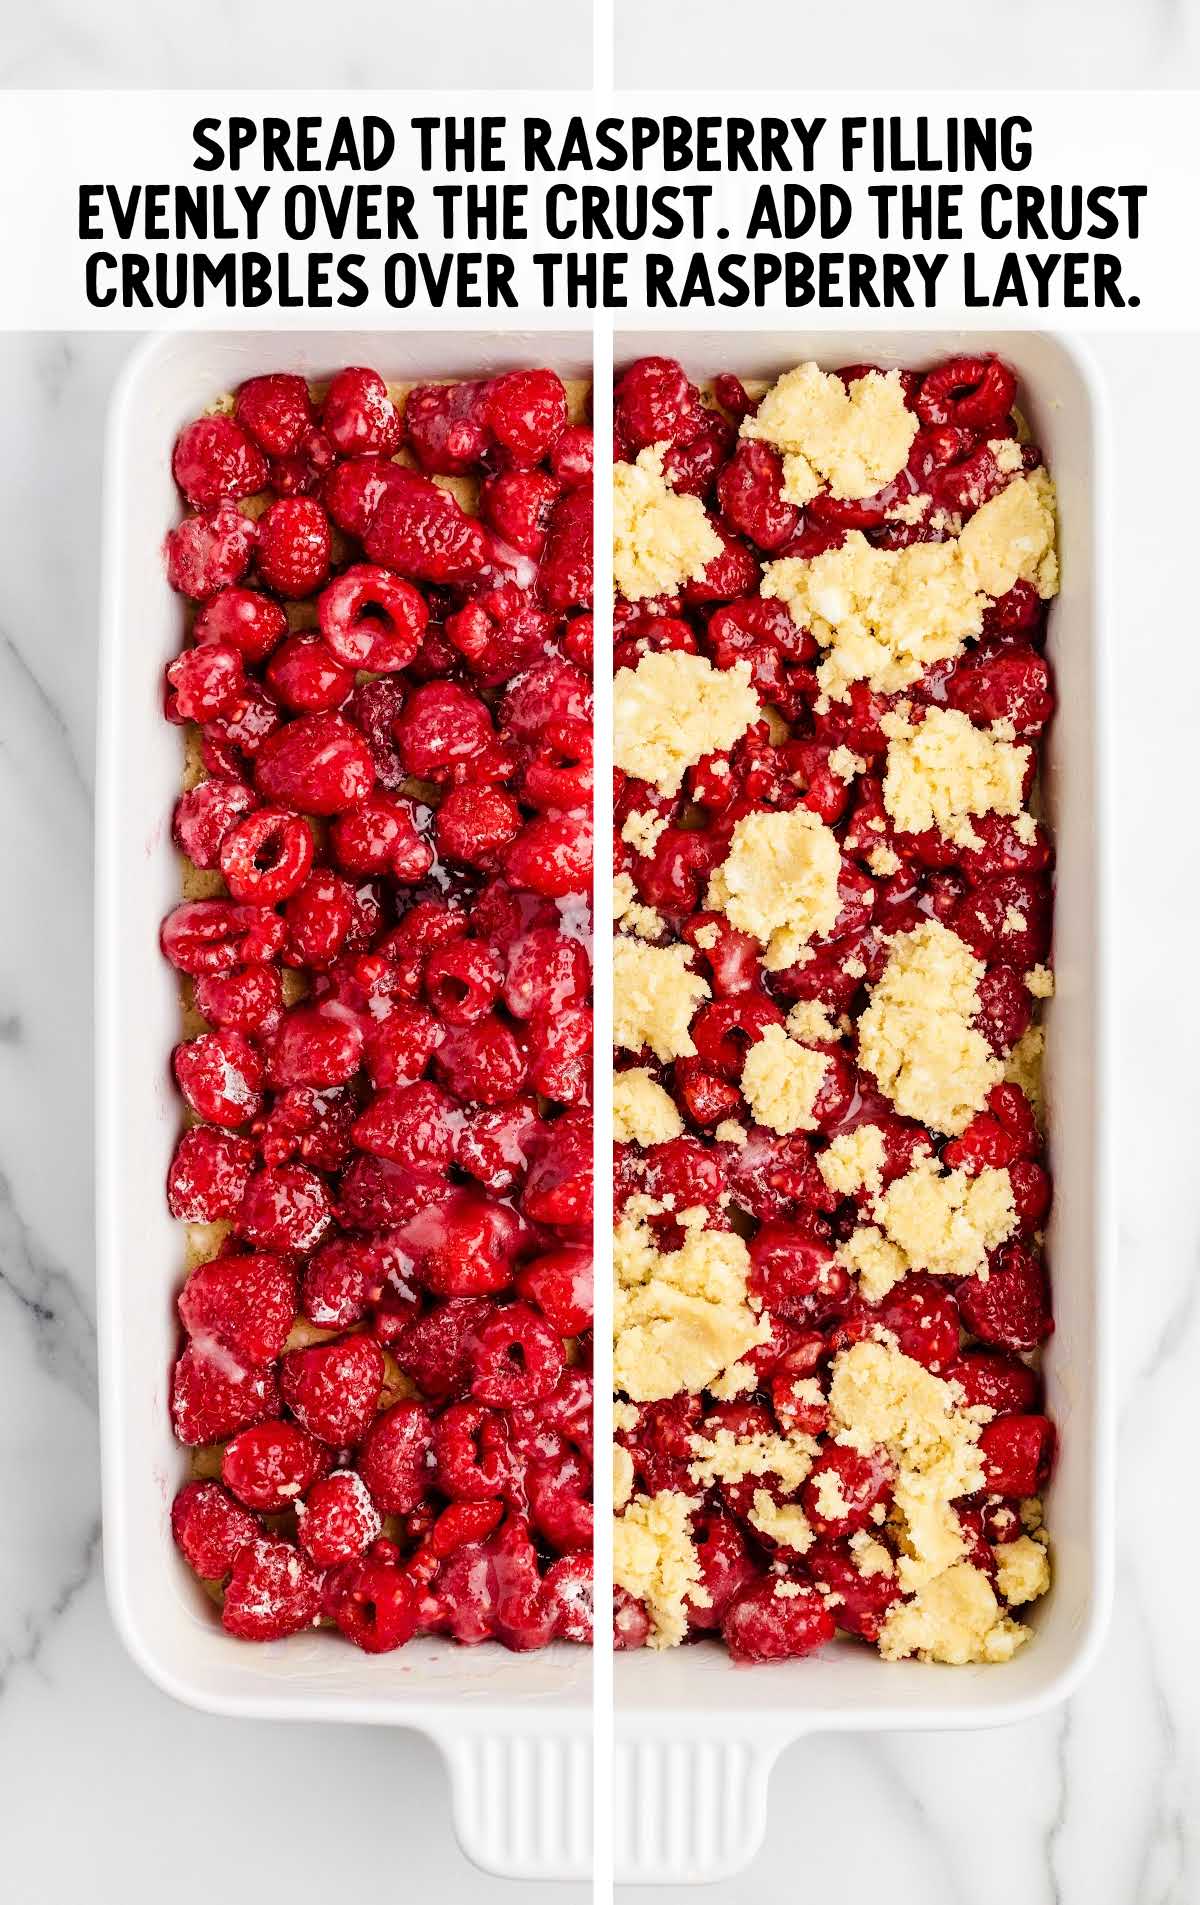
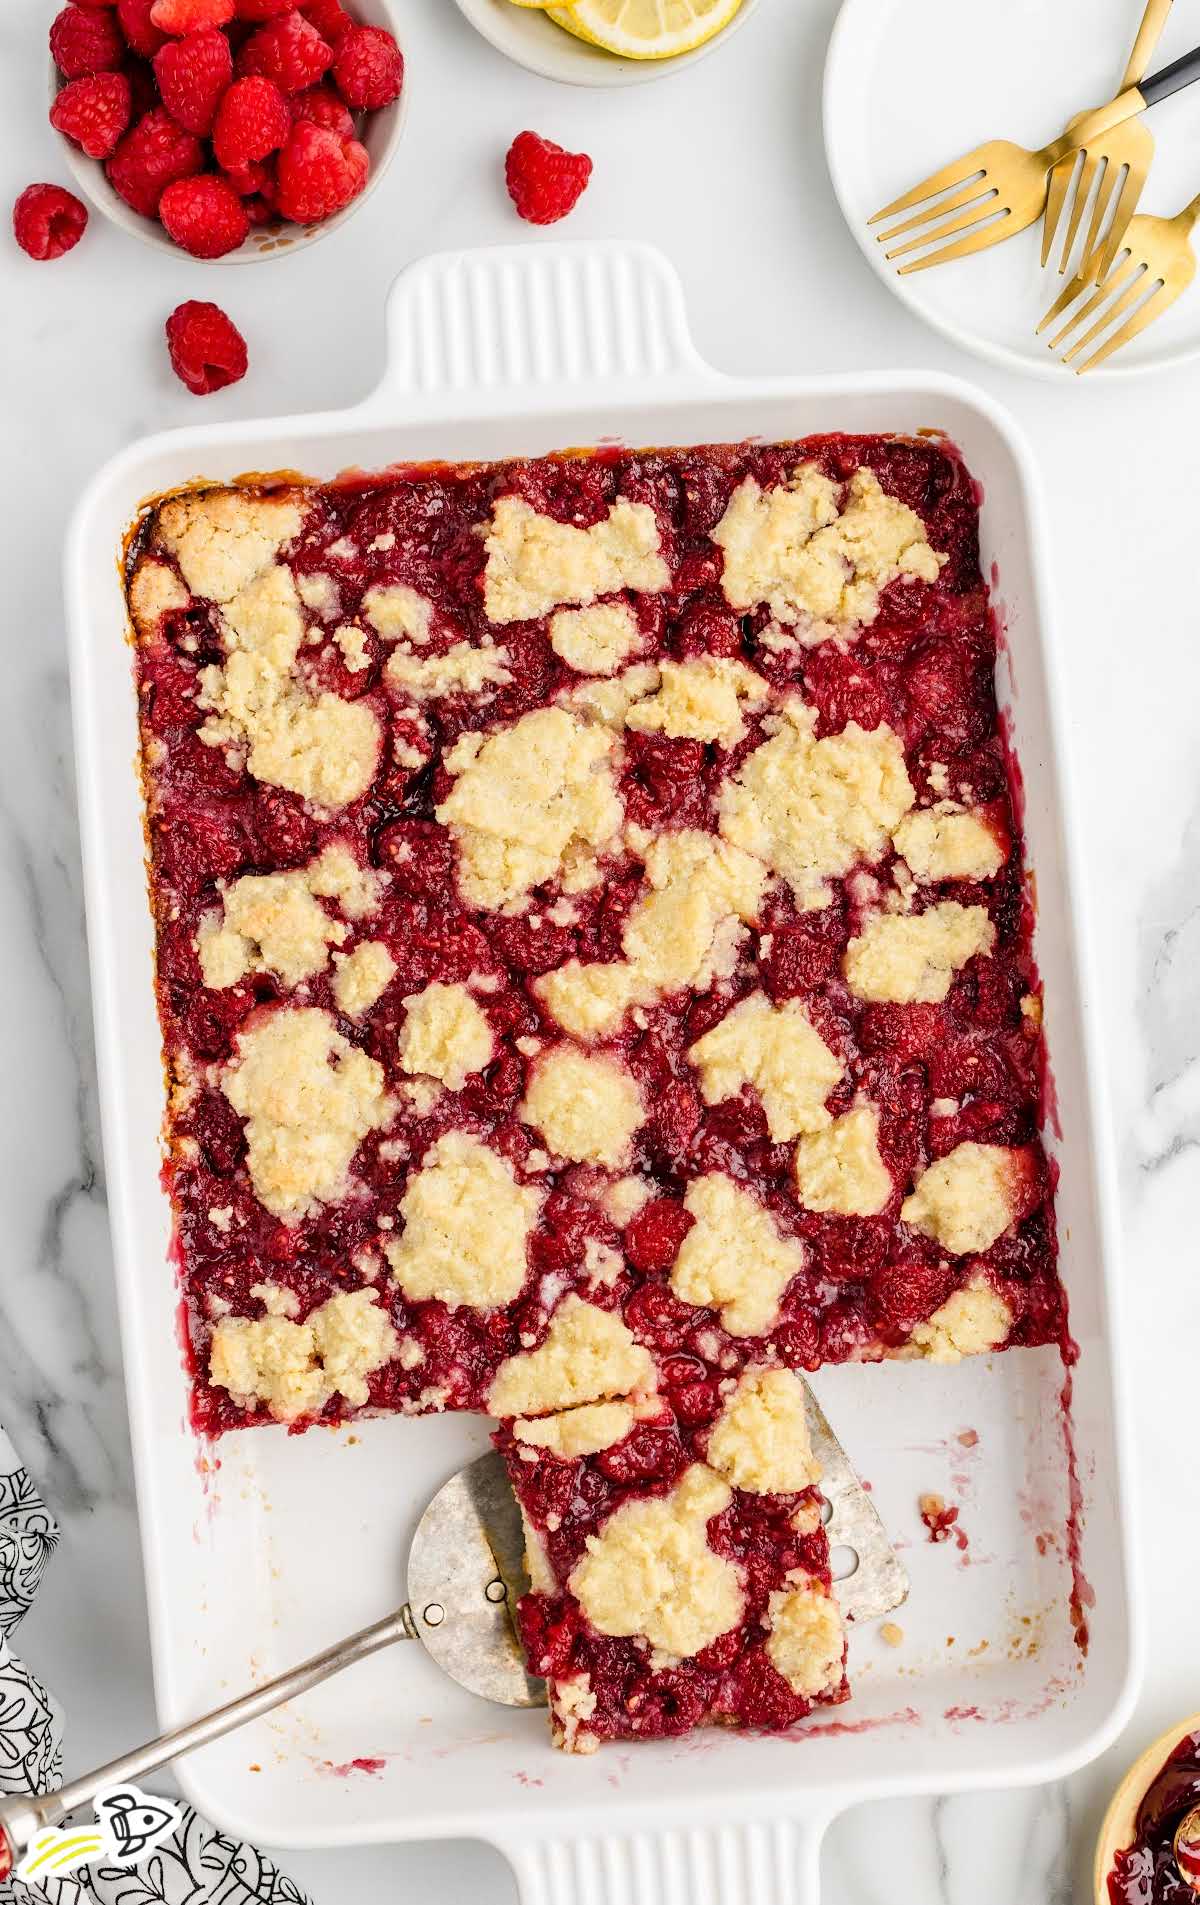
STEP SEVEN: Pour the raspberry filling onto the crust and spread it evenly. Crumble the reserved crumb topping over the top of the raspberry filling layer. You will have areas that aren’t covered with the crumbled dough.
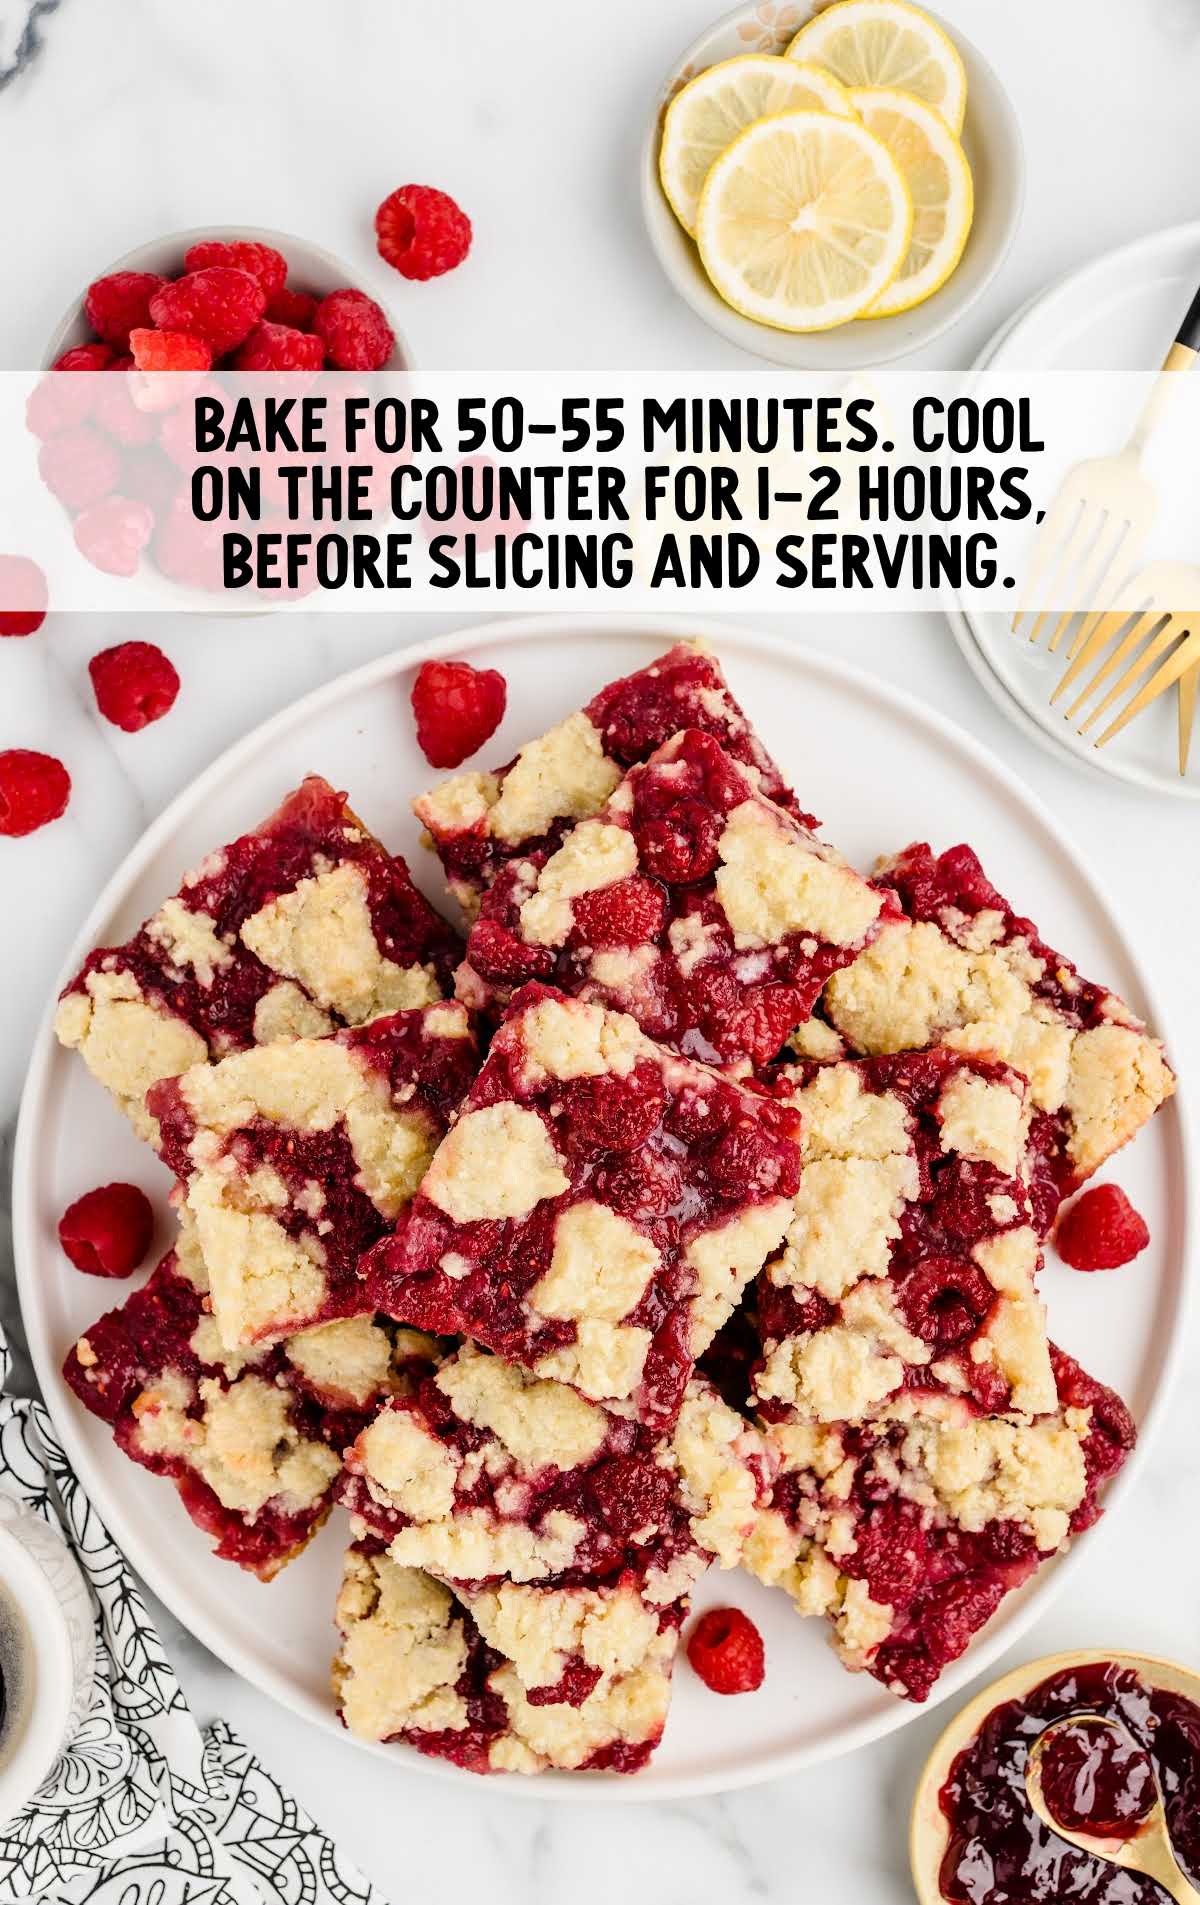
STEP EIGHT: Bake until the raspberry mixture is bubbly and thick, and the crust is light golden brown. Remove from the oven and let the squares cool on the counter for 1-2 hours. Once they’re completely cool, slice and enjoy!
How to Serve Raspberry Squares
These easy raspberry bars are the perfect dessert for sharing. Whether its with friends over coffee, at a workplace party, or as a family dessert on a Sunday evening, these fresh raspberry bars will disappear before your eyes.
Serve In Style: Serve the Raspberry Squares on a charming dessert plate, garnished with a sprinkle of powdered sugar and a drizzle a bit of raspberry sauce or chocolate syrup. Beautiful and delicious!
À la Mode: Serve this raspberry bar recipe with fresh raspberries and vanilla ice cream for a delicious dessert.
Afternoon With Your Girlfriends: Host an afternoon tea and coffee gathering and serve Raspberry Squares as the freshly baked snack. They pair beautifully with a cup of classic Earl Grey or creamy coffee.
Party Platter: For your next gathering or celebration, arrange Raspberry Squares on a tiered cake stand alongside other bite-sized desserts like lemon blueberry bars, mini cheesecakes, sugar cookie bars, and fruity truffles.
MORE RASPBERRY DESSERT RECIPES
How To Store Raspberry Pie Crunch Bars
These yummy raspberry pie bars are so good, you’ll want to make sure you don’t waste even a crumb! Here’s how to store your bars for later:
MAKE AHEAD: Raspberry Squares can be prepared ahead of time and stored in an airtight container at room temperature for up to 24 hours. This makes them perfect for planning ahead for parties or gatherings. Just bake the squares according to the recipe instructions, allow them to cool completely, then store them in a sealed container until you’re ready to serve. You can also freeze them if you need to store them longer. See the freezer instructions, below.
IN THE FRIDGE: To extend the shelf life of your Raspberry Squares, store them in the refrigerator. Place the squares in an airtight container or wrap them tightly with plastic wrap to keep them from drying out. Raspberry Squares will stay fresh for up to 3 days in the fridge, but are best within a day or two. When you’re ready to serve, allow the squares to come to room temperature to restore their soft texture.
IN THE FREEZER: For longer-term storage, Raspberry Squares can be frozen. Once the squares have cooled completely, wrap them tightly in plastic wrap and a layer of aluminum foil to prevent freezer burn. Raspberry Squares will last for up to one month in the freezer. When ready to enjoy, allow the squares to thaw overnight in the refrigerator, then allow them to come to room temperature before serving. You can also reheat them in a preheated oven at 350°F for 10-15 minutes until warmed through to help return them to their fresh baked softness.
HOW TO REHEAT: To reheat Raspberry Squares, there are several methods you can use. You can microwave one or two bars on high for 30-60 seconds until warmed through. Alternatively, you can reheat the squares in a preheated oven at 350°F for 10-15 minutes or until warmed to your liking. For a crispy crust, you can also reheat them in a toaster oven on a low setting for 5-7 minutes.
Why These Raspberry Squares Are the Best
There’s something undeniably delicious about Raspberry Squares. Fresh berries and a shortbread crust is just a wonderful combination!
Here’s why we love this recipe for Raspberry Bars:
Easy to Make: One of the best things about Raspberry Squares is how easy they are to make. This recipe is so simple to follow, they’re just about impossible to ruin!
Crowd-Pleasing Dessert: Whether you’re serving them at a family dinner or bringing them to a potluck, Raspberry Squares are guaranteed to be a hit with everyone. Their classic appeal and delicious taste make them a crowd-pleasing dessert option that’s sure to leave a lasting impression.
Homemade Comfort: There’s something comforting about homemade desserts, and Raspberry Squares are no exception. Biting into a warm raspberry square fresh from the oven is like wrapping yourself in a cozy blanket on a chilly day.
Frequently Asked Questions
While all-purpose flour is recommended for the crust, you can experiment with different types of flour, such as whole wheat flour or almond flour. Keep in mind that this may alter the flavor and texture of the crust slightly.
Yes, you can customize the filling. Add other fruits, such as blueberries or strawberries, along with the raspberries for extra fruity bars with a mixed berry filling. Just be sure to adjust the sugar and cornstarch accordingly to accommodate the additional fruit.
Yes, you can make gluten-free Raspberry Squares by using a gluten-free flour blend in place of all-purpose flour for the crust. Additionally, ensure that all other ingredients used are certified gluten-free to avoid cross-contamination.
Yes, you can experiment with different types of jam for the filling, such as strawberry or blackberry jam, to try other flavors of this yummy, fruity recipe.
While homemade raspberry filling is recommended for the best flavor and texture, you can certainly use store-bought raspberry pie filling as a time-saving alternative. Just be sure to choose a high-quality filling for the best results.
No, we don’t recommend that you substitute frozen raspberries for fresh ones in this recipe. Frozen berries release too much liquid during baking.
Overall, Raspberry Squares are a classic dessert option that never fails to impress. Their timeless appeal and delicious flavor make them a favorite for bakers (and eaters!).
More Recipes You’ll Love
- Raspberry Pie
- Raspberry Iced Tea
- Raspberry Poke Cake
- Raspberry Freezer Jam
- Raspberry Cream Cheese Pie

Raspberry Squares
Ingredients
For the Crust
- 3 cups all-purpose flour
- 1½ cups granulated sugar
- ½ teaspoon salt
- 1 teaspoon lemon zest
- ½ cup unsalted butter, chilled and cut into cubes
- 3 eggs, lightly beaten
For the Raspberry Filling
- 4 cups fresh raspberries, approximately 4 to 6 ounce containers
- ½ cup granulated sugar
- ⅓ cup seedless raspberry jam
- 2 tablespoons cornstarch
- 1 tablespoon fresh lemon juice
Instructions
- Preheat oven to 350°F. Spray a 9×13 baking pan with Baker’s spray. Set aside.
- In the bowl of a food processor, add the all-purpose flour, granulated sugar, salt, and lemon zest. Pulse 2-3 times until combined. Add the chilled and cubed unsalted butter to the food processor and pulse again for 15-30 seconds or until you get small pea-sized pieces of butter.
- Add the lightly beaten eggs to the dry ingredients and pulse again just until a crumbly dough is formed. You should not have any dry pockets of flour in the dough.
- Press two-thirds of the dough into an even layer at the bottom of the prepared 9×13 baking dish. The best way to get a smooth top is to use a small flat-bottomed cup to press the shortbread crust down. Set aside the remaining dough crumbles.
- Add the fresh raspberries, granulated sugar, seedless raspberry jam, cornstarch, and fresh lemon juice in a large bowl. Gently mix the ingredients together, being careful not to break up the raspberries too much.
- Spread the raspberry filling evenly over the bottom layer of crust. Add the remaining crumb mixture evenly over the raspberry filling layer. You should have areas of raspberries that are not covered by the crumbled dough pieces.
- Bake for 50-55 minutes or until the raspberry mixture is bubbly and has thickened and the crust is lightly browned. Allow the raspberry pie bars to cool on the counter for 1-2 hours, or until completely cool, before slicing and serving.
Notes
- If you don’t have a food processor, you can make this crust by hand using a pastry blender (like you would use to make pie crust by hand) or a stand mixer fitted with a paddle attachment.
- You can use the bottom of a flat glass to help you press the mixture down flat into the pan.



Leave a Comment