October 31, 2023
Review RecipeOnion Rings
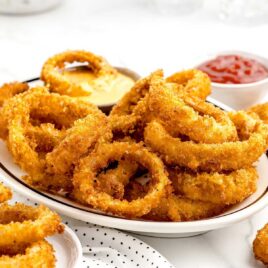
Table of Contents
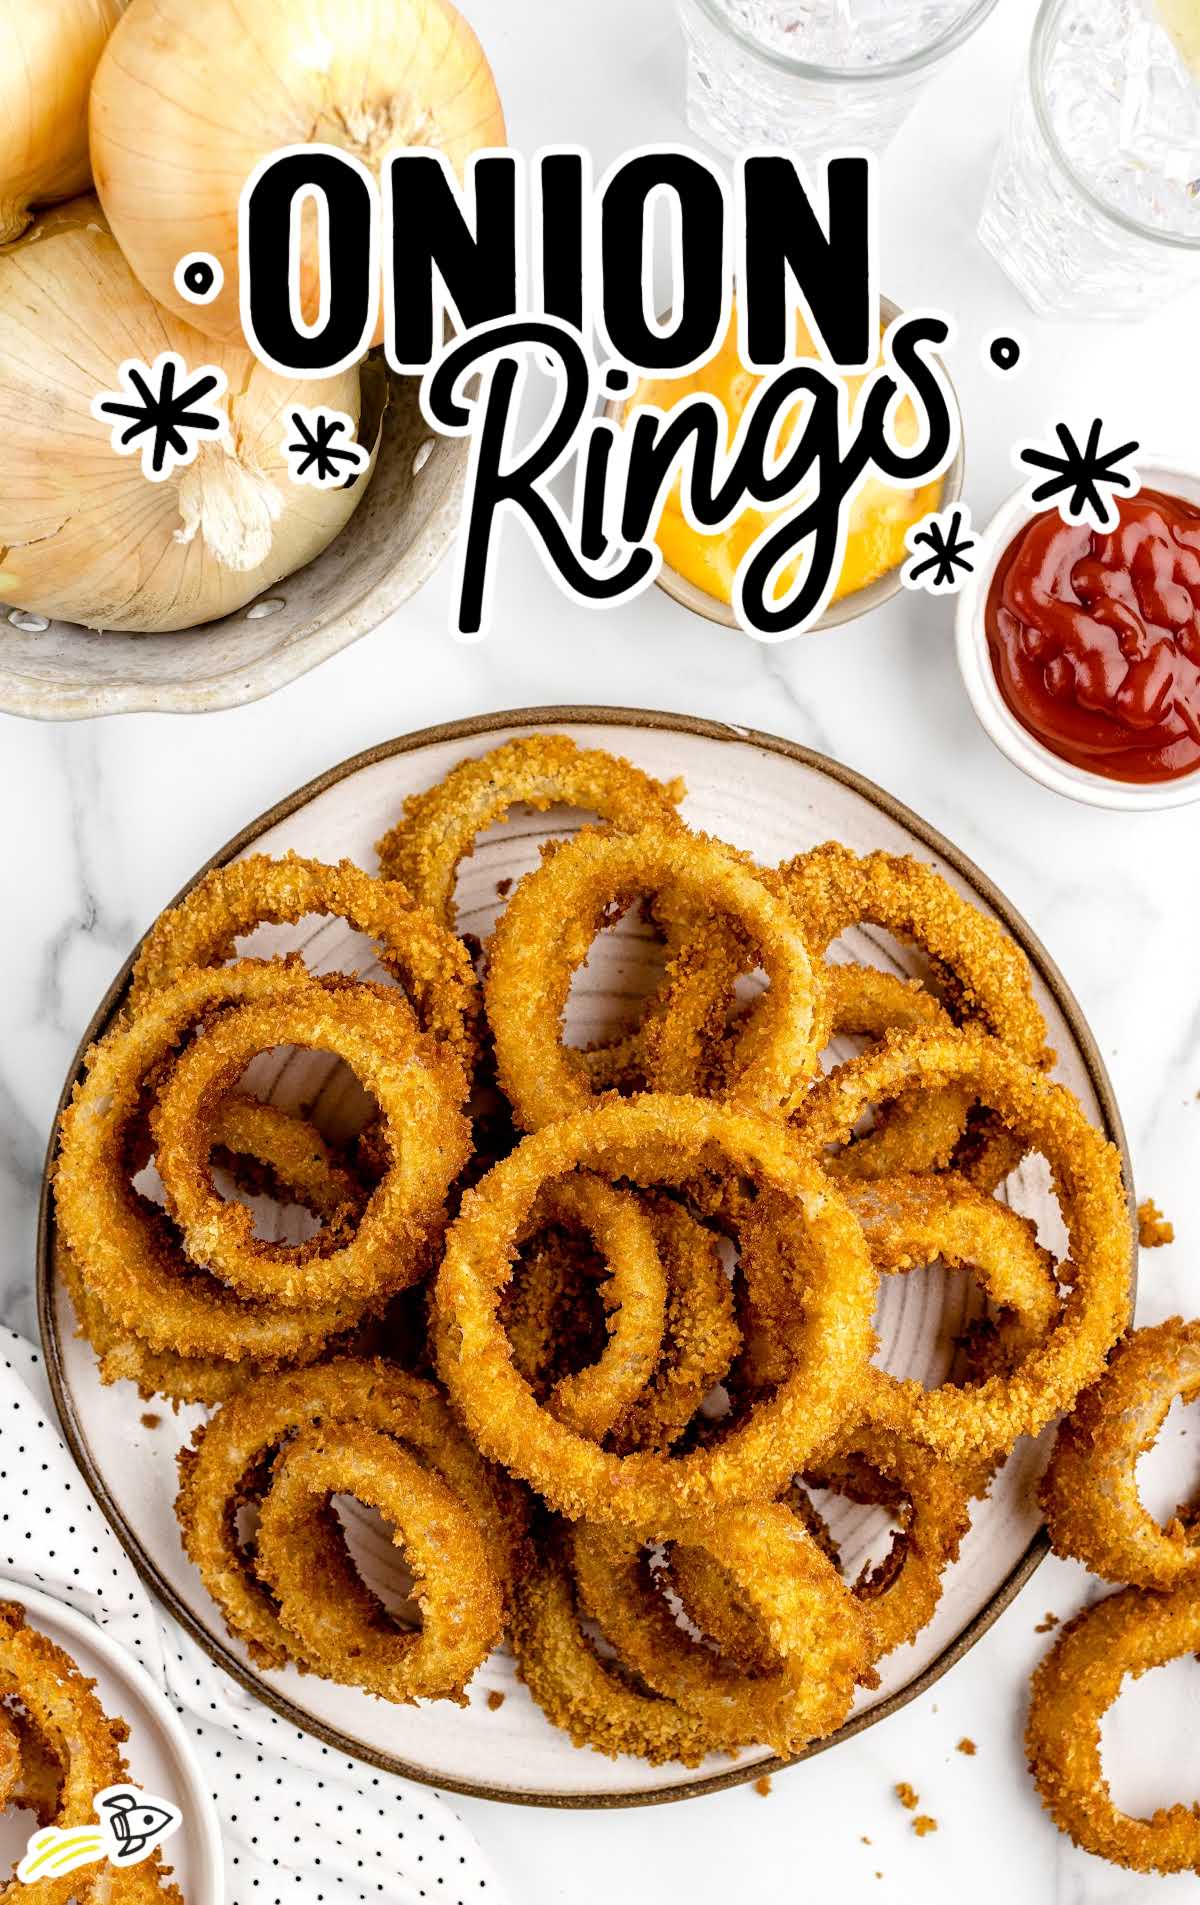
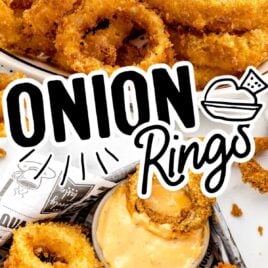
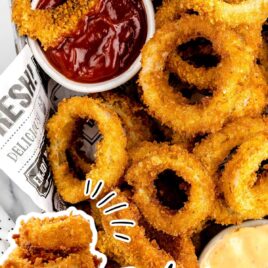
Indulge in the crispy, golden goodness of homemade onion rings. Seasoned just right and fried to perfection, these easy onion rings are a crowd-pleaser for an appetizer or side dish that you’ll want to make again and again.
Onion Rings Ingredients
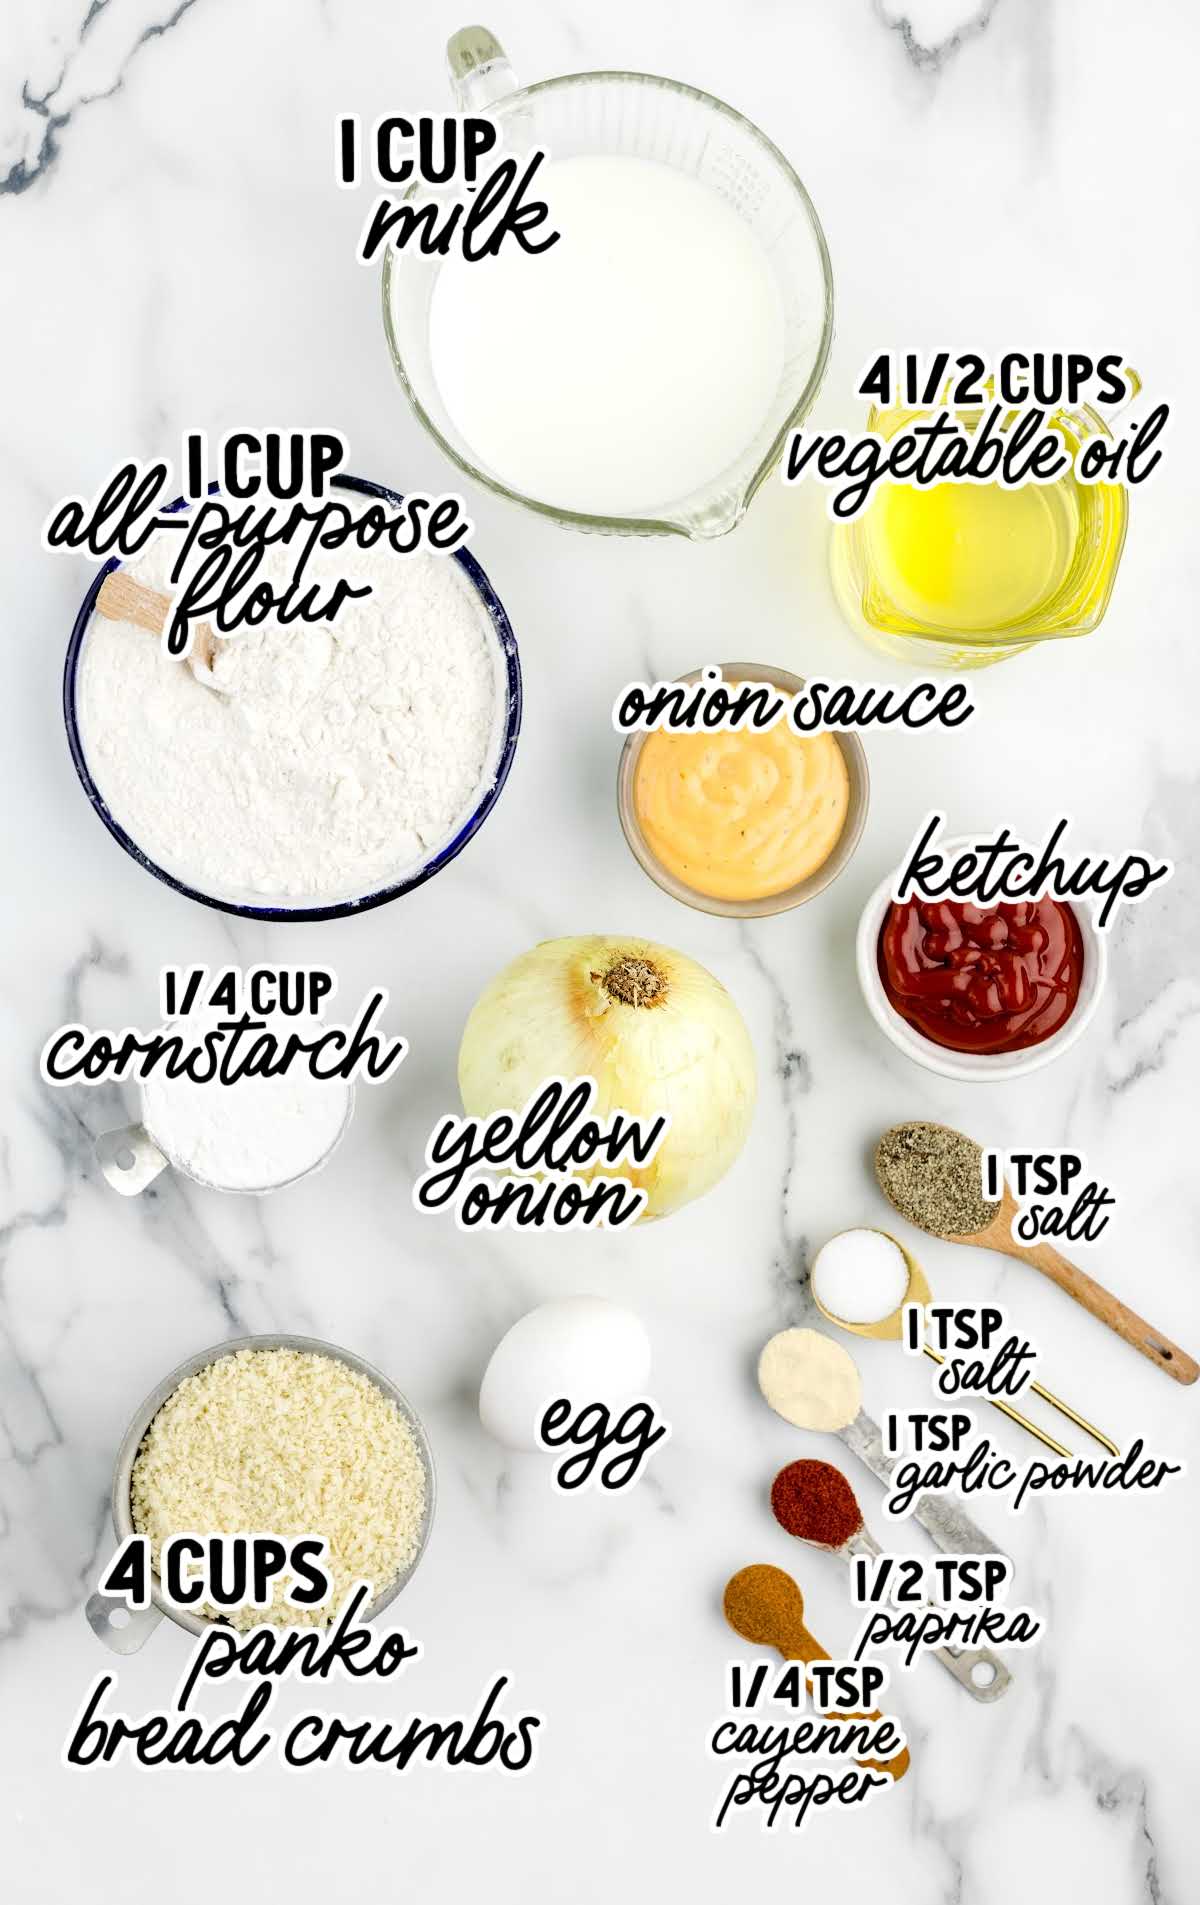
The star of the show, the yellow onion brings its unique sweet and savory flavor to these rings. If you prefer a milder taste, go for sweet yellow onions.
The simple batter is made up of cornstarch, flour, seasonings, eggs, milk, and bread crumbs, each contributing to the satisfying crunch of the onion rings.
You’ll need:
- 1 large yellow onion (about 1 pound)
- ¼ cup of cornstarch
- 1 cup of all-purpose flour
- 1 teaspoon of table salt
- 1 teaspoon of black pepper
- 1 teaspoon of garlic powder
- ½ teaspoon of paprika
- ¼ teaspoon of cayenne pepper
- 1 large egg
- 1 cup of milk
- 4 cups of plain panko bread crumbs
- 4½ cups of vegetable oil
- Bloomin’ onion sauce, zesty ranch dressing, ketchup for dipping (optional)
Substitutions and Additions
ONION: While the recipe calls for yellow onions, you can easily swap them out for a different kind of onion, including sweet onions, Vidalia onions, or large white onions for a slightly different flavor profile.
CAYENNE PEPPER: Adjust the level of spiciness by adding more or less cayenne pepper to suit your taste buds.
PANKO BREADCRUMBS: If you don’t have panko on hand, regular breadcrumbs or seasoned Italian panko can be used as a substitute.
How To Make Onion Rings
Let’s walk through the steps to making these crunchy onion rings. Once the crisp onions are coated with the breadcrumb mixture, they are deep fried and ready to enjoy.
OUR RECIPE DEVELOPER SAYS
When making this recipe, place your deep fryer on a rimmed baking sheet to protect in case of a grease spill.
STEP ONE: Fill a large mixing bowl (4 quarts) ⅔ way full with water and 2 cups of ice.
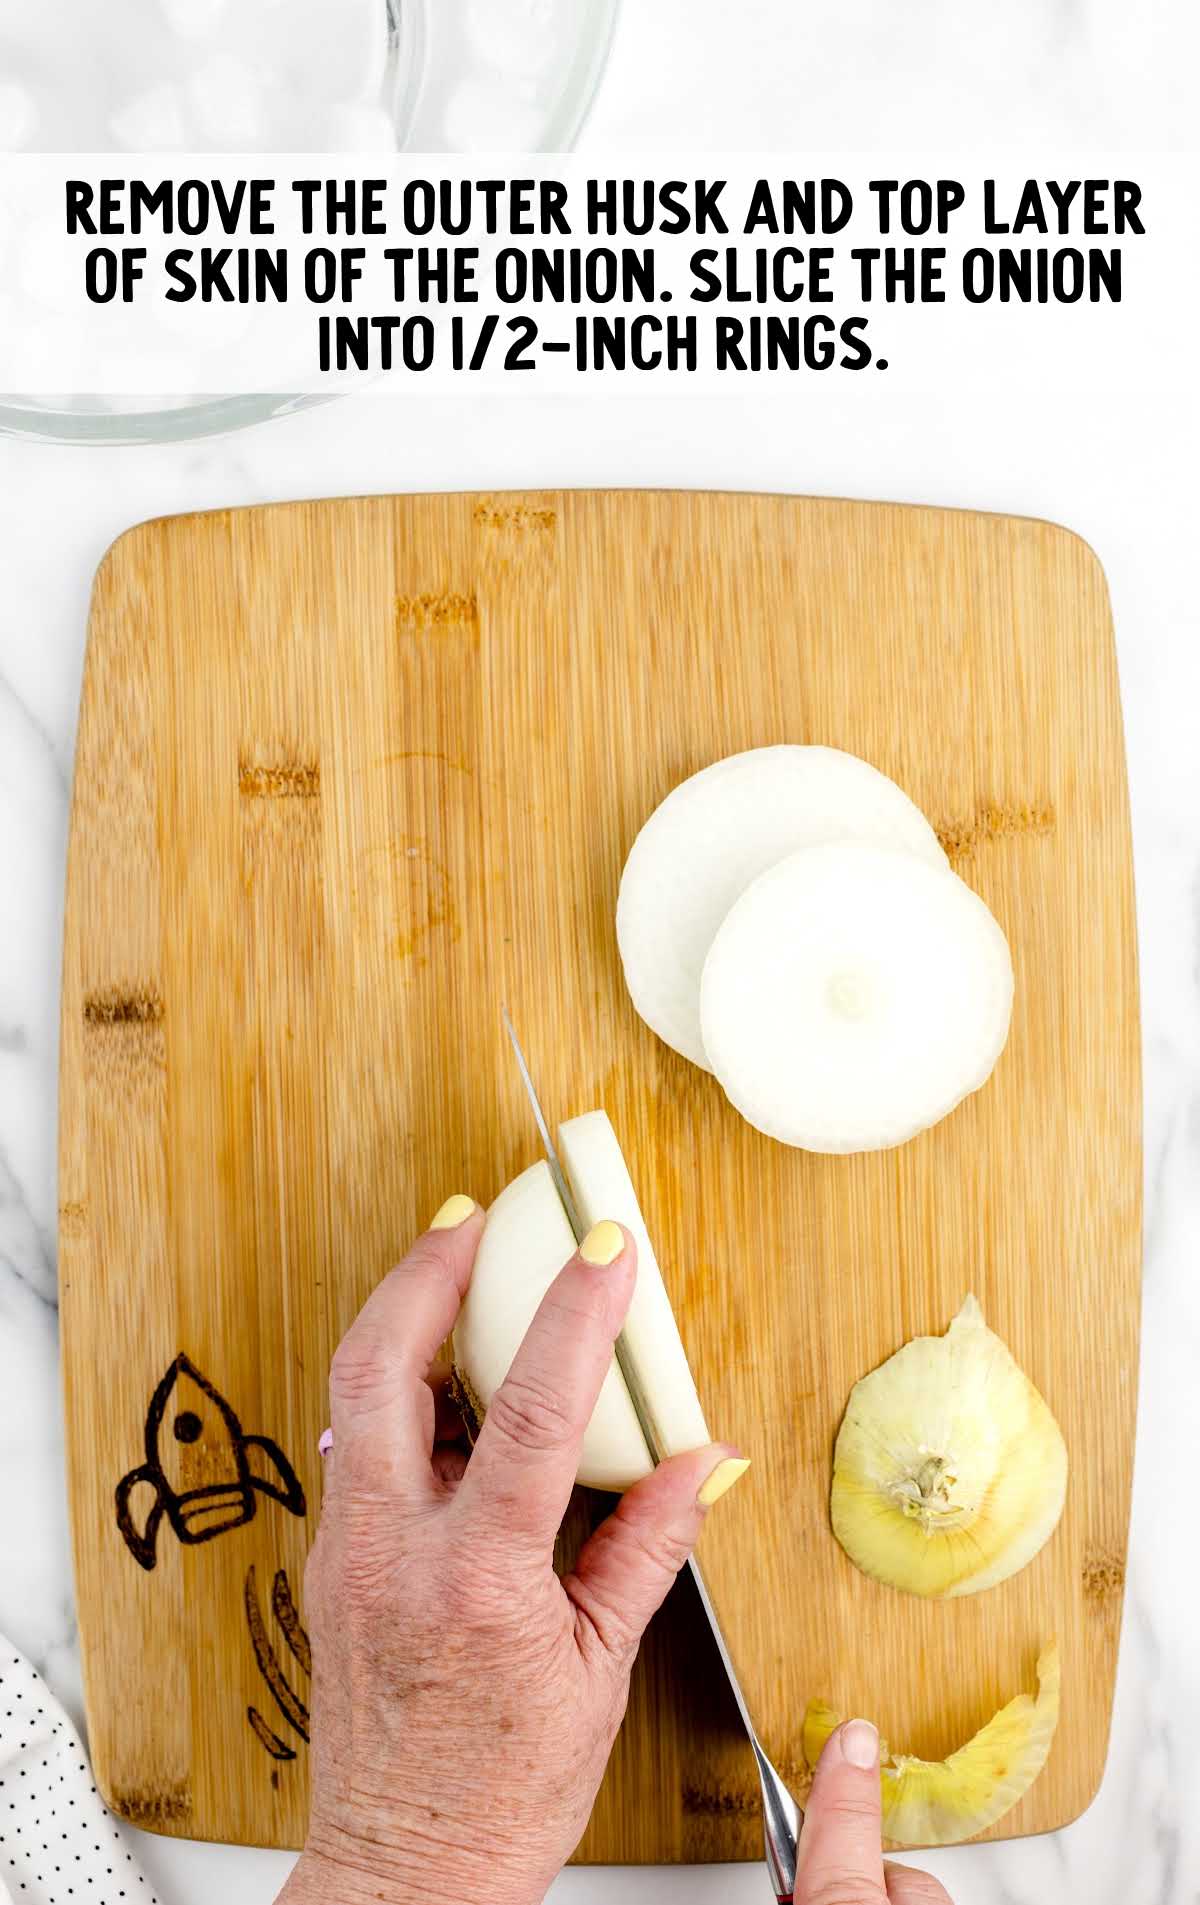
STEP TWO: Remove the outer husk and top layer of skin of the onion. Carefully slice the top of the onion.
To make it easy, consider it the North Pole of the onion. Keep the South Pole intact for now.
Slice the onion into ½-inch rings. Once you get to the last ring, lay the onion flat and carefully slice the bottom of the onion off.
PRO TIP:
One tip with cutting onions is to leave the root (hairy) end on and start from the other end for these types of cuts, and that cuts down on the crying.
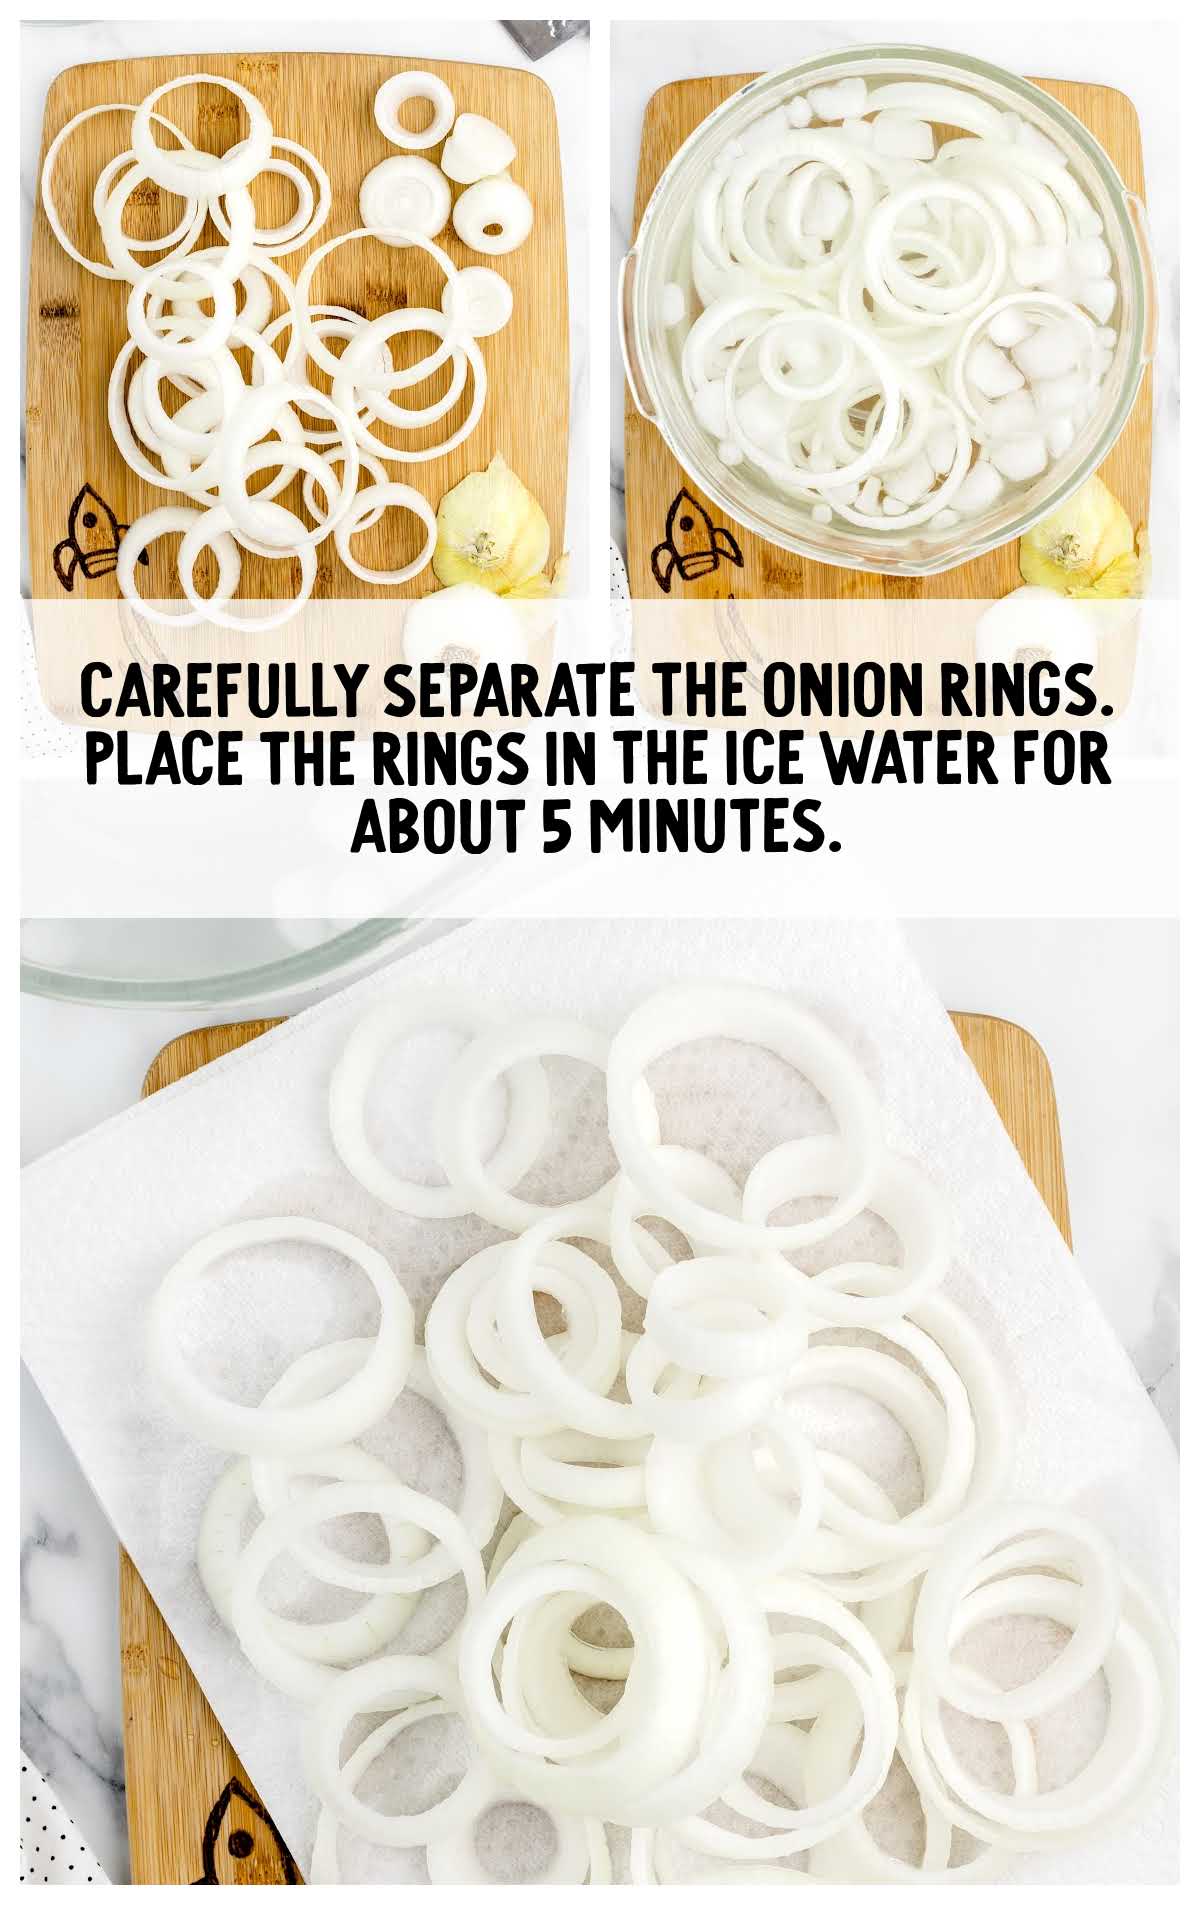
STEP THREE: Carefully separate the onion slices.
Place the rings in the ice water for about five minutes. This will help dilute the sulfur in the cut rings.
Remove the onion rings and drain them on paper towels.
PRO TIP:
If you are using sweet yellow onions, you can skip the ice water soak. The ice water helps to cut the harsh sulfur that’s released when cutting the onion.
STEP FOUR: Line a baking sheet with paper towels. Place a cooling rack over the paper towel layer. Set it aside.
STEP FIVE: Line a second baking sheet with wax paper. You can also use a disposable baking pan or large serving plate.
STEP SIX: Add the ¼ cup of cornstarch to a shallow bowl. Dip the drained onion rings in the cornstarch, shaking off any excess, and place on the wax paper.
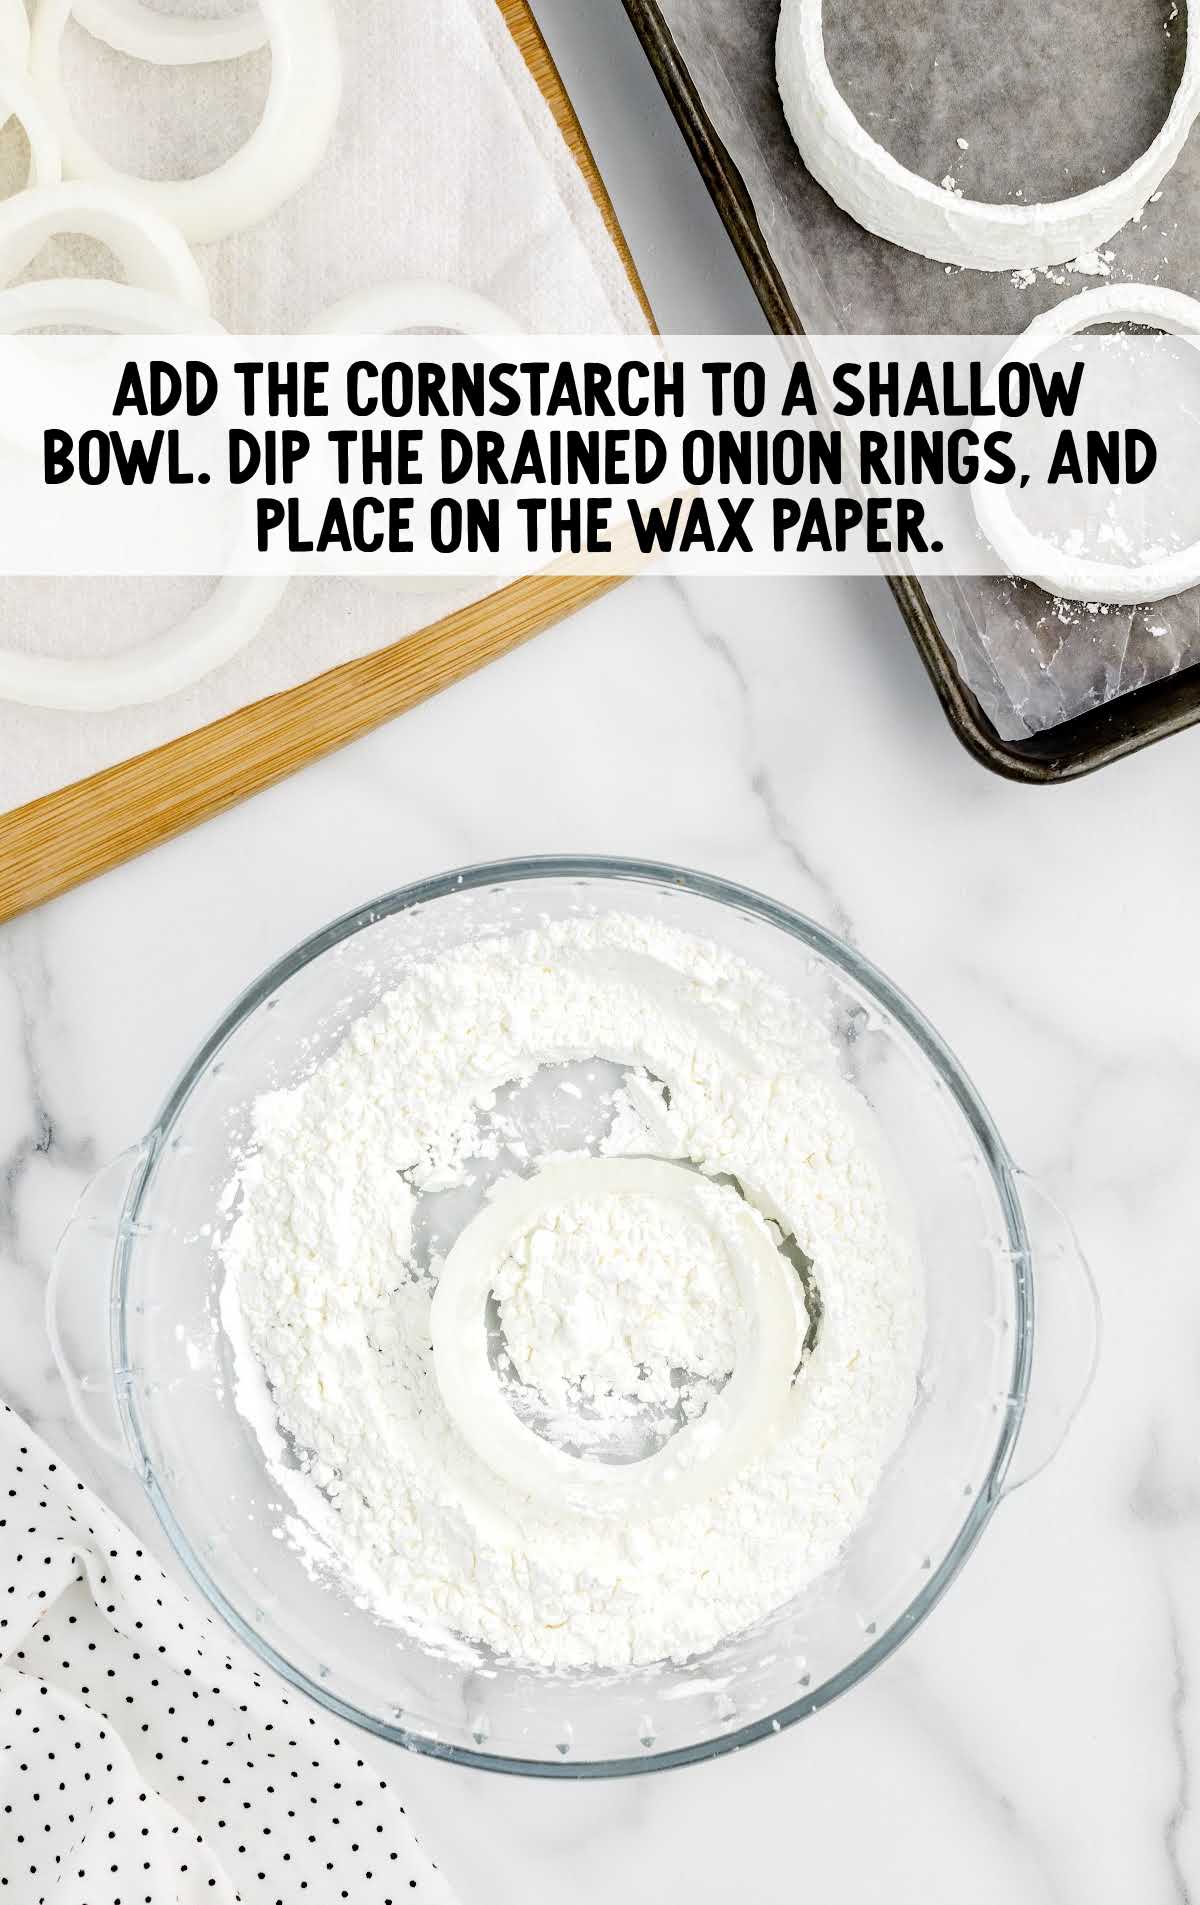
STEP SEVEN: Add the flour, salt pepper, garlic powder, paprika, and cayenne pepper to a medium-sized shallow bowl (2-3 quarts). Whisk the flour mixture to combine.
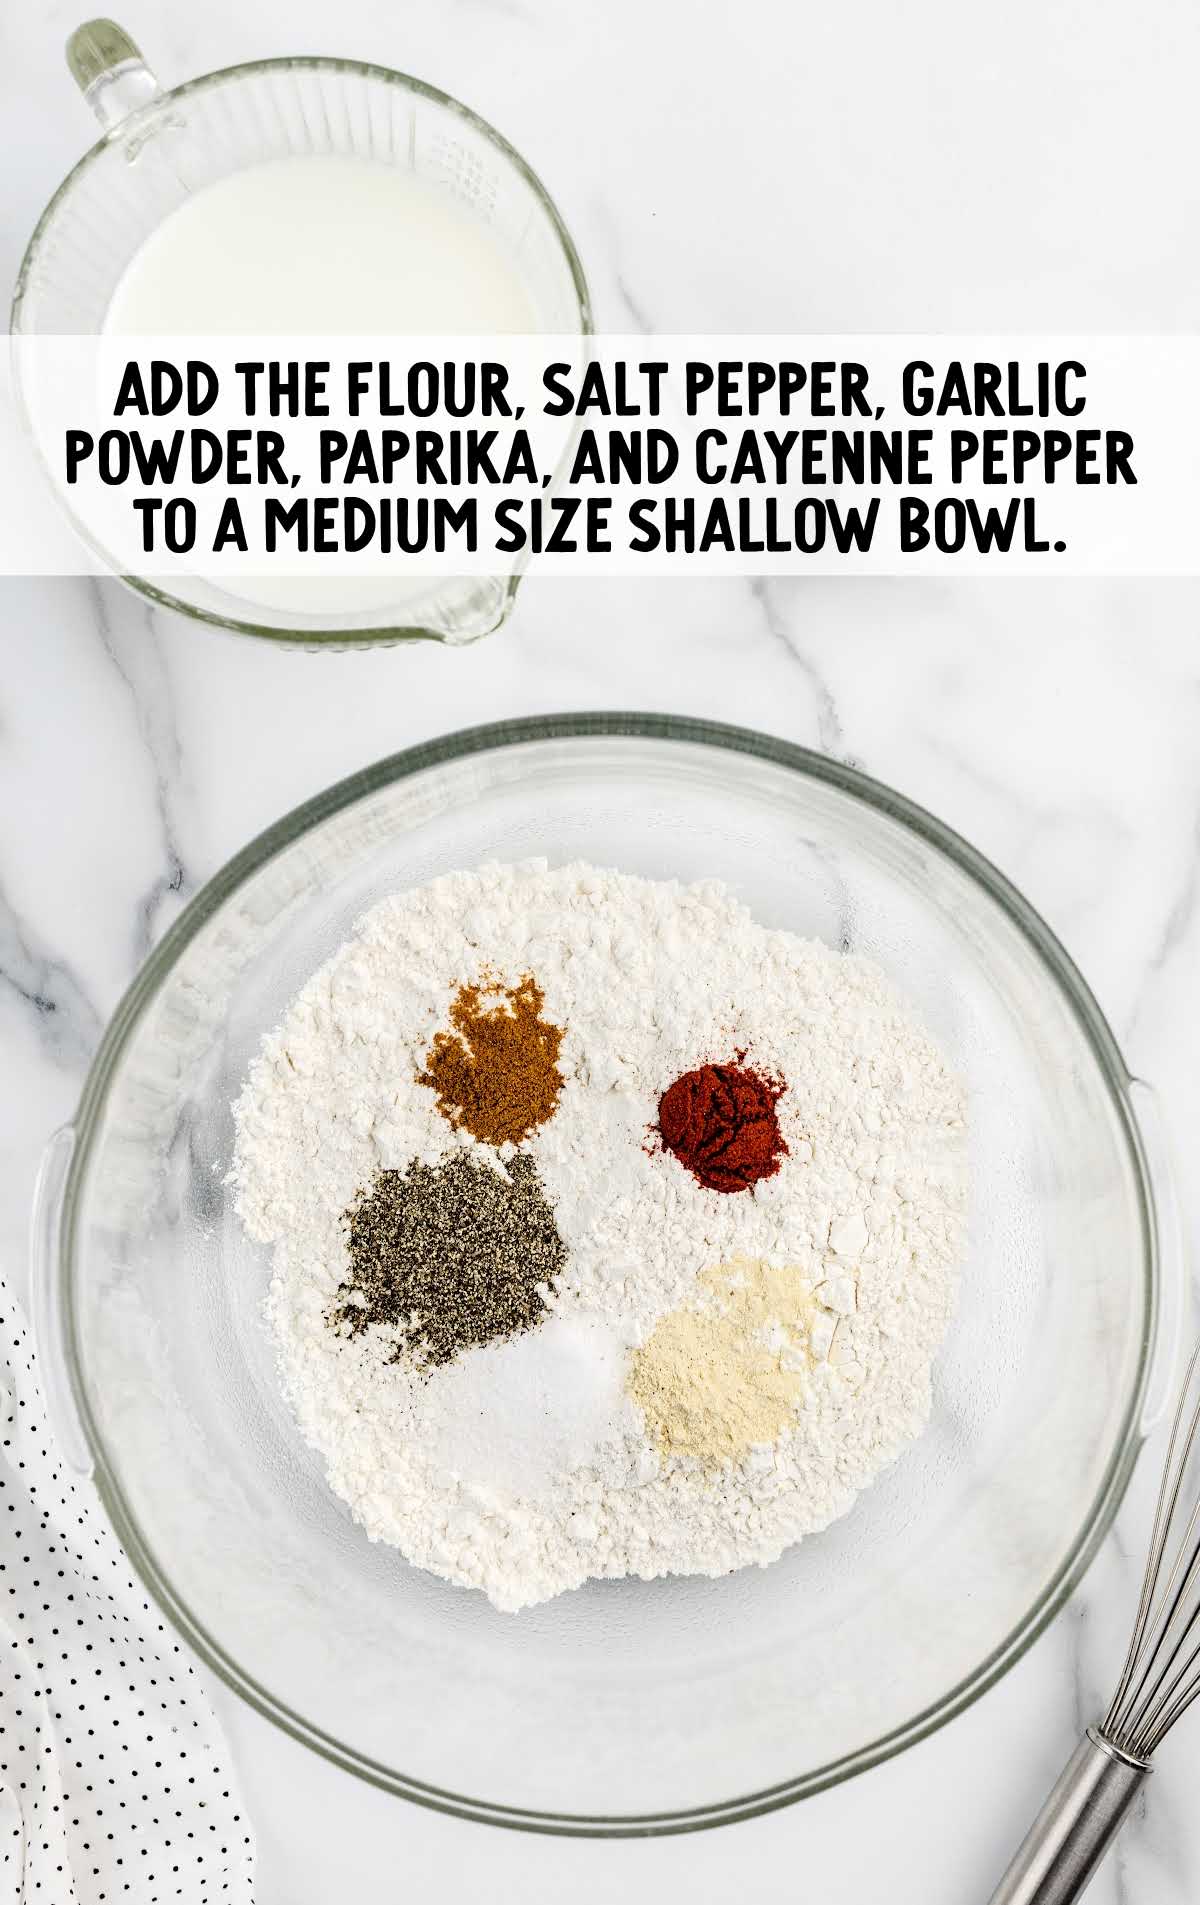
STEP EIGHT: Add the egg to the milk, and use a fork to combine completely. I mixed my egg and milk together in the measuring cup, but you can also mix in a small bowl.
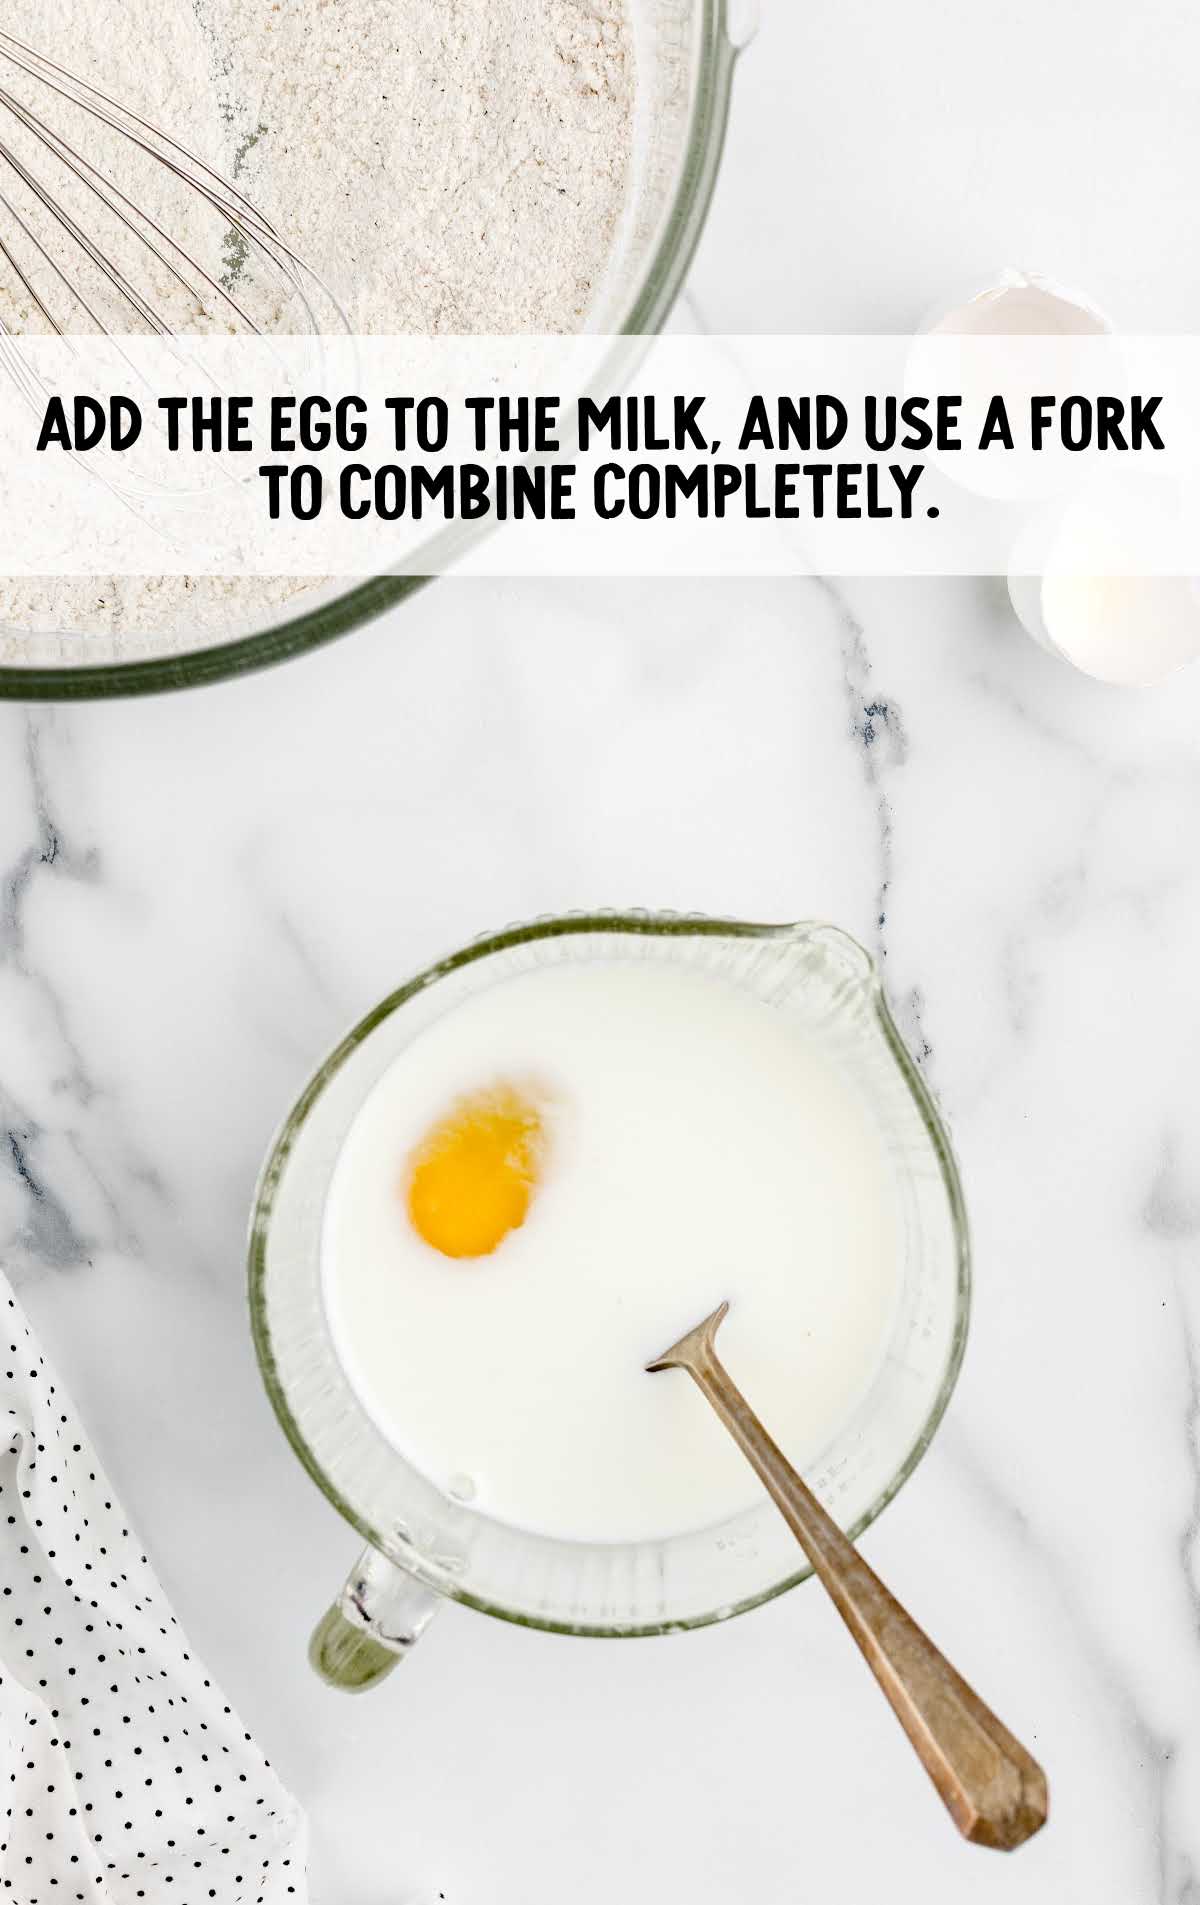
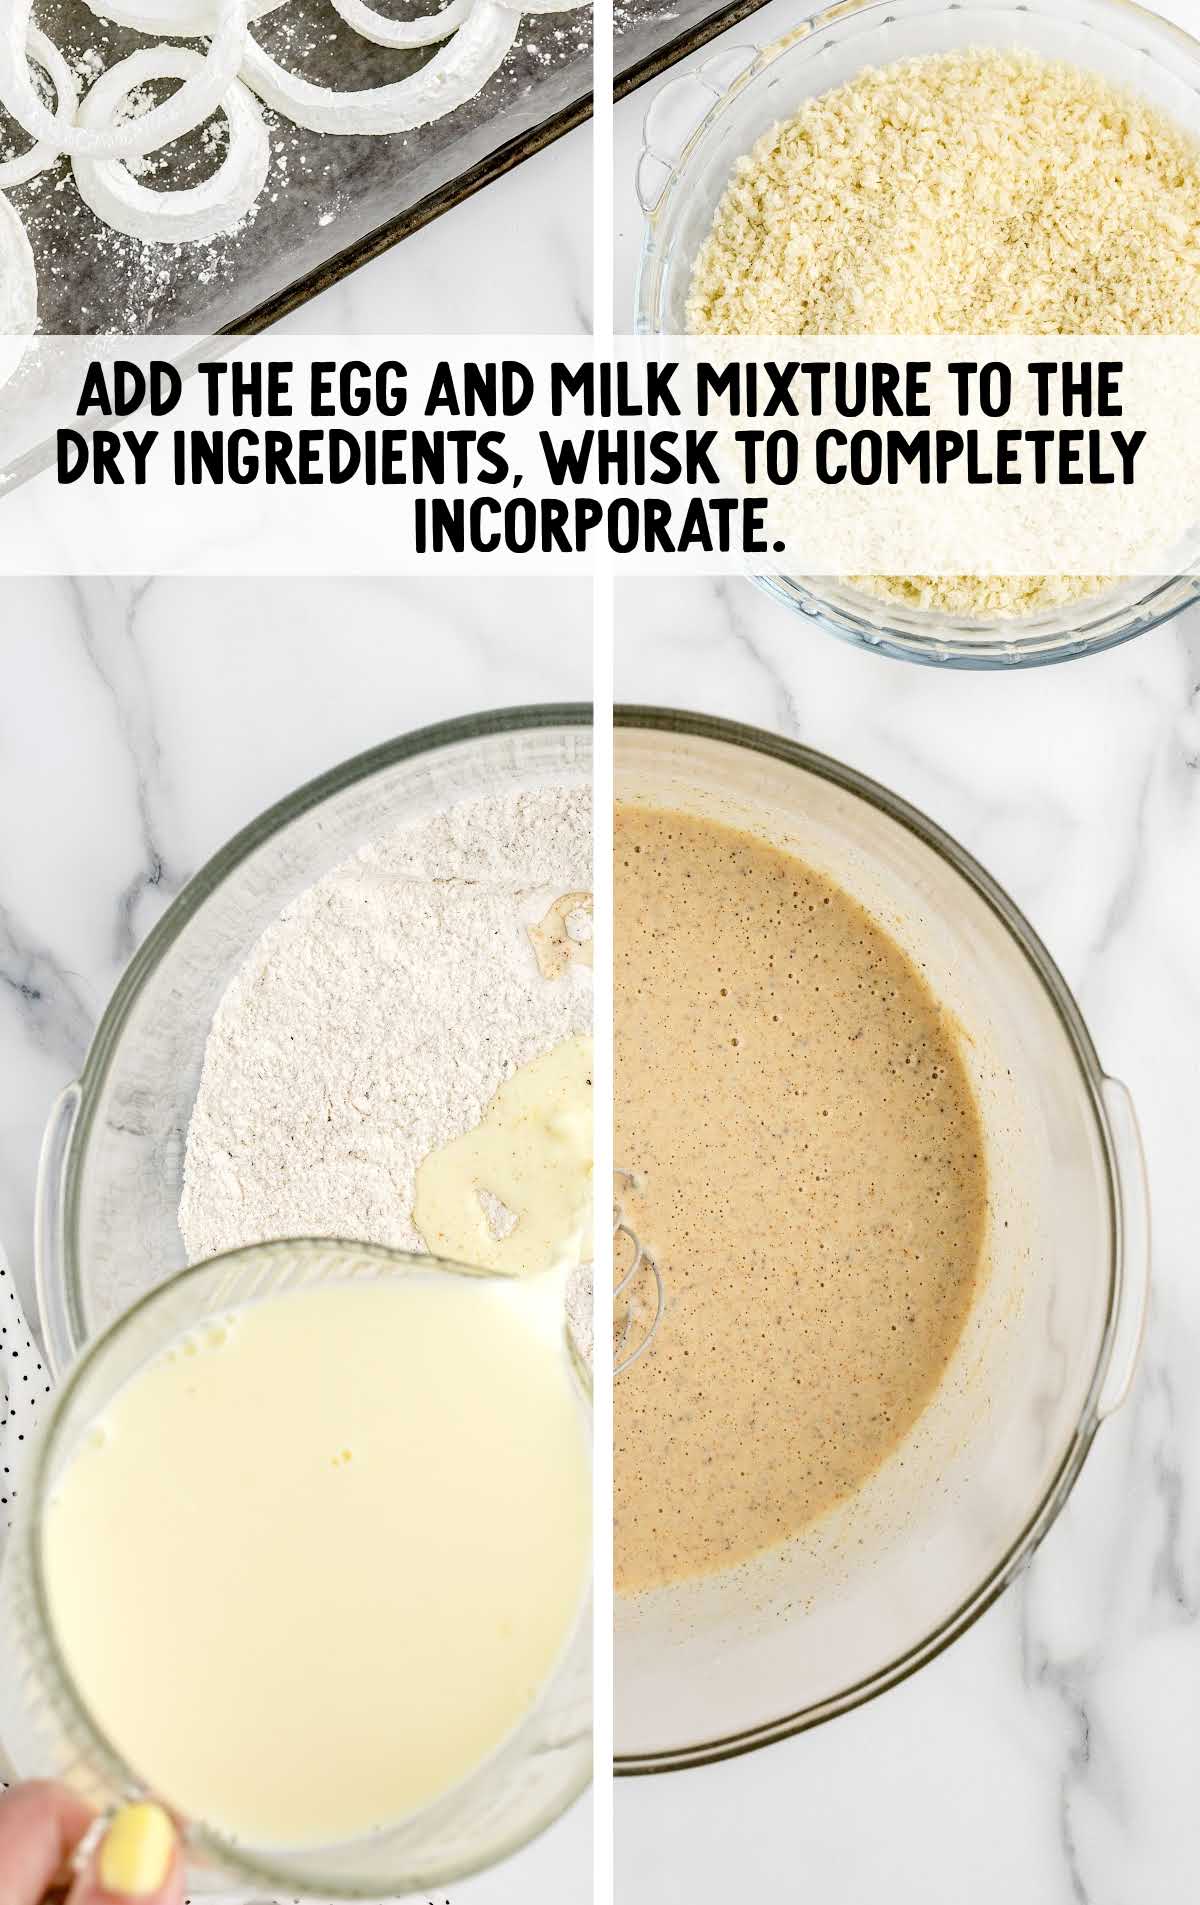
STEP NINE: Add the egg and milk mixture to the dry ingredients, whisk to completely incorporate, and remove any flour lumps.
STEP TEN: Add the vegetable oil to a 10-inch skillet that’s at least 2½ to 3 inches deep, over high heat, to 370°F-375°F.
Use a candy/deep fry thermometer to accurately measure the temperature.
While the oil is heating, batter/bread the onion rings.
STEP ELEVEN: Add two cups of the panko bread crumbs to a shallow bowl. You will need to add the remaining two cups of panko crumbs as you bread the remaining onions.
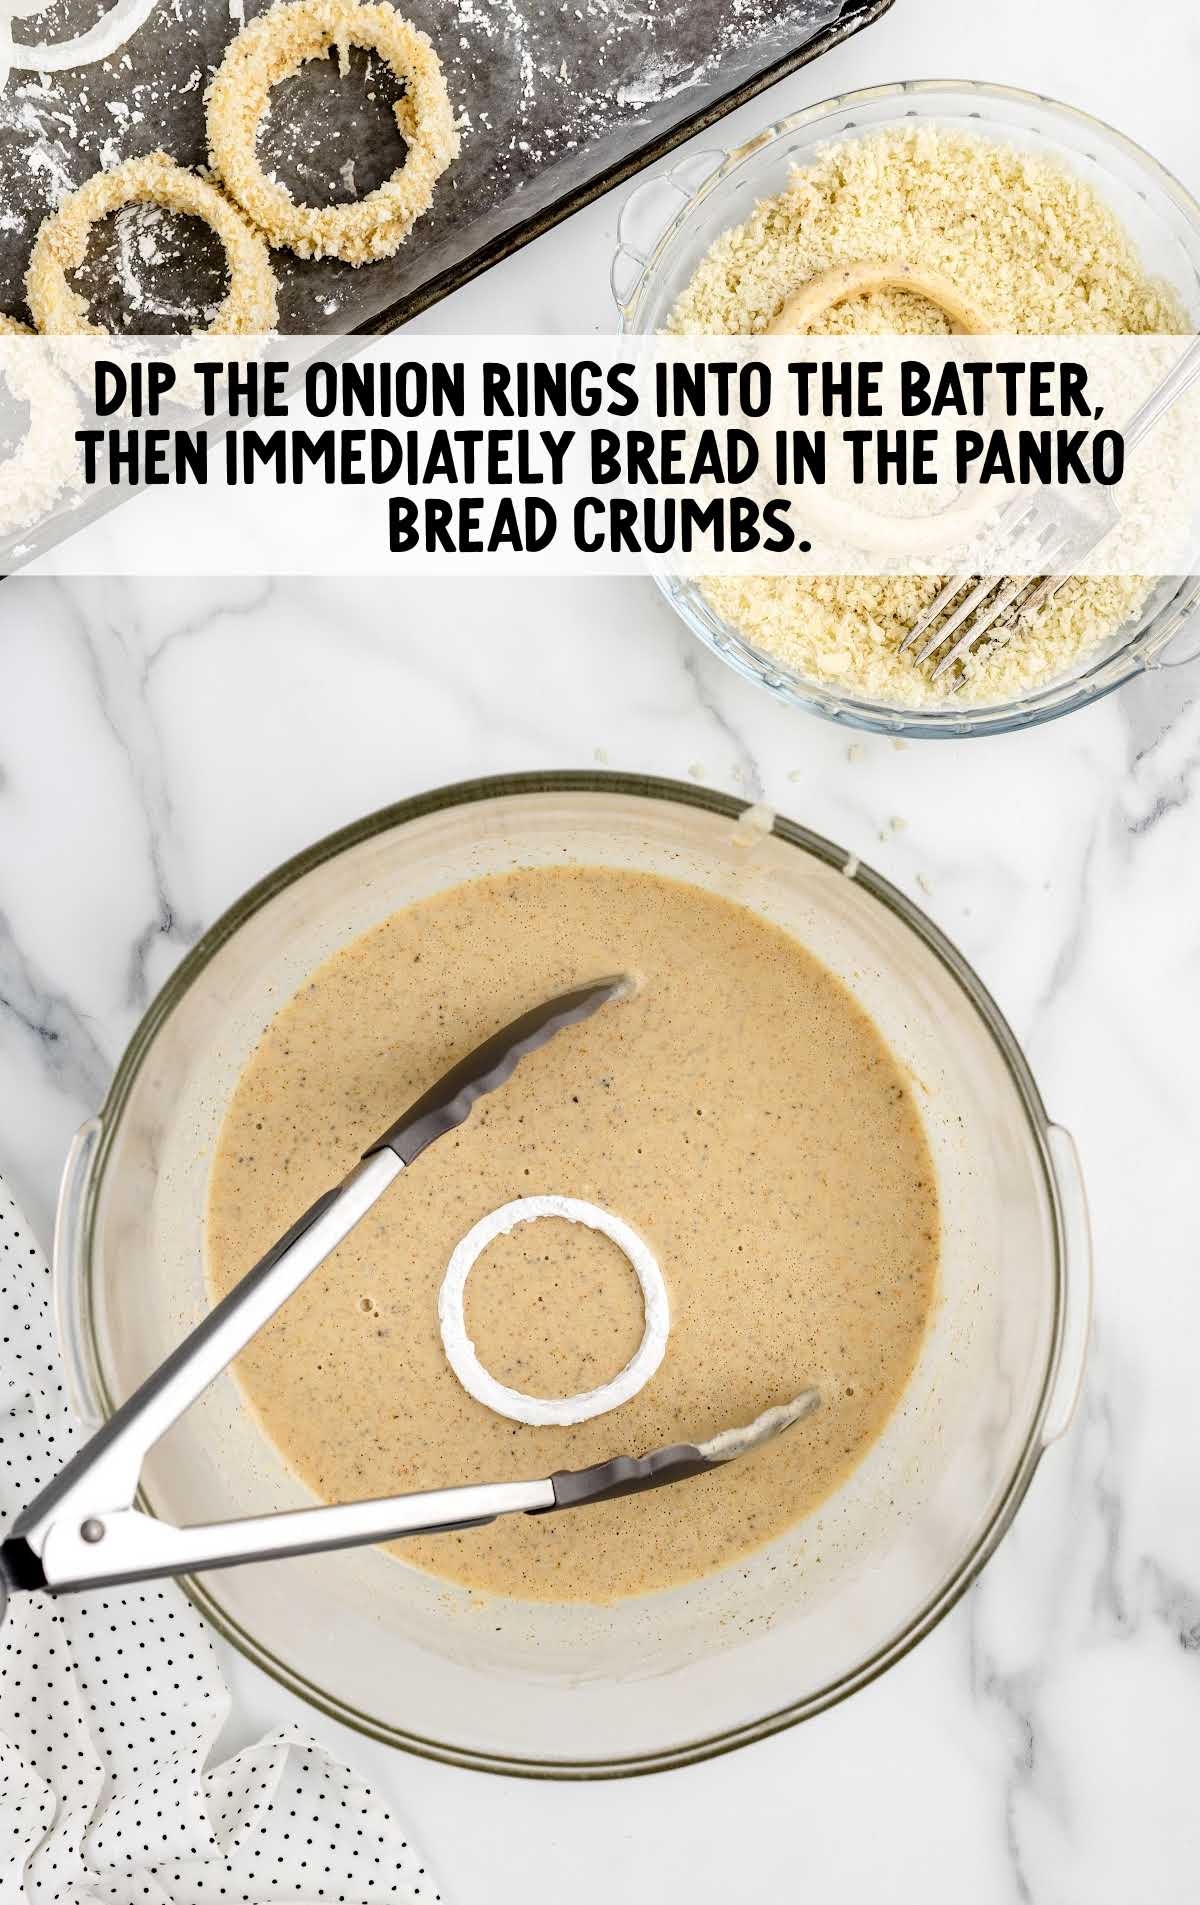
STEP TWELVE: Dip the onion rings into the batter, shaking off any excess, then immediately bread the inside and outside of the battered onion rings in the panko bread crumbs.
Shake off the excess and return the onion rings to the wax paper-covered baking sheet.
PRO TIP:
It is helpful to dip the rings into the onion ring batter and lift with a fork to allow the excess batter to drip off and then place it into the panko. Then, do the same thing using a fork to apply some of the panko and then remove the battered onion ring to the sheet tray.
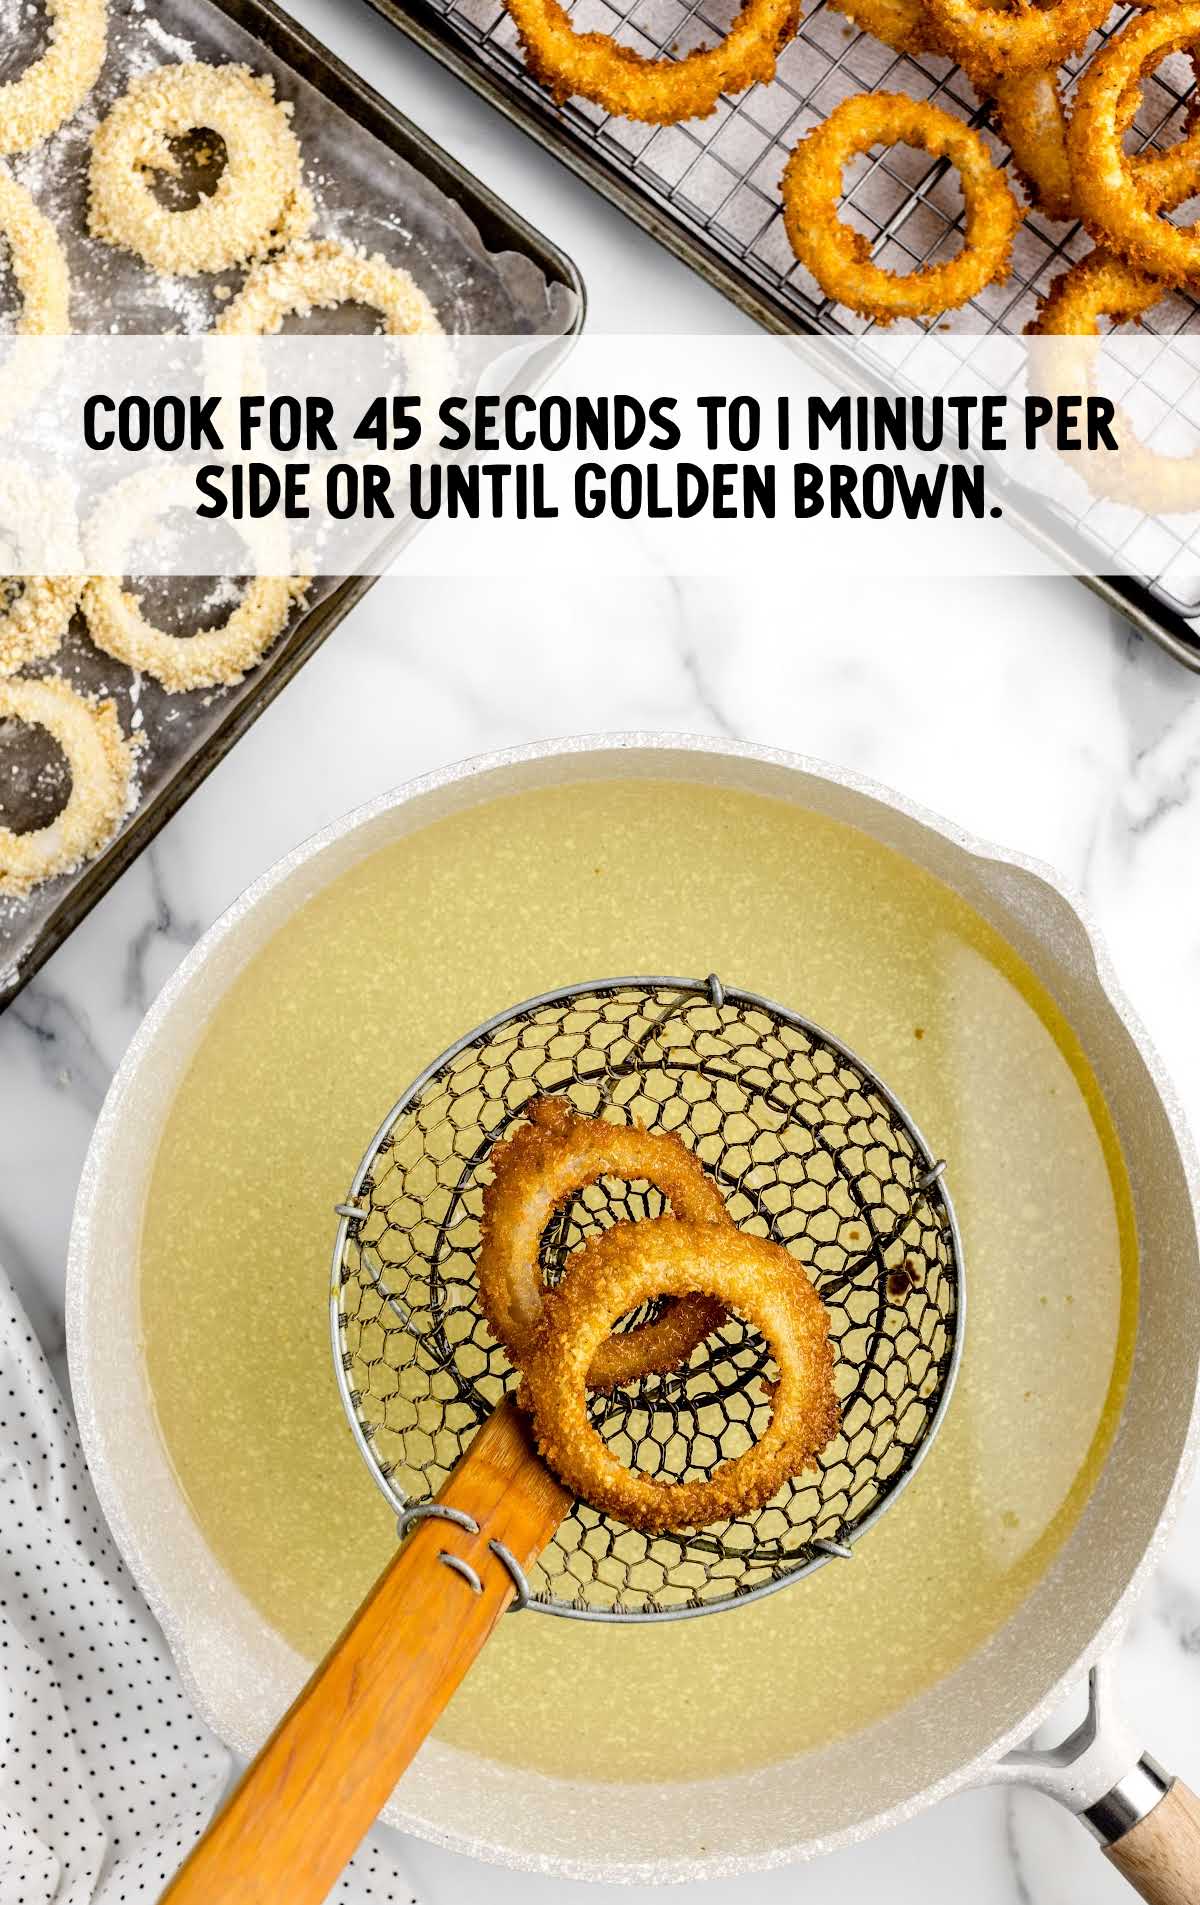
STEP THIRTEEN: Once the oil has reached 370°F-375°F, carefully add three to four breaded onion rings at a time to the hot oil.
Be sure to keep an eye on the oil temperature, adjusting the stove top heat accordingly.
Cook for 45 seconds to one minute per side or until golden brown. Use tongs to transfer the cooked onion rings to drain on the paper towel and cooling rack-covered baking sheet.
Once all the onion rings are cooked, serve immediately with your favorite dipping sauce.
PRO TIP:
With food that has been battered (like the onion rings), don’t place the food in the basket and then lower it into the grease, as that will cause the onion rings to stick to the basket.
Instead, lower the empty basket into the oil and then carefully drop the onion rings into the oil. When they have turned golden brown and are ready to remove, then lift the basket up.
How To Serve
Enjoy your fried onion rings as a classic side dish alongside burgers, hot dogs, or sandwiches. Their crispy texture and savory flavor make them the perfect accompaniment to your favorite comfort foods.
Elevate your game day spread by serving these onion rings as a party snack. Pair them with a zesty dip and watch them disappear in no time. Add our stuffed mushrooms and cucumber bites for even more savory snacks.
Turn these crispy delights into a mouthwatering appetizer by arranging them on a platter with a variety of dipping sauces. They’re sure to be the star of any party.
French fries are the classic item to serve alongside onion rings. Don’t forget to check out our frozen French fries in air fryer and not fried home fries.
MORE APPETIZER RECIPES
Storage
Whether you’re planning to make these easy onion rings ahead or have leftovers to preserve, here’s what you need to know:
MAKE AHEAD: You can prepare the onion rings to the point of breading them and store them in an airtight container in the refrigerator for up to a day.
Finish the breading and frying when you’re ready to enjoy.
IN THE FRIDGE: Leftover crispy fried onion rings can be stored in an airtight container in the fridge for up to three days. Reheat in the oven or air fryer at 400°F for eight to ten minutes.
IN THE FREEZER: To freeze uncooked onion rings, place them in a single layer on a baking sheet and freeze until firm. Then transfer them to a freezer bag.
They’ll keep well for up to one month. There is no need to thaw; fry them directly from frozen.
REHEATING: Reheat your onion rings in the air fryer at 400°F for 5 minutes or in the oven at the same temperature for eight to ten minutes.
For a quick reheat, the microwave works, too, though it may not maintain their crispiness.
Why We Love This Recipe
There are lots of reasons we love the best onion rings recipe, including:
IRRESISTIBLE CRUNCH: We can’t get enough of the satisfying crunch of these homemade onion rings. The combination of the crispy exterior and tender, sweet onion inside is simply unbeatable.
EASY TO MAKE: With straightforward steps and readily available ingredients, this recipe is perfect for both novice and experienced cooks. You’ll be amazed at how easy it is to create restaurant-quality onion rings at home.
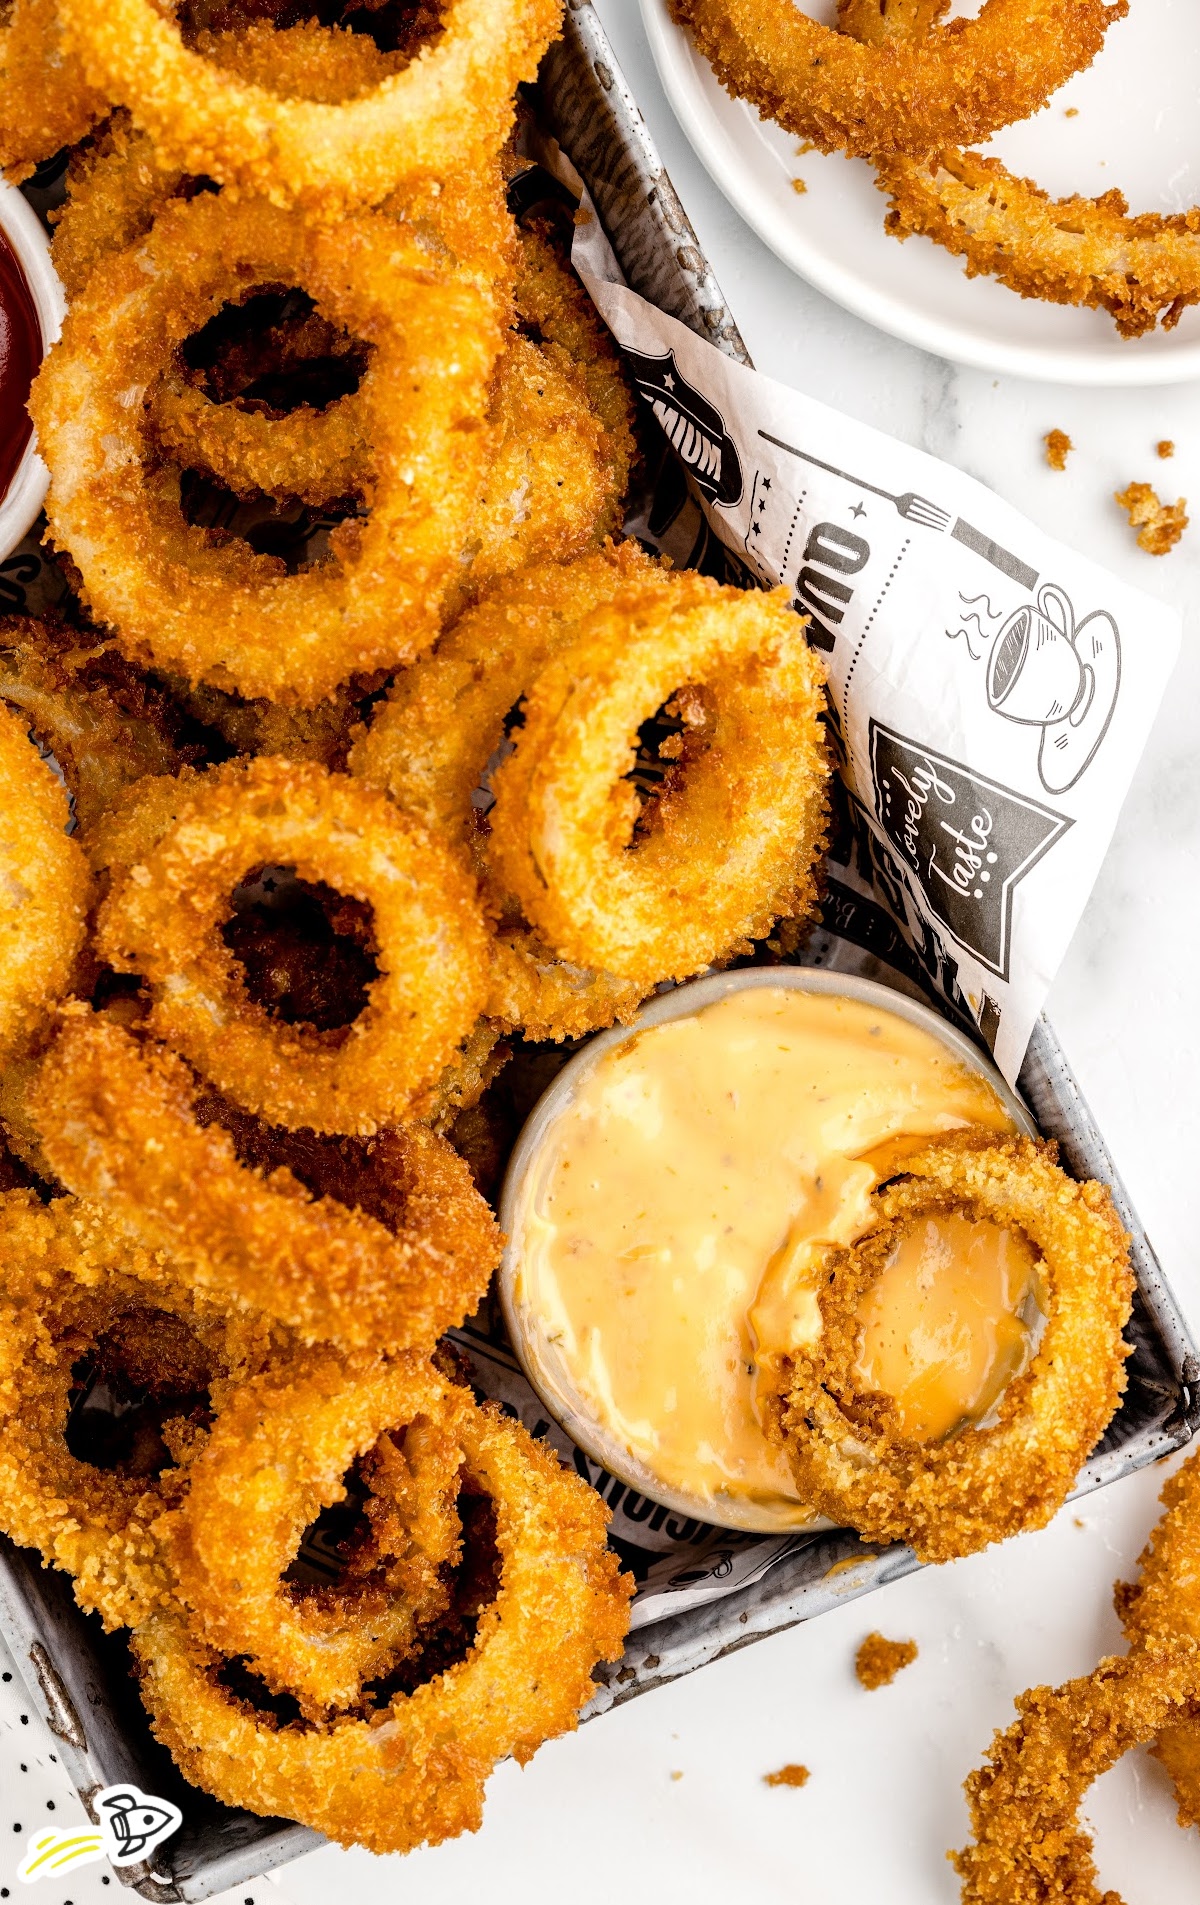
The unbeatable crunch of these homemade onion rings, combined with the sweet and savory flavor of the onion, makes them a perfect addition to any occasion. Whether you’re enjoying them at a game day gathering or a family picnic, these onion rings are sure to please.
Frequently Asked Questions
Absolutely! You can use sweet onions or large white onions for a slightly different flavor.
You can omit the cayenne pepper from the seasoning mix if you prefer a milder version.
Regular breadcrumbs or seasoned Italian panko can be substituted for plain panko.
Reheat them in an air fryer, oven, or microwave for a crispy and delicious snack.
Using panko breadcrumbs and ensuring the oil is at the right temperature are key to achieving that irresistible crunch.
While deep frying yields the best results, you can try baking them in the oven or using an air fryer for a slightly healthier option.
Be sure to whisk the egg and milk mixture into the dry ingredients thoroughly to prevent any lumps and maintain the right batter consistency.
More Recipes You’ll Love

Onion Rings
Ingredients
- 1 large yellow onion, about 1 pound
- ¼ cup cornstarch
- 1 cup all-purpose flour
- 1 teaspoon table salt
- 1 teaspoon black pepper
- 1 teaspoon garlic powder
- ½ teaspoon paprika
- ¼ teaspoon cayenne pepper
- 1 large egg
- 1 cup milk
- 4 cups plain panko bread crumbs
- 4½ cups vegetable oil
Optional Dipping Sauce
- Bloomin’ onion sauce
- zesty ranch dressing
- ketchup
Instructions
- Fill a large mixing bowl (4 quarts) ⅔ way full with water and 2 cups of ice.
- Remove the outer husk and top layer of skin of the onion. Carefully slice the top of the onion Consider it the North Pole of the onion. Keep the South Pole intact for now. Slice the onion into ½-inch rings. Once you get to the last ring, lay the onion flat and carefully slice the bottom of the onion off.
- Carefully separate the onion rings. Place the rings in the ice water for about 5 minutes. This will help dilute the sulfur in the cut rings. If you are using a sweet onion, you can skip this step. Remove the onion rings and drain them on paper towels.
- Line a baking sheet with paper towels. Place a cooling rack over the paper towel layer. Set it aside.
- Line a second baking sheet with wax paper. You can also use a disposable baking pan or large serving plate.
- Add the ¼ cup of cornstarch to a shallow bowl. Dip the drained onion rings in the cornstarch, shaking off any excess, and place on the wax paper.
- Add the flour, salt pepper, garlic powder, paprika, and cayenne pepper to a medium size shallow bowl (2-3 quarts). Whisk to combine.
- Add the egg to the milk, and use a fork to combine completely. I mixed my egg and milk together in the measuring cup, but you can also mix in a small bowl.
- Add the egg and milk mixture to the dry ingredients, whisk to completely incorporate, and remove any flour lumps.
- Add the vegetable oil to a 10-inch skillet that’s at least 2½ to 3 inches deep, over high heat, to 370°F-375°F. Use a candy/deep fry thermometer to accurately measure the temperature. While the oil is heating, batter/bread the onion rings.
- Add 2 cups of the panko bread crumbs to a shallow bowl. You will need to add the remaining 2 cups of panko crumbs as you bread the remaining onion rings.
- Dip the onion rings into the batter, shaking off any excess, then immediately bread the inside and outside of the battered onion rings in the panko bread crumbs. Shake off the excess and place the onion rings back onto the wax paper-covered baking sheet.
- Once the oil has reached 370°F-375°F, carefully add 3 to 4 breaded onion rings at a time to the oil. Be sure to keep an eye on the oil temperature, adjusting the stove top heat accordingly. Cook for 45 seconds to 1 minute per side or until golden brown. Use tongs to transfer the cooked onion rings to drain on the paper towel and cooling rack-covered baking sheet. Once all the onion rings are cooked, serve immediately with your favorite dipping sauce.
Notes
- One tip with cutting onions is to leave the root (hairy) end on and start from the other end for these types of cuts, and that cuts down on the crying.
- If you are using sweet yellow onions, you can skip the ice water soak. The ice water helps to cut the harsh sulfur that’s released when cutting the onion.
- It is helpful to dip the rings into the batter and lift with a fork to allow the excess batter to drip off and then place it into the panko. Then, do the same thing using a fork to apply some of the panko and then remove the battered onion ring to the sheet tray.
- With food that has been battered (like the onion rings), don’t place the food in the basket and then lower it into the grease, as that will cause the onion rings to stick to the basket. Instead, lower the empty basket into the oil and then carefully drop the onion rings into the oil. When they have turned golden brown and are ready to remove, then lift the basket up.





Leave a Comment