This delicious lemon cheesecake is a sophisticated twist on the classic cheesecake. The zing of freshly squeezed lemons adds a vibrant contrast to the creamy base –delivering a balanced flavor that’s neither too rich nor too tart. Each bite melts in your mouth, making this a must-try for anyone who loves a refined, citrusy dessert.

Let’s Dish: About This Cheesecake
Main Ingredients: Vanilla wafer crumbs, cream cheese, lemon zest, lemon juice, sour cream, lemon curd.
Quick Steps: Make a vanilla wafer crust, beat cream cheese with sugar and eggs, add lemon juice/zest, bake, cool, top with lemon curd.
Total Time & Yield: 5 hours 20 minutes, yields 12 slices.
Why This Recipe
- Many lemon cheesecakes tend to lean heavily on sugar or overly sweet toppings, which can overwhelm the palate.
- In contrast, our recipe achieves a balance by using real lemon juice and zest in the filling, giving it a fresh, citrusy punch without becoming too sharp or sour.
- The lemon curd topping provides an extra layer of tartness. By pairing it with a rich, smooth cream cheese base, the result is a cheesecake lets the lemon shine through without becoming overly sweet.
- Our version ensures that every bite feels indulgent yet refreshing, setting it apart from the overly sugary alternatives.
Lemon Cheesecake Ingredients
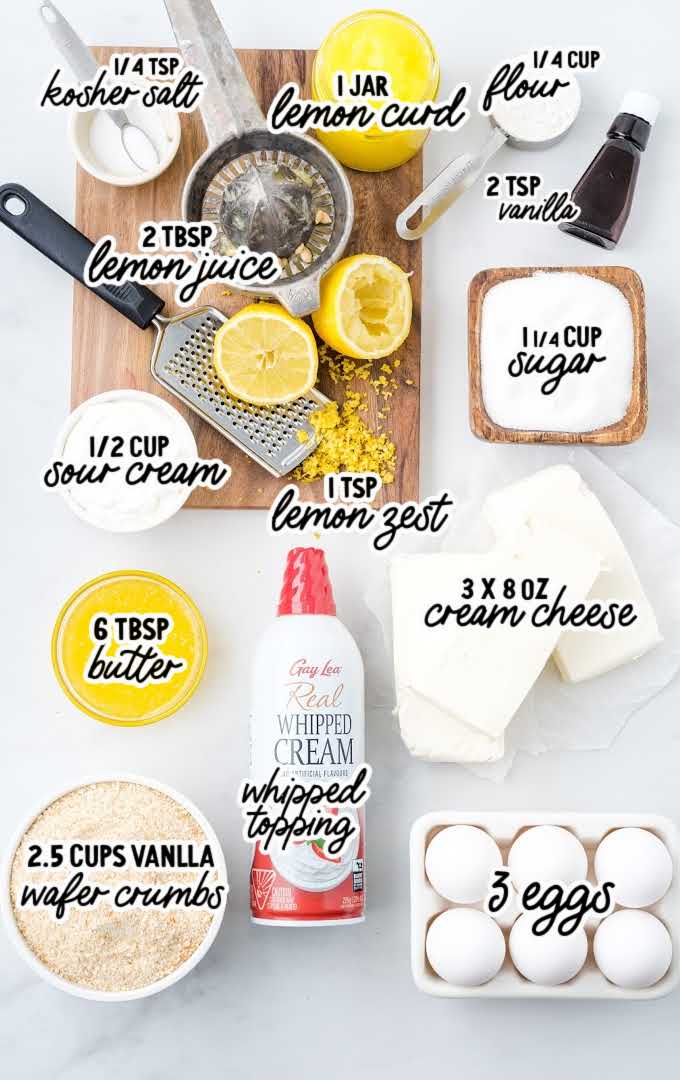
The creamy, smooth texture of this cheesecake melts in your mouth while bursts of tangy lemon flavor dance across your taste buds.
The subtle note of cream cheese adds richness and depth that enhances every bite. Each slice is a delightful blend of sweet and sour that makes it a perfect choice for indulging in after a meal or as a treat for any time of the day.
You’ll need:
For The Crust:
- 2½ cups of vanilla wafer crumbs, ground (the contents of an 11-ounce box of cookies)
- ¼ cup of all-purpose flour
- ¼ cup of granulated sugar
- ¼ teaspoon of kosher salt
- 6 tablespoons of unsalted butter, melted
For The Filling:
- 3 (8-ounce) packages of cream cheese, room temperature
- 1 cup of granulated sugar
- 3 large eggs, room temperature
- 2 teaspoons of vanilla extract
- ½ cup of sour cream
- 1 teaspoon of lemon zest from 1 large lemon
- 2 tablespoons of lemon juice from the 1 large lemon that was zested
For The Garnish:
- 1 (10-ounce) jar of lemon curd, good quality
- 1 (6.5-ounce) can of extra creamy whip cream spray topping
Make sure your cream cheese and sour cream are the full-fat versions to ensure your cake is as creamy as it can be.
Substitutions And Additions
CITRUS FLAVOR: This cheesecake can be adapted depending on the citrus flavor you would like to use. Lime or orange are fantastic options to change up the recipe a bit.
CRUST: If your wafers do not come pre-crushed, either place them in a Ziploc bag and use a rolling pin to crush them quickly and mess-free, or use a food processor to turn them into crumbs.
In addition, you can substitute boxed graham cracker crumbs in the crust to make this an even easier cheesecake.
How To Make This Lemon Cheesecake Recipe
STEP ONE: Make the crust by combining the vanilla wafer crumbs, flour, sugar, salt, and melted butter in a medium-sized bowl.
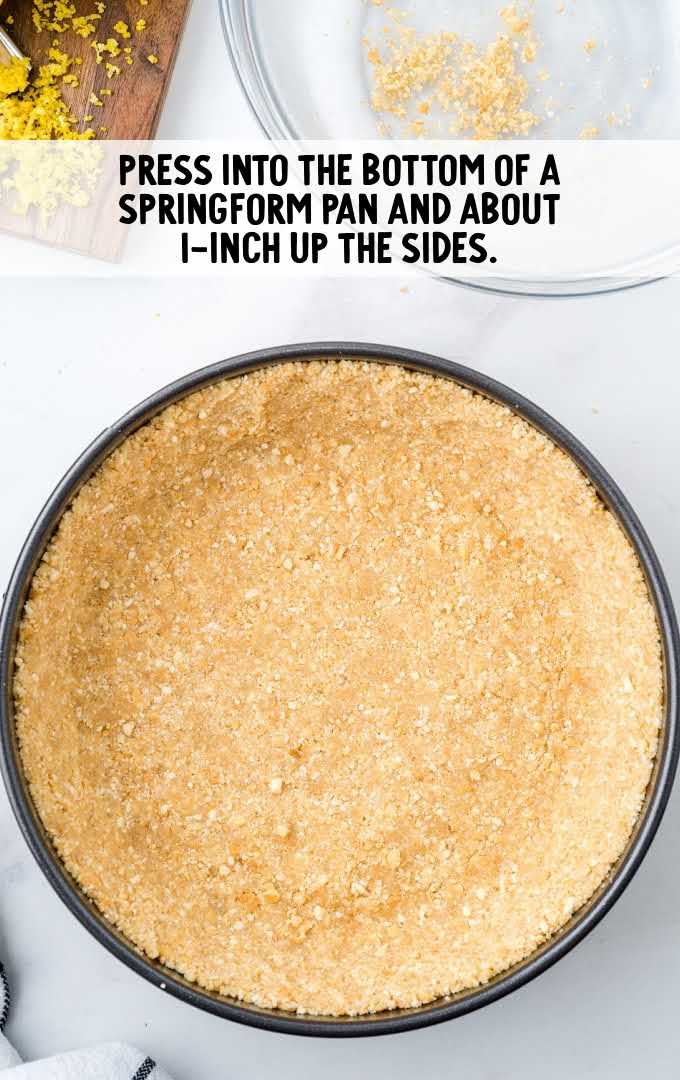
STEP TWO: Press the crumb mixture into the bottom of a 9-inch springform pan that is lightly sprayed with baking spray. Make sure the crumb is tightly packed and goes up the side of the pan about 1 inch. Set aside.
If you do not have a springform pan, you can use a deep-dish pie plate. Just make sure that it is at least 2 inches deep and 9 inches wide.
STEP THREE: To make the filling, in a large bowl, beat the cream cheese and sugar until smooth.
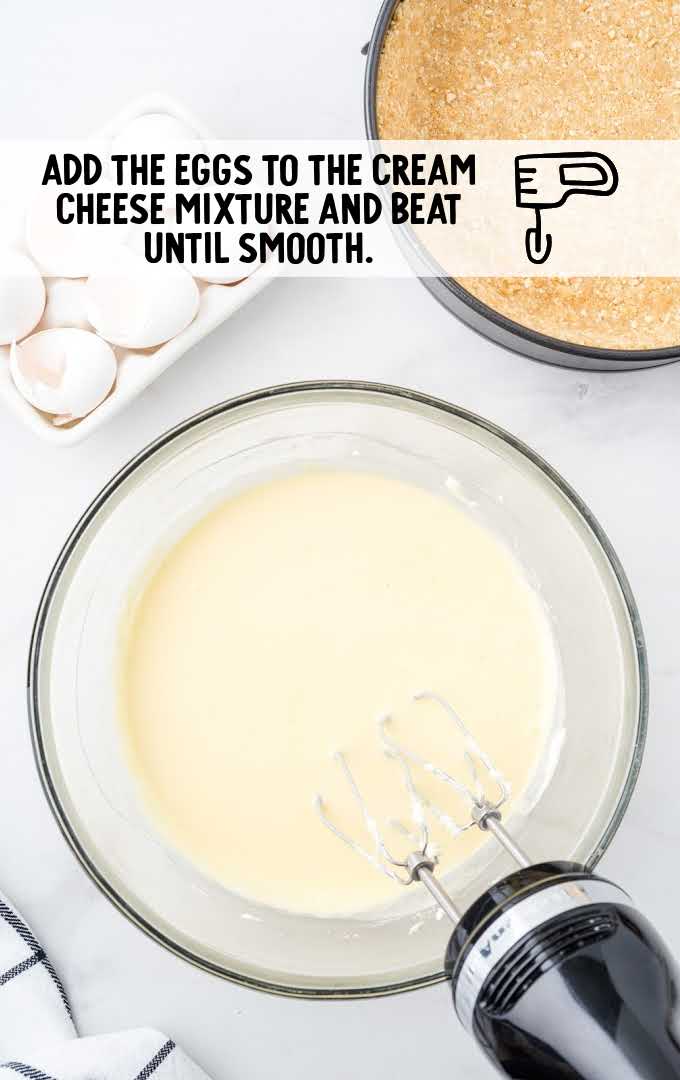
STEP FOUR: Add the eggs to the cream cheese mixture, one egg at a time, until each egg is incorporated. Do this at a low speed so that you do not incorporate too much air into the batter.
STEP FIVE: Add the vanilla, sour cream, lemon zest, and lemon juice. Mix the batter just until all the ingredients are incorporated and the batter is smooth.
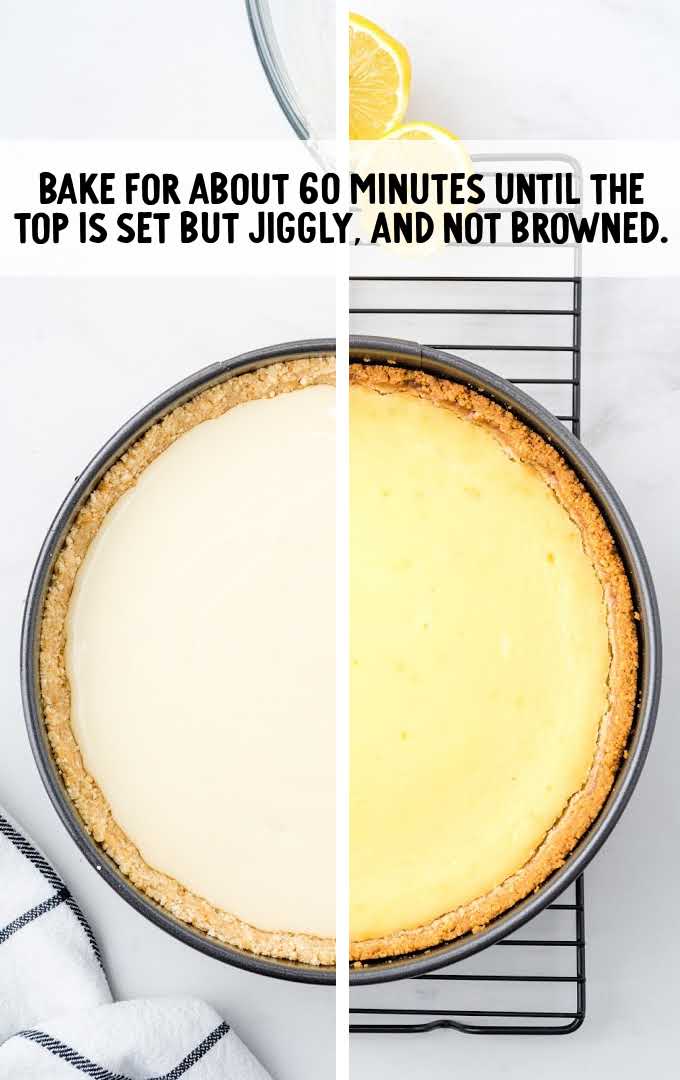
STEP SIX: Pour the batter over the crust and bake your cheesecake in an oven preheated to 350°F for 60 minutes, or until the top looks set but slightly jiggly. Do not let the top brown.
Oven temperatures vary and may need to be recalibrated periodically to ensure they are accurate. Make sure to keep a close eye on your cheesecake as the suggested baking time approaches.
STEP SEVEN: Turn off your oven and crack your oven door open, about 2 inches, and allow your cheesecake to cool in the oven for 1 hour. After that, you can remove your cheesecake and place it on a cooling rack on your kitchen counter until it cools completely for another hour. This helps keep your cheesecake from cracking.
STEP EIGHT: After your cheesecake has cooled on the counter, spread the lemon curd in a thin, even layer over the top of your cheesecake. This will cover any cracks your cheesecake may have gotten while cooling. Garnish with whipped cream and lemon slices.
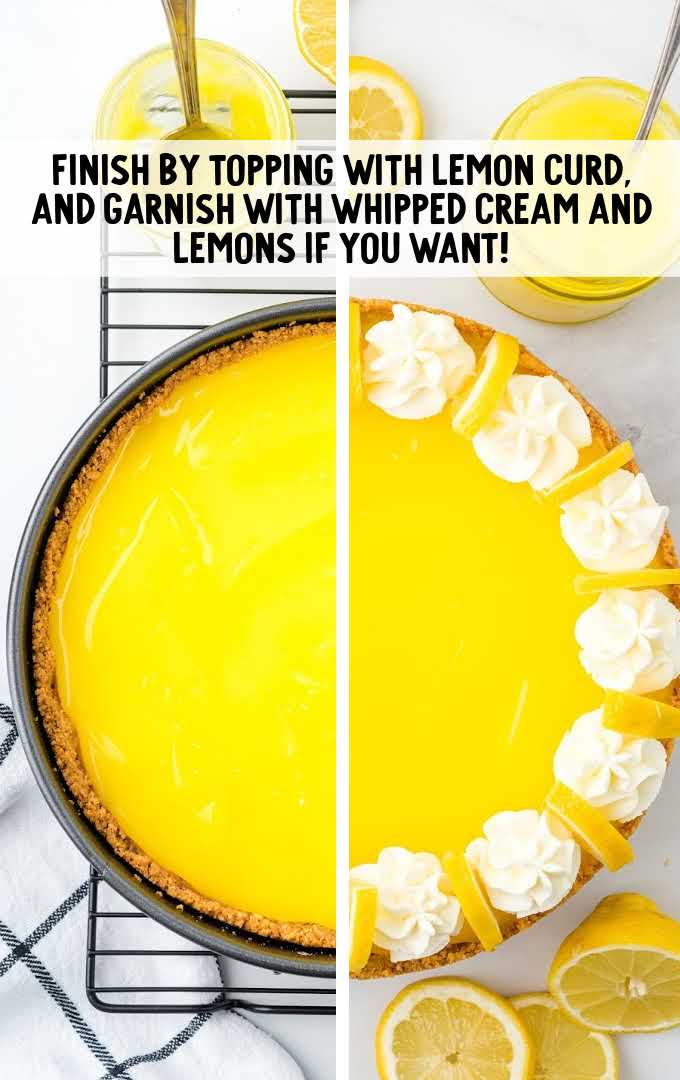
STEP NINE: Refrigerate your cheesecake for at least 2 to 4 hours. Once your cheesecake is completely cool and refrigerated, run your knife around the edges and un-mold your cheesecake from the springform pan.
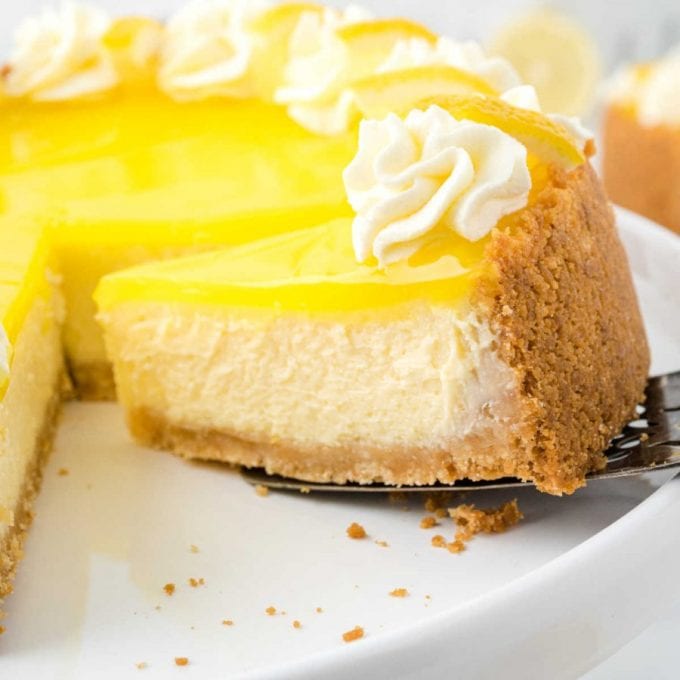
Slice the cheesecake while it is cold to avoid a messy cut. Dip a knife in hot water, dry the blade and then slice. Clean and rewarm the knife after each cut.
How To Serve This Lemon Curd Cheesecake Recipe
Garnish your cheesecake with whipped topping or your own whipped cream and a slice of fresh lemon or lemon zest. You could also top it with fresh fruit. Pick a local fruit that is in season. Raspberries and blueberries both make an especially lovely match with the lemon flavor.
Serve iced tea, raspberry iced tea, sweet peach iced tea, or our southern strawberry sweet tea on the side.
MORE CHEESECAKE RECIPES
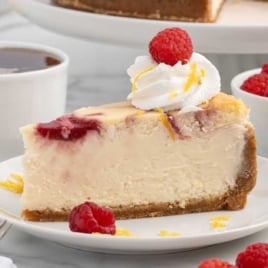
You can’t go wrong with cheesecake, and the options are endless. Try blueberry cheesecake, mint chocolate cheesecake, Reese’s cheesecake, and pecan pie cheesecake.
Storing This Easy Lemon Cheesecake
Here’s a guide on how to store your lemon cheesecake to ensure it stays delicious for as long as possible.
IN THE FRIDGE: For short-term storage, the refrigerator is your go-to option. To store your lemon cheesecake in the fridge, keep it in its original baking dish or transfer it to an airtight container. Ensure the cheesecake is fully cooled before refrigeration to prevent condensation from forming. When properly stored, your lemon cheesecake will stay fresh for up to 4 days in the refrigerator.
IN THE FREEZER: If you want to freeze your cooled cheesecake, just wrap it tightly with plastic wrap BEFORE you put your top layer of lemon curd on it. It will keep for 2 months in the freezer. When ready to eat, take it out of the freezer the night before and let it thaw completely in the refrigerator overnight. Once thawed, top with lemon curd and garnishes.
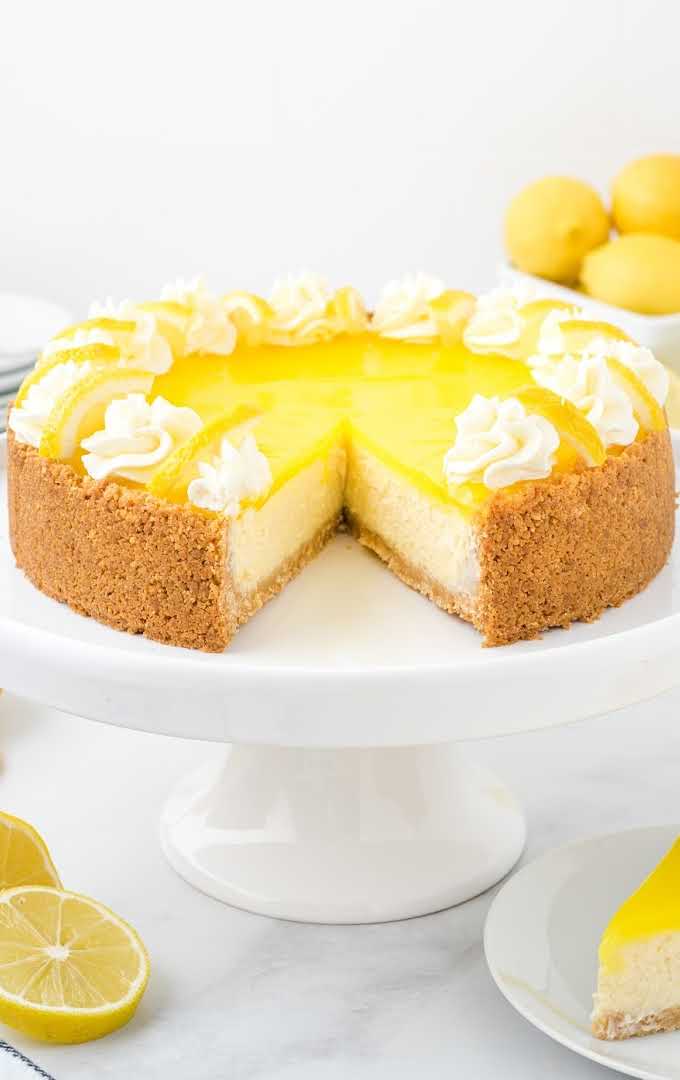
Delicious, smooth, and lemony cream cheese and an amazing crust combine to create this simply perfect lemon cheesecake. You will love how fresh and light this dessert is!
Frequently Asked Questions
Yes, you can substitute lemon extract for lemon juice. Since the lemon extract is far more concentrated than lemon juice, you will only need a couple of drops of the extract to replace the lemon juice.
This cheesecake will freeze very well. Wrap in plastic wrap and store in the freezer in an airtight container. Thaw in the fridge overnight.
To prevent your cheesecake from cracking, don’t overmix your batter, as it will cause bubbles that will burst during baking, potentially causing cracks on top. Also, don’t overbake your cheesecake, and once your cheesecake is finished baking, let it sit cooling in the oven for an hour. This also helps prevent cracking on the top.
More Lemon Recipes
- Lemon Bars
- Lemon Cheesecake Bars
- Mini Lemon Meringue Pies
- Lemon Curd
- Lemon Cream Cheese Pie
- Lemon Chiffon Cake

Lemon Cheesecake
Ingredients
Crust
- 2½ cups vanilla wafer crumbs, ground (the contents of an 11-ounce box of cookies)
- ¼ cup all-purpose flour
- ¼ cup granulated sugar
- ¼ teaspoon kosher salt
- 6 tablespoons unsalted butter, melted
Filling
- 24 ounces cream cheese, room temperature
- 1 cup granulated sugar
- 3 large eggs, room temperature
- 2 teaspoons vanilla extract
- ½ cup sour cream
- 1 teaspoon lemon zest, from 1 large lemon
- 2 tablespoons lemon juice, from the 1 large lemon that was zested
Garnish
- 10 ounces lemon curd, good quality
- 6.5 ounces extra creamy whip cream spray topping
Instructions
- Preheat the oven to 350°F. Lightly spray a 9-inch springform pan with baking spray. Set aside.
- Make the crust by combining the vanilla wafer crumbs, flour, sugar, salt, and melted butter in a medium-sized bowl.
- Press the crumb mixture into the bottom of the springform pan so that it is tightly packed and goes up the side of the pan about 1 inch. Set aside.
- To make the filling, in a large bowl, beat the cream cheese and sugar until smooth. Add the eggs one at a time until each egg is incorporated. Do this at a low speed so that you do not incorporate too much air into the batter.
- Add the vanilla, sour cream, lemon zest, and lemon juice. Mix the batter just until all the ingredients are incorporated, and the batter is smooth.
- Pour the batter over the crust and bake your cheesecake for 60 minutes, or until the top looks set but slightly jiggly. Do not let the top brown.
- Turn off your oven and crack your oven door open about 2 inches, and allow your cheesecake to cool in the oven for 1 hour. After that, you can remove your cheesecake and place it on a cooling rack on your kitchen counter until it cools completely for another hour. This helps keep your cheesecake from cracking.
- After your cheesecake has cooled on the counter, spread the lemon curd in a thin, even layer over the top of your cheesecake. This will cover any cracks your cheesecake may have gotten while cooling. Garnish with whipped cream and lemon slices.
- Refrigerate your cheesecake for at least 2 to 4 hours.
- Once your cheesecake is completely cool and refrigerated, run your knife around the edges and un-mold your cheesecake from the springform pan.
Video
Notes
- Make sure your cream cheese and sour cream are the full-fat versions to ensure your cake is as creamy as it can be.
- If your wafers do not come pre-crushed, either place them in a Ziploc bag and use a rolling pin to crush them quickly and mess-free, or use a food processor to turn them into crumbs.
- You can place your springform pan on a parchment-lined sheet tray prior to filling. This will make it easier to transport your cheesecake to and from the oven.
- If you do not have a springform pan, you can use a deep-dish pie plate. Just make sure that it is at least 2 inches deep and 9 inches wide. If you want to freeze your cheesecake in this dish, make sure it is a freezer-safe dish.
- Oven temperatures vary and may need to be recalibrated periodically to ensure they are accurate. Make sure to keep a close eye on your cheesecake as the suggested baking time approaches.
- Slice the cheesecake while it is cold to avoid a messy cut. Dip a knife in hot water, dry the blade and then slice. Clean and rewarm the knife after each cut.




Comments
Suzanna Milligan says
I haven’t made any of the recipes, but they sound sooooo delicious! I like to make things for our staff at school, they love my “ experimental ideas” and I love giving us new flavors to try! I will do back to school Lemon Puppy Chow!
Mike says
One of my favorite desserts, this recipe is so easy to make as well and is always a big hit with anyone I’ve served it to.