October 13, 2022
Review PostDIY Mason Jar LEGO Guy
Table of Contents
Don’t you just love Mason jars? Since 1858, when they were invented by Philadelphian tinsmith John Landis Mason, they have been appreciated for canning, storage, drinking, or as vases, candle holders, snow globes, and lightning bug catchers and that’s just a few of their uses. The newest incarnation that we want to tell you about today is a Mason jar with a LEGO Head. It would look great decorating a Lego-themed party dessert table or it could serve as an awesome take-home favor, filled with Lego candy and small treats. It would also be a cute piggy bank or maybe use it for storing the tiny Lego pieces. This DIY idea comes from Candy Galaxy. It’s easy, fun, and our favorite kind of craft.
See Also:
- Get inspiration from this Dinosaur’s 6th Birthday
- You’ll love these Outdoor Dinosaur Party Ideas
- Take a peek at these other mason jar crafts and get inspired.
Supplies For A DIY LEGO Head
- yellow spray paint
- black Sharpie
- Mason jar
- stickers: 2 dots for eyes; a square one to cut up for the mouth shape
How To Make A DIY LEGO Head
1. Prepare to spray, put down some newspaper or cardboard to protect the area.
2. Put the lid on the Mason jar. Set it upside down.
3. Spray paint the entire thing, using the even stroke technique. If you opt to add a second coat, wait 1-2 hours before even touching it. If it’s still wet you’ll leave smeary fingerprints which do not work for a LEGO head!
4. The stickers can be any color because you’re going to color them black with your sharpie. While the jar is drying is a good time to do that, but it won’t take long.
5. Color 2 dots for eyes.
6. For the mouth, draw a 1 ½ -2 smile shape. Color it with the sharpie. Let it dry for a couple of minutes before cutting it out.
7. When everything is totally dry, remove the sticker backings. Place the eye dots right above the middle of the jar. The smile goes slightly below the middle of the jar. You’re finished, isn’t it cute? We hope you love it as much as we do.
More dinosaur party ideas:
- A Dinosaur Party
- A Prehistoric Dinosaur Birthday Party
- 12 Dinosaur Birthday Cake Ideas
- Dinosaur-Themed 2nd Birthday Party
- A Jurassic Park-Inspired Dinosaur Party
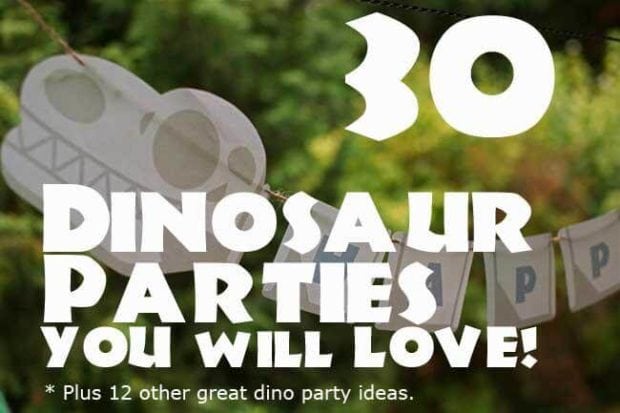
Plus, don’t miss out on 30 Dinosaur Birthday Party Ideas You’ll Love