Published on
Last updated on
Cherry Brownies
Table of Contents
- Cherry Brownie Ingredients
- Cherry Brownie Substitutions and Additions
- How To Make Cherry Chocolate Brownies
- Troubleshoot This Cherry Brownie Recipe
- How To Serve Cherry Brownies
- How To Store Cherry Brownies
- Why We Love This Chocolate Cherry Brownie Recipe
- Cherry Brownie Frequently Asked Questions
- More Brownie Recipes You’ll Love
- JUMP TO RECIPE
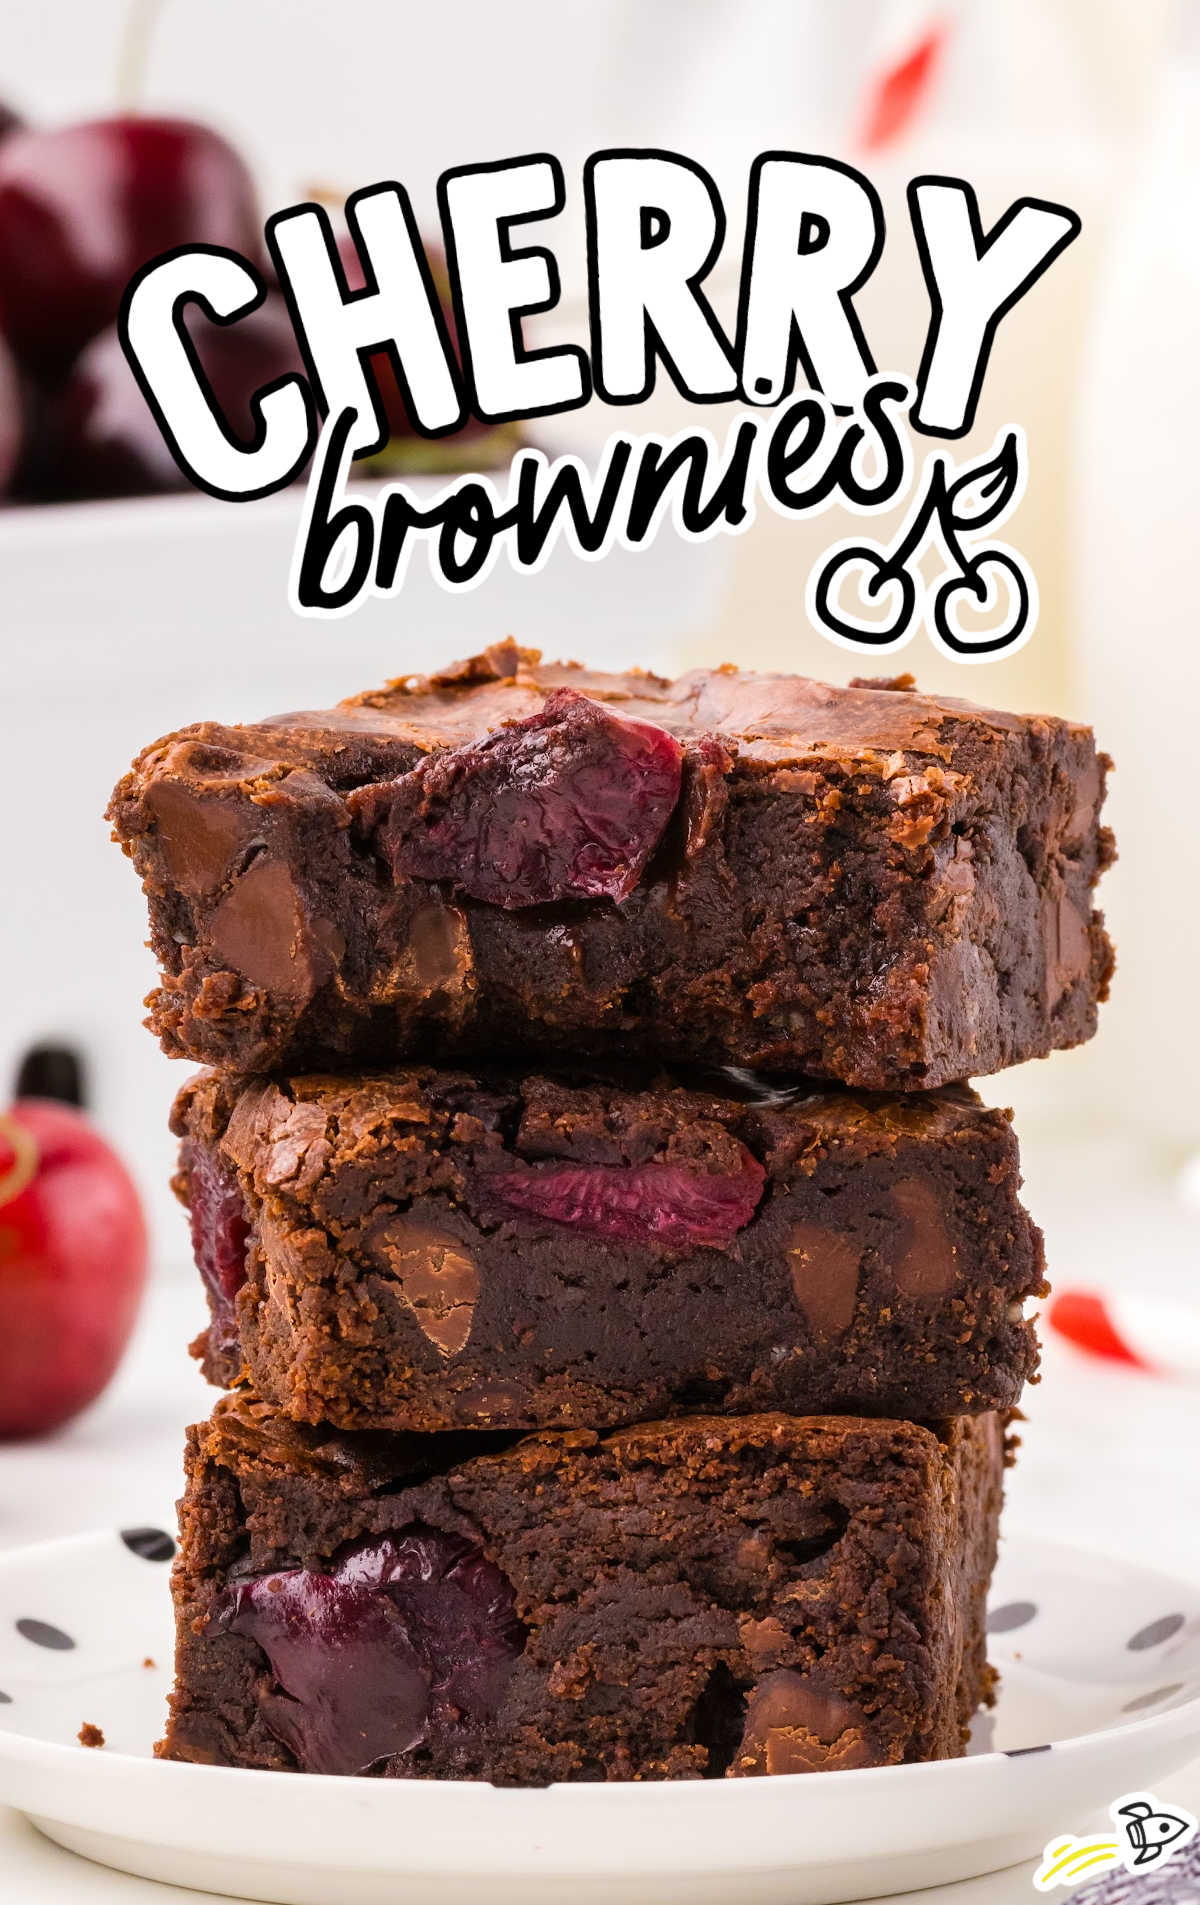
Cherry brownies are the perfect twist on a classic favorite, blending rich, dark chocolate with the tart sweetness of fresh juicy cherries to create a uniquely delicious experience. Each square offers a mouthwatering combination that is as delightful to look at as it is to eat. Whether you’re baking for a special occasion or just a regular weekday treat, these brownies are sure to impress with their moist texture and vibrant flavor.
What You Need To Know
- MAIN INGREDIENTS: bittersweet chocolate, unsalted butter, granulated sugar, light brown sugar, eggs, vanilla extract, all-purpose flour, cocoa powder, salt, fresh cherries, semi-sweet chocolate chips.
- QUICK STEPS: Melt chocolate and butter, whisk in sugars, add eggs and vanilla, mix dry ingredients, coat cherries and chocolate chips in flour, fold into batter, bake, cool, and serve.
- TOTAL TIME AND YIELD: Total: 50 minutes, Yields: 16 servings
Why This Recipe
- Our team of recipe developers chose bittersweet chocolate with 60% cocoa specifically for its rich flavor that perfectly balances the sweetness of the fresh cherries. This combination ensures a depth of chocolate flavor that isn’t overshadowed by excessive sweetness.
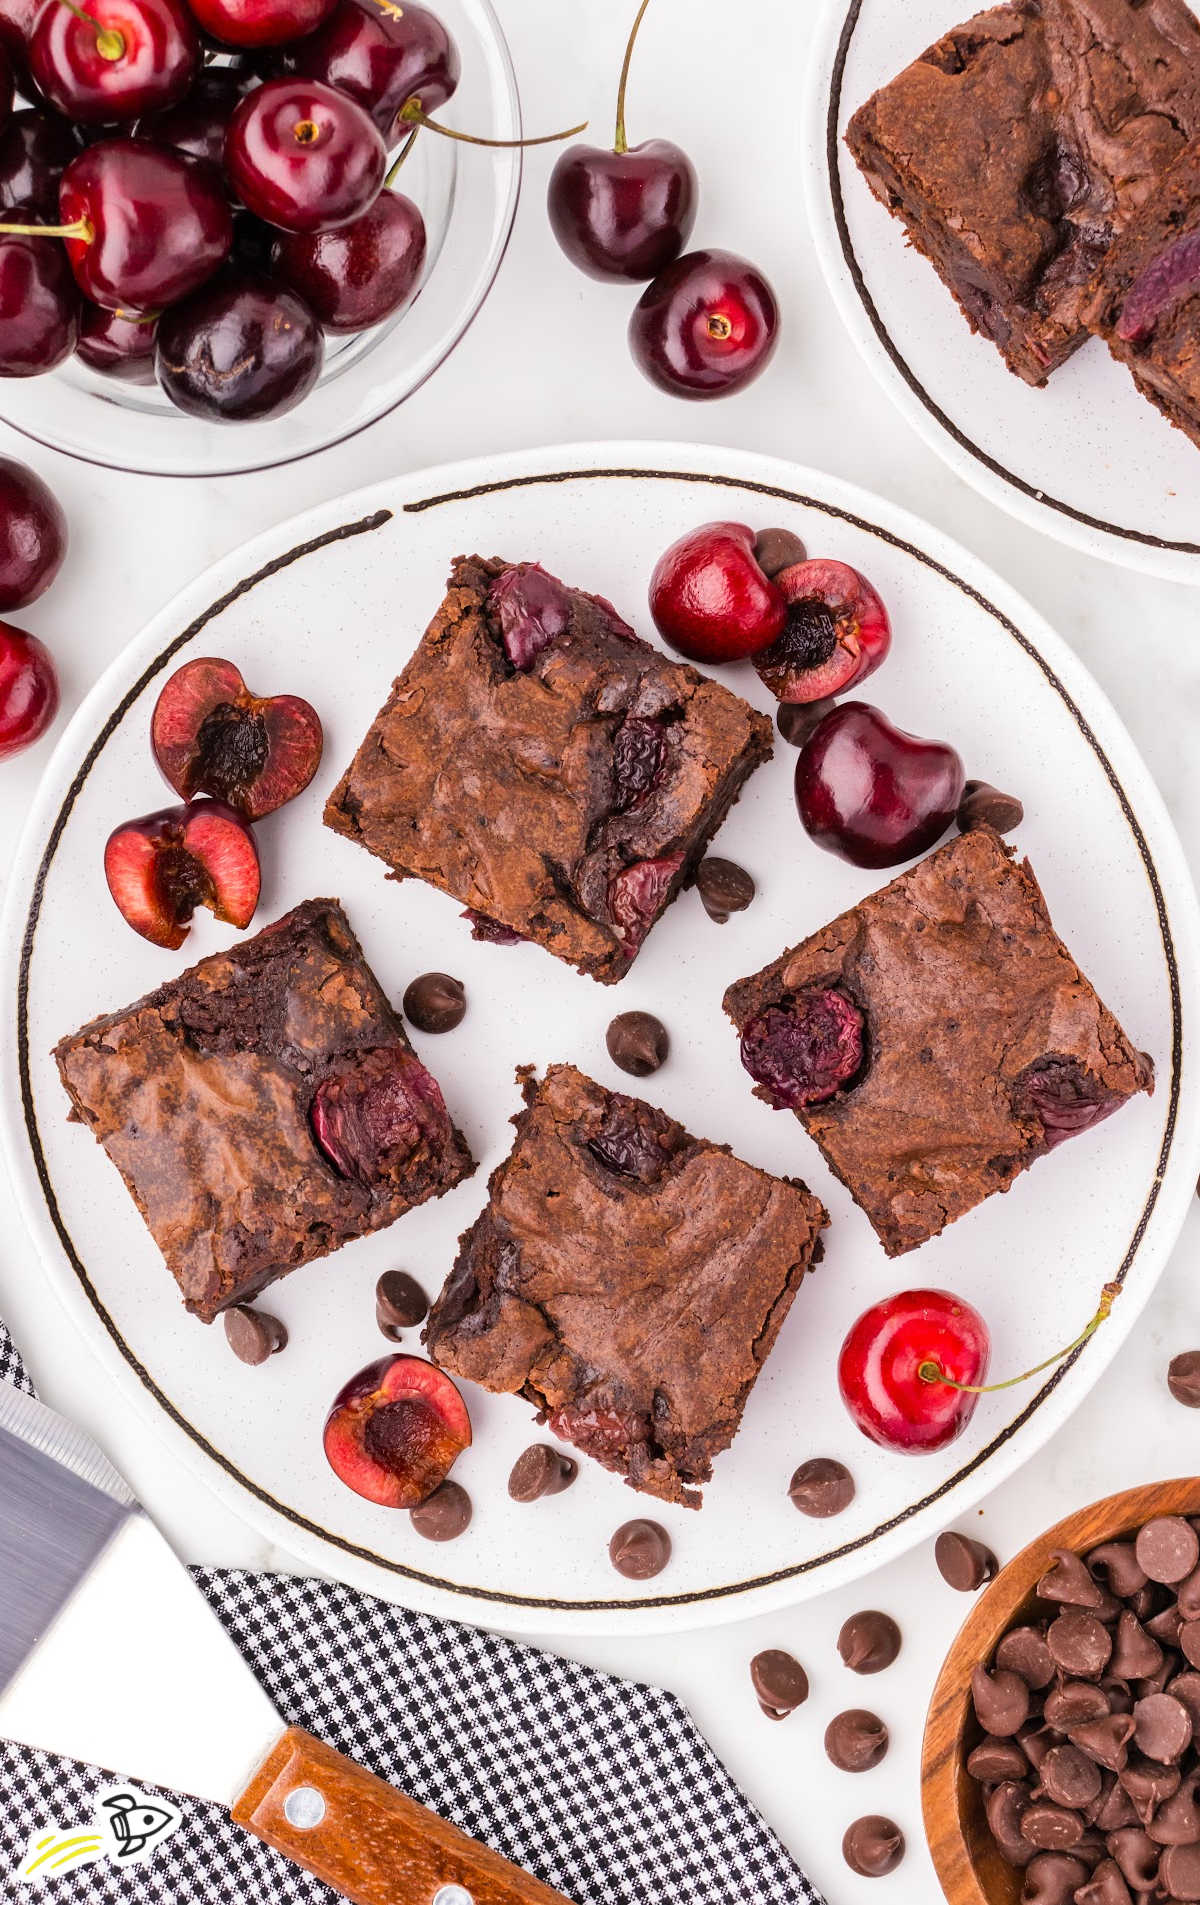
- The use of fresh cherries, halved and tossed in a bit of flour is key. This technique prevents the cherries from sinking to the bottom during baking, distributing them evenly throughout each brownie for a consistent burst of cherry flavor in every bite.
Cherry Brownie Ingredients
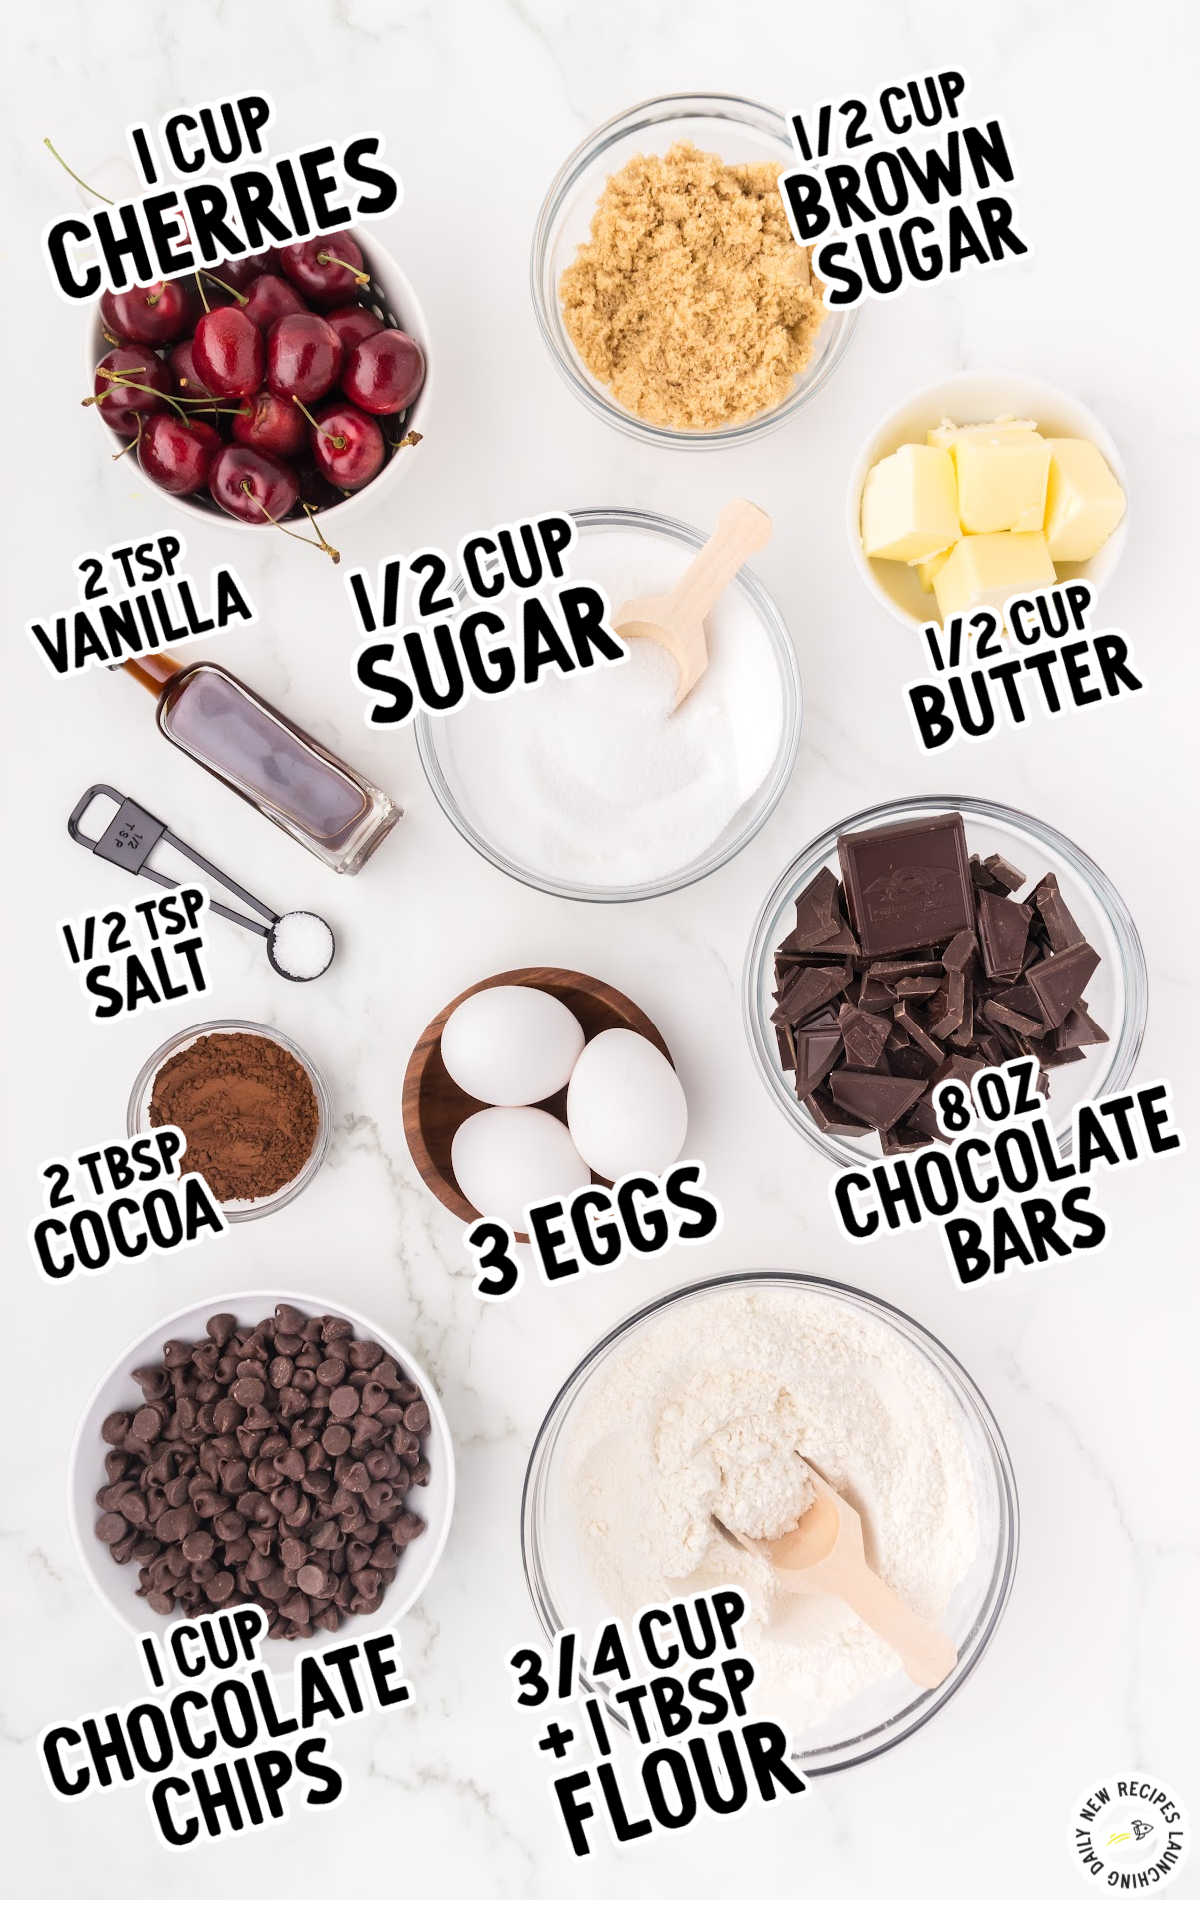
This recipe brings together the bold flavors of chocolate and the fresh zest of cherries, creating a delightful treat that’s as fun to make as it is to eat.
Here are the ingredients you’ll need:
- 8 ounces bittersweet chocolate (60% cocoa)
- ½ cup unsalted butter
- ½ cup granulated sugar
- ½ cup light brown sugar
- 3 large eggs
- 2 teaspoons vanilla extract
- ¾ cup + 1 tablespoon all-purpose flour
- 2 tablespoons cocoa powder (dark Dutch processed)
- ½ teaspoon salt
- 1 cup fresh cherries
- 1 cup semi-sweet chocolate chips
Cherry Brownie Substitutions and Additions
Bittersweet Chocolate: If you prefer a less intense chocolate flavor or simply need an alternative, milk chocolate can be used. It’s sweeter and creamier, which can make the brownies richer but with a milder chocolate depth.
Light Brown Sugar: Those who prefer a deeper, more molasses-forward flavor can opt for dark brown sugar instead of light. It will make the brownies slightly moister and richer.
Vanilla Extract: For a different twist, try almond extract. A small amount will go a long way, adding a nutty aroma that pairs wonderfully with cherries.
Fresh Cherries: If fresh cherries are out of season, you can substitute with frozen cherries. Be sure to thaw and thoroughly drain them before use. It’s crucial to pat the cherries dry with a paper towel to remove excess moisture. This step helps maintain the intended texture of the brownies, preventing them from becoming too soggy.
Semi-Sweet Chocolate Chips: For a bit of a different taste, try using white chocolate chips or even peanut butter chips for a complementary flavor that contrasts with the dark chocolate and cherries.
How To Make Cherry Chocolate Brownies
STEP ONE: Preheat oven to 350°F. Line a nine by nine inch metal square baking pan with pieces of parchment paper. Be sure to allow enough parchment paper to overhang the sides to make it easier to lift the brownies out of the pan to slice and serve once cooled.
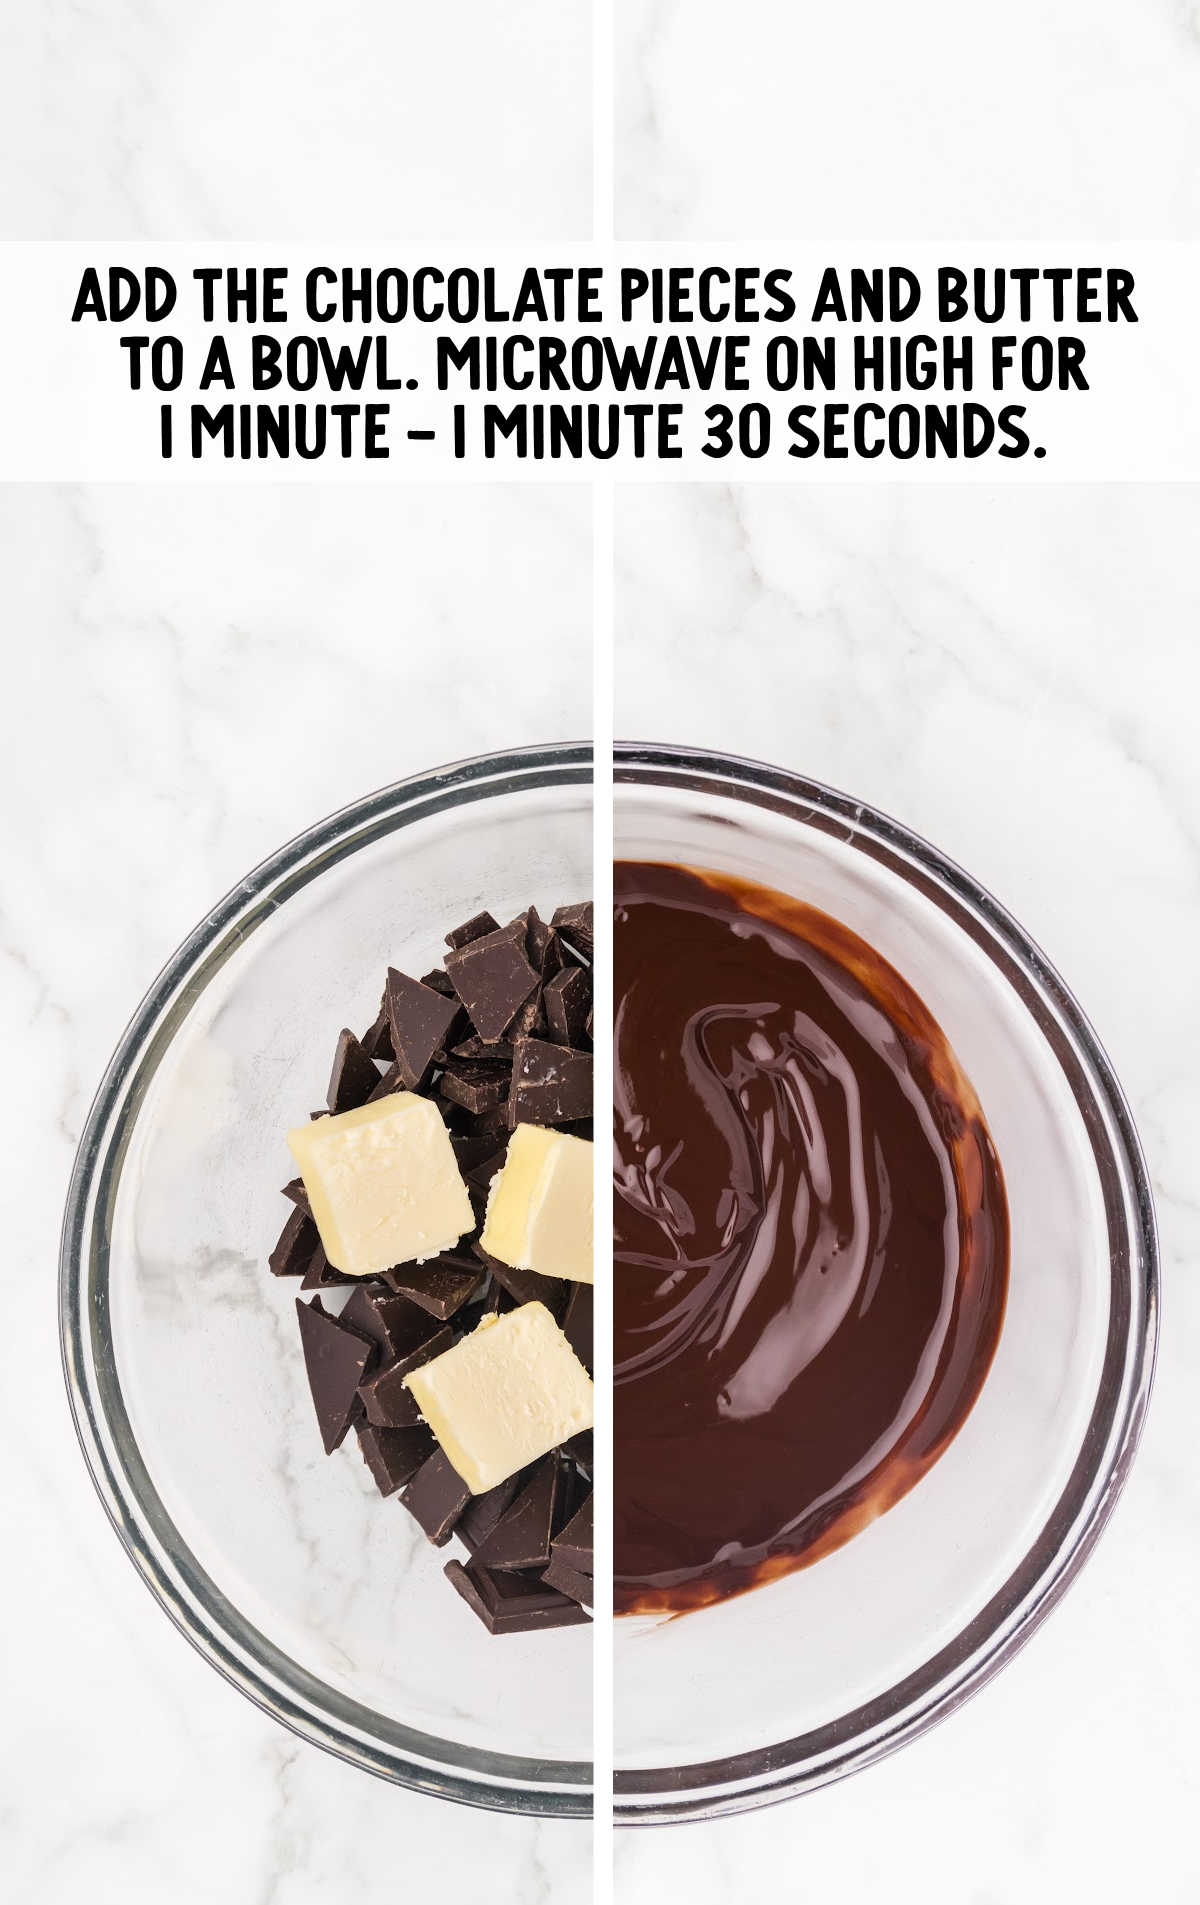
STEP TWO: Place the bittersweet chocolate pieces and cubed unsalted butter in a large, microwave-safe mixing bowl. Break the chocolate into even pieces to ensure it melts uniformly. Heat them in the microwave on high for one minute to one minute 30 seconds or until the butter has just melted.
Let the mixture sit for one minute before stirring to achieve a smooth consistency.
OUR RECIPE DEVELOPER SAYS
Letting the chocolate sit briefly after microwaving helps prevent overheating, which can cause the chocolate to seize.
STEP THREE: Whisk both the white sugar and light brown sugars into the melted chocolate mixture. Ensure that the sugars are completely incorporated and no lumps remain. This is crucial for the texture of your brownies.
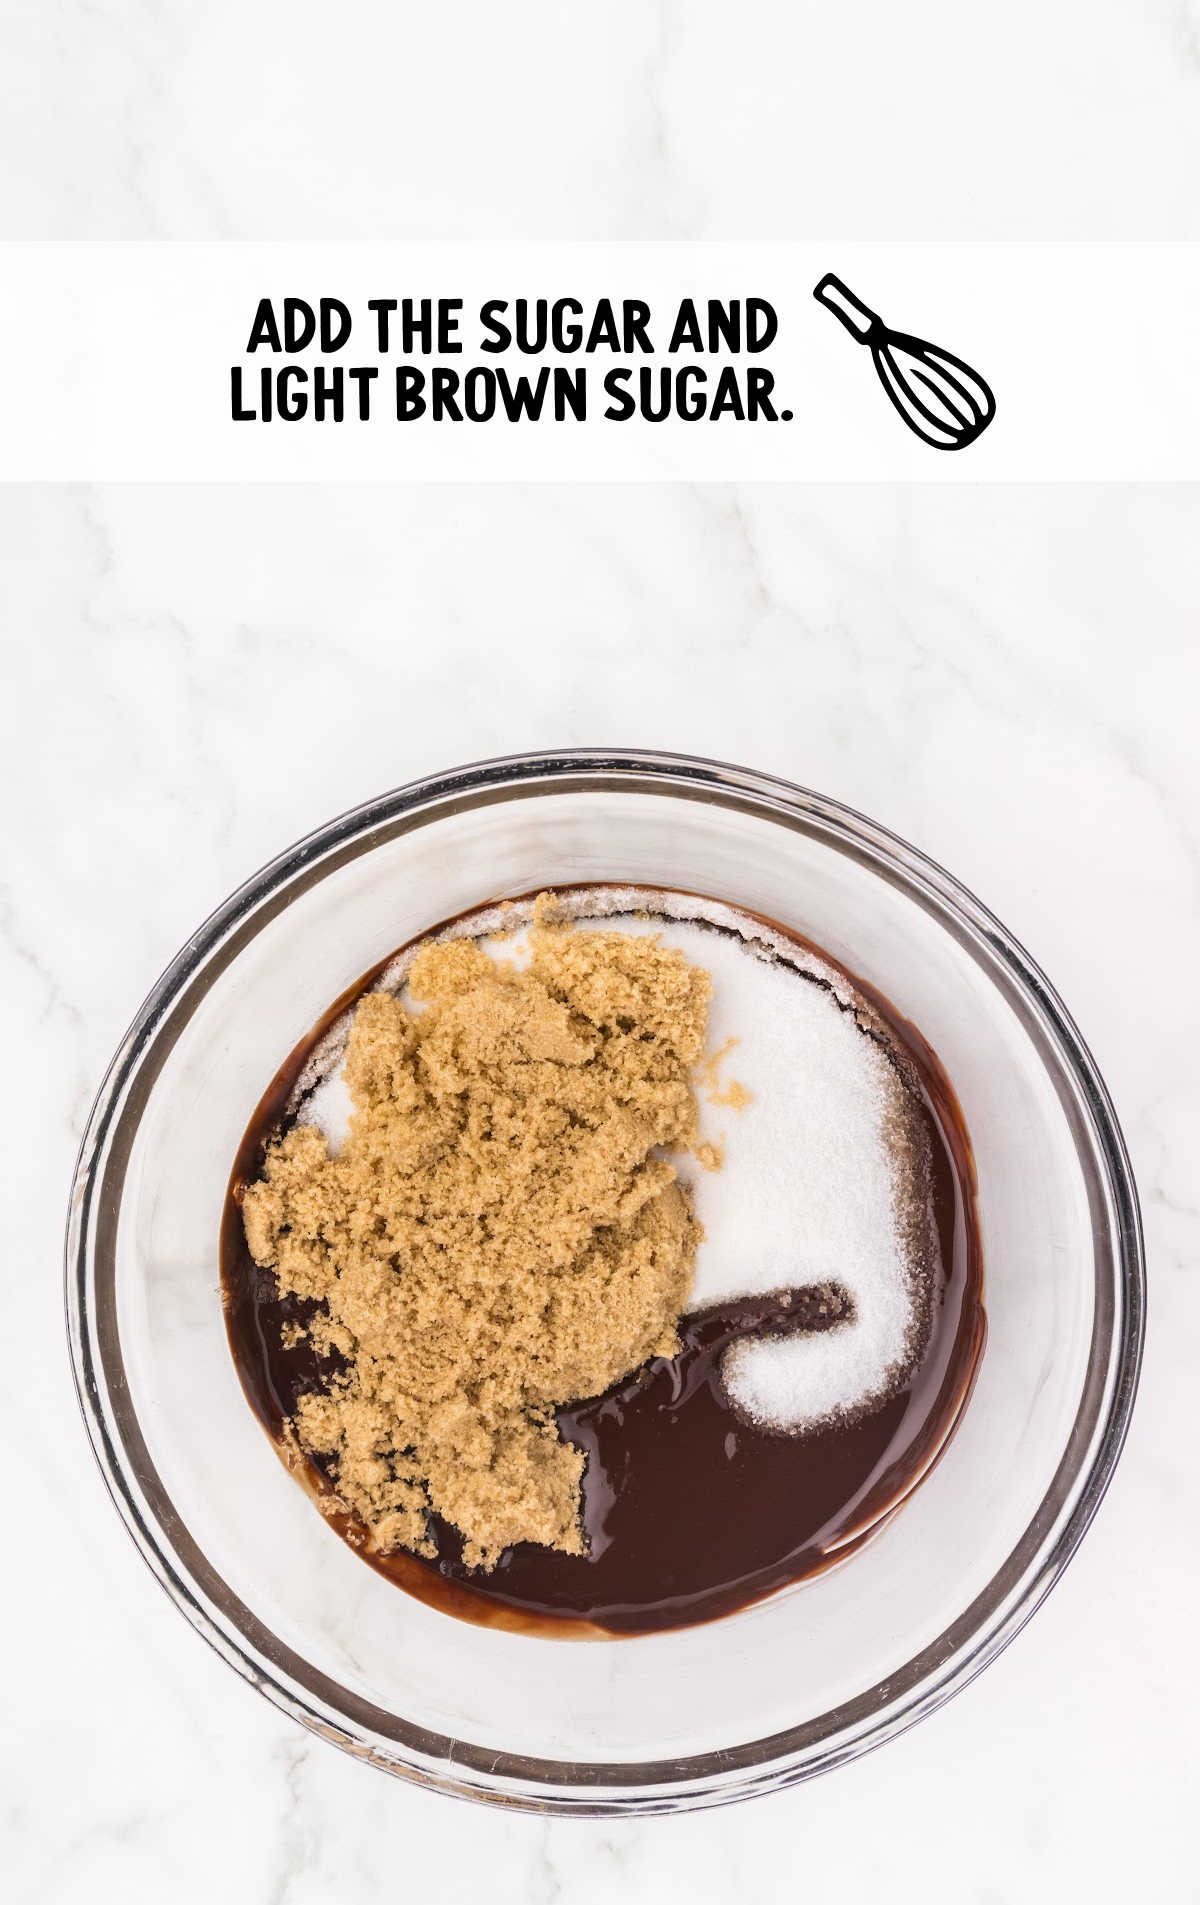
STEP FOUR: To the smooth chocolate and sugar mixture, add the lightly beaten eggs and vanilla extract. Whisk again until the mixture is well combined and begins to thicken slightly, which will help give your brownies a fudgy texture.
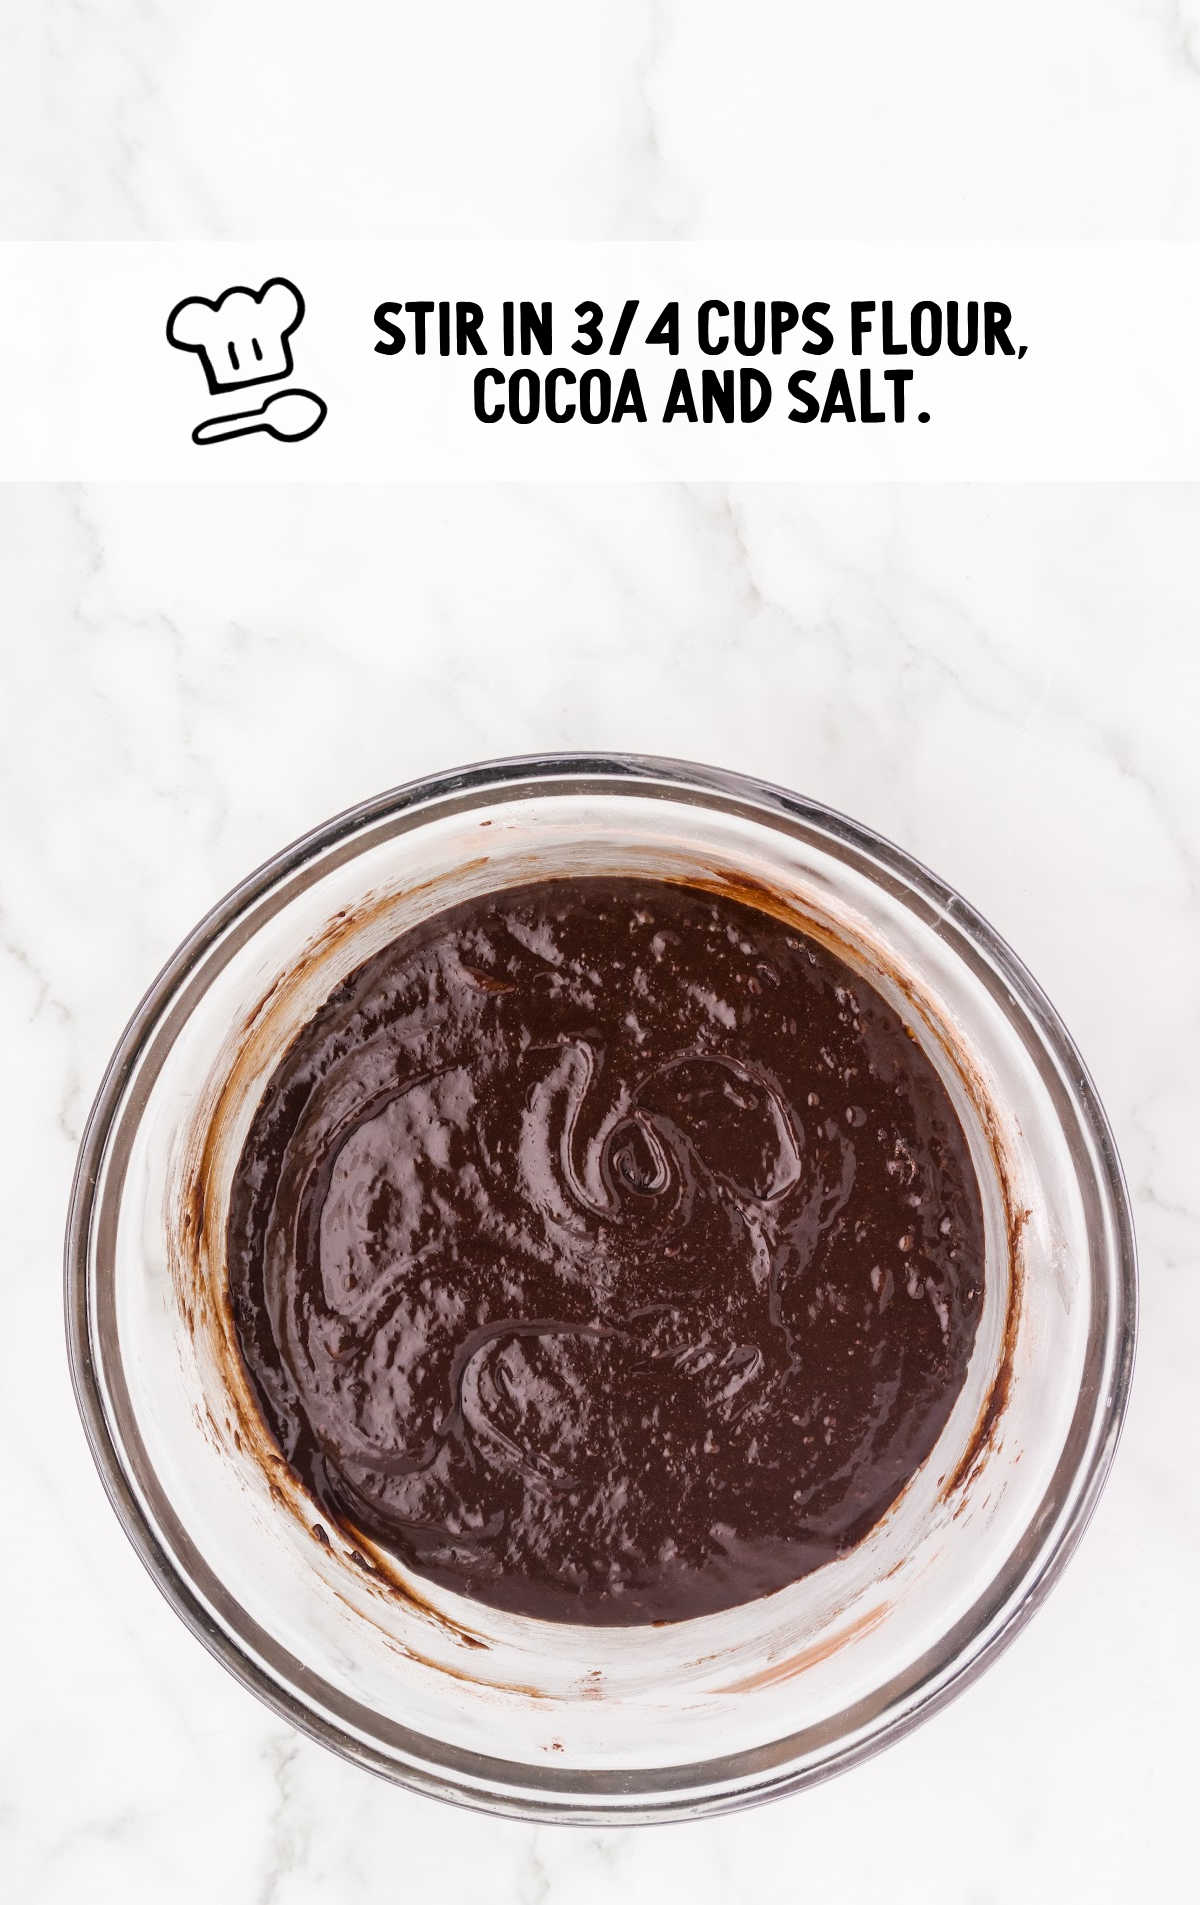
STEP FIVE: In a separate bowl, sift together ¾ cups of all-purpose flour, the
Dutch-processed cocoa powder, and salt. Slowly add these dry ingredients to the wet mixture, folding gently with a rubber spatula or wooden
spoon until just combined.
Be careful not to overmix, as this can lead to tougher brownies.
PRO TIP:
Sifting the flour and cocoa powder prevents clumps and ensures a smooth batter.
STEP SIX: In a small bowl, toss the fresh cherries and semi-sweet chocolate chips with the remaining one tablespoon of flour. This helps prevent them from sinking to the bottom of the pan during baking.
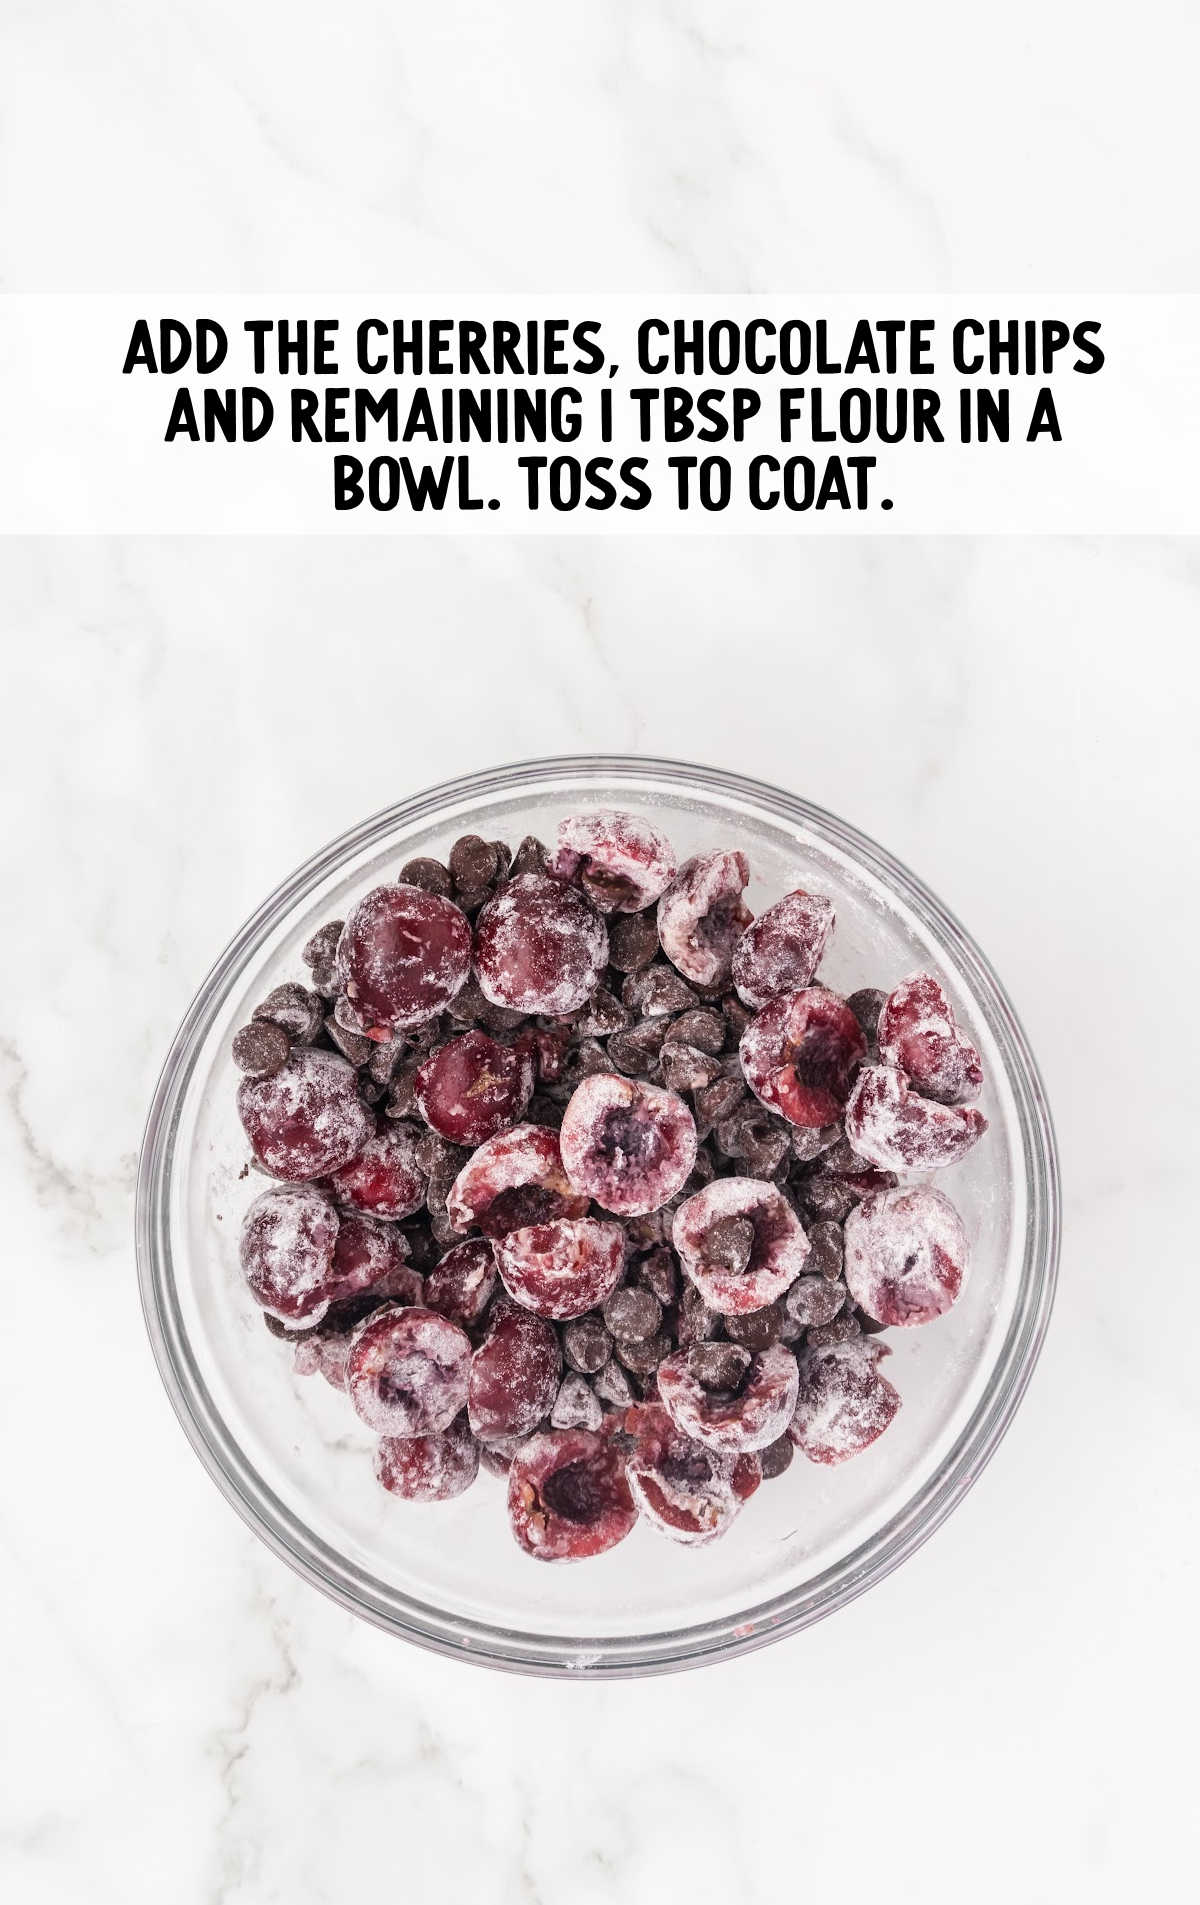
STEP SEVEN: Gently fold the flour-coated cherries and chocolate chips into the brownie batter, ensuring they are evenly distributed. This step adds bursts of cherry flavor and chocolatey chunks throughout the brownies.
STEP EIGHT: Pour the brownie batter into the prepared baking pan. Smooth the top with a spatula and bake in the preheated oven for 30-35 minutes. The brownies are done when the center is set, and a toothpick inserted comes out clean or with just a few moist crumbs attached.
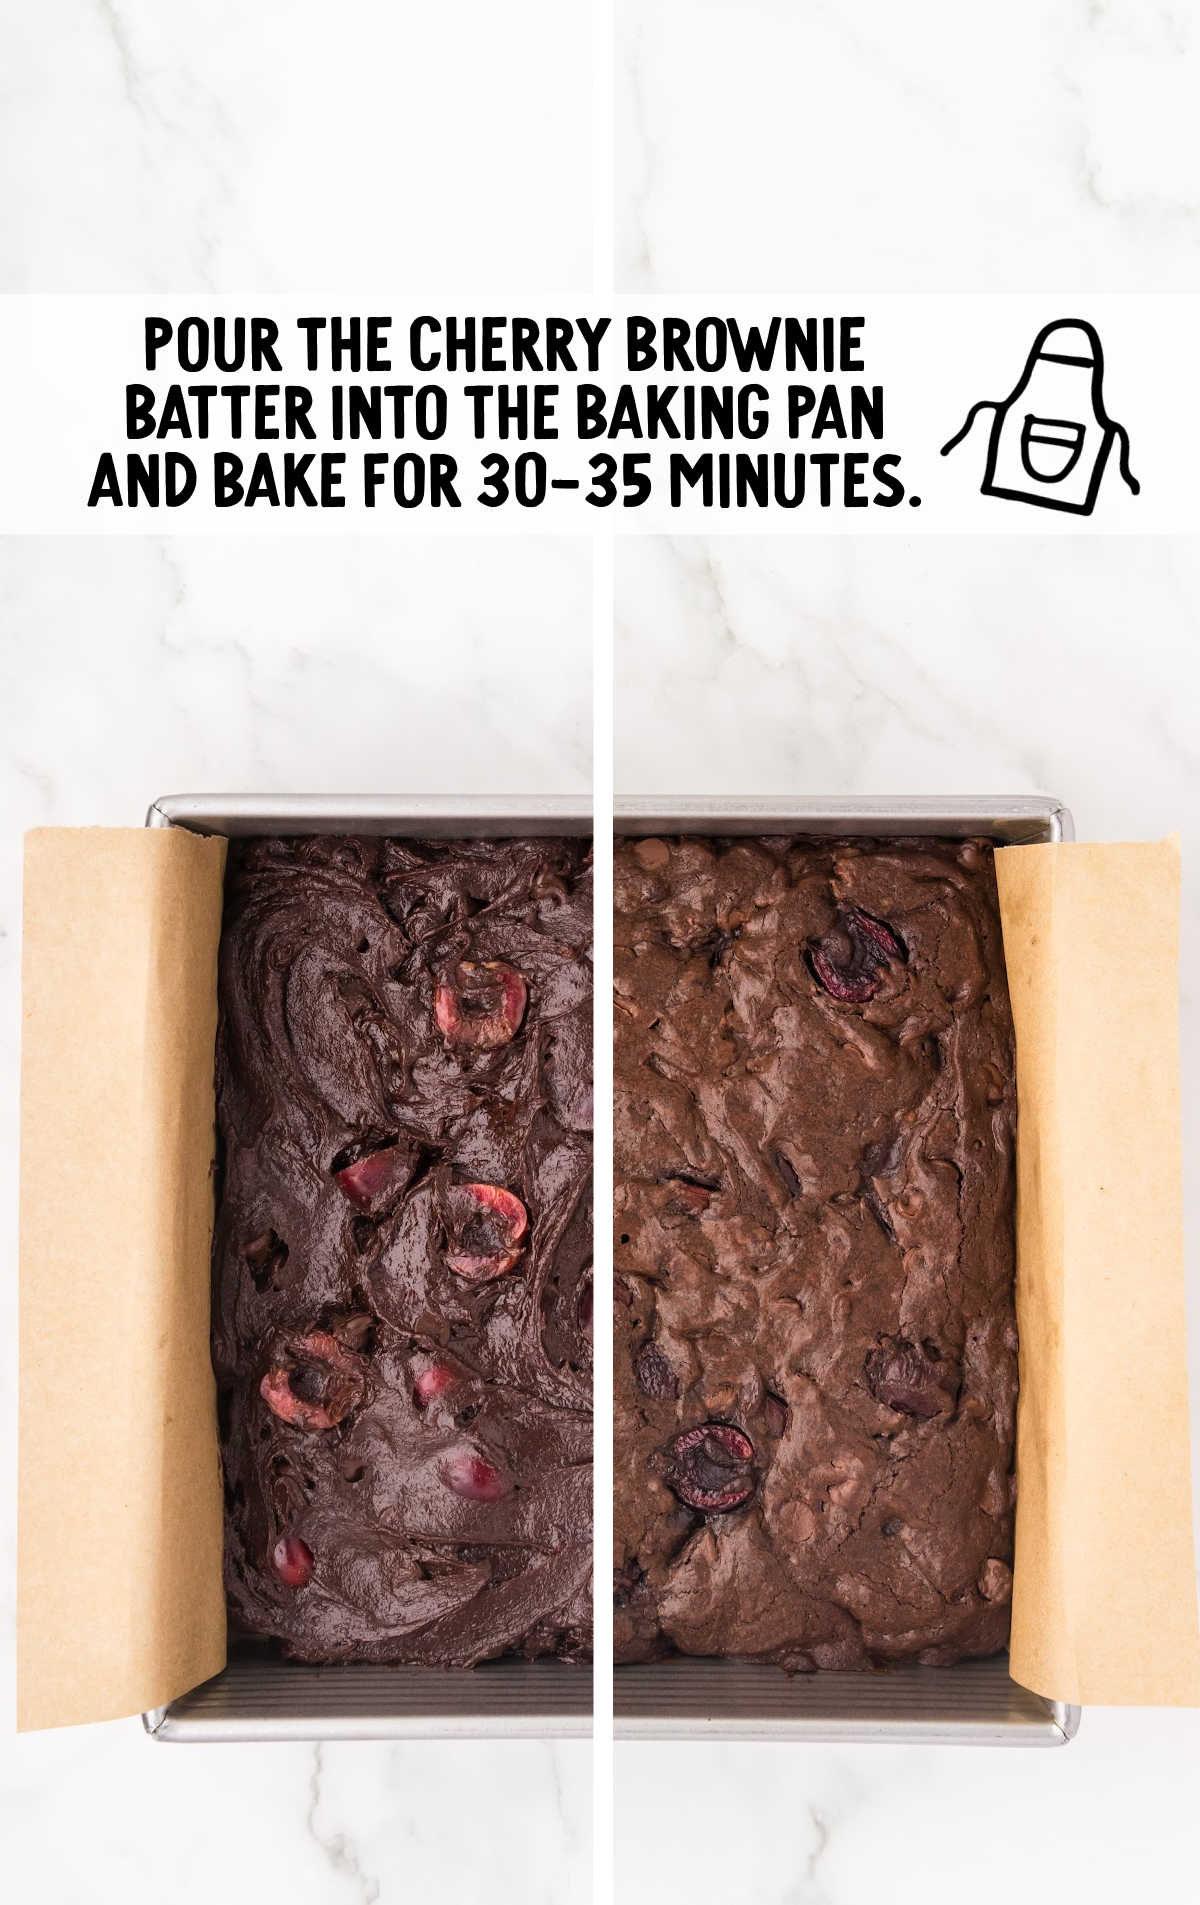
STEP NINE: Allow the brownies to cool completely in the pan set on a wire rack. Using the overhanging parchment paper, lift the brownies from the pan and transfer them to a cutting board. Cut into squares and serve.
Troubleshoot This Cherry Brownie Recipe
Chocolate Seizes During Melting
Make sure not to overheat the chocolate; heat it in short bursts in the microwave and stir between each burst to prevent this problem.
Brownies Aren’t Fudgy or Moist
Avoid overbaking the brownies. Start checking them a few minutes before the recommended baking time ends to ensure they don’t dry out.
Cherries Sink to the Bottom of the Pan
Toss the cherries with a tablespoon of flour before adding them to the batter. This helps to evenly distribute them throughout the brownies.
Unevenly Cooked Brownies
Rotate your baking pan halfway through the cooking time. This helps to promote even baking and avoid spots that are too gooey or overdone.
Tops of The Brownies Crack When Cutting
Allow the brownies to cool completely before cutting. Use a sharp knife and clean it between cuts to get clean slices without cracking the top.
How To Serve Cherry Brownies
These easy cherry brownies, with their enticing blend of rich chocolate and vibrant cherries, are versatile enough to shine in any social setting, from relaxed gatherings to elegant celebrations. Here’s how to present and enjoy these decadent brownies across a variety of occasions, making each event a bit more special.
Casual Gatherings: Serve cherry brownies at family BBQs or casual get-togethers. Their rich chocolate flavor pairs wonderfully with the light, smoky profiles of grilled foods, providing a sweet and satisfying conclusion to any meal.
Afternoon Tea: Elevate an afternoon tea by offering cherry brownies alongside your tea selection. The subtle tartness of the cherries complements both black and herbal teas, providing a refined twist to the traditional cookies or cakes typically served.
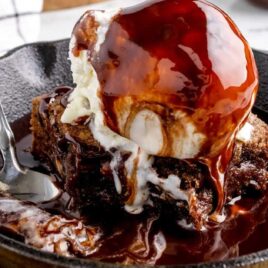
Elegant Dessert Courses: At more formal dinners or events, present cherry brownies as part of a dessert trio, alongside lighter options like lemon tarts and a scoop of vanilla ice cream. This allows guests to experience a range of flavors and textures.
MORE BROWNIE RECIPES
How To Store Cherry Brownies
After you’ve enjoyed making and serving your fudgy chocolate cherry
brownies, proper storage is key to maintaining their freshness and
flavor. Whether you’re planning to enjoy them over a few days or looking
to save some for later, following these storage tips will help keep
your brownies delicious until the next serving.
MAKE AHEAD: Cherry brownies are a great dessert option for preparing in advance. You can bake them a day ahead of any event or gathering.
Once cooled, cover the pan tightly with plastic wrap or transfer the brownies to an airtight container, layering them with parchment paper to avoid sticking. They’ll stay fresh and tasty, ready to be served without any additional fuss.
IN THE FRIDGE: If you have leftover cherry brownies, they can be stored in the refrigerator to extend their freshness. Place them in an airtight container with layers of parchment paper between any stacked brownies to prevent them from sticking together. Properly stored, they will last for up to five days in the fridge.
Remember to let them come to room temperature before serving, as this will help enhance their flavor and texture.
IN THE FREEZER: For longer storage, cherry brownies freeze exceptionally well. Wrap each brownie individually in plastic wrap and then place them in a zip-top freezer bag or an airtight container. They can be frozen for up to three months.
This method is perfect for enjoying a treat on demand without the need for baking a fresh batch.
REHEATING: To enjoy frozen cherry brownies, thaw them in the refrigerator overnight and then bring them to room temperature or warm them slightly in the microwave for a few seconds on high.
If you prefer to reheat them in the oven, wrap brownies in aluminum foil and heat at 350°F for about ten minutes or until warm through. This will help restore their fresh-baked taste and texture.
Why We Love This Chocolate Cherry Brownie Recipe
Our homemade chocolate cherry brownies have become one of our favorite brownie recipes, and it’s easy to see why. It’s not just about the taste; it’s the joy and simplicity it brings into the kitchen.
Fudgy and Flavorful: Every bite packs a punch with the perfect balance of sweet and tart from the cherries and deep chocolate.
Versatile Cherries: Fresh, frozen, or even dried—cherries make this recipe adaptable year-round, not just during cherry season.
Freezer-Friendly: Make a big batch because these brownies freeze beautifully, ready to serve at a moment’s notice.
Cherry Brownie Frequently Asked Questions
Yes, you can use a different type of chocolate for the cherry brownies. Semi-sweet chocolate or even dark chocolate are good alternatives that will still complement the flavor of the cherries nicely.
To prevent cakey brownies, avoid overmixing the batter once you add the flour and do not overbake them. Pull them out of the oven when a toothpick comes out with a few moist crumbs.
The best way to prepare your baking pan for cherry brownies is to line it with parchment paper and lightly grease it. This helps prevent sticking and makes it easier to remove the brownies after baking.
For cherry brownies, it is best to pit and halve the cherries. This preparation ensures that the cherries are evenly distributed throughout the brownie, providing a good balance of flavor in every bite and maintaining a pleasant texture.
Cherry brownies offer a unique blend of rich chocolate and tart cherries, making them a standout dessert for any occasion. Quick to prepare and always crowd-pleasing, these fudgy brownies are perfect for those who appreciate a delicious, comforting treat with a delightful cherry twist.
More Brownie Recipes You’ll Love
- Banana Pudding Brownies
- Milky Way Brownies
- Apple Brownies
- Chocolate Mousse Brownies
- Butterscotch Brownies

Cherry Brownies
Ingredients
- 8 ounces bittersweet 60% cocoa chocolate baking bar, broken into smaller pieces (Ghirardelli brand used)
- ½ cup unsalted butter, softened to room temperature and cut into 5 to 6 large cube
- ½ cup granulated sugar
- ½ cup light brown sugar, packed
- 3 large eggs, room temperature, lightly beaten
- 2 teaspoons vanilla extract
- ¾ cup all-purpose flour, to mix into the batter
- 1 tablespoon all-purpose flour, to coat the cherries and semi-sweet chocolate chips
- 2 tablespoons dark dutch processed cocoa powder, hershey’s Special Dark brand used
- ½ teaspoon salt
- 1 cup fresh cherries, that have been pitted and halved
- 1 cup semi-sweet chocolate chips
Instructions
- Preheat oven to 350* F. Line a 9×9 metal baking pan with parchment paper. Be sure to allow enough parchment paper to overhang the sides to make it easier to lift the brownies out of the pan to slice and serve once cooled.
- To a large, microwave safe, mixing bowl add the bittersweet chocolate pieces and cubed unsalted butter. Microwave on high for 1 minute – 1 minute 30 seconds or until the butter is melted. Remove the bowl from the microwave and allow the melted chocolate to sit for 1 minute before whisking to a smooth consistency.
- To the bowl of melted chocolate, add the granulated sugar and light brown sugar. Whisk to fully incorporate all the sugar into the melted chocolate.
- Add the lightly beaten eggs and vanilla extract. Whisk again until the brownie batter is smooth.
- To the bowl of wet ingredients add ¾ cups all-purpose flour, cocoa powder and salt. Using a rubber spatula, or wooden spoon, stir to fully combine all the ingredients until no white streaks of flour remain. The brownie batter will be thick.
- In a small bowl add the fresh cherries, semi-sweet chocolate chips and remaining 1 tablespoon all-purpose flour. Toss to evenly coat all the cherries and chocolate chips in the flour. This helps to keep the cherries and chocolate chips from sinking to the bottom of the batter as the cherry brownies bake.
- Fold the cherries and chocolate chips into the batter just until evenly distributed.
- Pour the cherry brownie batter into the prepared baking pan and bake for 30-35 minutes or until the center has set and a toothpick inserted into the center comes out clean or with just a minimal amount of moist crumbs.
- Allow the cherry brownies to cool completely in the pan before lifting them out, using the parchment paper, and slicing them into individual serving pieces.
Notes
- For nice clean slices, use a very sharp knife that is wiped clean between slices. You can also refrigerate the brownies for 30 minutes, to an hour, to chill them just enough to help achieve clean slices.
- You can substitute semi-sweet chocolate baking bars for the bittersweet baking bars. Be sure to use a good quality baking chocolate bar and not a candy bar for this recipe.
- You can substitute a natural cocoa powder for the dark dutch processed cocoa. You will just need to note that the color of the natural cocoa is quite a bit lighter, and the flavor is a little milder, so it will alter the final look, and flavor, of the cherry brownies.
- Do not use hot cocoa powder mix in this recipe as it contains added ingredients, such as sugar and milk fats, and will alter the outcome of these brownies.
- Fresh cherries are best for use in this recipe. Be sure to pat dry any excess moisture before adding them to the brownie batter.
- A 1000 watt microwave was used in developing this recipe. Your heat times may vary for melting the butter and bittersweet chocolate pieces according to your microwave.




Leave a Comment