Published on
Last updated on
Boston Cream Pie Trifle
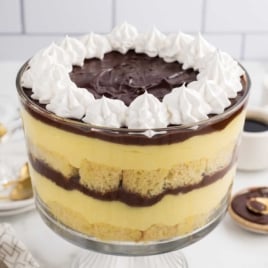
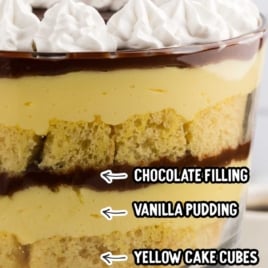
Our recipe for Boston Cream Pie Trifle brings together the best of both worlds: the nostalgic charm of a Boston cream pie and the fun presentation of a trifle. It’s an easy-to-make dessert that layers moist yellow cake, smooth French vanilla pudding, and rich chocolate filling for a fun and delicious treat.
Making a Boston cream trifle is a pleasure. Like completing a craft project, the process is fun, and easy enough for the kids to help.
This dessert is perfect for those who love to impress without the stress. The process involves simple baking and layering—no advanced culinary skills required. It’s a practical choice for large gatherings because it can be made ahead of time, plus, it feeds a lot of people.
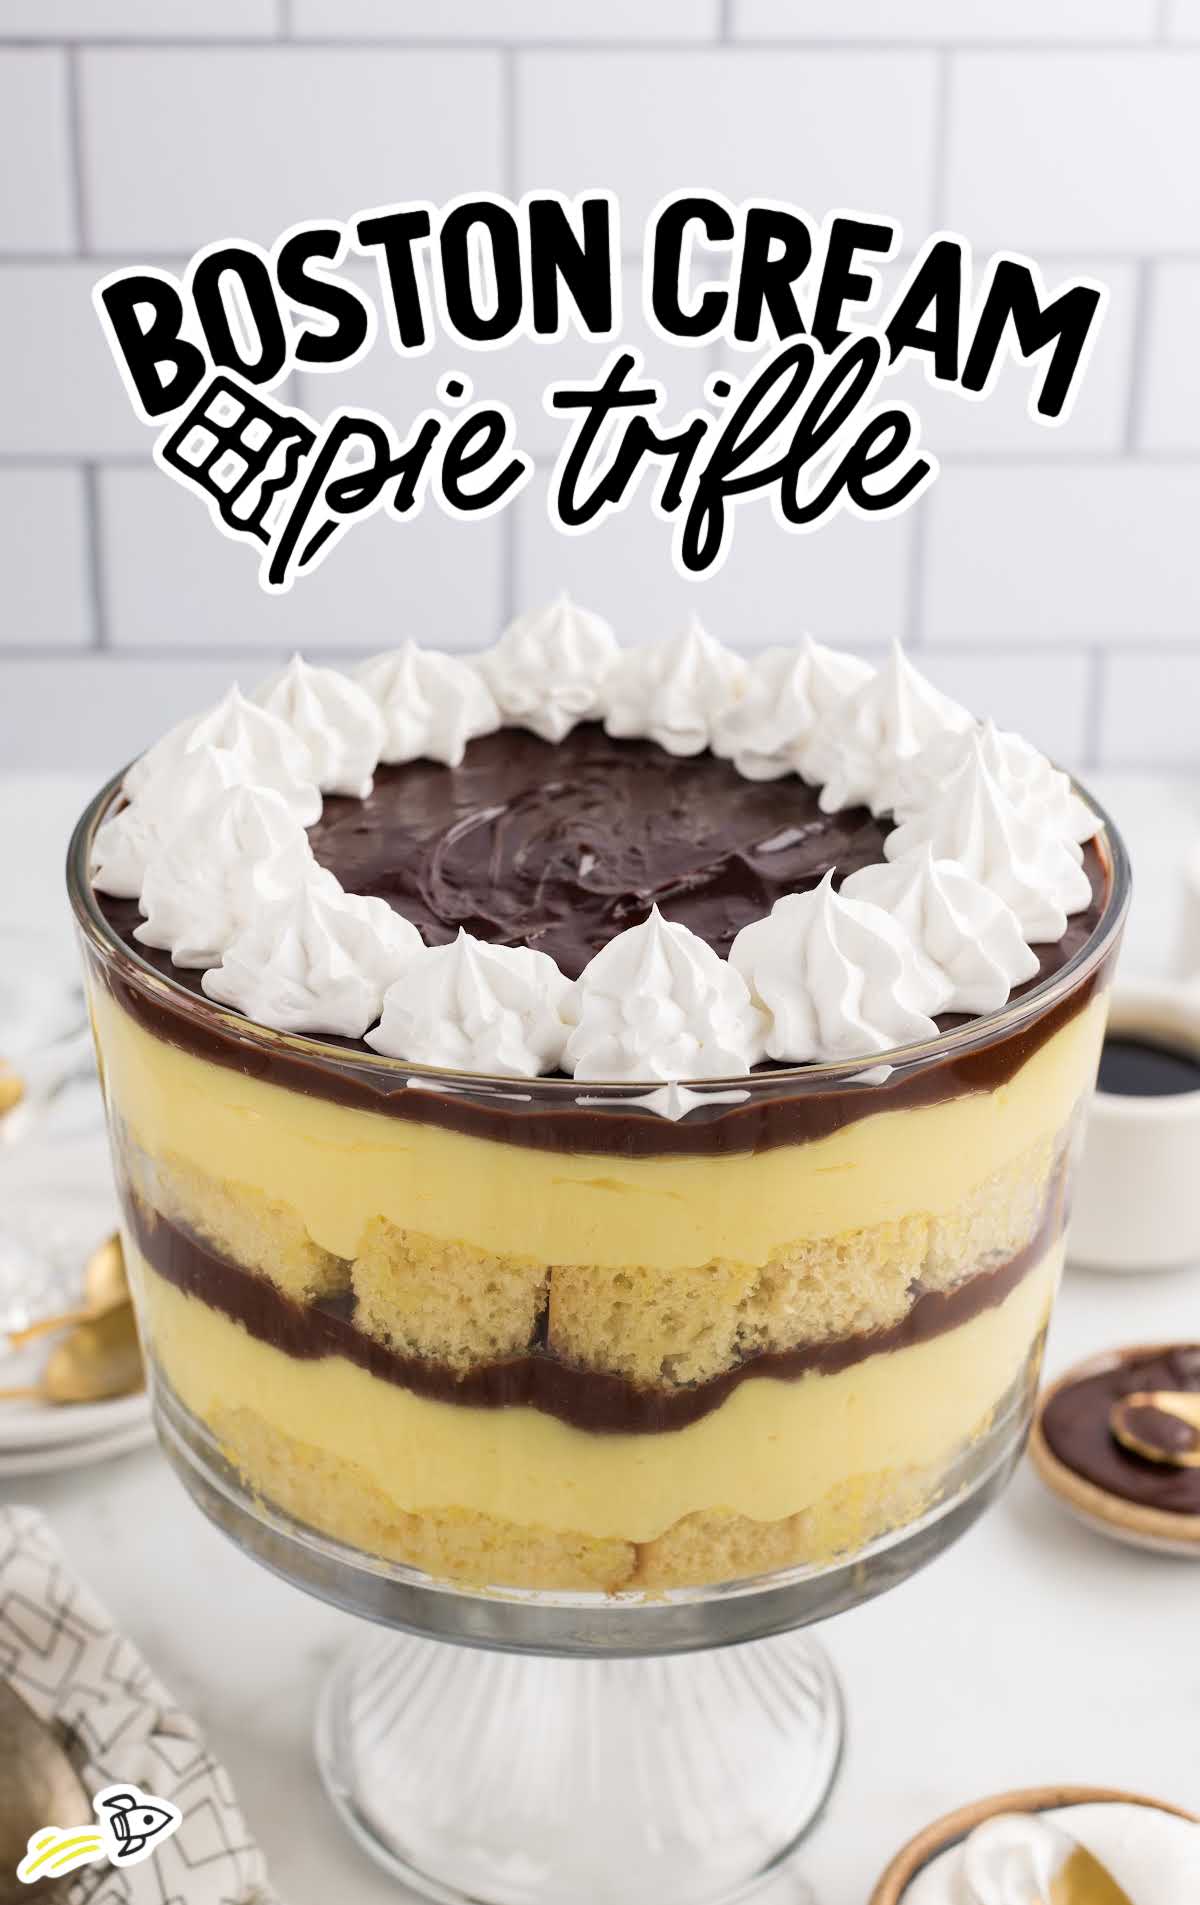
Boston Cream Pie Trifle Ingredients
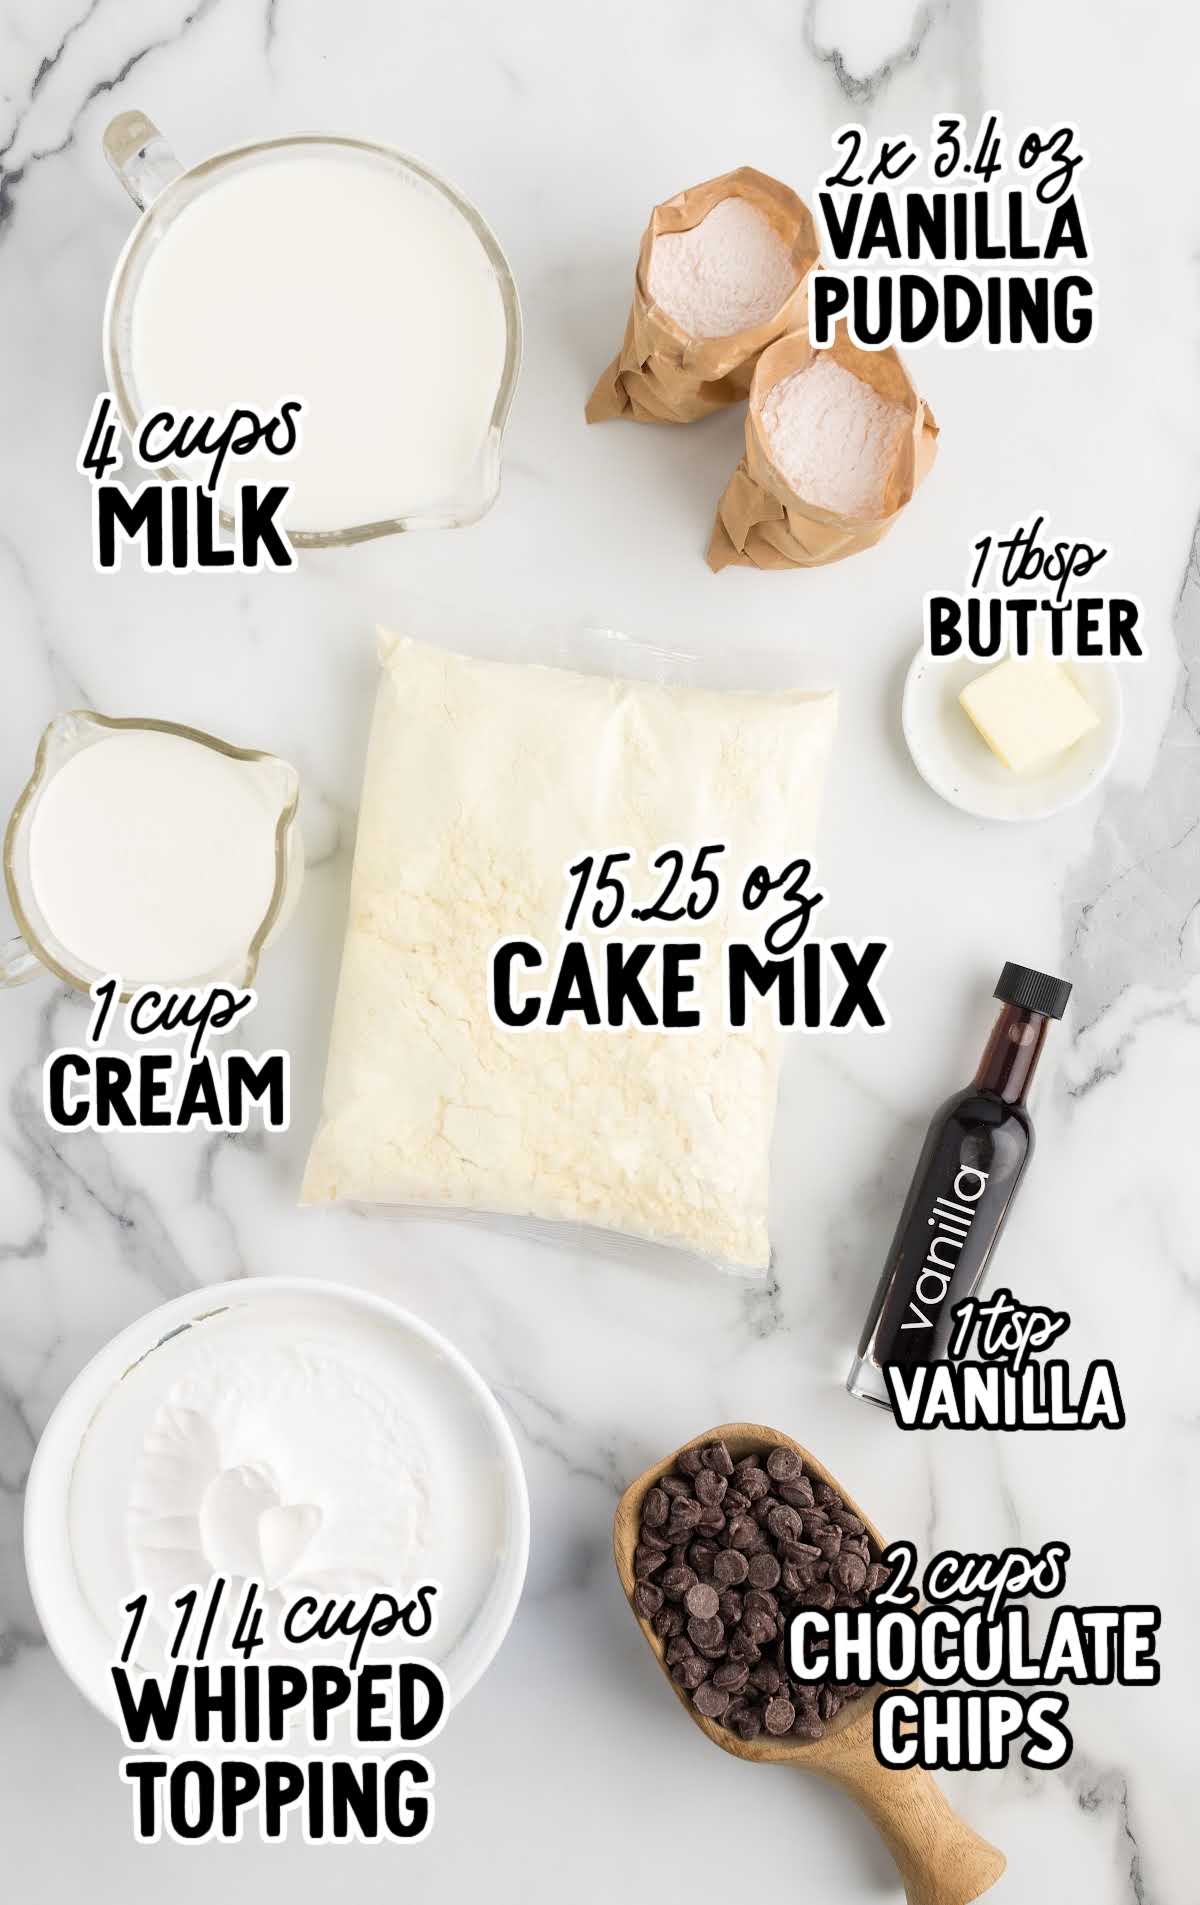
Our Boston Cream Trifle recipe transforms simple ingredients into a spectacular dessert. This recipe cleverly combines everyday baking essentials with a few gourmet touches to create a dessert that looks as impressive as it tastes.
You’ll Need:
- 1 (15.25 ounce) box yellow cake mix (prepared according to box instructions – typically, you’ll need eggs, oil, and water)
- 2 (3.4 ounces) boxes of French vanilla instant pudding mix
- 4 cups cold milk
- 2 cups of semi-sweet chocolate chips
- 1 cup of heavy cream
- 1 tablespoon of butter
- 1 teaspoon of pure vanilla extract
- 1 ¼ cup thawed whipped topping (or canned whipped cream)
Boston Cream Trifle Dessert Substitutions and Additions
Crafting this Boston Cream Pie Trifle can be as flexible as it is fun. Here are some easy substitutions and additions you can make to the recipe.
Yellow Cake Mix: Replace the traditional yellow cake mix with any gluten-free cake mix if needed. Alternatively, for a richer flavor, try using a butter golden cake mix, or any other flavor of boxed cake mix you love. If you want to bake a cake from scratch, you can do that, too. For an even easier assembly, you can buy a store-bought pound cake.
French Vanilla Instant Pudding Mix: If you prefer something less sweet or with a different flavor profile, consider using a cheesecake-flavored pudding mix. For a dairy-free version, coconut milk-based instant pudding can work as well.
Cold Milk: Almond milk or oat milk can be great substitutes for whole milk, but plant-based milk may slightly alter the pudding’s texture. You can also use 2% or even 1% milk.
Semi-Sweet Chocolate Chips: Try your favorite flavor of chocolate chips, from dark chocolate to milk chocolate, or use a chopped chocolate bar. We recommend using high-quality chocolate for this recipe.
Heavy Cream: Cold, canned coconut cream is a good dairy-free option. You can also use heavy whipping cream.
Thawed Cool Whip: You can use a bottle of squirt whipped cream, or even make homemade whipped cream for this recipe.
How To Make This Boston Cream Pie Trifle Recipe
Making a Boston Cream Pie Trifle is simpler than you might think, and the results are always impressive. This step-by-step guide will help you create a dessert that’s as beautiful as it is delicious.
STEP ONE: Bake the yellow cake as per the package instructions in a 9×13 baking pan. Allow the cake to cool completely, then cut it into 1-inch cubes.
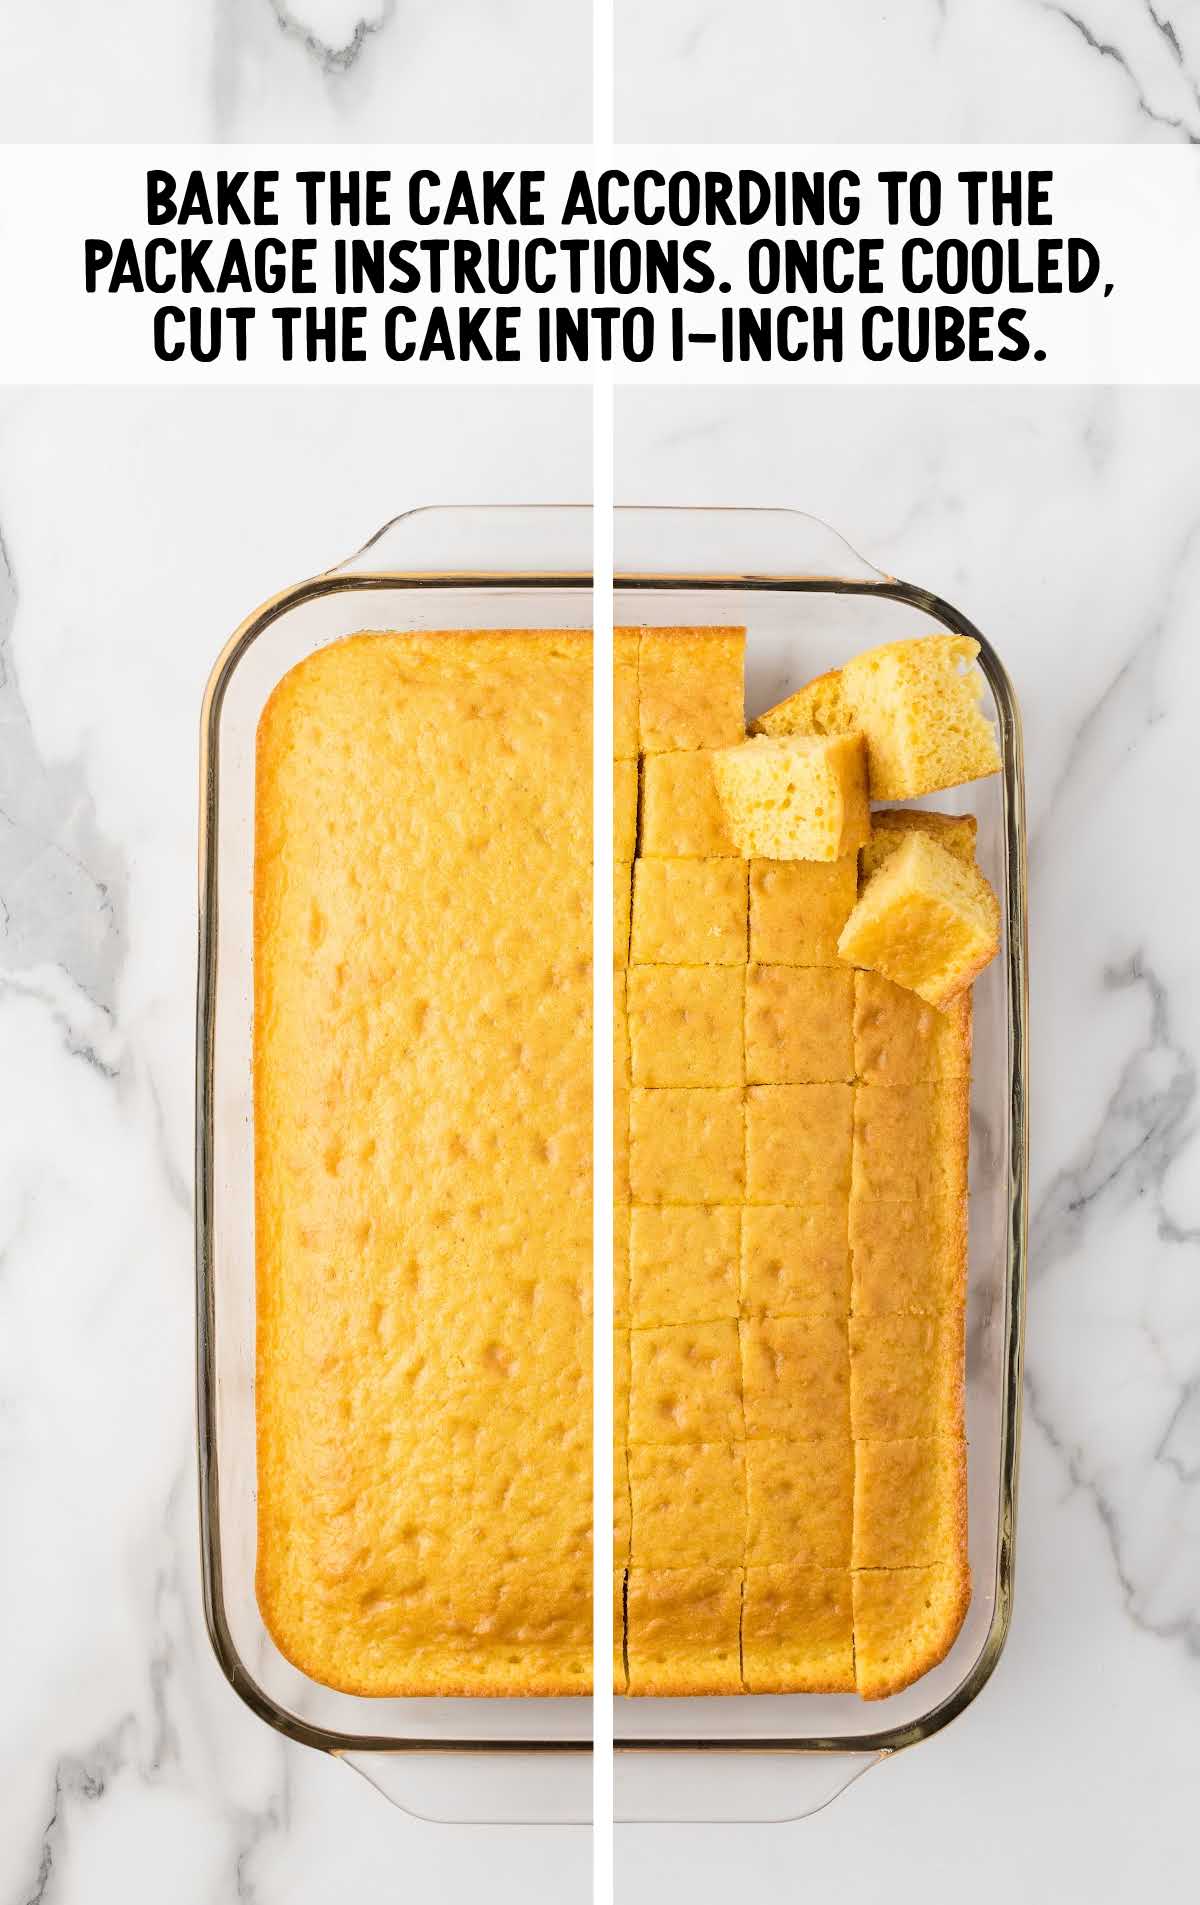
PRO TIP: Make sure the cake is completely cool when you cut it. A warm cake tends to crumble when it’s cut into.
STEP TWO: While your cake cools, whisk together the French vanilla instant pudding mix and cold milk in a large bowl. Make sure no lumps remain for a smooth, creamy pudding. Let it chill in the refrigerator to set, which will take about 30 minutes to an hour.
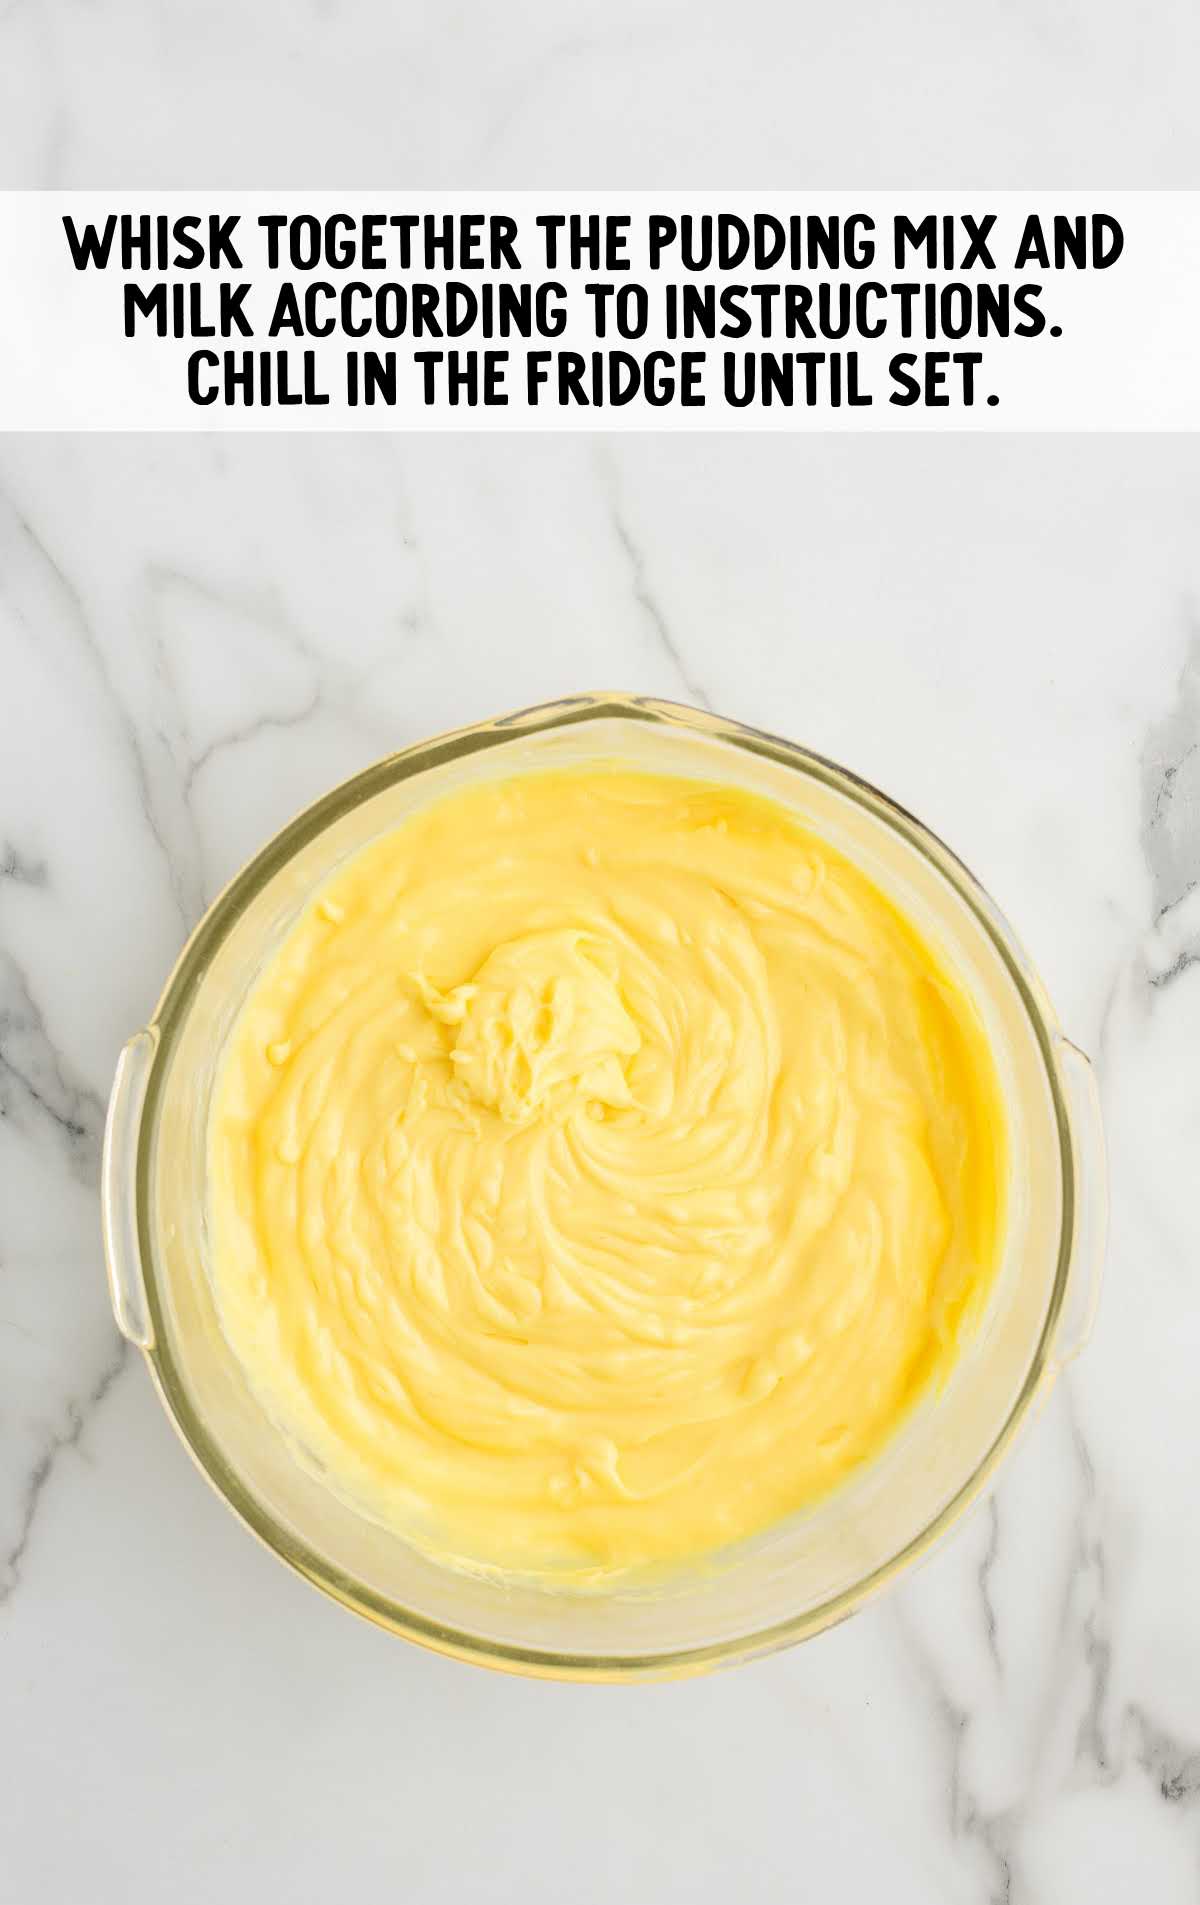
PRO TIP: Press a piece of plastic wrap down onto the surface of the pudding as it sets to prevent the pudding from developing a ‘skin’ on top.
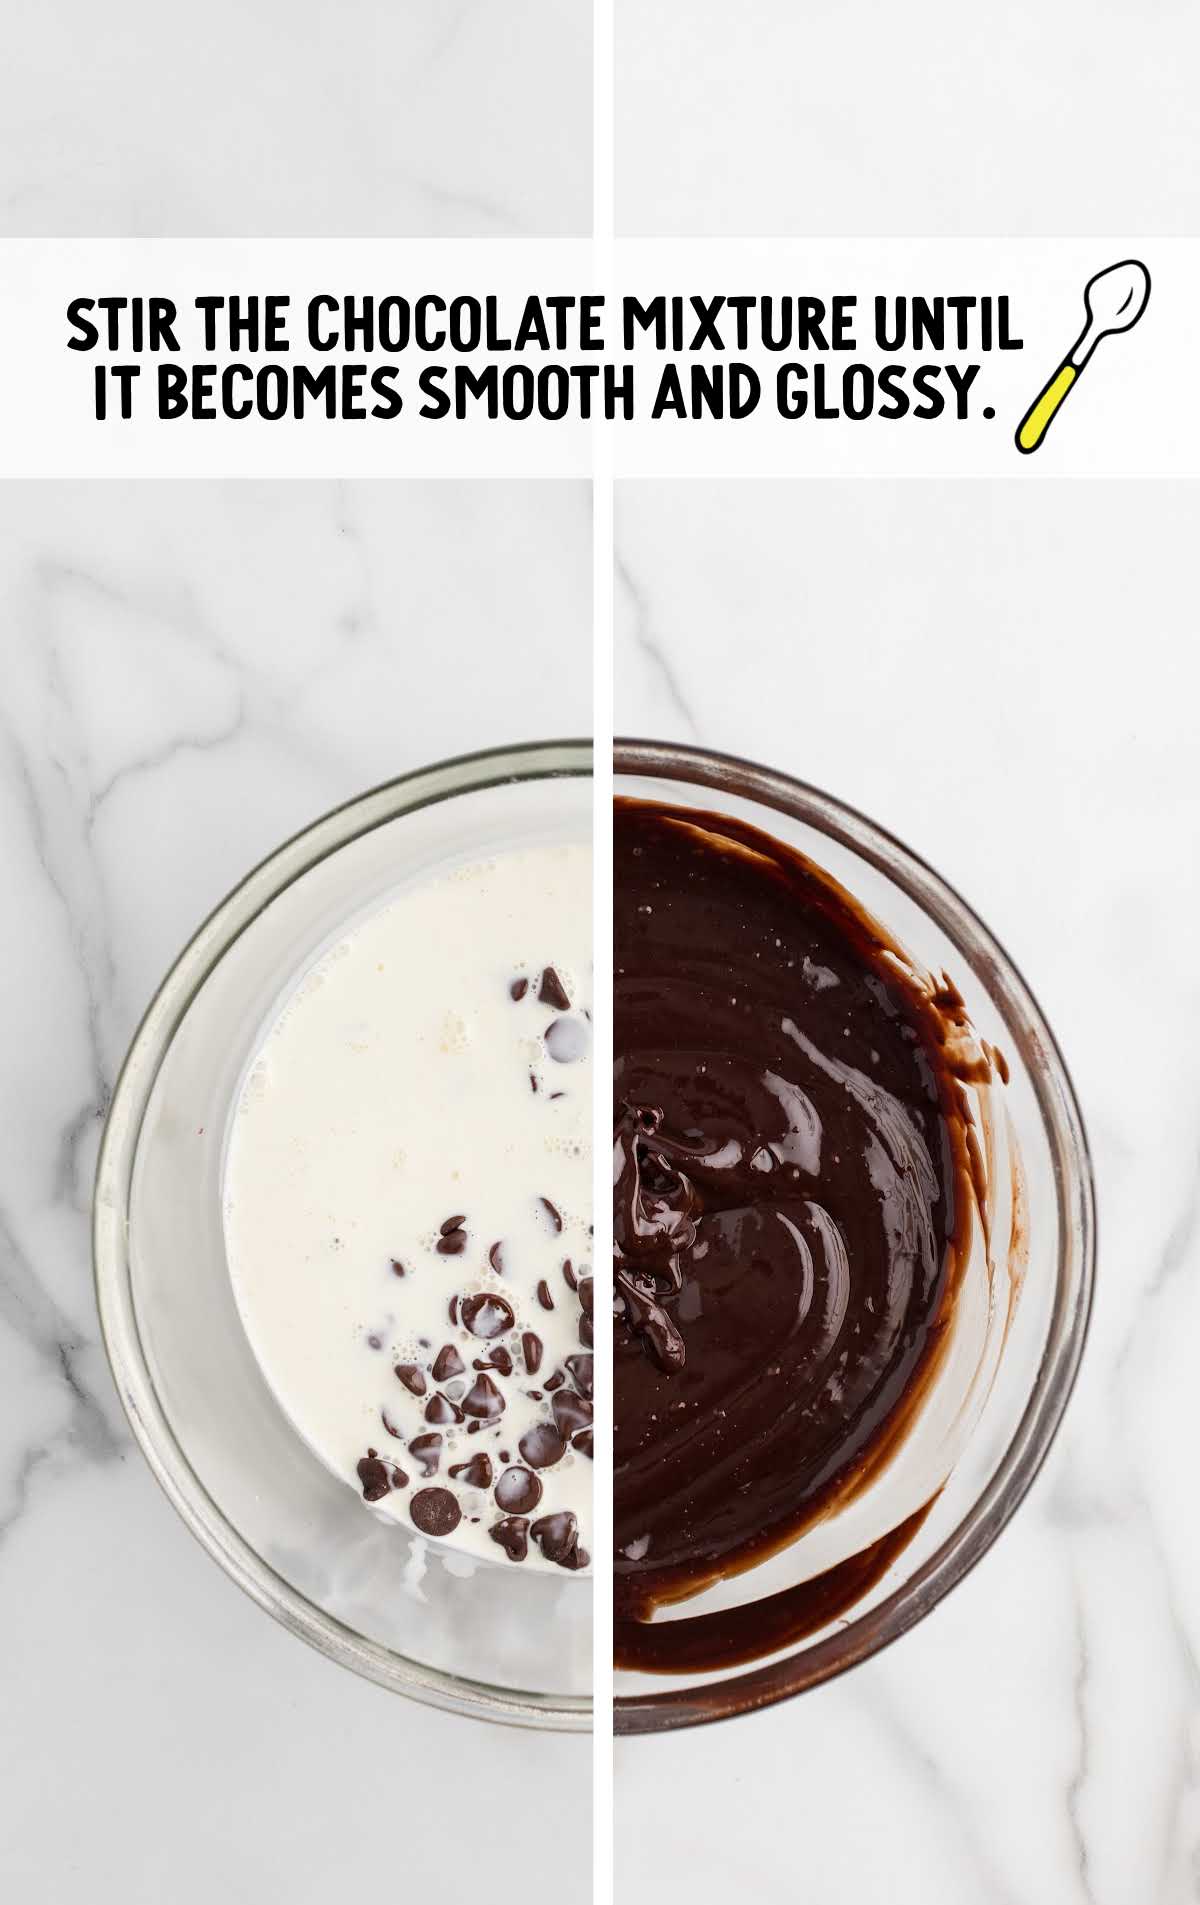
STEP THREE: In a saucepan, gently heat the heavy cream until it just begins to simmer, and small bubbles appear. Avoid boiling to maintain the perfect texture for your chocolate ganache filling.
STEP FOUR: Add the chocolate chips to a heat-safe bowl and carefully pour the hot cream over them. Let it sit for about one minute to allow the chocolate to soften, then add the vanilla extract and the butter.
STEP FIVE: Stir until everything is well-combined, smooth, and glossy. Allow it to cool slightly before constructing your trifle.
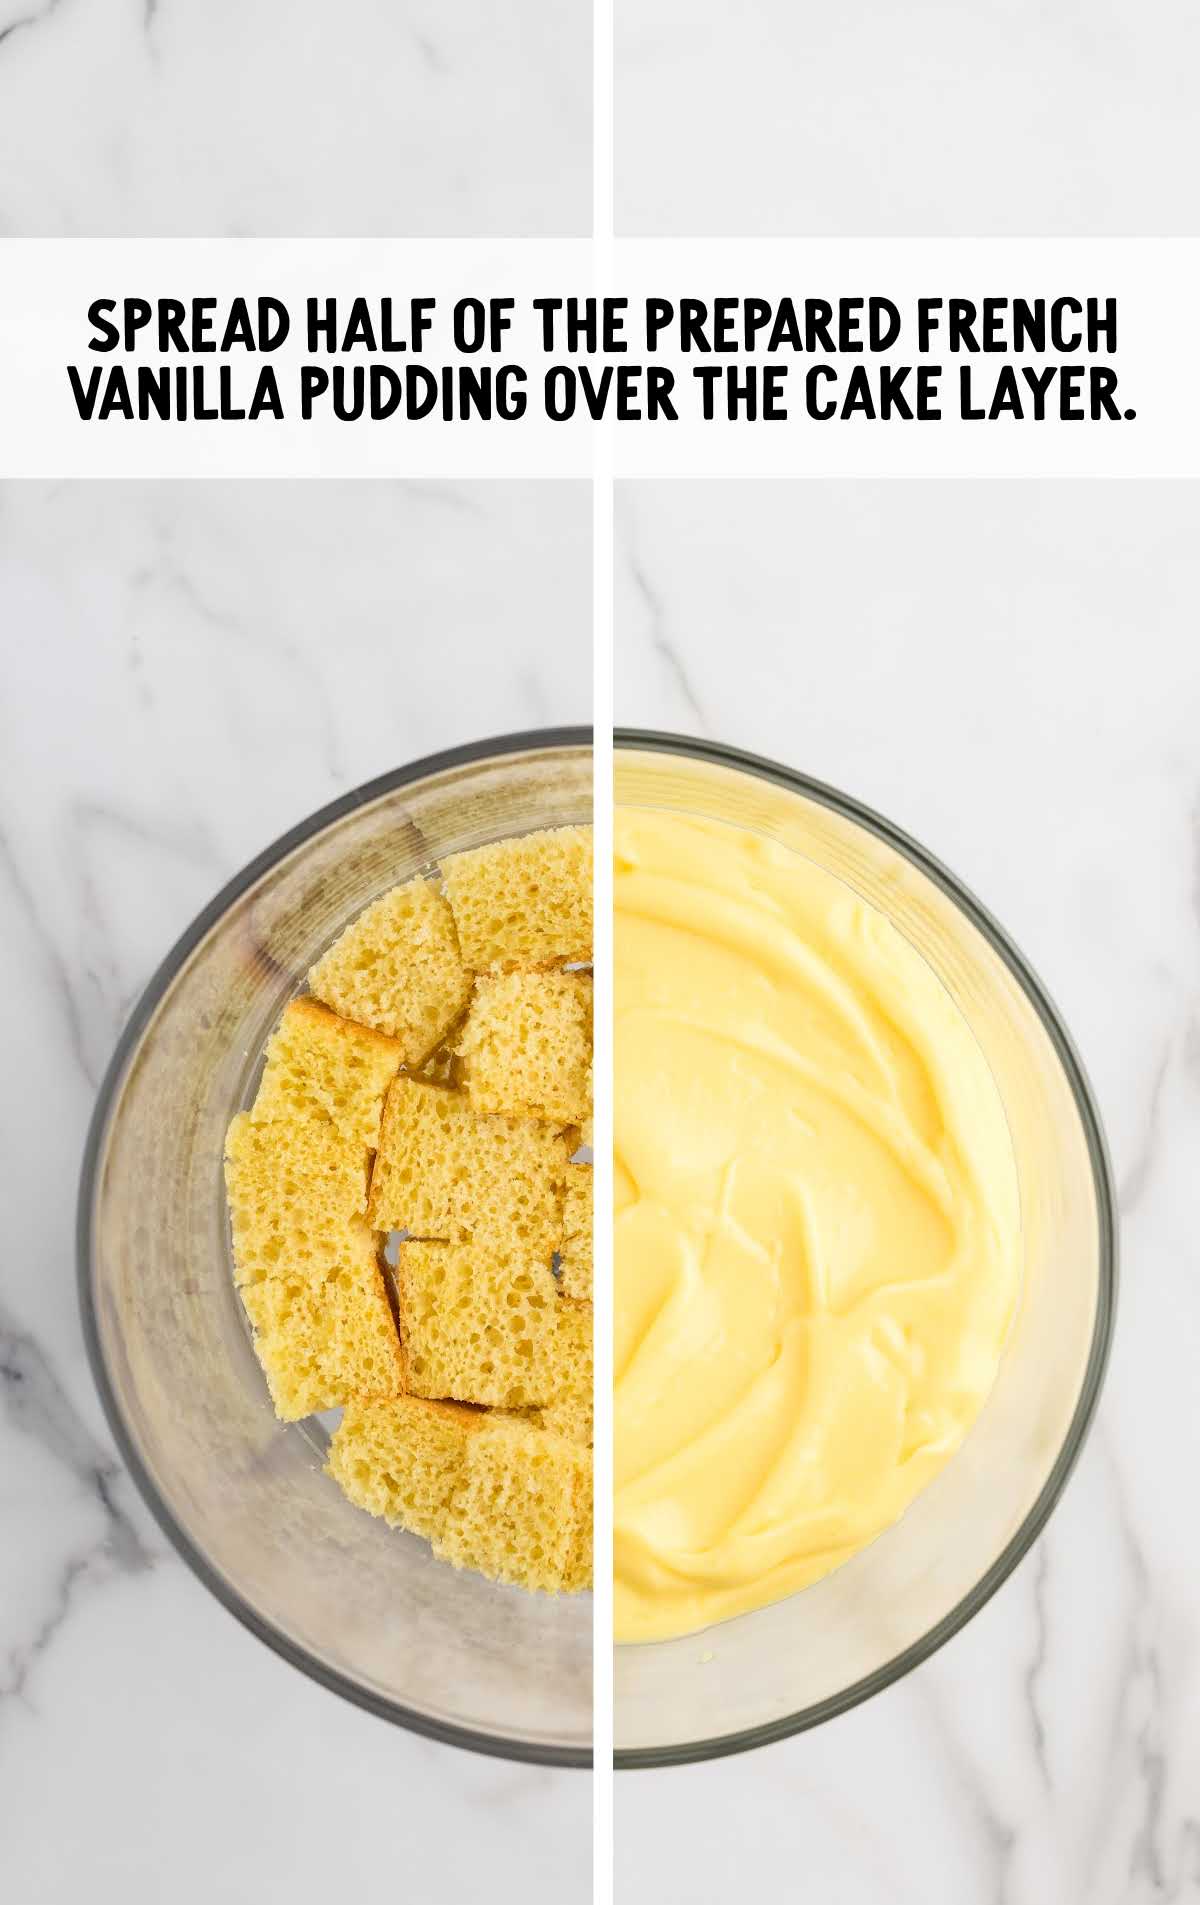
STEP SIX: Place a layer of cubed cake at the bottom of a large trifle bowl.
PRO TIP: Distribute the cubes evenly for a consistent look. Check the outside of your trifle bowl to make sure the layer of cake cubes looks appealing.
STEP SEVEN: Spread half of your chilled pudding over the first layer of cake cubes.
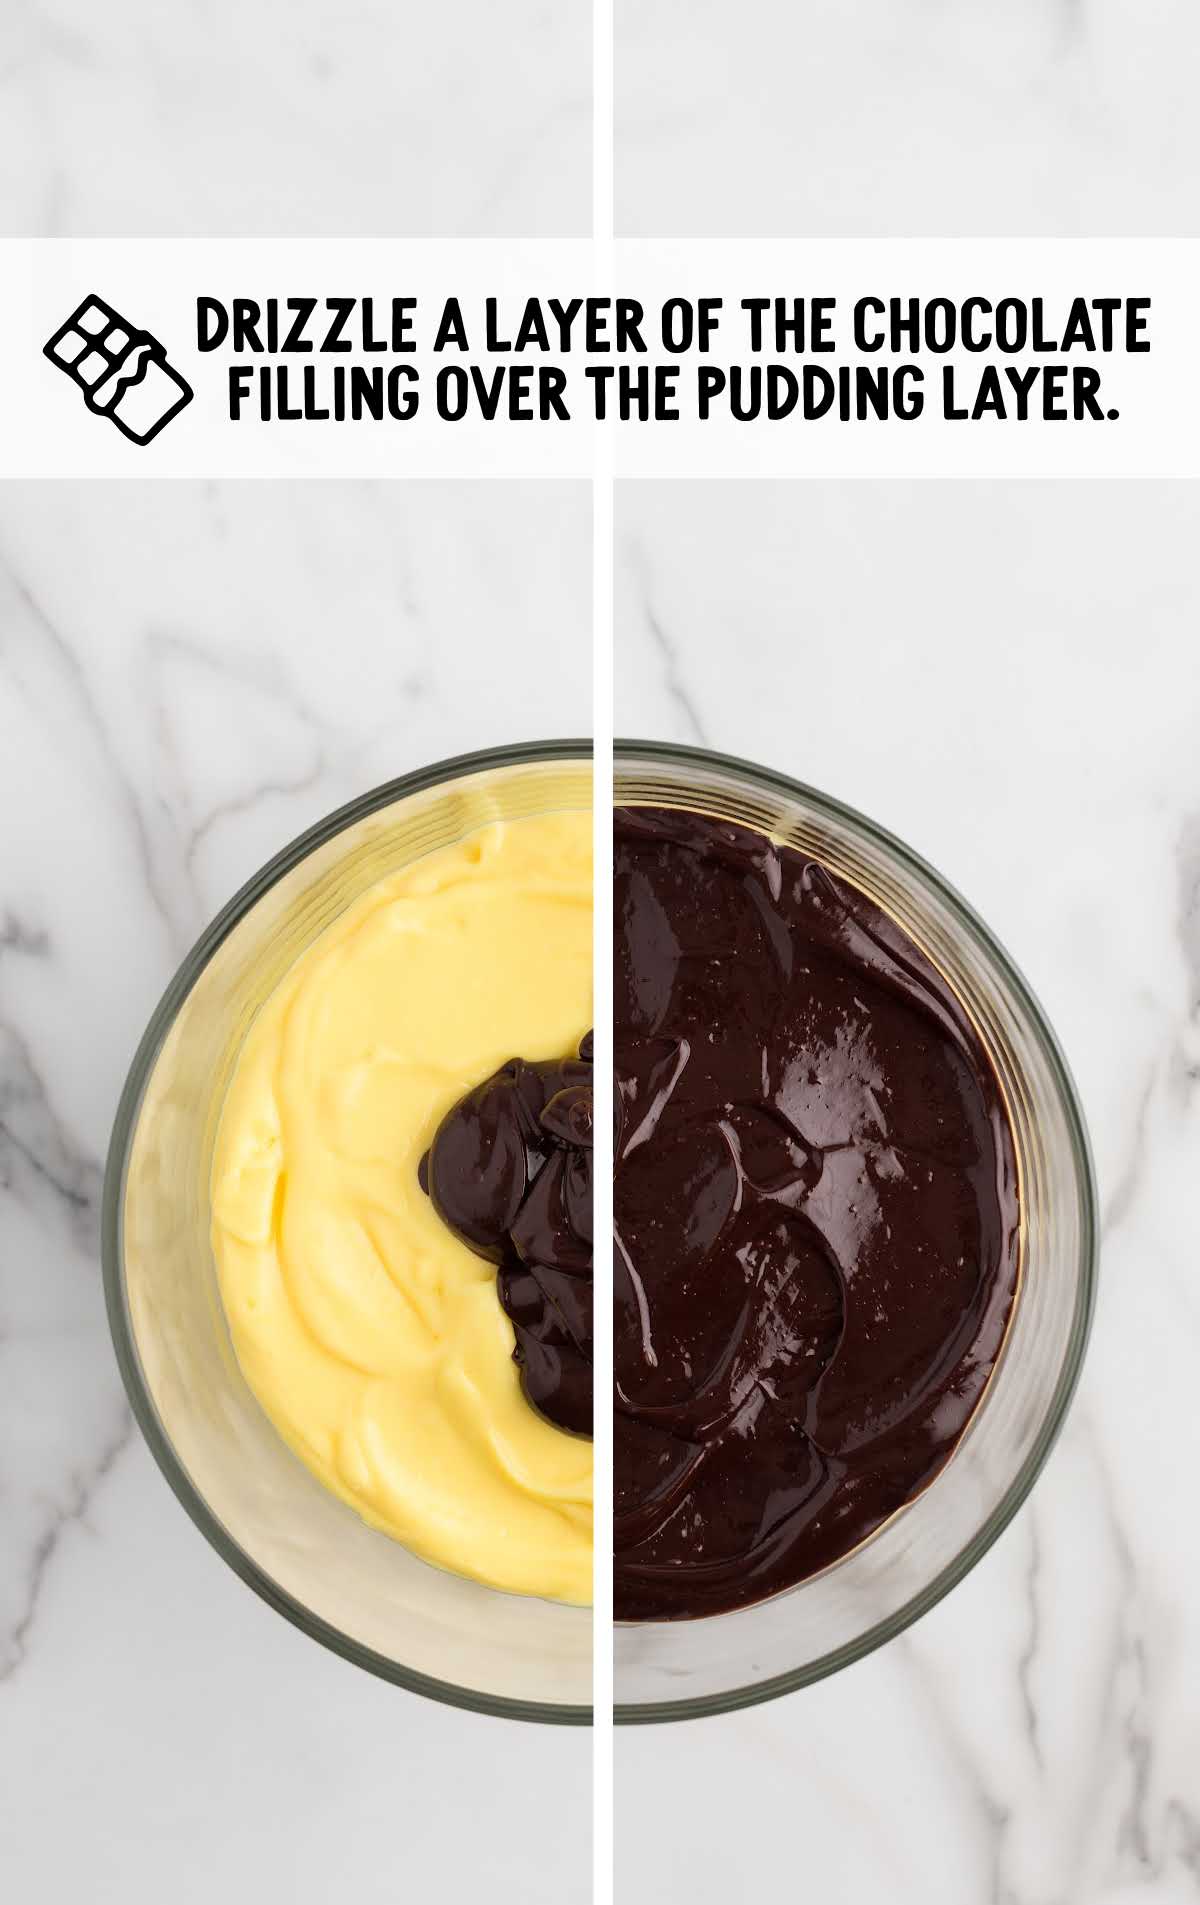
STEP EIGHT: Carefully pour a layer of your chocolate filling over the pudding.
PRO TIP: If your chocolate is still too fluid to sit on top of the pudding, let it cool a bit longer to prevent it from sinking straight through the pudding layer.
STEP NINE: Add another layer of cake cubes, followed by the rest of the pudding, and top it off with the remaining ganache to make a final chocolate layer.
PRO TIP: As you add your layers, continue to check the outside of your bowl to make sure your trifle looks tidy. Use a dry paper towel to wipe down the sides of your bowl, if necessary.
STEP TEN: Cover your trifle dish loosely and refrigerate it for at least 2 hours, or until it’s completely chilled and set.
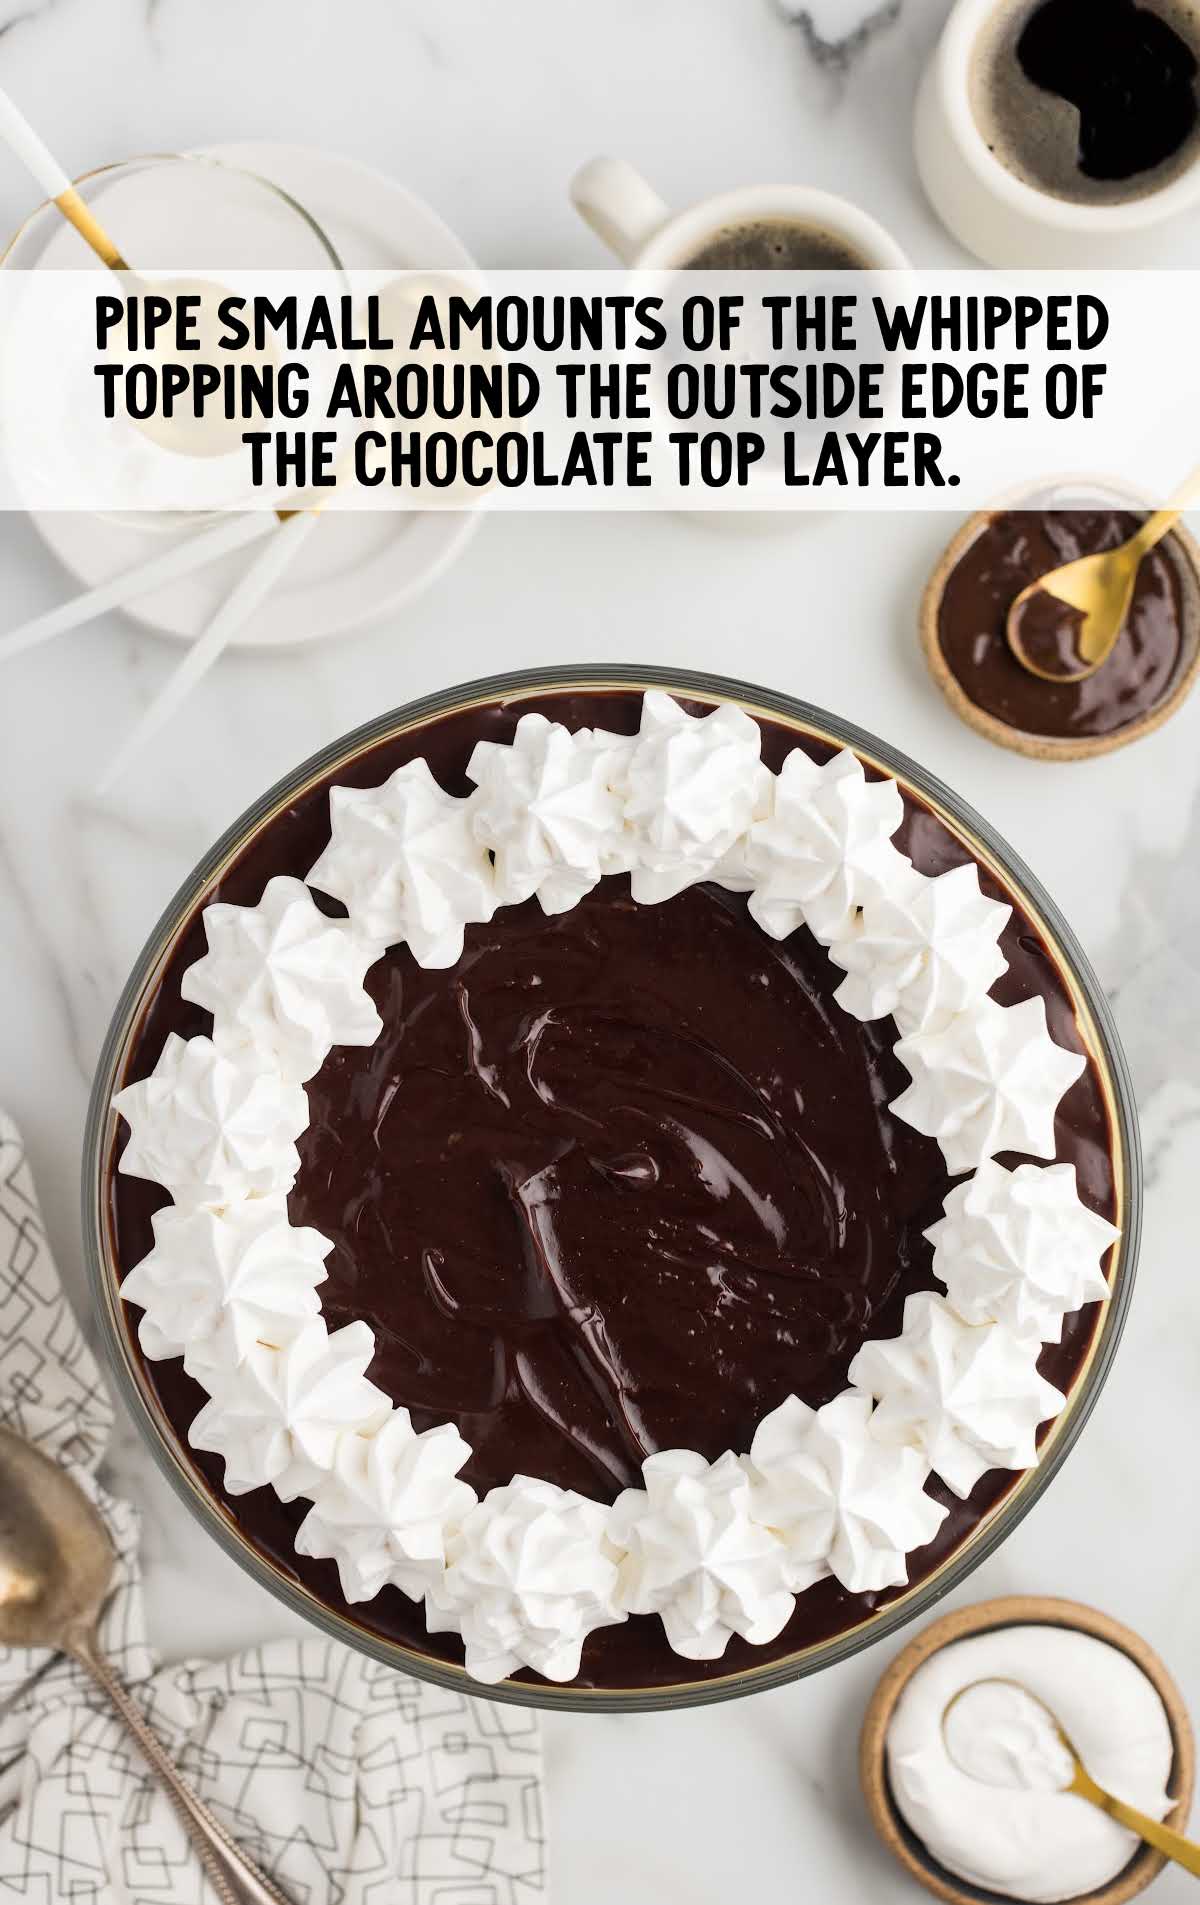
STEP ELEVEN: Just before serving, add the whipped topping to a piping bag and pipe it around the edges of your trifle using a star-shaped tip for a professional look. Pipe small amounts of the whipped topping around the outside edge of the chocolate top layer. If using the canned whipped cream, follow the same instructions for the whipped topping. Chill or serve immediately.
Troubleshooting
This recipe is fairly straightforward, but there are some ways to avoid or fix issues that may arise.
The cake is too dry or overcooked.
If your cake got burned or overcooked, you may want to bake a new one. Otherwise, you can carefully slice off the outside layer of the cake to remove any dark or burned spots. The pudding in the recipe will add moisture to a dry cake, so use your judgment as to whether or not your cake is too dry to serve. To avoid an overbaked cake, make sure to check the cake a few minutes before the recommended baking time ends, as oven temperatures can vary. Use a toothpick to test doneness.
The pudding isn’t setting properly.
Be sure that the milk is very cold when you mix it with the pudding, and allow adequate chilling time in the refrigerator. If it’s still a little too runny, give it a little bit more time to chill in the fridge.
The chocolate filling is lumpy or grainy.
Be careful not to overheat the heavy cream, and make sure the chocolate chips are in a heatproof bowl. Using a metal bowl for this step can help. Let the hot cream sit on the chocolate chips without stirring for a full minute before mixing.
The layers are mixing into each other rather than staying distinct.
Allow each layer to set slightly, especially the pudding, before adding the next layer. You may want to refrigerate the trifle for five minutes between adding each layer if you feel the layers need more time to set. This helps prevent the layers from bleeding into each other.
The whipped topping is melting or too runny when piped.
Make sure the whipped topping is nice and cold before using. If you’re using homemade whipped cream, whip it to stiff peaks to hold its shape better, and use it while it’s freshly made.
How To Serve This Boston Cream Chocolate and Vanilla Trifle
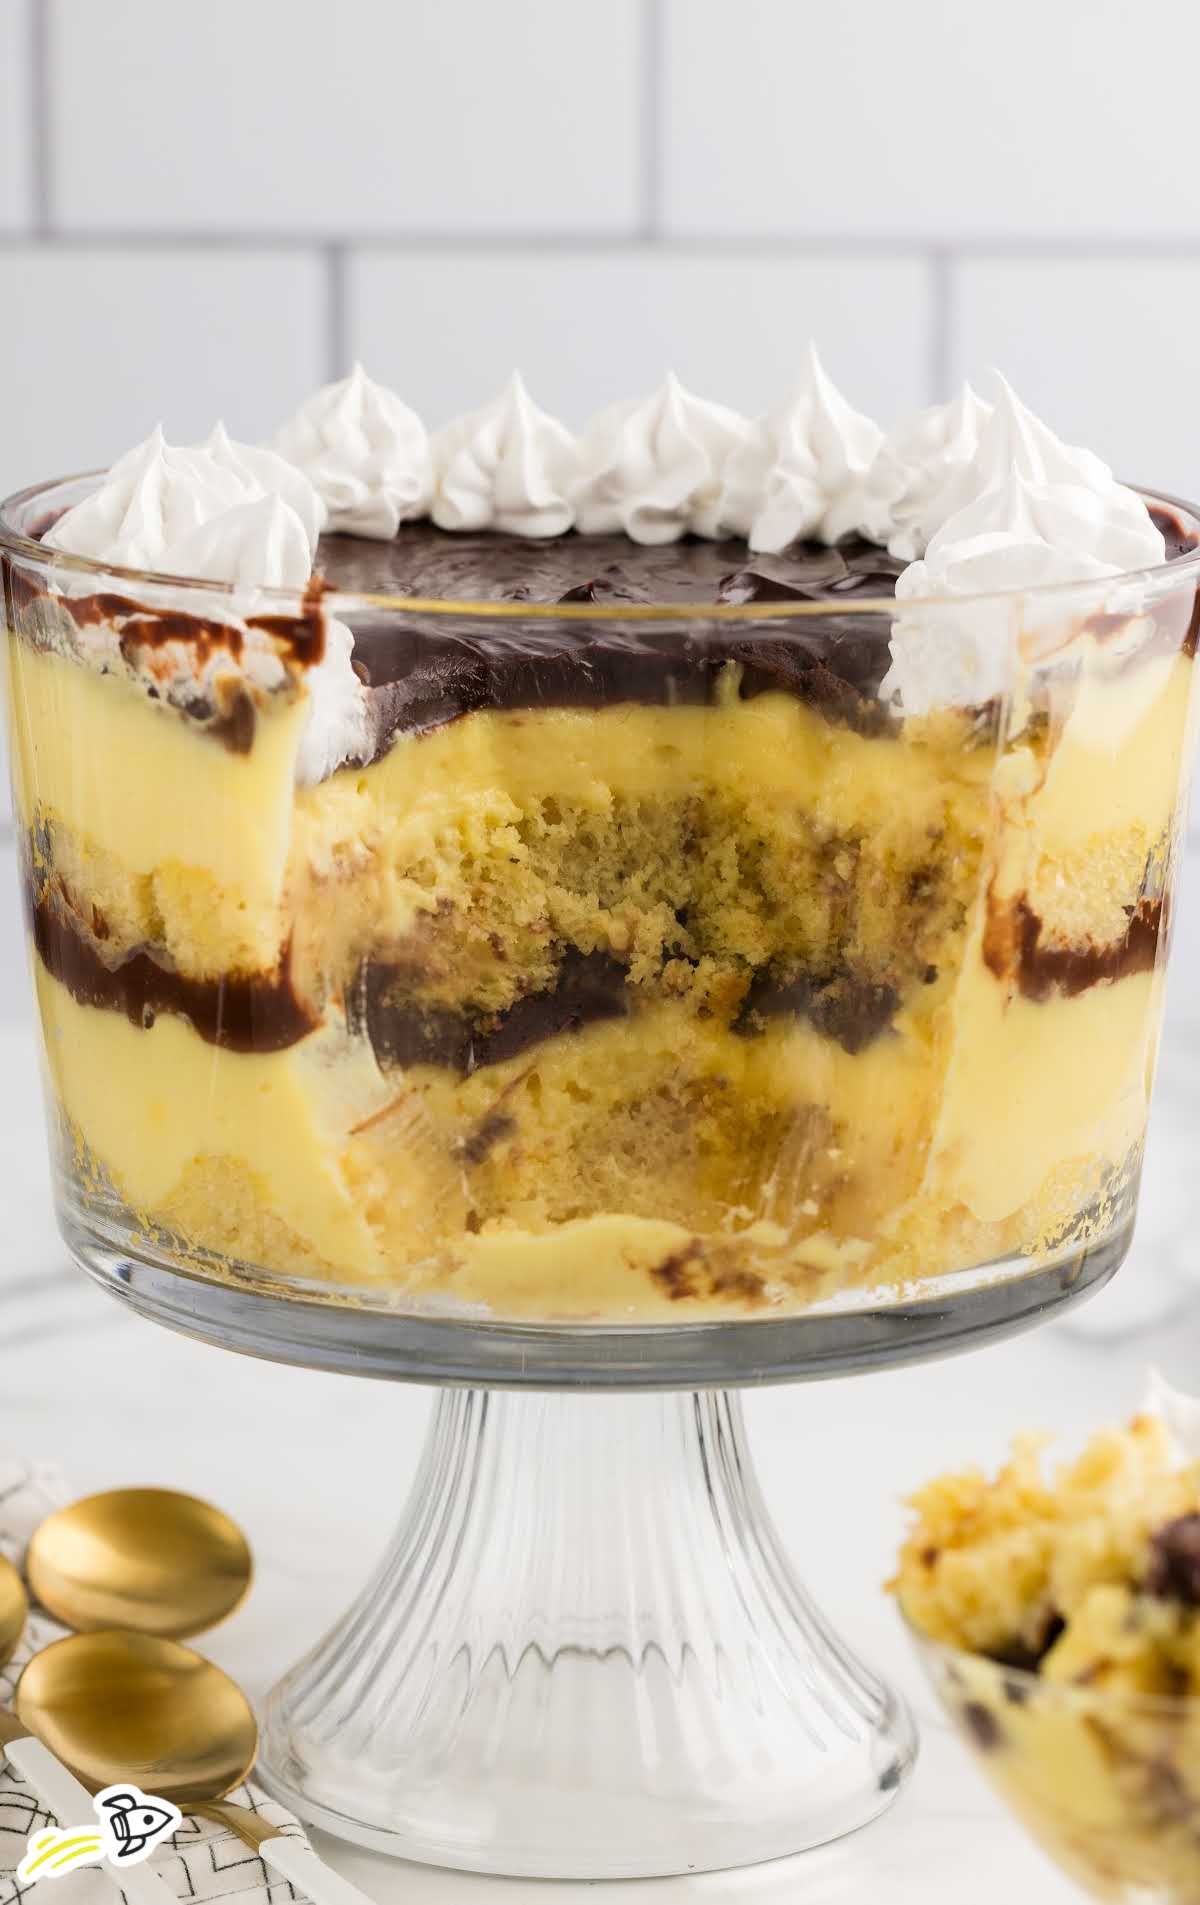
For a classic presentation, we recommend serving the Boston Cream Pie Trifle in a clear glass trifle bowl to showcase its beautiful layers. You can serve your guests or provide a large serving spoon and dishes so they can serve themselves.
Add a Coffee Kick: Incorporate even more nostalgia by serving your trifle with a strong cup of coffee. It will be reminiscent of coffee shop Boston cream donuts!
Fresh Fruit Pairing: Garnish the top of your trifle with fresh sliced berries before serving. Raspberries or sliced strawberries add a pop of color and a fresh flavor.
Creamy Dessert Table: Serve this trifle as the centerpiece alongside other creamy desserts like coconut cream pie, cream puff dessert, banana cream cheesecake, or a classic Boston cream pie.
Individual Trifles: You can create individual-sized Boston cream trifles by using small clear glasses instead of a large bowl. Layer your cake, pudding, and chocolate using the same technique as above. Top with a dollop of whipped cream, and serve!
When To Serve
Your Boston Cream Pie Trifle is simple yet special, so it’s a reliable choice for almost any gathering. Take to a family reunion and you’ll bring along a bowlful of childhood nostalgia. Bring it to your Thanksgiving or Easter dinner as a show-stopping dessert everyone will be excited to dig into.
It’s perfect as a cool finish after a summer BBQ or a sweet addition to your brunch menu. There’s almost no event where this dessert wouldn’t be a welcomed addition!
MORE TRIFLE RECIPES
How To Store Boston Cream Trifle
Once you’ve made all your pretty layers, you’ll want to make sure you store your trifle properly so it stays fresh and tasty.
MAKE AHEAD: Assemble the trifle as directed, cover it tightly with plastic wrap, and store it in the fridge. For best results, make this up to one day ahead of when you plan to serve it. The flavors will develop nicely while it chills.
IN THE FRIDGE: If you have leftover trifle, you can cover the bowl tightly with plastic wrap or transfer it to a smaller container (but this might destroy the layers). Store in the fridge for up to 2-3 days. The cake might start to soak up some of the pudding, but it should still taste great!
IN THE FREEZER: We don’t suggest you freeze your trifle, as the texture of the pudding and whipped cream layers will change as they thaw.
Why Our Boston Cream Pie Trifle Recipe Is The Best
Our Boston Cream Pie Trifle is not just a dessert; it’s nostalgia in a pretty trifle dish! Here’s why it’s quickly become one of our favorite desserts, and why this is the best Boston Cream Pie Trifle recipe.
Pretty To Look At: The layers in this trifle make a beautiful contrast so this treat can be the centerpiece of any dessert table. It’s impressive, yet not fancy or fussy.
Make-Ahead Convenience: You can make this recipe a day ahead of your event, so there’s less to do on busy days and holidays.
Nostalgic Crowd-Pleaser: This recipe combines all the flavors of Boston Cream Pie, making you feel like a kid again! The simple flavors are universally loved, so it’s a hit with any crowd.
FAQs
Frequently Asked Questions
No, there are no nuts in this recipe, making it suitable for those with nut allergies. Always check your individual ingredient labels to be positive they meet your dietary requirements.
Use a large spoon or ladle to scoop down into the trifle so each serving includes all the layers. Serve in individual dessert bowls or glasses for a special touch.
Cheesecake or plain vanilla pudding mix are good substitutes. They still offer a delicious flavor that complements the chocolate and cake layers.
Allow each layer to set slightly, especially the pudding, before adding the next layer. This prevents the layers from blending into each other.
You can use dark chocolate or milk chocolate chips, depending on your preference for sweetness. Dark chocolate will give a richer flavor, while milk chocolate will be sweeter.
Yes, this trifle can be made up to a day in advance. It allows the flavors to blend nicely in the fridge, just keep it covered to prevent it from absorbing other food odors.
A clear glass trifle bowl is ideal as it shows off the layers beautifully, but any deep, clear dish will work.
Absolutely! For a more traditional touch, a homemade yellow cake can be used in place of the boxed mix. Just be sure it has cooled completely before cutting into cubes.
This Boston Cream Pie Trifle recipe brings together moist cake, creamy pudding, and rich chocolate in a dessert that’s as easy to make as it is delightful to serve. It’s perfect for those who love a dessert that is both visually impressive and deliciously satisfying.
More Recipes You’ll Love
- Chocolate Torte
- Baileys Cheesecake
- Boston Cream Cupcakes
- Boston Cream Poke Cake
- Chocolate Mint Cheesecake

Boston Cream Pie Trifle
Ingredients
- 15.25 ounces yellow cake mix, prepared according to box instructions
- 6.8 ounces French vanilla instant pudding mix (two 3.4 ounces boxes)
- 4 cups cold milk
- 2 cups semi-sweet chocolate chips
- 1 cup heavy cream
- 1 tablespoon butter
- 1 teaspoon pure vanilla extract
- 1 ¼ cup thawed whipped topping, or canned whipped cream
Instructions
- Bake the yellow cake according to the package instructions. Once baked, let it cool completely. Once cooled, cut the cake into 1-inch cubes.
- Add the French vanilla pudding mix and cold milk to a medium-sized mixing bowl (2-3 quarts). Whisk together, or use a handheld mixer on low speed, the pudding mix and milk according to the package instructions. Let it chill in the refrigerator for about 30 minutes to 1 hour, until set.
- For the chocolate filling and topping, start by heating the heavy cream in a 1-2 quart saucepan over medium heat. Bring it to a simmer (small bubbles begin to appear) but do not boil.
- Place the chocolate chips or chopped chocolate in a medium size heatproof bowl. Pour the hot cream over the chocolate and let it sit for a minute to soften the chocolate. Then, add the butter and vanilla extract.
- Stir the chocolate mixture until it becomes smooth and glossy. Allow it to cool slightly.
- Add a single layer of cubed cake to the bottom of a trifle dish or a large glass bowl. (My trifle bowl was 3.25 quarts or 104 ounces)
- Spread half of the prepared French vanilla pudding over the cake layer.
- Drizzle a layer of the chocolate filling over the pudding layer.
- Repeat the layers: add another layer of cake cubes and the remaining pudding, then finish with a final layer of chocolate filling.
- Loosely cover and refrigerate the trifle for at least 2 hours or until chilled and set. (Remember, the longer the trifle is left to chill, the better melded the flavors will be)
- Before you are ready to serve, if using thawed whipped topping, add the 1 ¼ cup whipped topping to a piping bag fitted with a star shaped tip. Pipe small amounts of the whipped topping around the outside edge of the chocolate top layer. If using canned whipped cream, follow the same instructions for the whipped topping. Chill, or serve immediately.
Notes
- Make sure the cake is completely cool when you cut it. A warm cake tends to crumble when it’s cut into.
- Press a piece of plastic wrap down onto the surface of the pudding as it sets to avoid having the pudding develop a ‘skin’ on top.
- Distribute the cubes evenly for a consistent look. Check the outside of your trifle bowl to make sure the layer of cake cubes looks appealing.
- If your chocolate is still too fluid to sit on top of the pudding, let it cool a bit longer to prevent it from sinking straight through the pudding layer.
- As you add your layers, continue to check the outside of your bowl to make sure your trifle looks tidy. Use a dry paper towel to wipe down the sides of your bowl, if necessary.





Leave a Comment