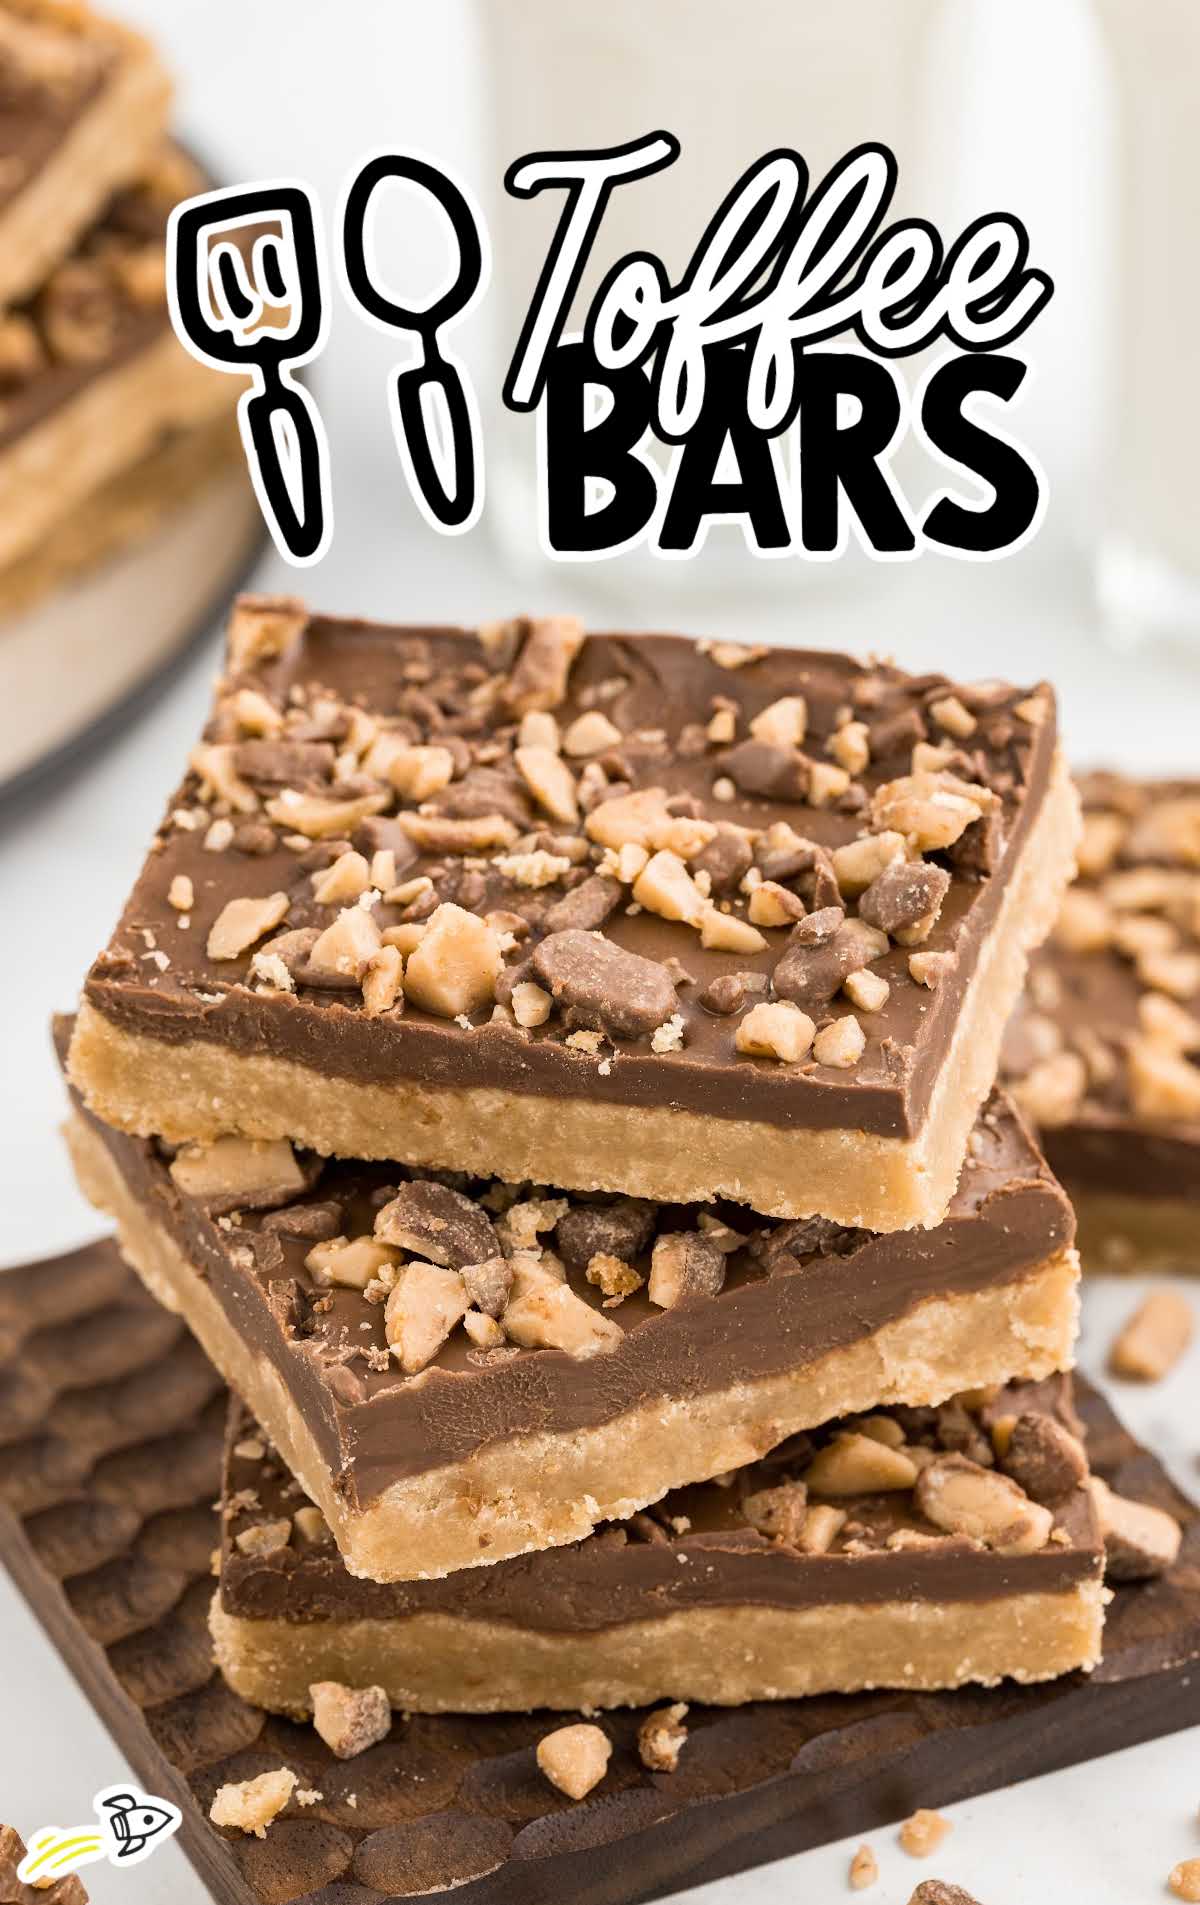
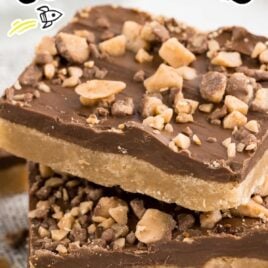
Discover a match made in dessert heaven with our mouthwatering toffee bars. These bars boast a buttery shortbread crust, a luxurious layer of milk chocolate, and a delightful sprinkle of toffee bits.
Toffee Bars Ingredients
English toffee bars feature butter and brown sugar in the soft crust for a rich base with a hint of caramel.
The milk chocolate chips are melted to create a smooth and velvety chocolate layer, while the English toffee bits contribute a delightful crunch and a buttery toffee essence.
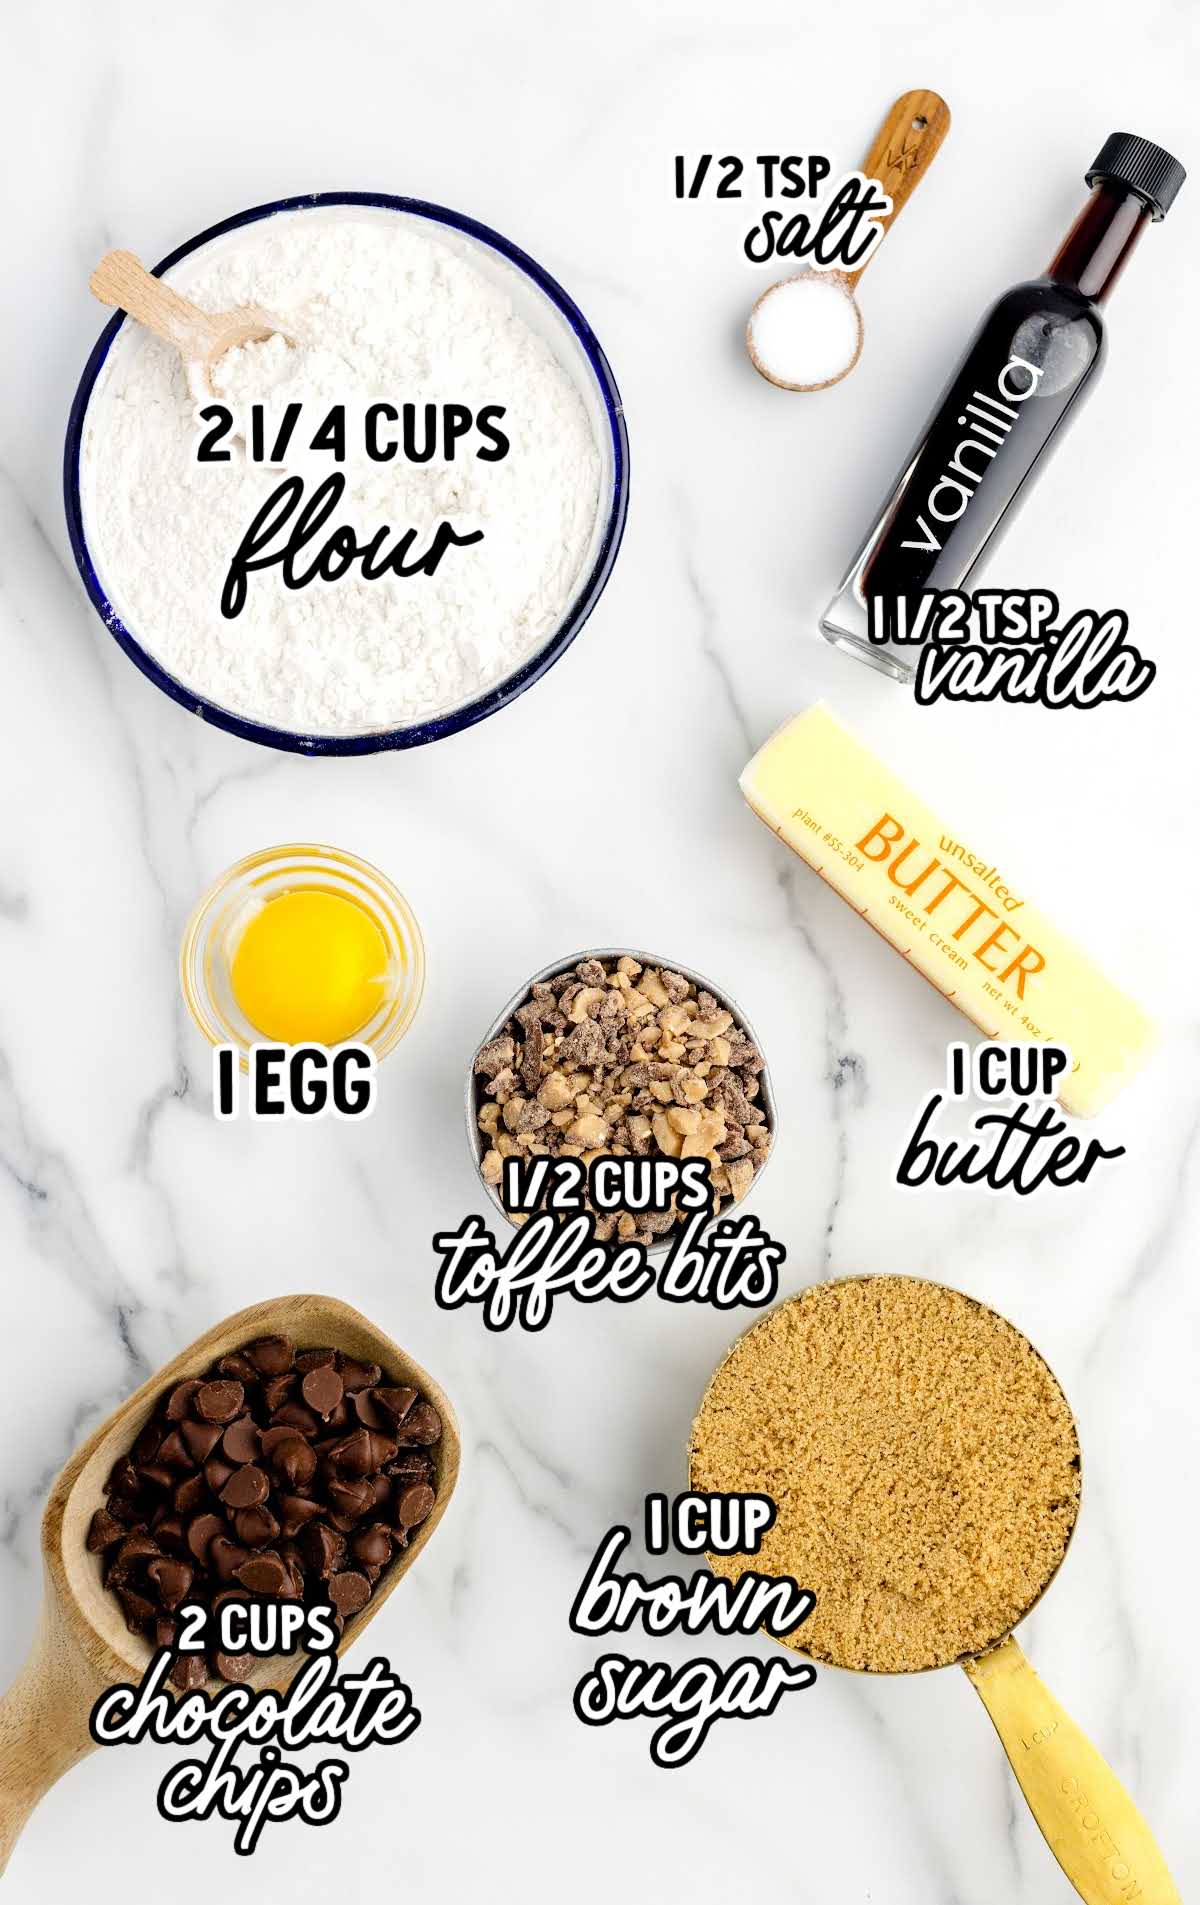
You’ll need:
- 1 cup of unsalted butter, room temperature
- 1 cup of light brown sugar
- 1 large egg yolk
- 1½ teaspoons of vanilla extract
- ½ teaspoon of salt
- 2¼ cups of all-purpose flour
- 2 cups of milk chocolate chips
- ½ cup of English toffee bits (Heath brand)
Substitutions and Additions
UNSALTED BUTTER: For a hint of savory complexity, swap unsalted butter with salted butter. Remember to omit the additional salt in the recipe.
LIGHT BROWN SUGAR: Exchange light brown sugar with dark brown sugar for a deeper molasses undertone.
MILK CHOCOLATE CHIPS: Experiment with semi-sweet or dark chocolate chips for a more intense cocoa flavor in this easy dessert recipe.
ENGLISH TOFFEE BITS: If you can’t find toffee bits, finely chop a Heath brand candy bar for a delicious alternative.
How To Make This Toffee Bars Recipe
These decadent chocolate toffee bars come together in a few easy steps, from creating the crust to the chocolatey later and caramel topping.
STEP ONE: Preheat the oven to 350°F. Spray a 9×13 baking pan lightly with baker’s spray. Set aside.
OUR RECIPE DEVELOPER SAYS
Keep in mind that you will get a different shape and depth of corner bars depending on the baking pan you are using. If you are using a baking pan with rounded corners (usually glass), your corner pieces will not come out quite so defined, while metal pans tend to have clean-cut corners that will give you better-formed corner bars.
STEP TWO: In a large bowl with a hand mixer on medium speed, cream butter, and the light brown sugar until light and fluffy.
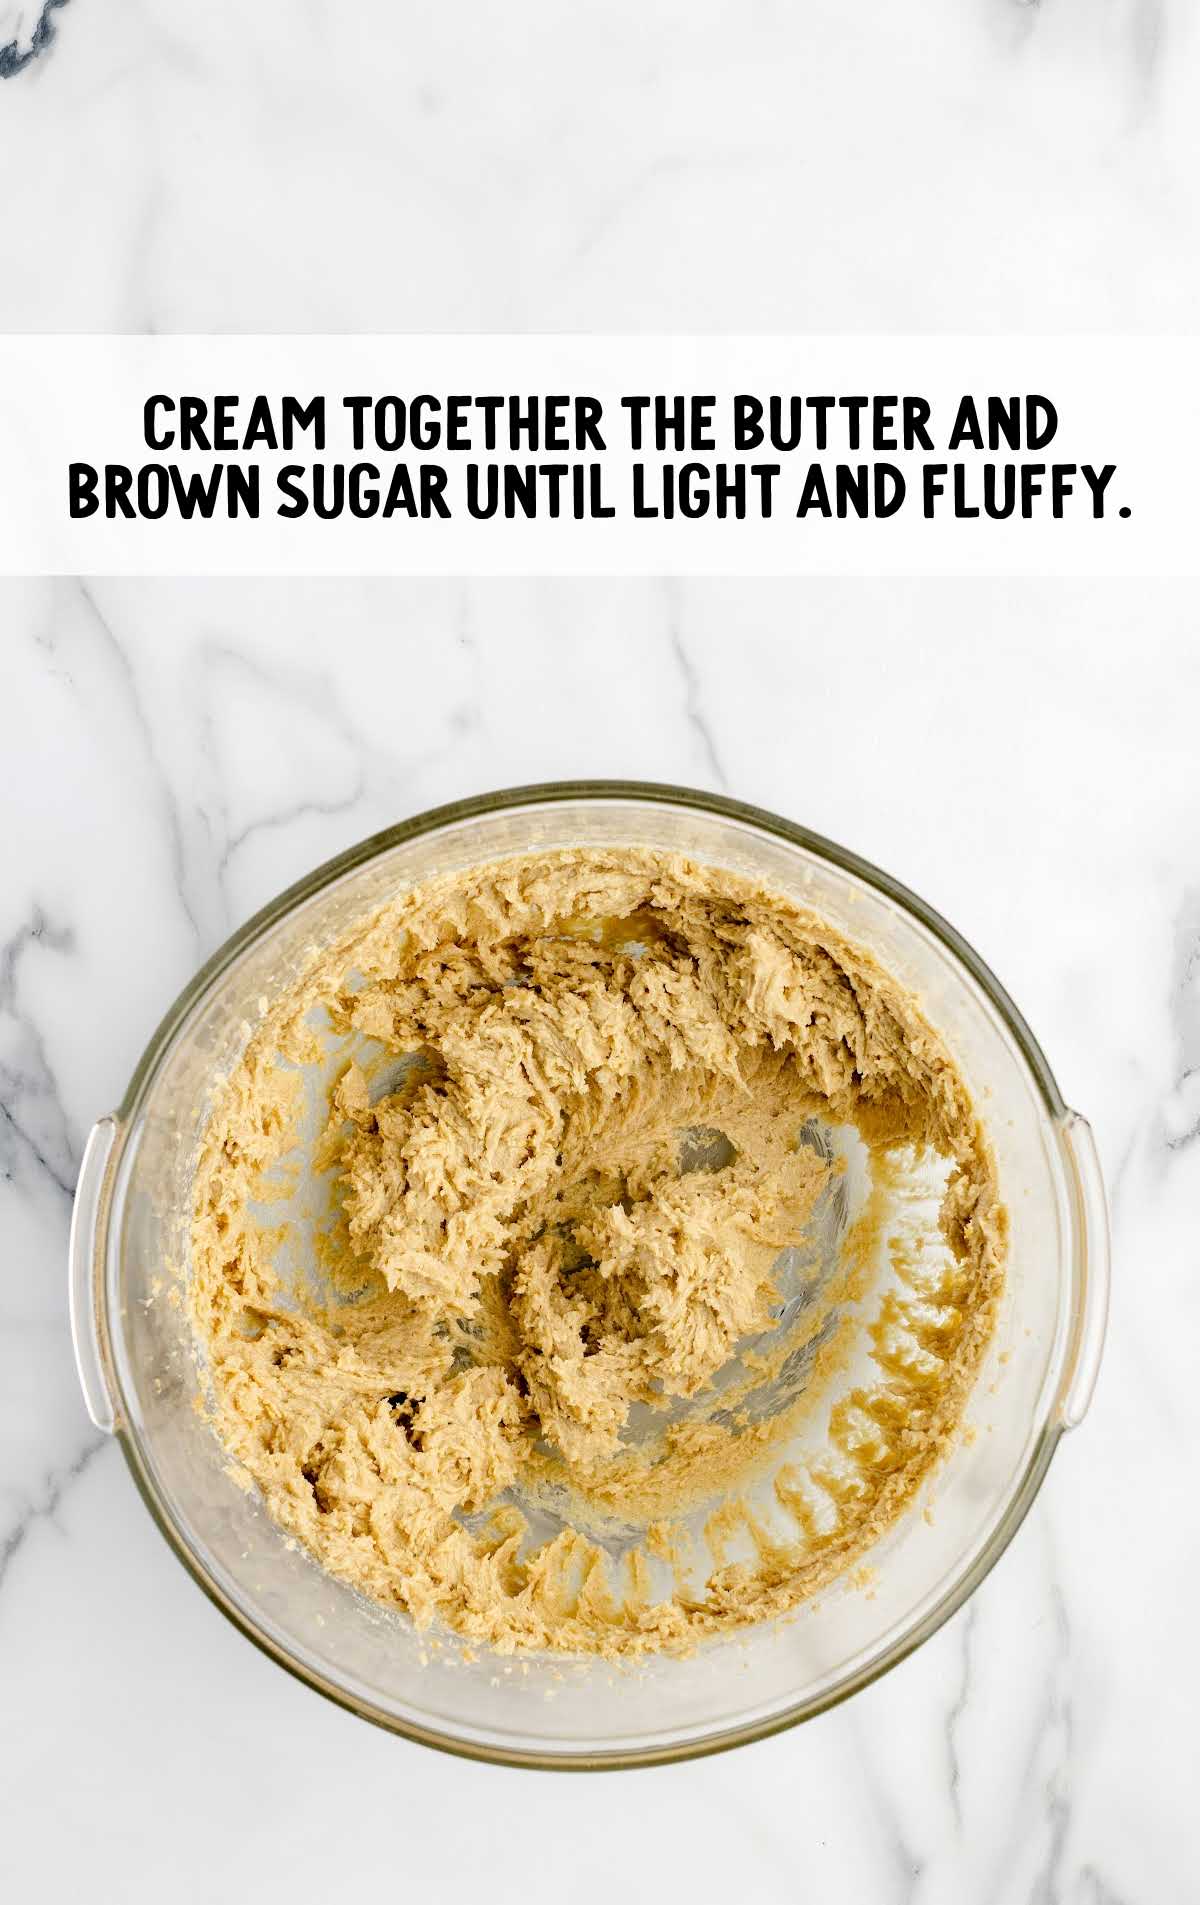
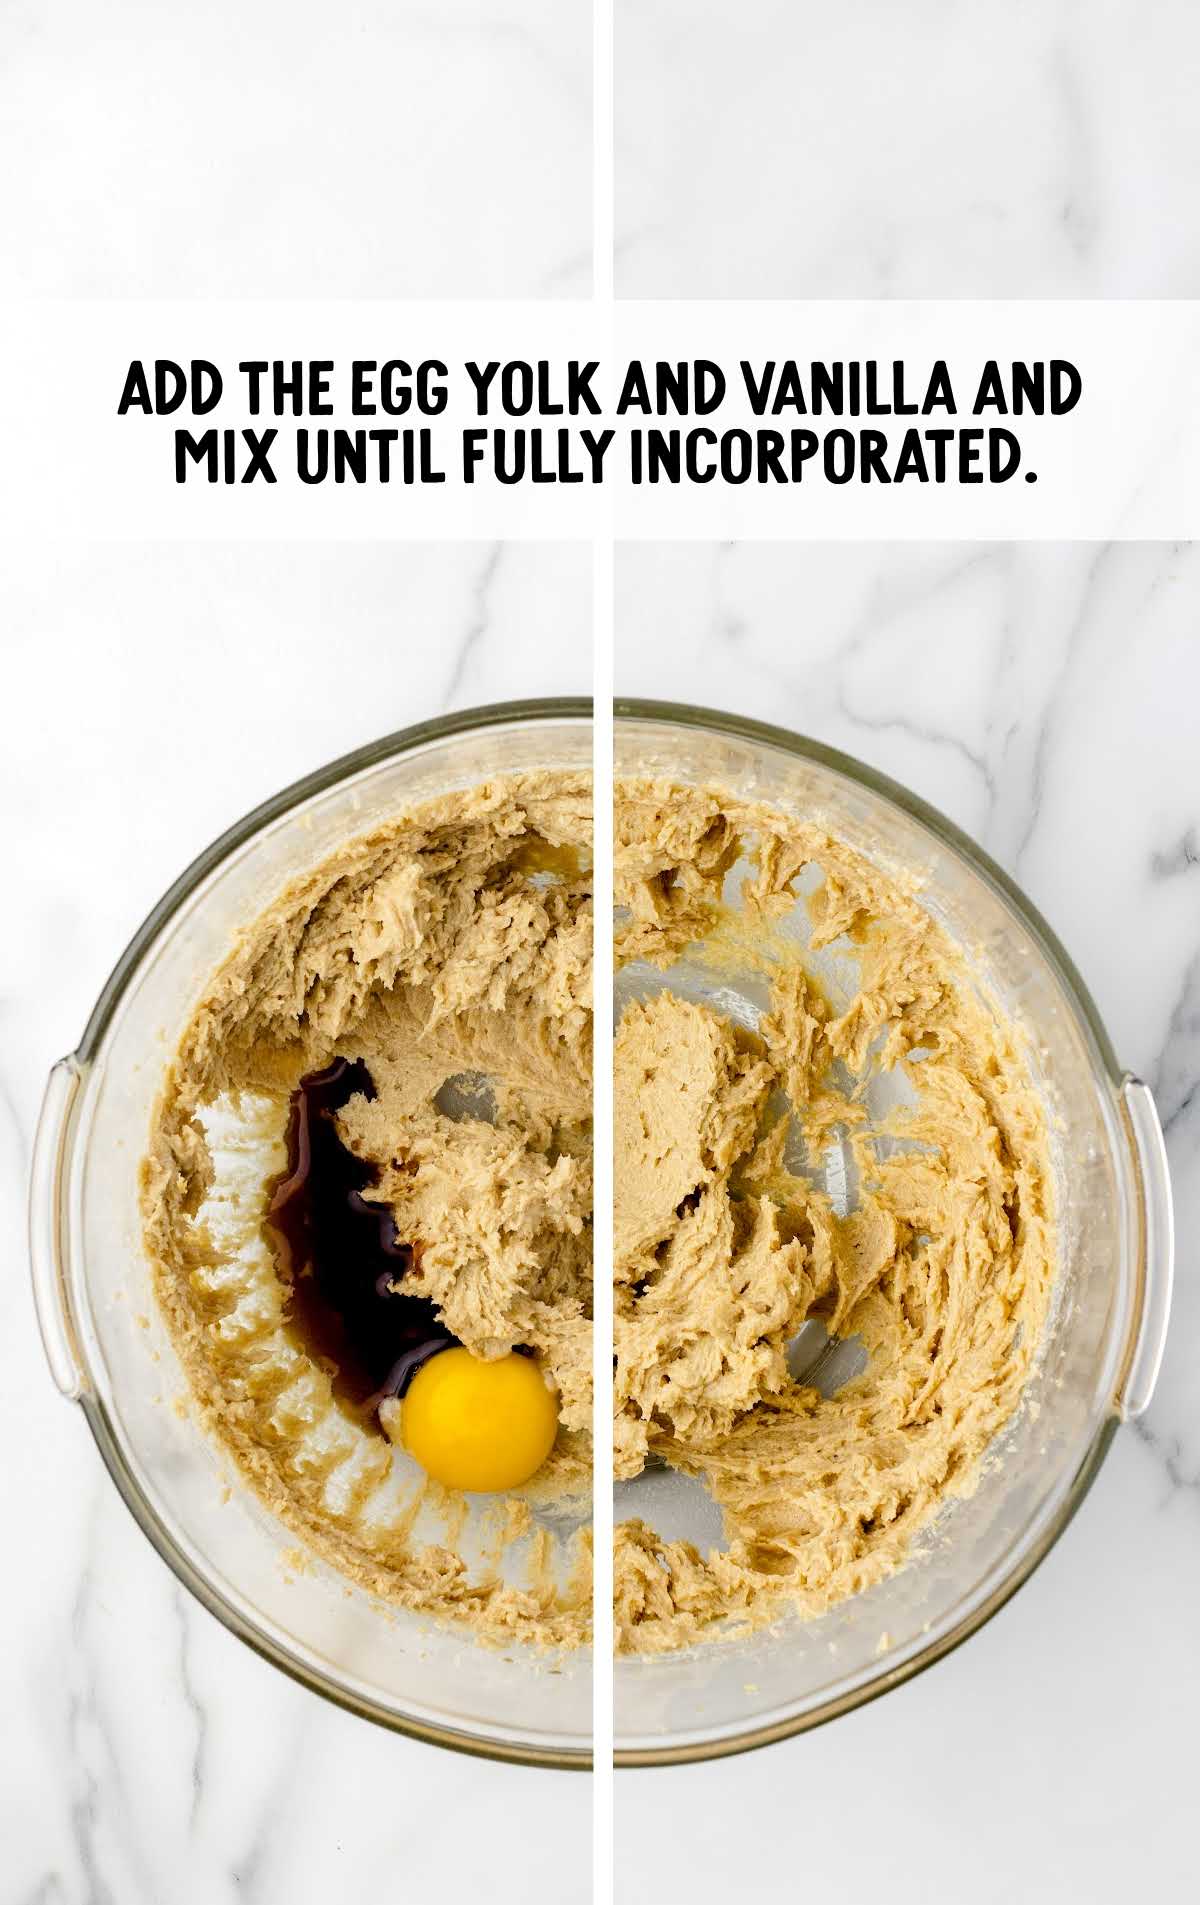
STEP THREE: Add the egg yolk and vanilla extract and mix until the egg yolk is fully incorporated.
STEP FOUR: Add the salt and all-purpose flour to the butter mixture. Mix on low speed just until the dough comes together.
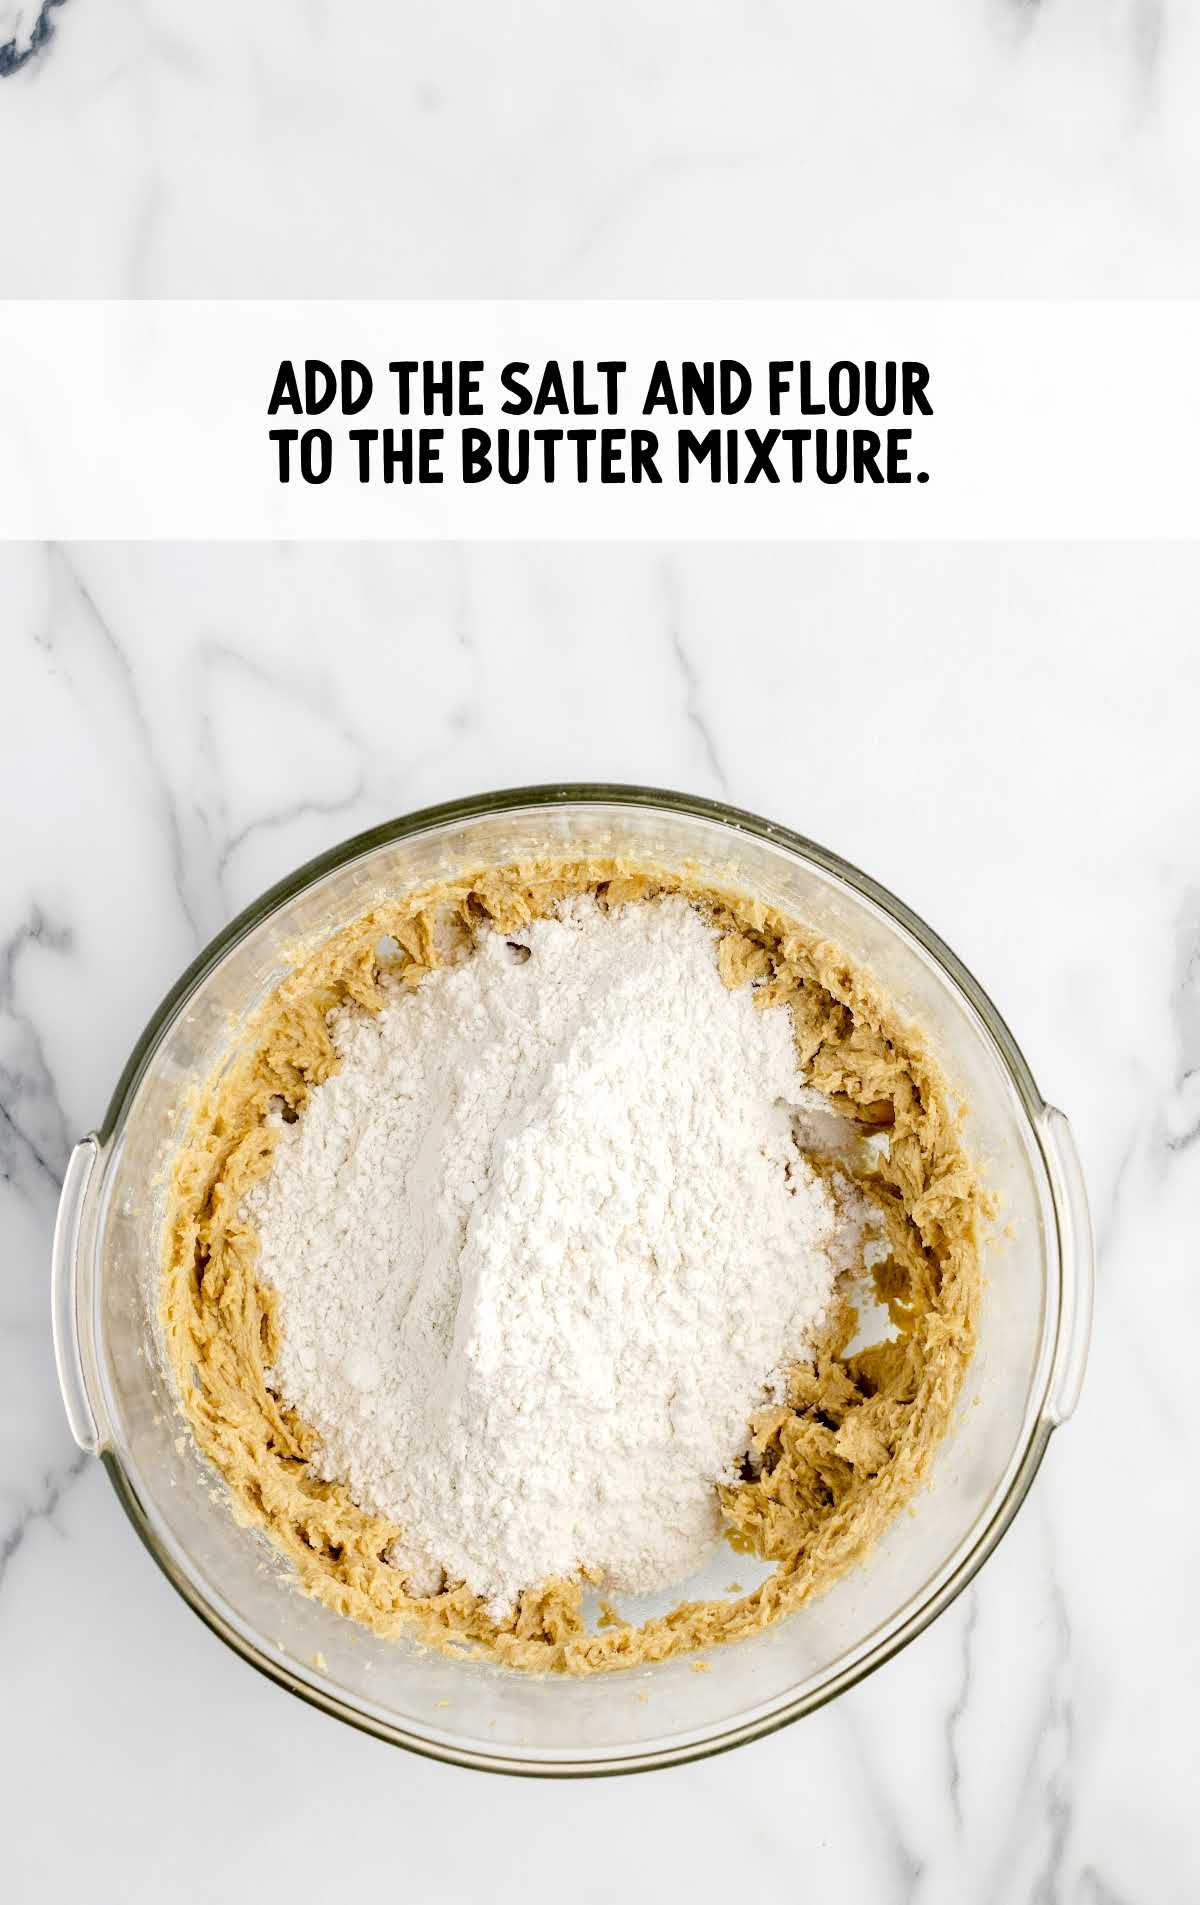
This will be a very thick dough. You may need to switch to a wooden spoon to mix all the flour into the dough.
STEP FIVE: Spread the dough into the prepared pan in an even layer. You may need to use your hands to get the dough spread out and flattened.
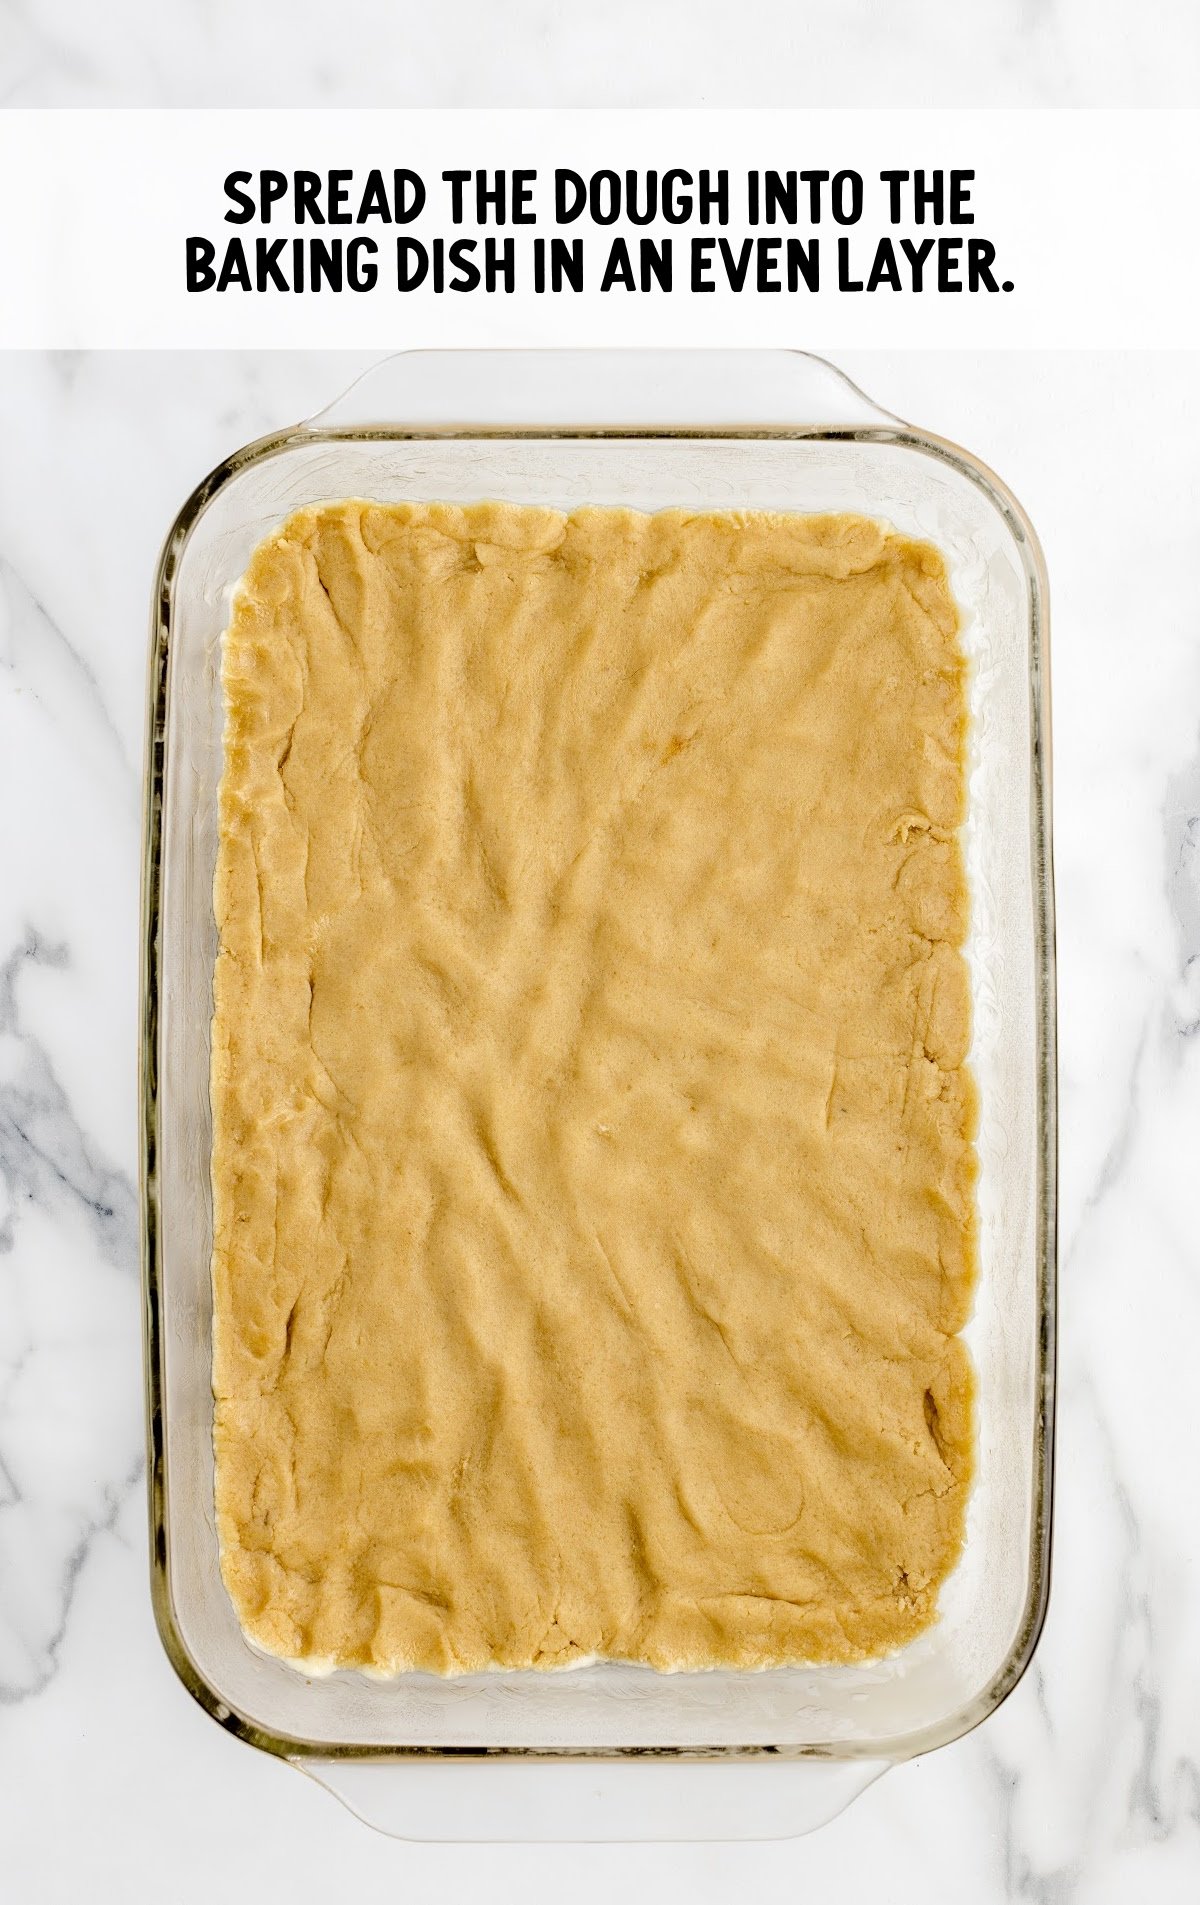
STEP SIX: Bake for 22-25 minutes or until golden brown and a toothpick inserted into the center comes out clean.
PRO TIP:
Oven temperatures vary and may need to be recalibrated periodically to ensure they are accurate. Make sure to check your toffee bars at the lower end of the recommended baking time.
STEP SEVEN: As soon as you take the toffee bar crust out of the oven, sprinkle milk chocolate chips evenly over the surface of the hot crust.
Return the pan to the oven for an additional 1-2 minutes. You are only looking to soften the chips slightly.
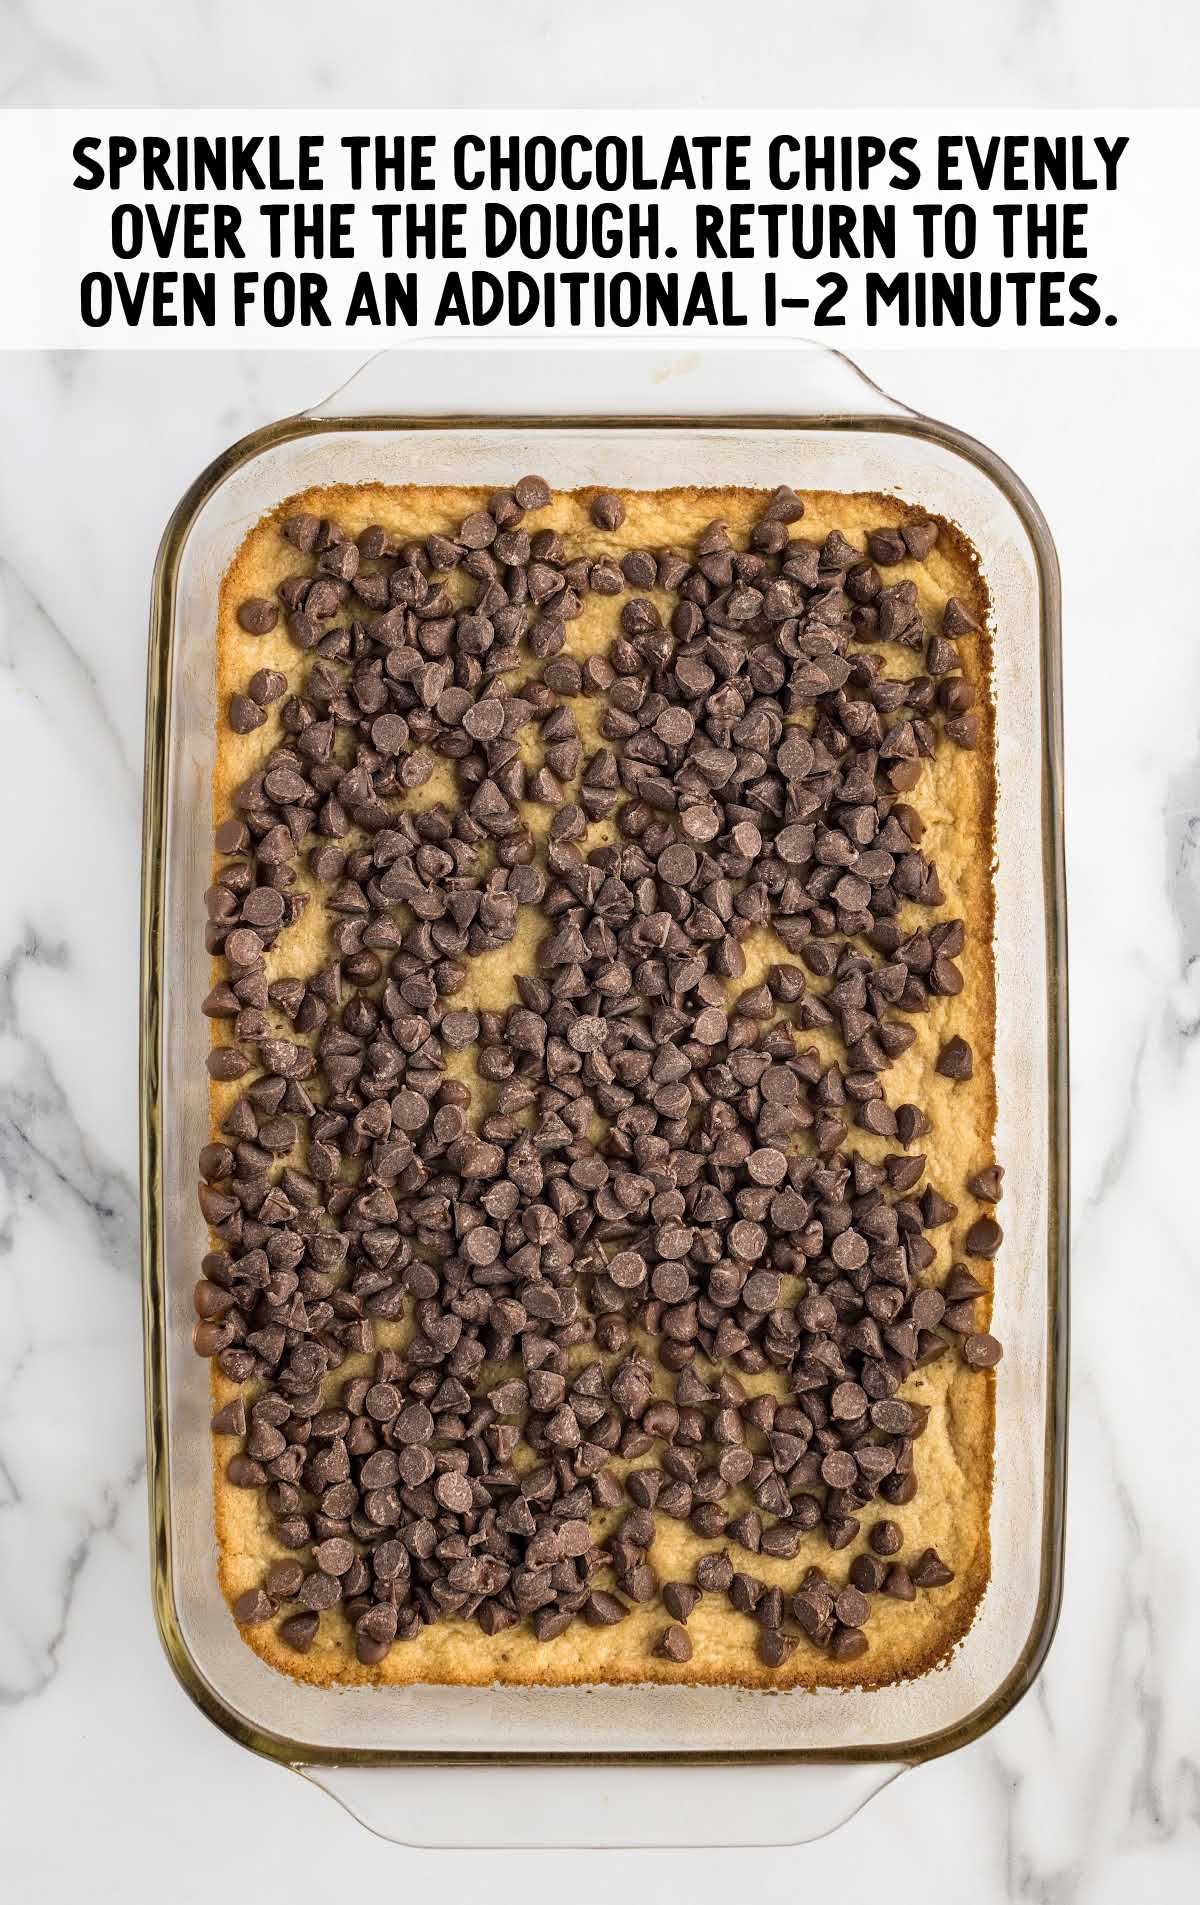
STEP EIGHT: Gently spread the melted chips to create a smooth surface using a small offset spatula.
STEP NINE: Top with the English toffee chips sprinkled over the entire surface of the melted chocolate.
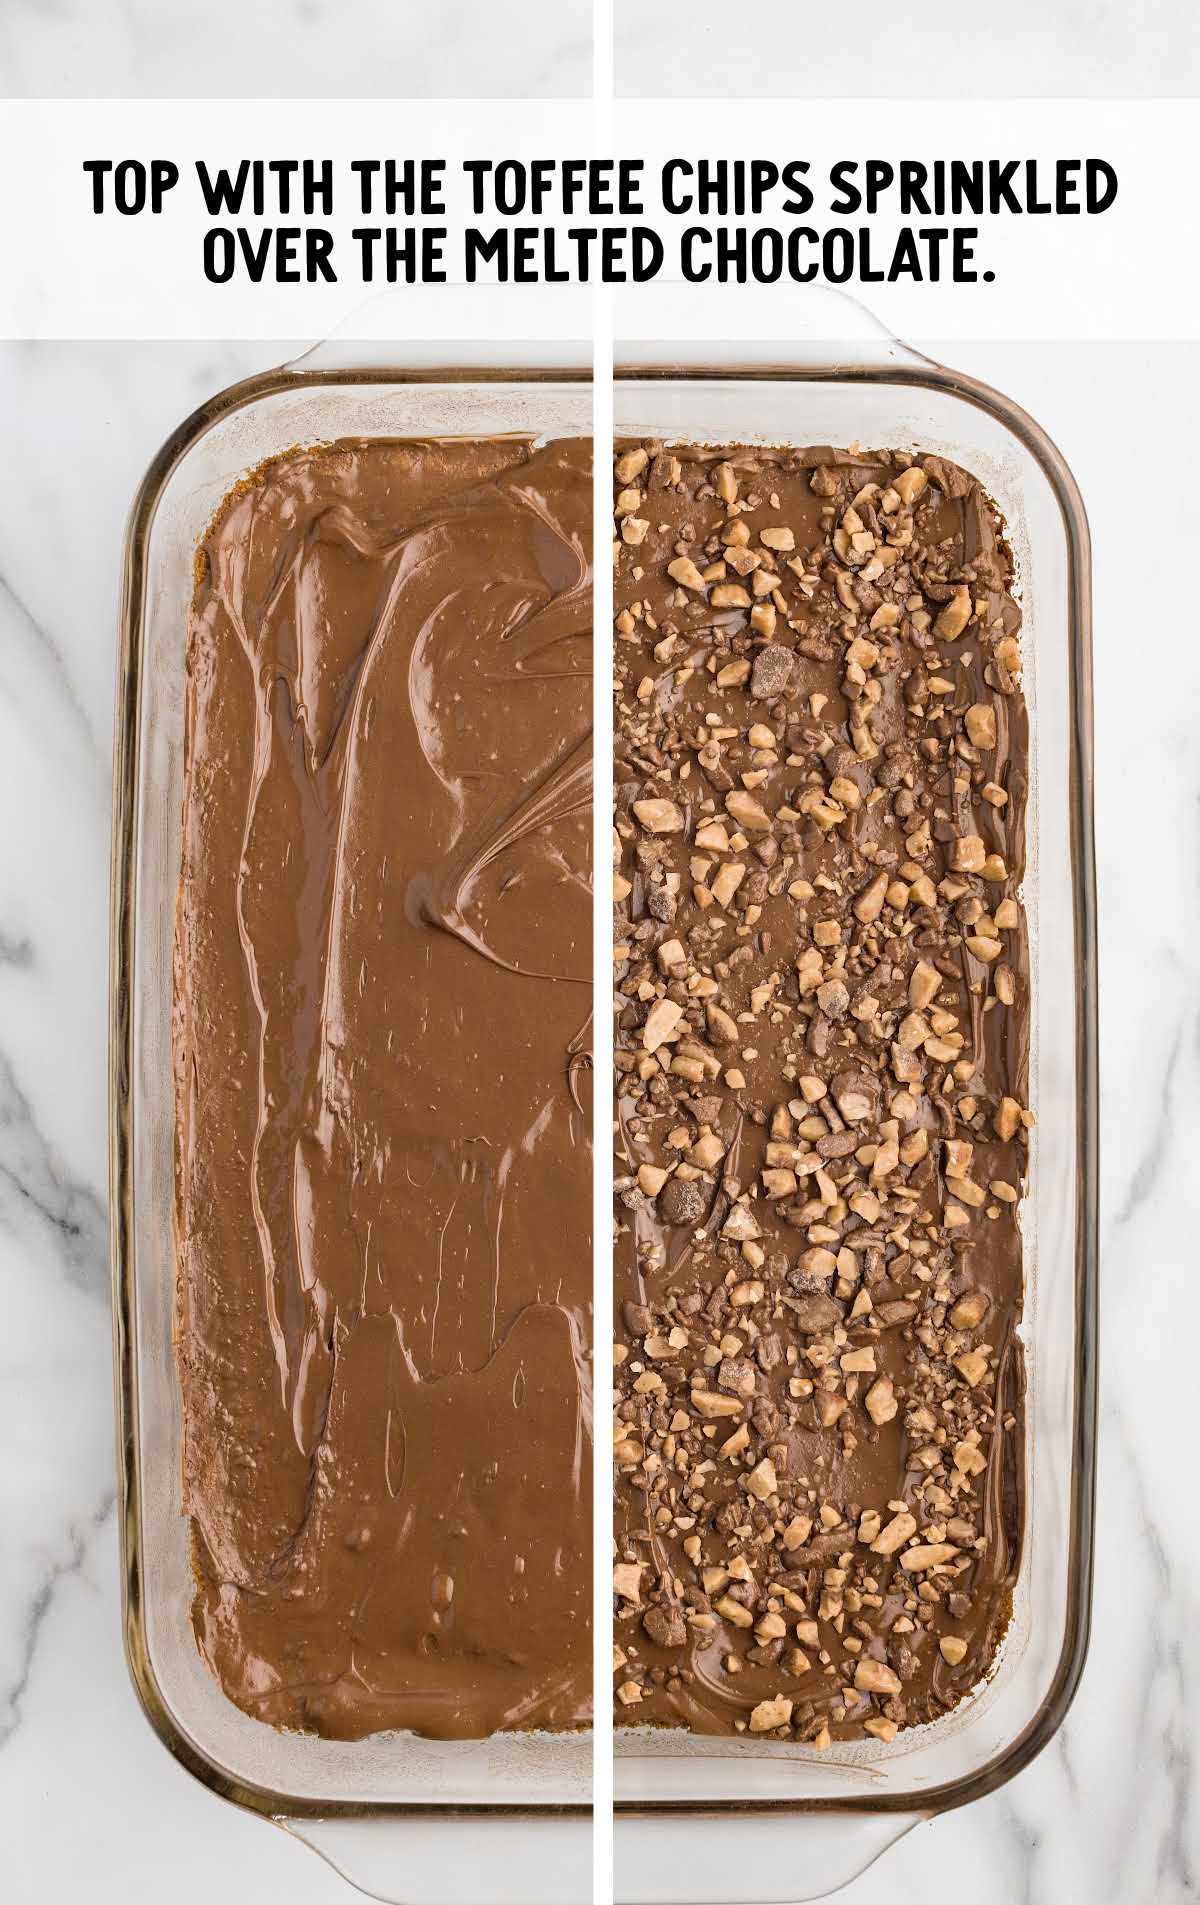
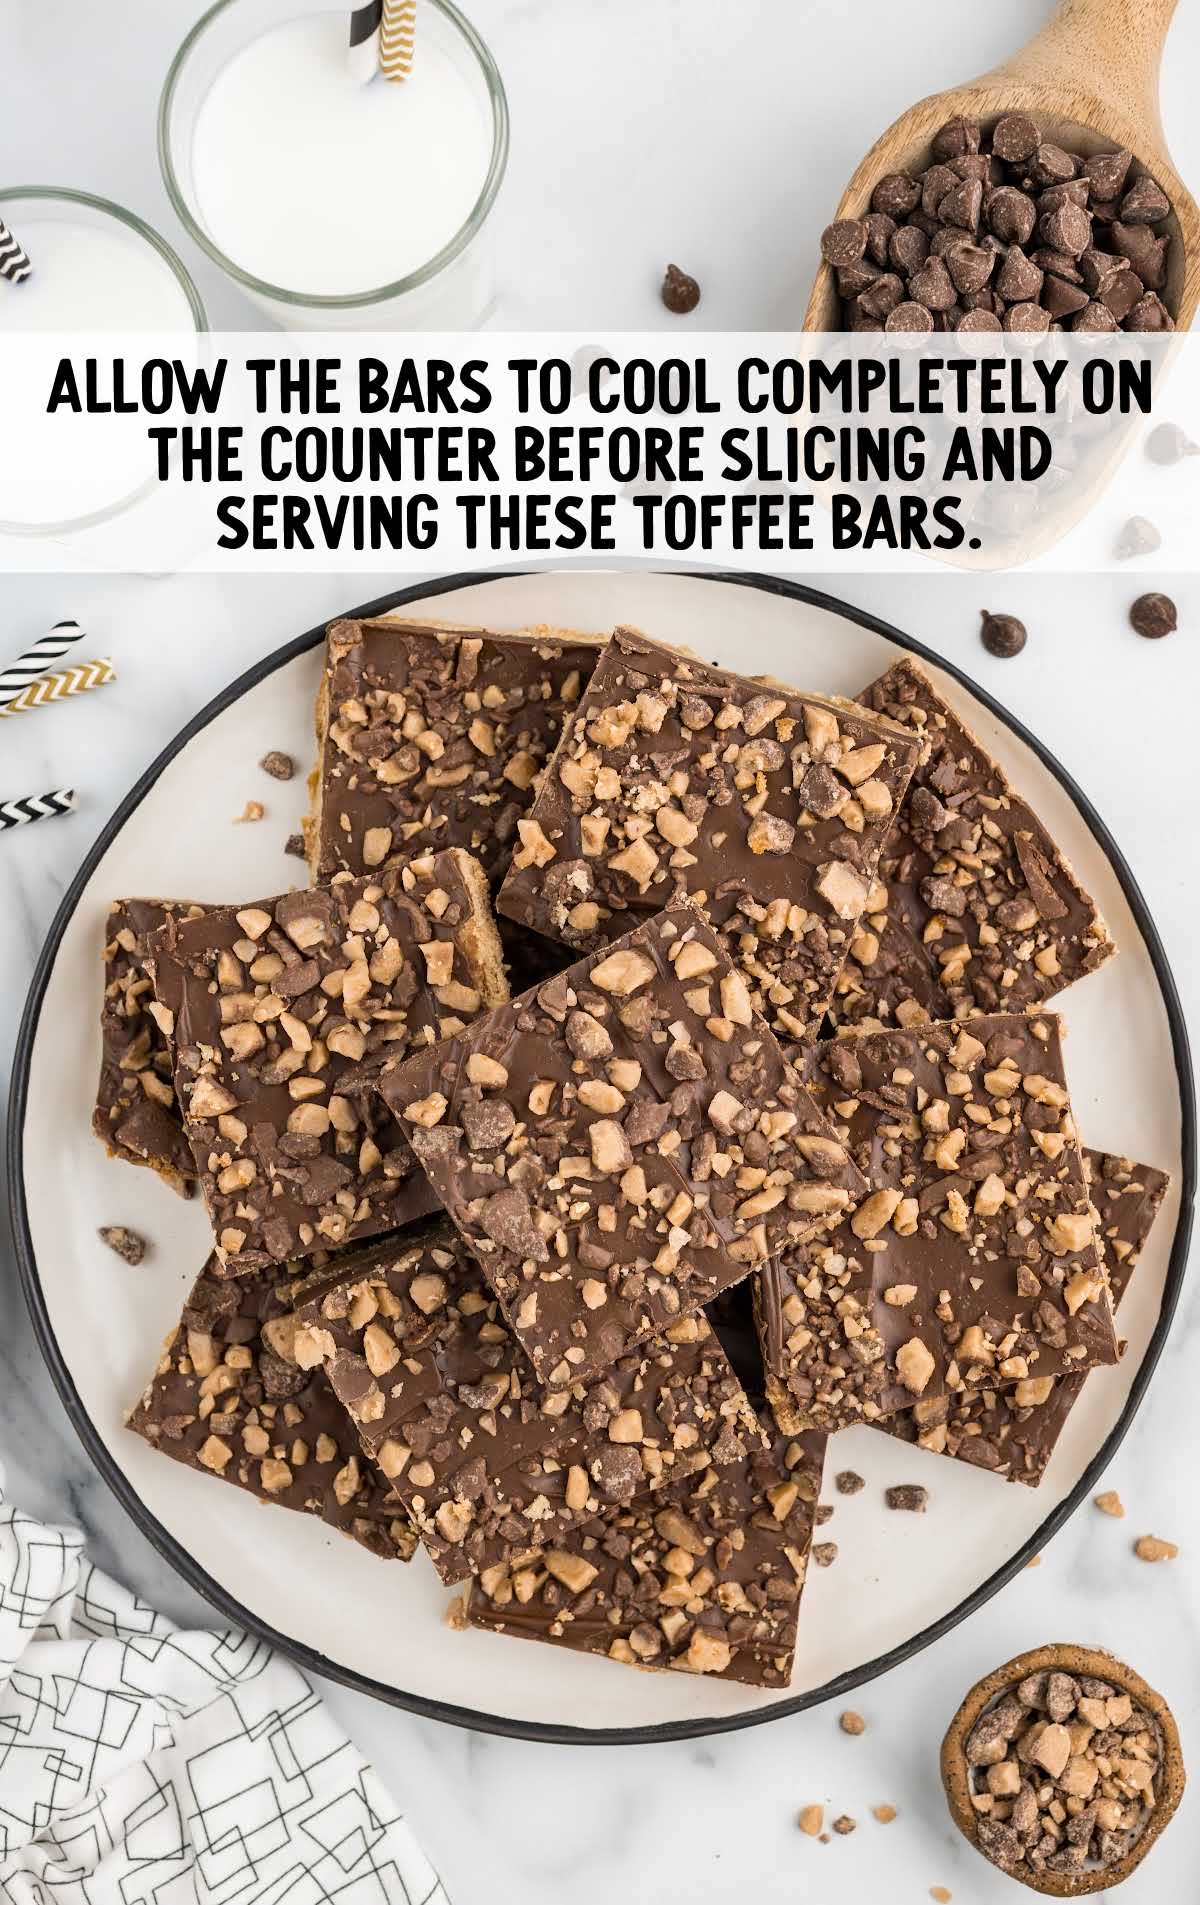
STEP TEN: Allow the bars to cool completely on the counter and the chocolate to firm up before slicing and serving these toffee bars.
PRO TIP:
When cutting the bars, spray a chef’s knife with cooking spray and wipe with a paper towel. This prevents the bars from sticking to the knife.
How To Serve
Indulge in these toffee cookie bars as a sweet ending to any meal, either on its own or with a scoop of vanilla ice cream.
Enjoy with a cup of coffee or latte for a delightful afternoon pick-me-up, or satisfy cravings with a bar or two during your midday break with a cold glass of milk.
Cut into smaller squares for a delectable addition to your dessert spread, along with our sugar cookie bars and lemon pie bars.
For even more easy desserts, you should also check out our Twix bars and Snickerdoodle cheesecake bars.
MORE DESSERT RECIPES
Storage
If you have any leftovers or want to plan ahead, we have a few tips for you.
MAKE AHEAD: Prepare the crust ahead of time, refrigerate, and add the chocolate and toffee layers just before serving.
IN THE FRIDGE: Store in an airtight container in the fridge for up to one week.
IN THE FREEZER: Freeze tightly wrapped bars for up to two months. Thaw in the fridge before enjoying.
Why We Love This Recipe
FLAVOR HARMONY: The contrast of buttery shortbread, velvety chocolate, and crunchy toffee is an explosion of flavors.
CUSTOMIZATION: You can tweak the chocolate and toffee ratios to cater to your taste preferences.
CROWD PLEASER: These bars never fail to impress guests and are a guaranteed hit.
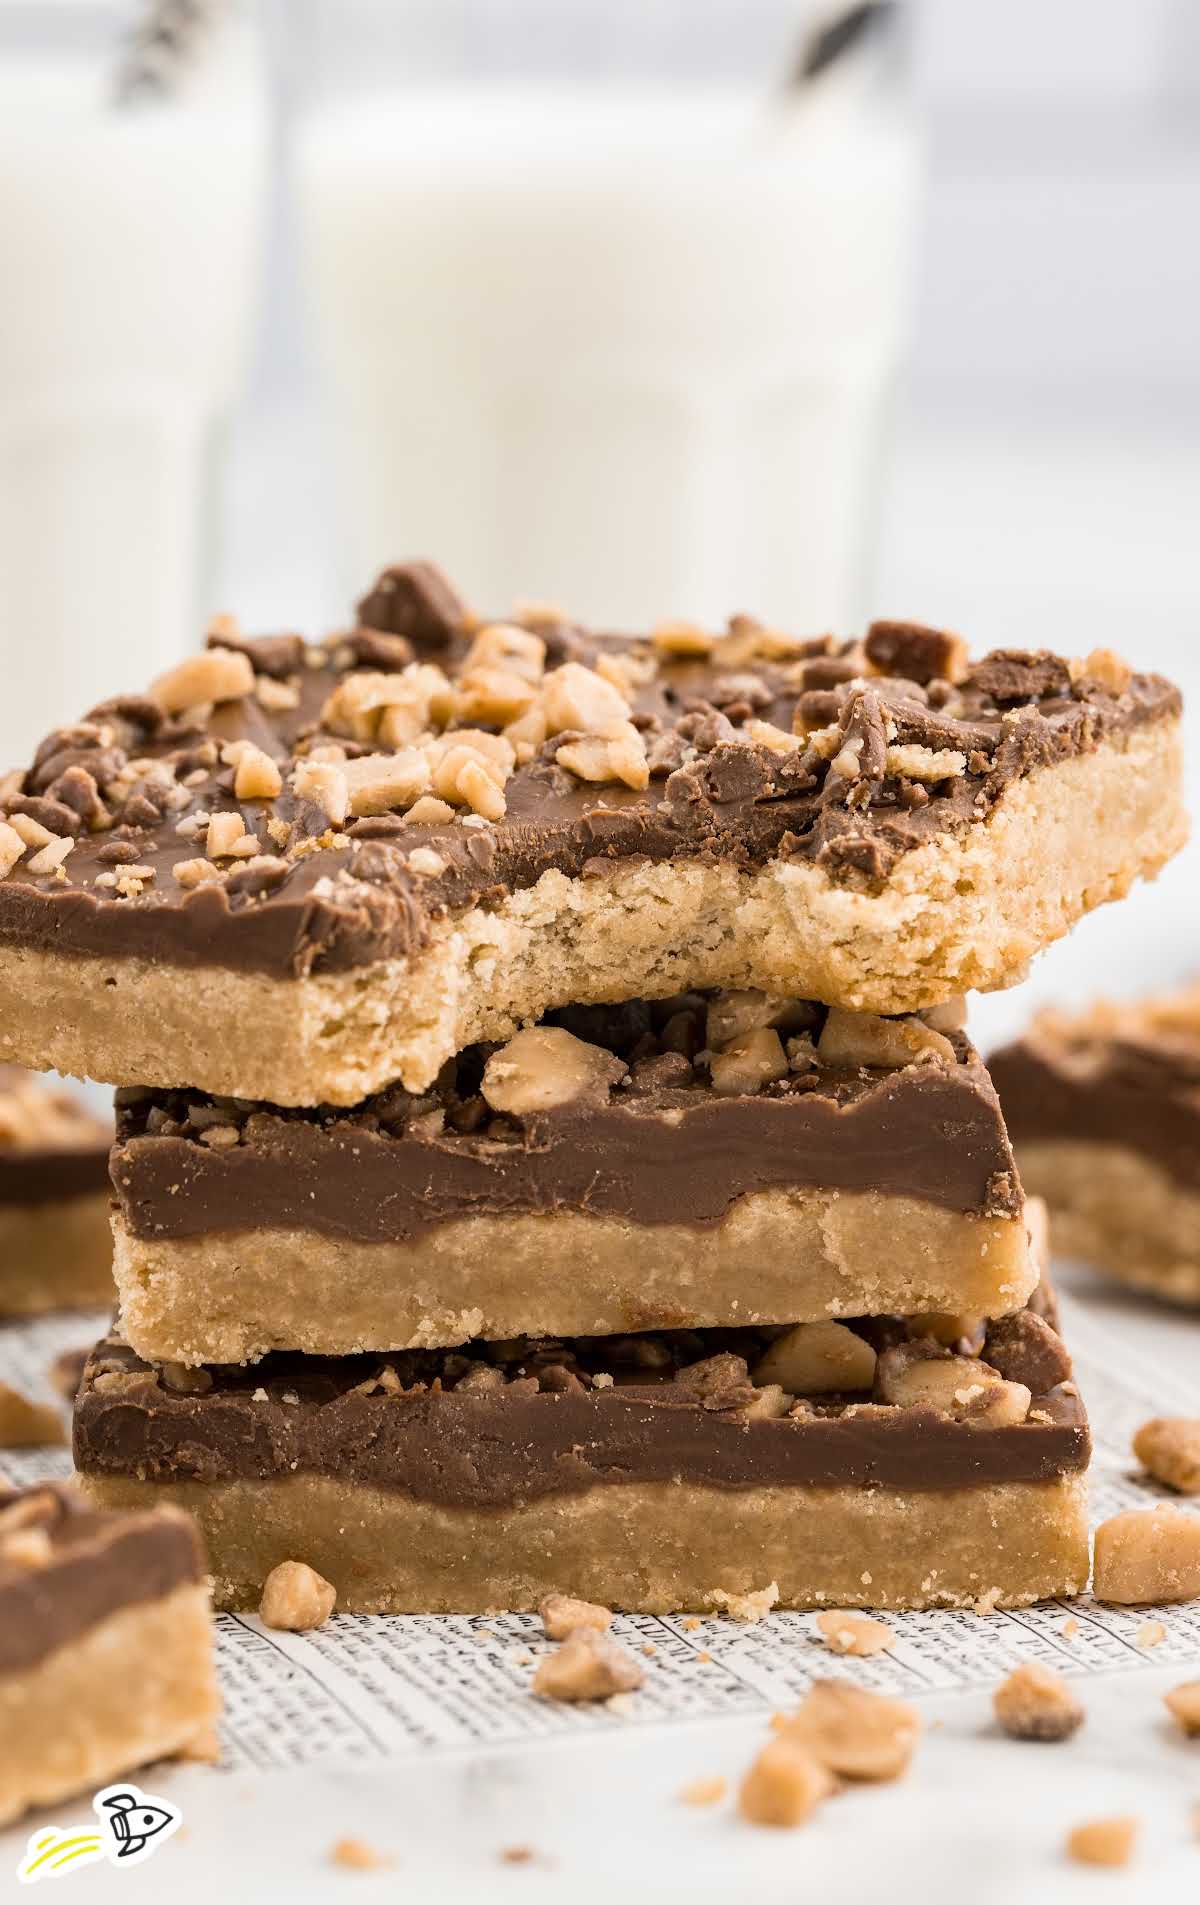
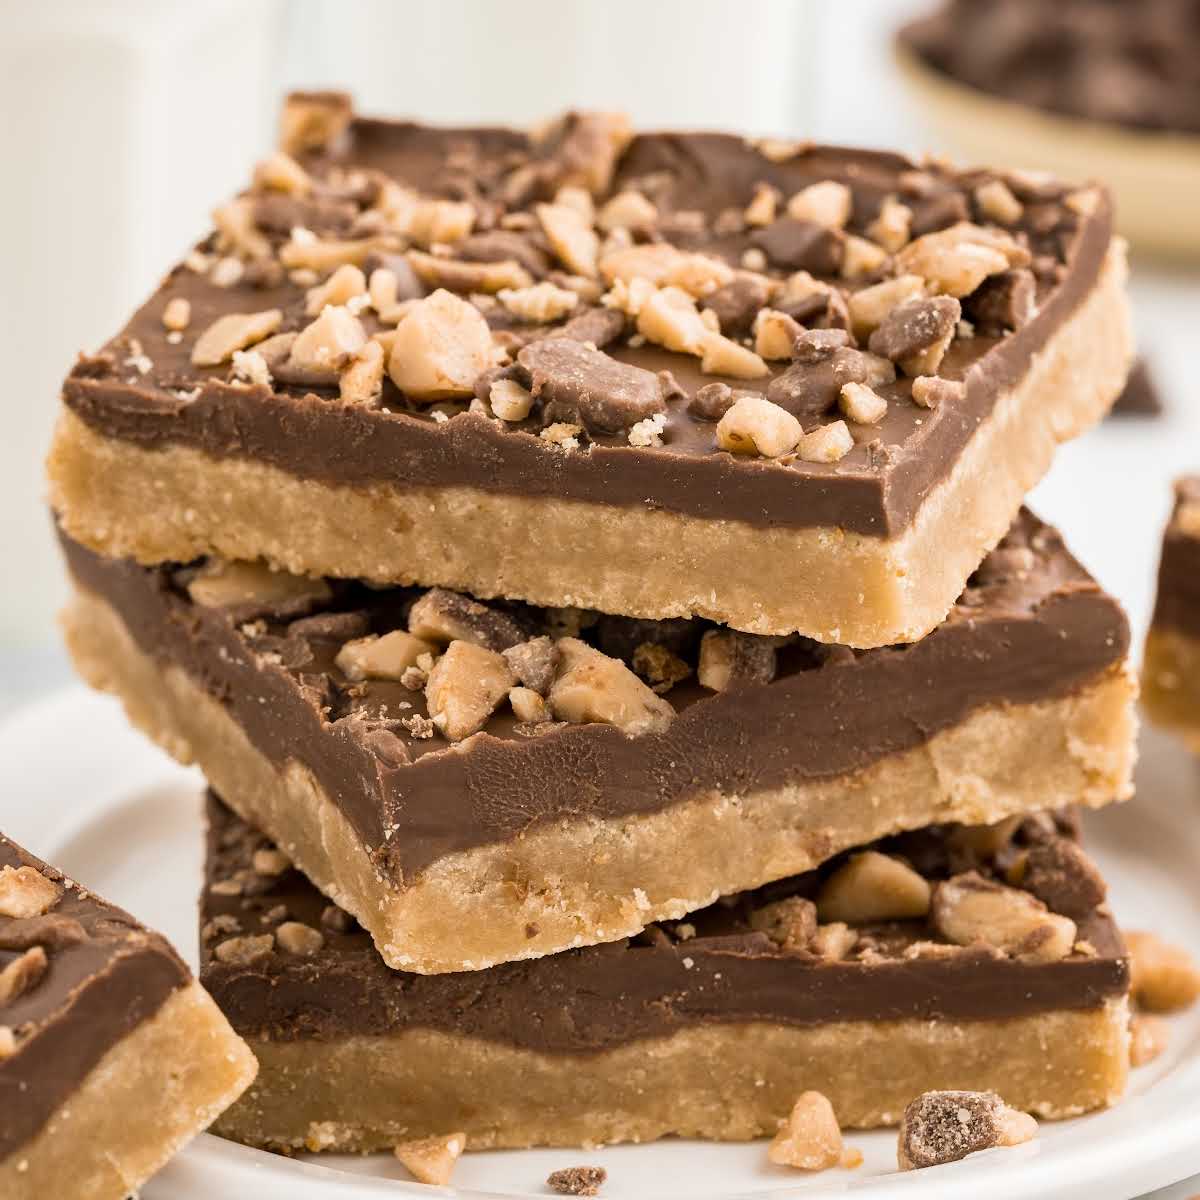
These easy toffee bars are a decadent blend of buttery goodness, creamy chocolate, and delightful toffee crunch. Whether you’re treating yourself or sharing with loved ones, these bars are sure to become a favorite in your dessert repertoire.
Frequently Asked Questions
You can use salted butter, but remember to omit the additional salt in the recipe.
Absolutely, but note that the crust might appear slightly darker due to the increased molasses content.
Finely chop a Heath brand candy bar as a substitute for toffee bits.
Let the residual heat from the crust melt the chocolate chips, then spread with a spatula.
While possible, butter provides the best flavor and texture for these bars.
More Recipes You’ll Love
- Pumpkin Cheesecake Bars
- Oreo Chocolate Chip Cheesecake Cookie Bars
- Christmas Bars
- Peanut Butter Chocolate Chip Cookie Bars
- Magic Cookie Bars
Toffee Bars
Ingredients
- 1 cup unsalted butter, room temperature
- 1 cup light brown sugar
- 1 large egg yolk
- 1½ teaspoons vanilla extract
- ½ teaspoon salt
- 2¼ cups all-purpose flour
- 2 cups milk chocolate chips
- ½ cup English toffee bits, Heath brand
Instructions
- Preheat oven to 350°F. Spray a 9×13 baking dish lightly with baker’s spray. Set aside.
- In a large bowl with a handheld mixer on medium speed, cream together the unsalted butter and light brown sugar until light and fluffy.
- Add the egg yolk and vanilla extract and mix until the egg yolk is fully incorporated.
- Add the salt and all-purpose flour to the butter mixture. Mix on low speed just until the dough comes together. This will be a very thick dough. You may need to switch to a wooden spoon to mix all the flour into the dough.
- Spread the dough into the prepared 9×13 baking dish in an even layer. You may need to use your hands to get the dough spread out and flattened.
- Bake for 22 to 25 minutes or until golden brown and a toothpick inserted into the center comes out clean.
- As soon as you take the toffee bar crust out of the oven, you will sprinkle the milk chocolate chips evenly over the surface of the dough. Return the pan to the oven for an additional 1-2 minutes. You are only looking to soften the chips slightly.
- Gently spread the melted chips to create a smooth surface using a small offset spatula.
- Top with the English toffee chips sprinkled over the entire surface of the melted chocolate.
- Allow the bars to cool completely on the counter and the chocolate to firm up before slicing and serving these toffee bars.
Notes
- Keep in mind that you will get a different shape and depth of corner bars depending on the baking pan you are using. If you are using a baking pan with rounded corners (usually glass), your corner pieces will not come out quite so defined, while metal pans tend to have clean-cut corners that will give you better-formed corner bars.
- Oven temperatures vary and may need to be recalibrated periodically to ensure they are accurate. Make sure to check your toffee bars at the lower end of the recommended baking time.
- When cutting the bars, spray a chef’s knife with cooking spray and wipe with a paper towel. This prevents the bars from sticking to the knife.



Leave a Comment