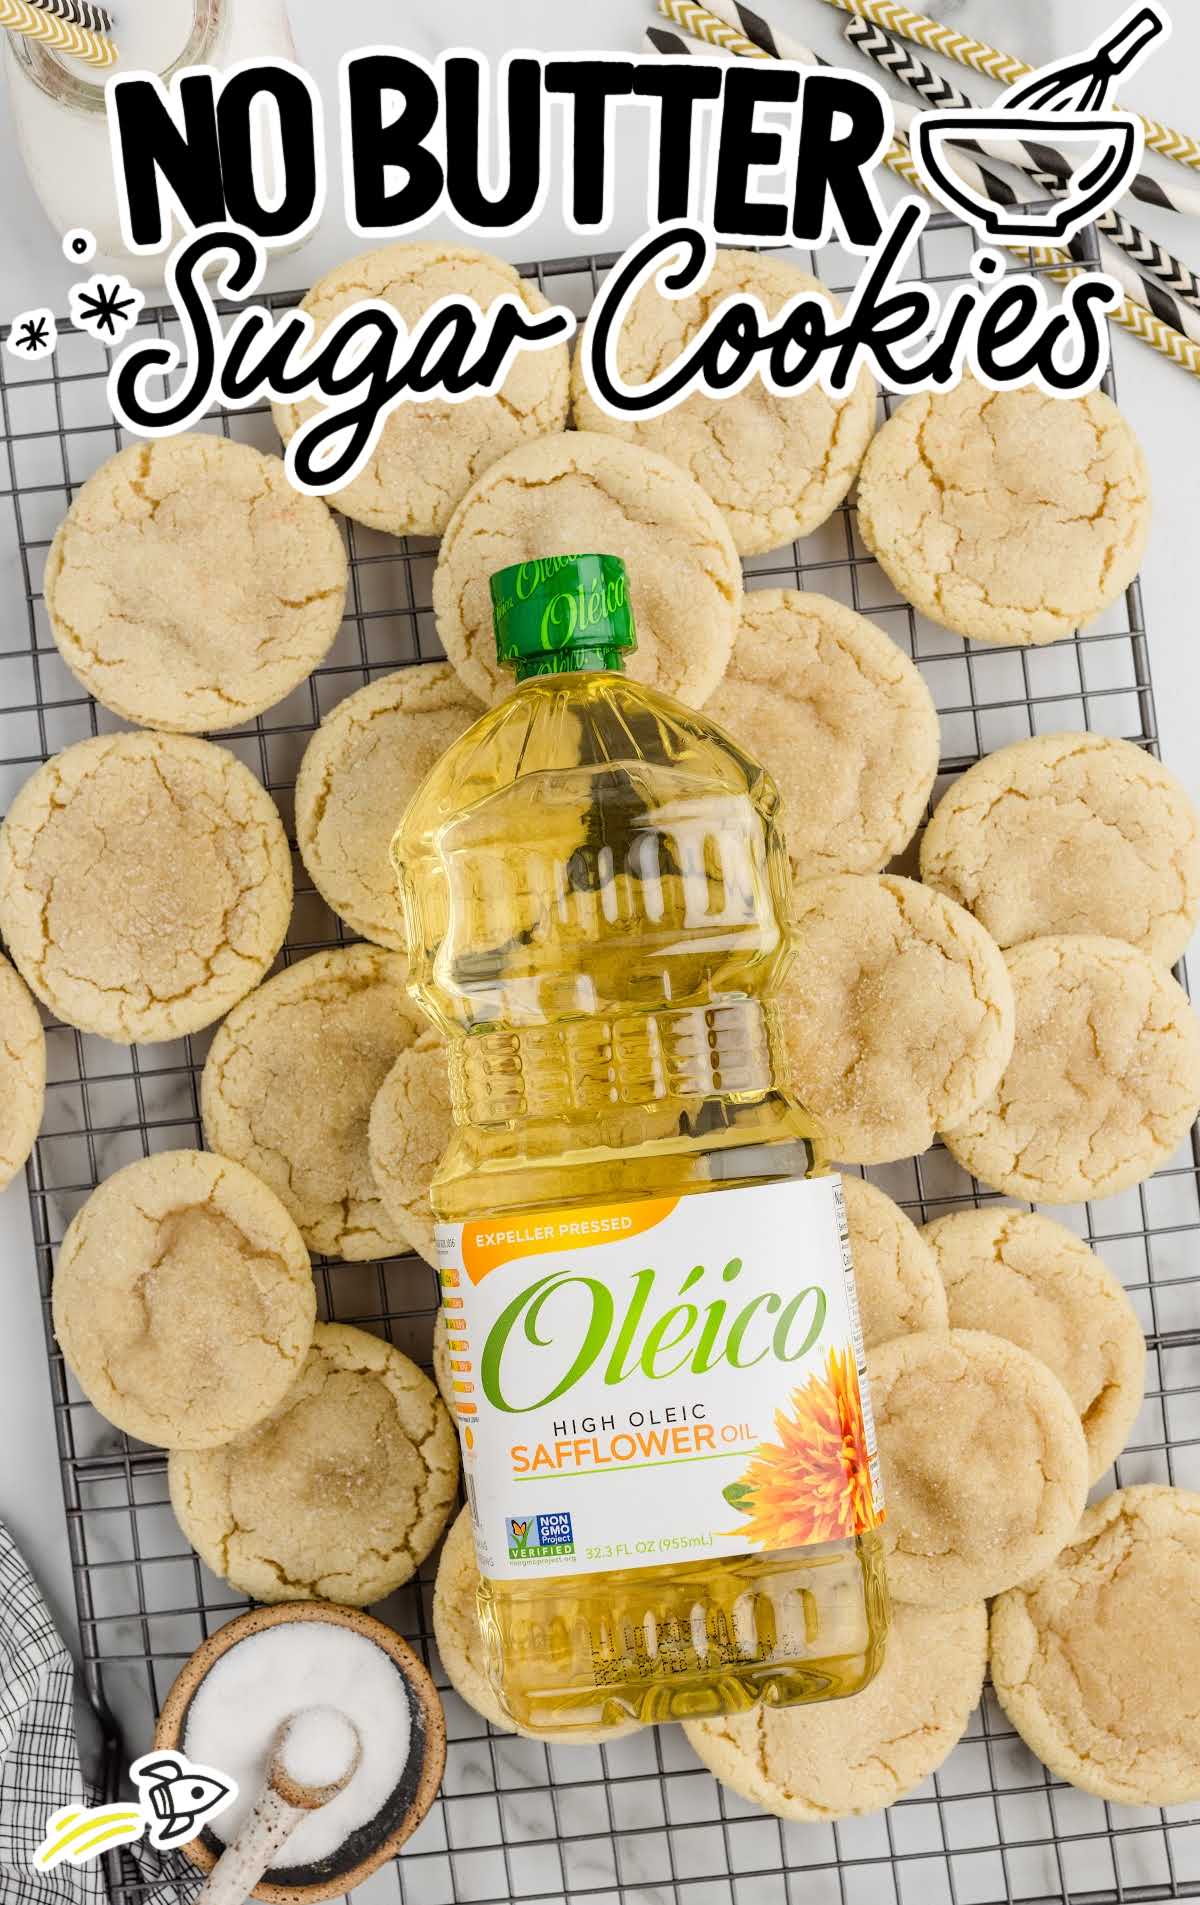
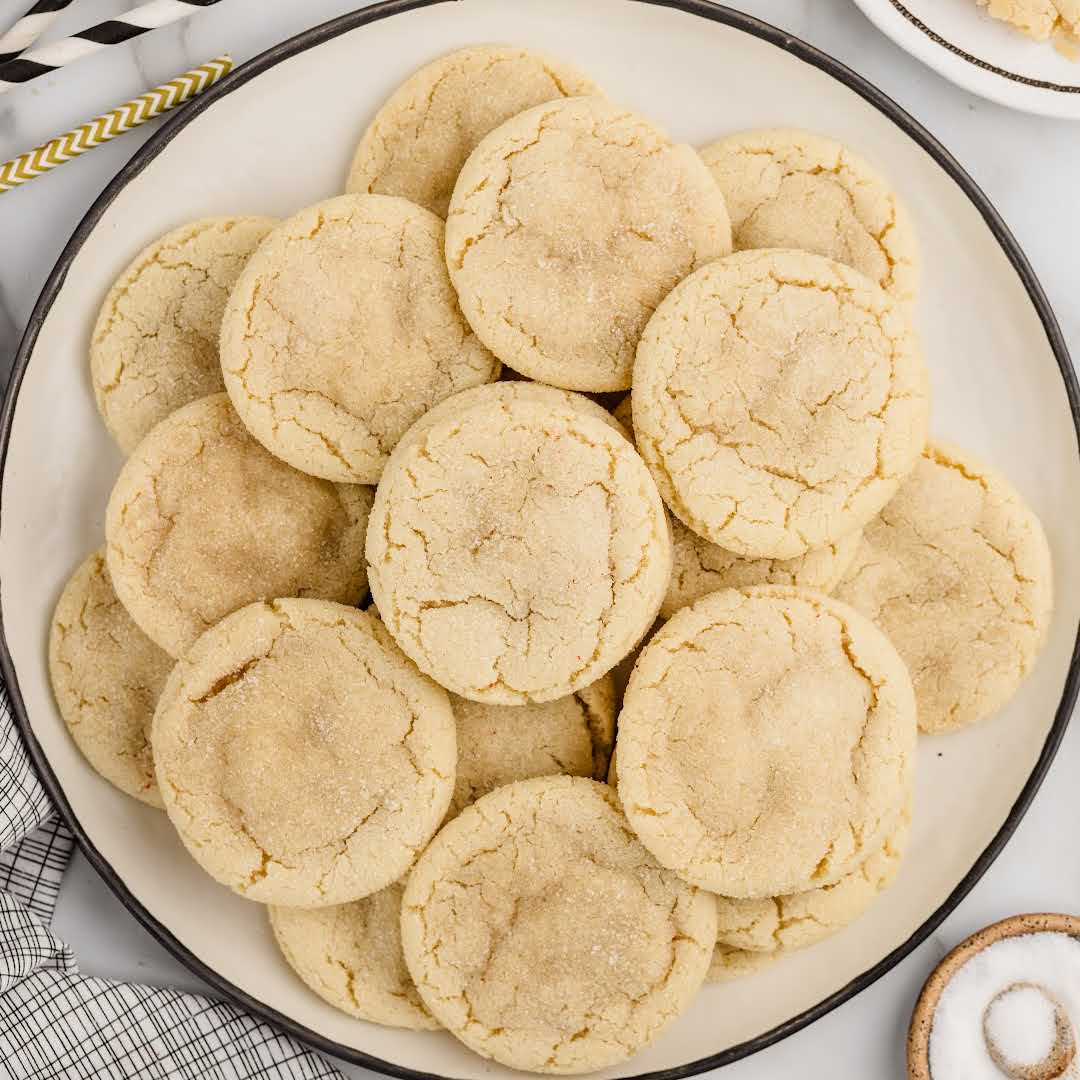
These delicious and easy no-butter sugar cookies will become a family favorite. They have a beautiful, crispy edge and a chewy center texture, that can be decorated in many ways for any occasion.
We’re excited to partner with Oléico®Safflower Oil to bring you this delicious recipe!
Ingredients for Sugar Cookies Without Butter
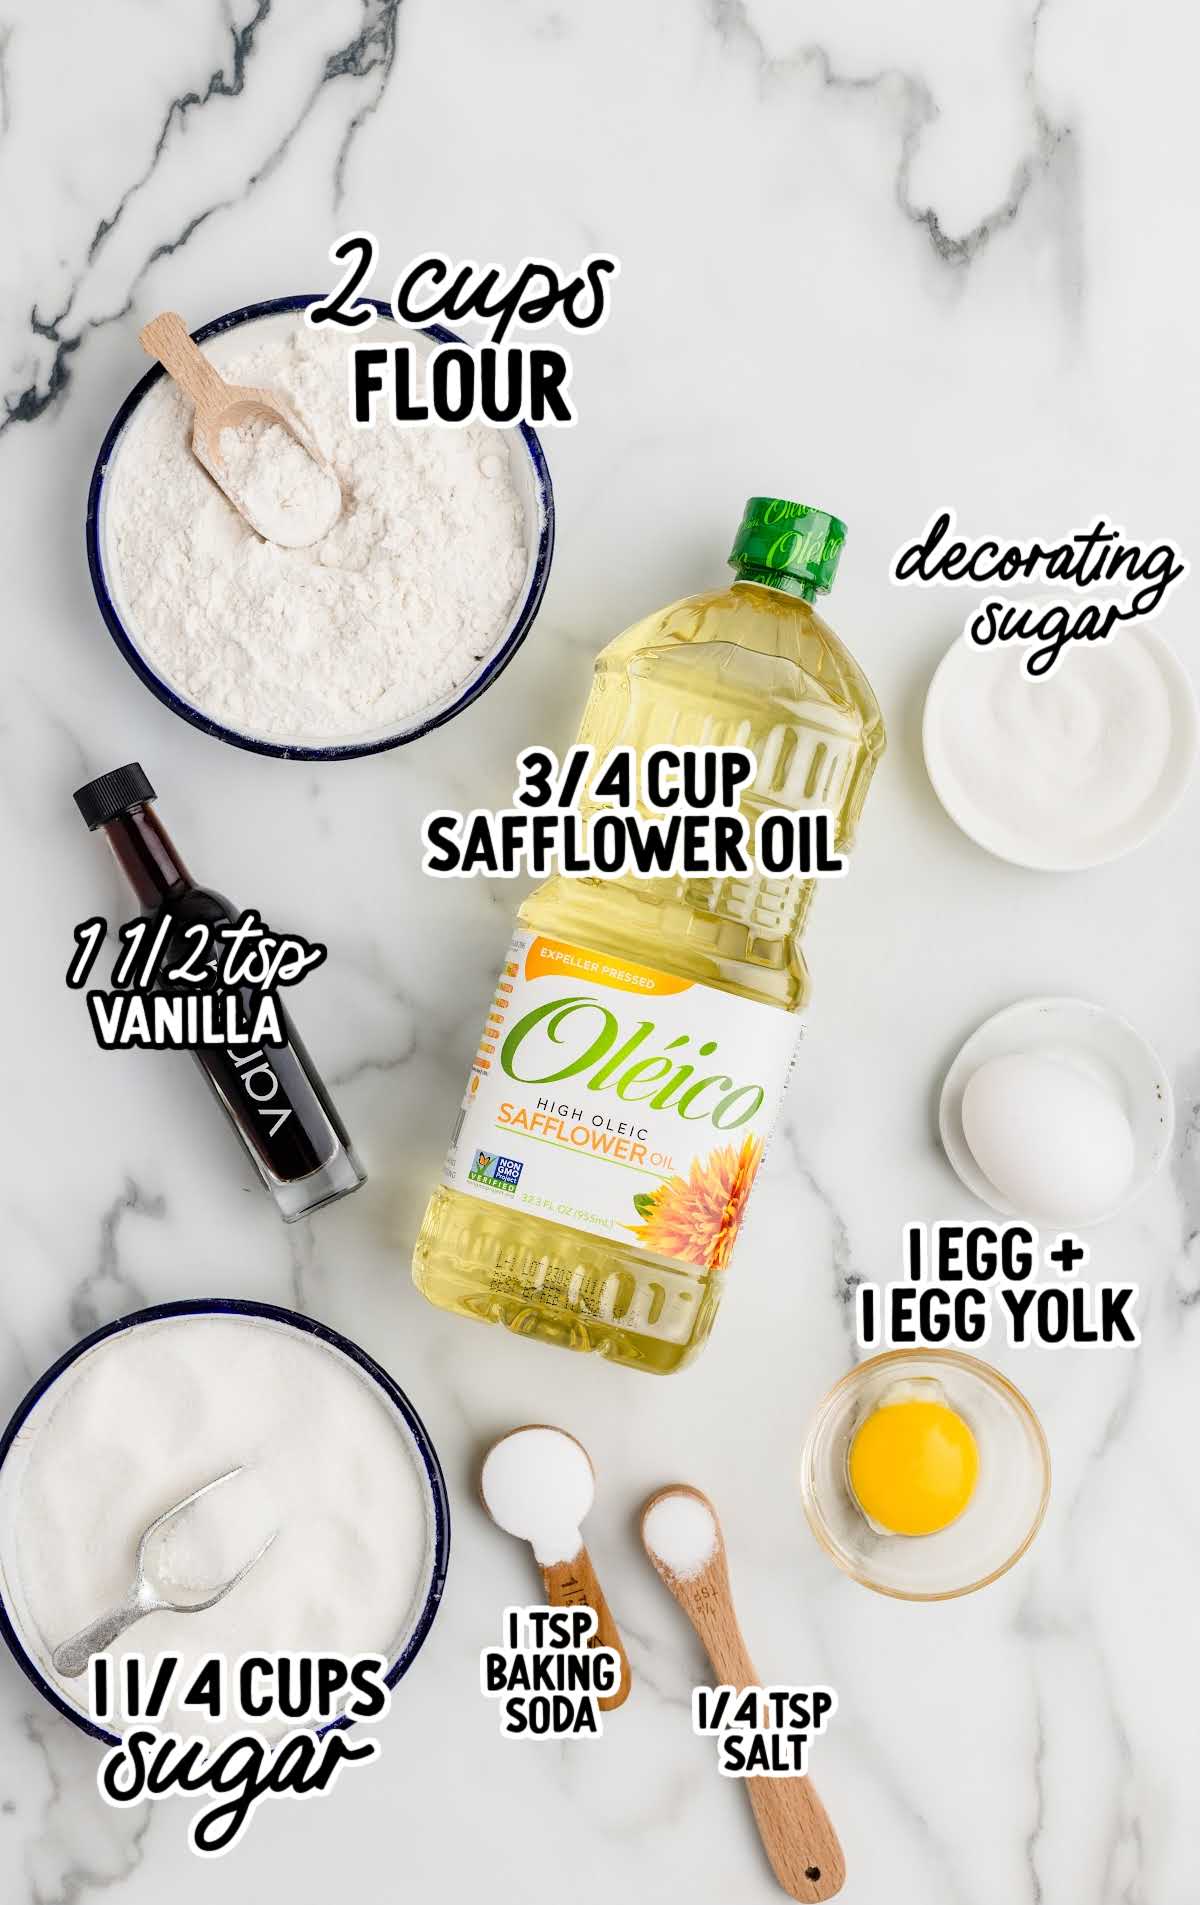
To make this yummy sugar cookie recipe without butter, you’ll use these ingredients:
- 1¼ cups granulated sugar, divided (1 cup for dough, ¼ cup for rolling)
- 2 cups all-purpose flour
- 1 teaspoon baking soda
- ¼ teaspoon salt
- ¾ cup Oléico® Safflower Oil
- 1 large egg, room temperature
- 1 large egg yolk, room temperature
- 1½ teaspoons vanilla extract
To garnish:
- colored sanding sugar
- multi-colored jimmies sprinkles
- multi-colored nonpareils sprinkles
You can use just one of these options or a variety of these coatings for the cookies, in any color combination that fits your holiday celebration or event.
Why We Recommend Oléico Safflower Oil
Oléico® High Oleic Safflower Oil has a mild flavor and no odor, so it doesn’t overpower other ingredients. This makes it a great choice for a variety of dishes from family dinners to baking.
It’s the perfect pantry staple to have on hand for all your cooking and baking, especially during the holidays. High quality ingredients matter and always makes such a difference in how your recipes turn out!
It also has a high smoke point, which means you can use it at high temperatures – up to 450* – without it breaking down.
It’s a good source of omega-9 fatty acids, which are considered to be beneficial for heart health. It’s also non-GMO and Kosher certified.
It’s expeller pressed, which means no chemicals are used during the process to process or extract the oil. Made from High Oleic Safflower Seeds, it’s 100% natural so you can feel good serving it to your family and friends.
It’s available nationally at grocery stores, or online on Amazon. Choose Oléico® Safflower Oil for all your cooking, frying, and baking, as well as a base for marinades and salad dressings.
Substitutions and Additions for No Butter Sugar Cookies
GRANULATED SUGAR: For a different flavor profile, you can use light brown sugar instead of granulated sugar in the dough. This will give the cookies a richer, slightly caramel-like taste.
Keep in mind that brown sugar can make the cookies a bit more moist and chewy.
For rolling, stick to granulated sugar to maintain the classic texture on the outside.
ALL-PURPOSE FLOUR: If you’re looking for a gluten-free alternative, a gluten-free all-purpose flour blend can be used.
Make sure it’s a 1:1 substitution blend for best results. The texture of the cookies might vary slightly, but they should still be delicious.
VANILLA EXTRACT: For a different twist, almond extract can be used in place of vanilla. This substitution adds a nutty and slightly sweet flavor.
Use half the amount of almond extract as it’s stronger in flavor compared to vanilla.
COLORED SANDING SUGAR, JIMMIES, OR NONPAREILS SPRINKLES: Feel free to experiment with different types of sprinkles or even crushed nuts for a bit of crunch.
You can also use a mix of cinnamon and sugar for a warm, spiced coating.
Keep in mind that each addition will bring its own unique flavor and texture to the cookies.
SALT: Add a pinch of salt to enhance the sweet flavors, sprinkling on before baking.
CHOCOLATE CHIPS: You can add about one cup of mini chocolate chips to the cookie dough.
COCOA POWDER: Because cocoa powder absorbs more liquid than flour, you’ll need to adjust the amount of flour to maintain the right consistency of the dough.
Add about ½ cup of unsweetened cocoa powder to the recipe. Then, reduce the all-purpose flour by ½ cup to compensate for the added dry ingredient.
So, you would use 1 ½ cups of all-purpose flour instead of 2 cups.
NUTS: Almonds, walnuts, pecans, or even hazelnuts are great choices for adding to these tasty sugar cookies. A good starting point is about ½ to ¾ cup of nuts.
It’s best to chop the nuts into small pieces, especially if you’re using larger nuts like walnuts or pecans. This makes it easier to incorporate them into the dough and ensures a more uniform texture in each cookie.
Add the nuts into the cookie dough after combining the wet and dry ingredients. Fold them in gently to distribute evenly throughout the dough.
FROSTING: Want to add a swirl of frosting on top of the cookies instead of rolling in sprinkles? Try our cream cheese frosting or cool whip frosting.
You could also add food coloring to the frosting to help incorporate a theme for the holidays. This would be the perfect addition to a decorating party with kids!
How to Make These No Butter Sugar Cookies
STEP ONE: Start by lining two large cookie sheets with parchment paper.
Add ¼ cup of granulated sugar to a small bowl. This will be used to roll the cookie dough balls in before baking.
If you are using any of the additional optional sprinkle coatings, you will need to add them to a small bowl at this time as well. Set aside.
STEP TWO: Next, whisk together the all-purpose flour, baking soda, and salt in a medium mixing bowl. Set aside.
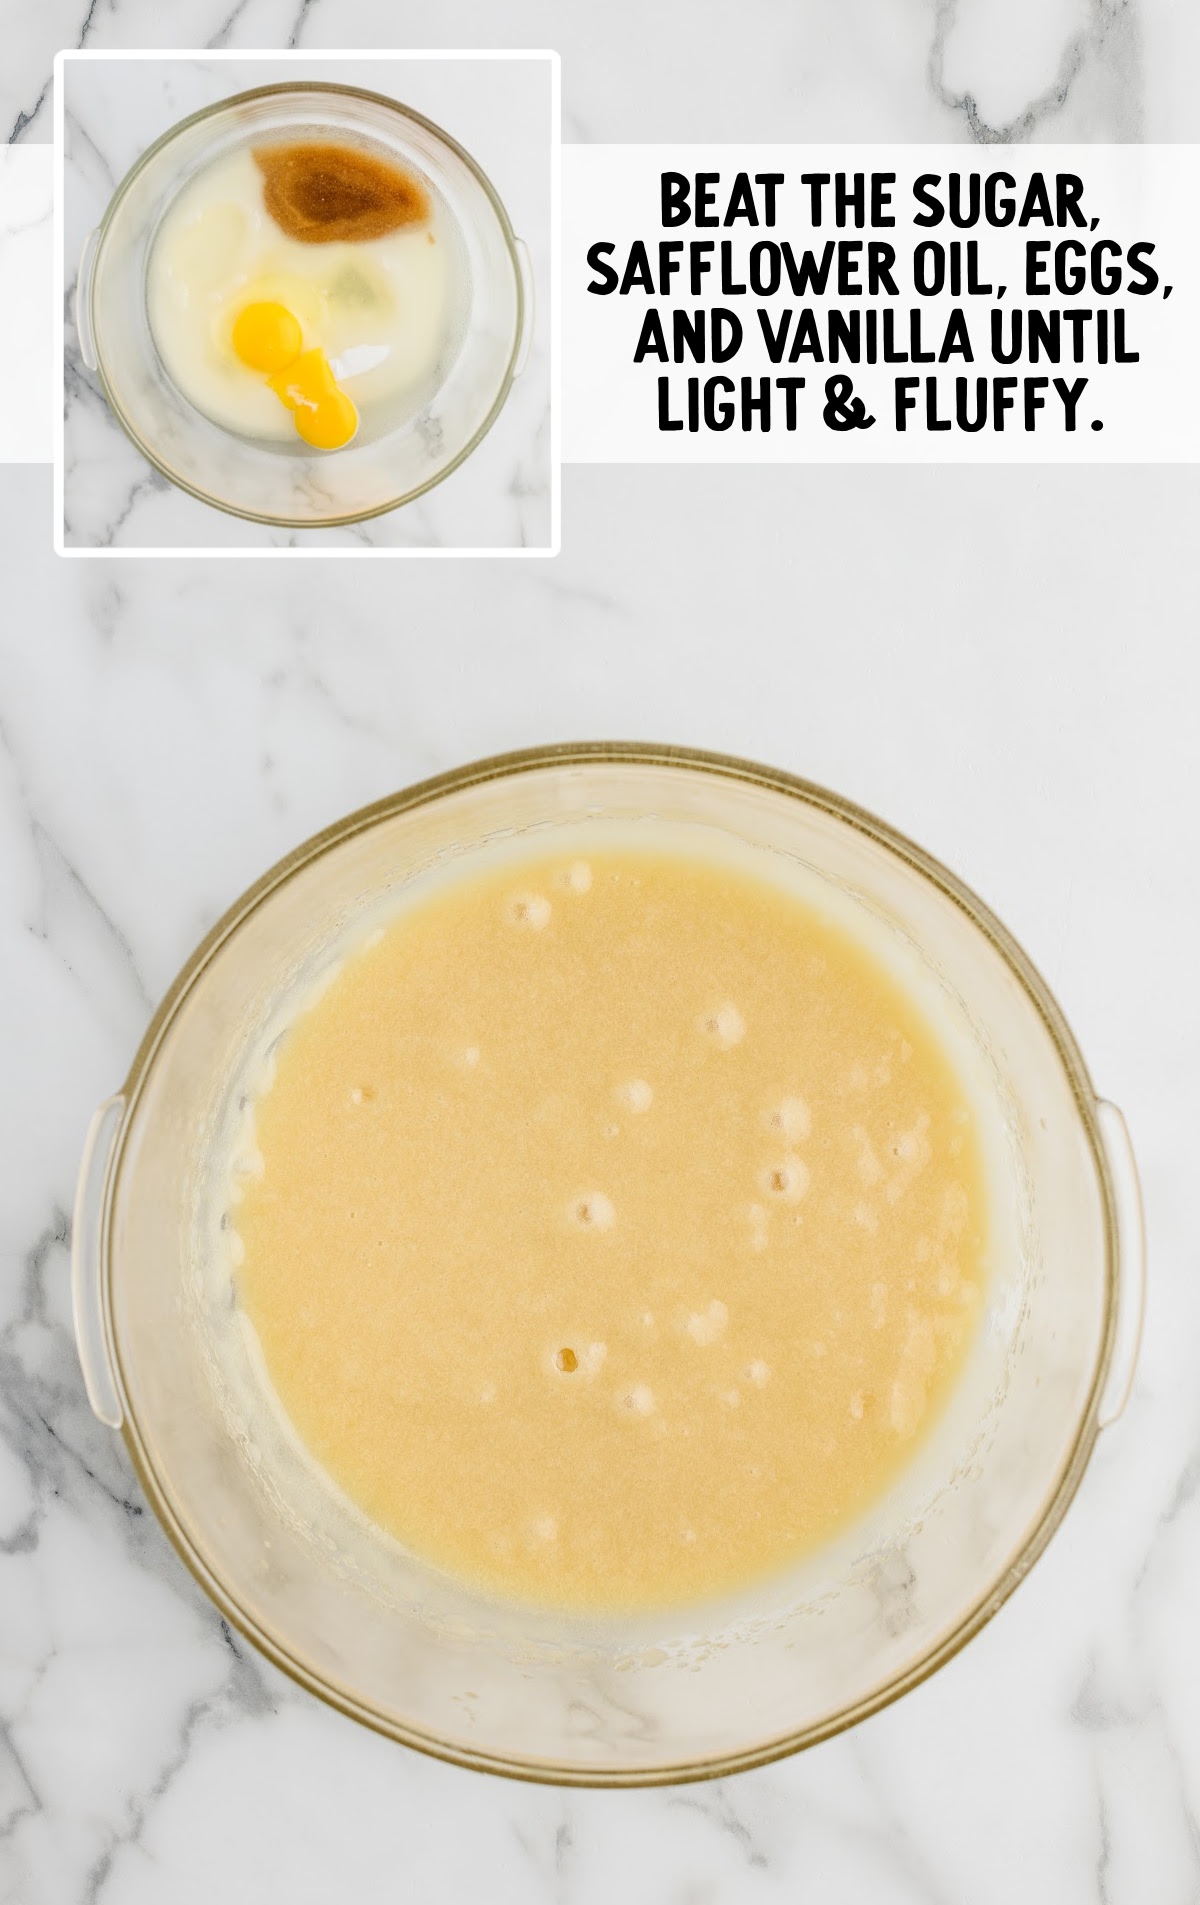
STEP THREE: Add one cup of granulated sugar, Oléico® Safflower Oil, one large egg, one large egg yolk, and vanilla extract in a large mixing bowl.
Beat on medium speed, using a handheld mixer, for one minute or until the mixture is light and fluffy.
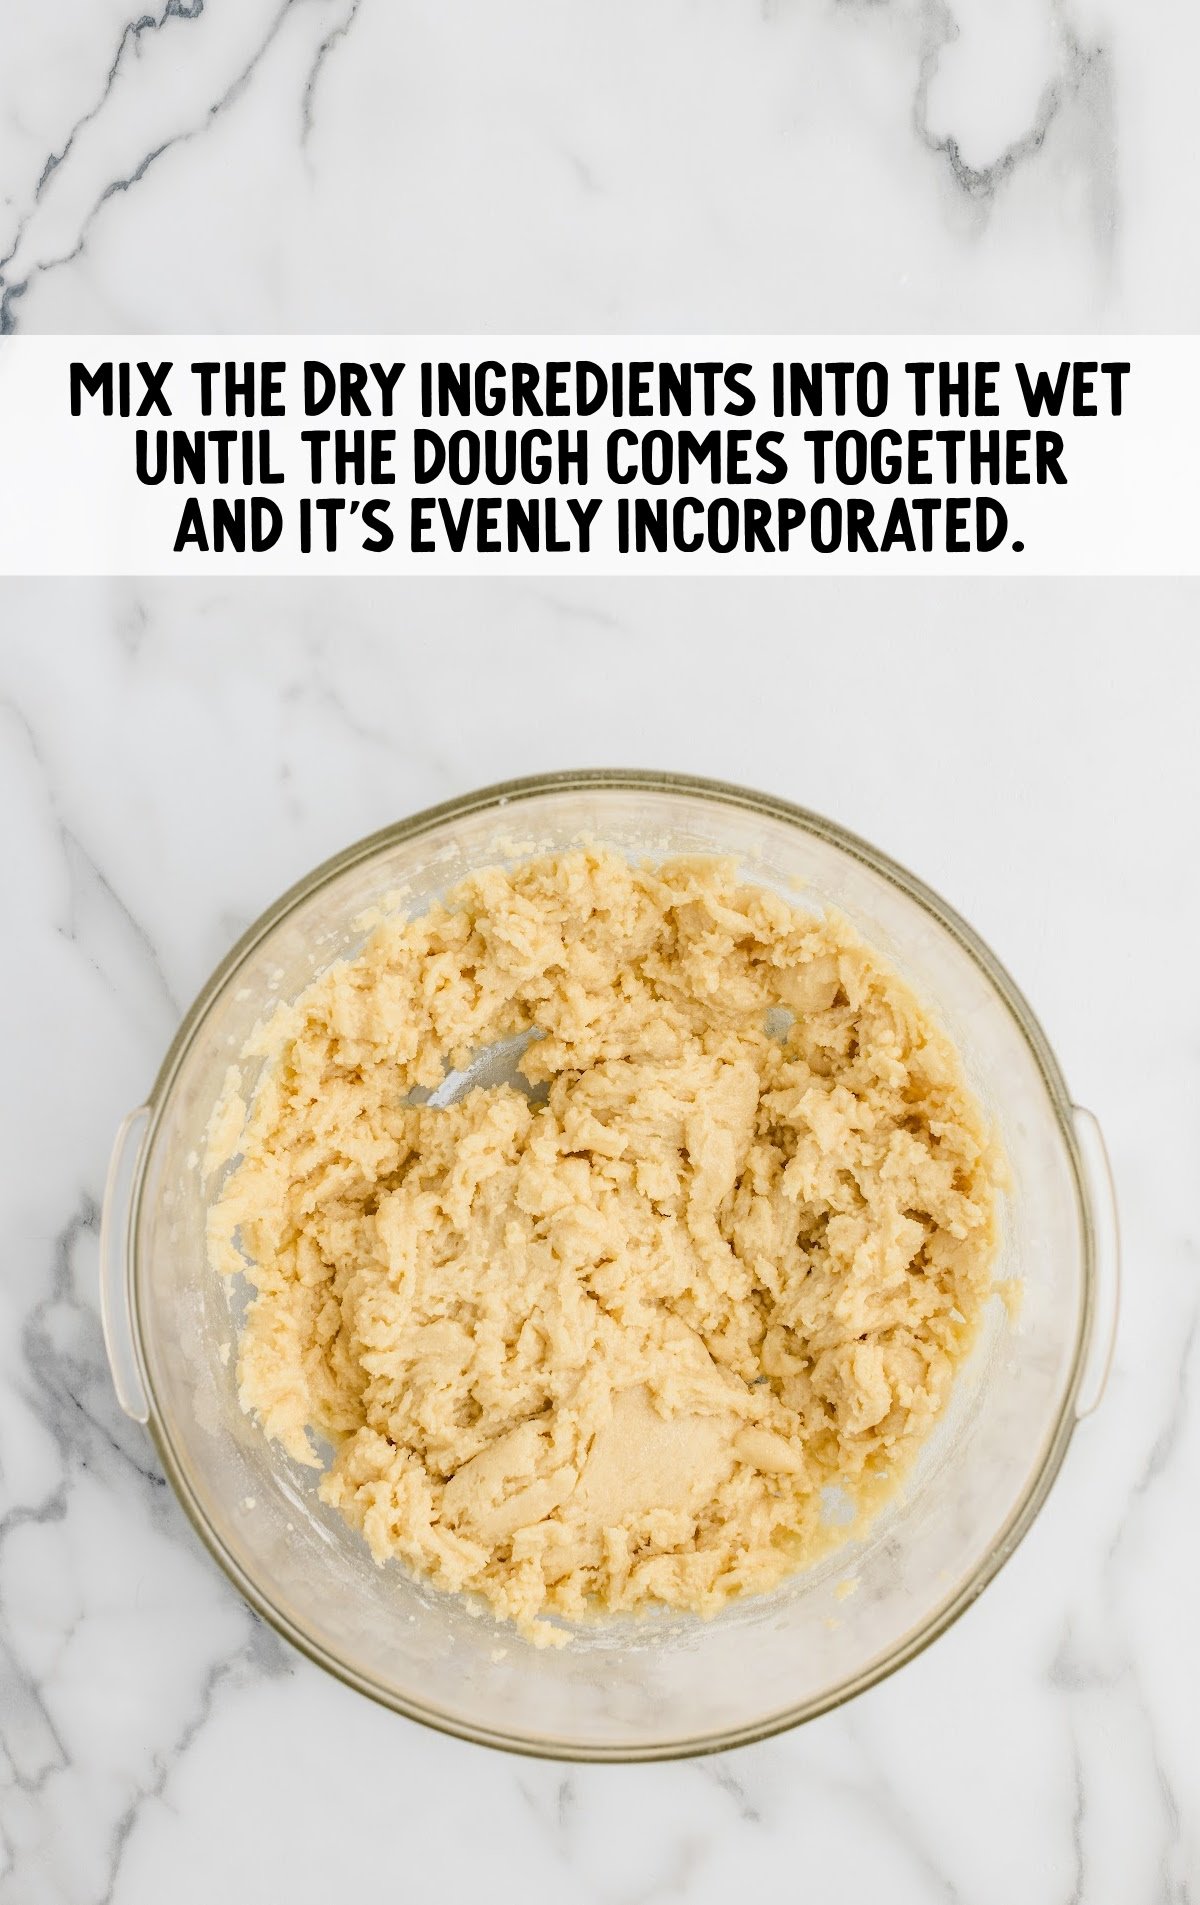
STEP FOUR: Add the dry ingredients to the bowl of wet ingredients.
Mix on low speed until the dough comes together and all the wet ingredients have been evenly incorporated with the flour.
You may need to scrape down the sides and bottom of the bowl to ensure that the sugar cookie dough is evenly mixed.
Avoid over-mixing the dough once you add the dry ingredients to the wet ones. Mix just until the ingredients are combined to keep the cookies tender.
STEP FIVE: You’ll use a one-tablespoon cookie scoop to form the dough balls.
- Take a leveled amount of sugar cookie dough and gently roll it in the palm of your hand to create a smooth ball.
- Place the dough ball into the small bowl of granulated sugar and roll around to coat the entire surface of the sugar cookie dough ball.
- Place the coated sugar cookie dough ball onto one of the parchment-lined baking sheets.
- Repeat until all the cookies have been rolled and coated in the sugar or optional sprinkles.
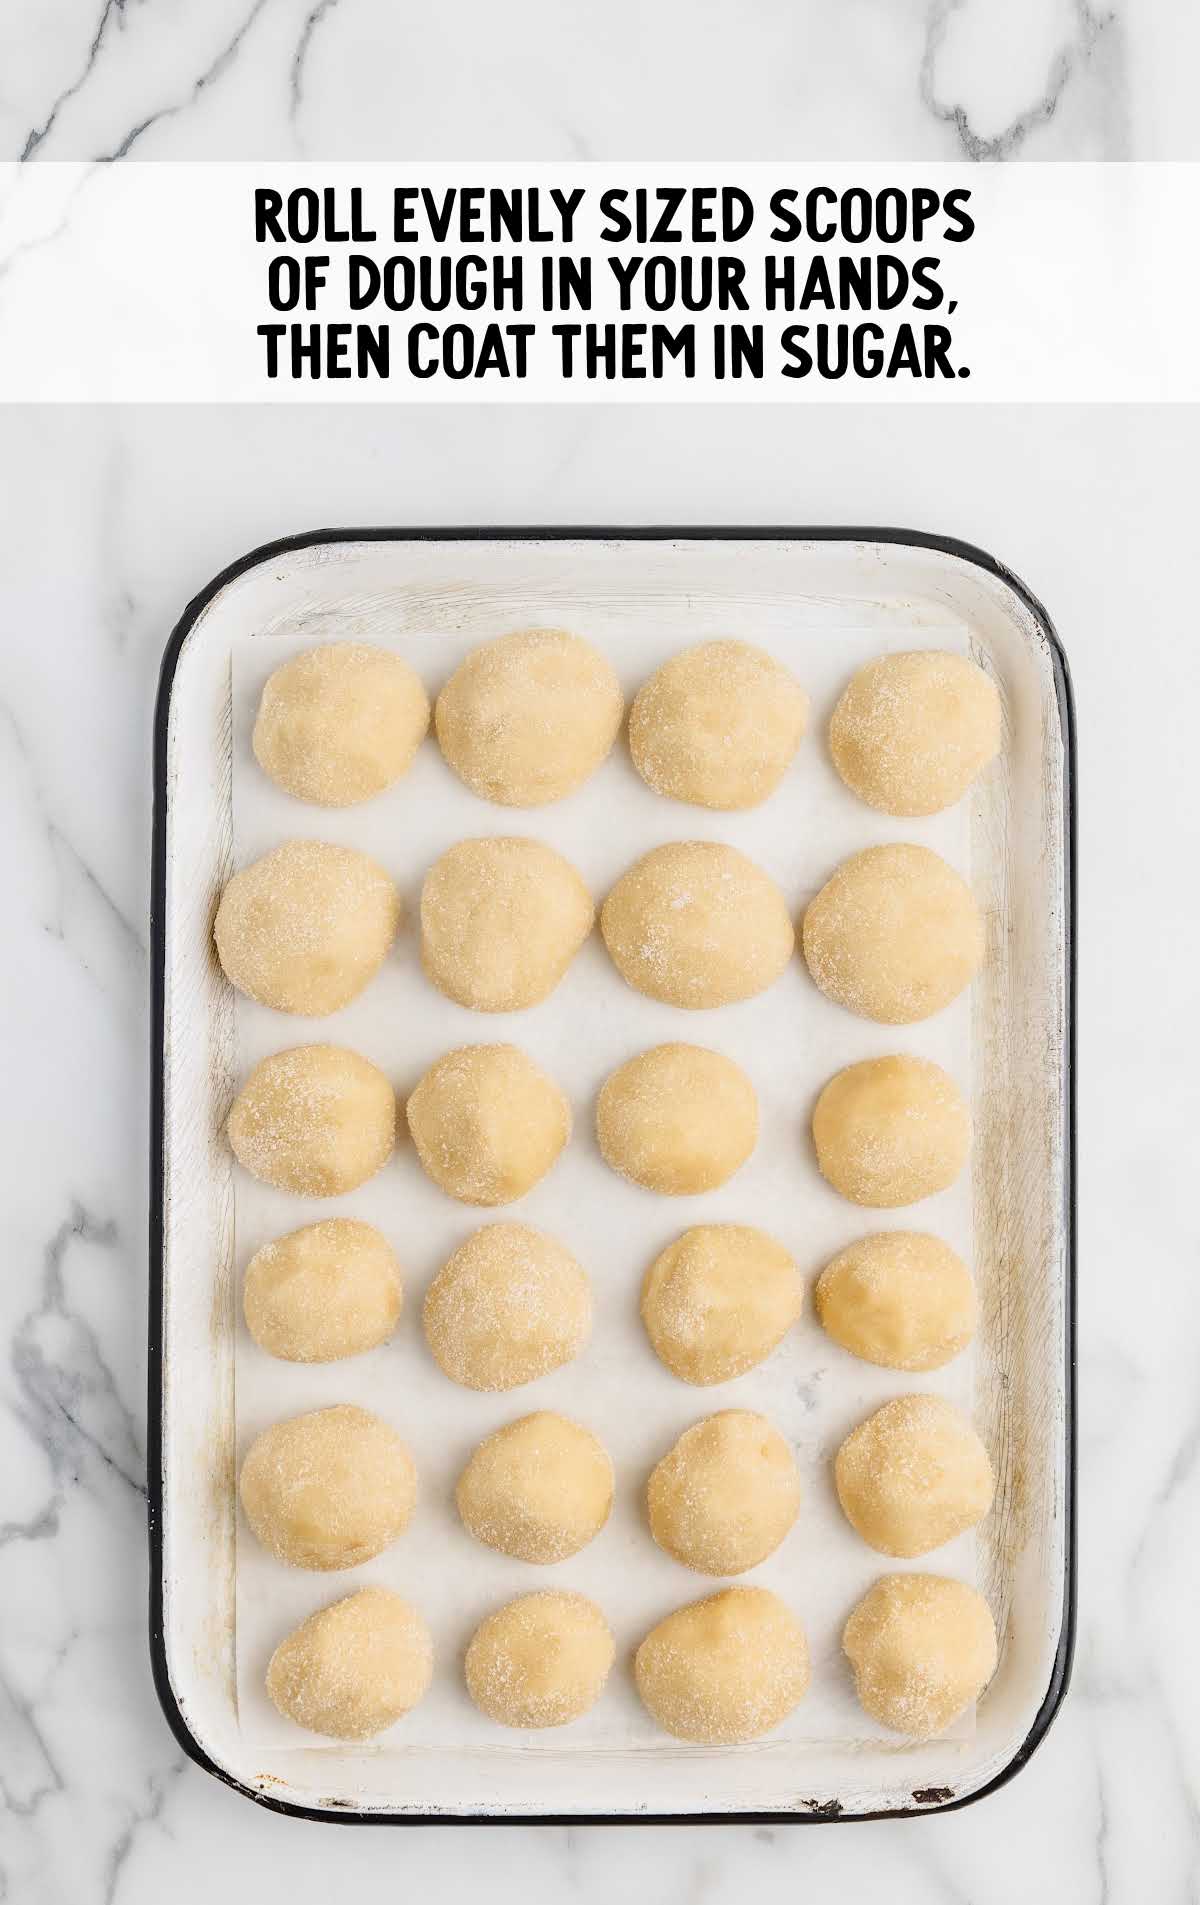
You can place all the rolled cookies close together on a single cookie sheet, just make sure they are not touching.
The second cookie sheet will be used for baking your cookies.
Be sure to place the cookies 1½-2 inches apart. You should be able to fit 12 cookies per baking sheet.
STEP SIX: Chill the cookies in the refrigerator for 30 minutes to allow the dough to firm up before baking. This will ensure that the cookies do not spread too much when baked.
STEP SEVEN: Preheat the oven to 350°F.
Remove the chilled cookie dough balls from the refrigerator and place half of the rolled cookie dough balls onto the second parchment-lined baking sheet.
The cookies should be spaced 1 ½ – 2 inches apart.
PRO TIP:
Oven temperatures vary and may need to be recalibrated periodically to ensure they are accurate. Make sure to check it at the lower end of the recommended baking time.
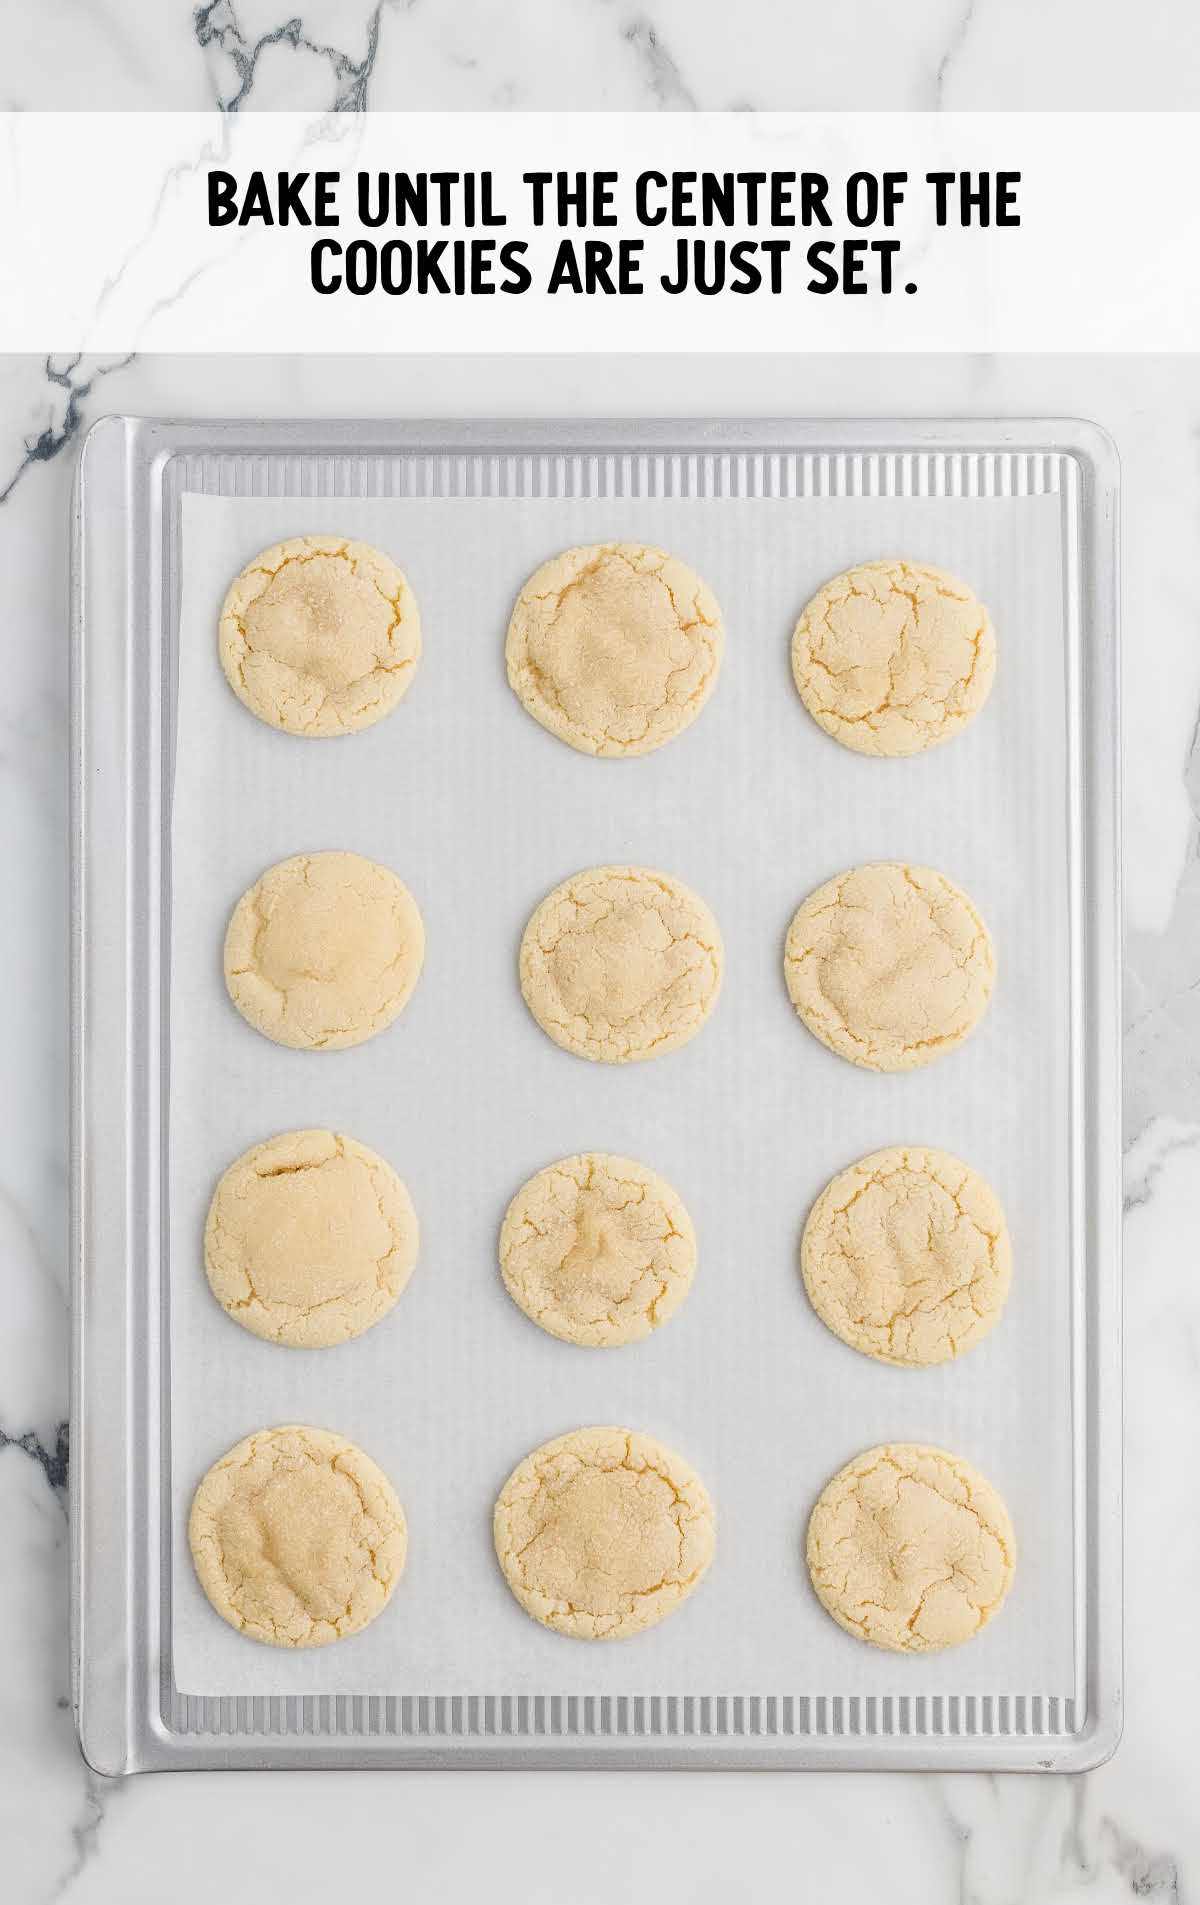
STEP EIGHT: Bake for nine to 11 minutes or just until the center is set. You do not want to overbake these cookies as they will harden up slightly as they cool.
Your cookies should be a very pale color.
STEP NINE: Allow these no-butter sugar cookies to cool on the baking sheets for five to eight minutes before transferring them to a wire cooling rack.
Allow them to cool completely before plating and serving.
Repeat with the remaining rolled cookie dough balls until all the cookies have been baked and cooled.
Troubleshooting This Recipe
My cookies spread too much.
Solution: Make sure to chill the dough as directed in the recipe, or even a bit longer if your kitchen is warm.
Also, ensure your baking sheets aren’t warm when placing the dough on them.
My cookies are too hard.
Solution: Bake the cookies just until the centers are set, as per the recipe instructions.
Remember, they will continue to harden as they cool. It’s better to err on the side of underbaking if you prefer softer cookies.
My dough is too sticky.
Solution: If the dough is too sticky, you can add a little more flour, a tablespoon at a time, until it reaches a manageable consistency.
If it’s too oily, chilling the dough longer can help solidify the oil.
My cookies were baked unevenly.
Solution: You can use an oven thermometer to check for accurate temperature.
Also, bake one sheet at a time, placing it in the center of the oven for even heat distribution.
My cookies don’t look as expected.
Solution: Be sure to roll the dough balls gently and evenly. Use granulated sugar for rolling, as it gives a nice texture and appearance.
You’ll also want to use fresh, high-quality ingredients for the best results.
How to Serve Butterless Sugar Cookies
Now that you’ve baked a batch of these delightful no-butter sugar cookies, it’s time to think about serving them in ways that amplify their sweet, simple charm.
Whether you’re enjoying them as a standalone treat or looking to incorporate them into a larger spread, these cookies are incredibly versatile.
Let’s explore some creative and delicious ways to serve them:
Classic and Simple: There’s something to be said for enjoying these cookies in their purest form, fresh and warm from the oven.
Their crispy edges and chewy centers make them a perfect standalone snack.
With a favorite drink: Our mint hot chocolate works particularly well.
Other options include our vanilla latte, coconut milk latte, homemade hot chocolate, or a hot toddy.
A glass of cold milk is always a classic pairing. However you could serve with specialty coffees such as an iced macchiato or frappuccino.
Cold iced tea or strawberry sweet tea are also great choices.
Ice Cream Sandwiches: For a fun twist, use two cookies to sandwich a scoop of your favorite ice cream.
Vanilla, strawberry, or even chocolate ice cream can complement the subtle sweetness of the cookies.
Roll the edges in mini chocolate chips or sprinkles for an extra touch.
Dessert Charcuterie Board: Add these cookies to a dessert charcuterie board alongside a variety of cheeses, fresh fruits, and dark chocolate.
The irresistible texture of the cookies pairs wonderfully with the creaminess of cheeses like brie or camembert and the tartness of fruits like berries or sliced apples.
Crumbled Cookie Topping: Crumble these cookies and use them as a topping for yogurt, pudding, or even a fruit salad.
Their crunchy texture and sweet flavor add a delightful contrast to these creamy or juicy desserts.
Tea Time Pairing: Serve these cookies as part of a high tea spread. They pair beautifully with a range of teas, from classic English breakfast to aromatic Earl Grey.
DIY Cookie Decorating: For a fun activity, especially with kids, set up a DIY decorating station.
Provide various toppings like icing, different types of sprinkles, and edible glitter. This not only makes for a fun activity but allows everyone to customize their cookie to their liking.
Each of these serving suggestions brings out a different dimension of the no-butter sugar cookies, making them suitable for a range of occasions and preferences.
Enjoy experimenting with these ideas, and find your favorite way to share them!
Storing No Butter Sugar Cookies
Storing your freshly baked no-butter sugar cookies correctly is crucial to maintaining their taste and texture.
Whether you’re prepping these cookies ahead of time, keeping them fresh for a few days, or saving some for later in the freezer, proper storage ensures every bite remains as delicious as when they first came out of the oven.
Let’s dive into some easy-to-follow storage tips for these delectable treats.
Make Ahead: These sugar cookies are a fantastic make-ahead option for any occasion.
You can prepare the dough up to two days in advance. Simply cover the dough tightly with plastic wrap and store it in the refrigerator.
When you’re ready to bake, let the dough sit at room temperature for about ten to 15 minutes to soften slightly. Then proceed with rolling and baking as per the recipe instructions.
In the Fridge: After baking, if you have leftovers or want to keep the cookies fresh for a few days, store them in an airtight container.
They’ll stay fresh in the fridge for up to one week.
Just make sure they’re completely cool before storing to prevent condensation, which can make them soggy.
If you’ve used any of the optional sprinkle coatings, they may bleed color slightly over time in the fridge, so it’s best to enjoy those cookies earlier.
In the Freezer: For longer storage, these cookies freeze beautifully.
Place the cooled cookies in a single layer on a baking sheet and freeze until solid, about one hour. Then, transfer them to a freezer-safe airtight container or zip-top bag, separating layers with parchment paper to prevent sticking.
They can be frozen for up to three months.
Reheating: To enjoy a warm cookie, you can reheat them straight from the fridge or freezer.
For the oven, preheat to 300°F and place the cookies on a baking sheet for a few minutes.
If using a microwave, place a cookie on a microwave-safe plate and heat for ten to 15 seconds or until just warm. Be cautious as they can become very hot quickly!
Reheating from frozen may require a few extra seconds in the microwave.
Remember, the goal is to warm them, not re-bake them!
Why We Think This is the Best No Butter Sugar Cookie Recipe
Simple Ingredients: The recipe uses basic pantry staples, making it accessible and convenient. There’s no need for any fancy or hard-to-find ingredients.
No Butter Required: By using Oleico Safflower Oil instead of butter, these cookies not only offer a unique taste but also cater to those who might have dietary restrictions.
Easy to Make: The process is straightforward and perfect for bakers of all skill levels. Whether you’re a beginner or a seasoned baker, you’ll find the instructions easy to follow.
Versatile: This recipe allows for various customizations. You can add chocolate chips, nuts, or different extracts to change the flavor.
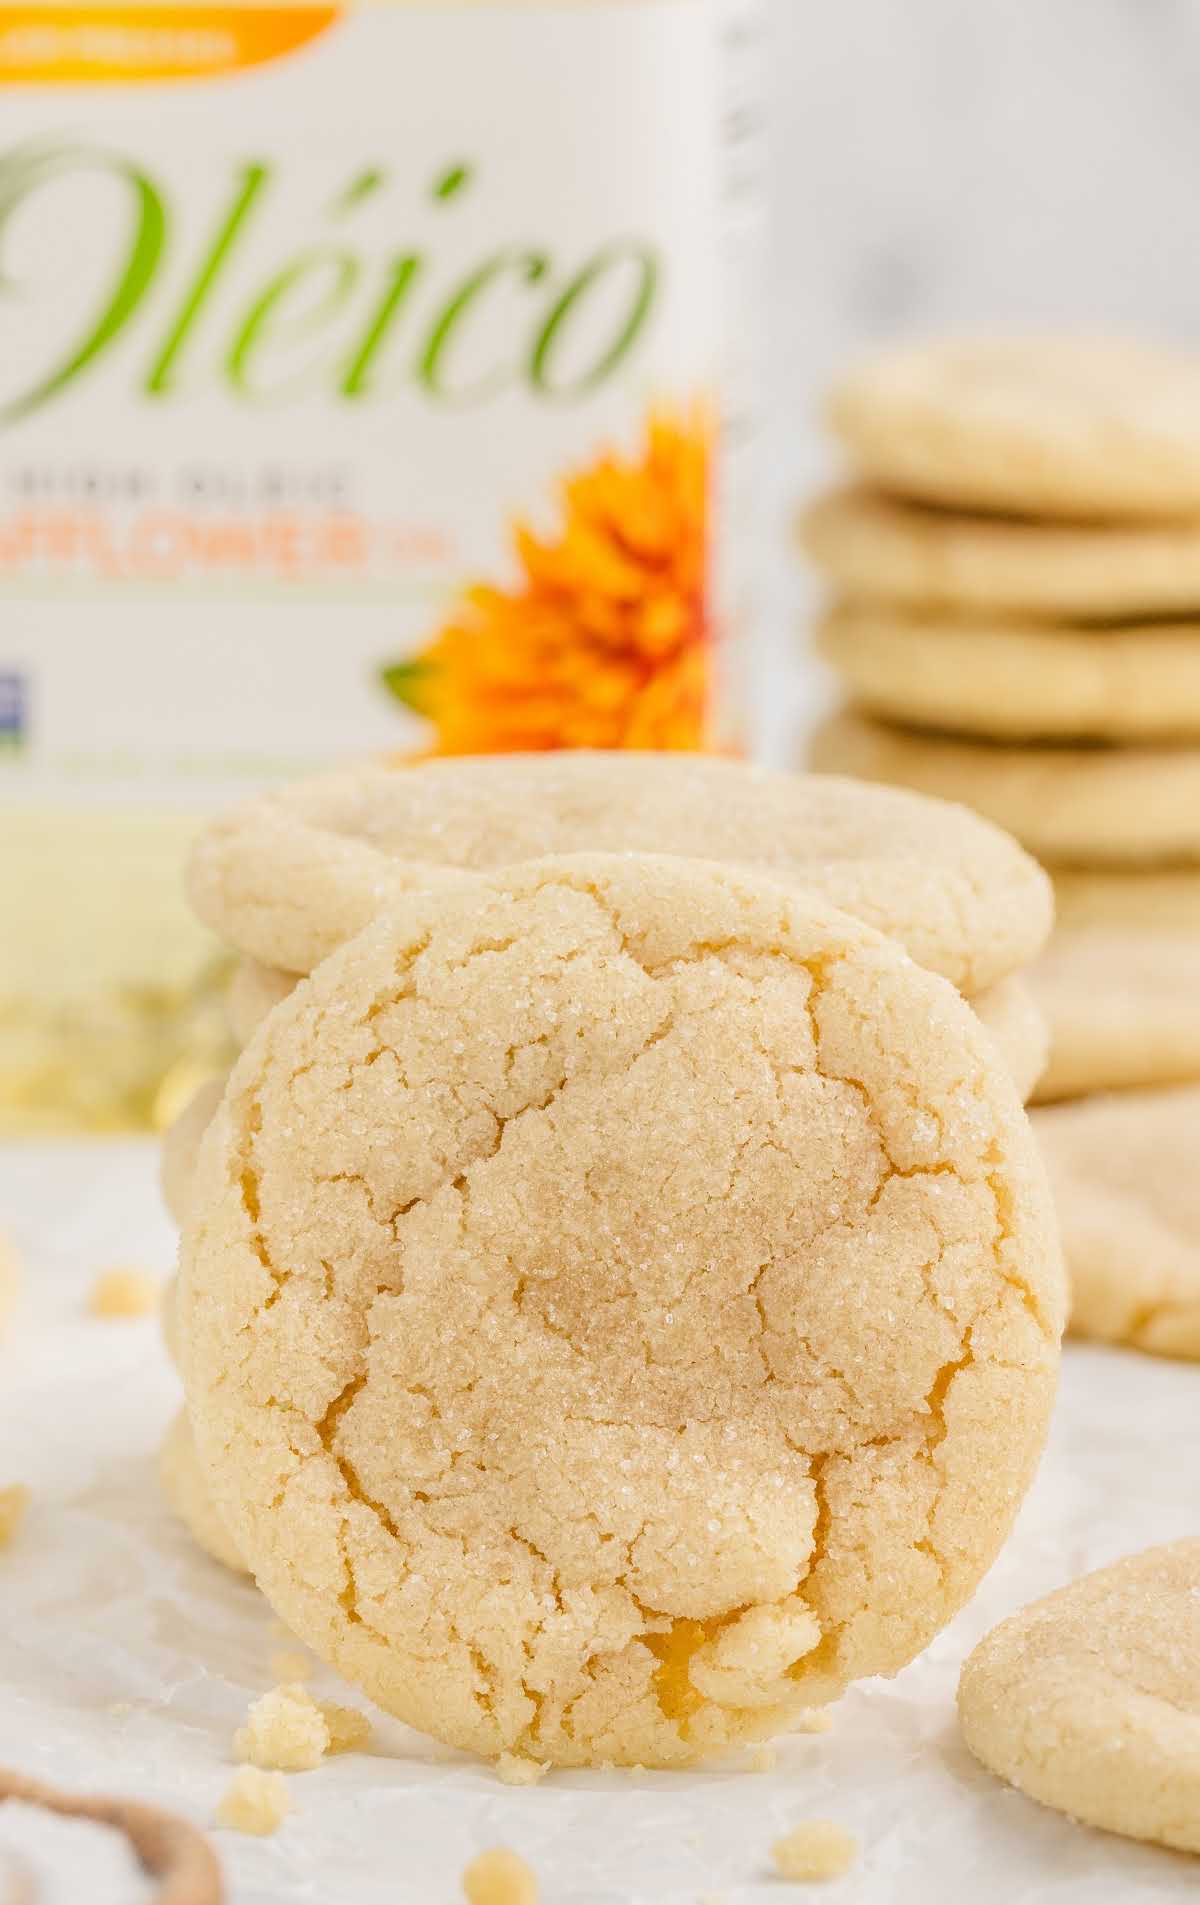
Perfect Texture: These cookies have a delightful texture – crisp on the edges with a slightly chewy center, which is a hit among cookie lovers.
Great for Make-Ahead: The dough can be made ahead and stored in the refrigerator or freezer, making it perfect for planning and convenience.
Kid-Friendly: Both in terms of baking and eating, these cookies are great for involving kids. They can help with simple steps like rolling the dough in sugar or choosing sprinkle coatings.
Ideal for Occasions: Due to their simplicity and deliciousness, these cookies are perfect for holidays, parties, or just a cozy night in.
Storability: These cookies store well in both the fridge and freezer, maintaining their taste and texture, which makes them a practical choice for baking in advance.
FREQUENTLY ASKED QUESTIONS
Making these no-butter sugar cookies is the perfect way to celebrate any occasion. With their ideal texture and sweet flavor, plus endless versatility, they are sure to be a new favorite recipe!
Yes, the dough can be made ahead and stored in the refrigerator for up to two days. Just let it sit at room temperature for a bit before rolling and baking.
Absolutely! Feel free to add different extracts to personalize the flavor. Start with a small amount, as extracts can be quite potent.
Yes, but keep in mind that brown sugar will make the cookies more moist and chewy with a slight caramel flavor.
Overbaking can lead to hard cookies, so watch the baking time closely. If they’re too soft, they may need another minute or two in the oven.
Yes, these cookies freeze well. Store them in a freezer-safe container, separating layers with parchment paper, for up to three months.
Stored in an airtight container at room temperature, the cookies should stay fresh for about a week. You can also refrigerate or freeze them for longer storage.
Yes, you can substitute the all-purpose flour with a gluten-free all-purpose flour blend. Make sure it’s a one to one substitution blend for the best results.
If your cookies spread too much, it might be due to not chilling the dough long enough. Make sure to chill it as per the recipe instructions.
If they don’t spread enough, your dough might be too cold or the oven temperature could be too low.
More Delicious Cookie Recipes
- Grinch Cookies
- Lofthouse Cookies
- Sour Cream Cookies
- Christmas Pinwheel Cookies
- Peppermint Shortbread Cookies
No Butter Sugar Cookies
Ingredients
- 1¼ cups granulated sugar divided (1 cup for dough, ¼ cup for rolling)
- 2 cups all-purpose flour
- 1 teaspoon baking soda
- ¼ teaspoon salt
- ¾ cup Oleico Safflower Oil
- 1 large egg room temperature
- 1 large egg yolk room temperature
- 1½ teaspoons vanilla extract
- Optional coatings: Colored sanding sugar multi-colored jimmies sprinkles, or multi-colored nonpareils sprinkles. You can use just one of these options or a variety of these coatings for the cookies.
Instructions
- Line two large cookie sheets with parchment paper. Add ¼ cup of granulated sugar to a small bowl. This will be used to roll the cookie dough balls in before baking. If you are using any of the additional optional sprinkle coatings, you will need to add them to a small bowl at this time as well. Set aside.
- Whisk together the all-purpose flour, baking soda, and salt in a medium mixing bowl. Set aside.
- Add one cup of granulated sugar, safflower oil, large egg, large egg yolk, and vanilla extract in a large mixing bowl. Beat on medium speed, using a handheld mixer, for one minute or until the mixture is light and fluffy.
- Add the dry ingredients to the bowl of wet ingredients. Mix on low speed until the dough comes together and all the wet ingredients have been evenly incorporated with the flour. You may need to scrape down the sides and bottom of the bowl to ensure that the sugar cookie dough is evenly mixed.
- Using a one-tablespoon cookie scoop, scoop out a leveled amount of sugar cookie dough and gently roll it in the palm of your hand to create a smooth ball. Place the dough ball into the small bowl of granulated sugar and roll around to coat the entire surface of the sugar cookie dough ball. Place the coated sugar cookie dough ball onto one of the parchment-lined baking sheets. Repeat until all the cookies have been rolled and coated in the sugar or optional sprinkles. You can place all the rolled cookies close together on a single cookie sheet, just make sure they are not touching. The second cookie sheet will be used for baking your cookies. Be sure to place the cookies 1½-2 inches apart. You should be able to fit 12 cookies per baking sheet.
- Chill the cookies in the refrigerator for 30 minutes to allow the dough to firm up before baking. This will ensure that the cookies do not spread too much when baked.
- Preheat the oven to 350°F. Remove the chilled cookie dough balls from the refrigerator and place half (12) the rolled cookie dough balls onto the second parchment lined baking sheet. The cookies should be spaced 1 ½ – 2 inches apart.
- Bake for 9-11 minutes or just until the center is set. You do not want to overbake these cookies as they will harden up slightly as they cool. Your cookies should be a very pale color.






Comments
Susanna Back says
I made those cookies 2 days before Christmas. Oh, my goodness they are so good and delicious!! Thank you for the recipes. Everyone loves them. Lucky, I made a doubles patch of it.
Desteni P. says
I made them gluten free with bob mills 1:1 flour. I also used manuka honey instead of vanilla extract. I used 1:3 baking powder instead of baking soda. And I greased the pan with coconut oil. The cookies came out fluffy, soft, and delicious. Cooked to perfection. I really enjoyed using this recipe while putting my twist to it. 🙂 10/10